In this tutorial, you will learn all the important aspects of input fields for email addresses and URLs in HTML forms. The goal is to show you how to effectively implement the validation of these inputs and customize the styling for various input statuses. This will not only improve the user experience but also enhance the quality of data you collect.
Main Takeaways
- You will learn the basic structure and validation for email and URL using HTML.
- You will also learn how to provide visual feedback to users when inputs are invalid using CSS.
- The use of patterns for further validation of email addresses and URLs is explained.
Step-by-Step Guide
1. Creating Basic Email Input Field
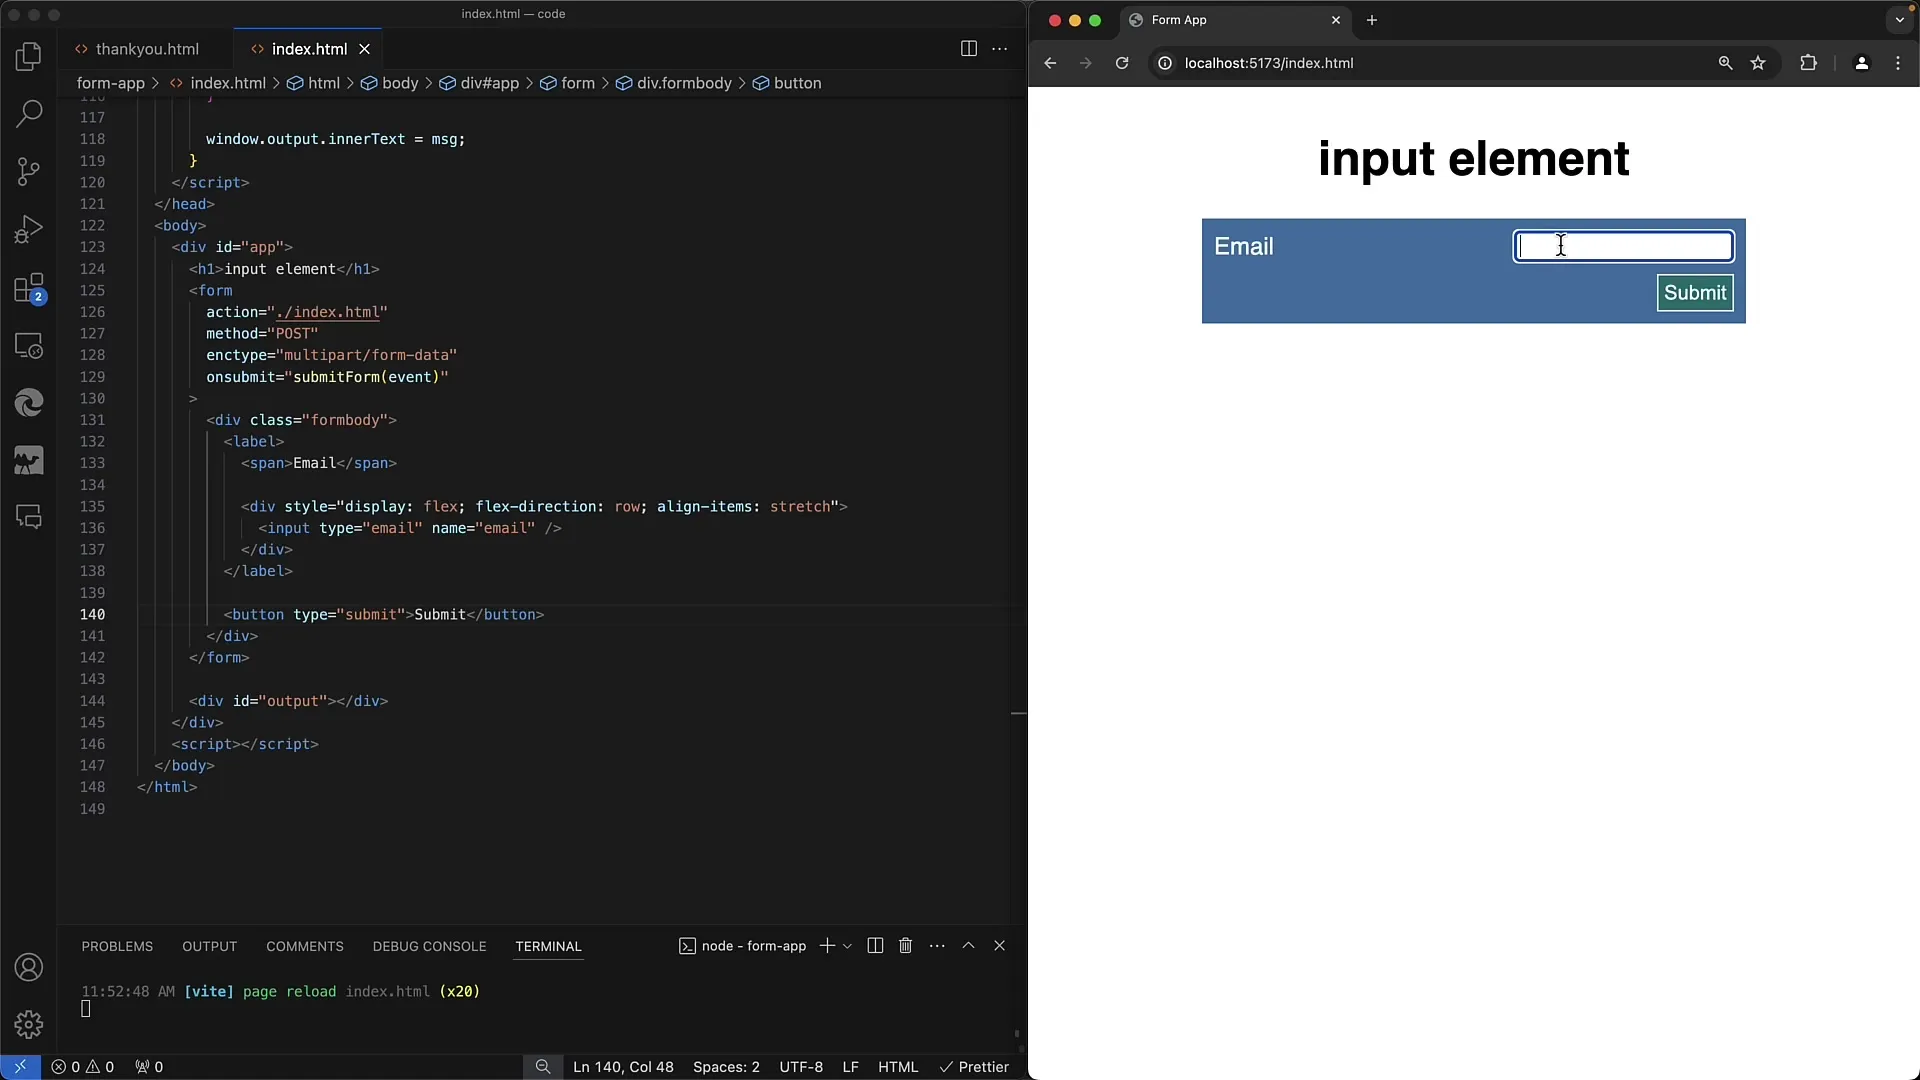
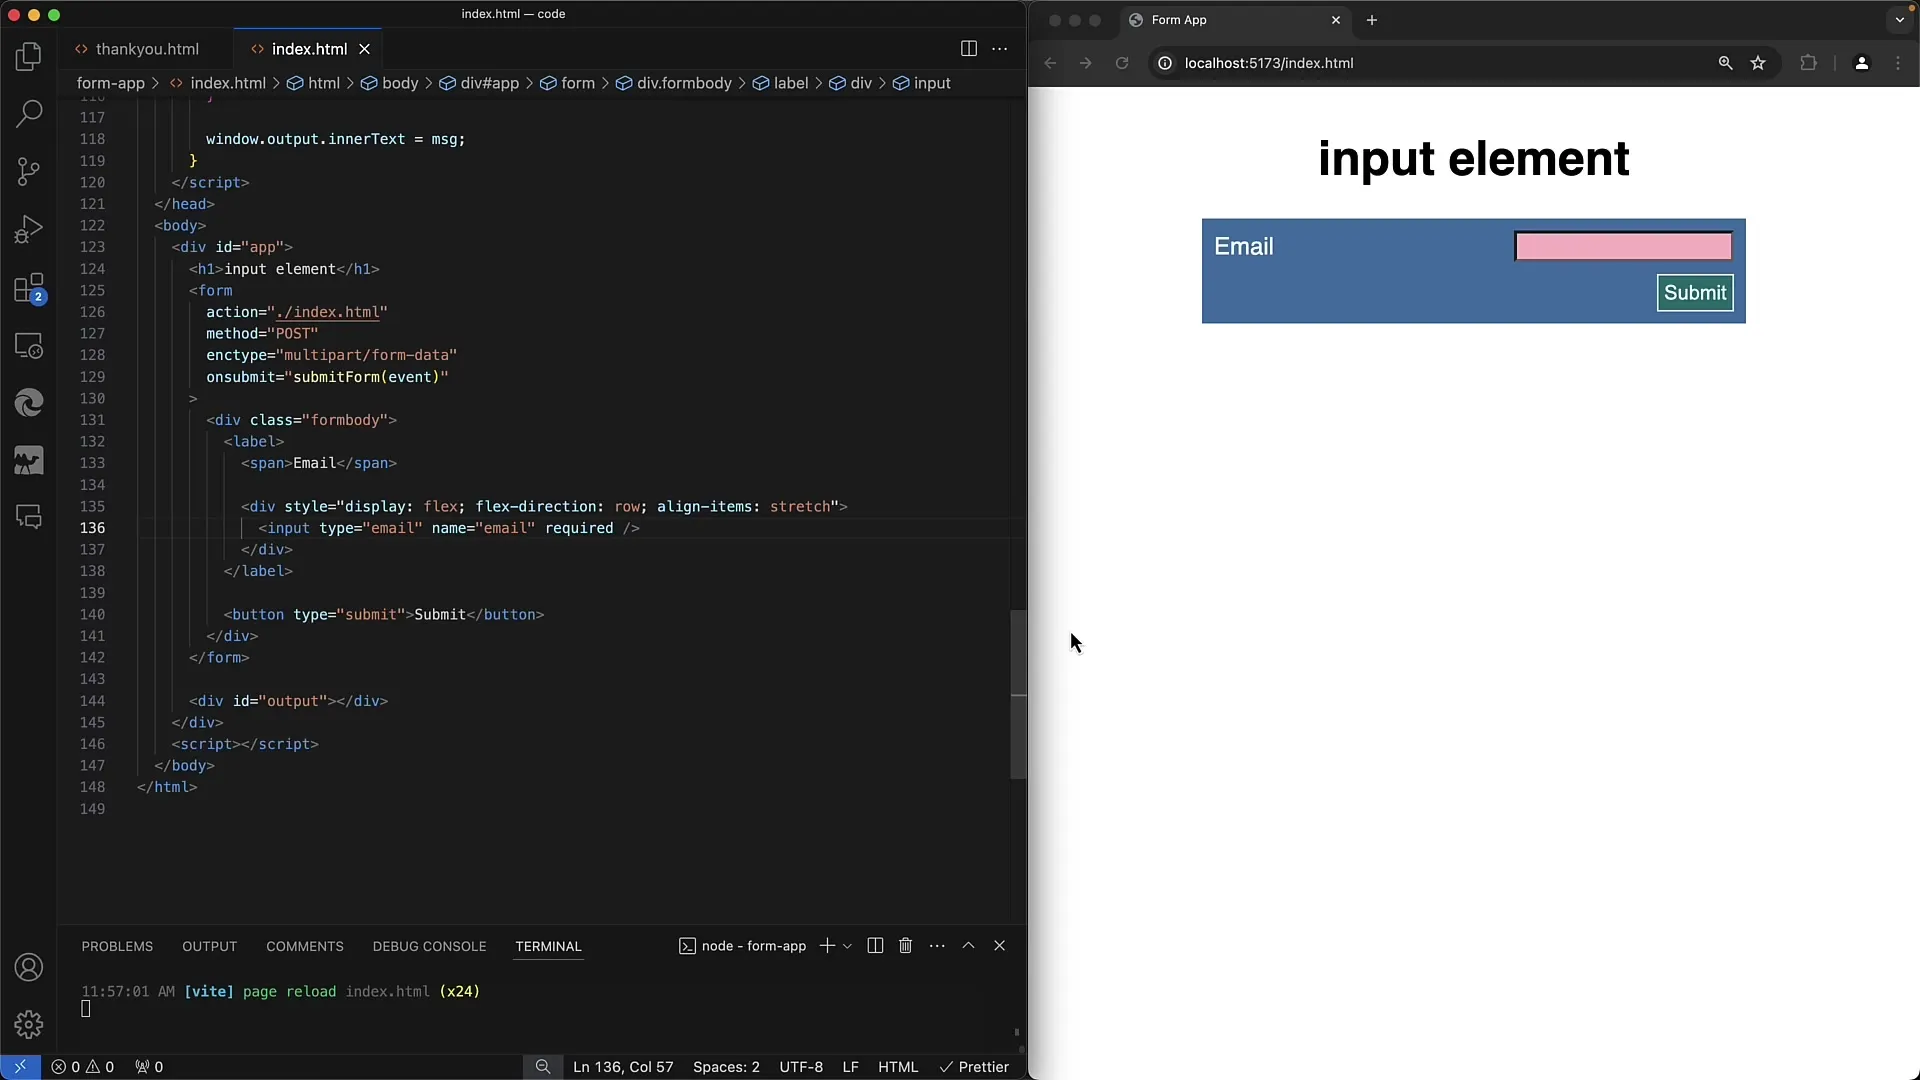
Start by creating a standard input element for email. You need to set the type as "email" so that the browser automatically validates the input.
The input field is now treated by HTML to expect an email address and provide visual feedback for incorrect input. As soon as a user starts inputting, the background changes to pink to indicate that something is wrong.
2. Validating the Email Address
Email validation is done using simple rules. There must be at least one "@" symbol followed by at least one more character. This is a basic NLP validation. However, this validation rule is not sufficient to guarantee the existence of the email address.
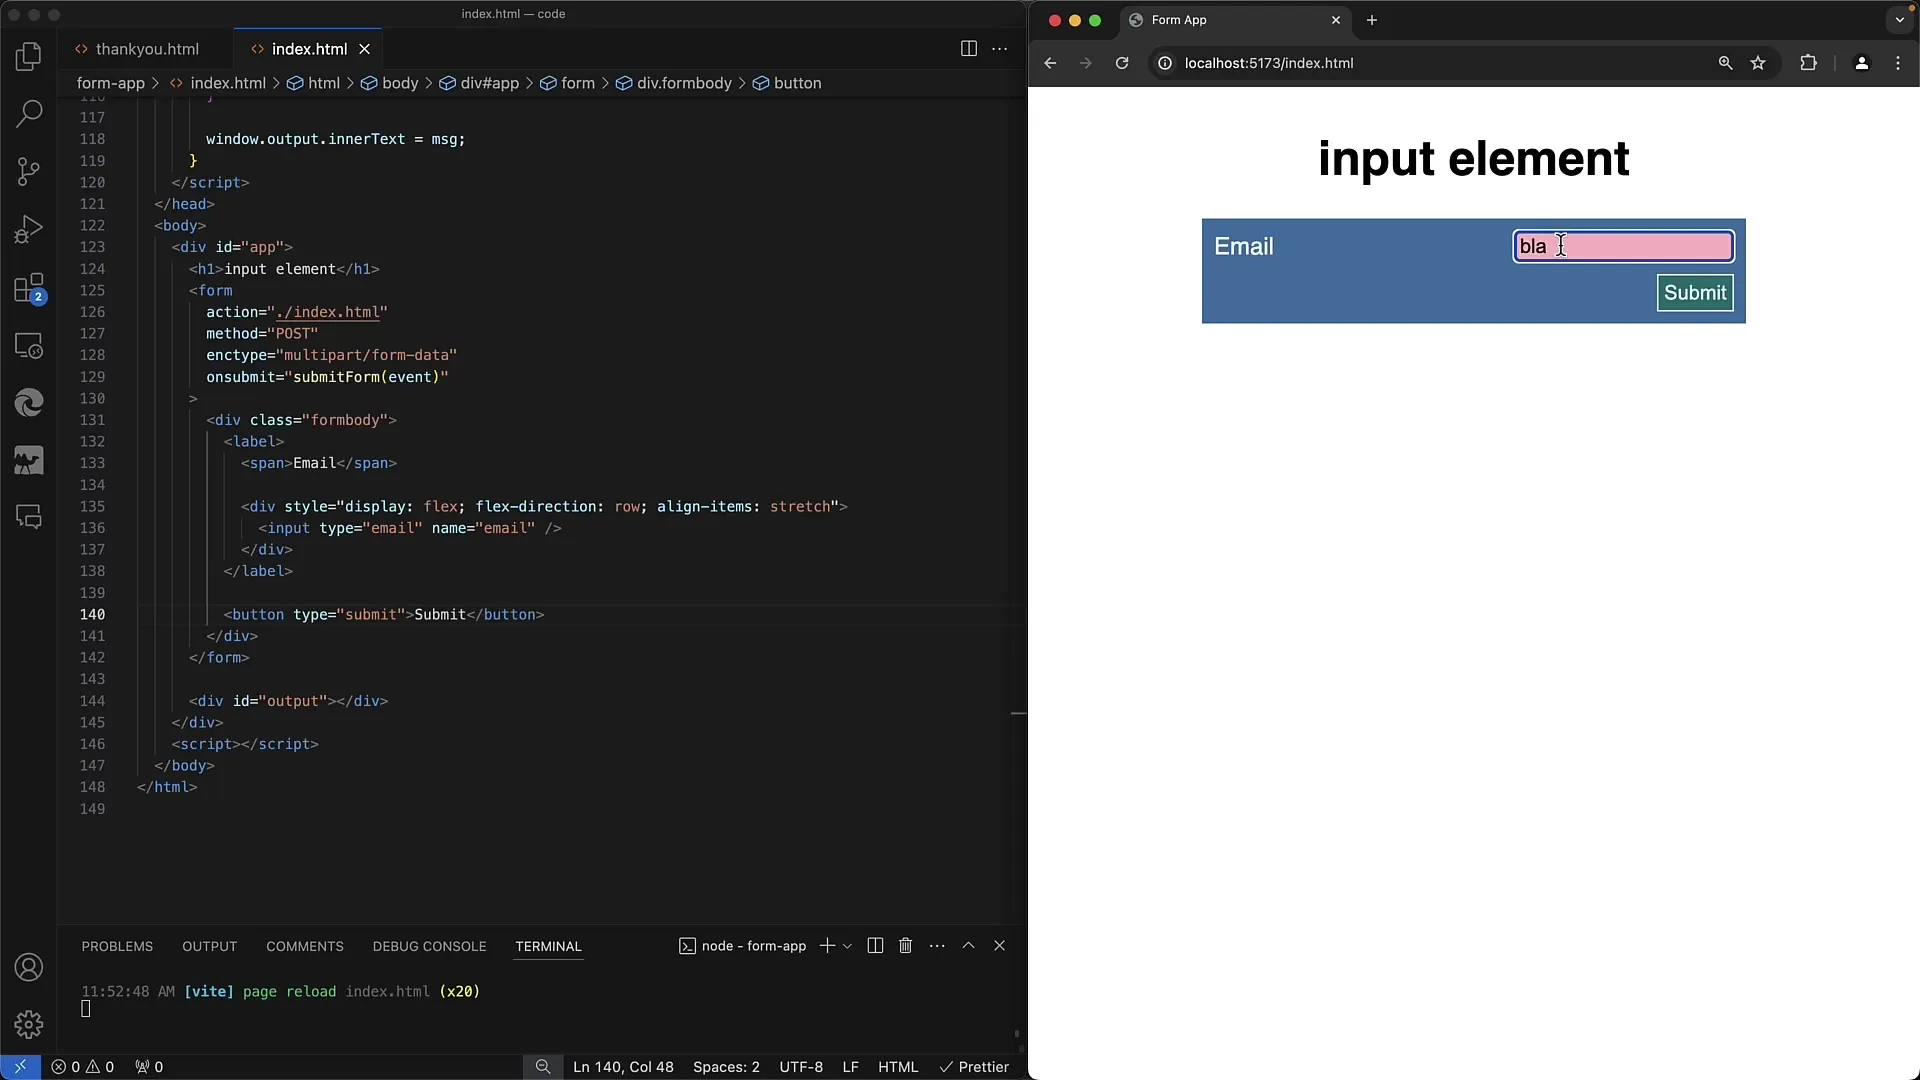
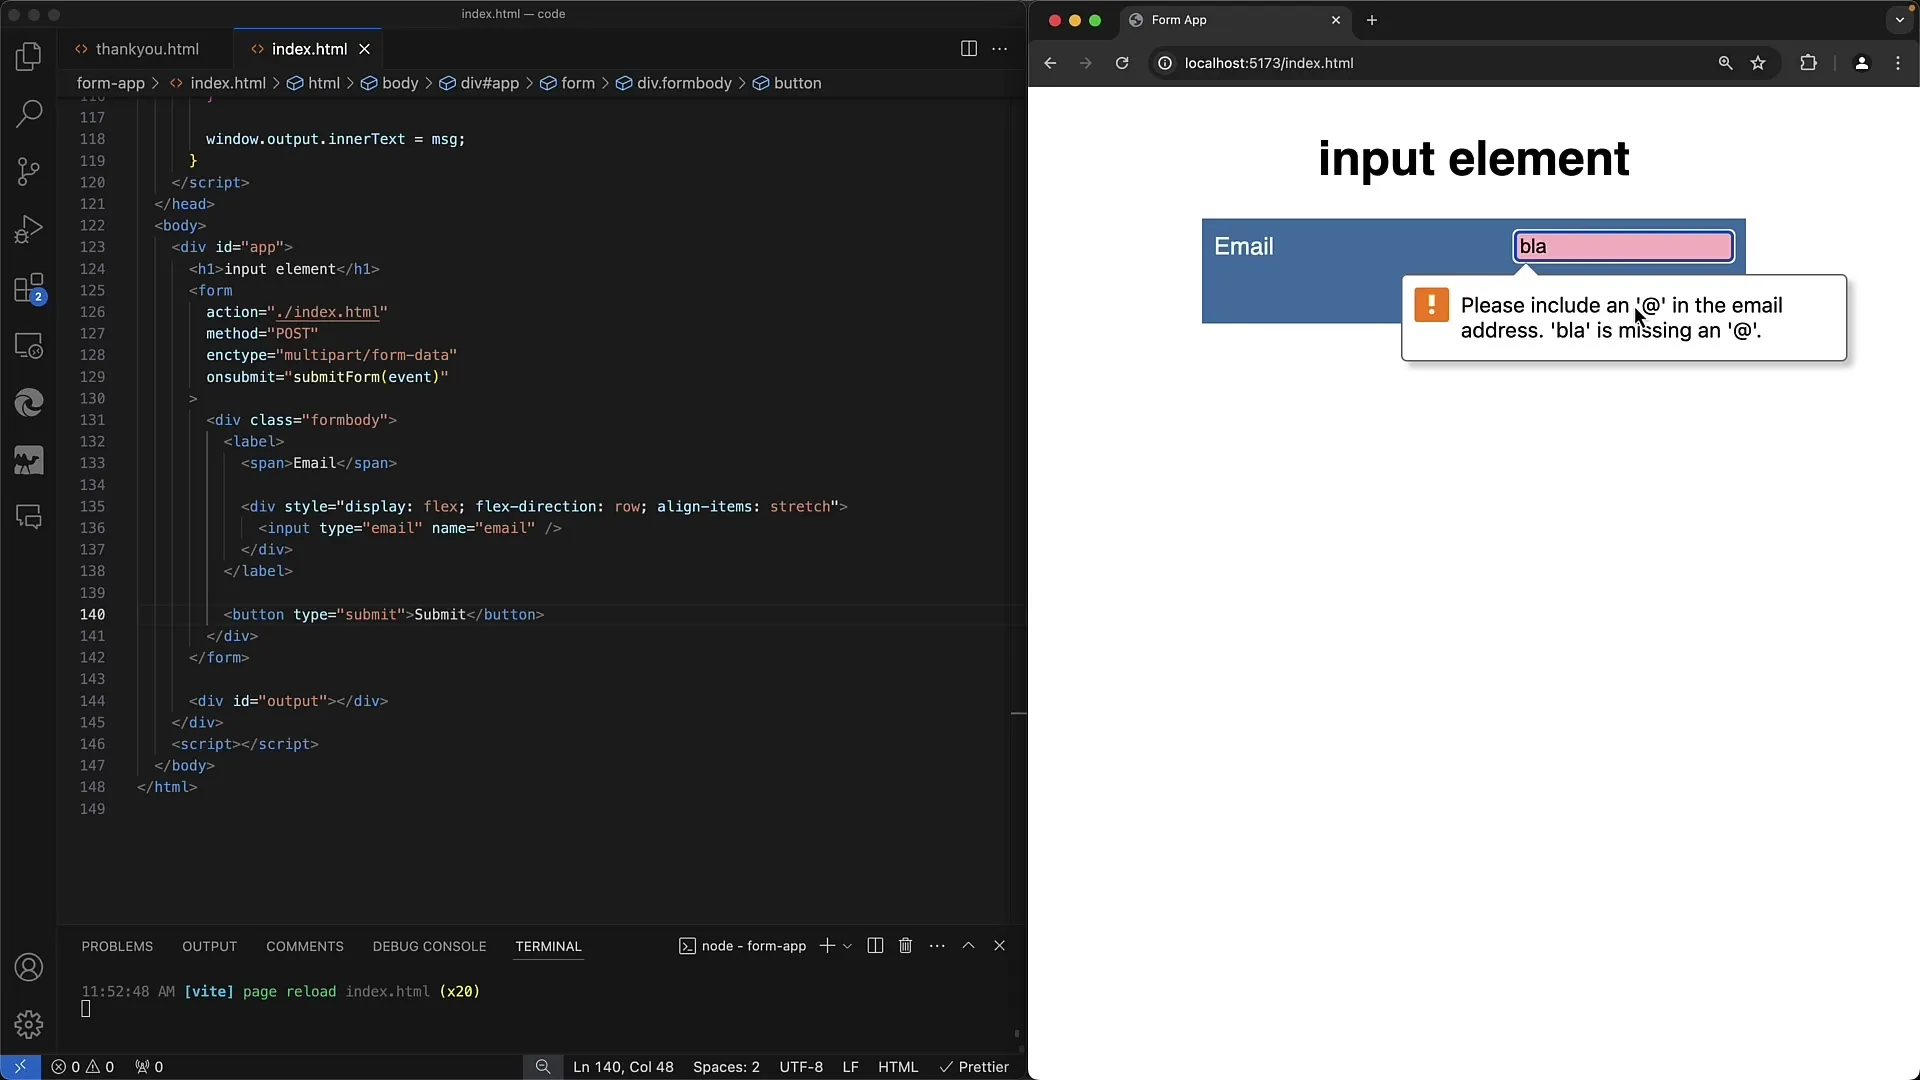
An example of an invalid email address would be "bla@". In such a case, submitting the form is blocked, and the user sees an error message.
3. Using Patterns for More Precise Validation
To achieve more precise validation, you can use the "pattern" attribute. With a regular expression (Regex), you can specify that the email address meets certain requirements, such as a specific domain.
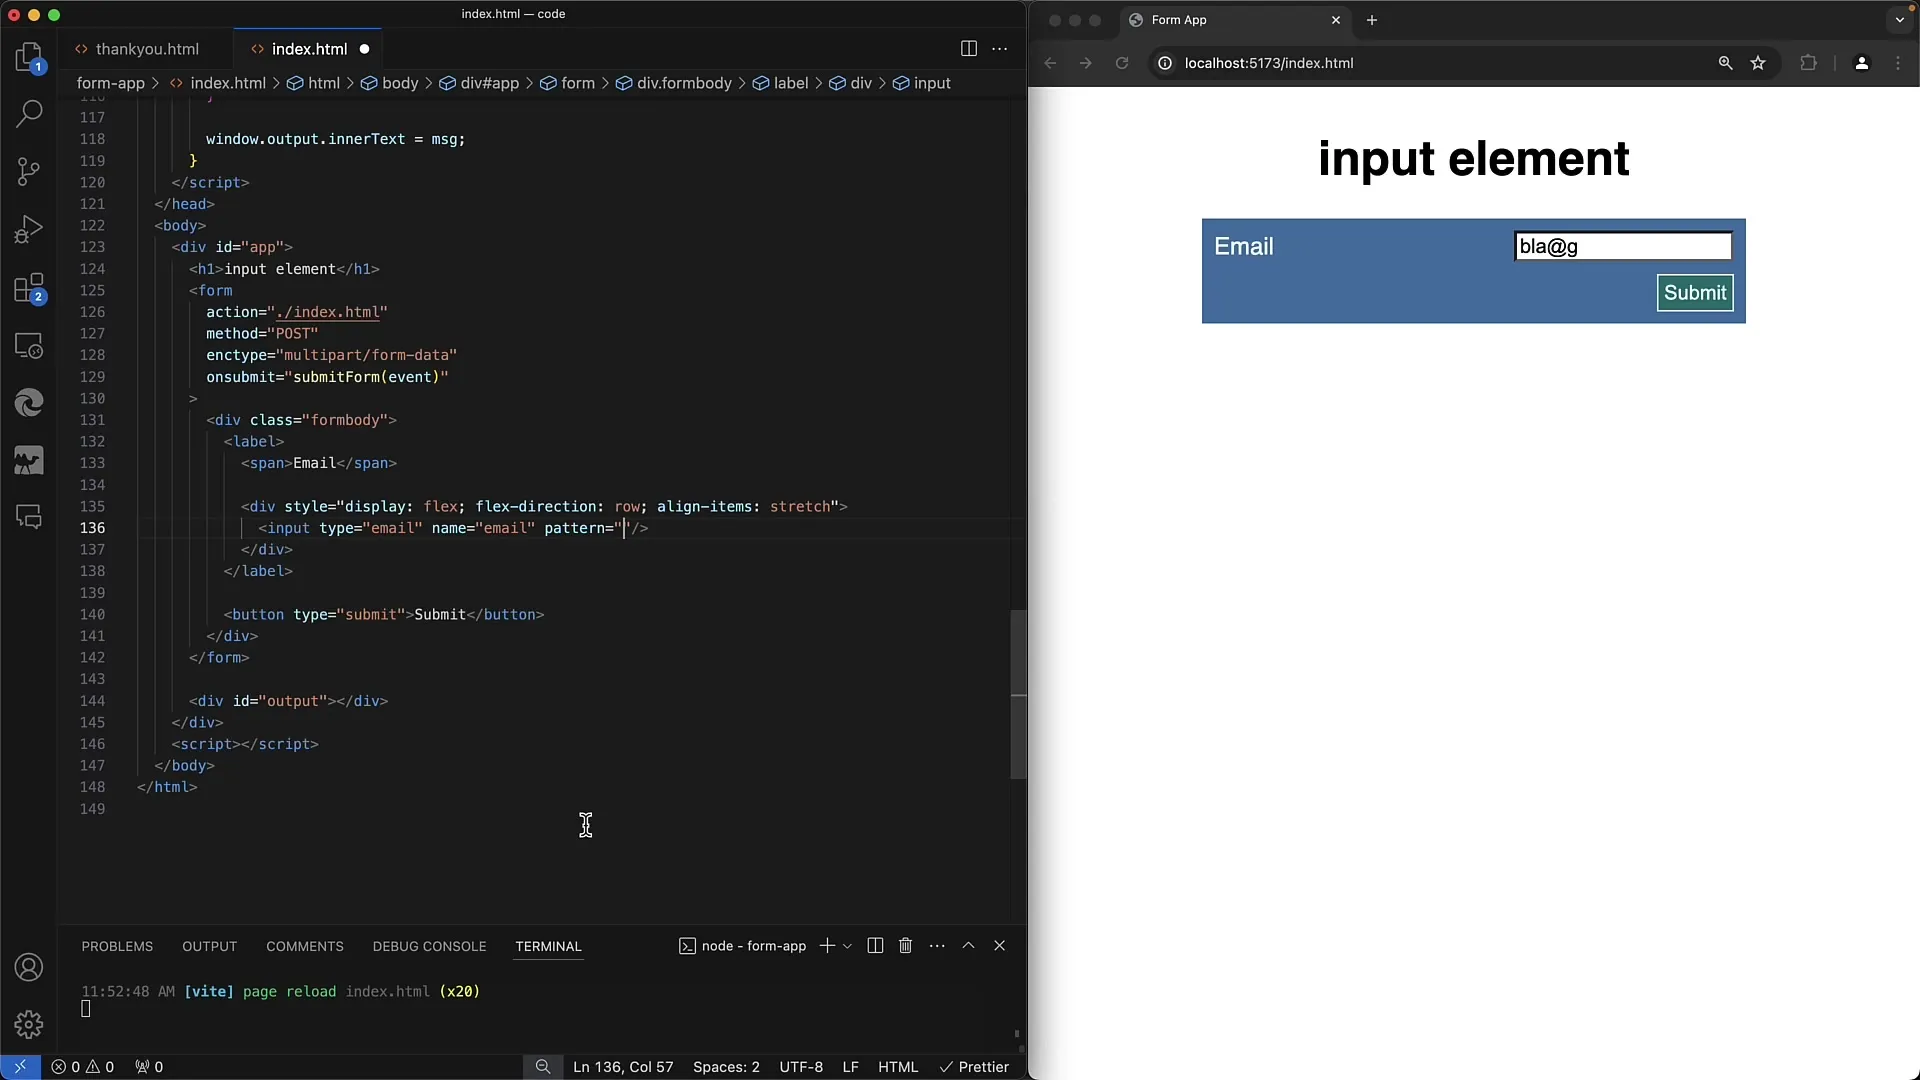
Through this additional validation, you ensure that only valid email addresses are accepted, such as only Gmail or GMX addresses.
4. Required Input and Styling
To ensure the email field is filled out, you can add the "required" attribute. If the user tries to submit the form without input, they will immediately receive visual feedback.
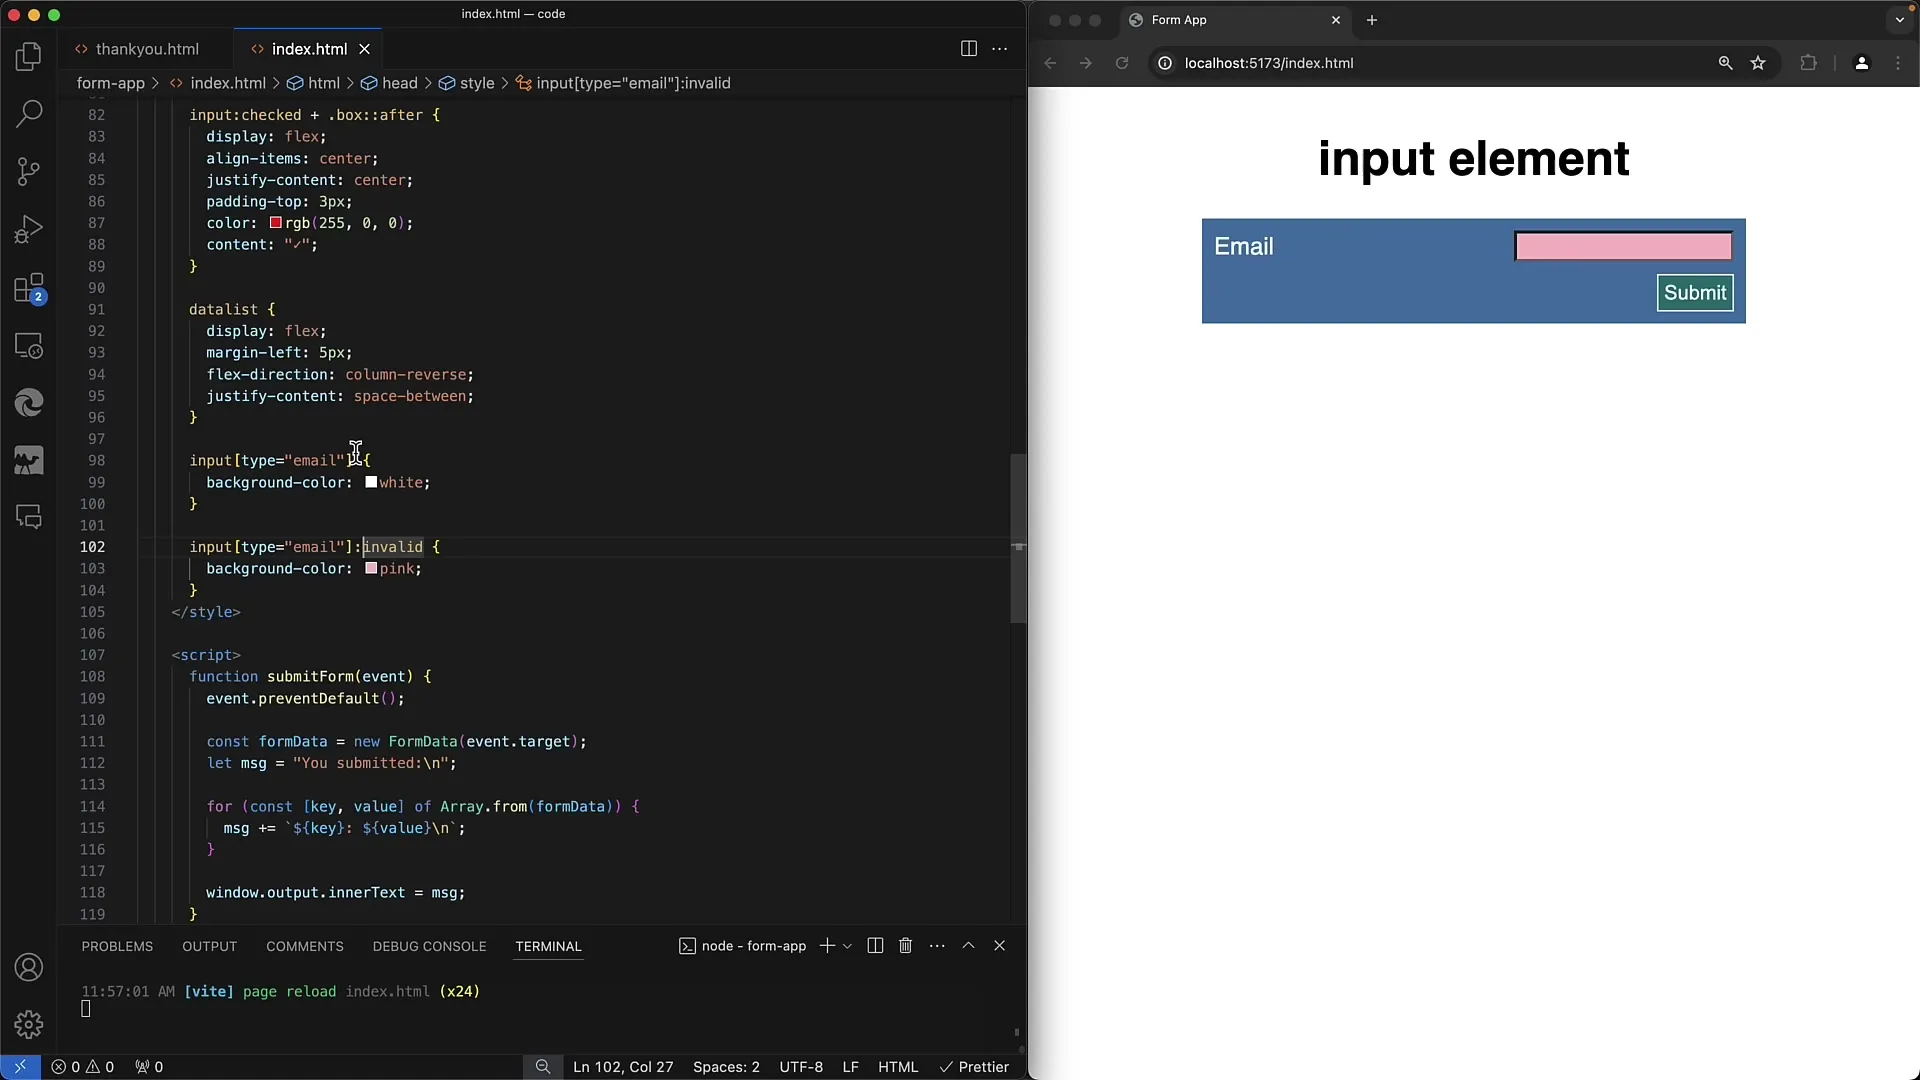
For styling invalid inputs, you can use the ":invalid" selector in CSS. This will change the background of the field to red to warn the user that the input is incorrect.
5. Creating URL Input Field
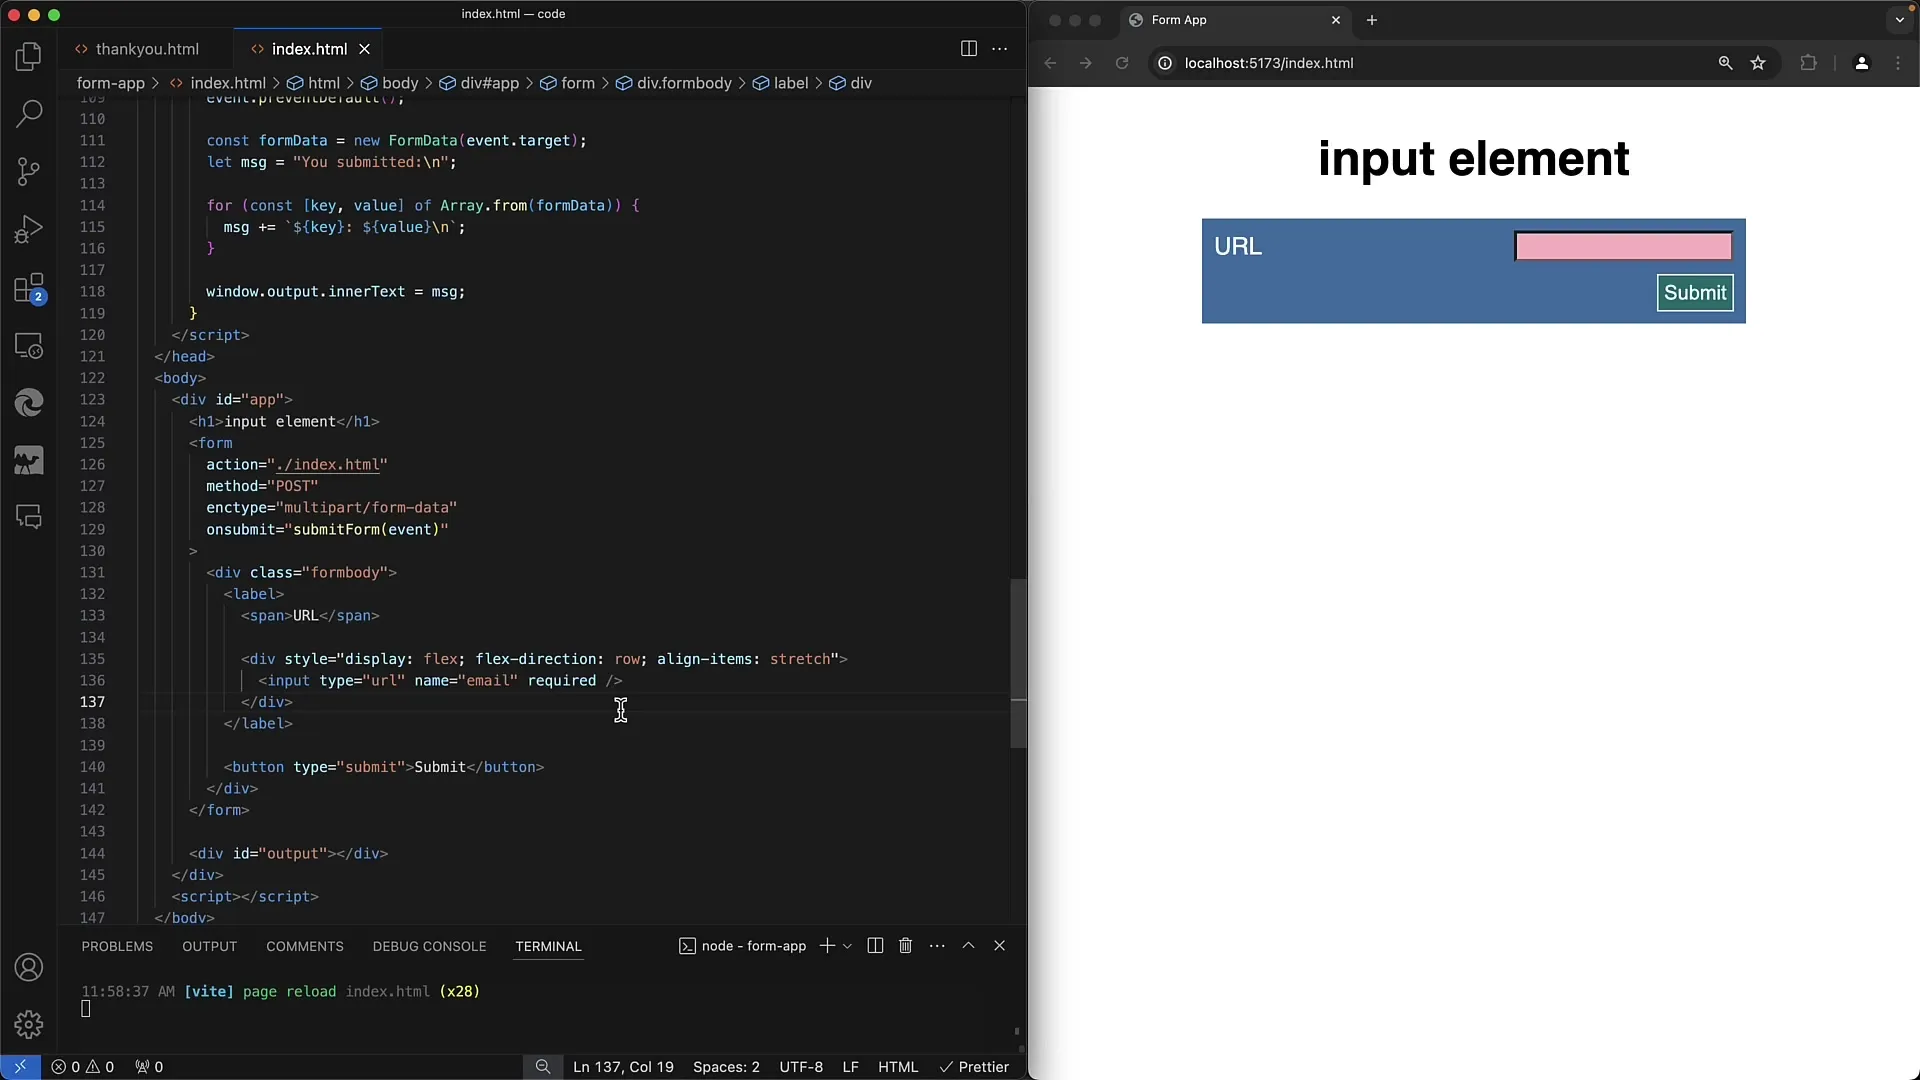
Similar to email, it's important to create an appropriate input element for URLs as well. Set the type to "url" so that the browser validates the input here too.
6. Validating the URL
The basic requirements for a valid URL include starting with "http://" or "https://" and having at least one subsequent character. If the user simply enters "https," this is not sufficient.
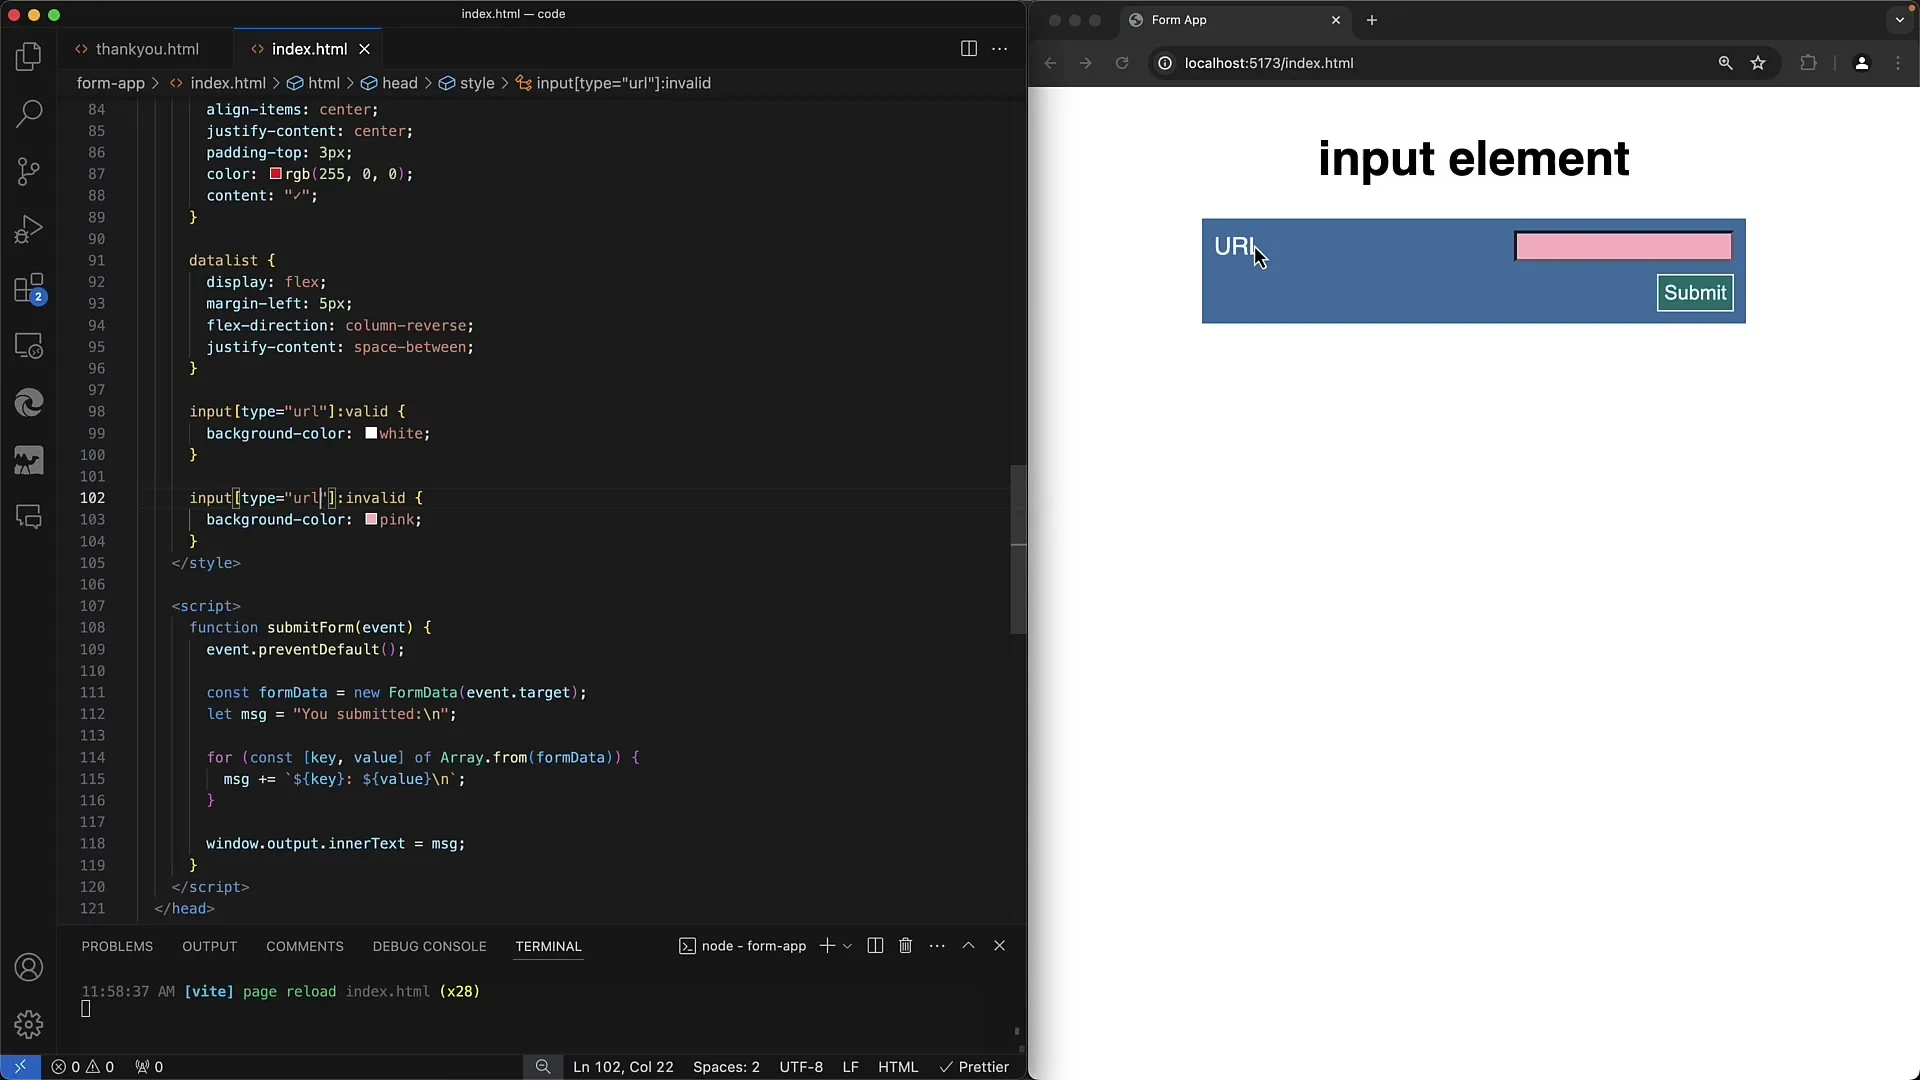
The same principle applies for other protocols like "ftp." If the input does not meet the conditions, the browser provides feedback and does not submit the form.
7. Advanced Validation with Patterns for URLs
To make the validation more precise for specific patterns like "https://www.example.com," you should also use the "pattern" attribute to help your users enter correct URLs.
8. User-friendliness on mobile devices
A major advantage of using "email" and "url" types in forms is the improved user-friendliness on mobile devices. The keyboard is optimized to facilitate users in typing email addresses and URLs.
Summary
In this tutorial, we have covered the key criteria for validating email addresses and URLs in web forms. You have learned how to perform simple and advanced validations and customize user feedback through CSS to create a better user experience.
Frequently Asked Questions
What happens if an entered email address is invalid?If the email address is invalid, the form cannot be submitted, and the user will see an error message.
How can I ensure that the entered URL is correct?You can use the "pattern" attribute to specify requirements for the URL, such as starting with "http://" or "https://".
Can I specify multiple email addresses in one field?Yes, you can use the "multiple" attribute to allow users to enter multiple email addresses separated by commas.


