In today's guide, I will show you how to group options in a selection or dropdown list. Grouping options is especially useful when you have a variety of choices and want to improve the user-friendliness of your web application. You will learn the key attributes as well as some best practices to efficiently implement groupings. Let's dive right in!
Key Insights
- When creating web forms, it is important to set the value attributes of the option elements correctly to ensure clarity and user-friendliness.
- Grouping options is done using the <optgroup> element.
- There are also ways to highlight and pre-fill the selection.
Step-by-Step Guide
First, we want to make sure you understand the basics of using value attributes. These attributes are optional, but I recommend using them. If you do not specify values, the text of the option will be used as the value. Let's look at an example.
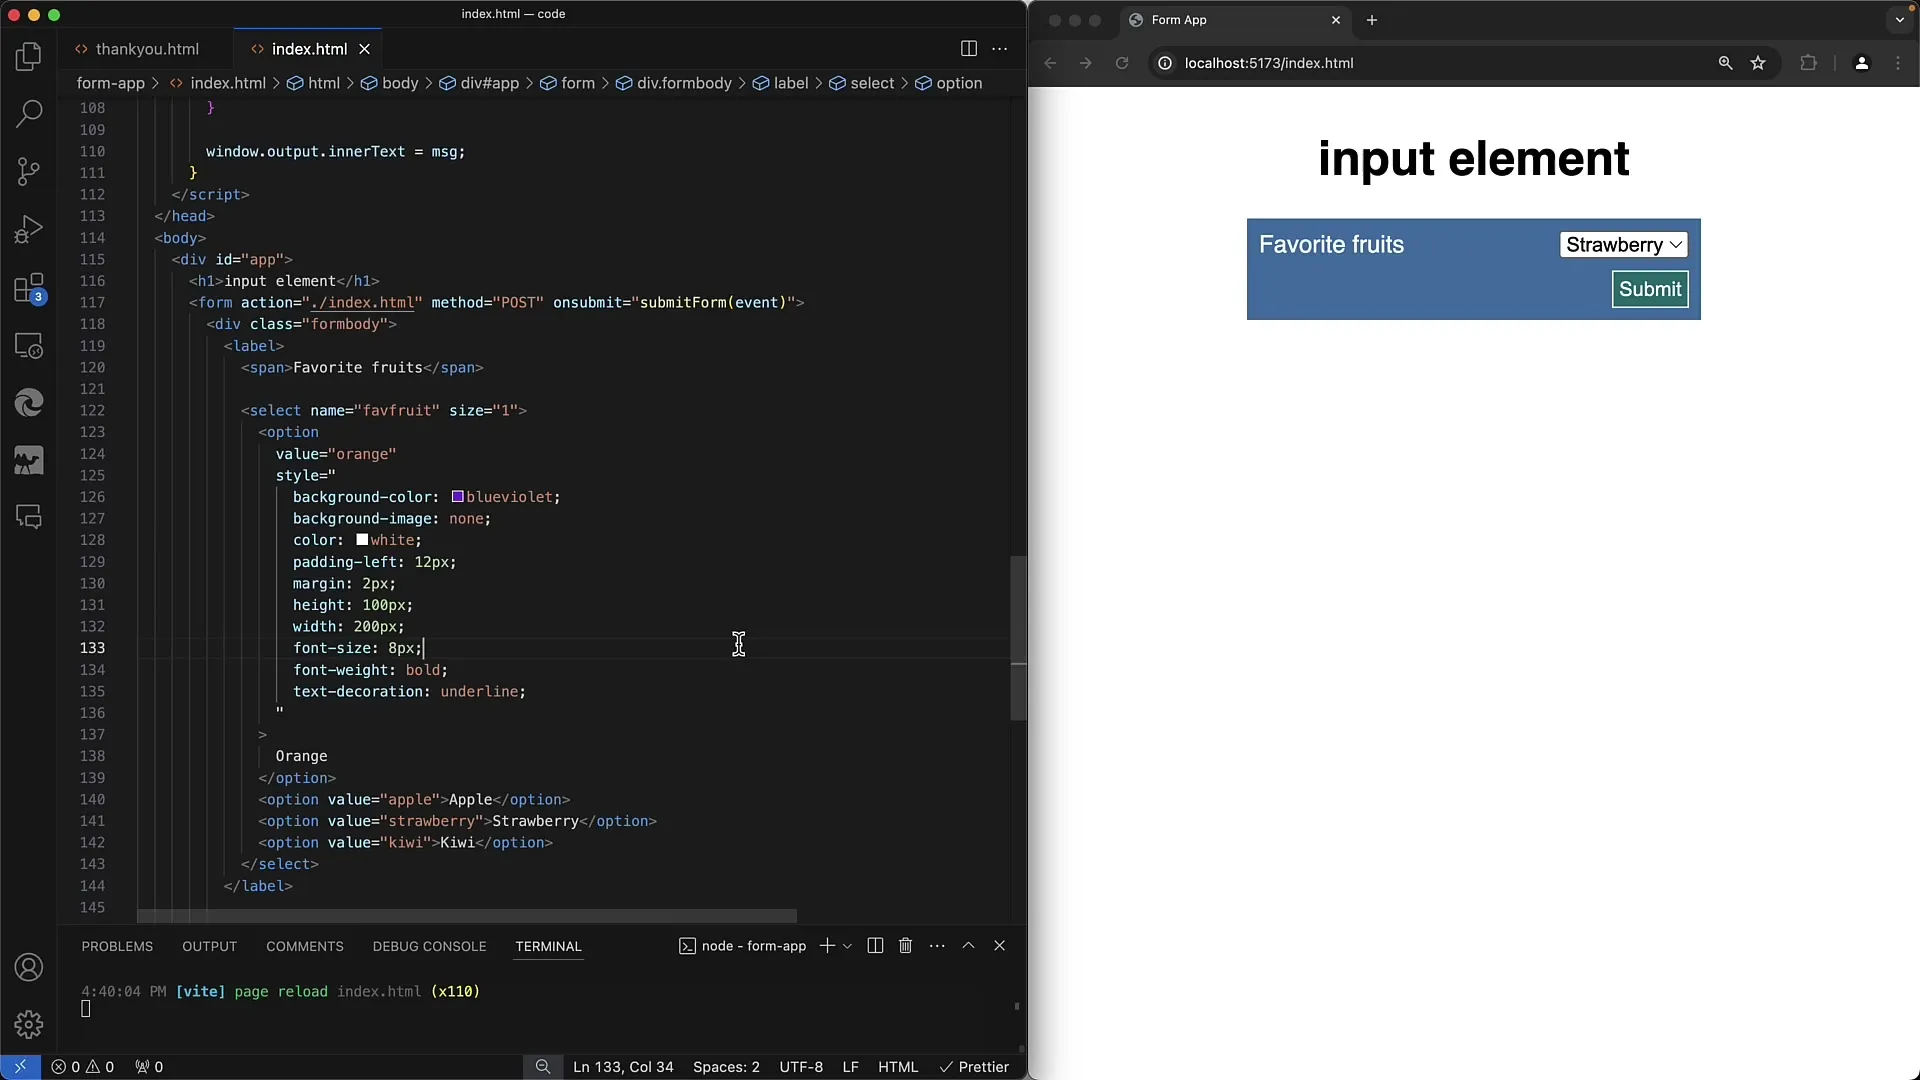
Here's what happens when I select the Apple option without specifying a value attribute. The displayed text is used to send the value. If I now select the Orange option, the lowercase 'orange' is transmitted as the value.
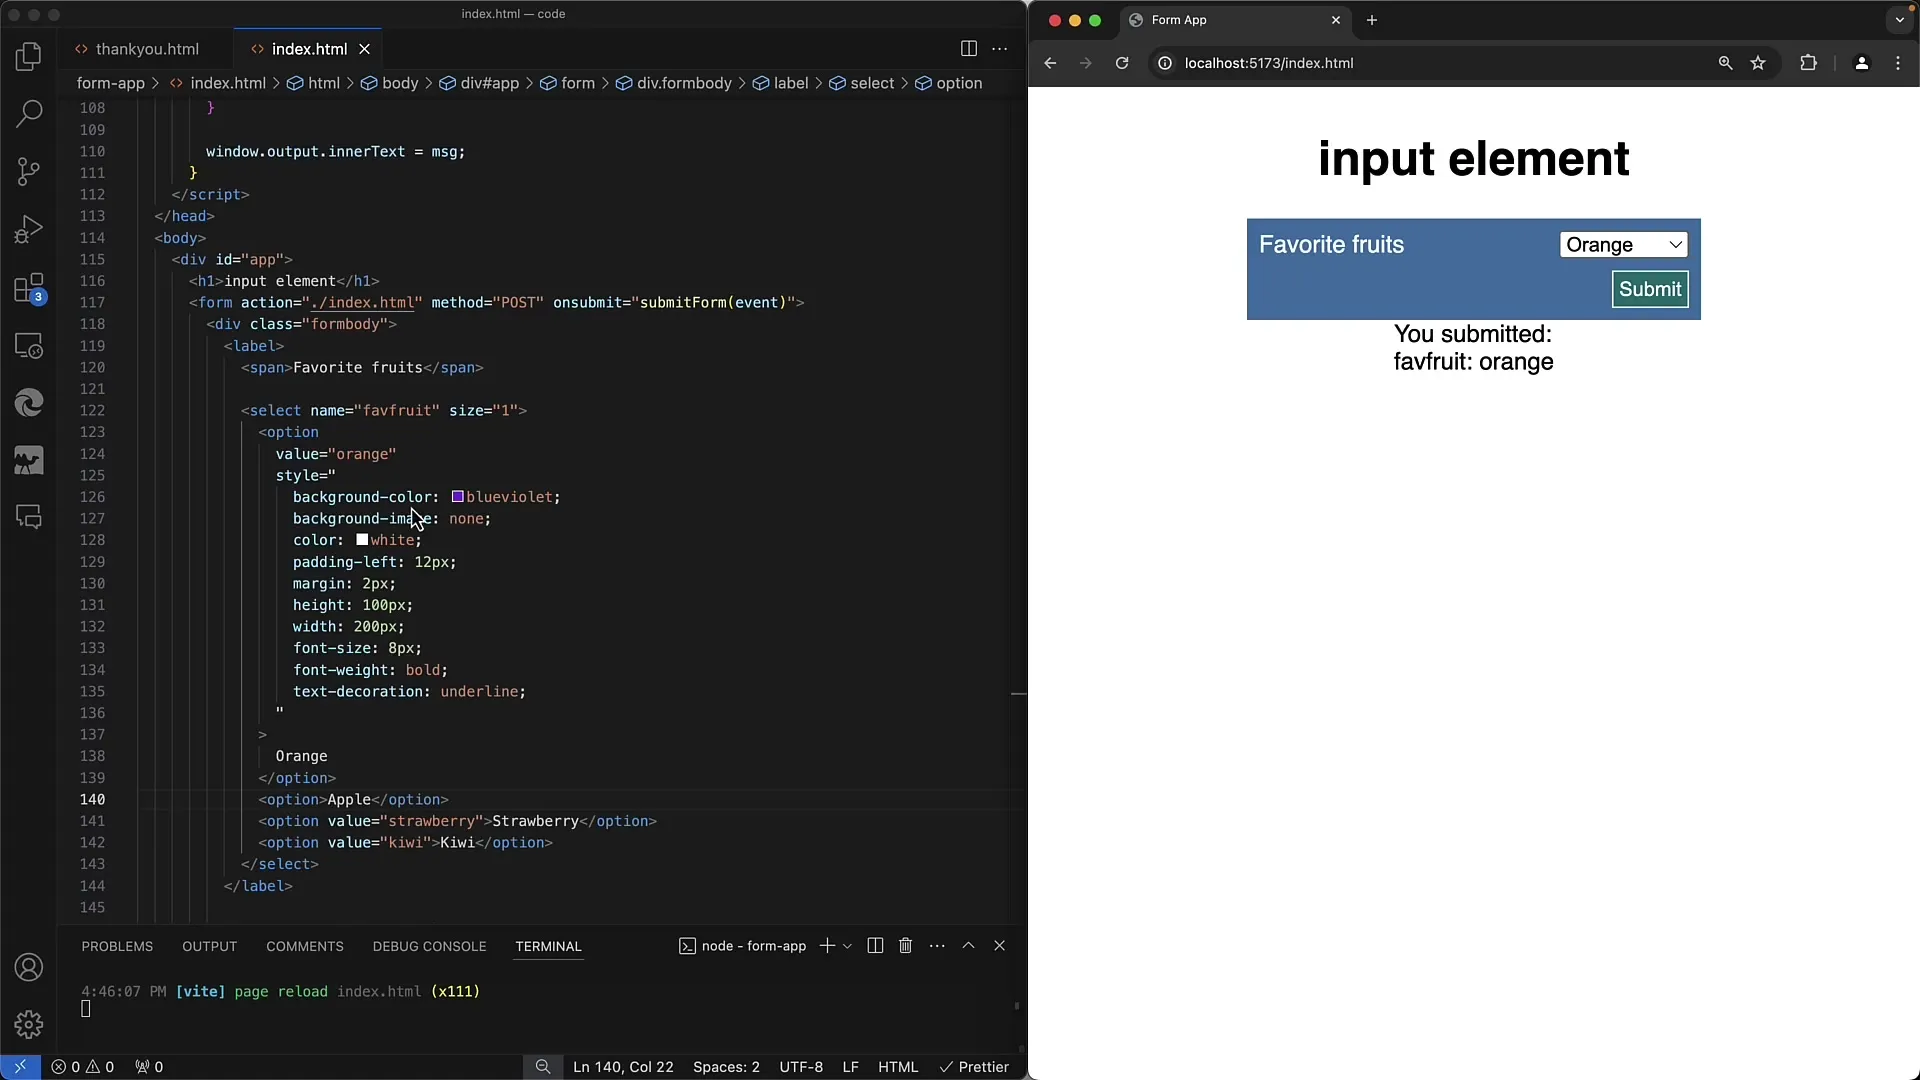
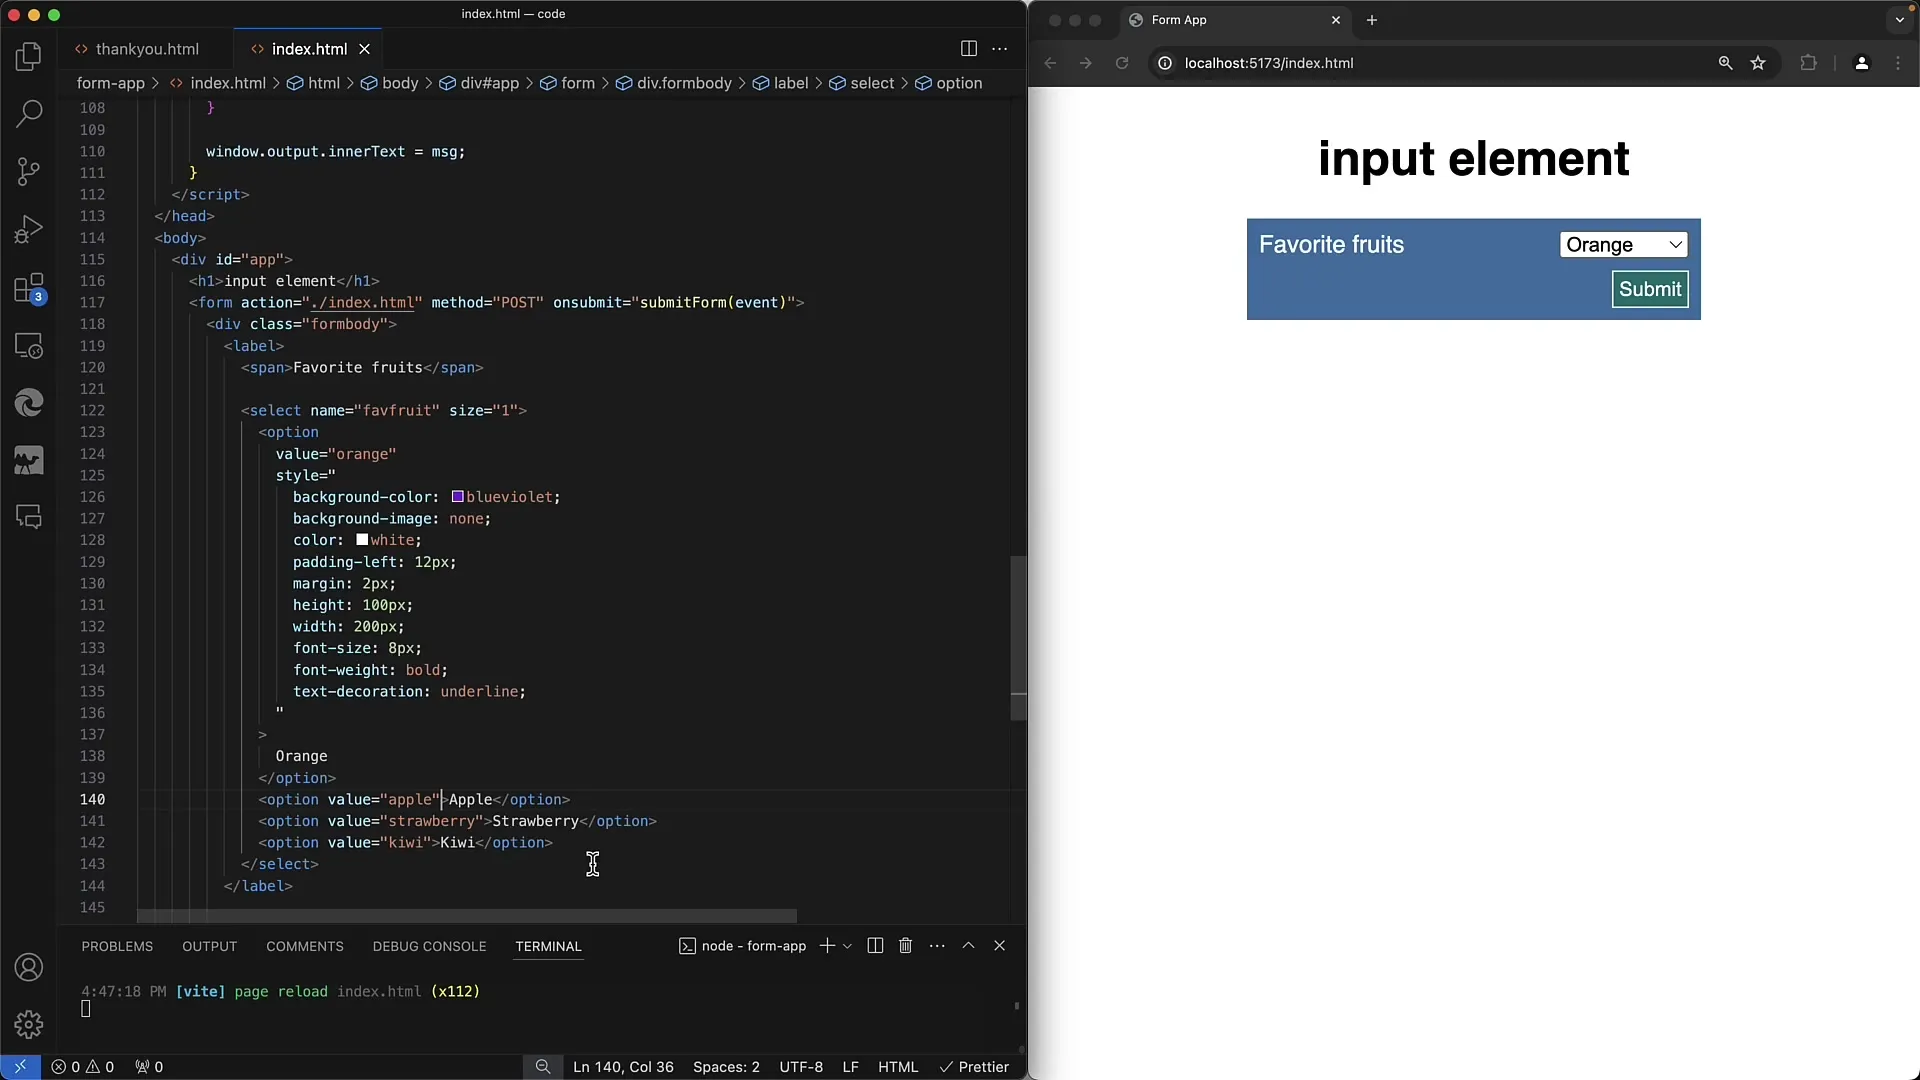
Therefore, my recommendation is clear: Always use the value attribute and enter your internal designations, for example in lowercase. If you don't do this, the transmitted values may be unclear and less meaningful.
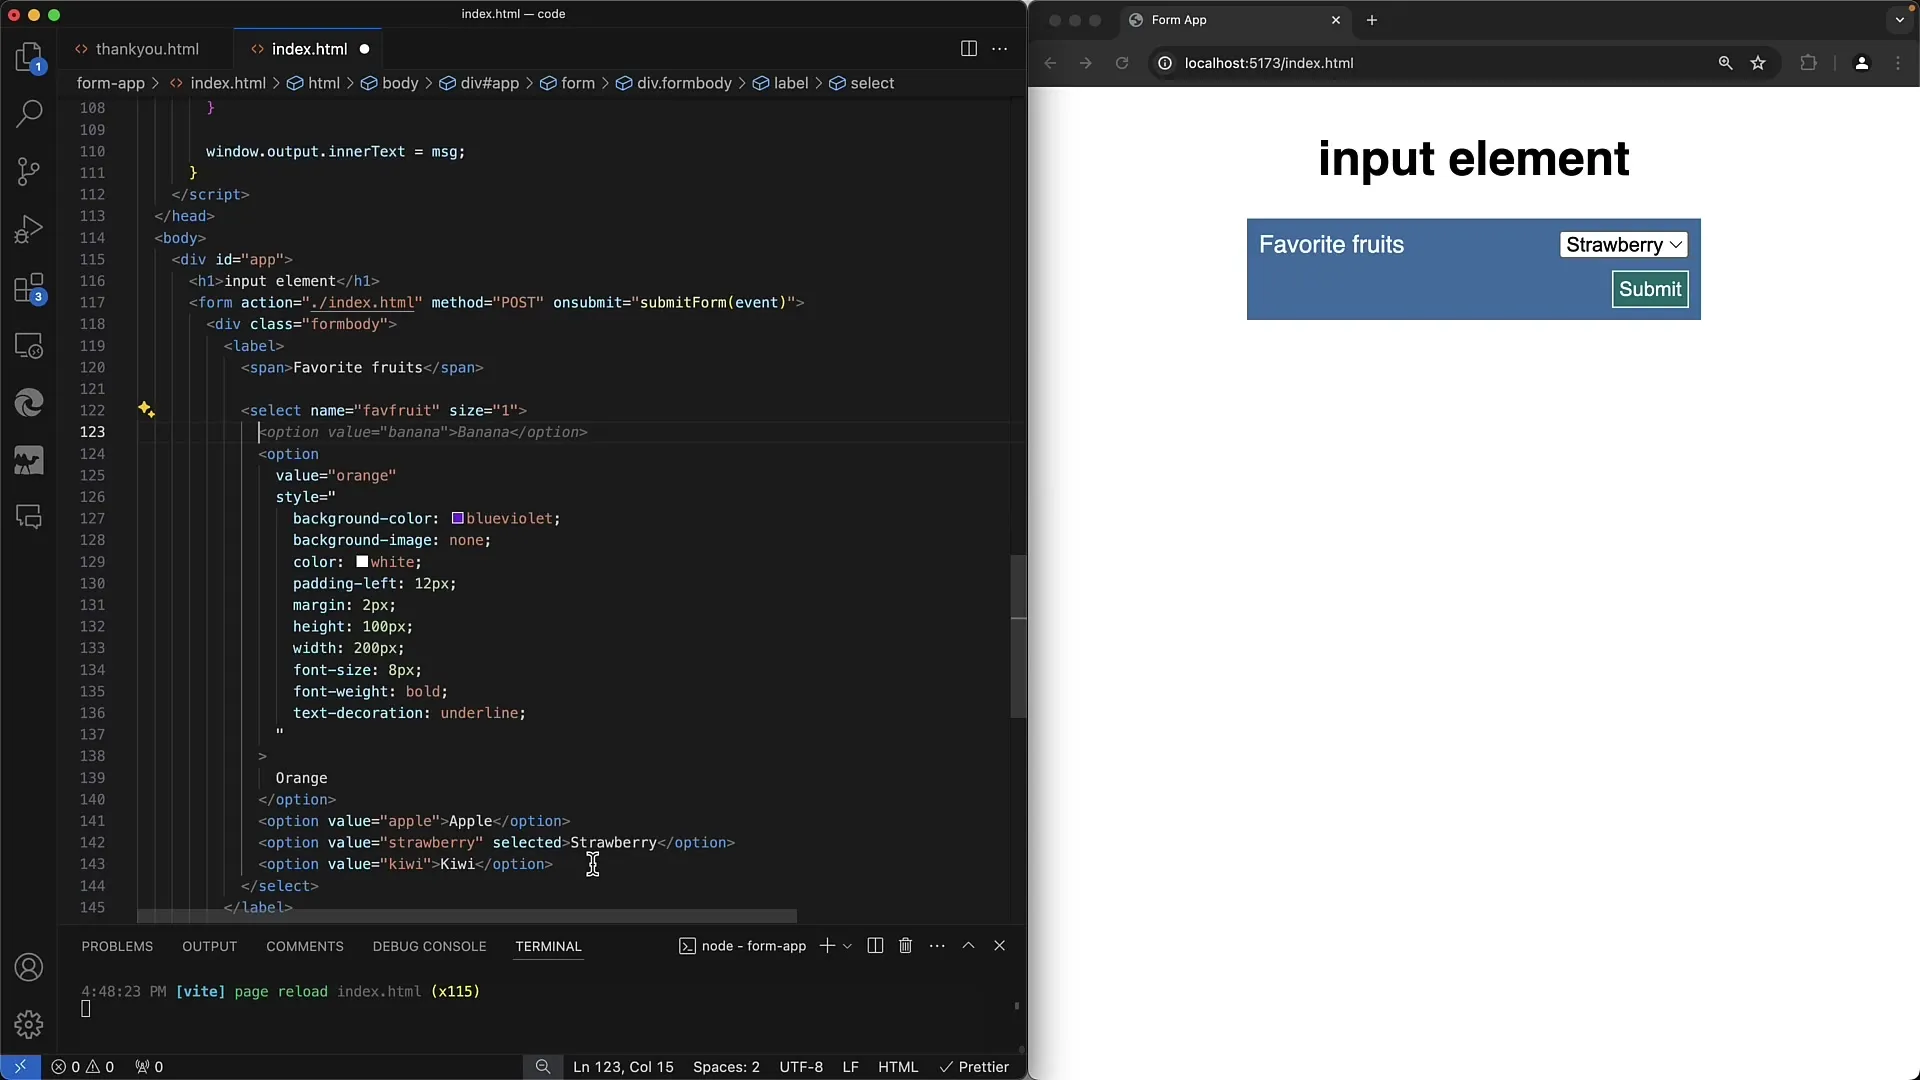
If you want to pre-select a specific value when loading the form, you can use the selected attribute. This way, you can, for example, set Apple or Strawberry as default.
Now, let's focus on grouping the options. This is done with the <optgroup> element. For example, let's say we want to divide a list of fruits into two groups. I simply call them fruits 1 and fruits 2.<optgroup>. For example, let's say we want to divide a list of fruits into two groups. I simply call them fruits 1 and fruits 2.
Within this group, we can add the corresponding <option> elements such as Apple, Orange, and Strawberry. You can also create a second group that also contains specific fruit options.
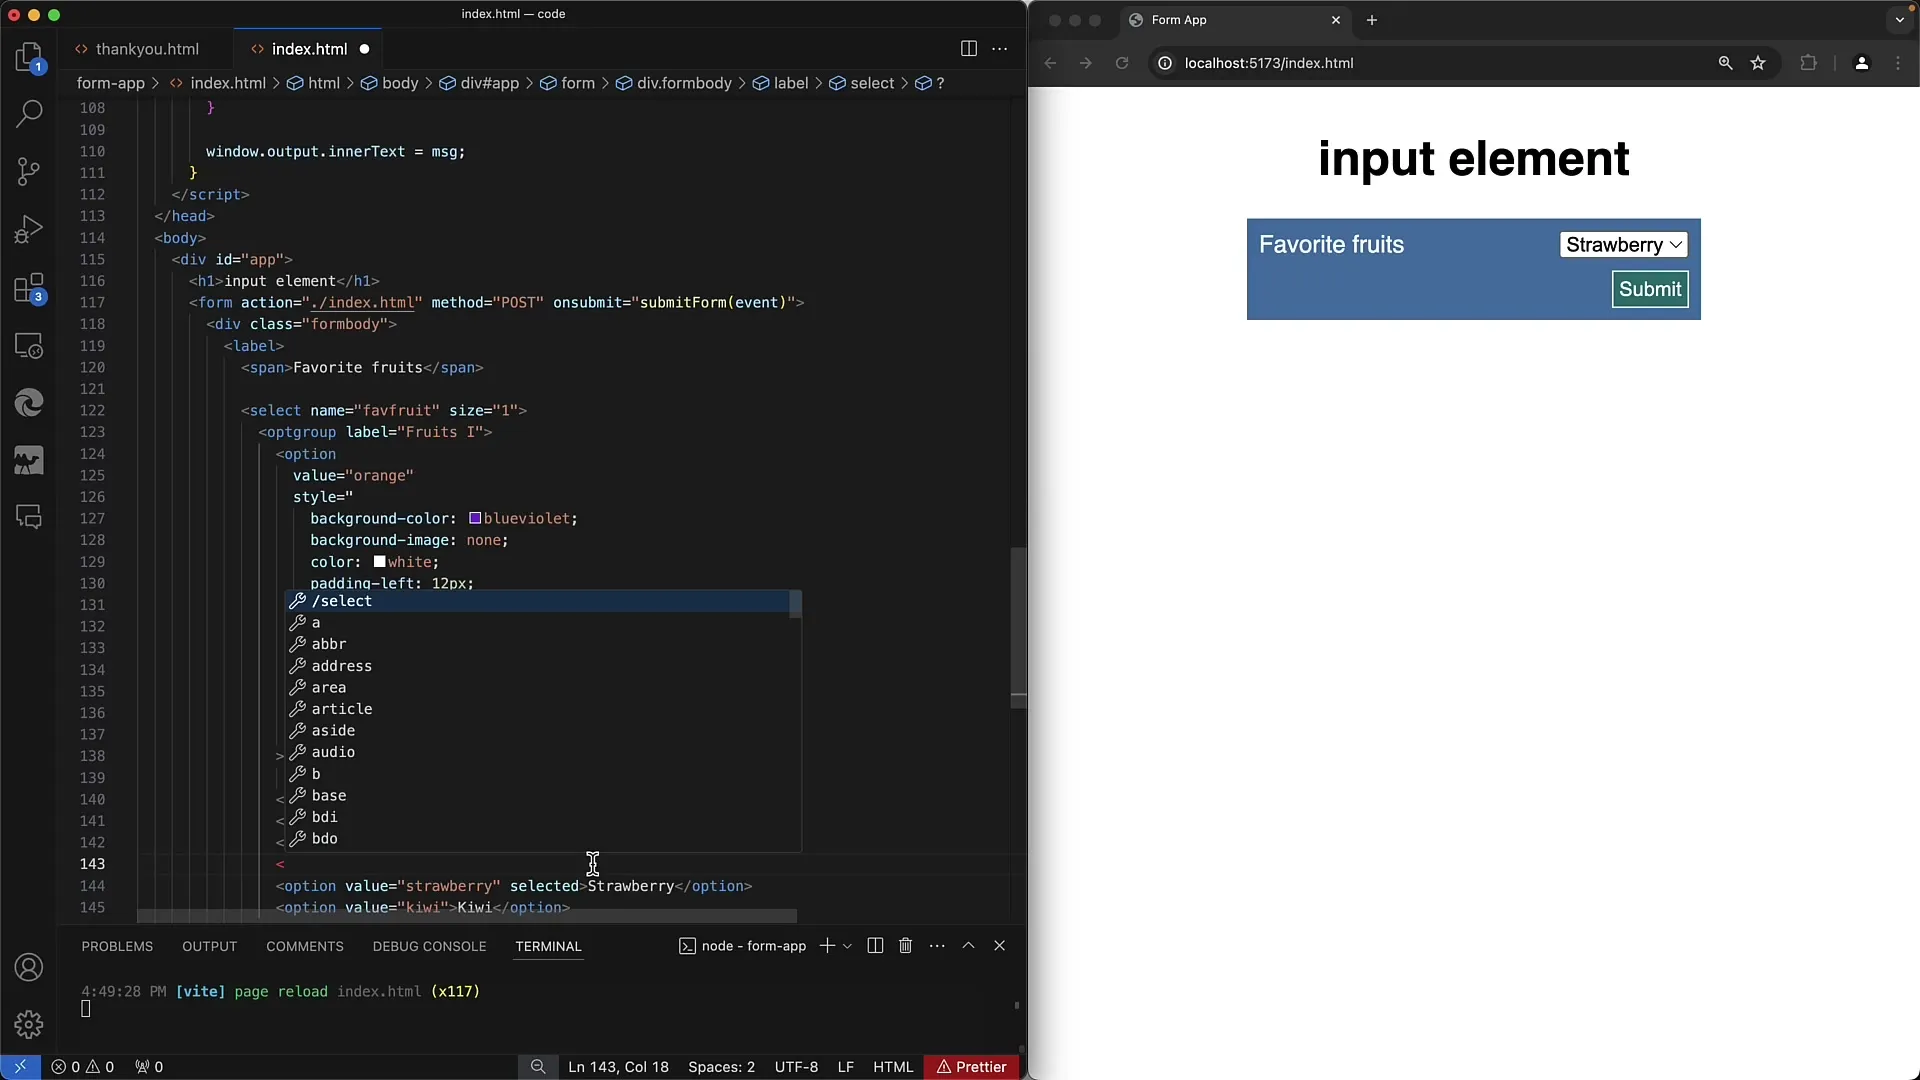
When creating the fruits 2 group, everything should be well-structured and clear. A common mistake is trying to close a <group> tag without properly setting it up. Make sure all tags are correctly opened and closed.
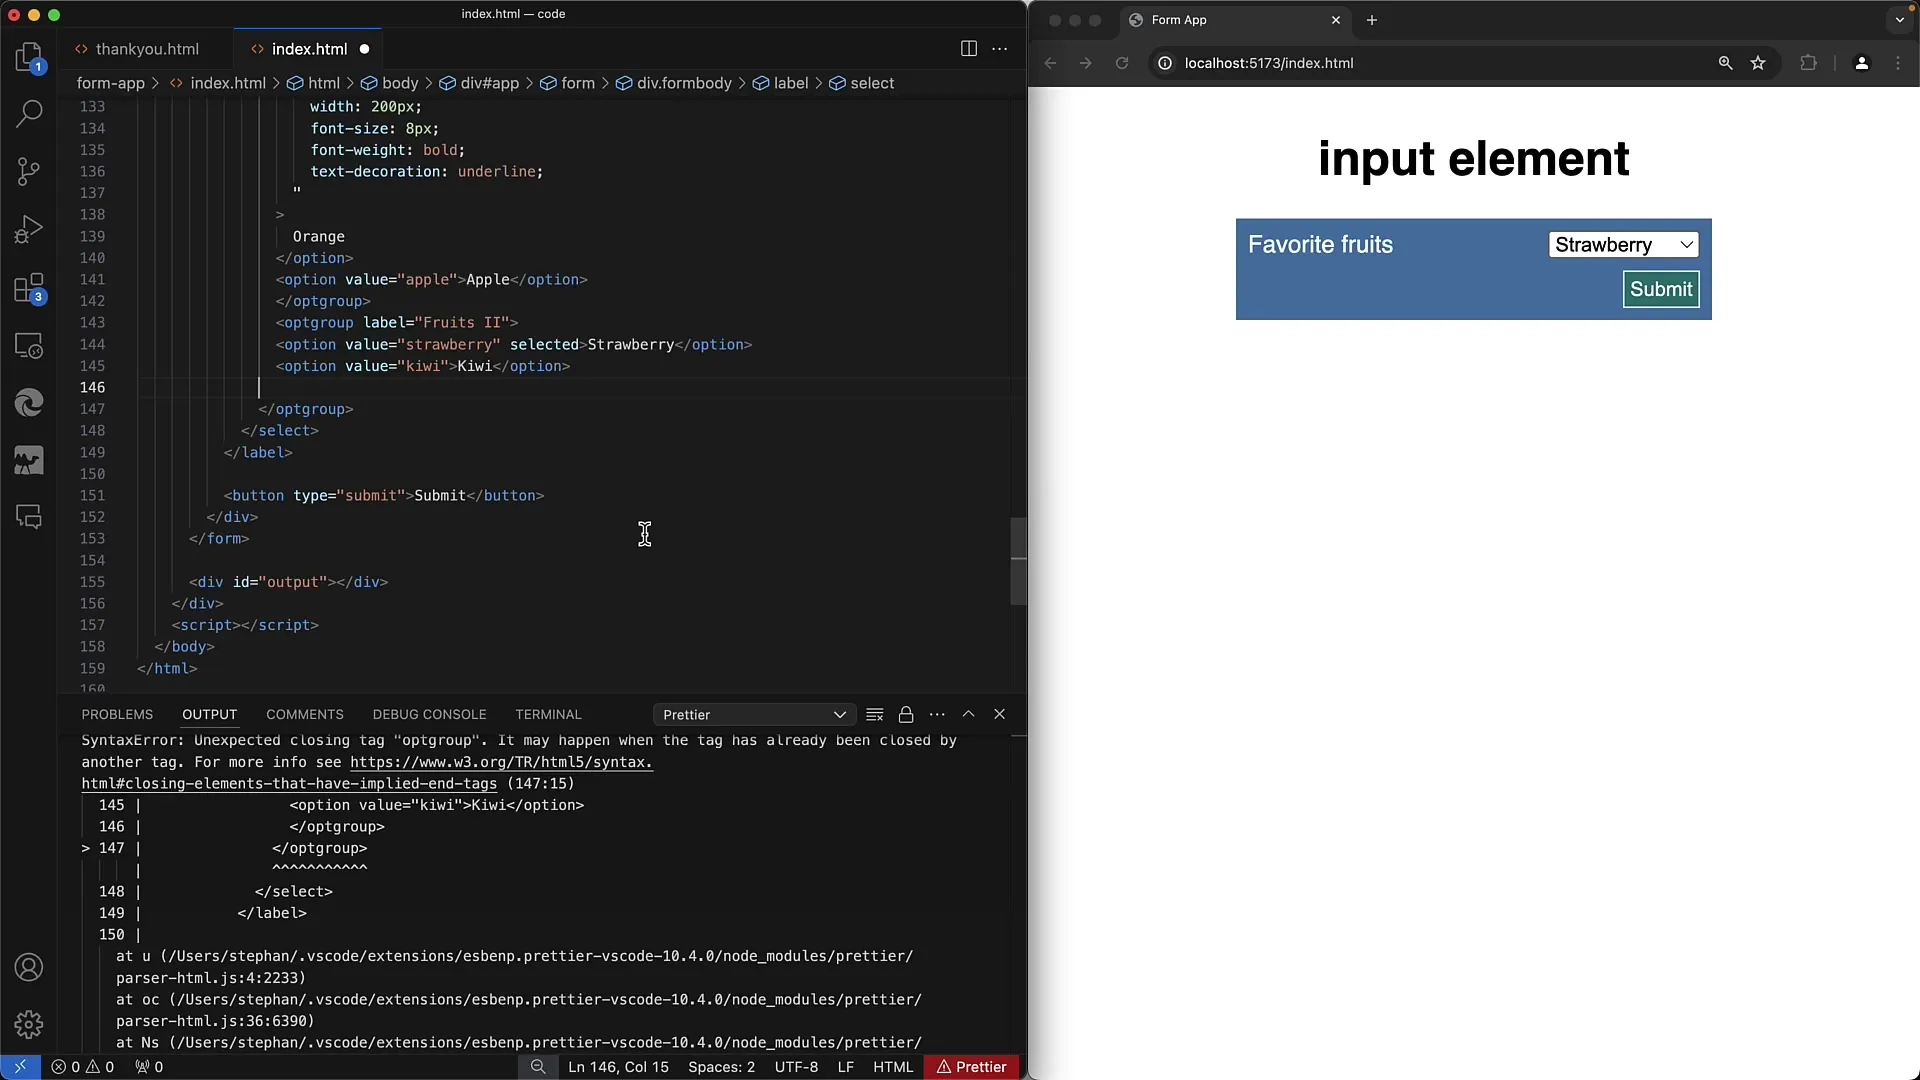
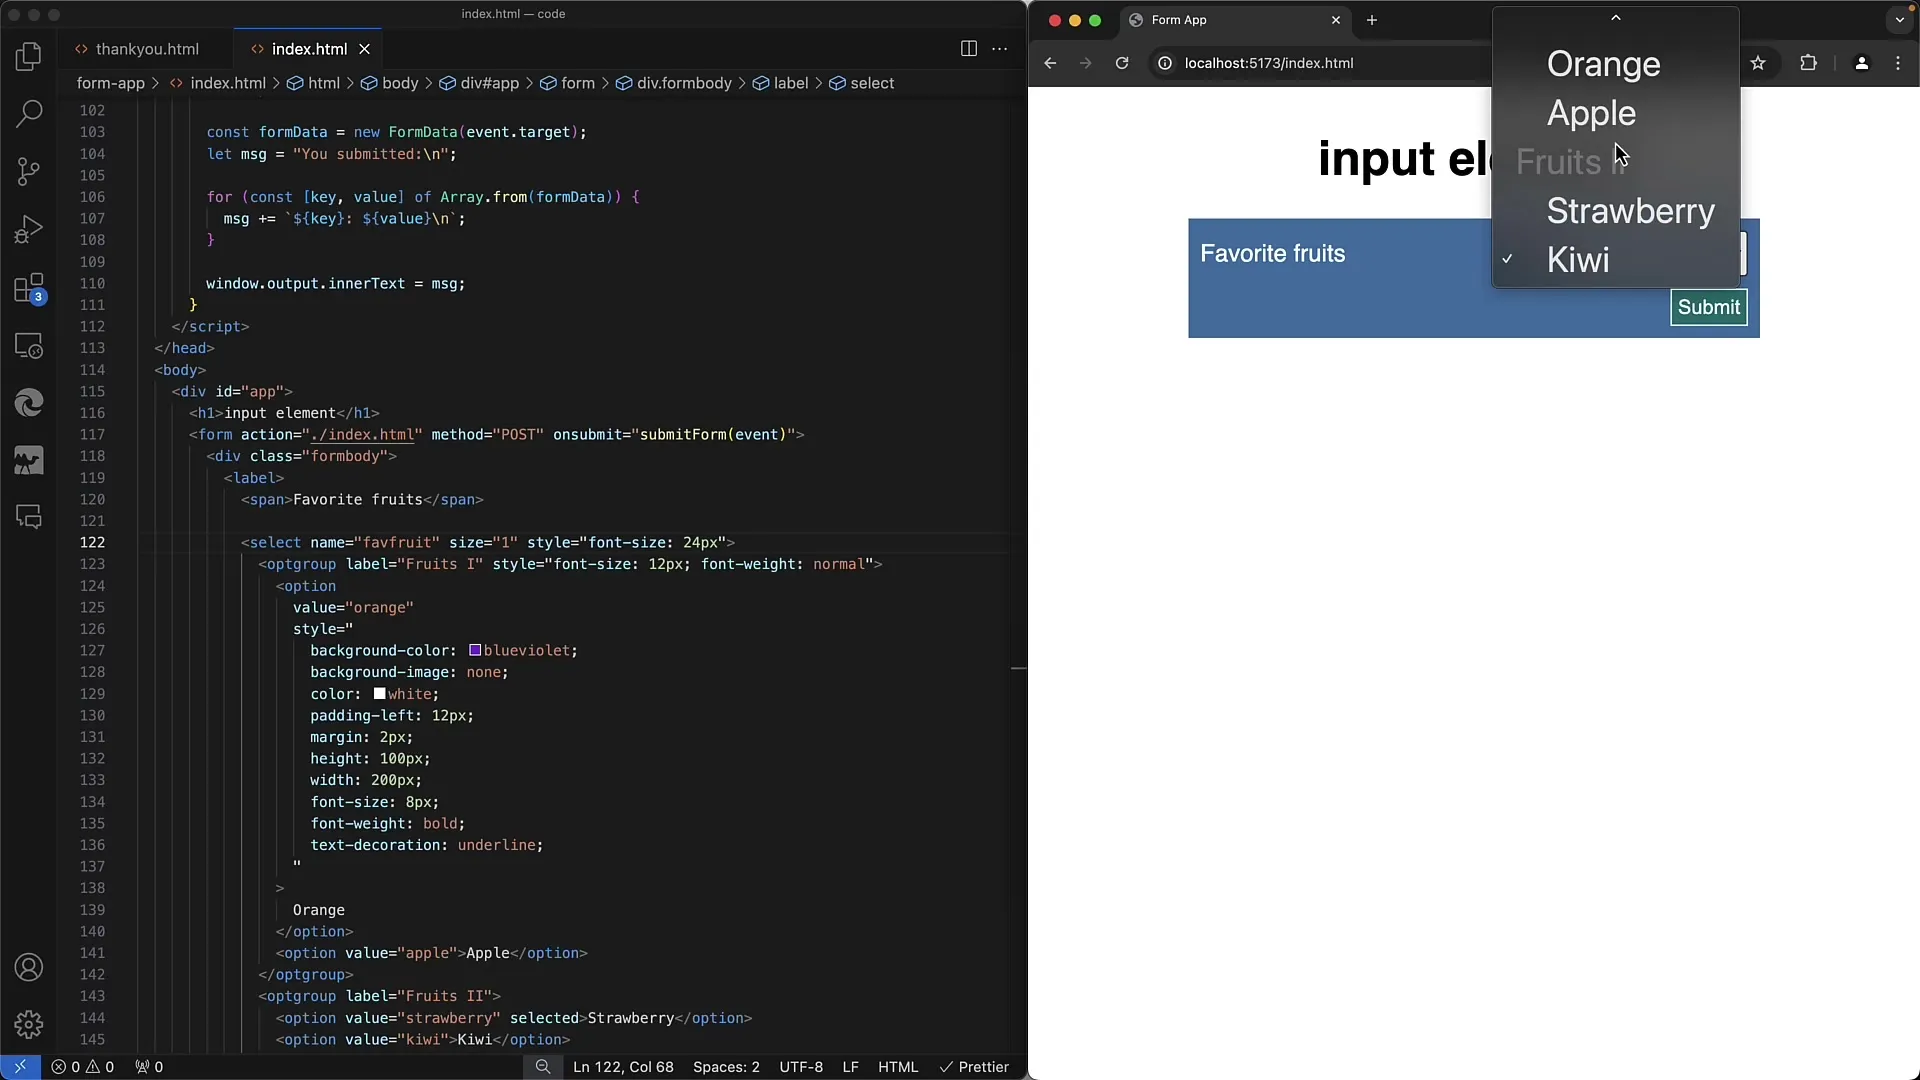
Here's how the groupings are displayed in the user interface. Options within the groups are typically highlighted in gray. This provides users with visual cues that they belong to a specific category.
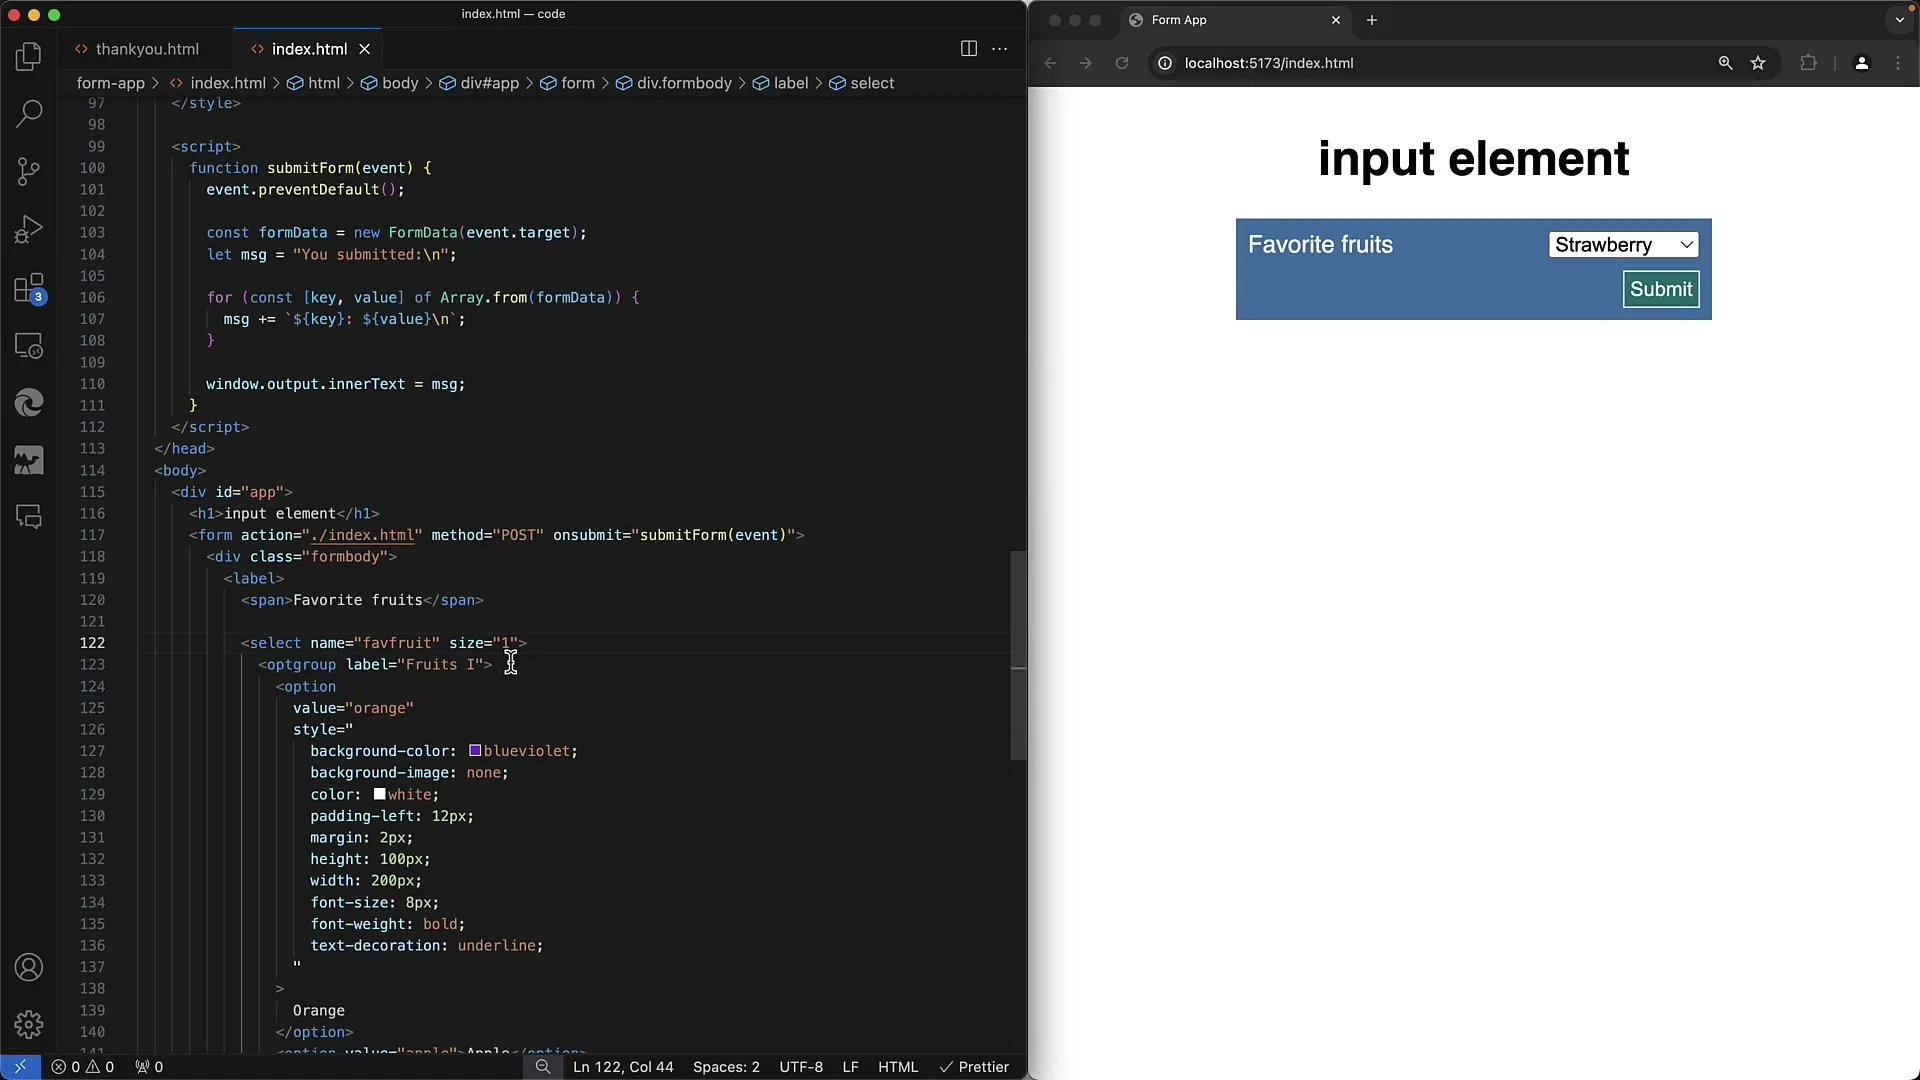
Now you can further customize the layout of your groups. For example, you can change the font size or weight of the text options.
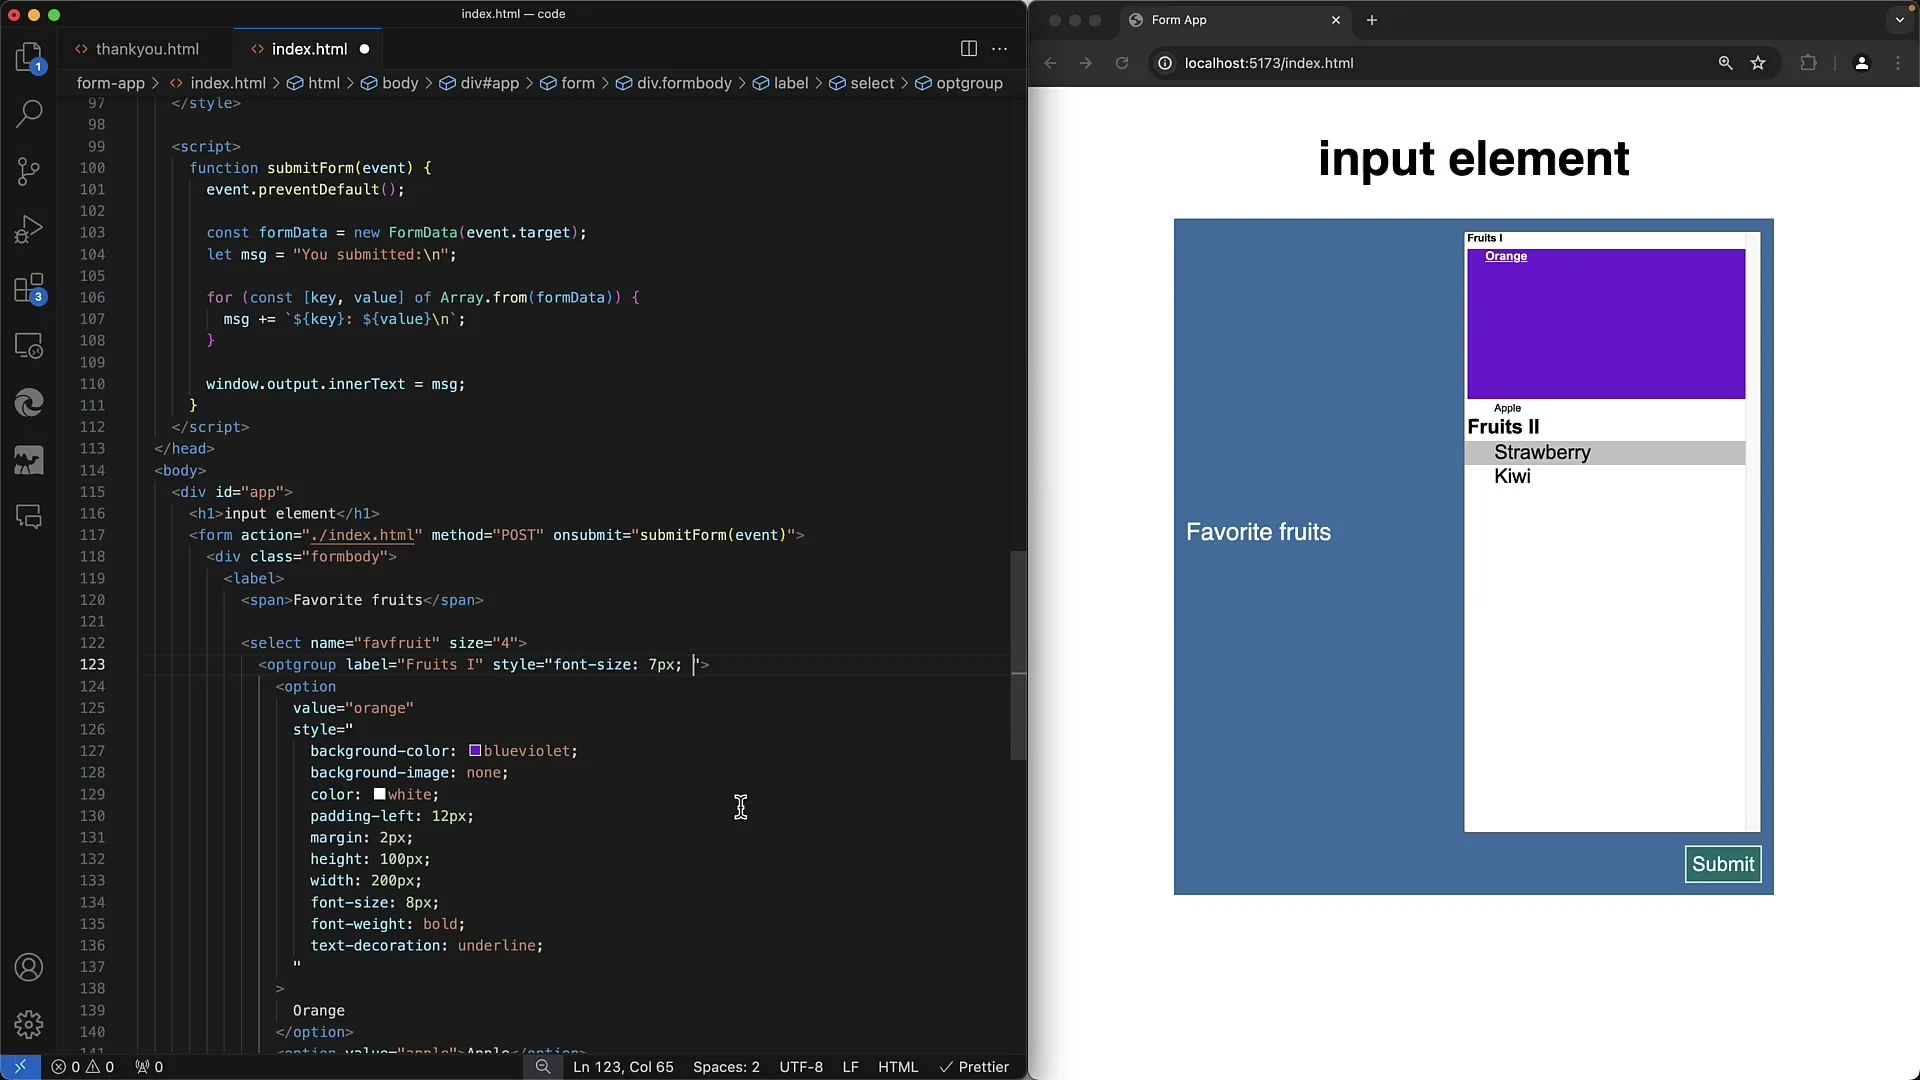
To optimize the appearance, you can apply CSS styles. For instance, setting the font-size to 24px will alter the layout accordingly, highlighting the presentation in terms of color and size.
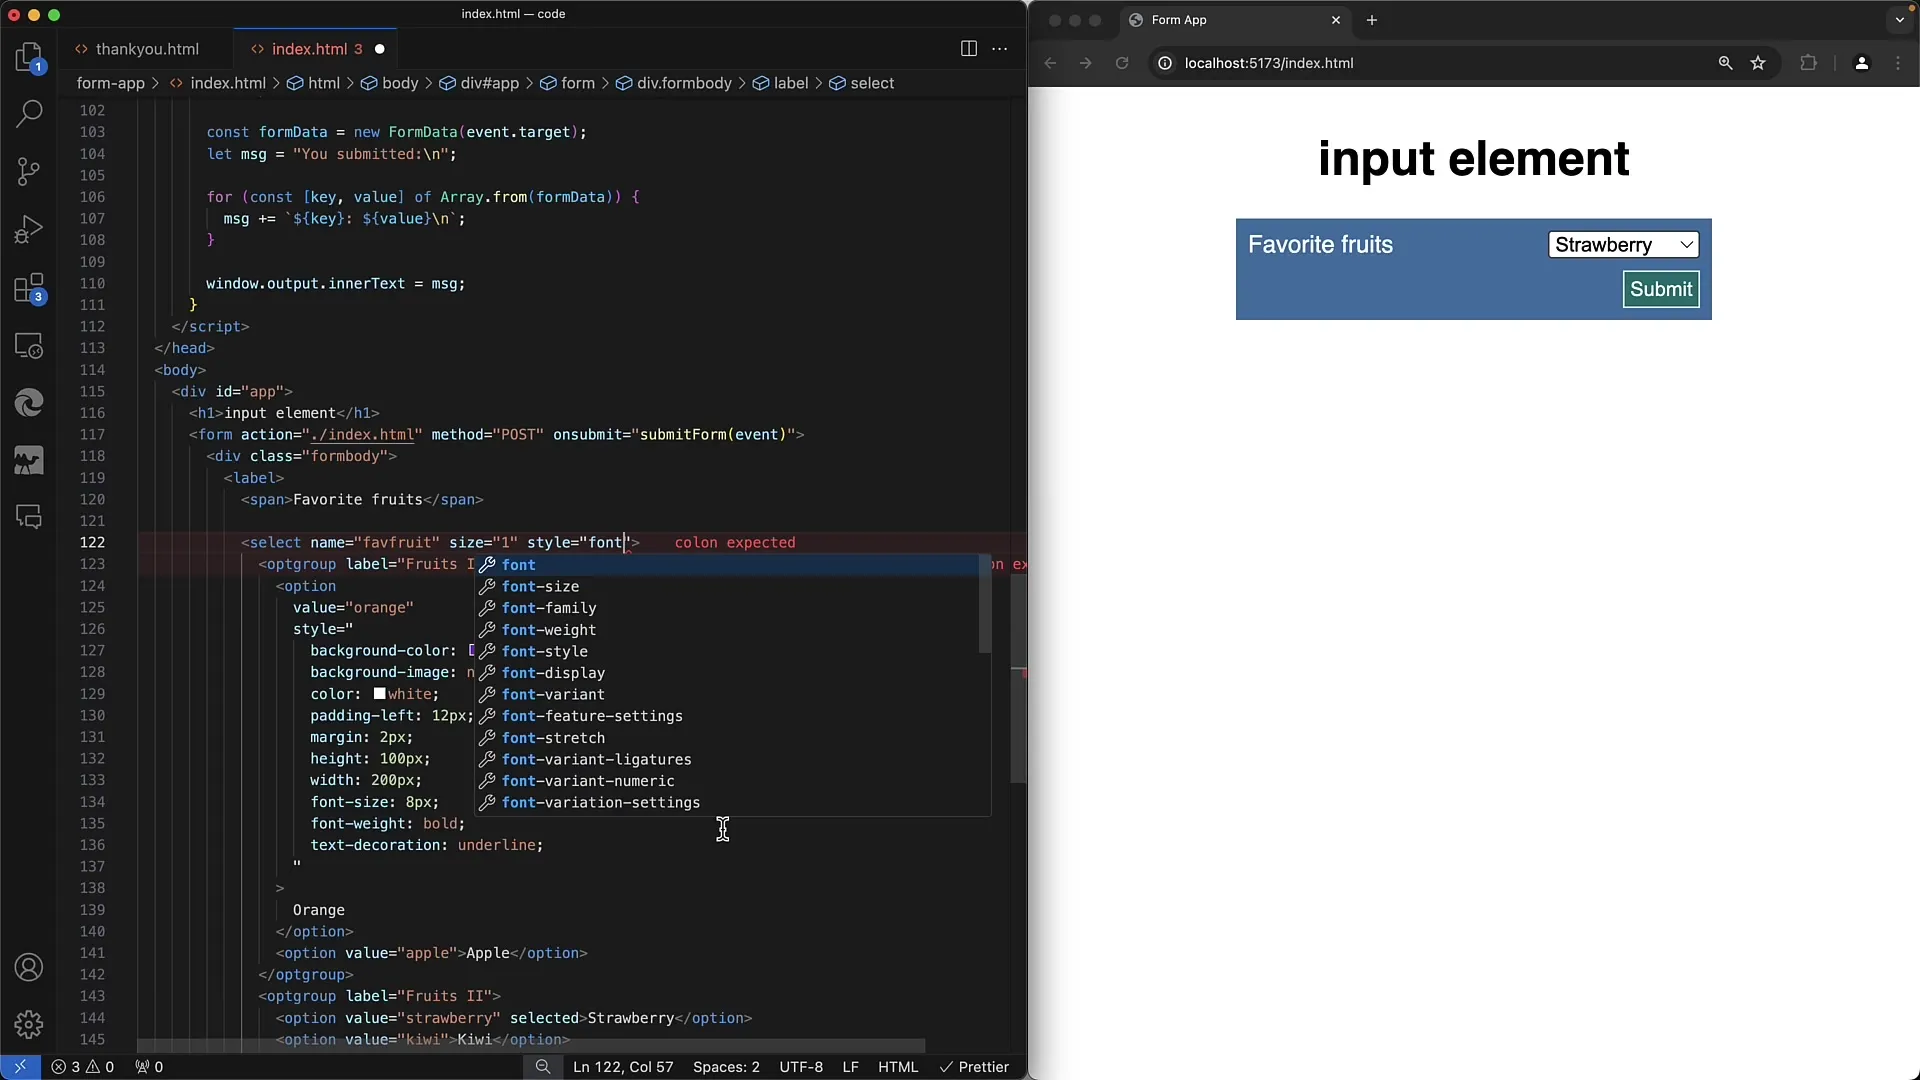
It's important to note that you cannot adjust individual option values between groups. If you change the font size in one group, it will affect other options within the same group.
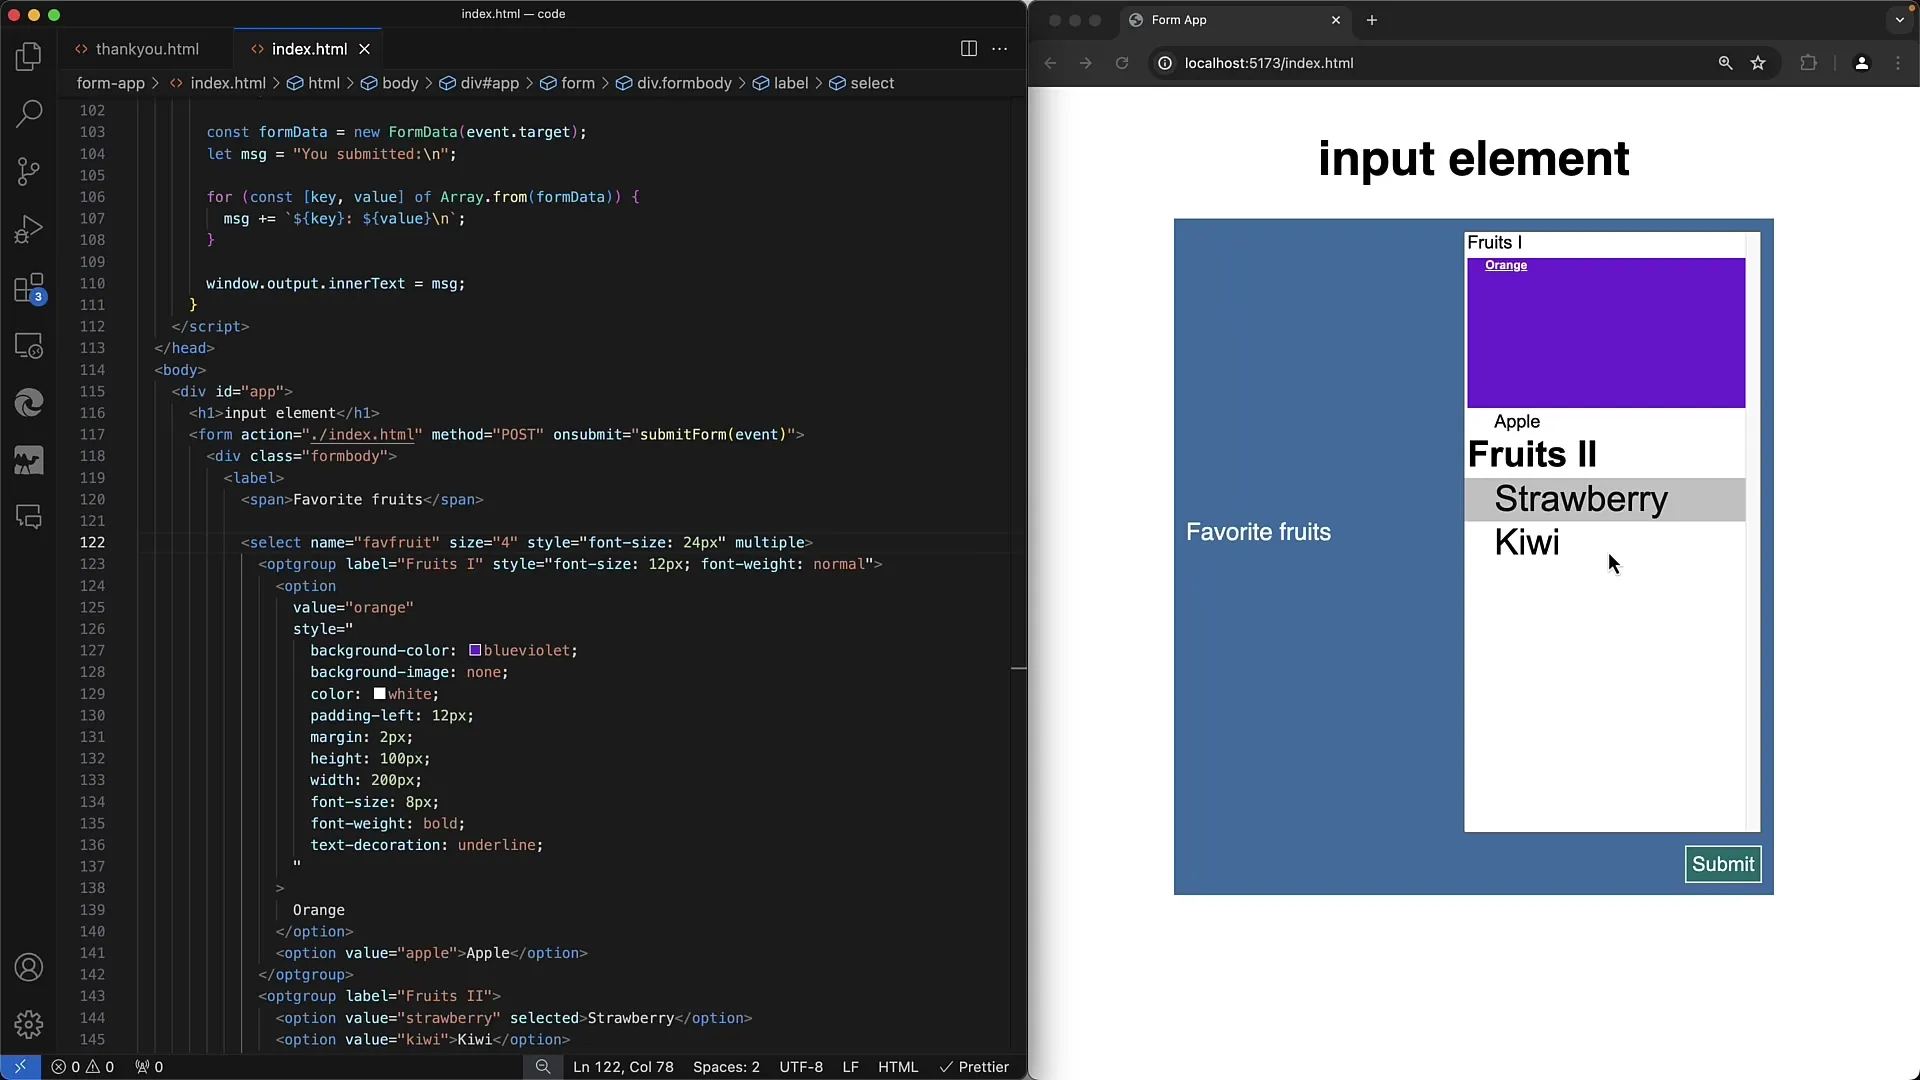
A very useful feature is the possibility of multiple selection. When you add the attribute "multiple," users can select multiple options from different groups by holding down the mouse button.
So, now that you know how to create groups of options in a dropdown list, you can make your web forms more user-friendly and intuitive.
Summary
In this tutorial, you have learned how to group options in a dropdown menu. Properly setting value attributes and using the


