In this tutorial, I will show you how to handle access to local files selected via an input field using JavaScript. It is possible to edit the selected files, display them locally, and even generate a preview without uploading them to a server. This knowledge is particularly useful if you want to create user-friendly forms with file upload functionalities. Let's dive into the details right away!
Key Takeaways
- You will learn how to access, display, and preview the files of an input element using JavaScript.
- You will also learn how to resize displayed images and implement this without a form.
Step-by-Step Guide
To implement the functionality, you first need to create an HTML input element and add some JavaScript. I will explain the individual steps below.
Step 1: HTML Setup
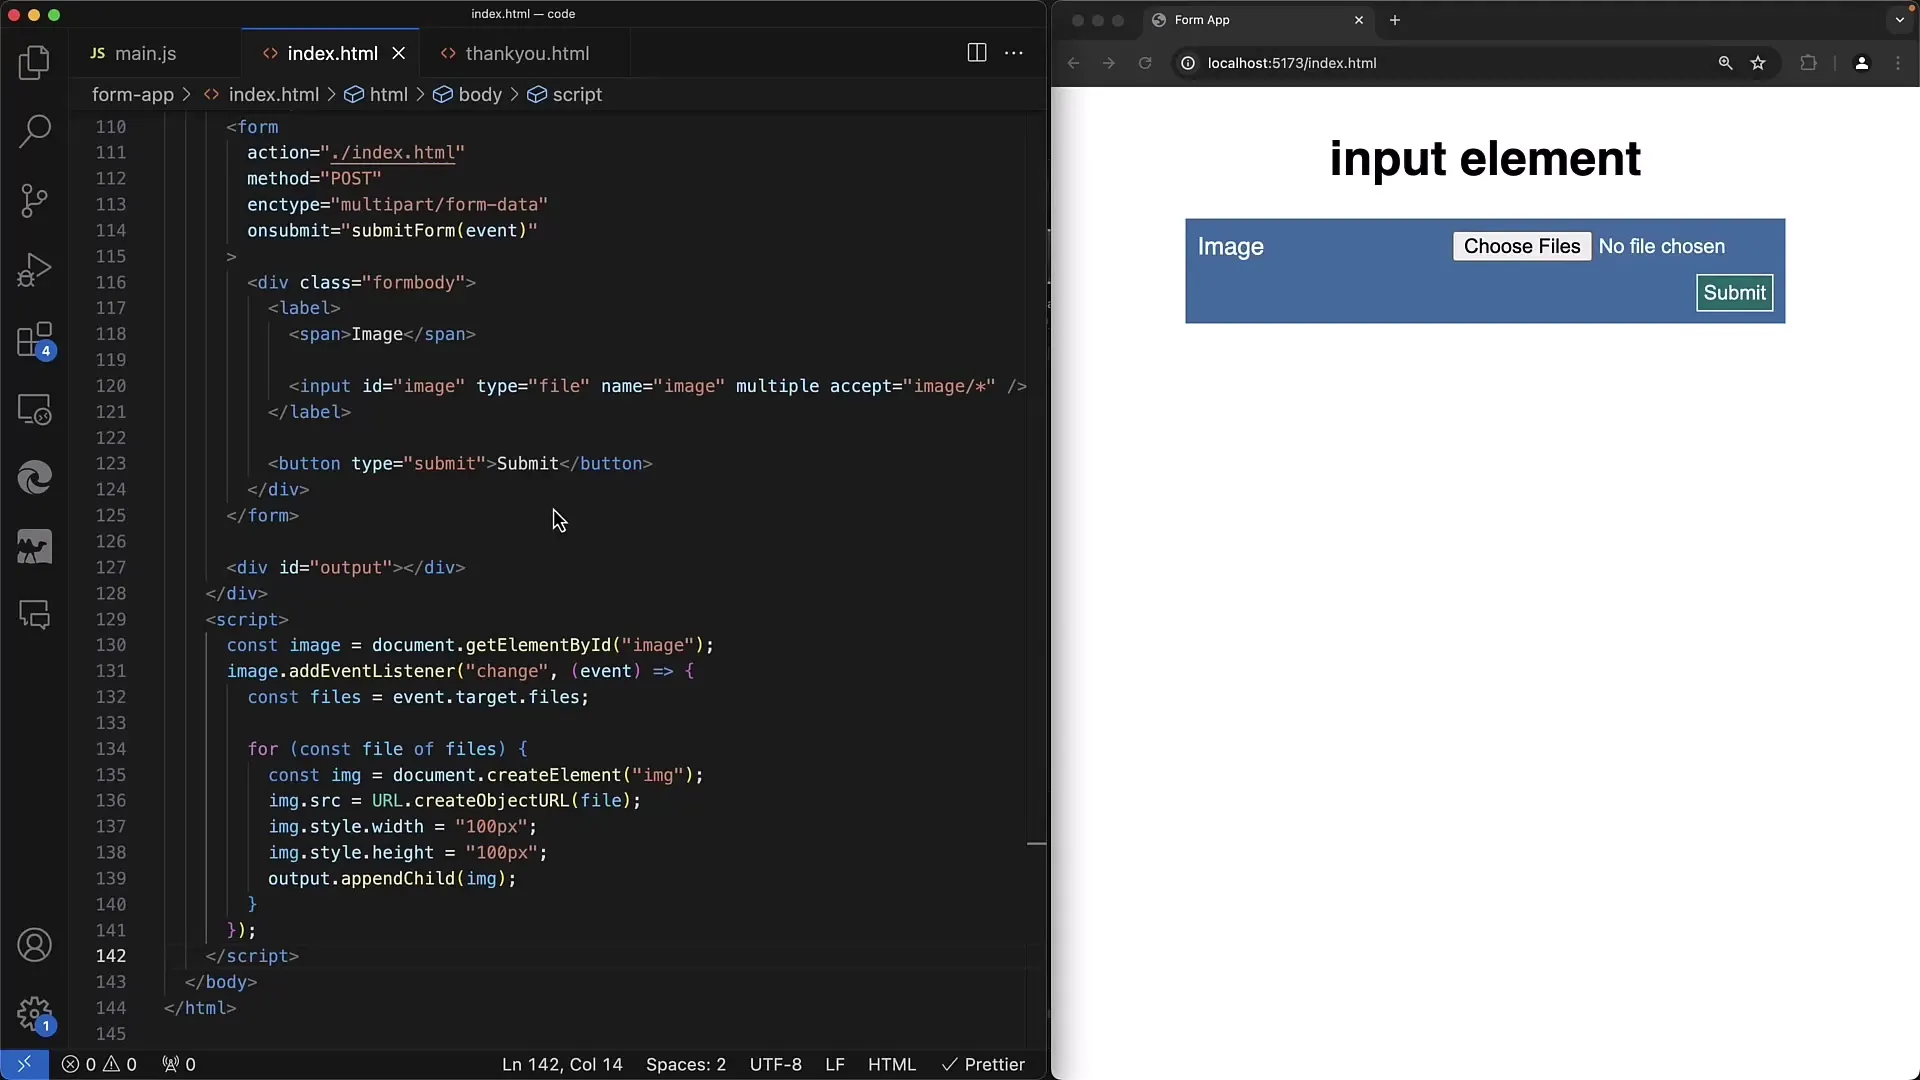
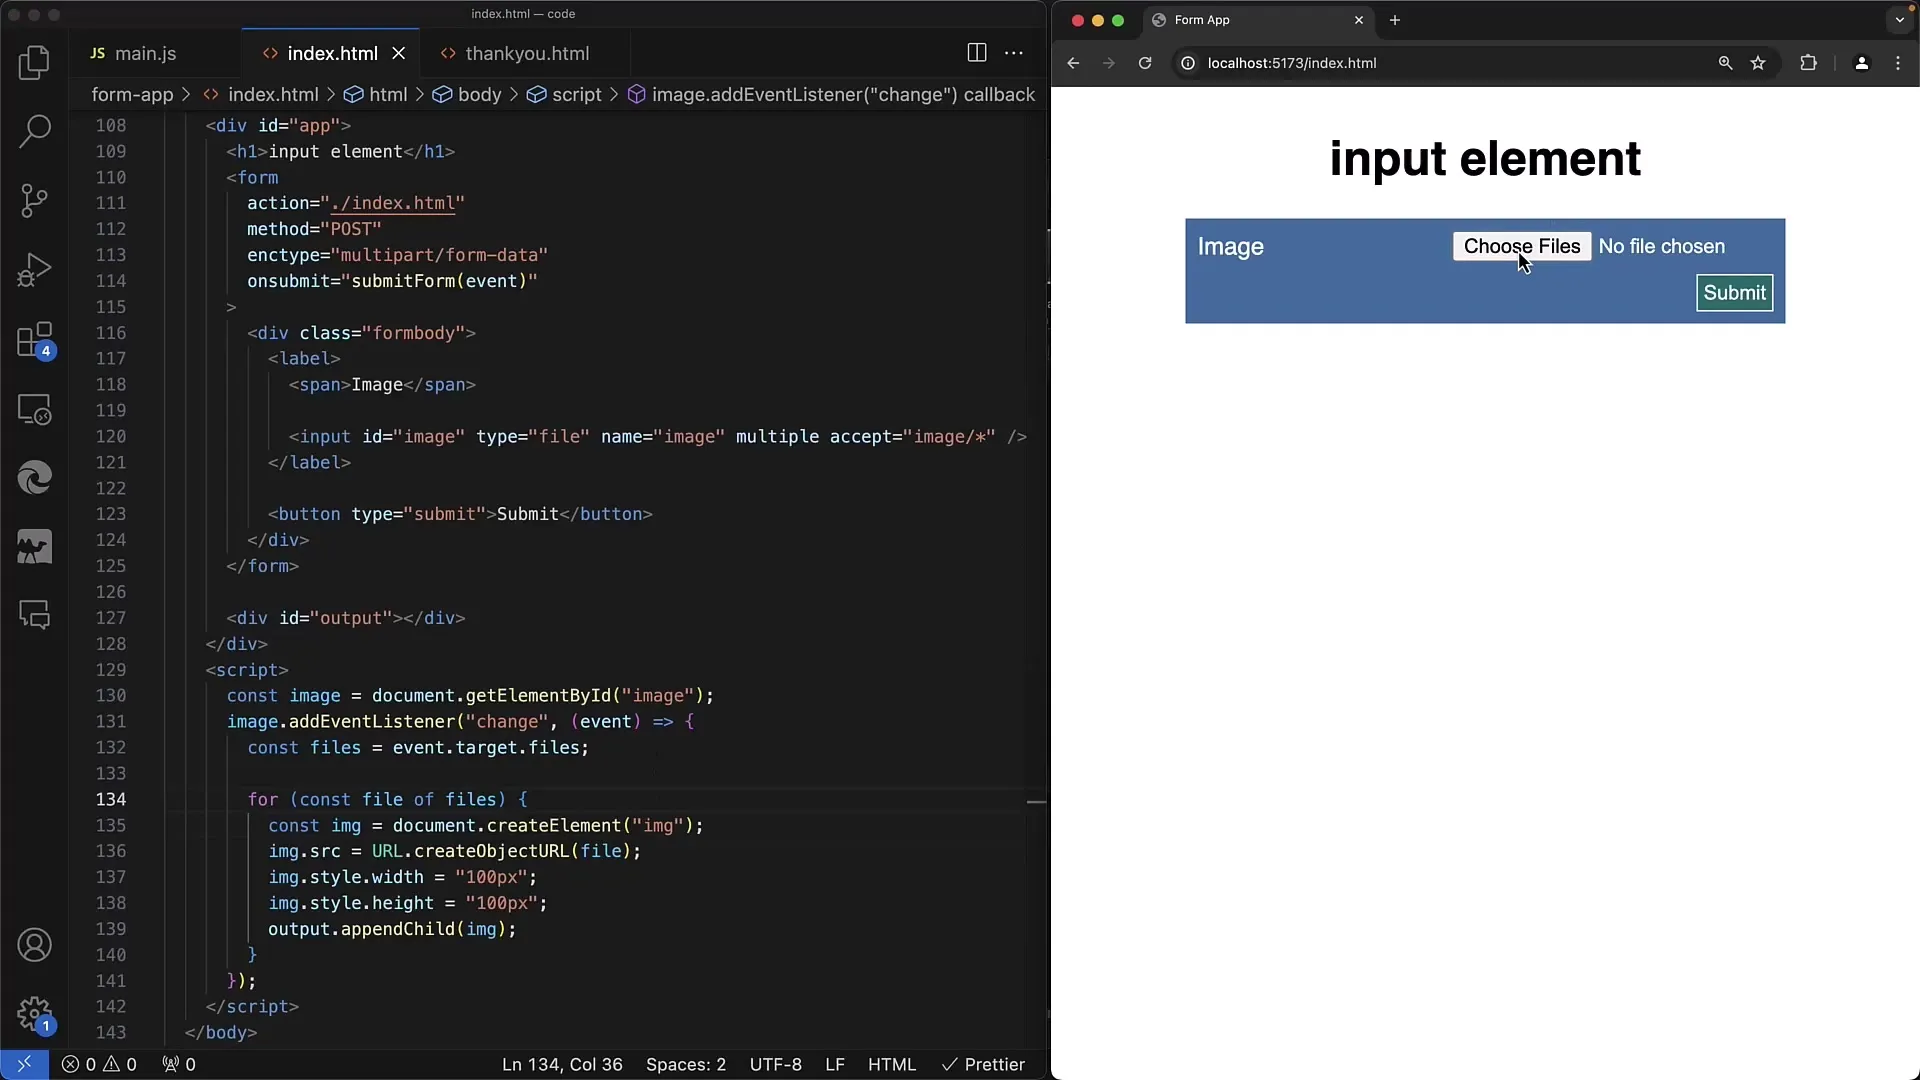
First, you need to create an HTML document that contains a File input element. Be sure to use the correct ID so you can access it later.
Step 2: Add JavaScript
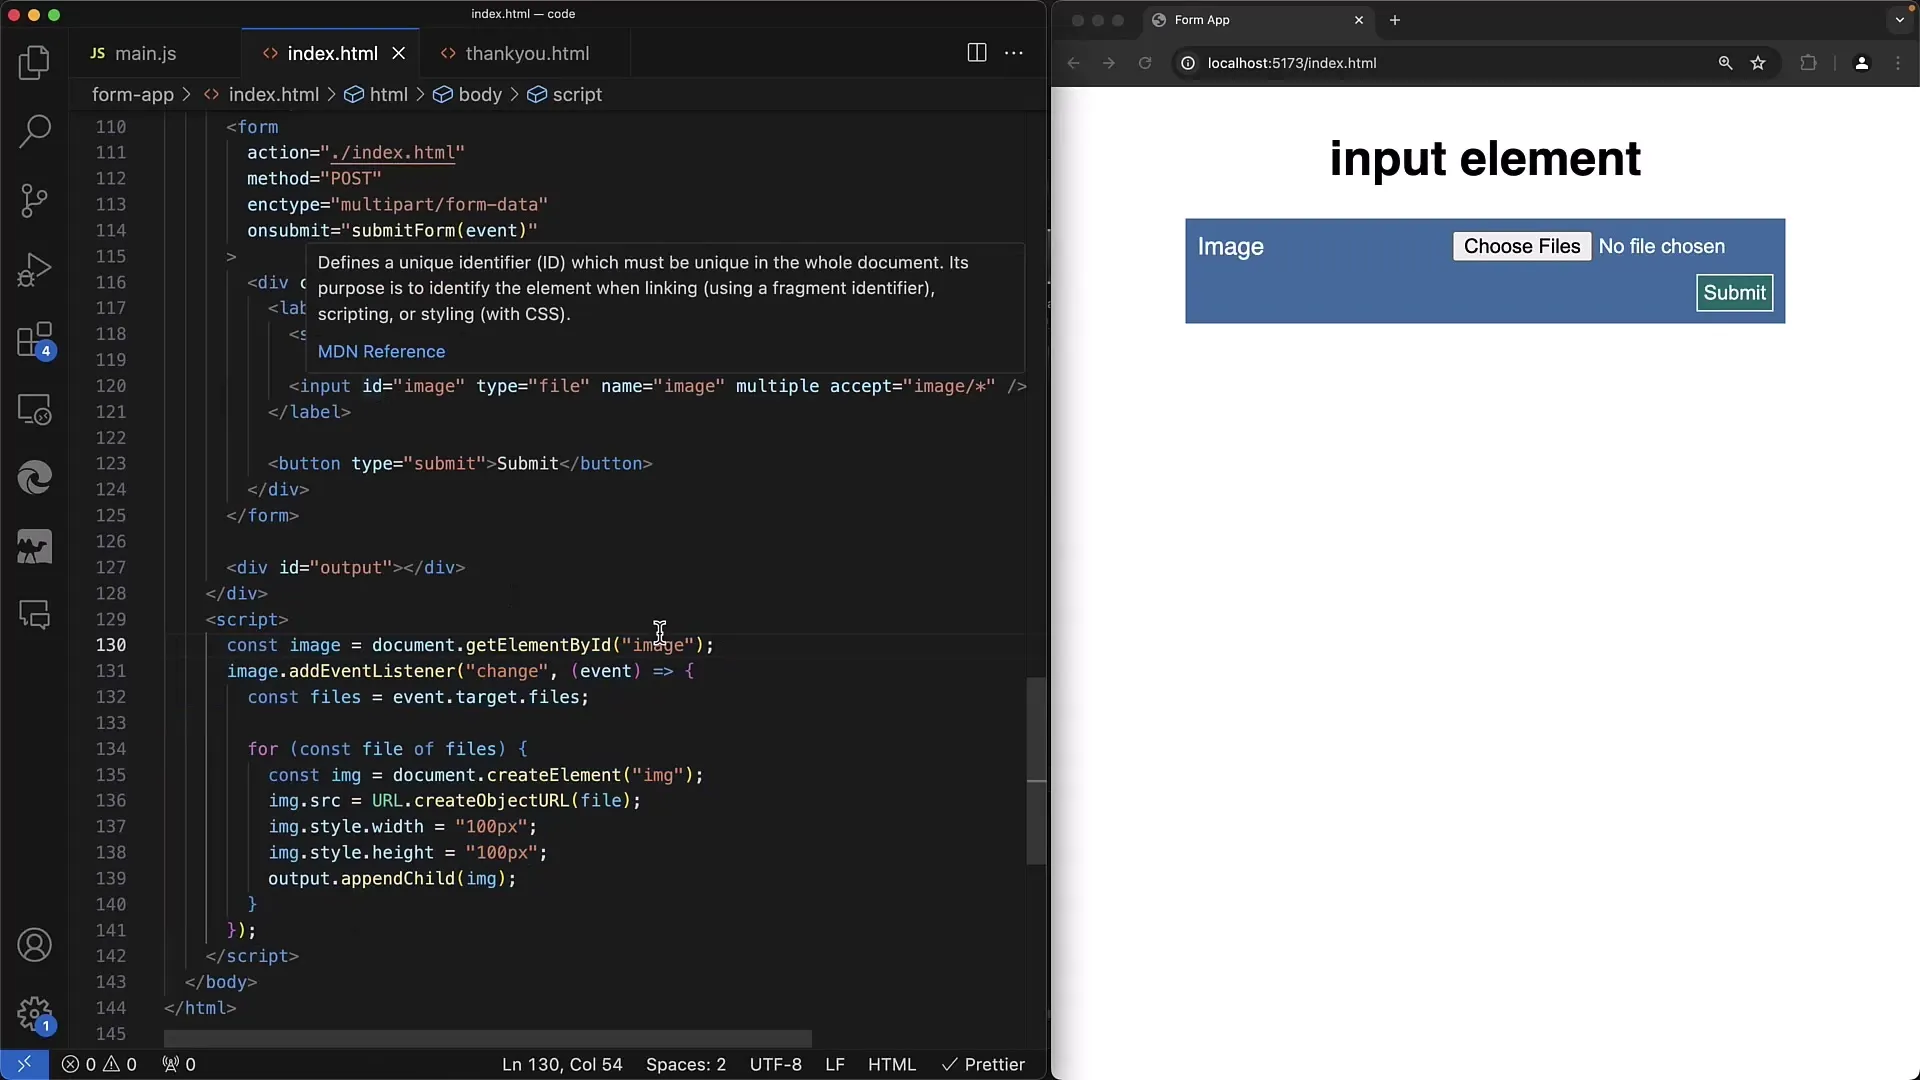
Include a JavaScript script at the end of your HTML document. This will allow you to access the input element and implement your logic. The first step in the script is to retrieve the input element using the getElementById method.
Step 3: Set Up Event Listener
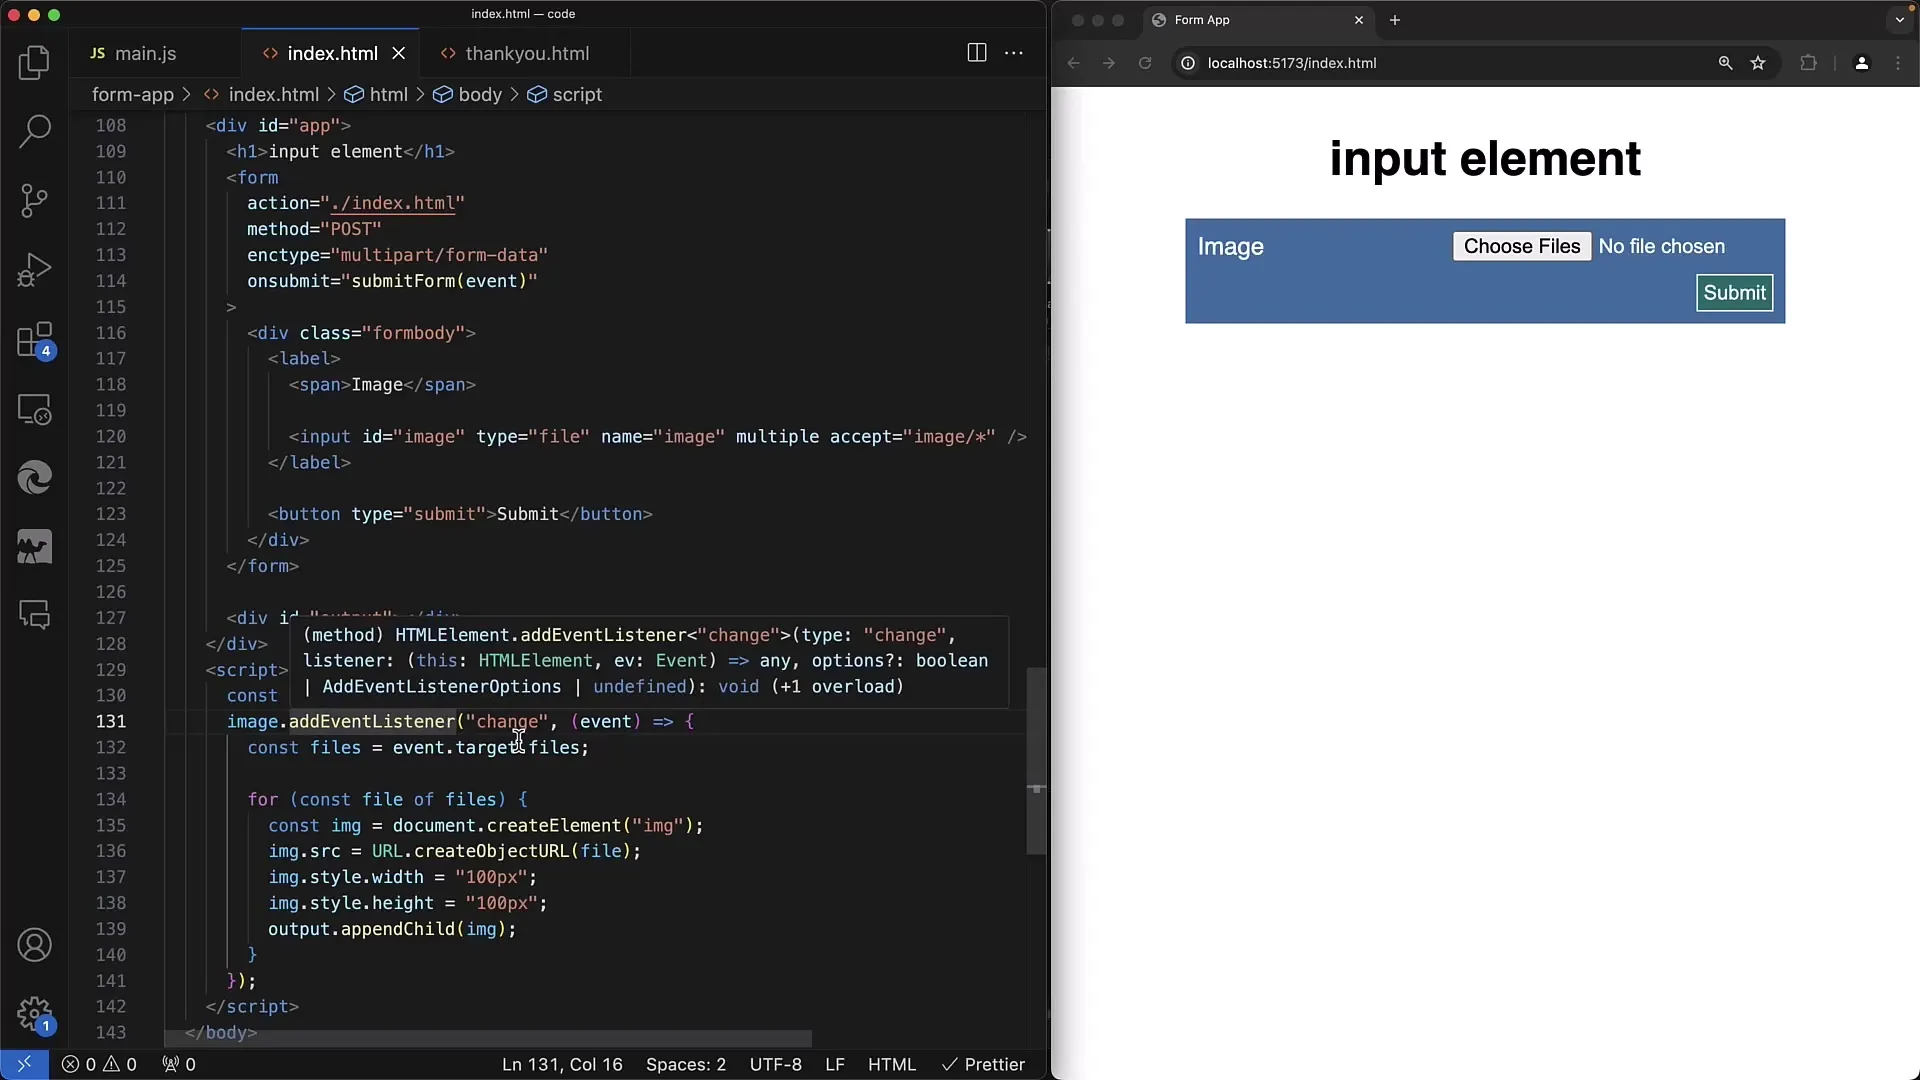
Now, set up an event listener for the change event. This event is triggered when a file is selected. Within the callback handler, you will handle the selected files.
Step 4: Access the File(s)
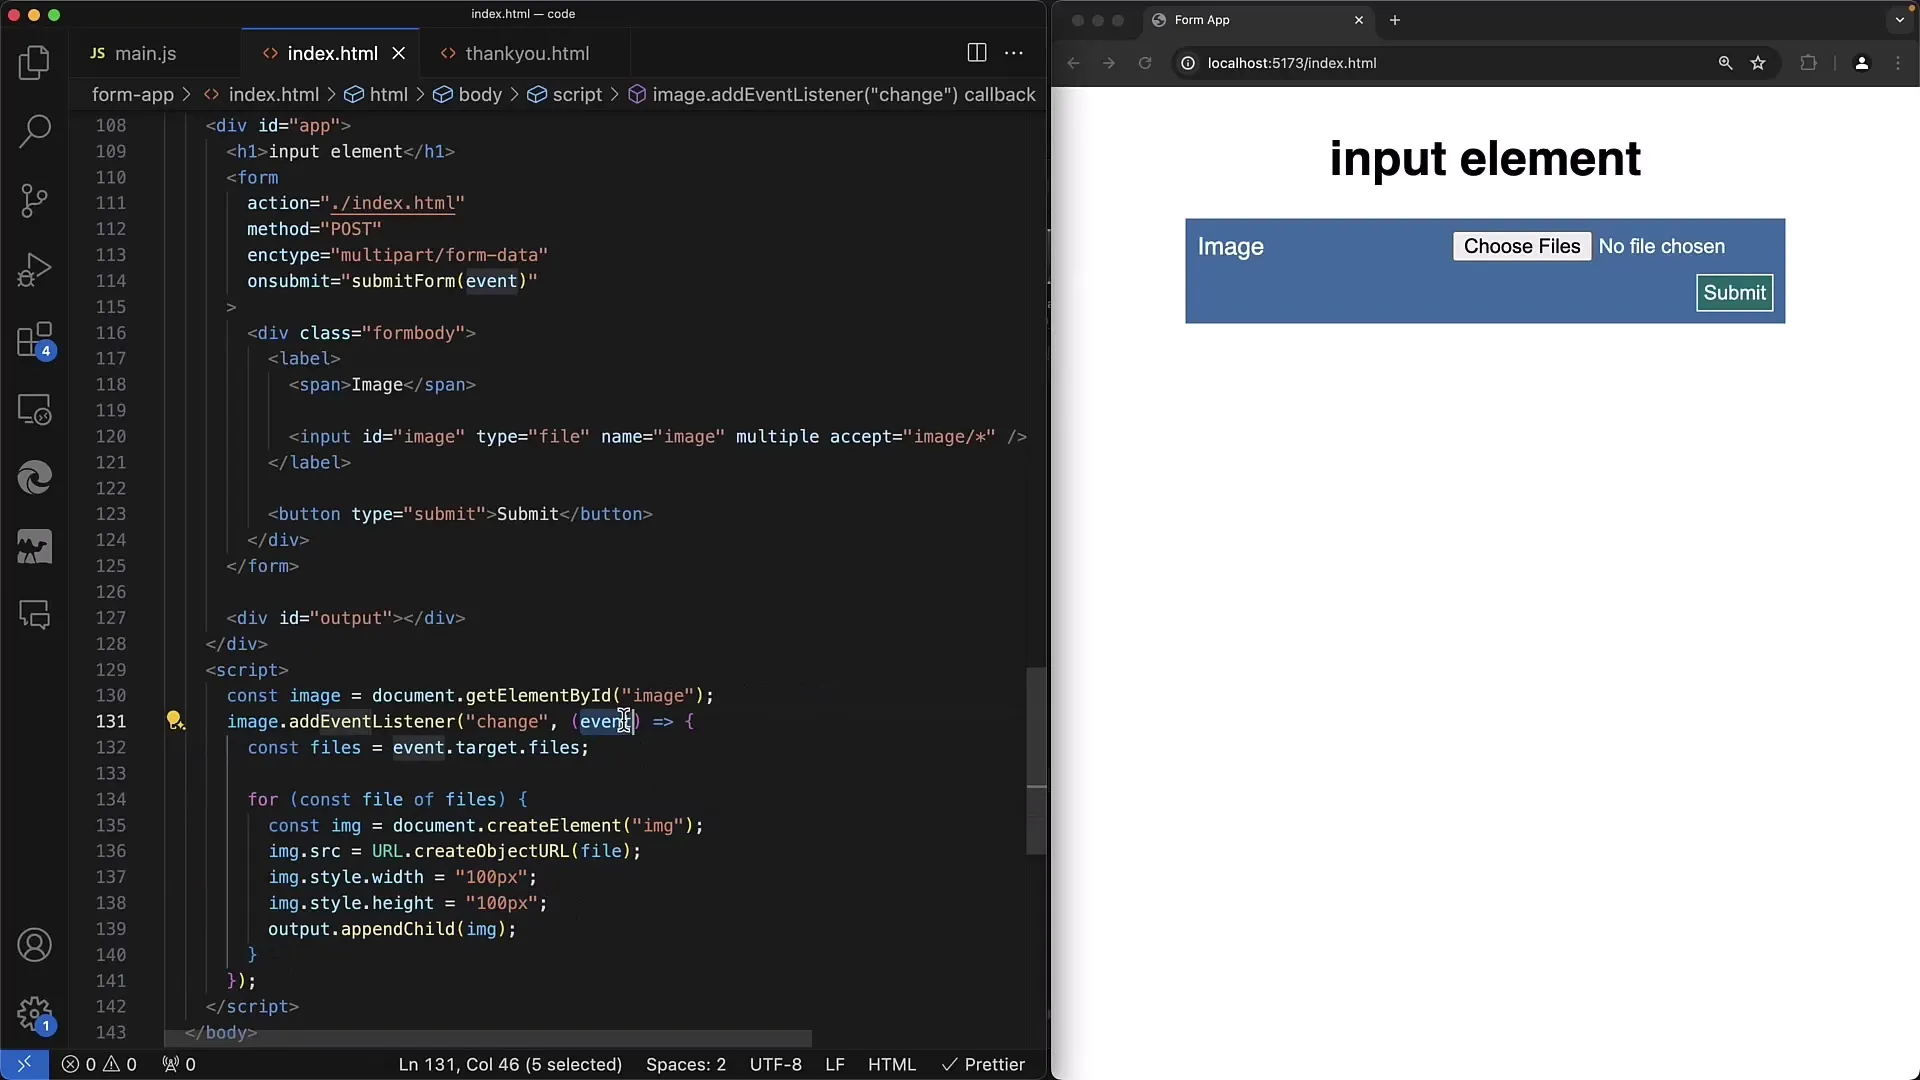
In the callback function, you will gain access to the selected files through the files property of the input element. This property returns an array-like object that contains all the selected files.
Step 5: Iterate and Display Files
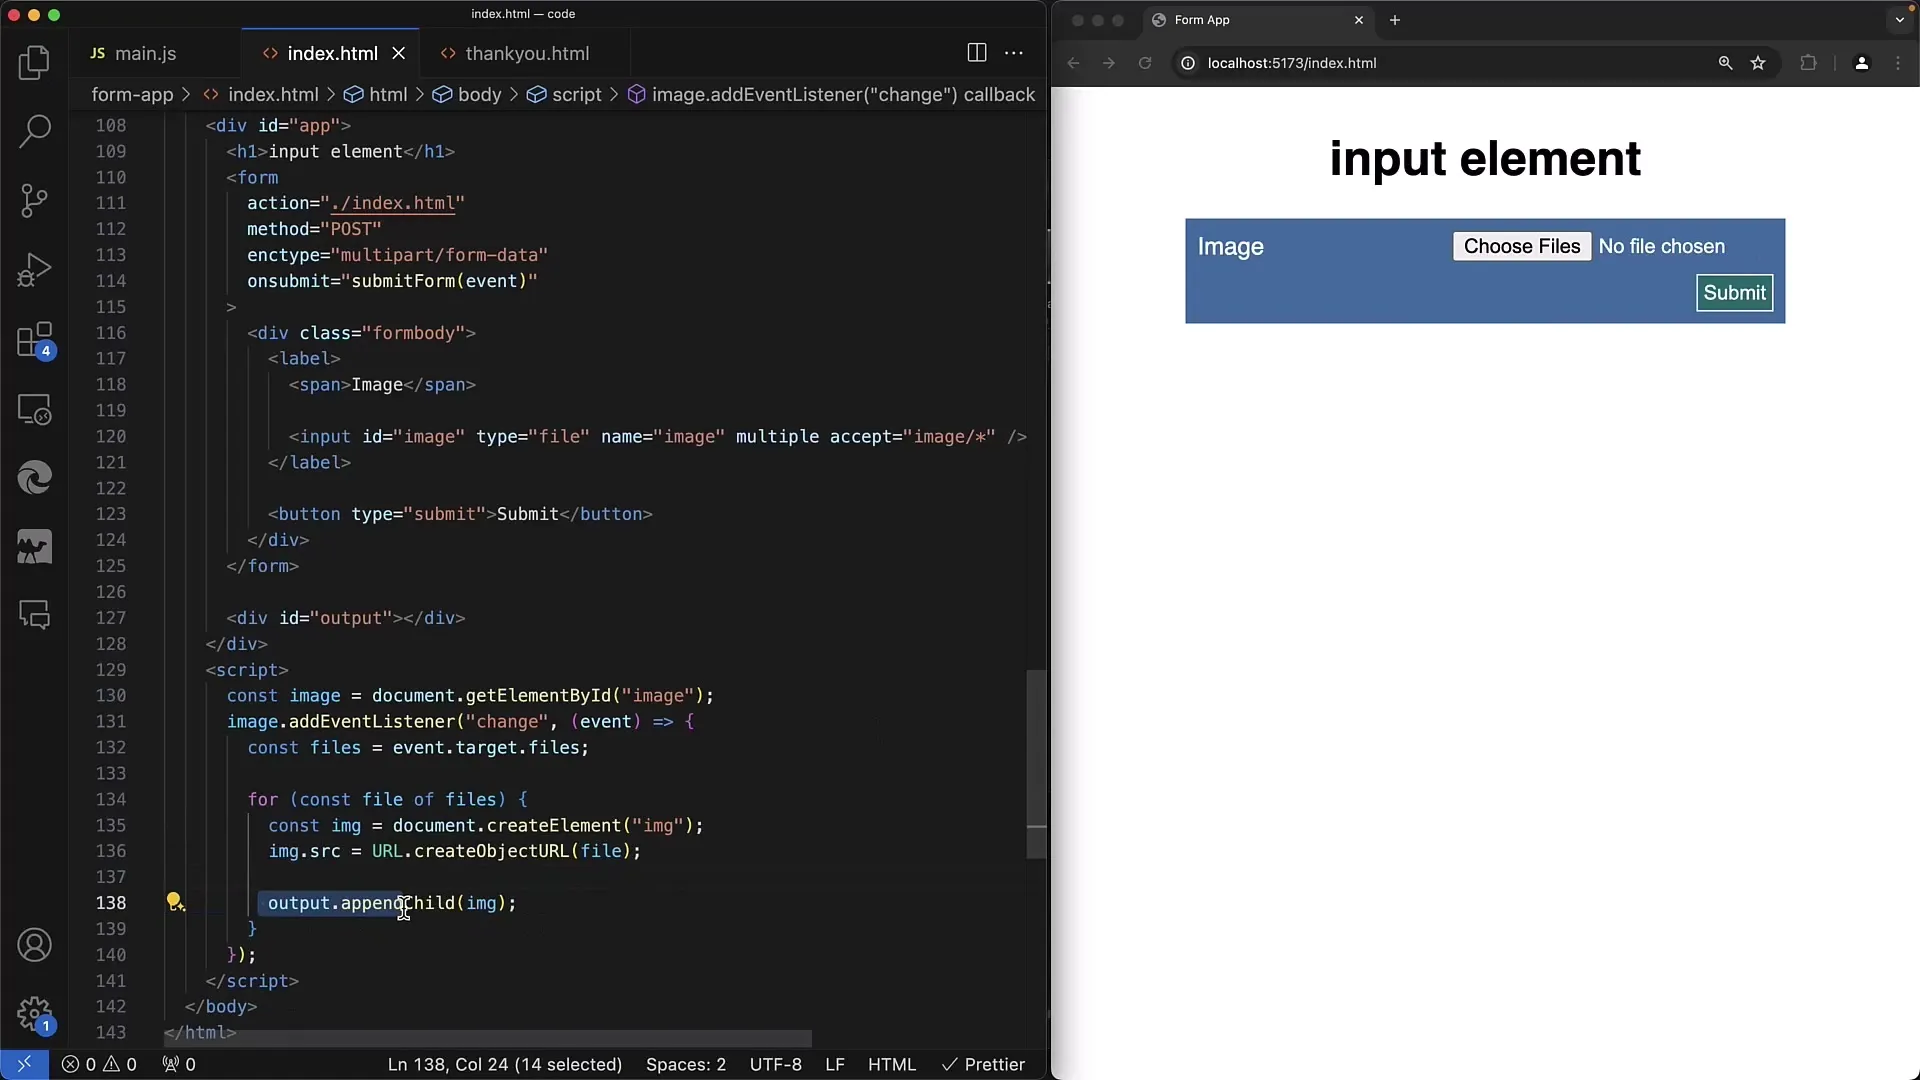
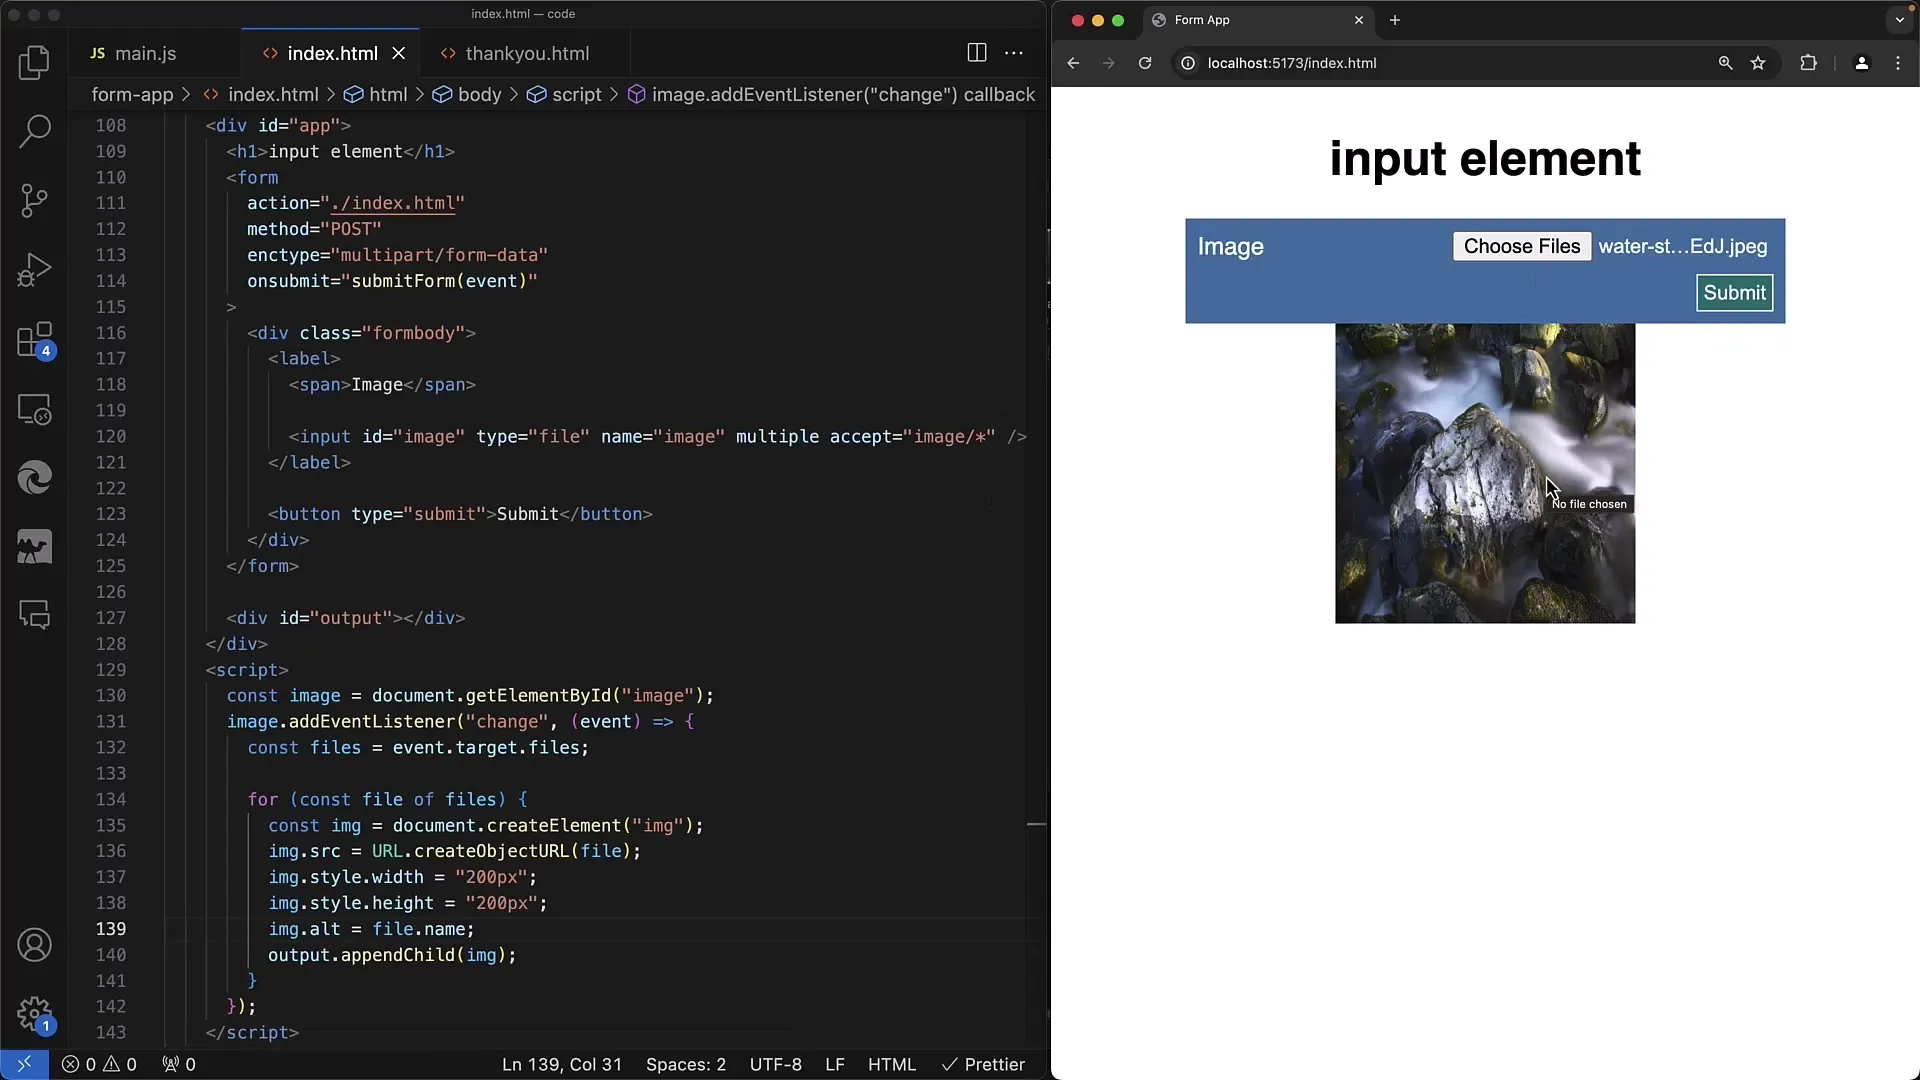
Now it's time to iterate over each selected file and display it. You can create an element that represents the file preview by using the URL.createObjectURL() function.
Step 6: Resize Image
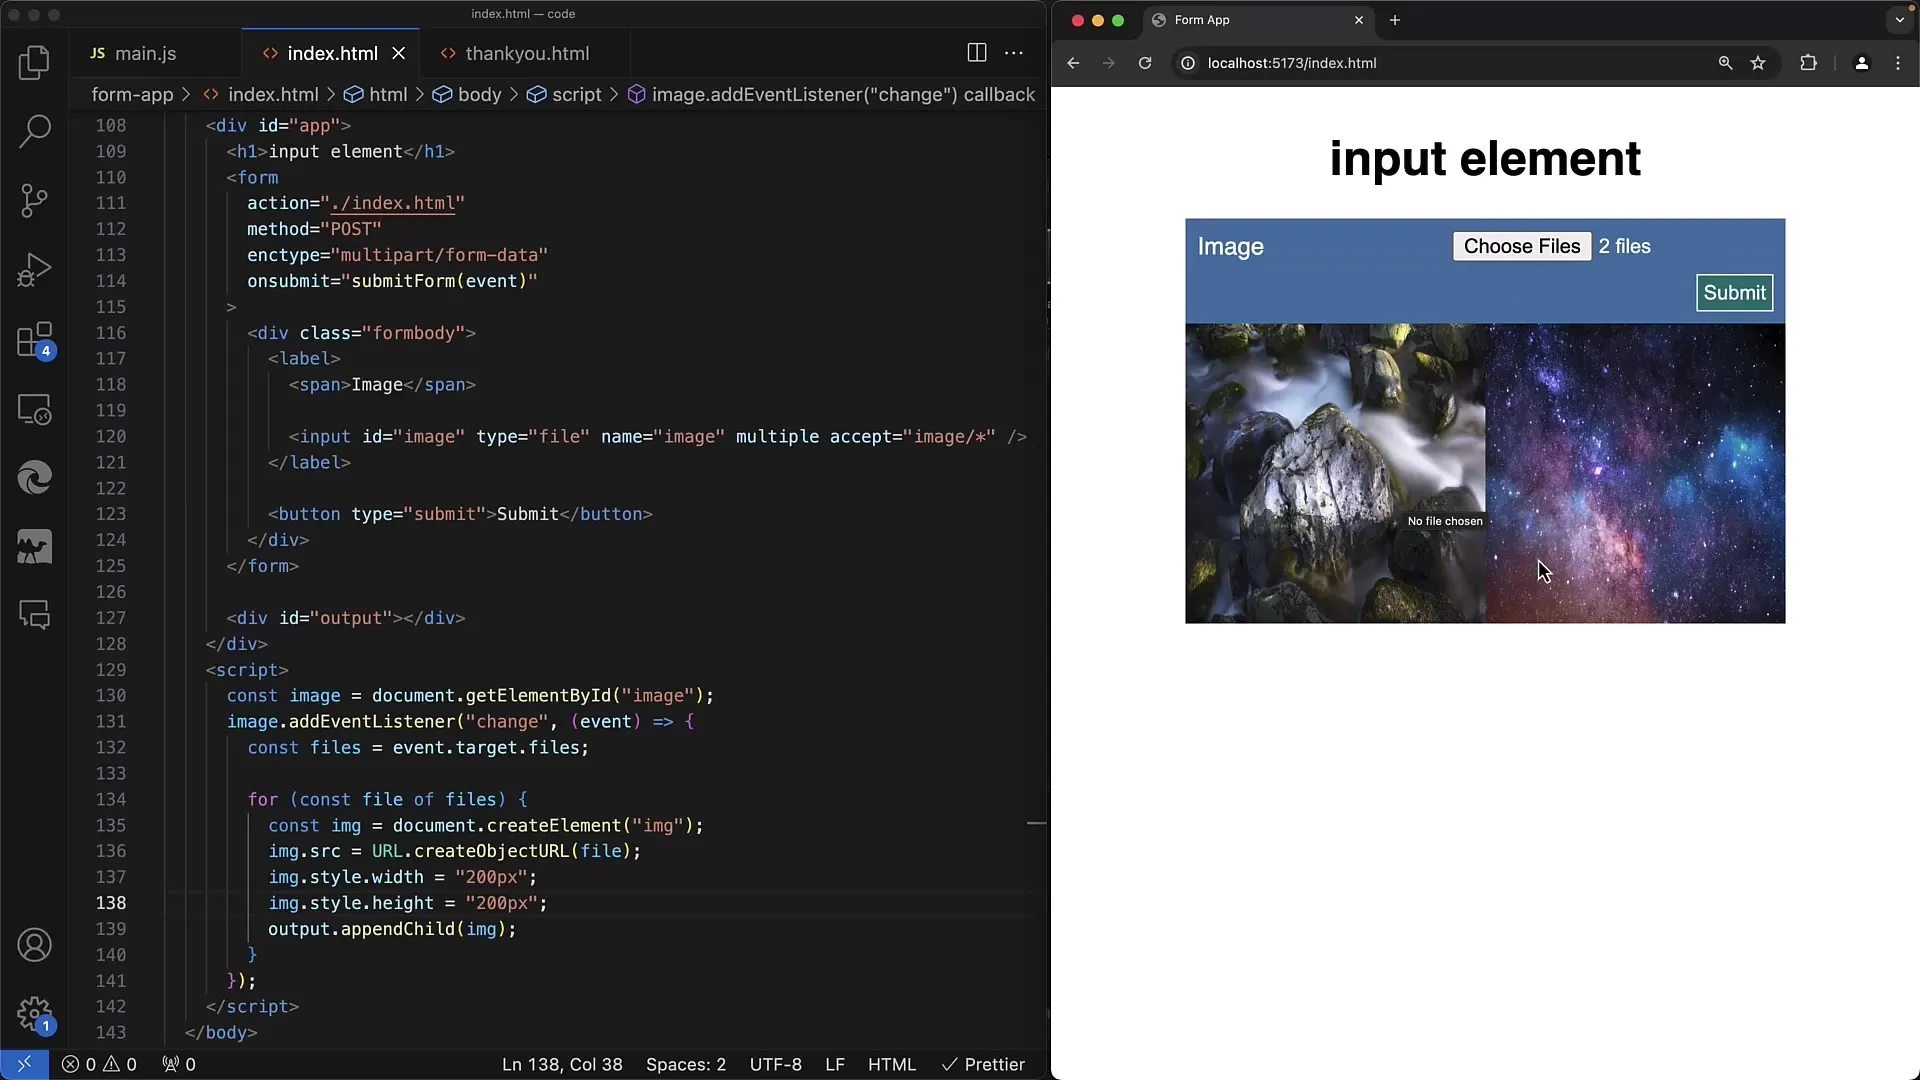
At this point, you can easily resize the images. Fixed values like 100x100 pixels are recommended, or you can use the original height and width for more flexibility.
Step 7: Handle Multiple Files
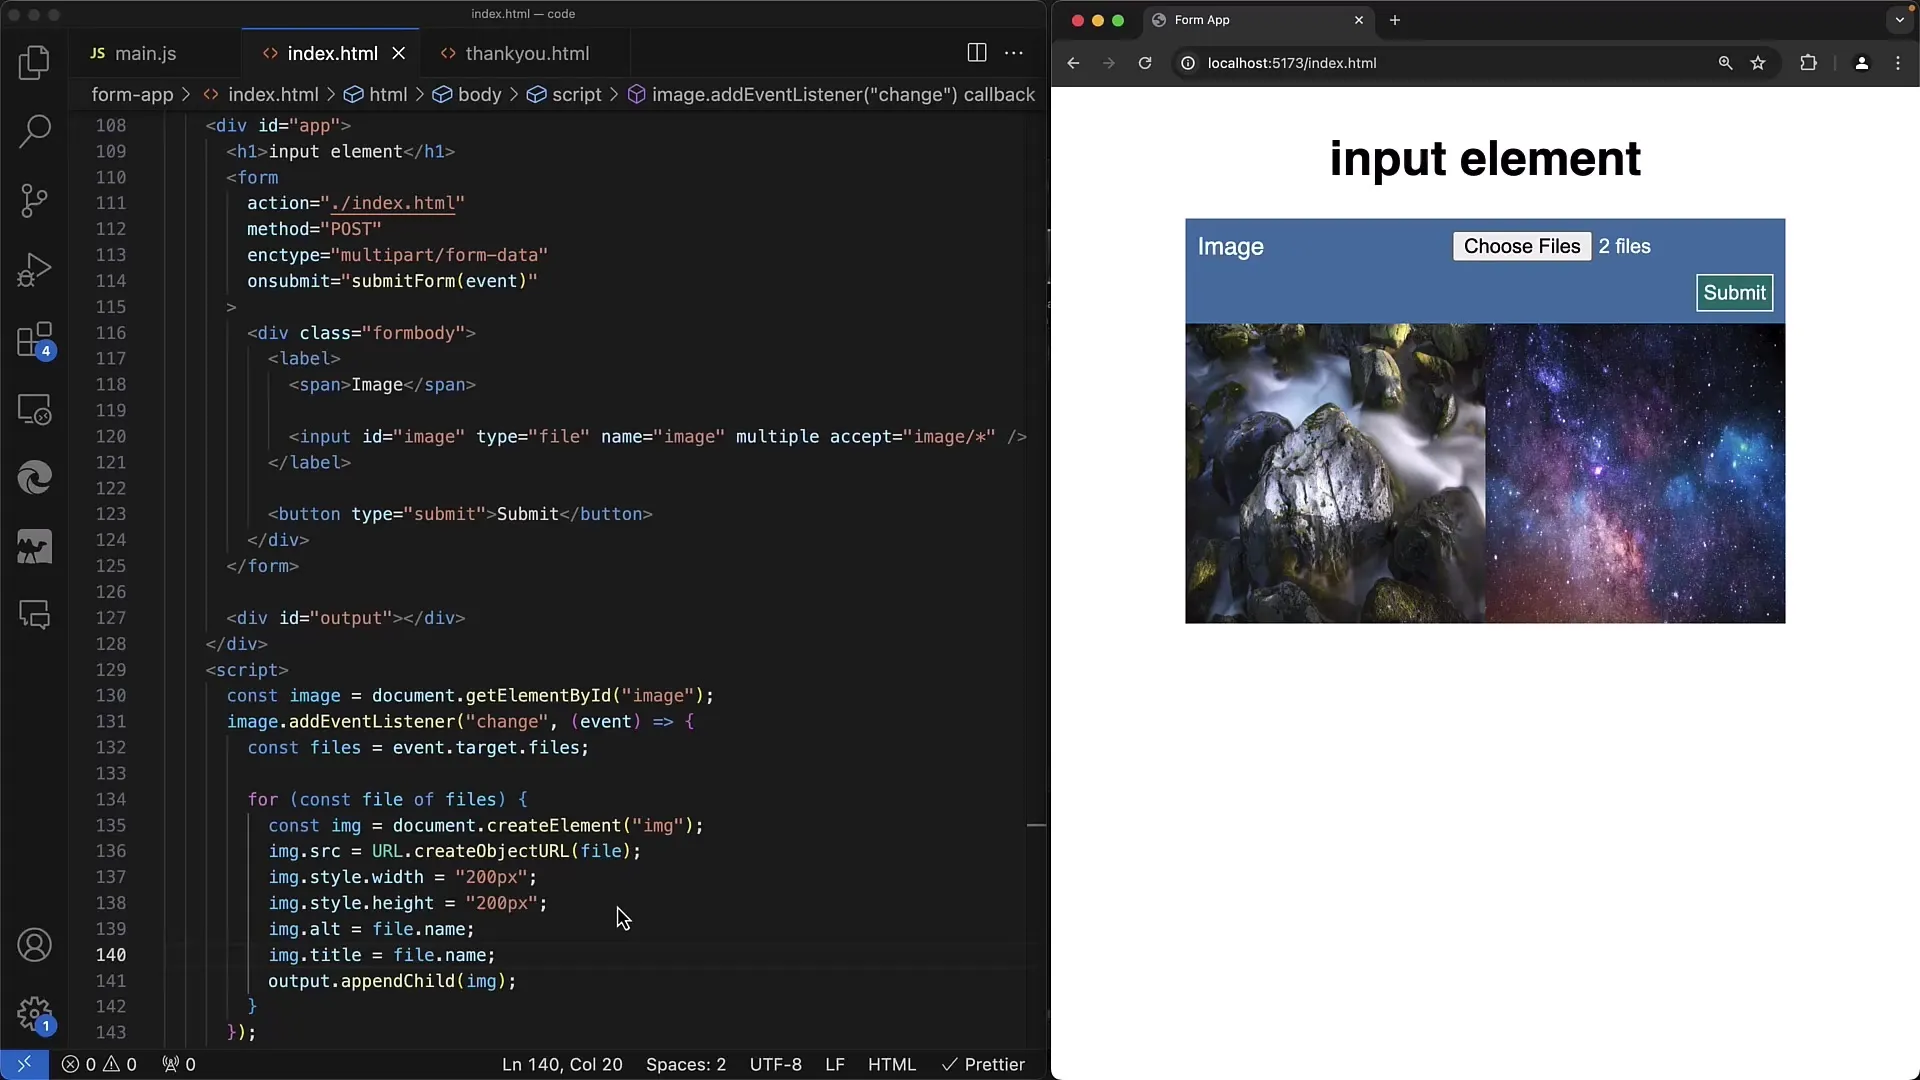
The system should handle not only one file but also multiple file selections excellently. Implement the logic to handle each file separately and display them on your page.
Step 8: Implement Preview
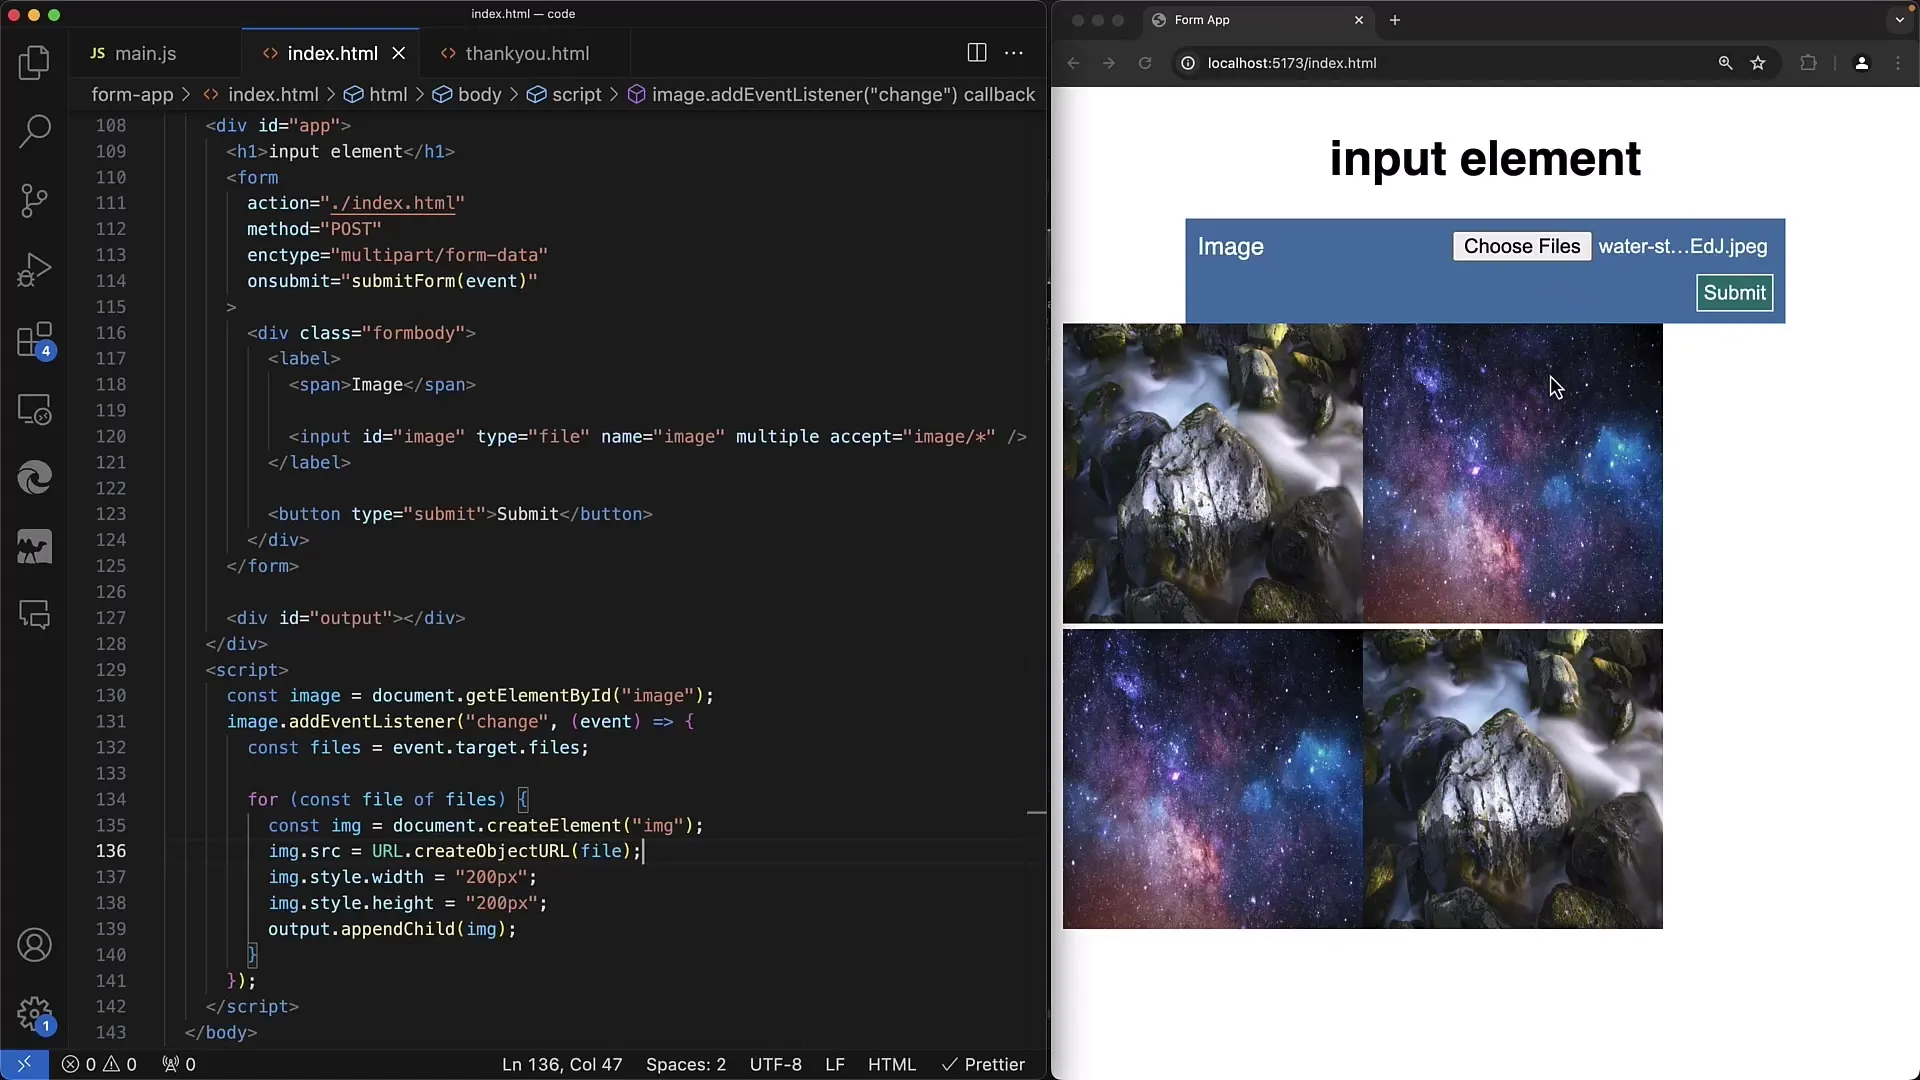
Now you can display a simple preview for users. The user can immediately see which files they have selected before uploading them. This not only saves the user time but also server resources.
Step 9: Display Filename as Tooltip
To enhance the user experience, you can integrate the filename as a tooltip in the image tag. This is particularly useful when uploading multiple files.
Step 10: Ensuring Identification
It is also a good idea to ensure that users can identify the uploaded files by adding the name below each image or as the alt attribute of the images.
Summary
In this tutorial, you have learned how to access local files using JavaScript and display them in your web form. You can control the size of the displayed images, insert tooltips, and provide a user-friendly preview, all without uploading the files to a server. These skills are essential for performing file uploads and interactions in modern web applications.
Frequently Asked Questions
How do I access the selected files with JavaScript?You can use the files property of the input element to access the selected files.
Can I edit the uploaded files locally?Yes, you can edit the files locally, for example, by using a canvas element to create a thumbnail.
How do I display a preview of the selected files?By creating elements and setting the src attribute to the generated object URL, you can display a preview.
Can I display the filename below the image?Yes, you can add the filename below the image or use it as an alt attribute.
Can I select multiple files at the same time?Yes, you can select multiple files by using the multiple attribute in the input element.


