In this short tutorial, I would like to give you a few tricks on how to quickly reposition areas or paths.
Step 1
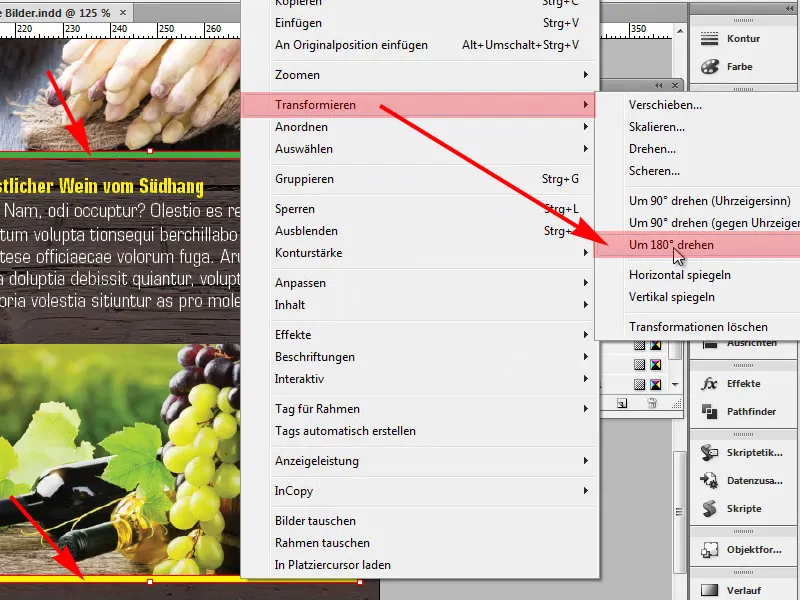
In my example, I want to swap this yellow line with the green line. To do this, I can select both lines by holding down the Shift key and then use the right mouse button to rotate the two lines by selecting Transform>Rotate by 180º.
Step 2
We can see that the two lines have been swapped. That's a great thing.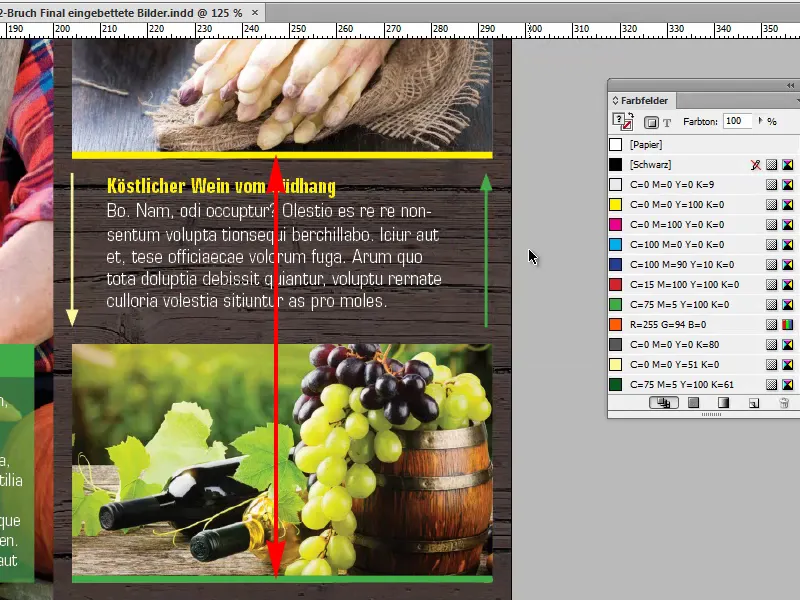
Step 3
This doesn't quite work as desired with the two arrows, for example. If I only want to change the direction of the arrows, so that the green arrow points downwards instead of upwards and the yellow arrow points upwards, ...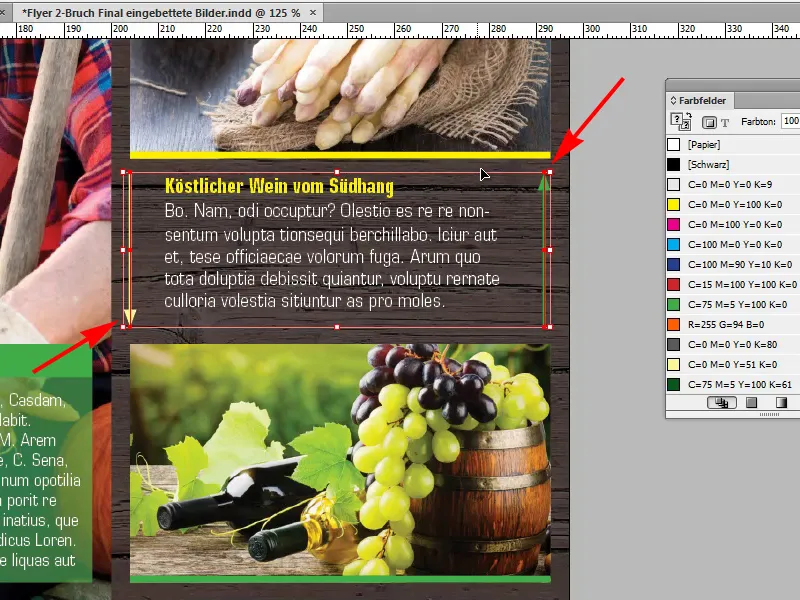
Step 4
... then this would not work in this example via Transform>Rotate by 180º. The arrows would be repositioned.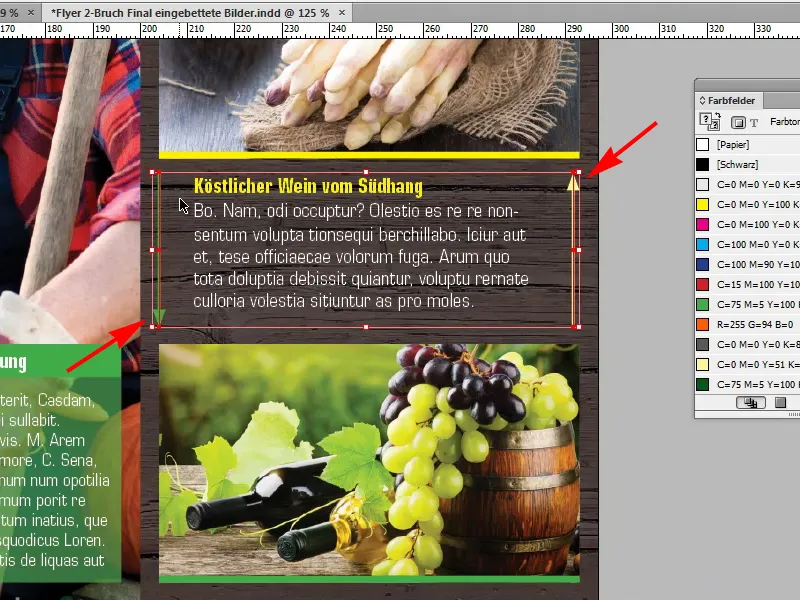
Step 5
But that's not how I wanted it. How can I do it anyway? First I press Ctrl+Z to undo the repositioning.
At this point I have to go to the Pathfinder. There is an inconspicuous symbol here called Reverse Path: Changes the direction of a path, and when I click on that, exactly what I want to happen happens. The two arrows change direction.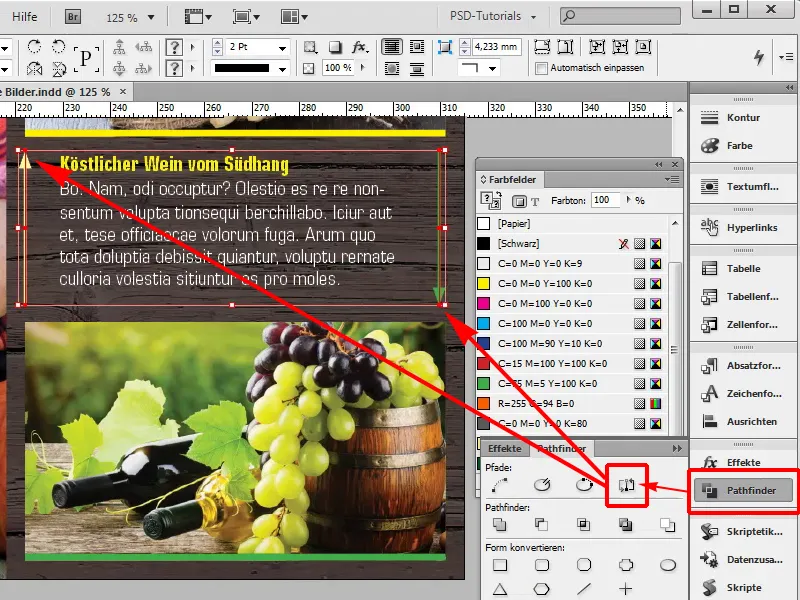
That's a great thing. You either have to see if the 180º rotation is enough, and if that doesn't work, try it via the Pathfinder.


