In this tutorial, I will show you the steps a graphic designer must take to unlock and prepare a document for use in Adobe InCopy. We will deal with user creation and the relevant panels that are important for collaboration with InCopy. The steps described here are crucial to ensure a smooth workflow and to ensure that all parties understand and can perform their tasks.
Main Insights
- User creation in InDesign is the first step in preparing a document for InCopy.
- It is important to determine the elements to be edited in the document in advance.
- The document elements should be organized on a separate layer to facilitate editing.
- Checking the necessary panels before work is also crucial for an efficient workflow.
Step-by-step Guide
To unlock a document for use in InCopy, you must first use InDesign. In this step, we prepare the document and create the users.
The graphic designer is the central point in this process. They prepare the document, distribute tasks, and may be able to troubleshoot problems themselves. Therefore, it is important for you, as a graphic designer, to familiarize yourself with the InCopy workflow.
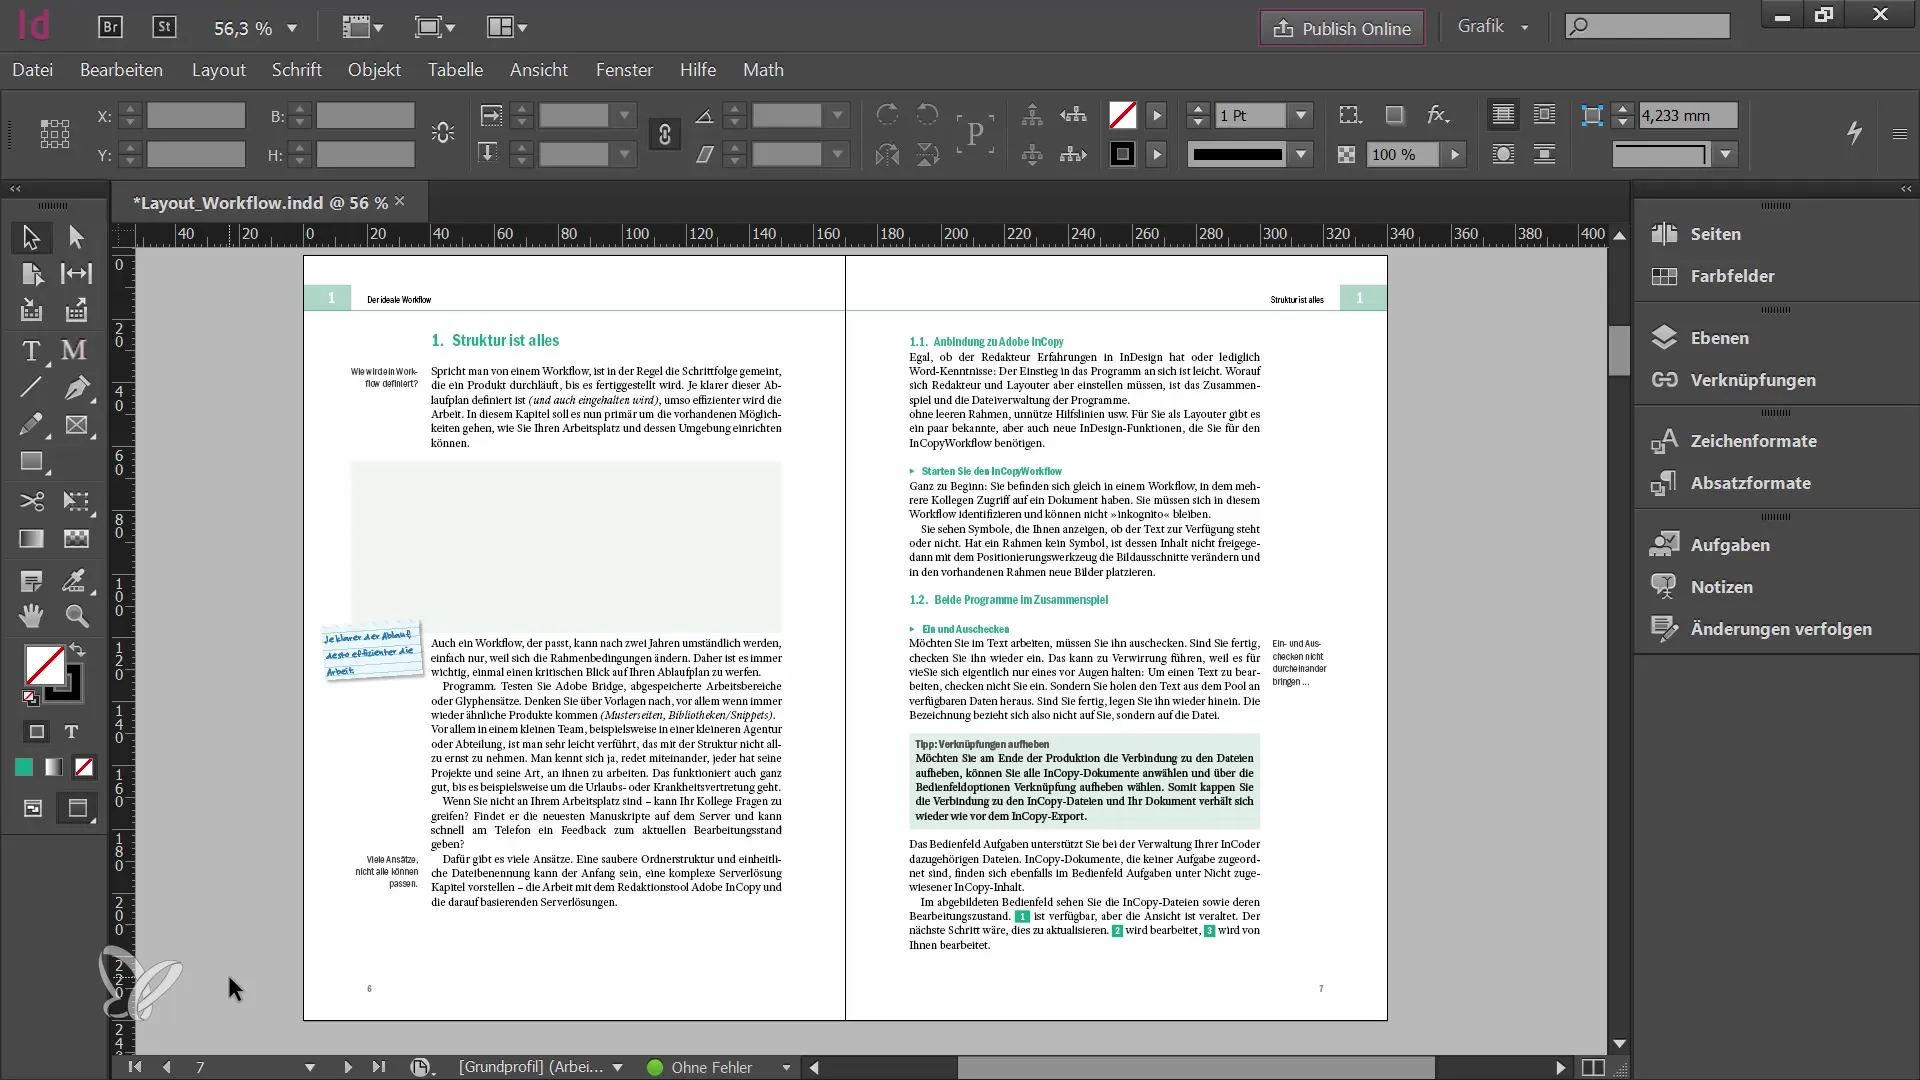
When collaborating, it is necessary that everyone working on the document can identify themselves. In InDesign, there is the "File" function and then "Users". Here, anyone working with InCopy or InDesign can create a username and choose a color.
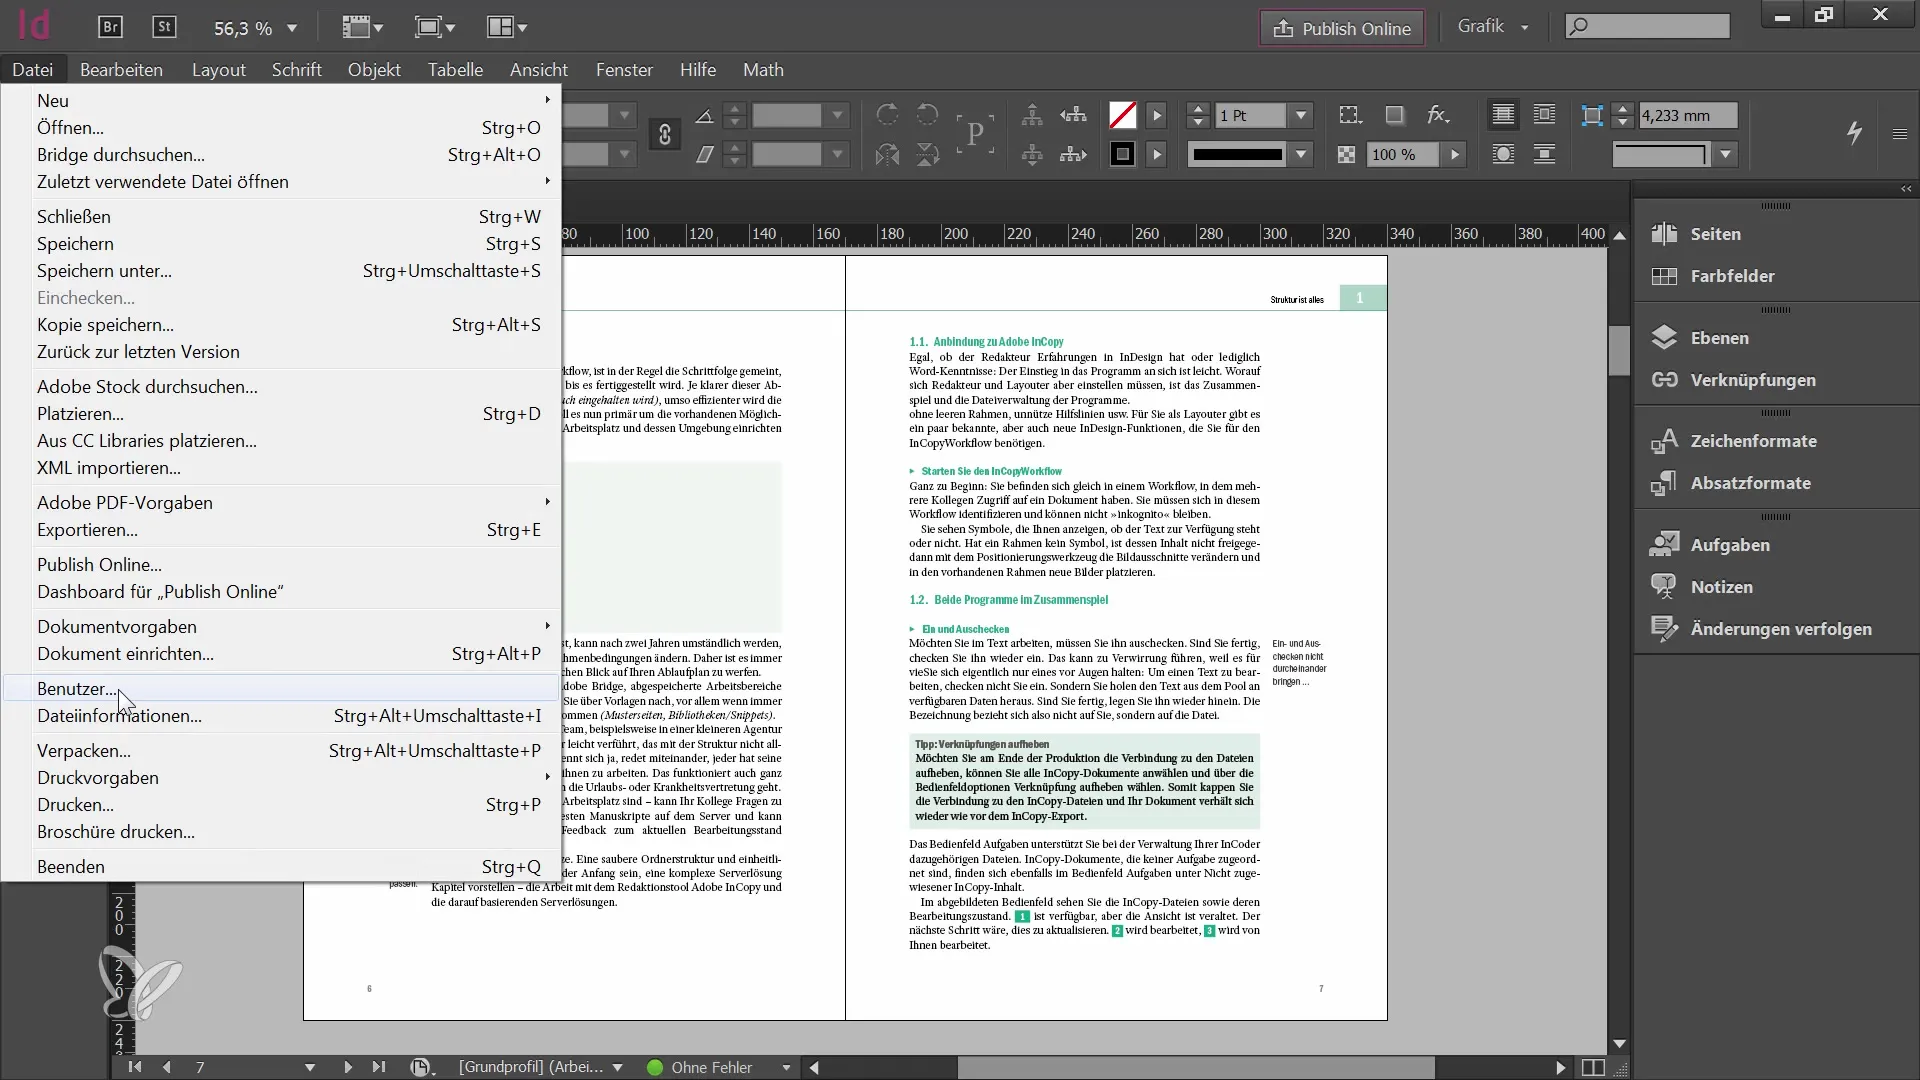
Enter your name and choose a color. Make sure not to forget this step, as InDesign will prompt you if you skip it when trying to unlock the document.
After creating your user, it is crucial to check if your document is indeed prepared for use in InCopy. An important aspect here is to determine in advance which elements should be edited in InCopy.
You have the option to unlock all elements or focus only on graphics or texts. Depending on what makes sense, you can also select certain elements to unlock them.
An interesting method is to work with layers. All content to be handed over to the editorial staff for editing should be on a separate layer. This is especially useful for projects with many different frames.
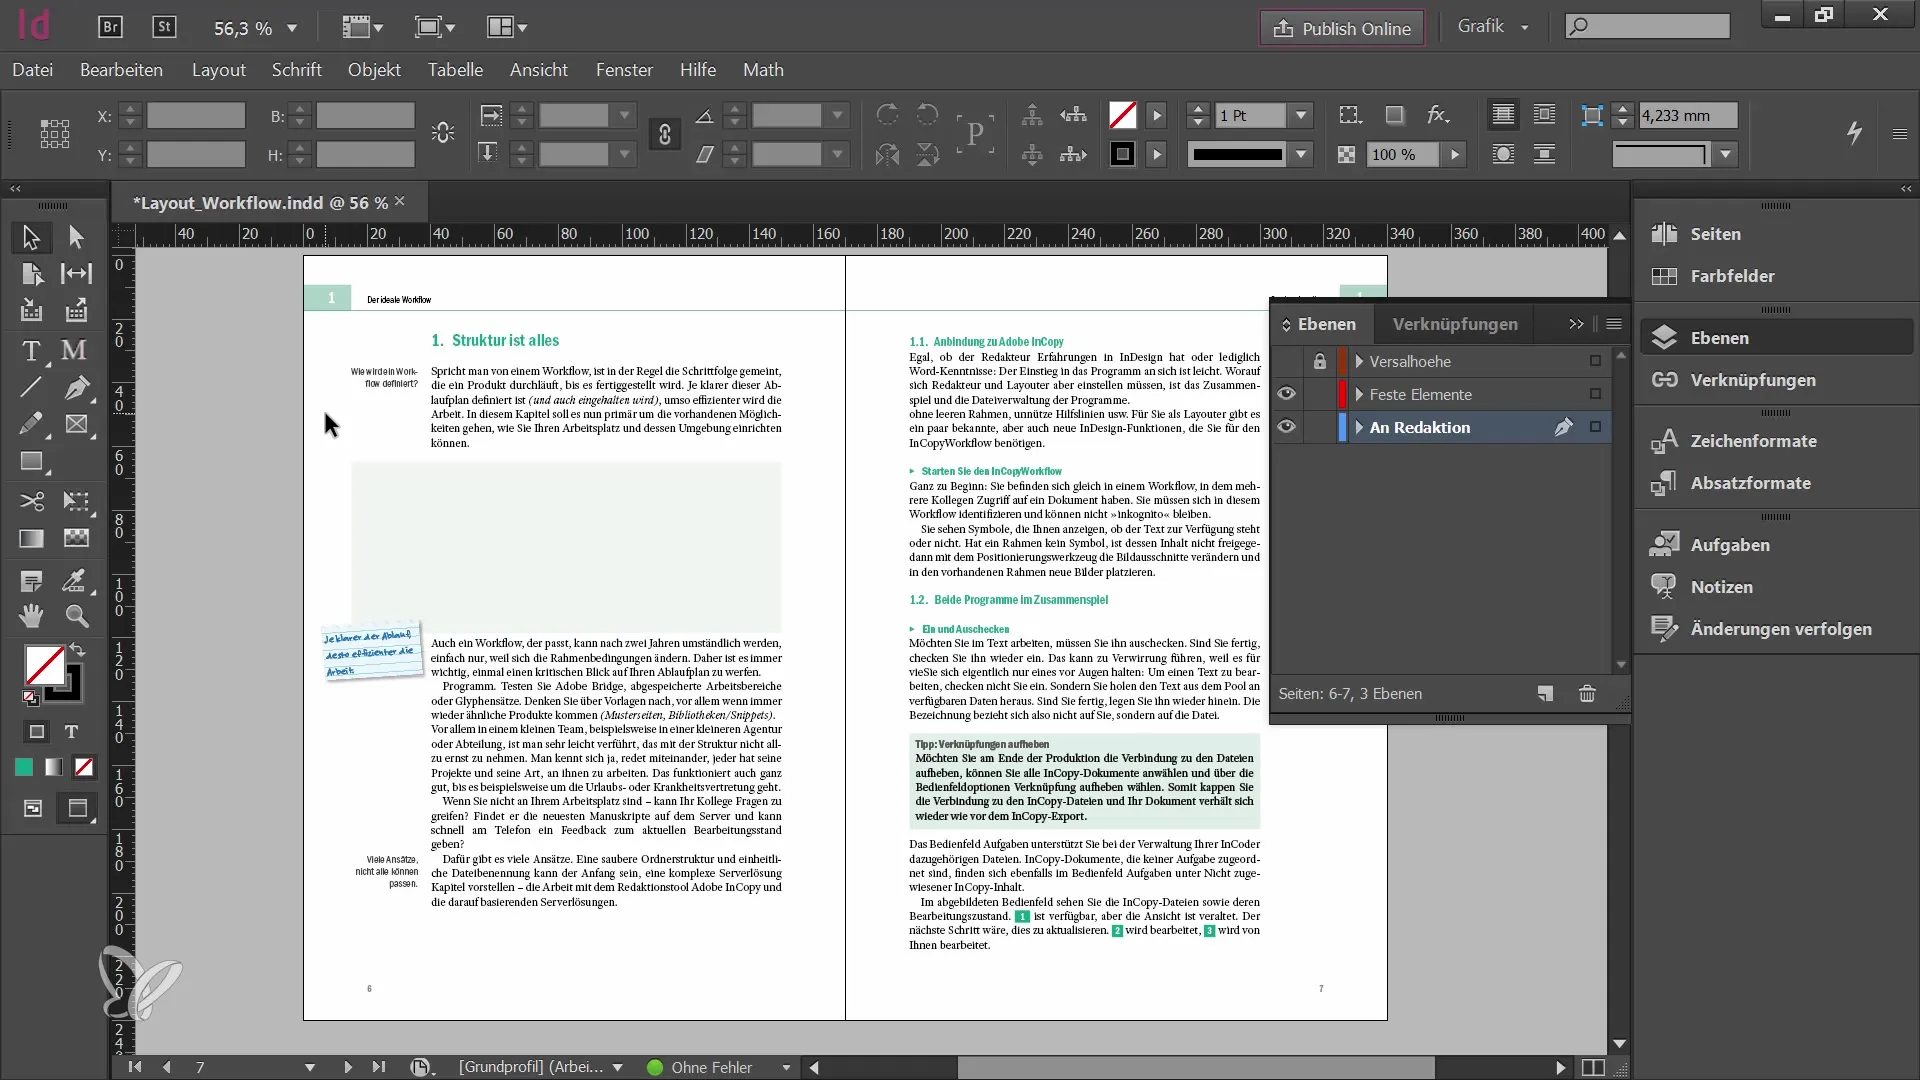
Before releasing the document, check if all relevant elements are on the correct layer. It is important that nothing that the editorial staff should not edit is inadvertently unlocked.
Once the document is prepared, you can unlock it for InCopy. However, before doing so, you should ensure that all panels you will need for your work are ready.
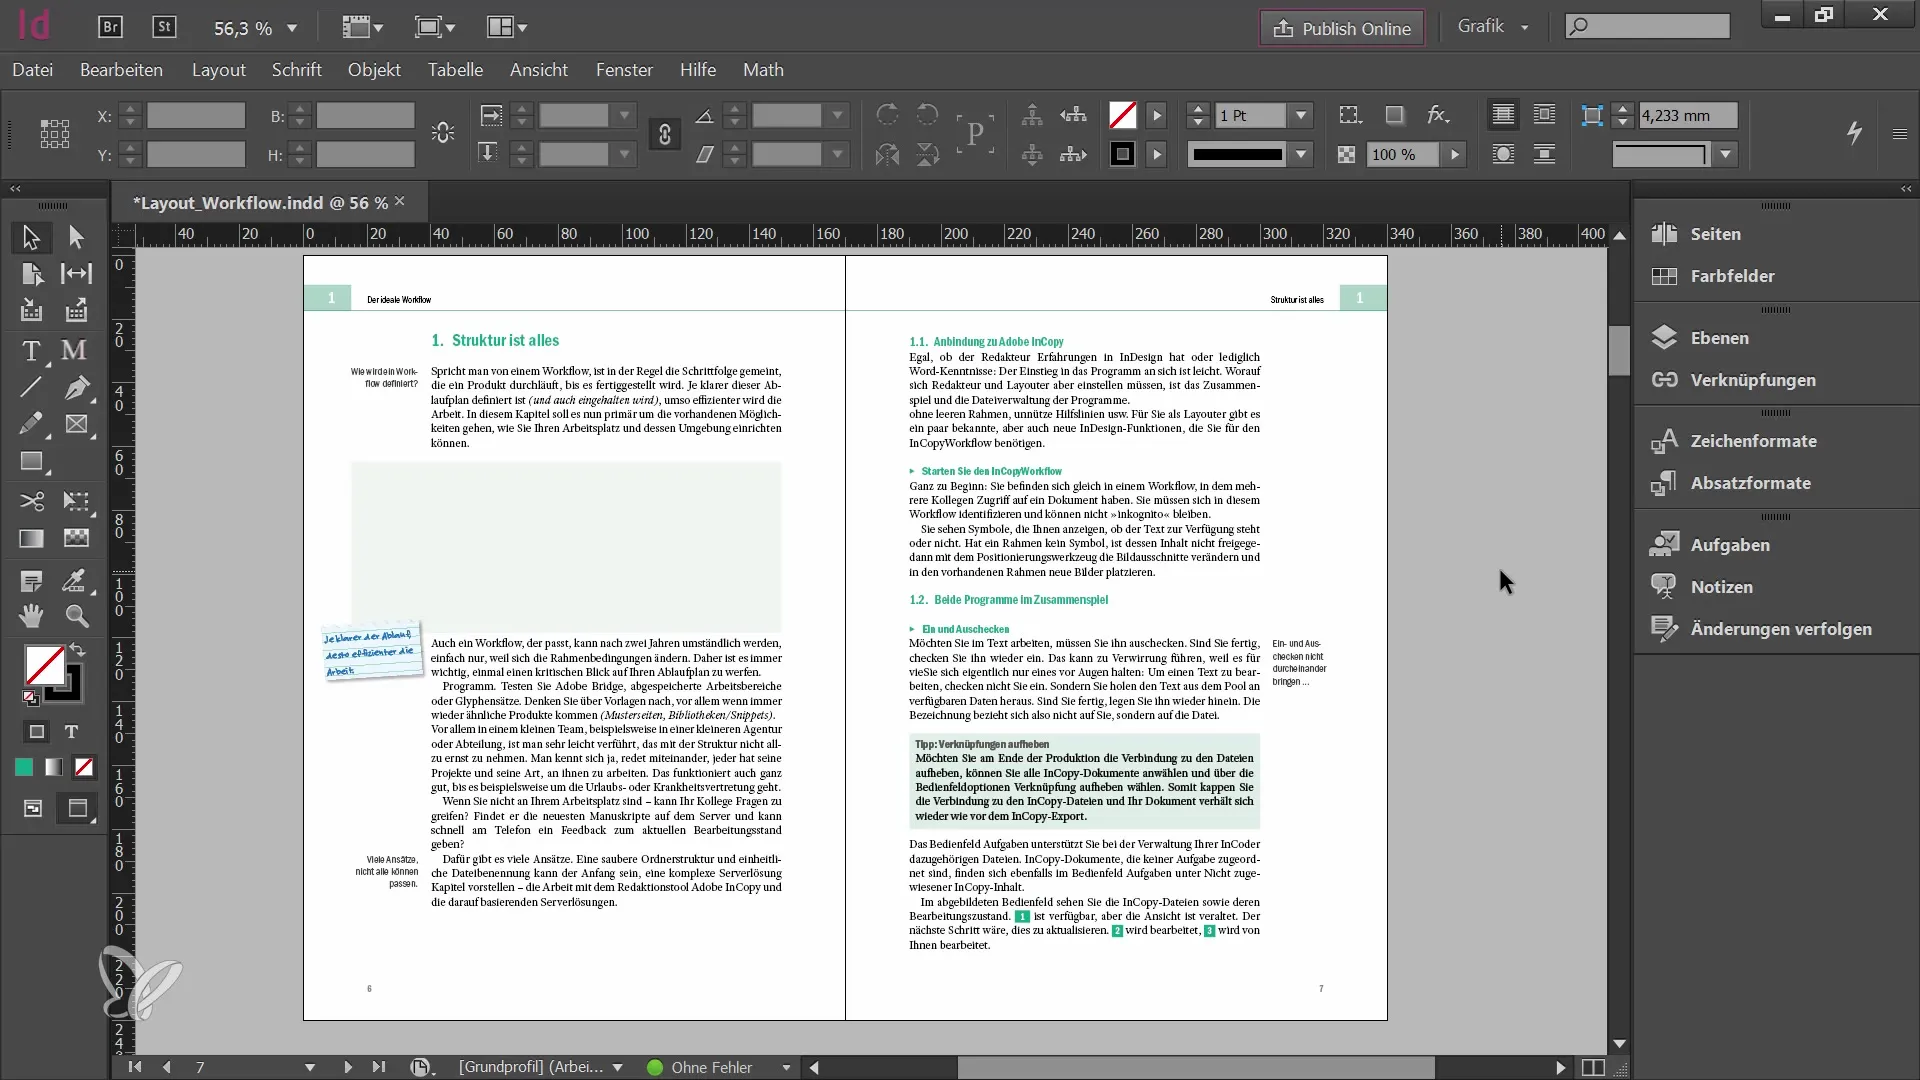
In this step, I will open the "Tasks" panel. This will help you keep track of all tasks in the workflow. Notes will also be useful here to record decisions and changes in editing.
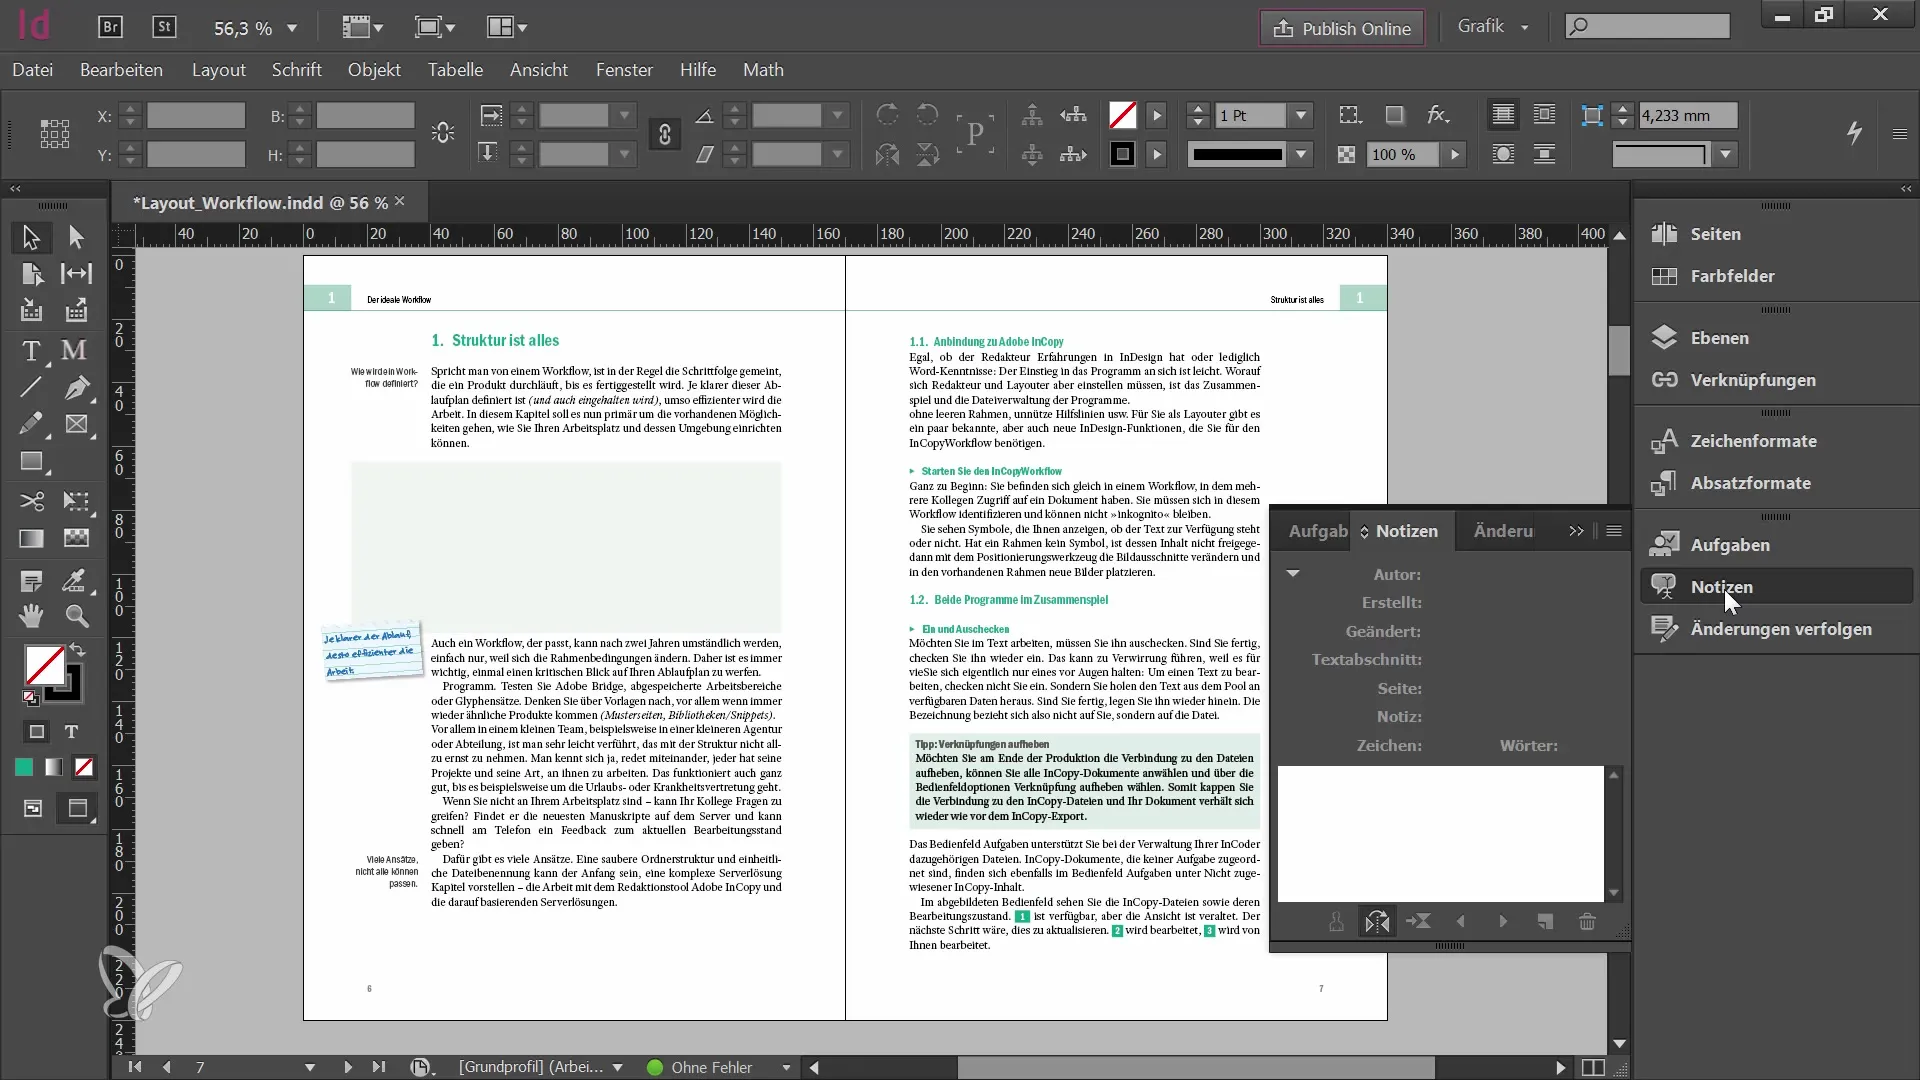
Furthermore, the "Track Changes" feature in the InCopy workflow is important. It lists the changes made to individual texts and content, allowing you to easily manage updates.
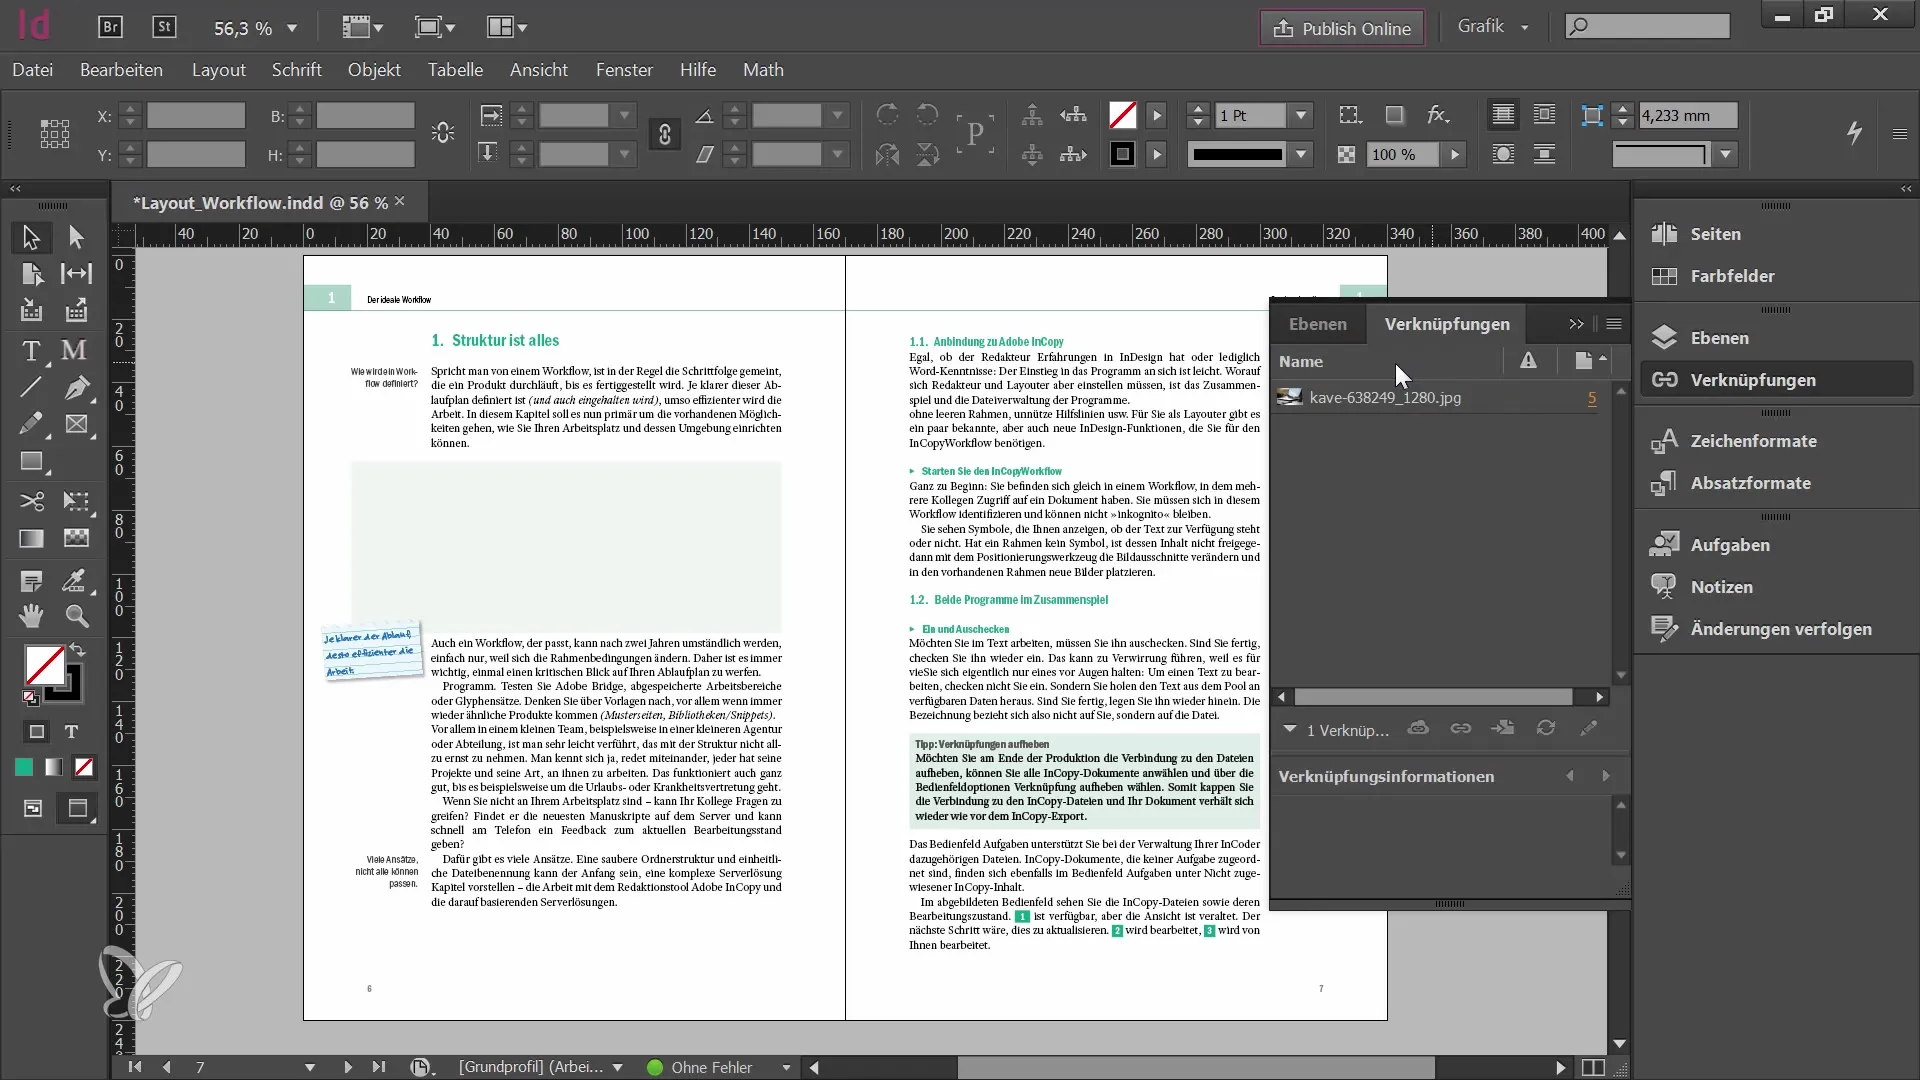
The linkages in the InCopy workflow should not be underestimated. This allows you to update, relink, or embed content and texts, just as is possible in other programs.
Summary
In this tutorial, you have learned how to prepare a document for InCopy and which steps are necessary to create users and check the appropriate panels for the workflow. These steps are crucial for optimal collaboration between designers and editors.
Frequently Asked Questions
How do I create a new user in InDesign?Go to File > Users and enter your username and a color.
What should I consider before releasing a document for InCopy?Check if all relevant content is on the correct layer and that you have all necessary panels open.
How can I track changes in InCopy?Use the "Track Changes" function to view all changes made to the texts and contents.
What is the advantage of organizing content on a separate layer?This makes editing easier and prevents incorrect content from being released to the editors.


