In this tutorial, you will learn how to export InDesign documents for different working environments. There are two main paths: one for use within your team, where everyone works on a server, and one for external work, where content is provided via email or FTP. This guide will walk you through the process step by step so that you can efficiently share the content with your editorial team.
Key Takeaways
- There are two main export paths: "inhouse" and "external".
- In the inhouse option, editorial and production work in a shared network.
- In the external option, you use tasks to provide documents via email or FTP.
- A correct setup of the InDesign documents is crucial to avoid issues during the workflow.
Step-by-Step Guide
Preparing the InDesign Document for Internal Use
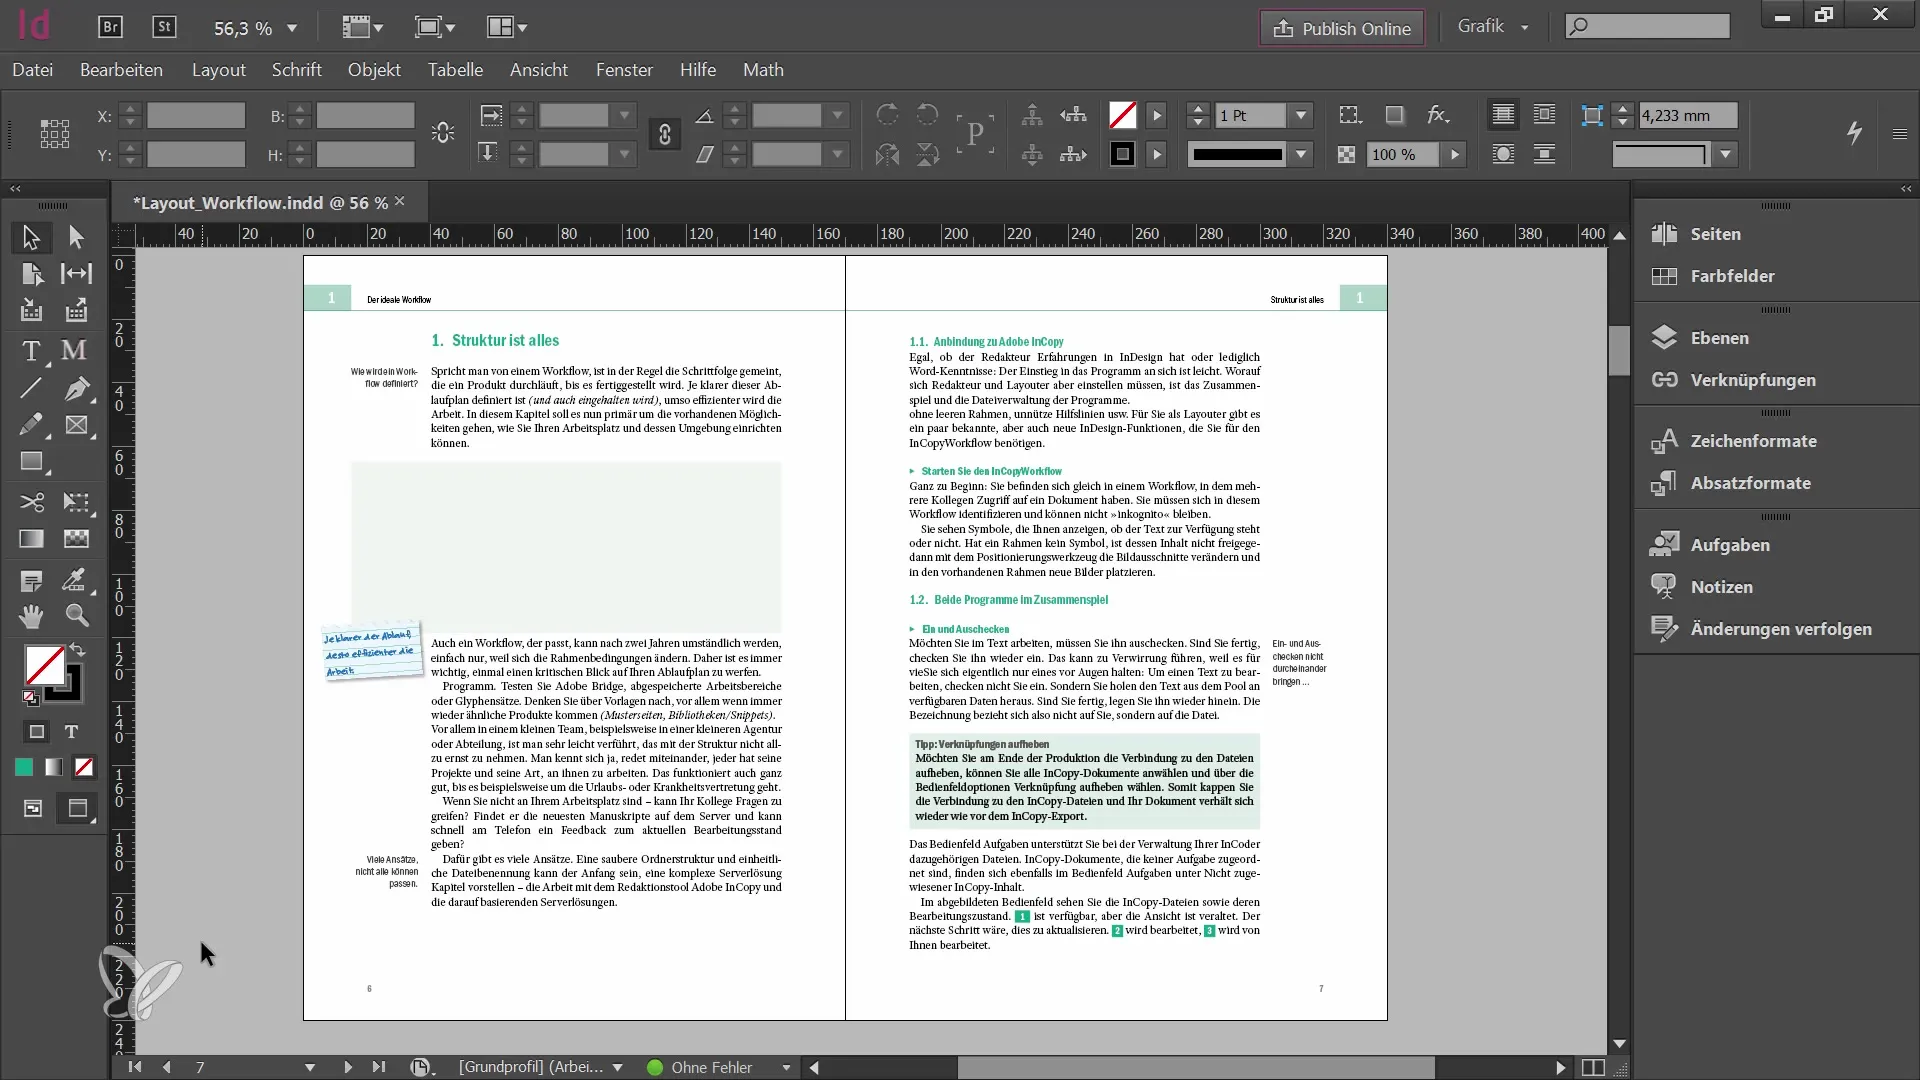
First, we prepare the InDesign document for in-house use. Make sure all necessary content is on one layer so that the editorial team can easily edit it. To do this, open the InDesign document and go to "Edit" > "InCopy". Now select "Export" to release the document to the editorial team.
Choosing the Storage Location
After clicking "Export", you will be prompted to choose a folder where the released content should be saved. Create a new folder and name it, for example, "Contents". Save the files there.
Saving the Document
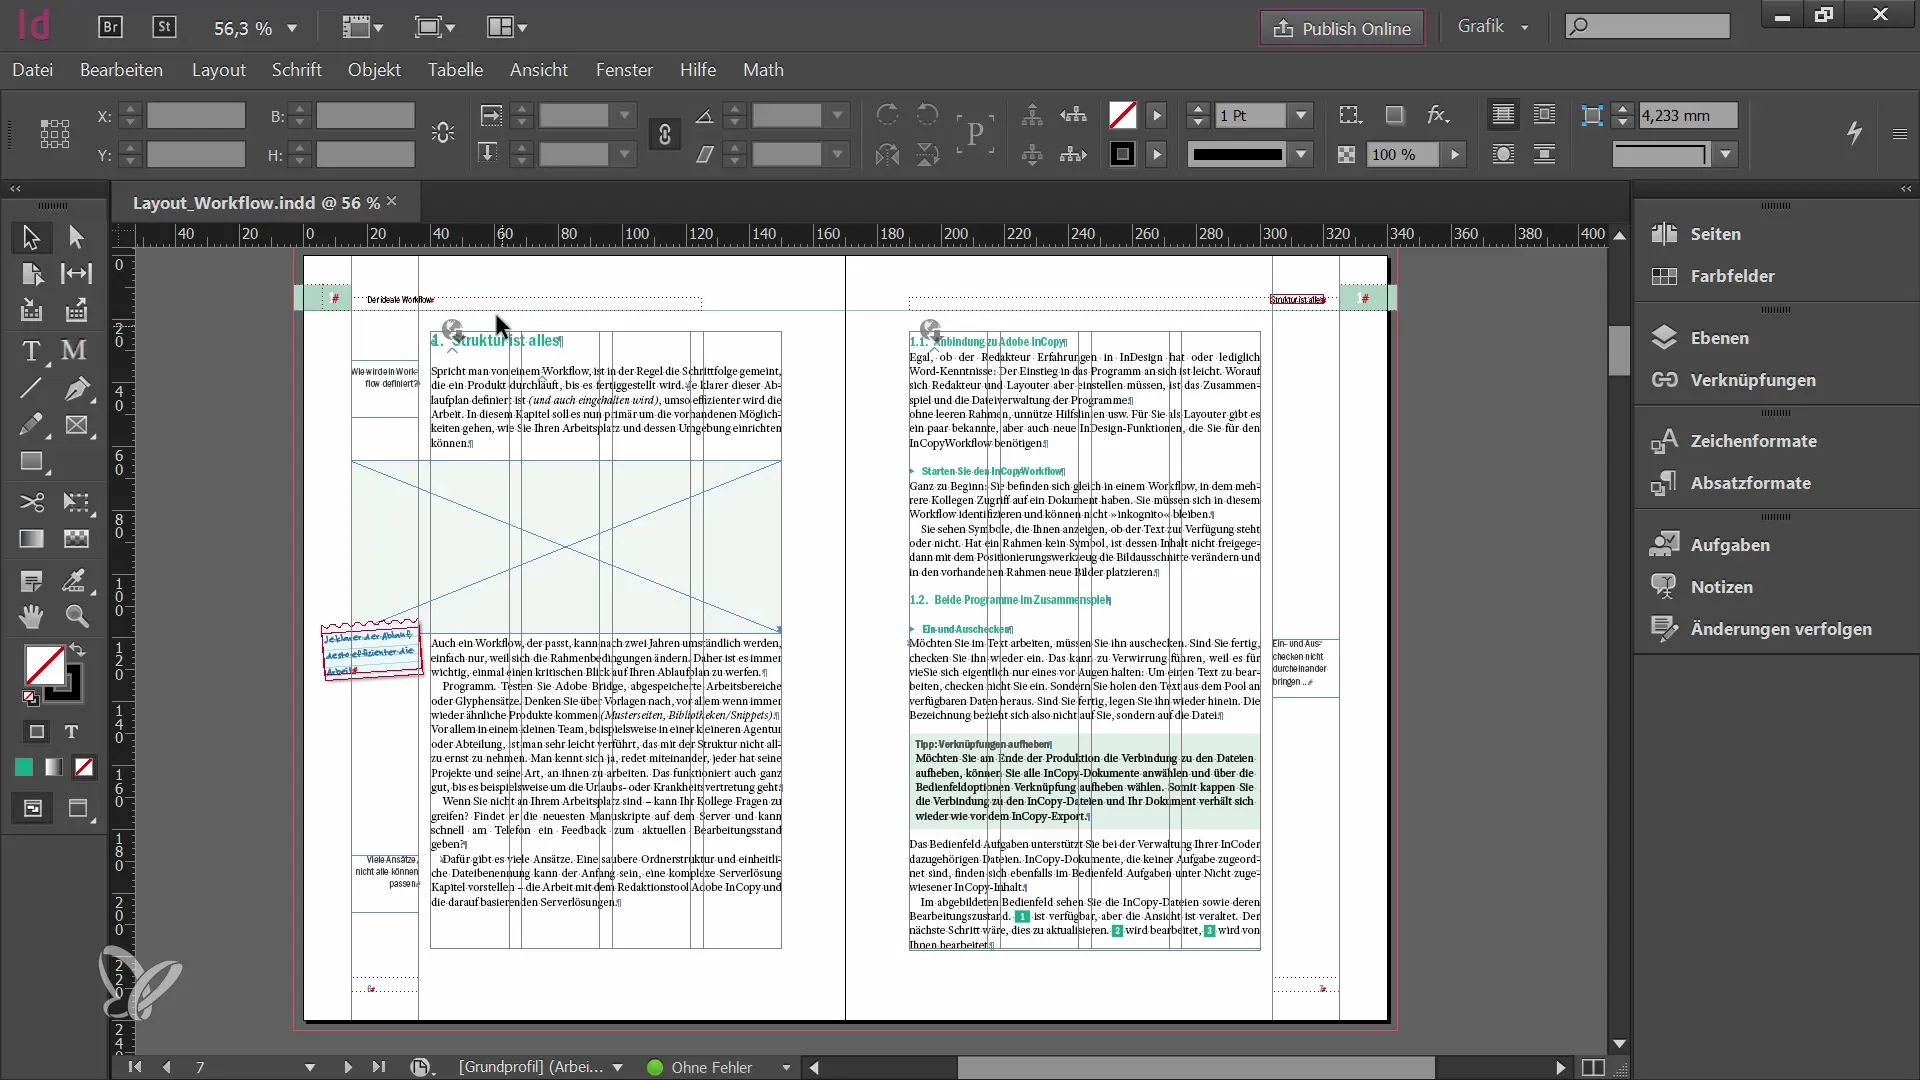
InDesign will prompt you to save the document to apply all changes. Confirm this by clicking "OK". After saving, you will receive a new icon in your palette indicating that your content is now available to the editorial team.
Checking the Links
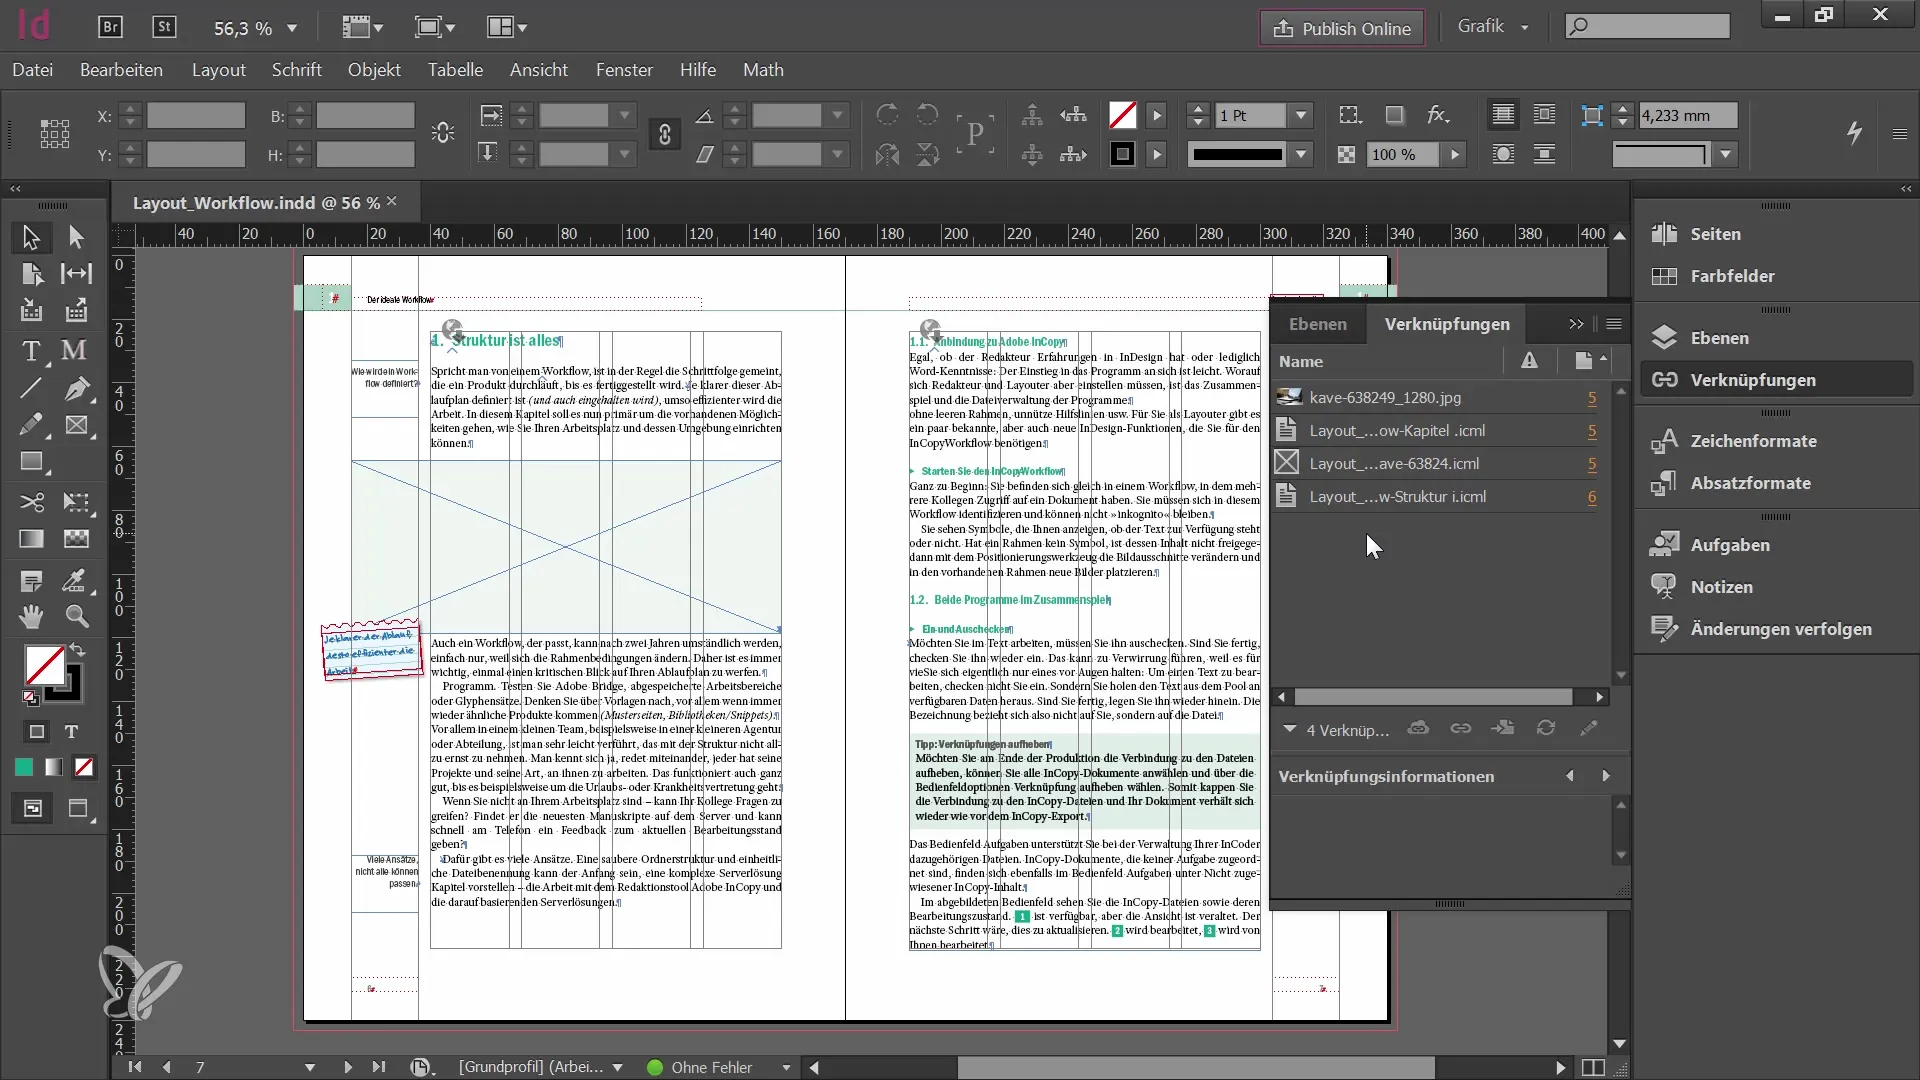
It is important to check the links in your project folder. You should see that in addition to the original InDesign document, a new folder "Contents" has been created which contains the central InCopy files. These files can be opened and edited by the editor later.
Preparation for External Export
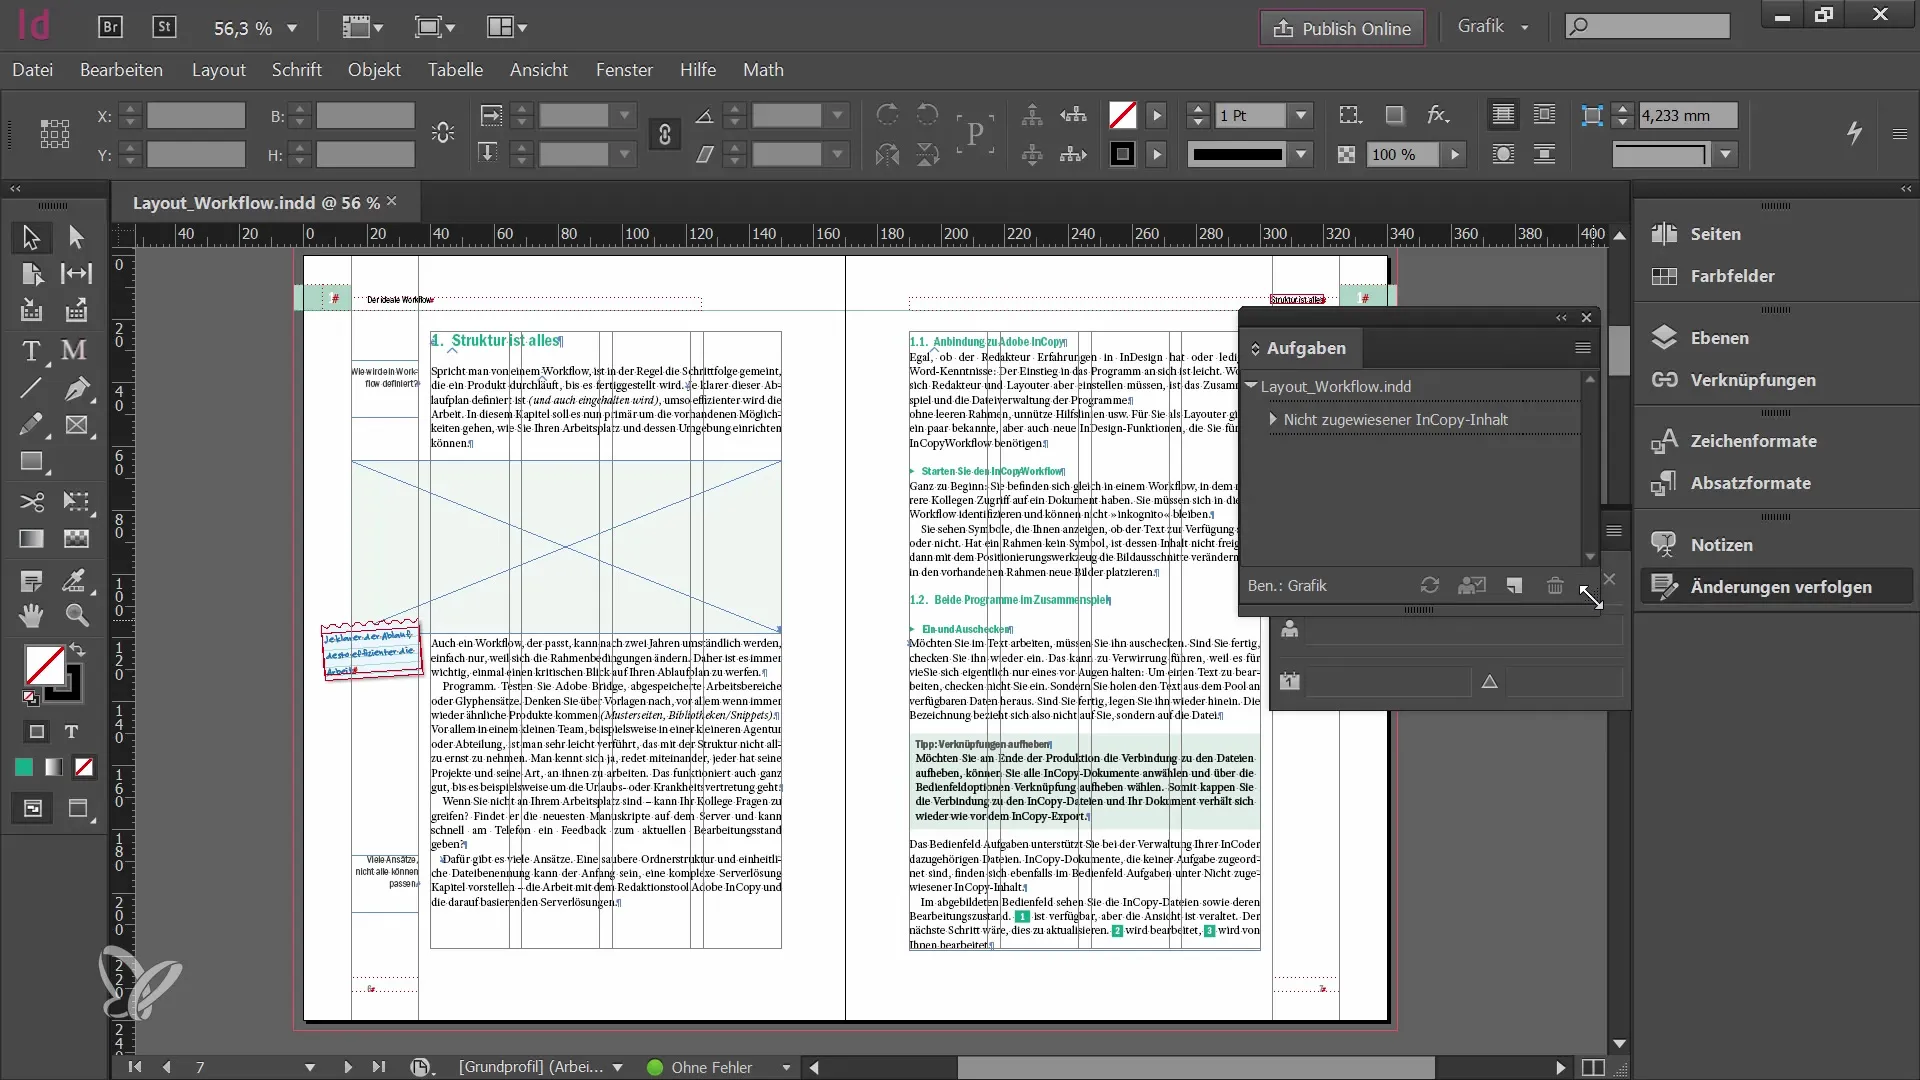
To prepare the InDesign document for external purposes, expand the "Tasks" palette to make the necessary options visible. Again, go to "Edit" > "InCopy" and choose one of the first four commands related to task creation and assignment.
Creating a New Task
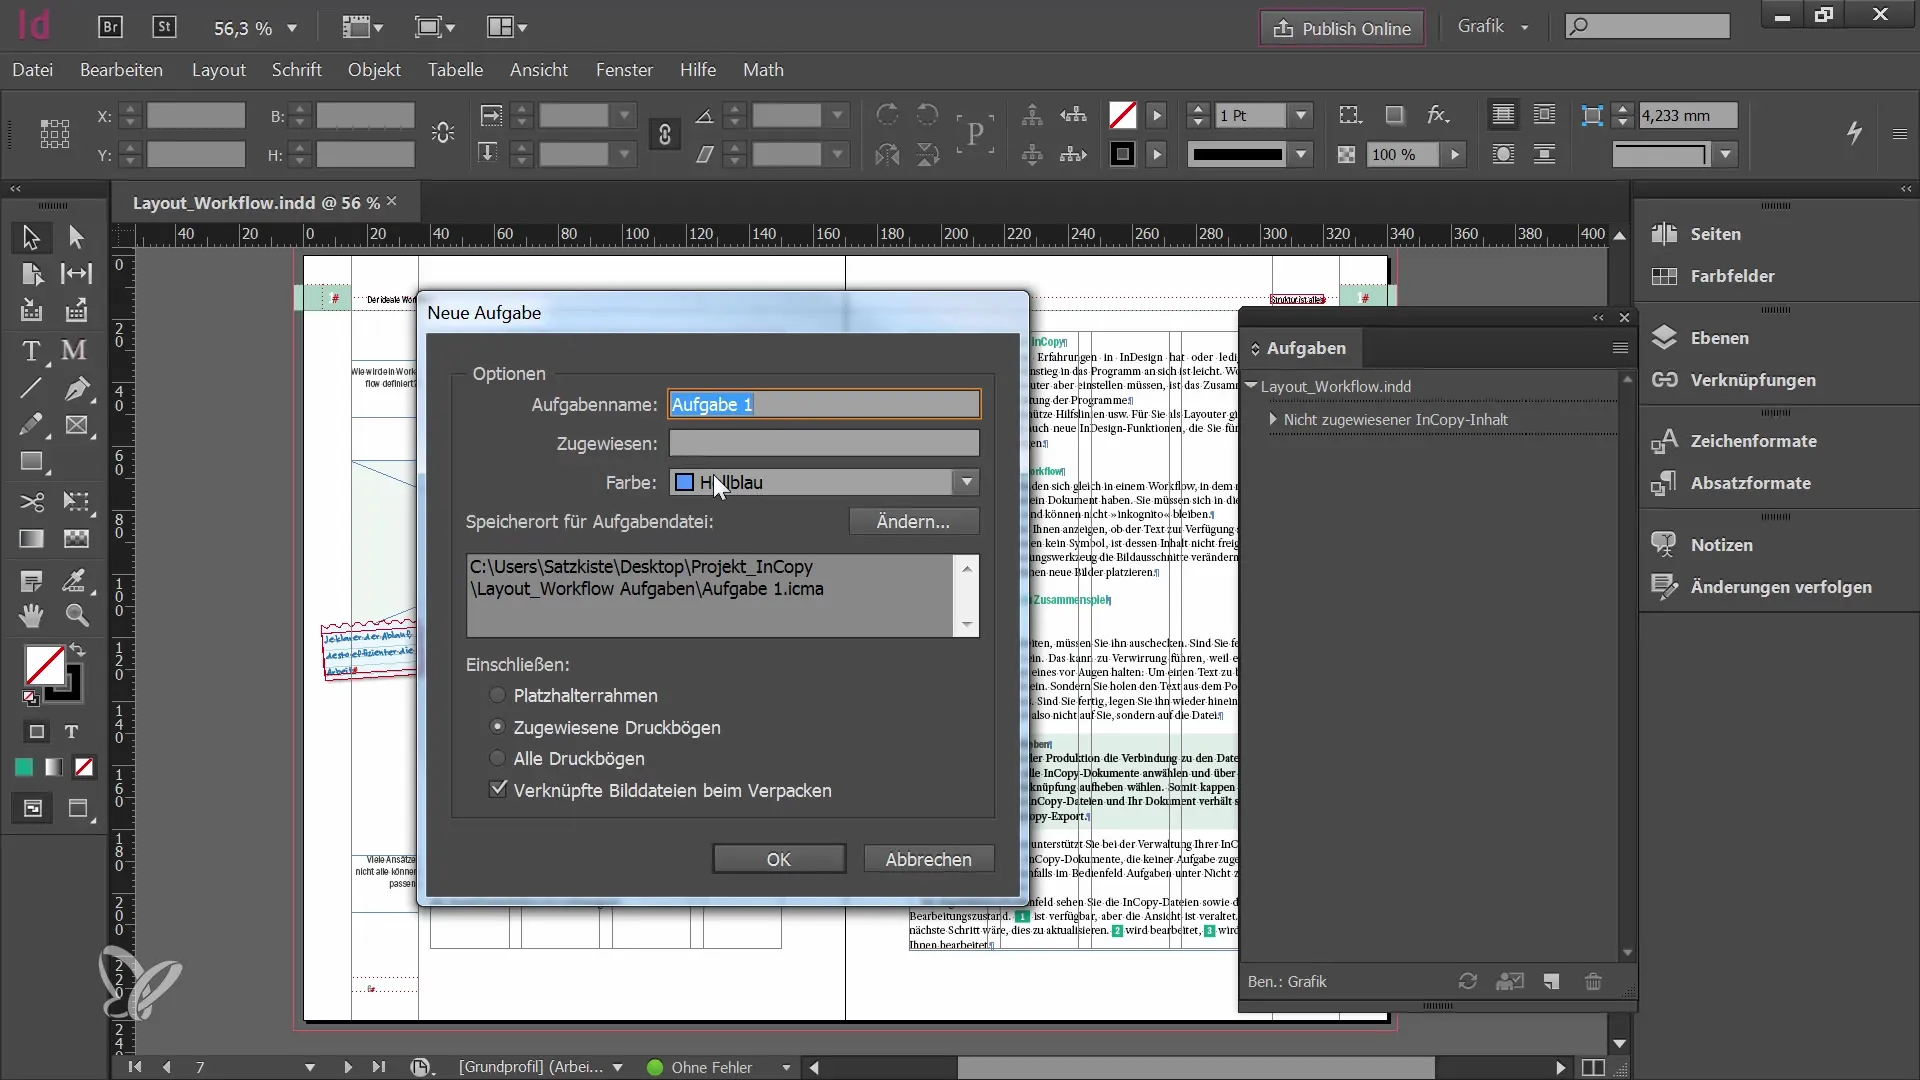
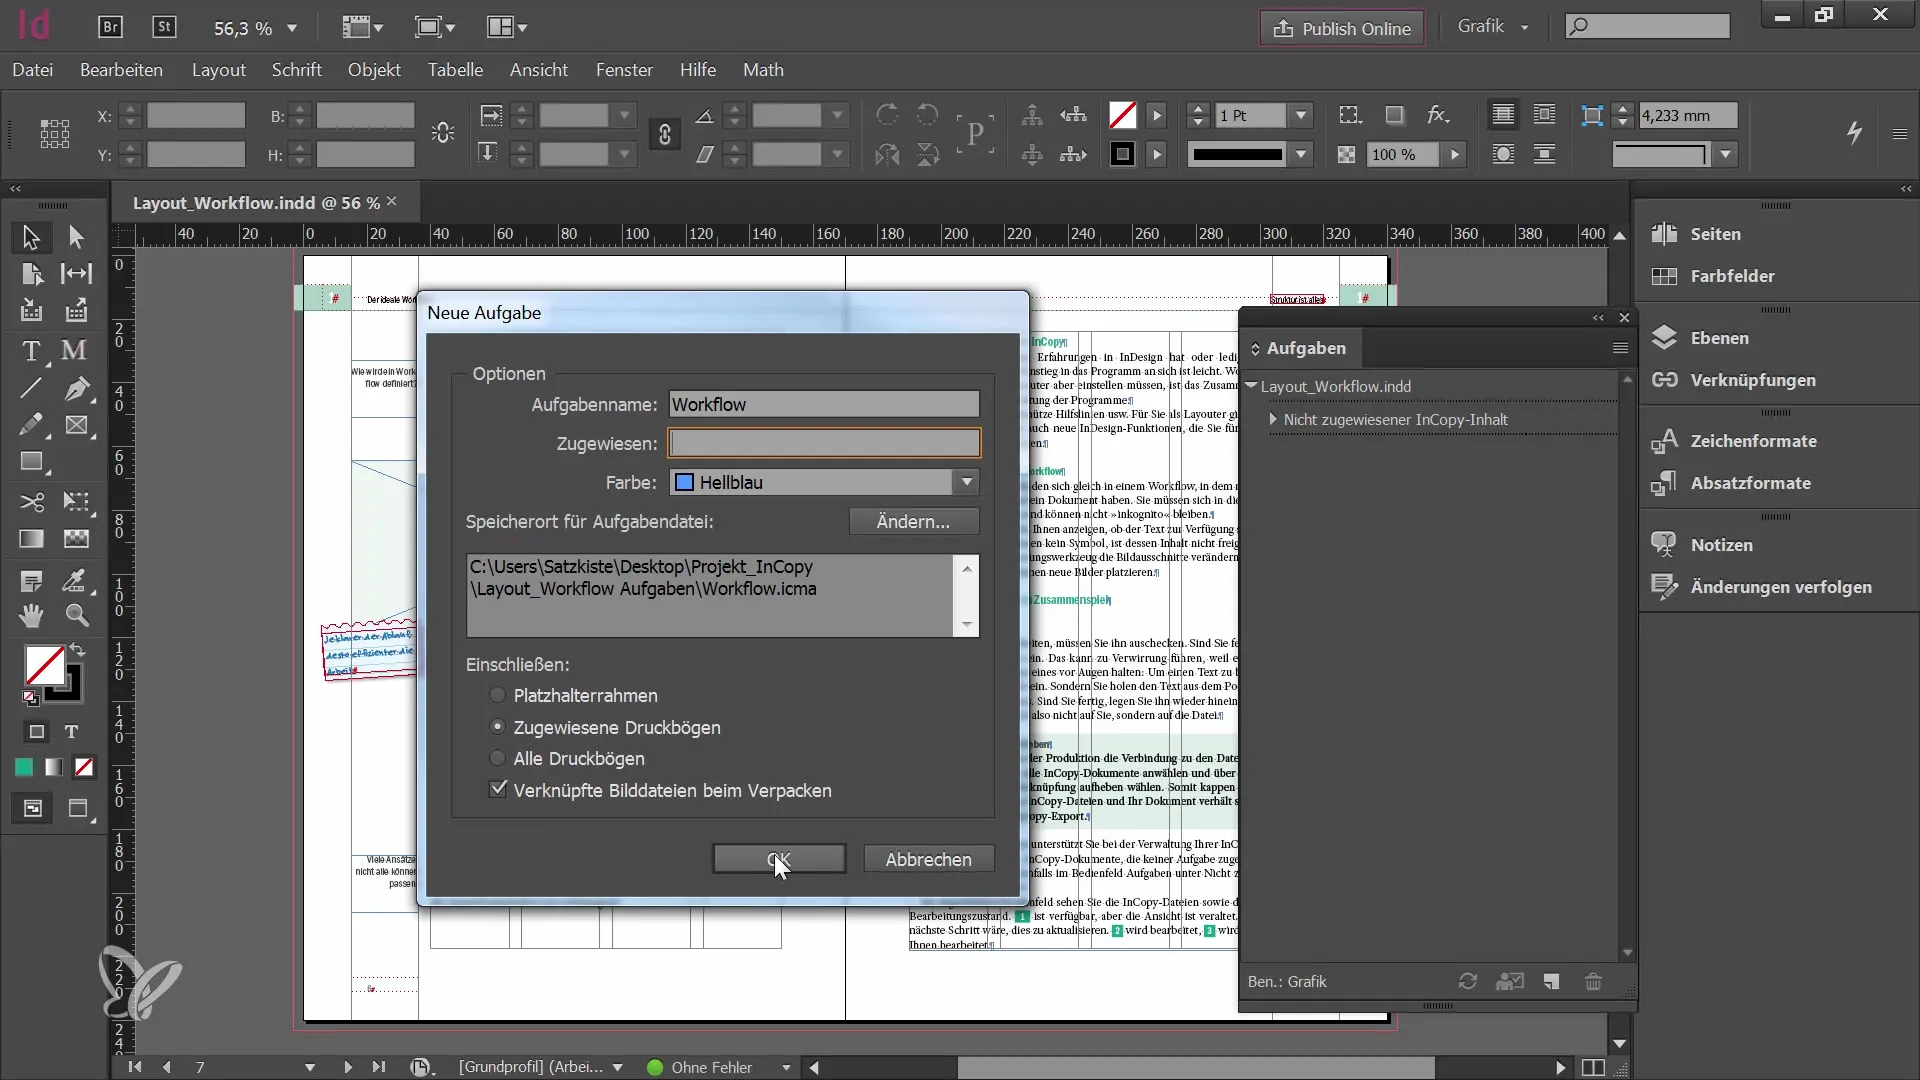
Since you don't have any tasks in this document yet, click on "New" to create a new task. Name the task uniquely so the editorial team knows what it is about. You can also choose a color for assignment.
Export Settings
During export, you can specify which content to export. You have the option to export only the print sheets with released elements or all elements. Placeholder frames can also be inserted. Make sure to choose the desired options and click "OK" to proceed.
Final Saving of the Task Export
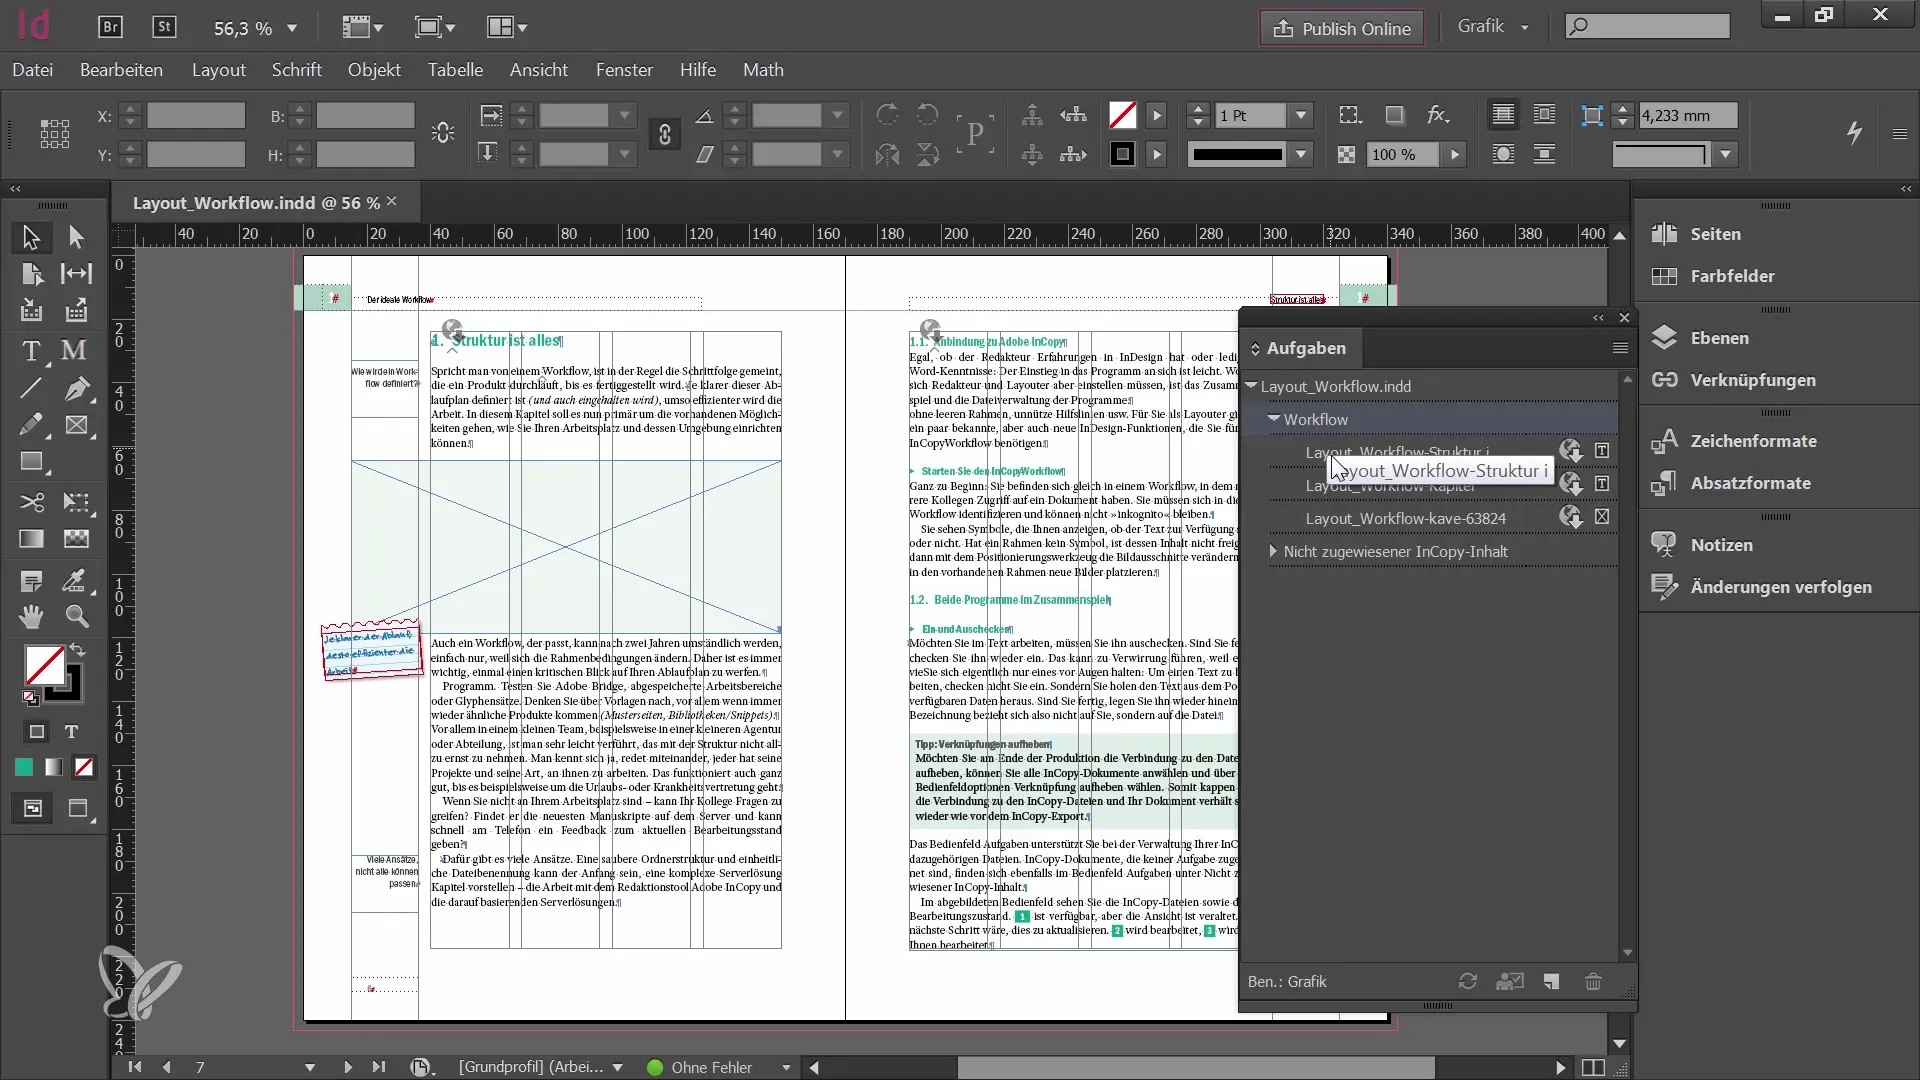
Click "Yes" to save the document and make sure the globe appears in your "Link" palette, indicating that the content is now available. In the "Tasks" palette, you should see the newly created task containing all associated content.
Checking the project folder
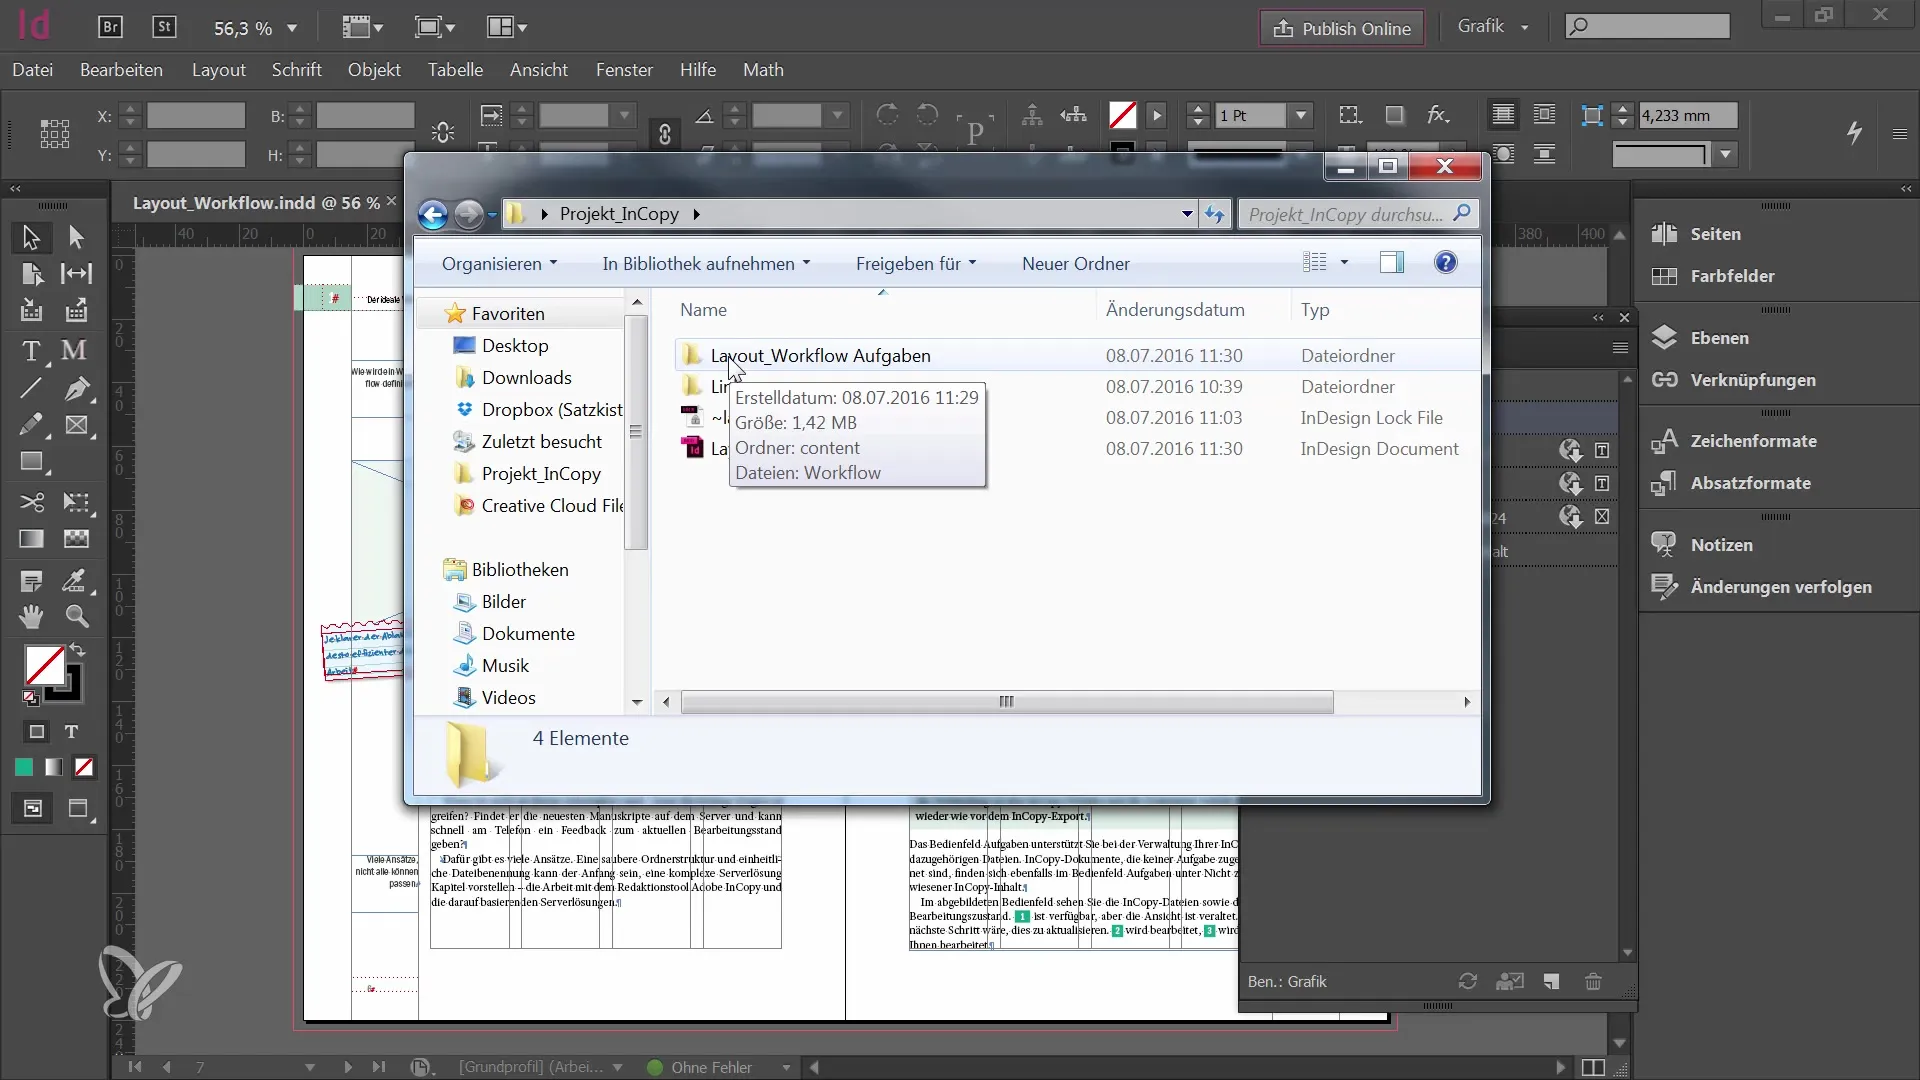
Open your project folder and look for the new folder "Layout Workflow Tasks". Here you will find the task as well as the link to the InCopy files. The editor will later be able to open these tasks to edit the content.
Summary
In this tutorial, you have learned how to export InDesign documents for different user groups. You now know how to prepare and share content for internal and external use. This knowledge is crucial to ensure a smooth workflow between editorial and graphic departments.
Frequently Asked Questions
What is the difference between internal and external use?Internal use means that everyone in the team works on a server, while external use provides files via email or FTP.
How do I save the export files?You should always create a new folder to keep the export files organized.
What happens if I don't save the document?If the document is not saved, all changes and exported content will be lost.
How can I open the tasks panel?Simply go to "Window" and select "Tasks" to display this panel.
How can I ensure that the content is available to the editor?Make sure the document is correctly exported and the globe is ready.


