In this tutorial, you will focus on the user interface of Adobe InCopy CC. Especially for editors and authors, it can be a real challenge to navigate this software, especially if you are coming from InDesign. InCopy offers a variety of options to facilitate working on texts and layouts. Let's go through the basics of the workspace and the key panels together.
Main Insights
- The user interface of InCopy is similar to that of InDesign.
- You have the option to flexibly show or hide panels.
- Workspaces can be customized and saved according to your needs.
Step-by-Step Guide
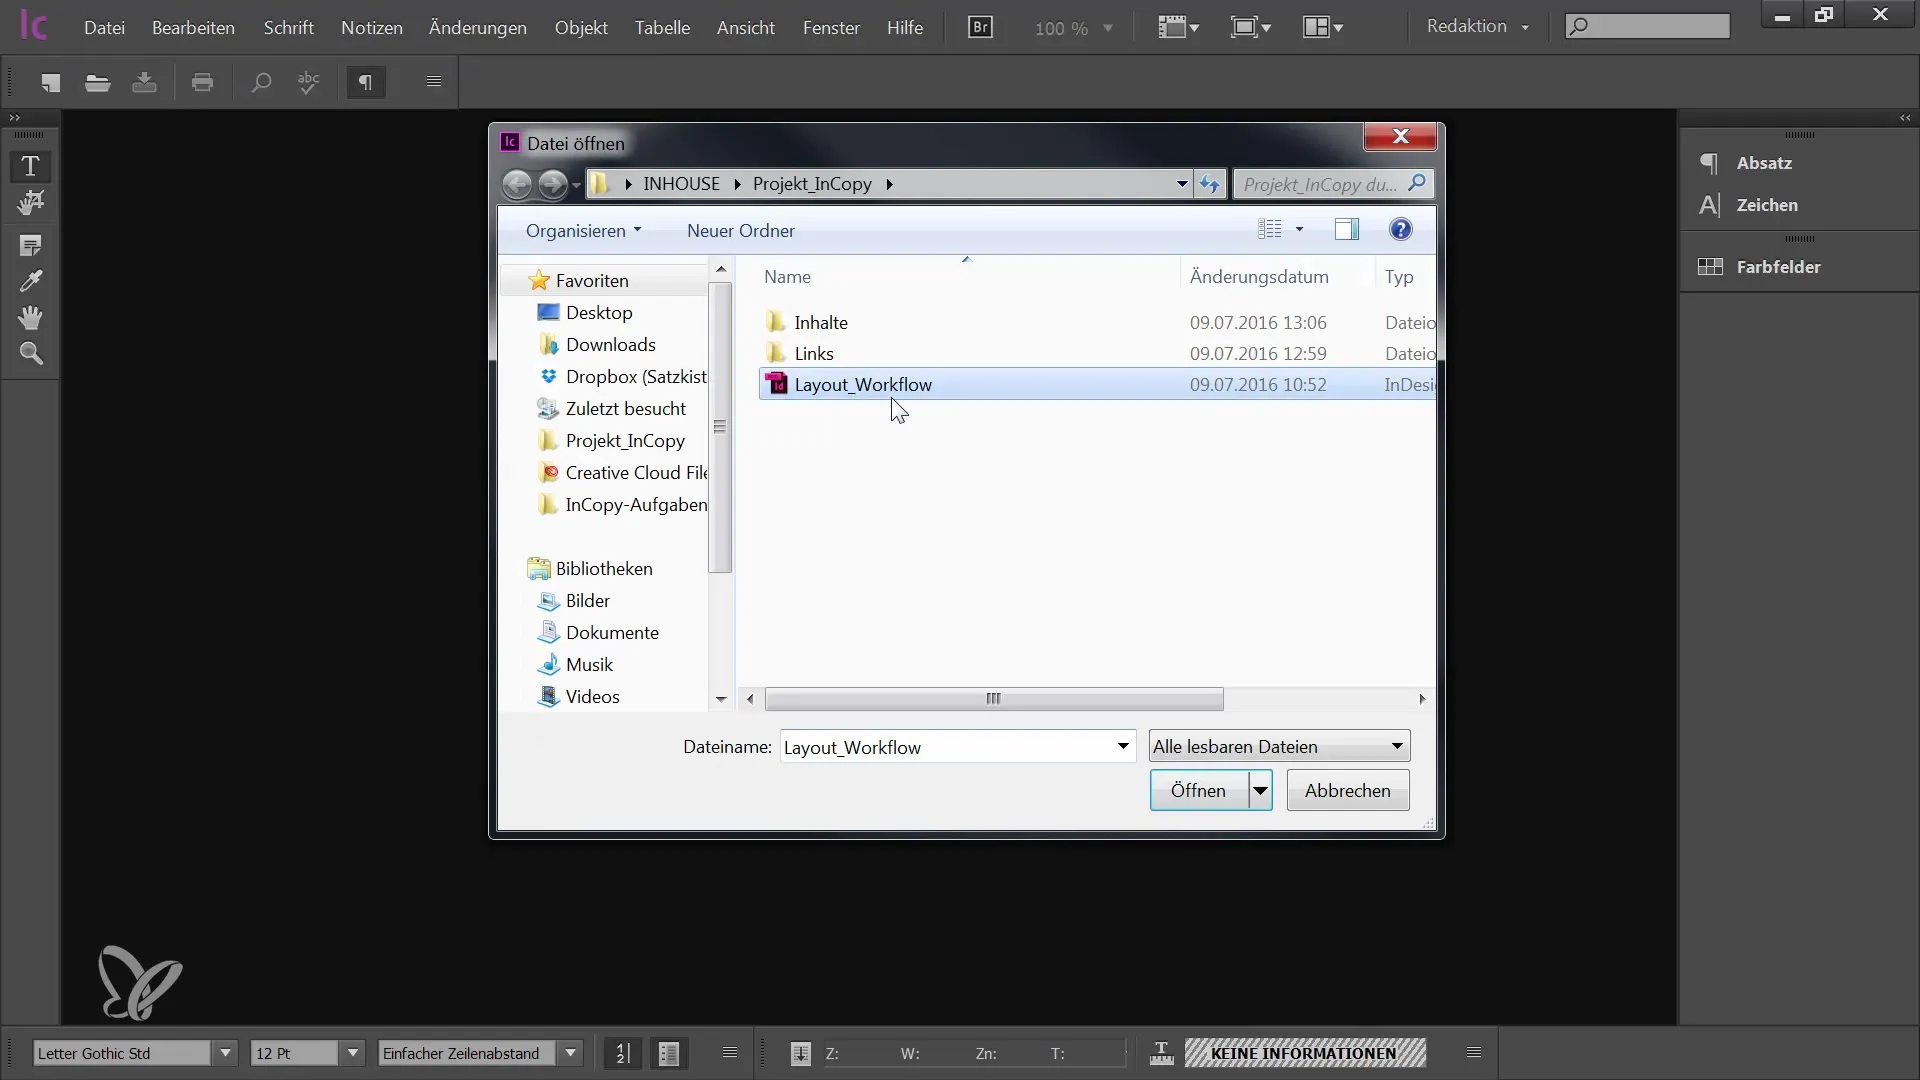
1. Open InCopy Document and Layout View
To properly utilize the workspace, you should first open your InCopy document. You can import the InDesign document to facilitate the workflow between editors and designers. I recommend switching to layout view as it offers the most organized display of your content.
2. Explore the Menu and Tools
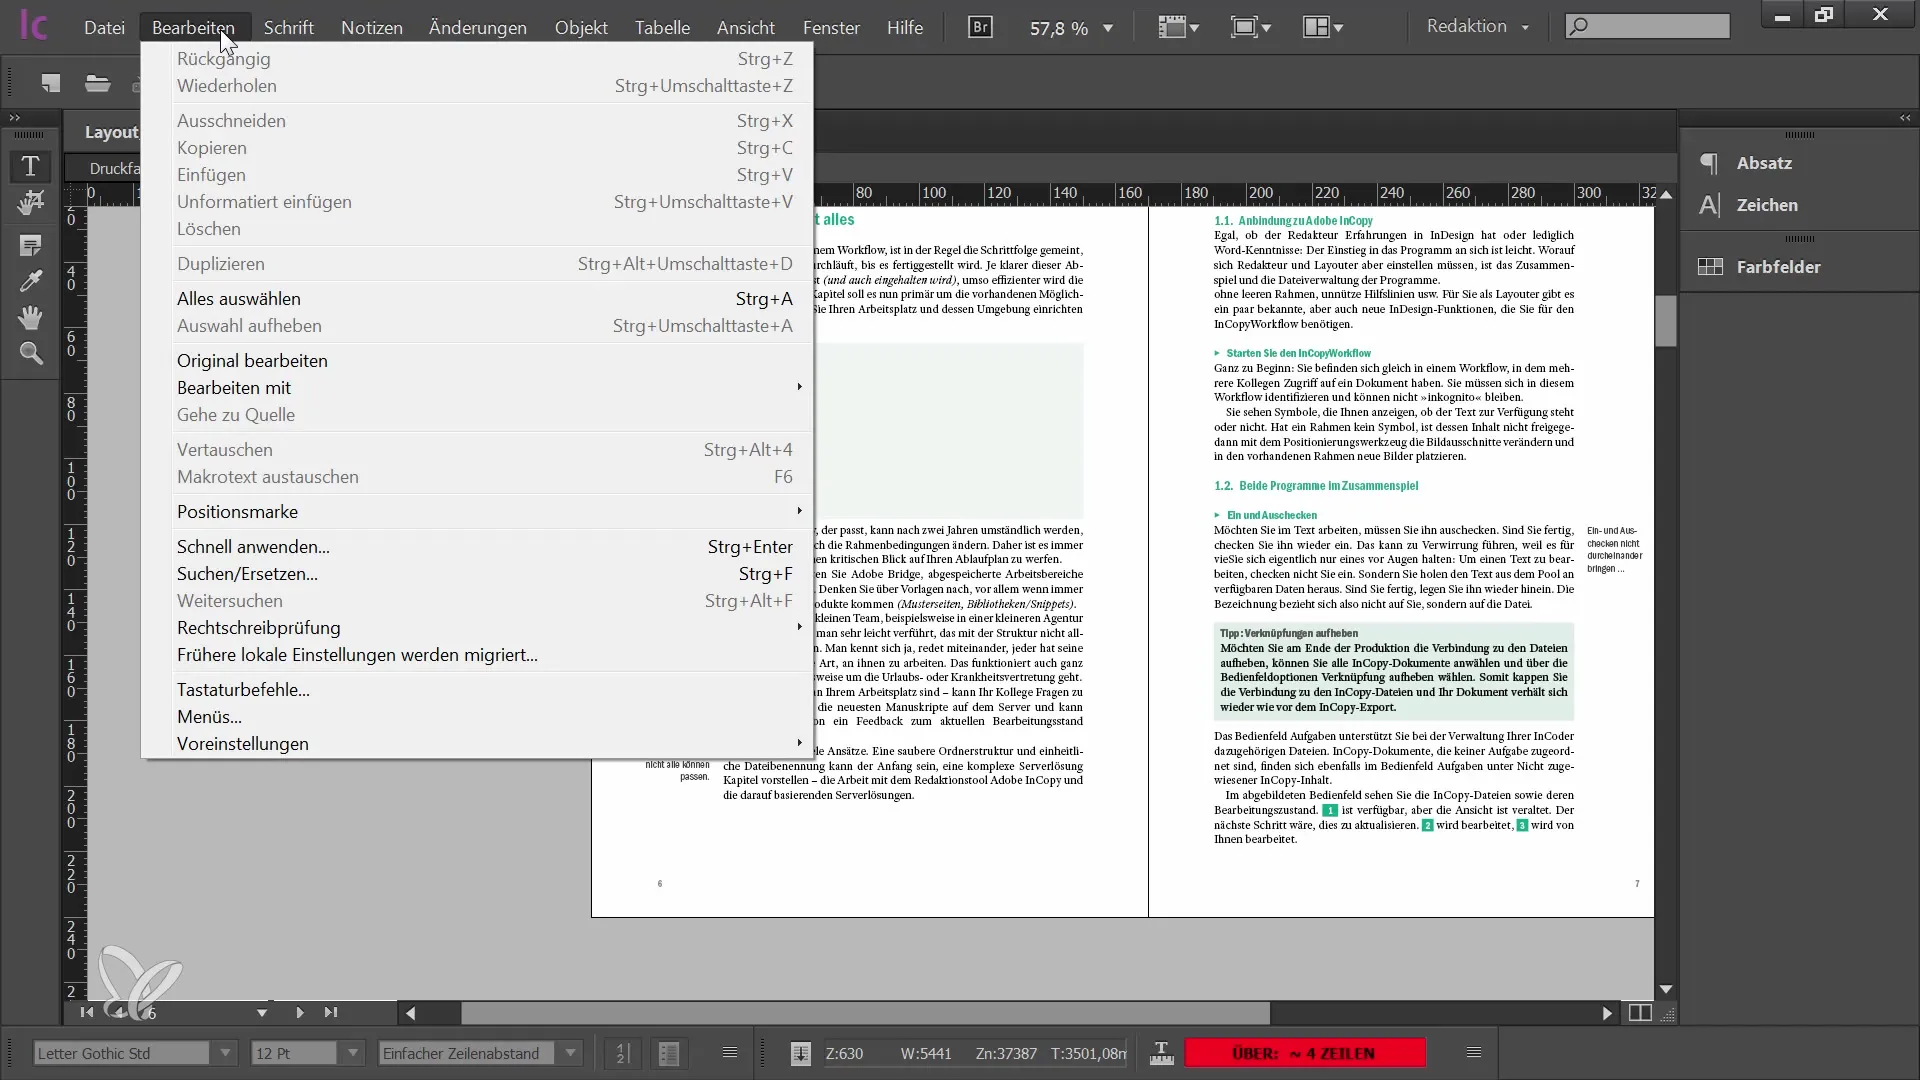
At the top of your screen, you will find the menu with various functions. Here, you can make all necessary settings. On the left side, there are six tools that you can easily switch between. These tools are crucial for editing your text.
3. Arrange Panels
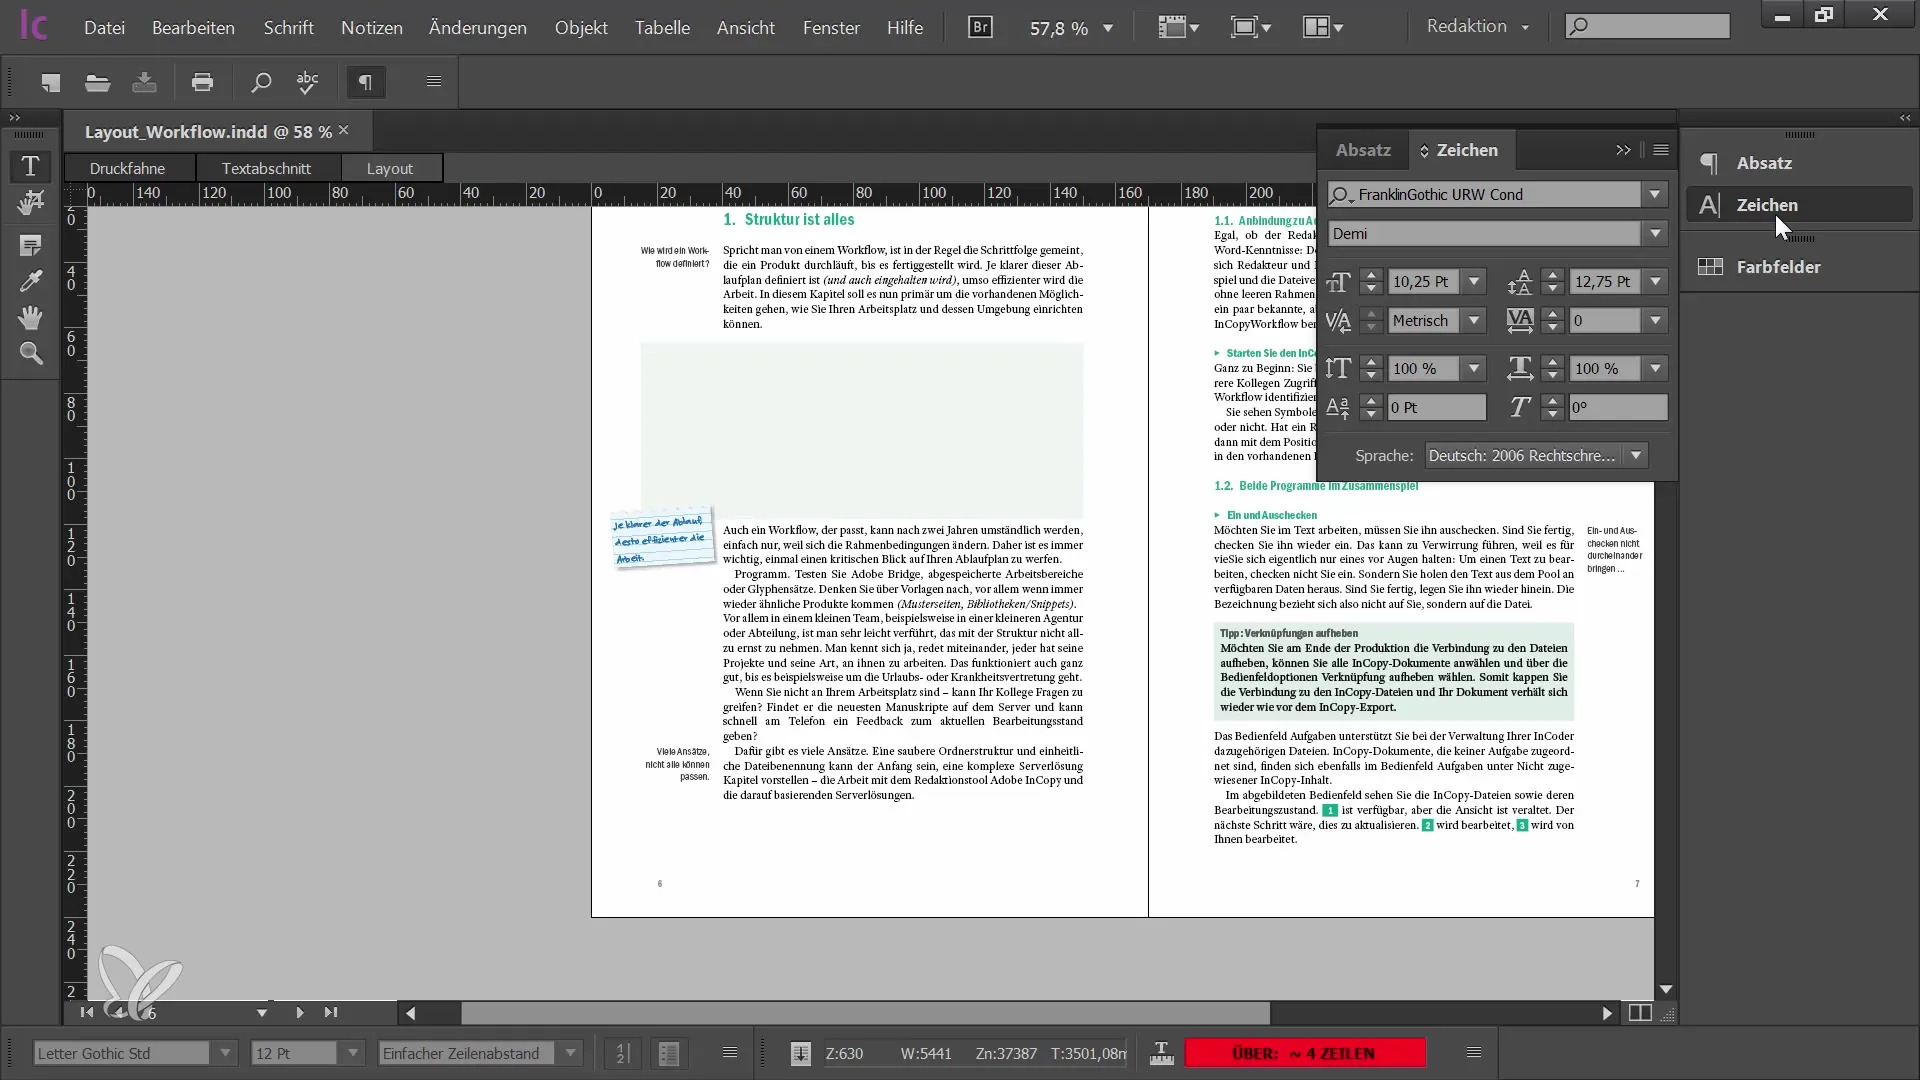
On the right side, you have space for your panels. These are essential for various functions such as character formatting, paragraph formatting, and more. You can arrange the panels as you prefer. If space is limited, you can collapse the panels to make more room for your document.
4. Show and Hide Panels
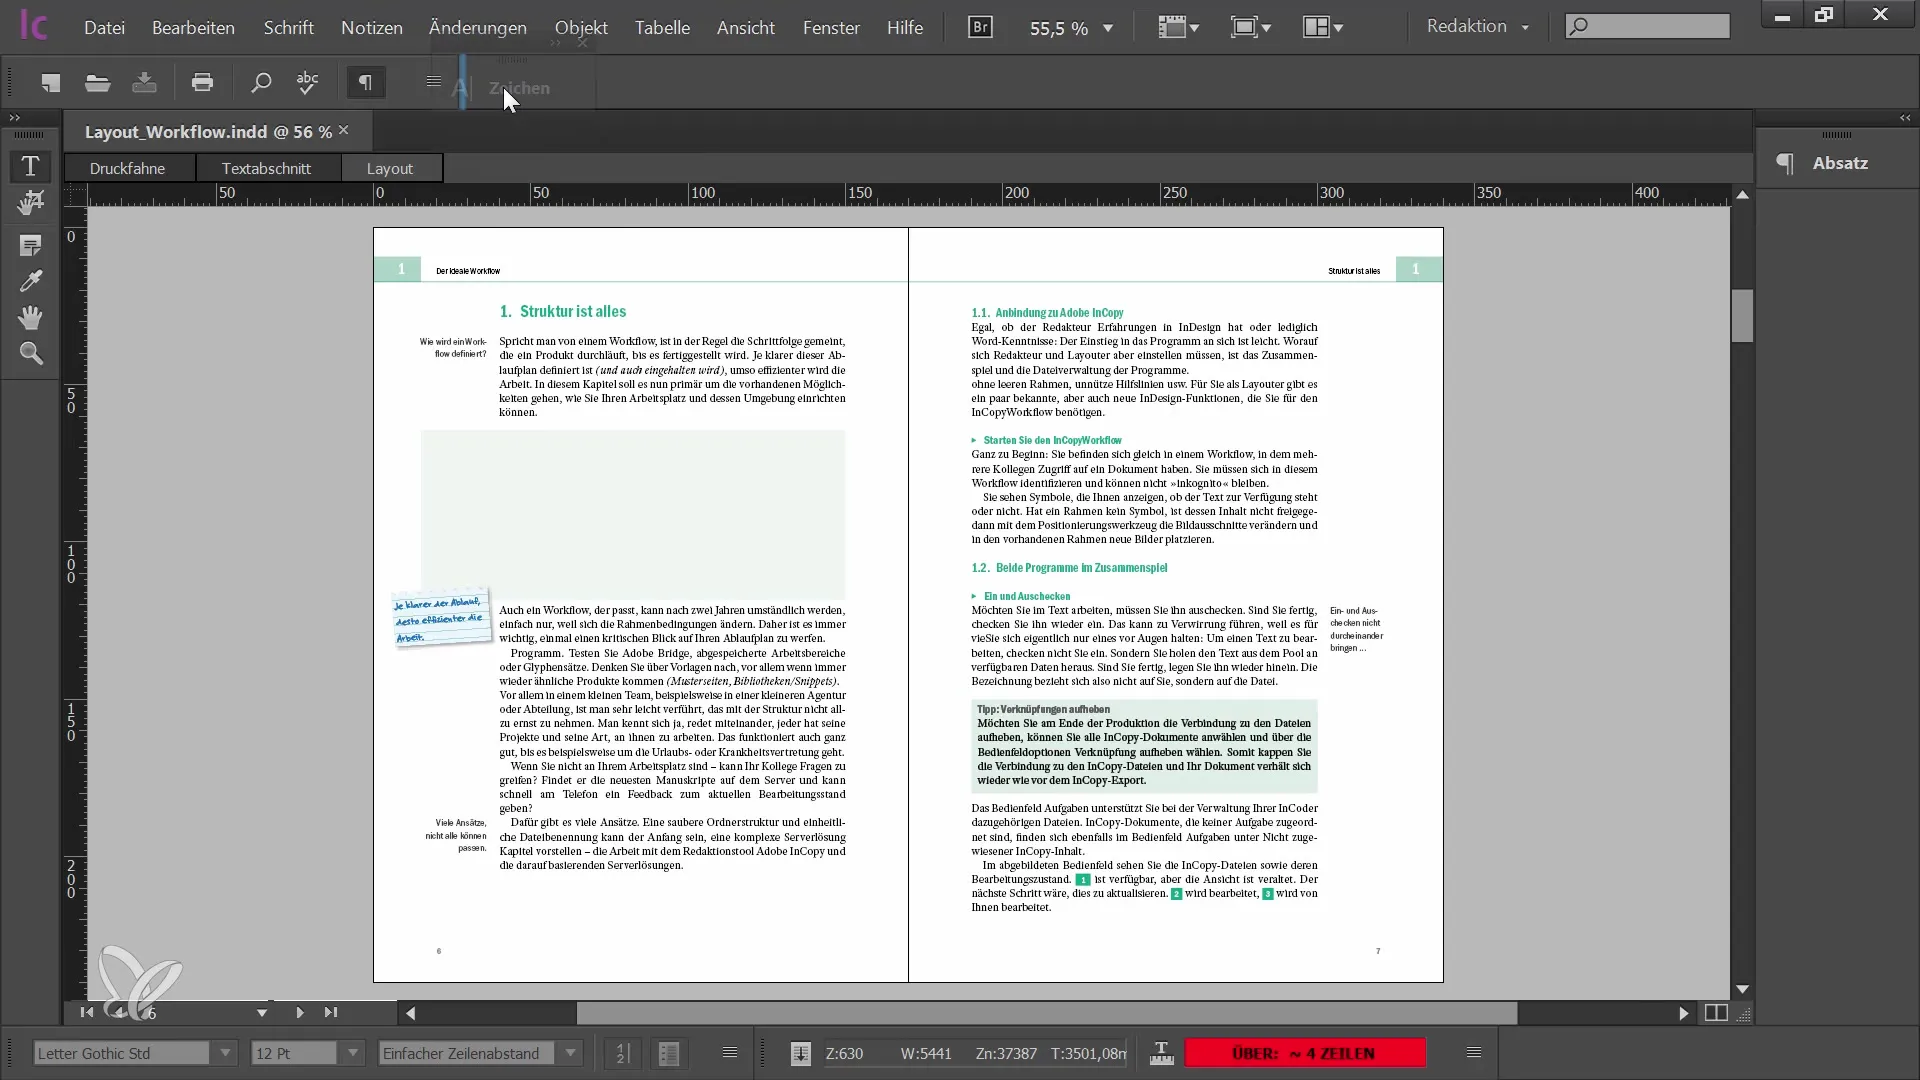
You have the option to completely close or minimize panels by simply clicking on them. Some panels can even be arranged in the top bar, making access easier. Remember that in the expanded view, you have more options available.
5. Use Panel Menu
Each panel has a menu in the top right corner that offers additional options. Here, you can make additional settings or access functions that you may need. To view all available panels, go to the "Window" menu.
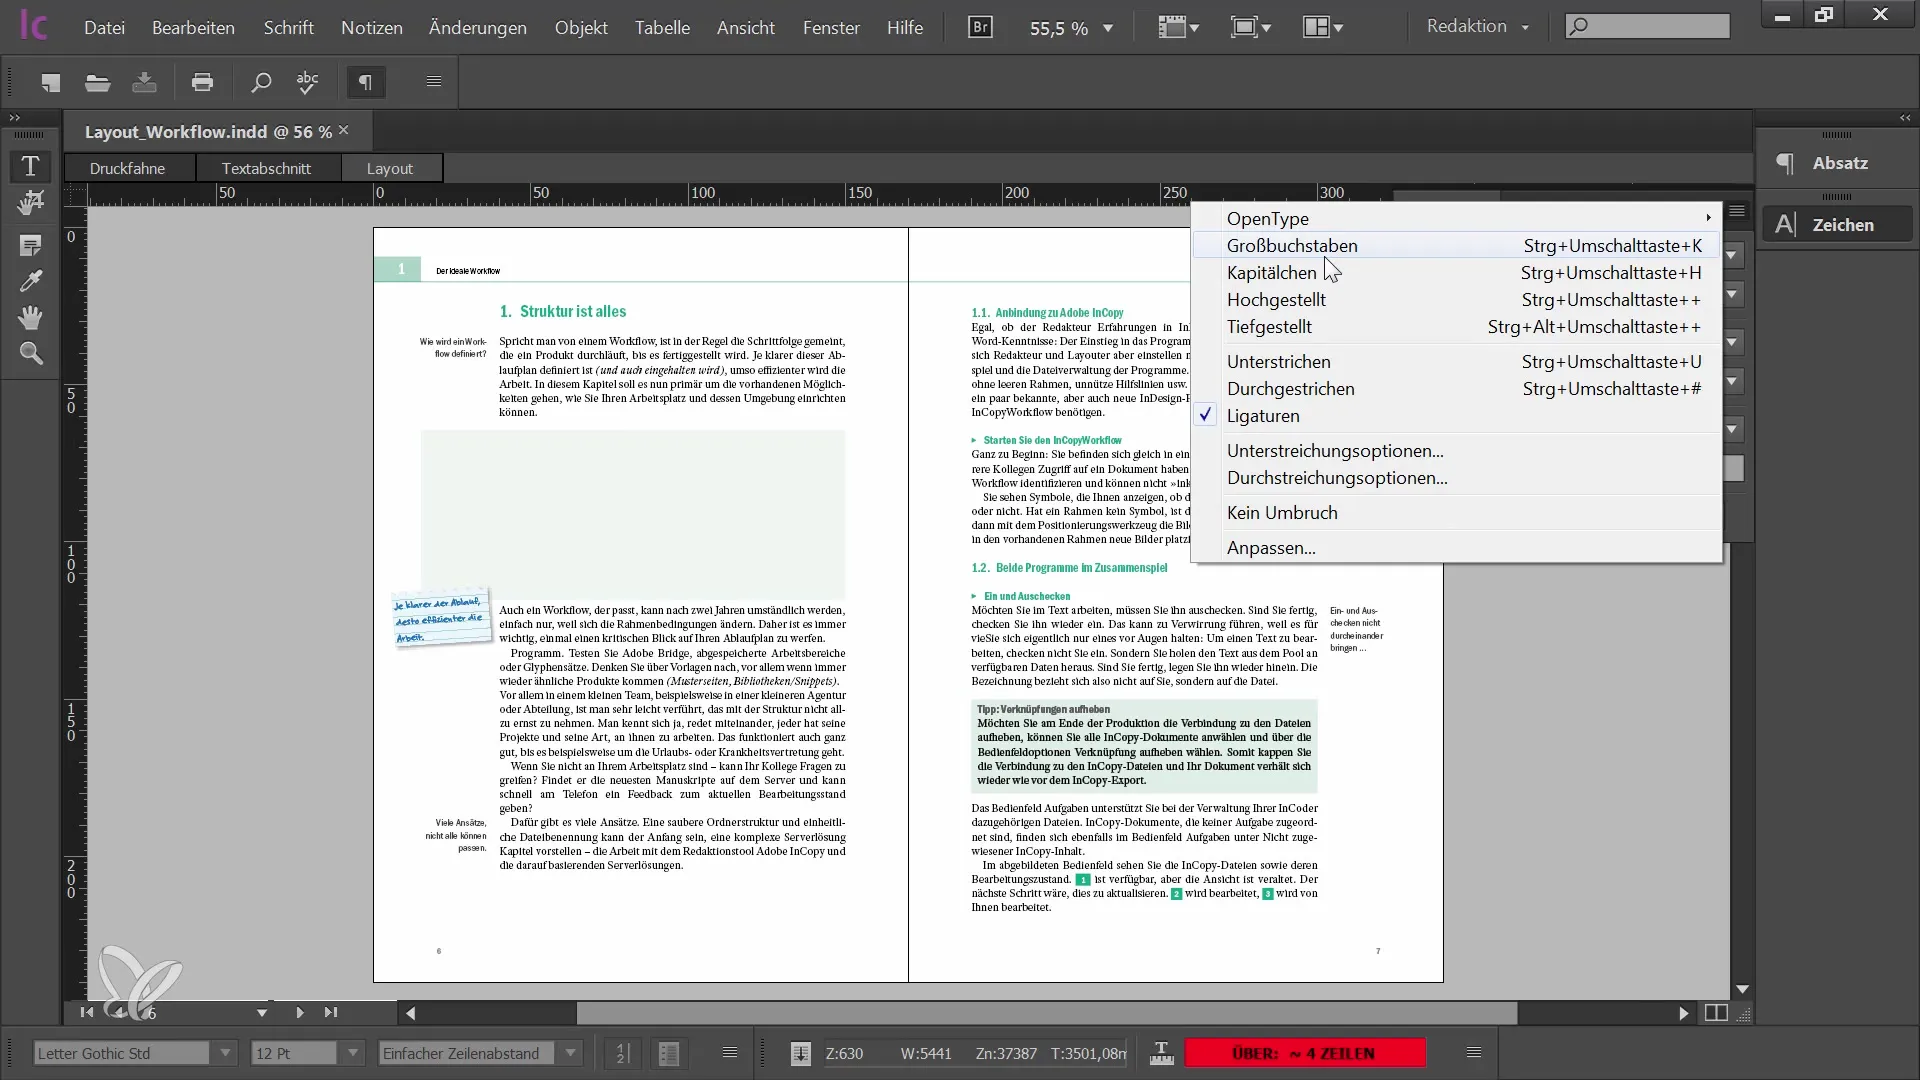
6. Color Swatches and Additional Panels
If you want to use color swatches, for example, you can also access them through the menu and add them to your workspace. It is important to experiment with the different panels to determine what works best for your project.
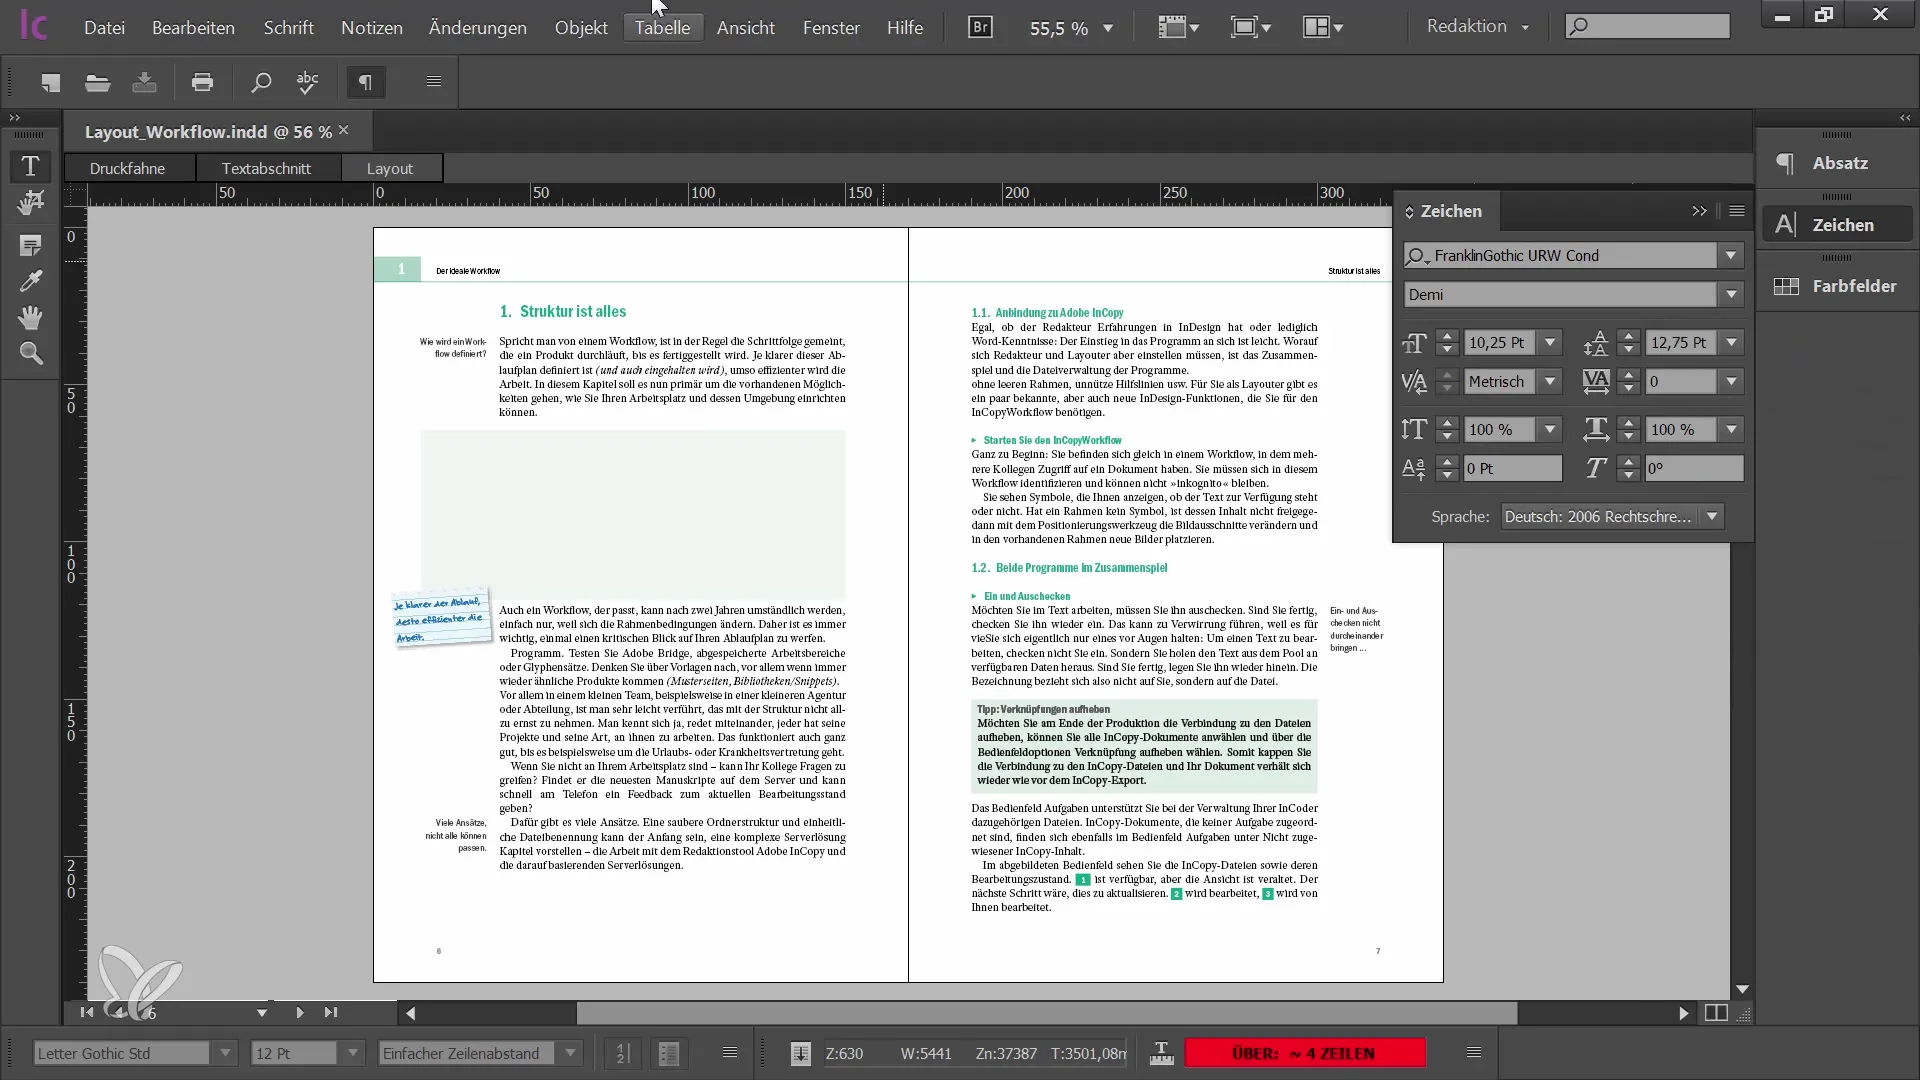
7. Arranging Panels
When arranging panels, it is immediately highlighted in blue, helping you better understand the structure and placement. If you prefer a particularly compact view, you can also collapse and expand all panels simultaneously.
8. Save and Customize Workspace
Once you are satisfied with the arrangement of your panels, you can save your workspace. Go to the "Window" menu and select the "Workspace" option. There you can create a new workspace or overwrite an existing one.
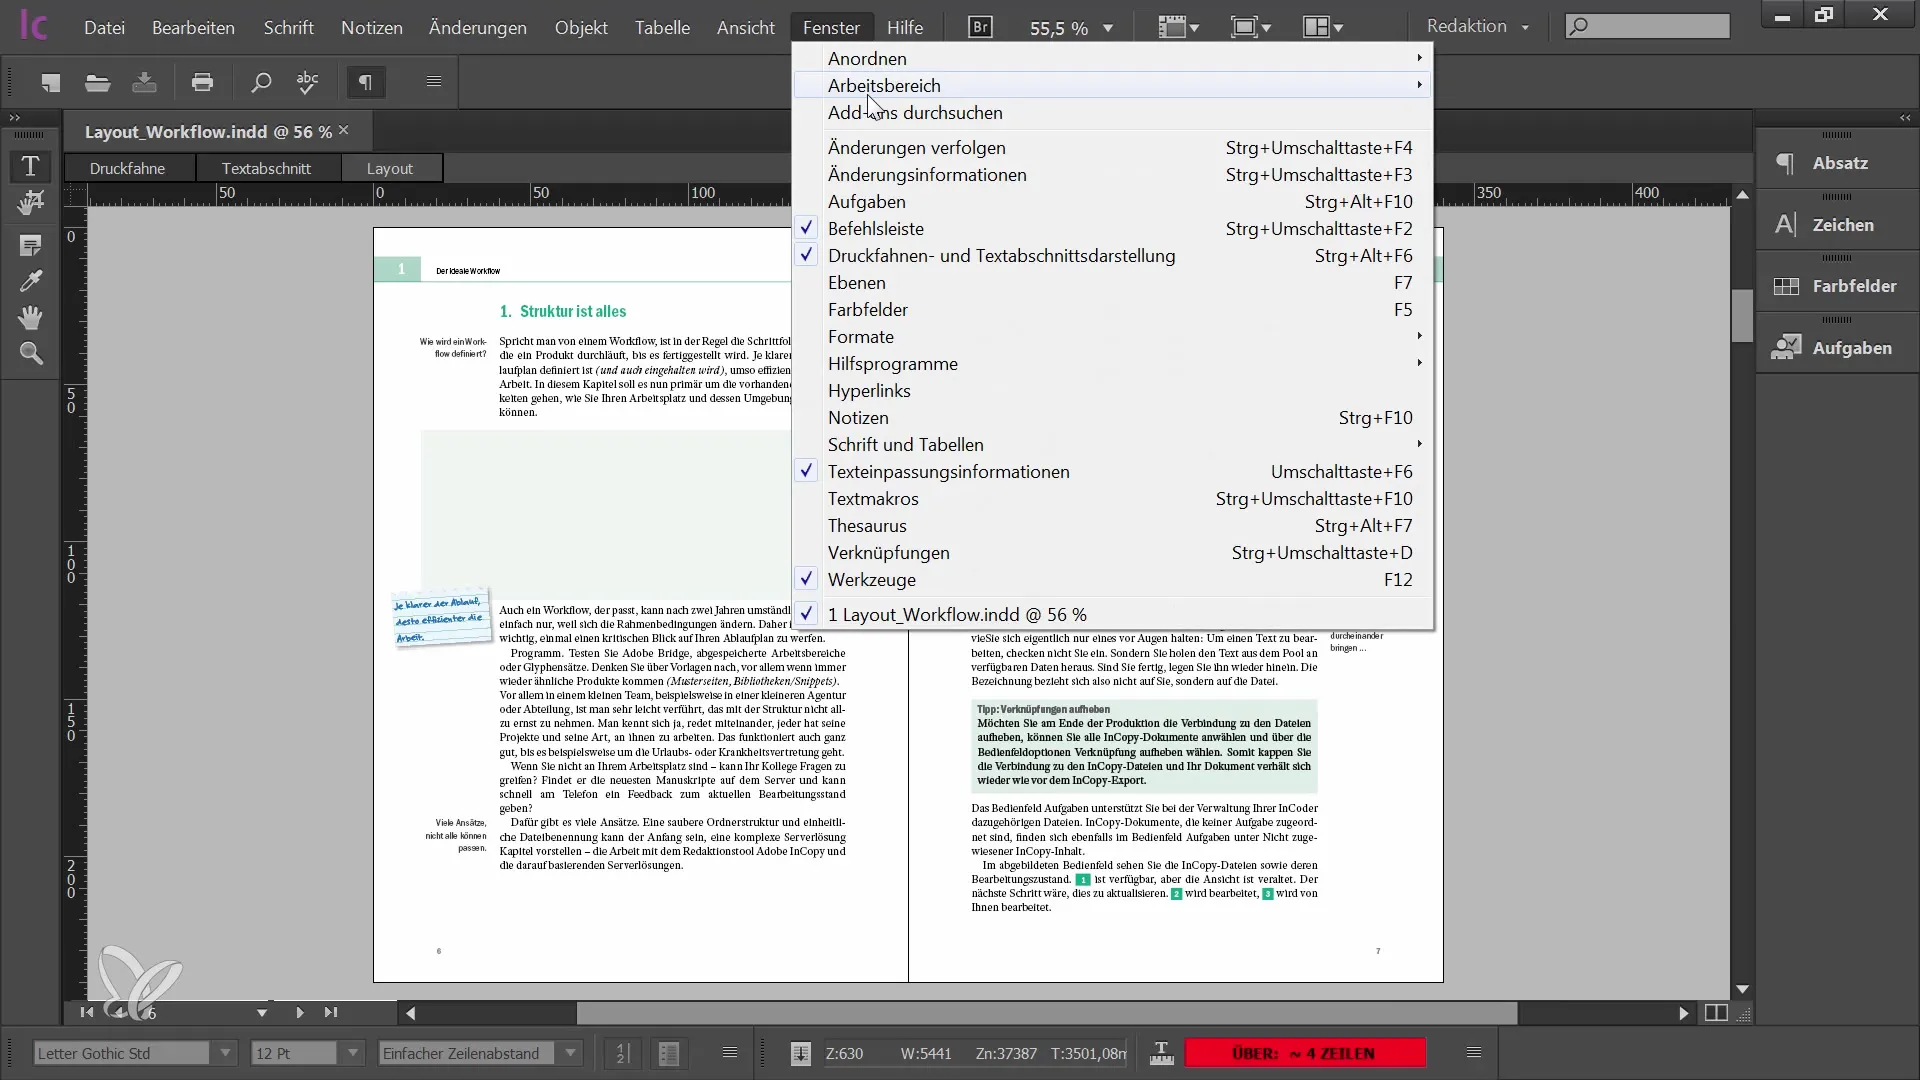
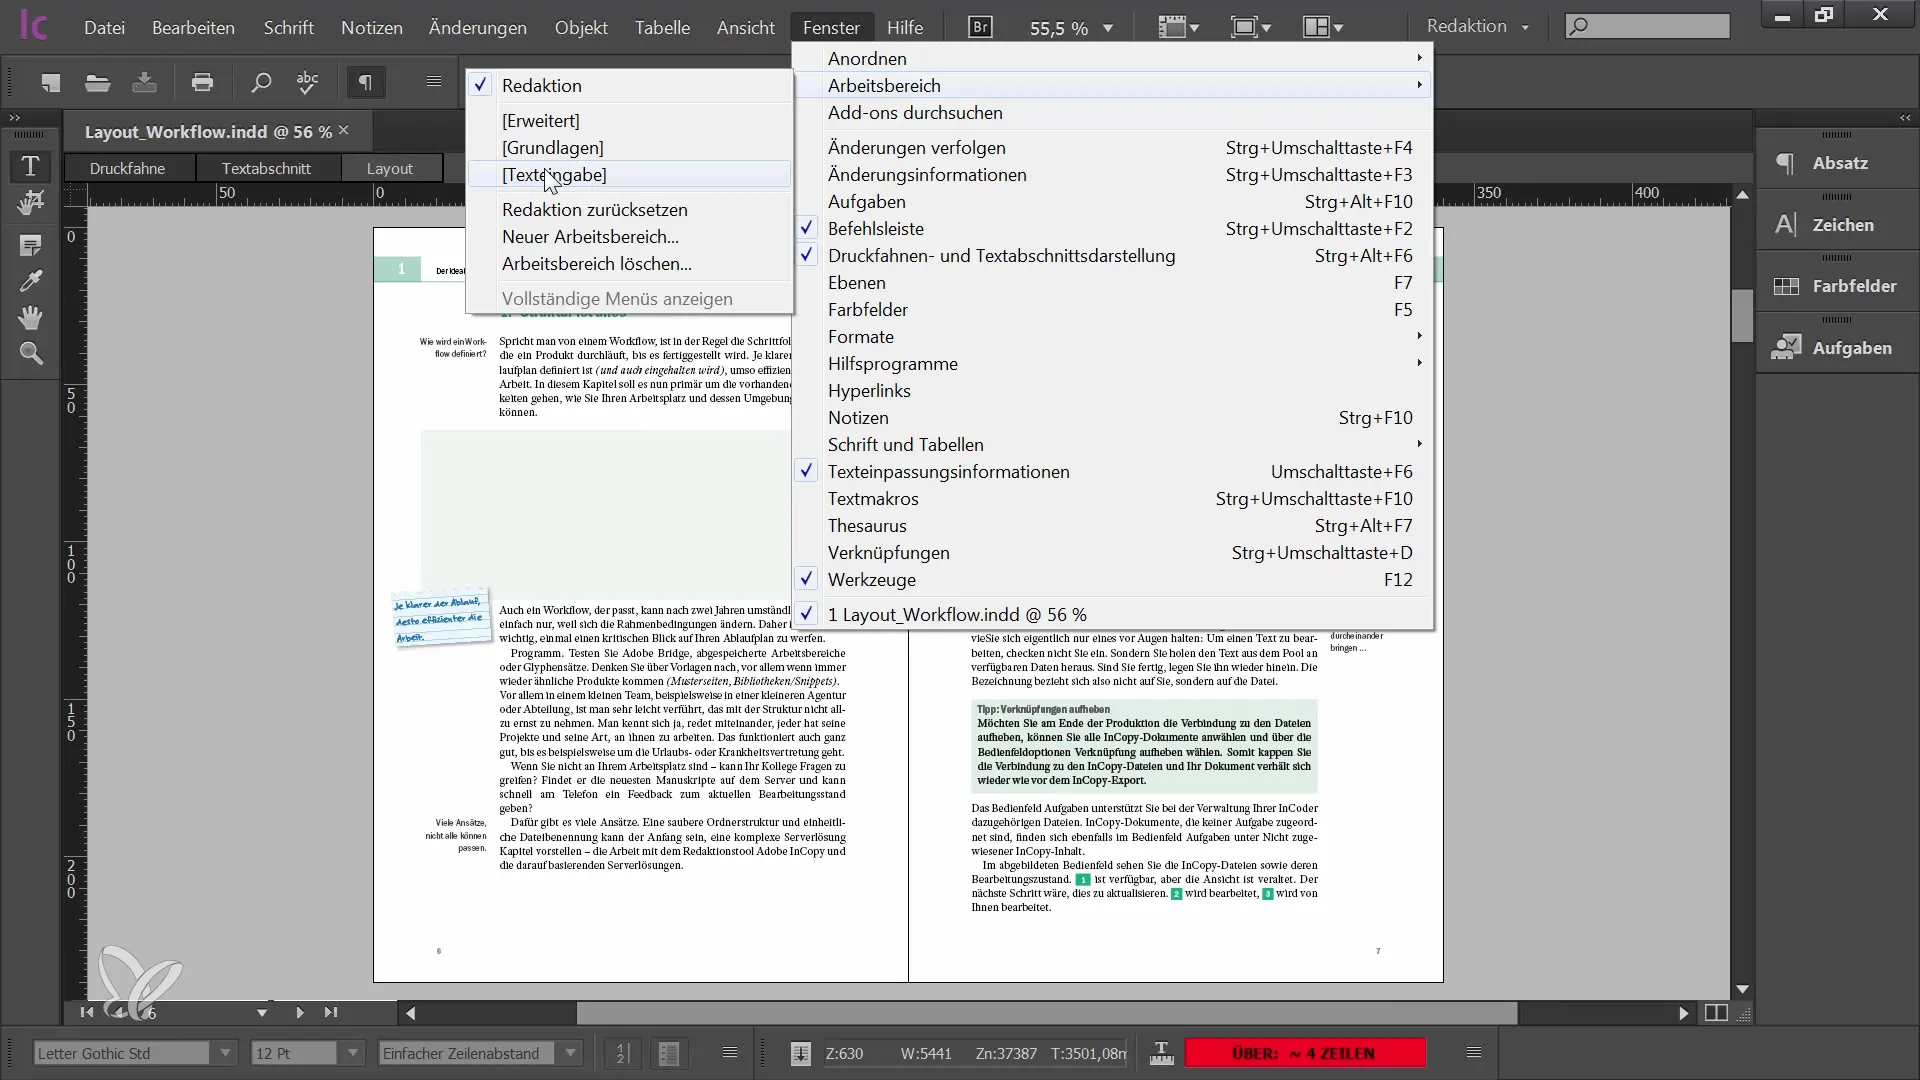
9. Utilize Predefined Workspaces
If you need help organizing your workspace, InCopy provides some predefined workspaces, such as "Advanced" or "Text Entry." These are available to you as a starting point and can show you how to efficiently arrange your panels.
Summary
In this tutorial, you have learned how the user interface of Adobe InCopy CC is structured. It is particularly important to use the panels and tools to optimize your workflow. Try out the different options to create a workspace that suits your needs.
Frequently Asked Questions
How do I open an InCopy document?You can open your InCopy document by importing the corresponding InDesign document.
Where can I find the tools?The tools are located on the left side of your user interface.
Can I customize my panels?Yes, you can show or hide and save the panels in the desired arrangement.
What are preset workspaces?Preset workspaces are standardized layouts that help you efficiently organize your panels.


