In today's tutorial, you will learn how to edit and place images in Adobe InCopy CC. I will show you how to modify graphic excerpts and insert images into existing layouts. These skills are particularly useful for editors who work closely with designers and need to adjust their layouts directly. Note that the image editing capabilities depend on the layout and the rights granted to you by the graphic designer.
Key Takeaways
- You can edit images in InCopy if the graphic designer has granted you the corresponding rights.
- It is important to distinguish between the image frame and the image content.
- By holding down the Shift key, you can maintain proportions when editing images.
- There are various adjustment and transformation options to perfectly fit images into frames.
- Editors can directly place images if there are image placeholders in the InDesign document.
Step-by-Step Guide
To master image editing in InCopy, follow these steps:
First, you must ensure that you have access to the image you want to edit. The graphic designer may have released one or more layers to you. These locked elements must be activated first so that you can work with them. You can do this by checking out the respective image from the workflow.
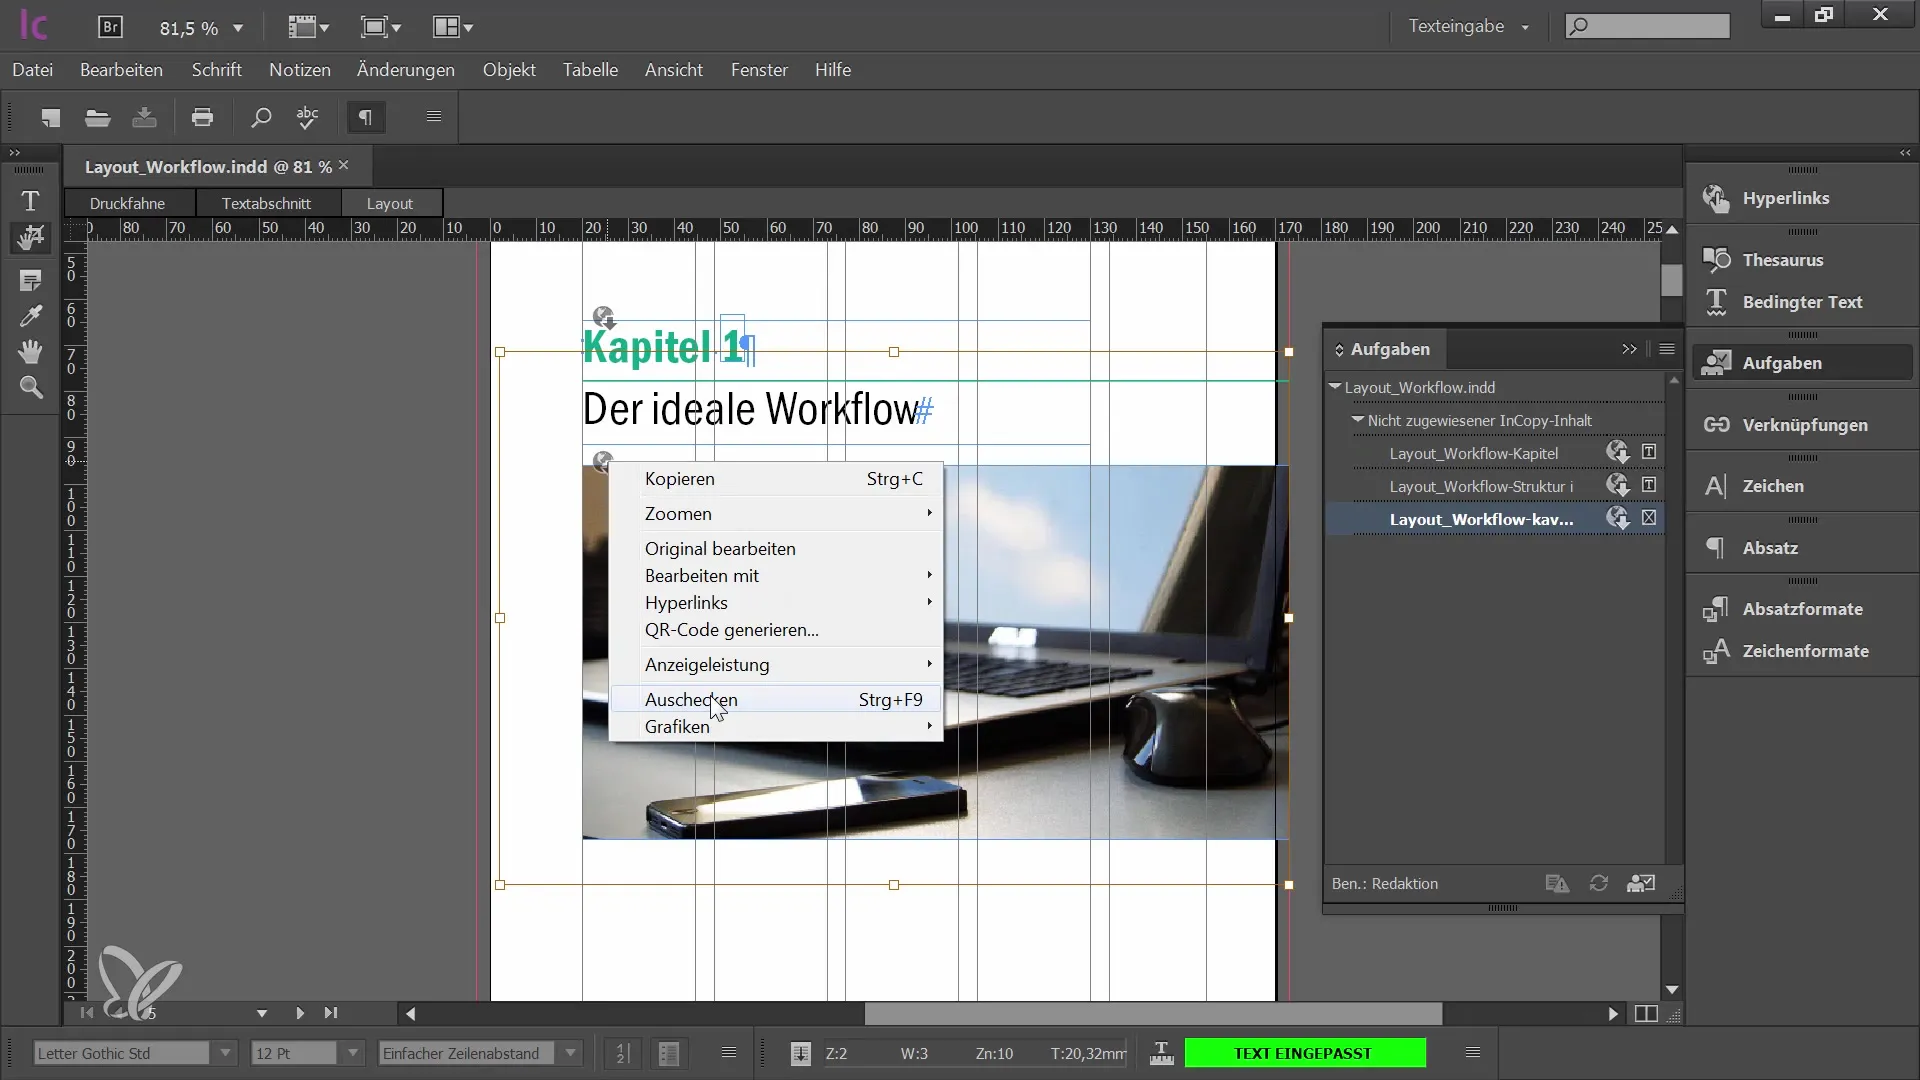
Once the image is checked out of the workflow, you can start editing it. In InCopy, you work not directly with the image frame but only with the image content. Note that the frame in which your image is placed cannot be changed. For example, you can move, enlarge, or reduce the image, but the frame remains unchanged.
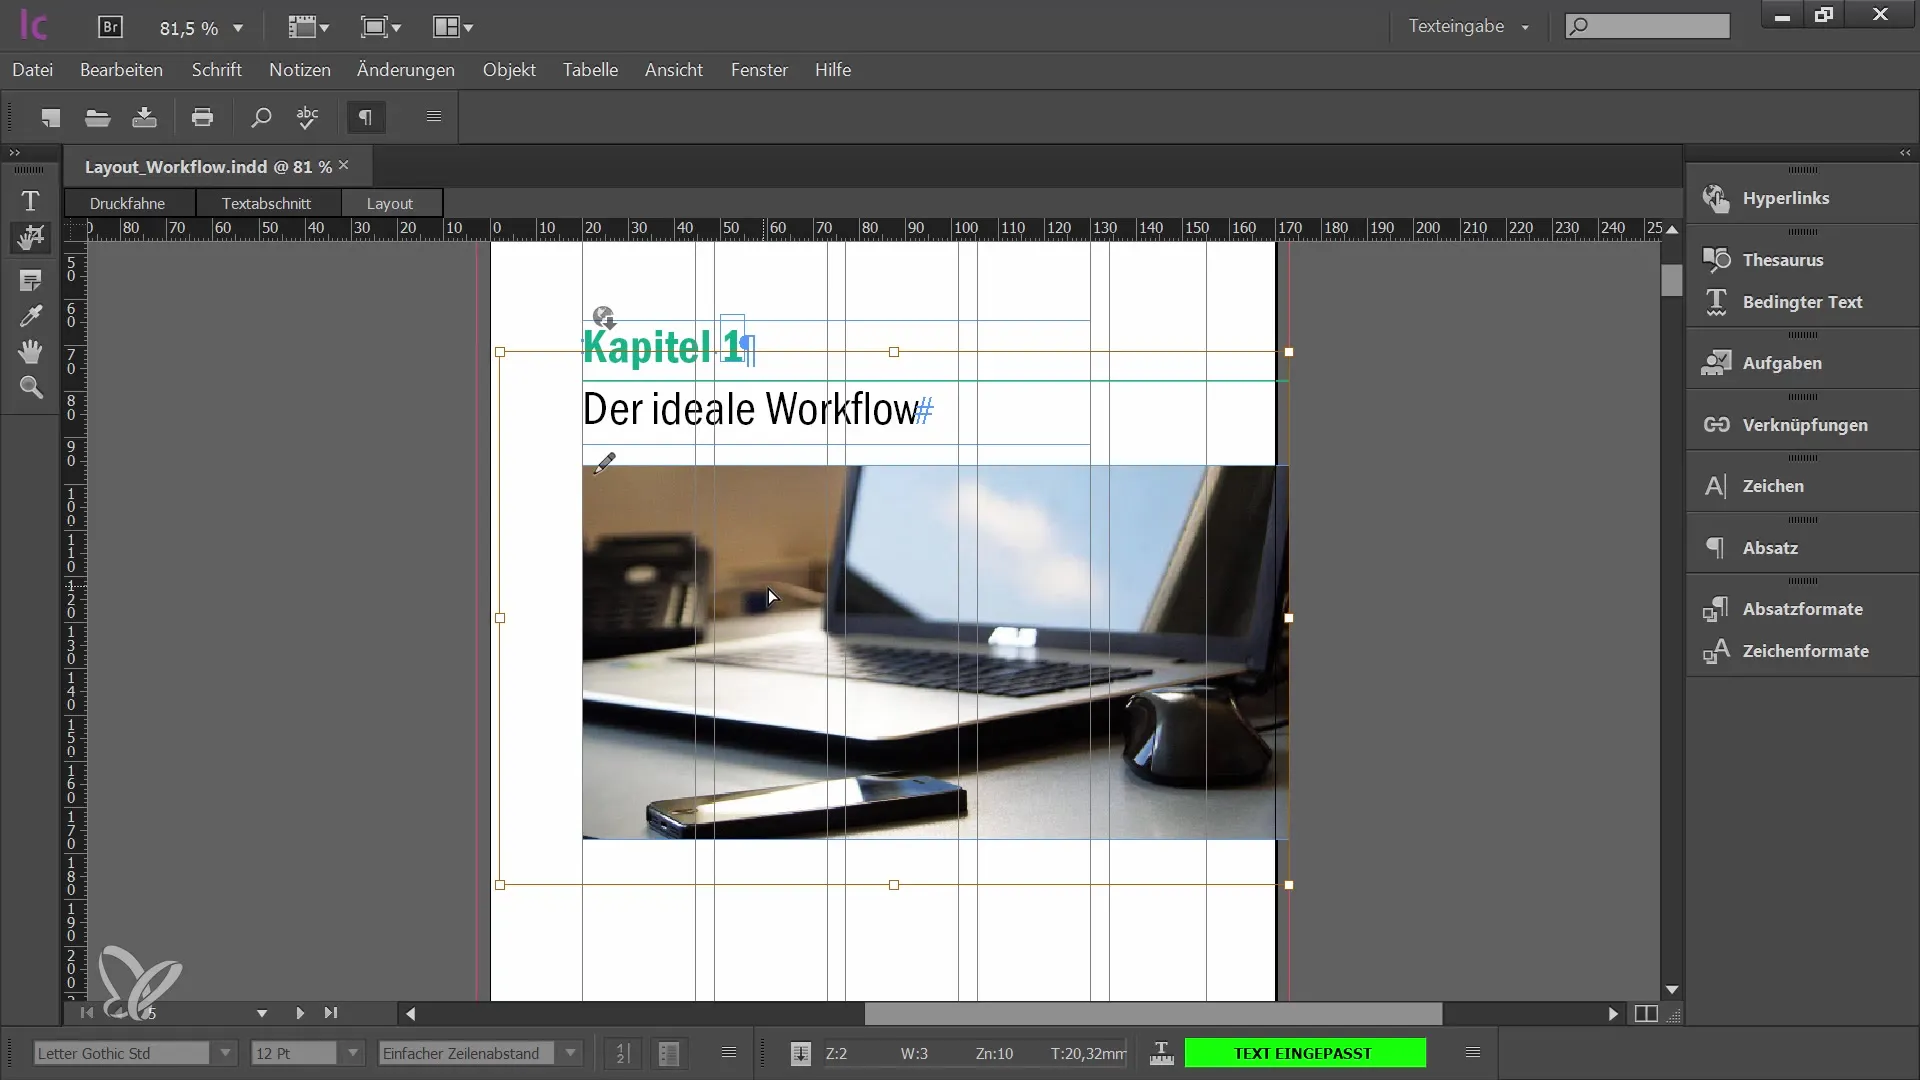
There are two ways to change the image's excerpt. Firstly, you can freely move and adjust the image. If you want to change the image size, you can use anchor points. These are located at the corners and sides of the image. Be careful not to distort the image. The "Undo" function is your best friend if you make a mistake.
An important rule when editing images is to maintain proportions. You can achieve this by holding down the Shift key while editing the image. This ensures that the image is not distorted and the original proportions are maintained.
In addition to these basic adjustments, InCopy also offers some practical functions to perfectly fit your image into the frame. In the object menu, you will find the options "Fill frame proportionately" and "Adjust content proportionately." These are particularly important because with "Fill frame proportionately," the image is adjusted to fill the entire frame without distorting it.
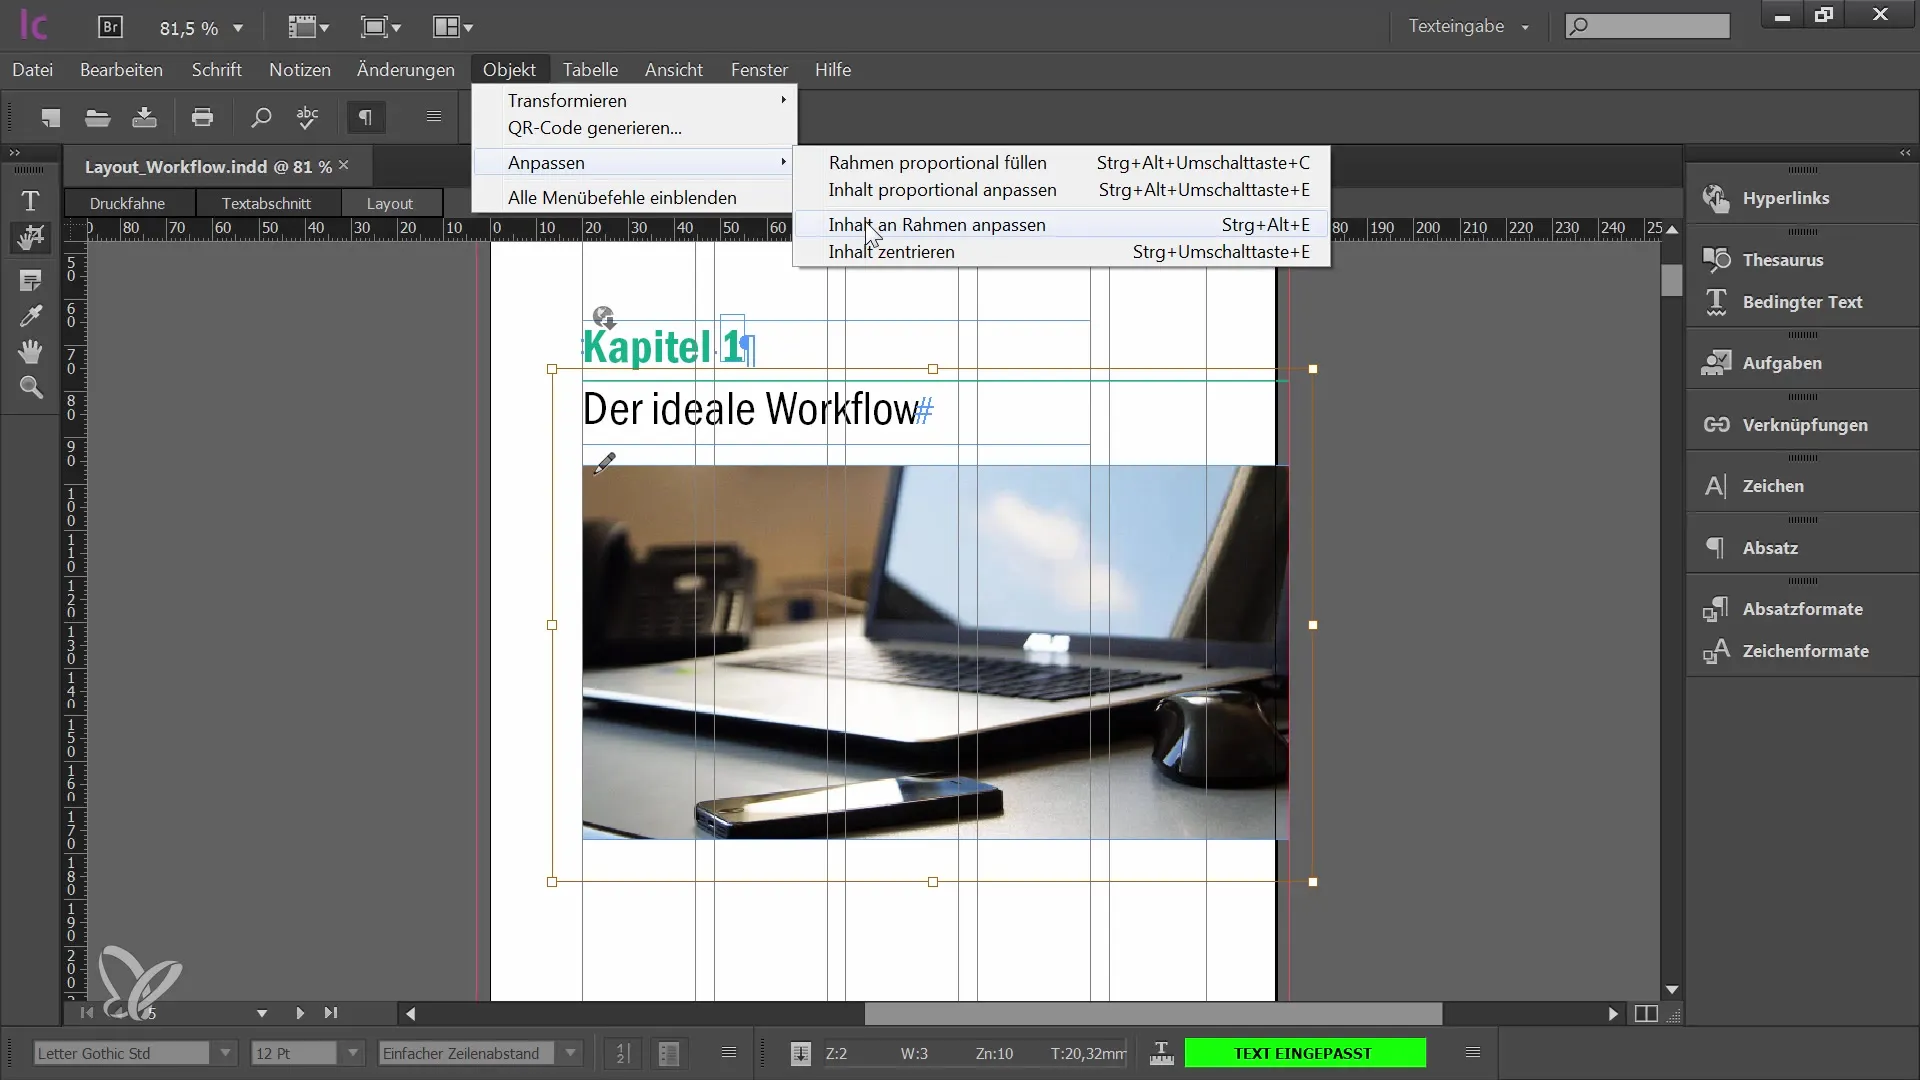
Another helpful function is "Adjust content proportionately." However, note that this function can distort the image if not adjusted accordingly. To achieve an ideal result, preferably use "Fill frame proportionately" and combine it with centering the image within the frame.
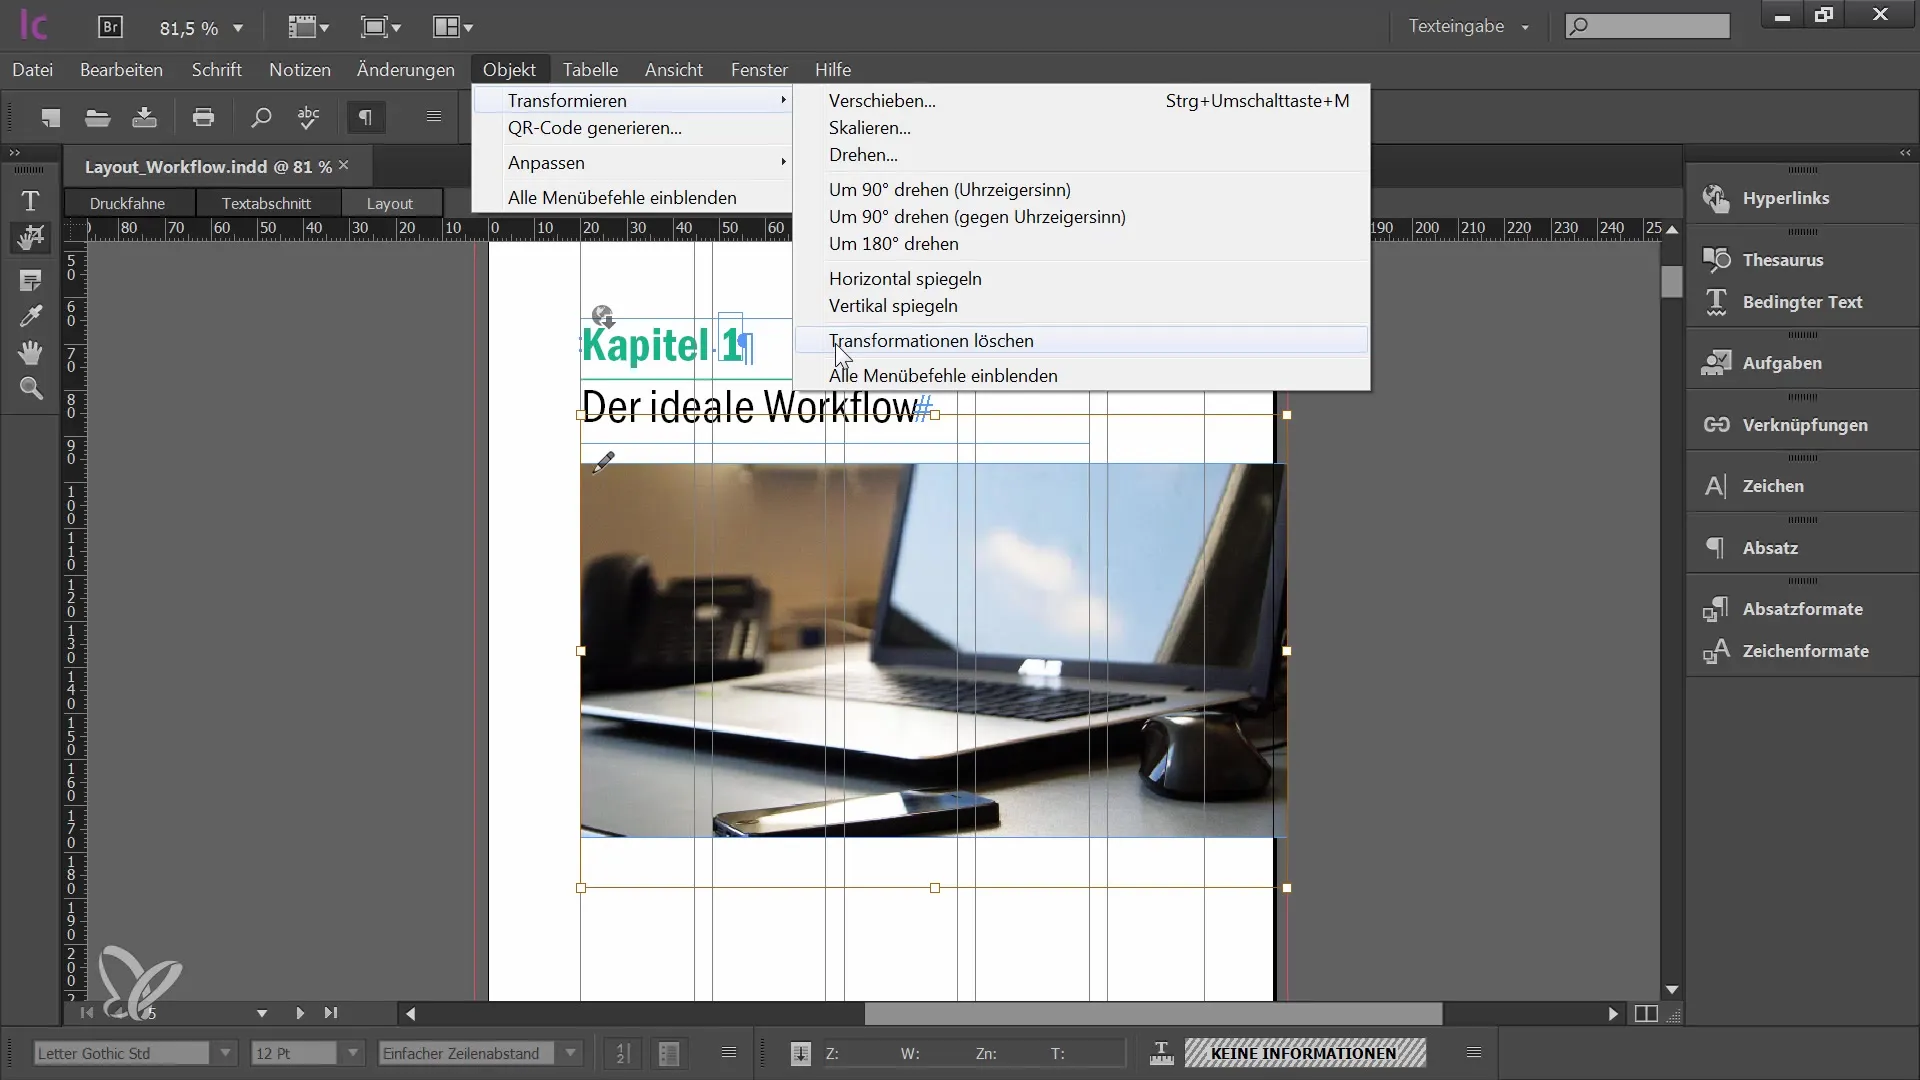
If you are satisfied with the image, you can also transform it. In the "Object" menu, you can make rotations or reflections. If you want to mirror the image vertically or horizontally, InCopy also provides the necessary functions. Moreover, you can undo your transformation changes if you are experimenting.
In some workflows, it may be useful for the editor to take responsibility for image selection. The graphic designer can insert placeholder images into the document. You then have the option to select these placeholders and via the menu option "File" -> "Place" choose an image file that you want to use in the layout.
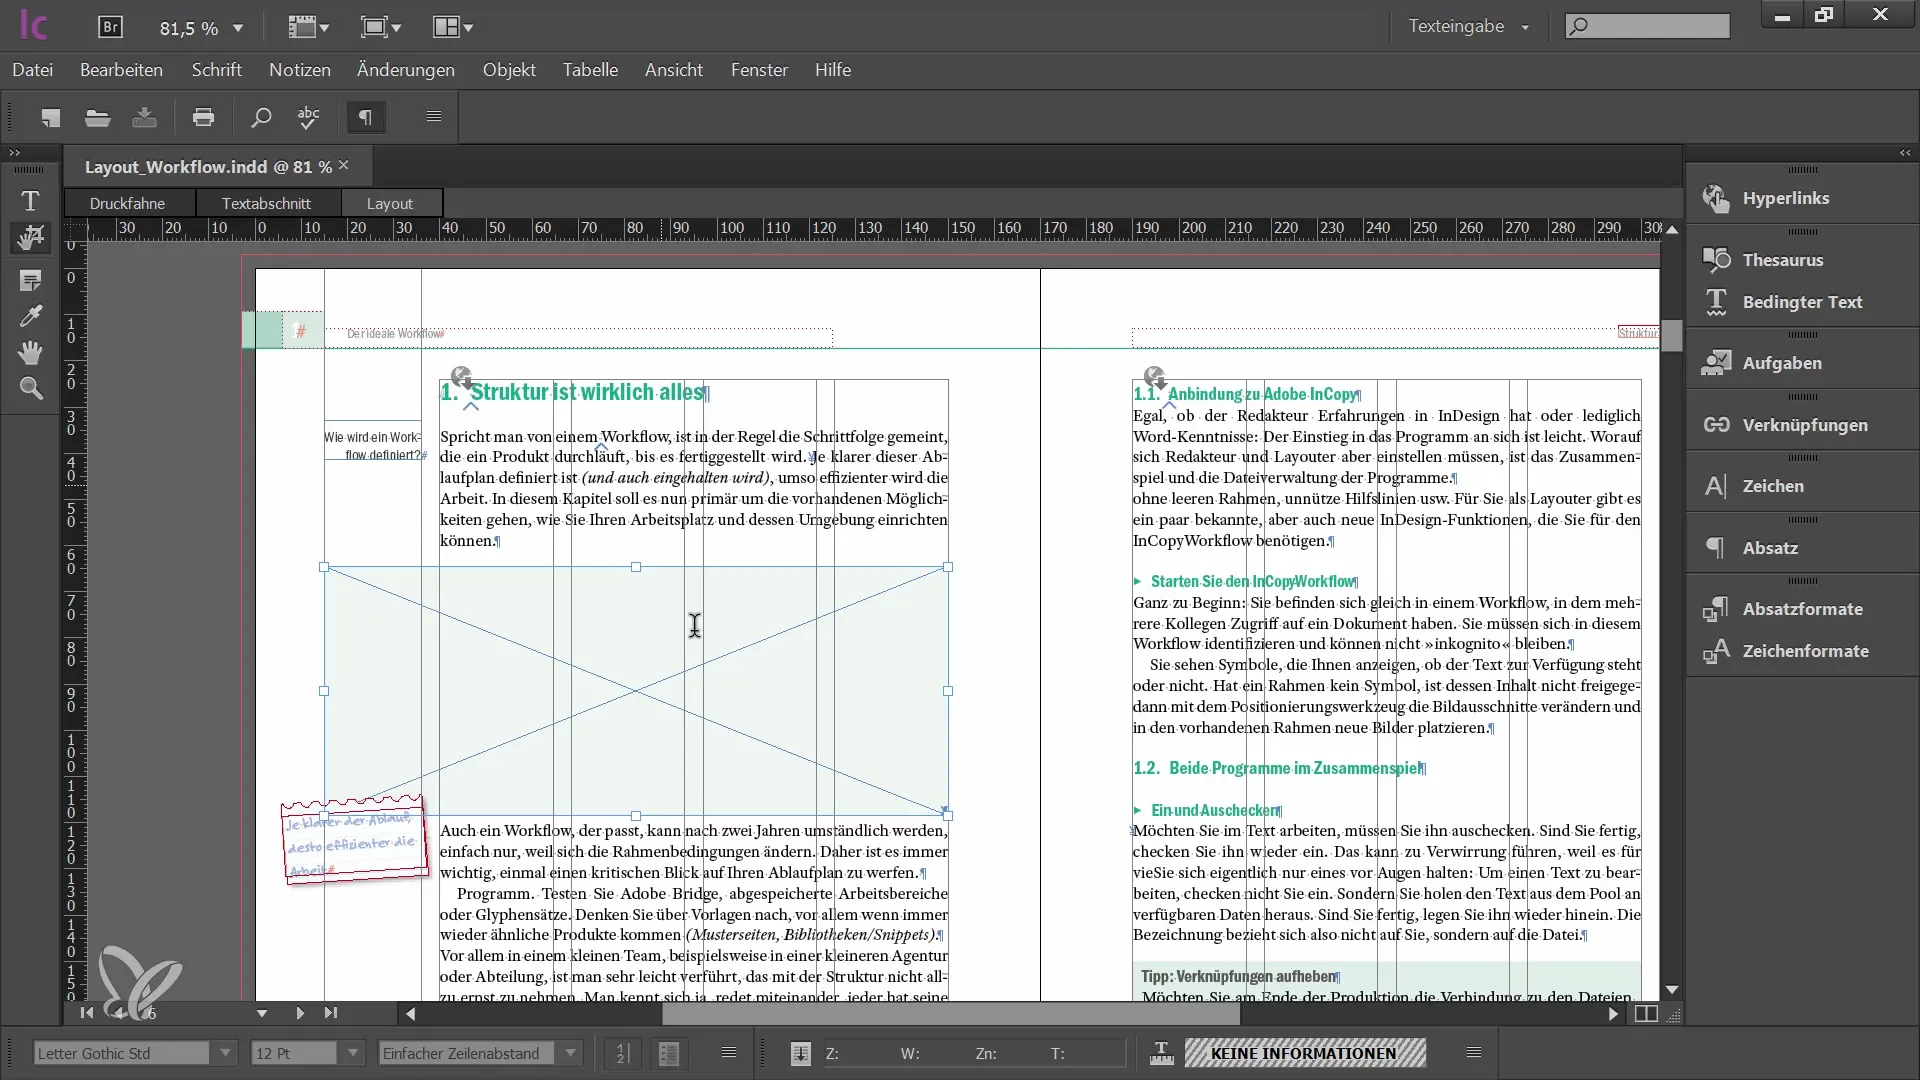
Once you have selected the file, it will be inserted into your InCopy document. The image will initially be displayed in a placeholder representation until you adjust and finalize it. Note that you can apply the same adjustment techniques as described above to achieve an appealing layout.
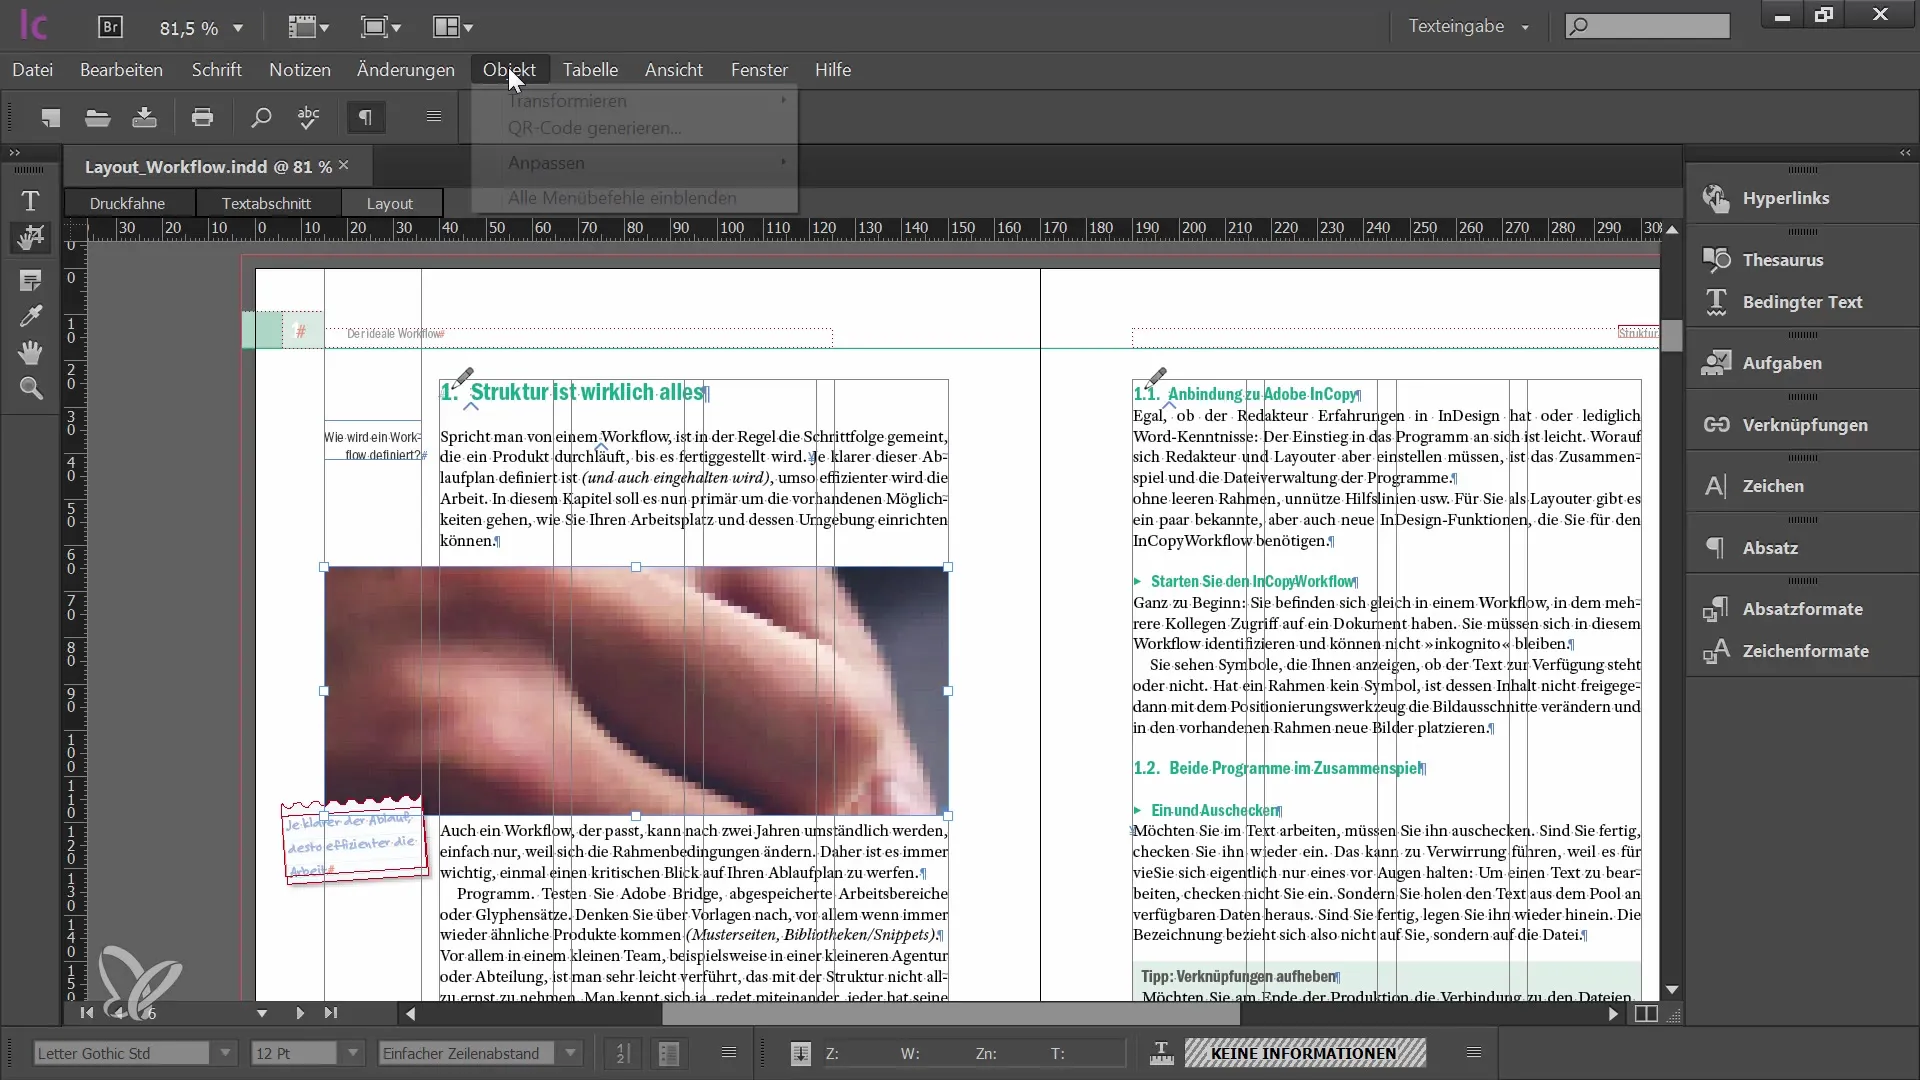
Now you can work with the adjustments mentioned earlier to insert the image proportionally into the frame and ultimately complete the layout. If everything is done correctly, the image will be visible and well placed both in InCopy and InDesign.
Summary
In this guide, you have learned how to edit and place images in Adobe InCopy CC. You now know how to change image excerpts, place images directly, and maintain proportions during editing. With the methods described, you are able to make your layouts more effective and improve collaboration with your graphic designer.
Frequently Asked Questions
How can I edit an image in InCopy?You can edit images by first checking them out of the workflow and then adjusting the content.
Can I change the image frame in InCopy?No, in InCopy you can only change the image content but not the frame.
What can I do to ensure that I do not edit the image distorted?Hold down the Shift key while resizing the image to maintain the proportions.
Where can I find the image adjustment options?You can find the image adjustment options in the object menu under "Adjust."
Can I place images directly in InCopy?Yes, provided that the designer has inserted placeholder images into the document.


