The content acquisition and content placement tools in Adobe InDesign are practical tools to efficiently integrate content into layouts. They allow you to capture images, texts, and other elements from your document and insert them at specific locations - perfect for designing brochures, magazines, or multi-page projects. In this guide, I will show you step by step how to use these tools to quickly and precisely place your content, making your layouts even more efficient. Let's start and discover these useful tools!
With the content acquisition and content placement tool, InDesign provides a function that allows you to copy any objects with a mouse click and place them at another location or in another document.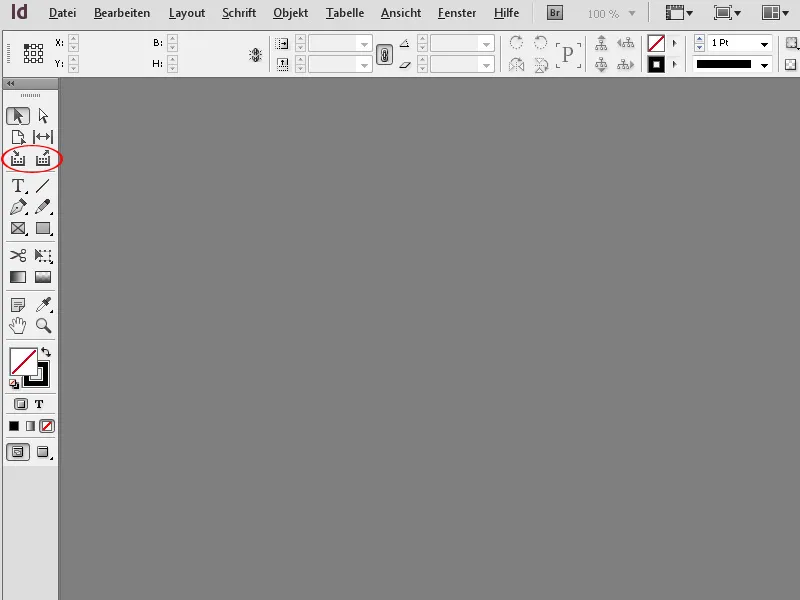
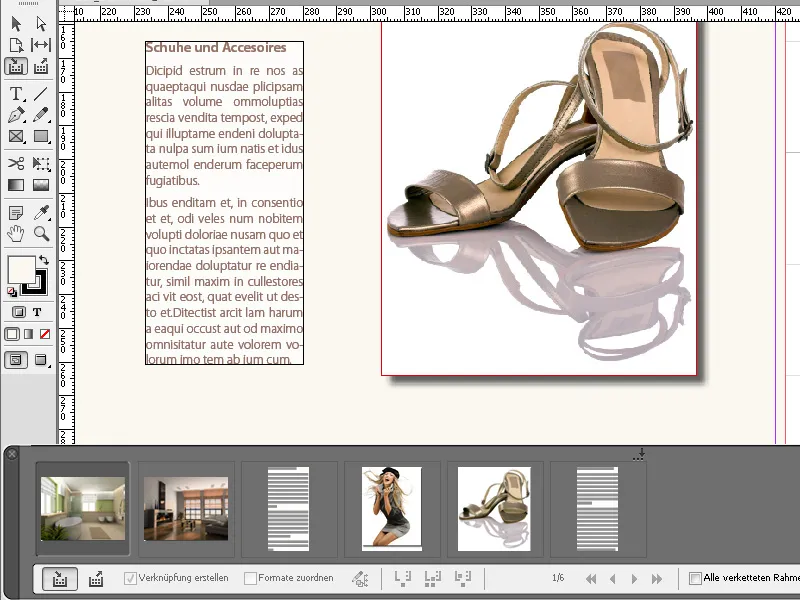
Part of this tool is a window called Transferer, where the copied objects are visible and can be equipped with various properties through small buttons.
The shortcut to access the tool is the letter B. This also toggles between the acquisition and placement modes.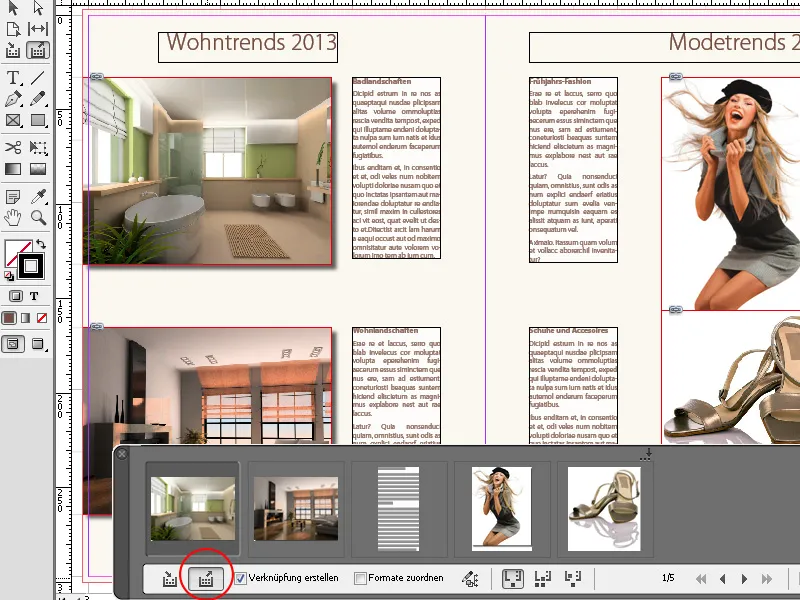
So, to start by copying objects, you click on them with the content acquisition tool. When hovering with the mouse, the object bounding box is highlighted in the color of the respective layer. When clicked, they are then copied as thumbnails in the Transferer. At the bottom of this, there is a control panel with various buttons.
On the left, there is one for acquisition and right next to it for insertion mode. With the placement tool activated, you can set whether the objects should be linked or remain in the Transferer after placement, to also insert them at other locations, or whether they should be deleted from the Transferer after insertion.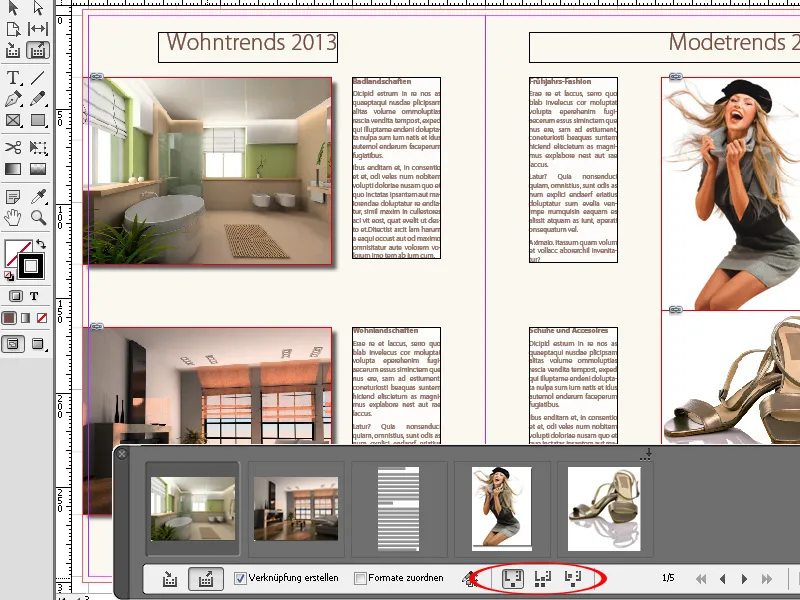
Formats (paragraph, character, line, table) can also be assigned different names in different documents. If the Transferer window bothers you, you can hide it with the shortcut Alt+B. The same shortcut will then make it visible again.
To place, simply click with the filled mouse cursor on the target pages or drag a frame with the mouse button pressed. Remember to switch from content acquisition to the content placement tool. The aspect ratios are scaled proportionally to those of the source object. With the Shift key pressed, you can also draw any frame.
With the Right Arrow and Left Arrow keys, you can optionally switch between the objects in the Transferer or mouse cursor. Pressing the Esc key removes objects from the Transferer.
To transfer a group of objects to another layout, simply draw a frame around the objects with the content acquisition tool and the mouse button held down. They will then be captured as one object. On the target page, you then draw the area again with the mouse button held down, where this object should be placed.
You can change the layout grid with the arrow keys, making it very easy to transfer, for example, a group of objects originally placed in portrait format to landscape format (or vice versa) or simply try out an alternative layout.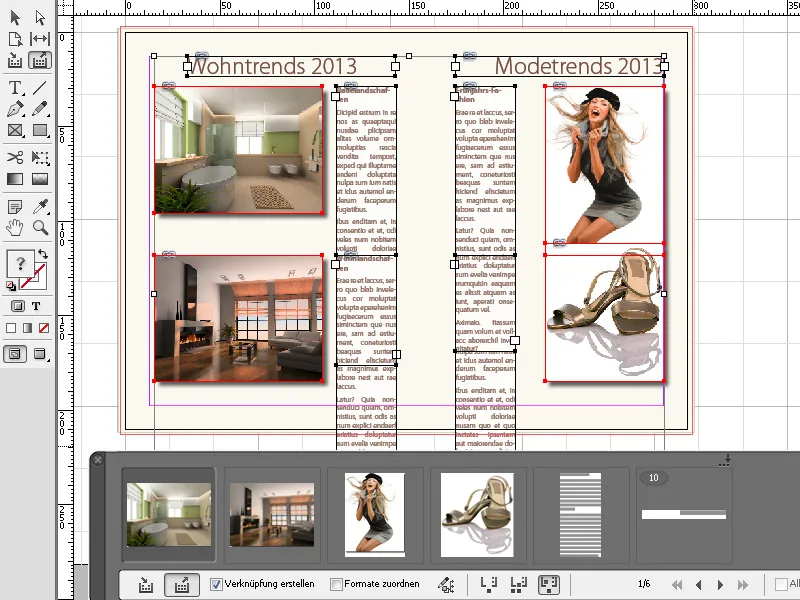
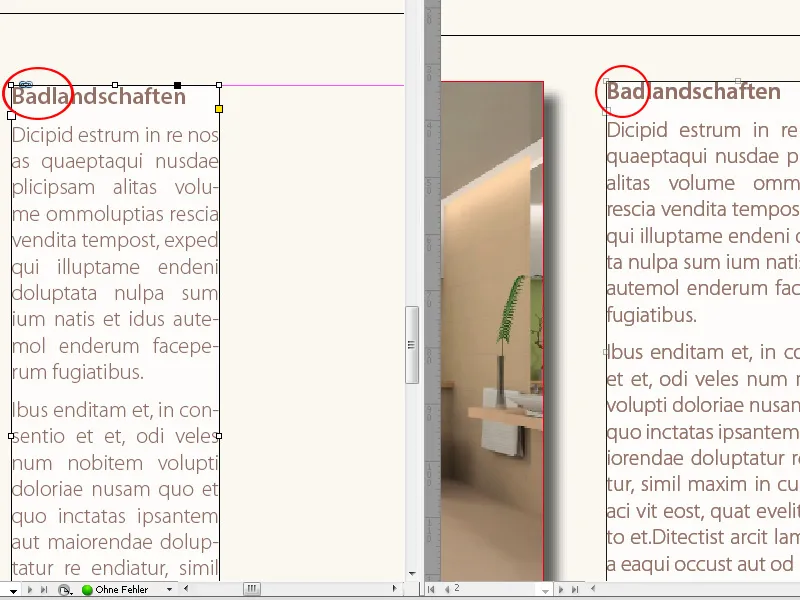
If the checkbox Create Link is activated, changes in the source document are displayed in the linked boxes with a small caution symbol.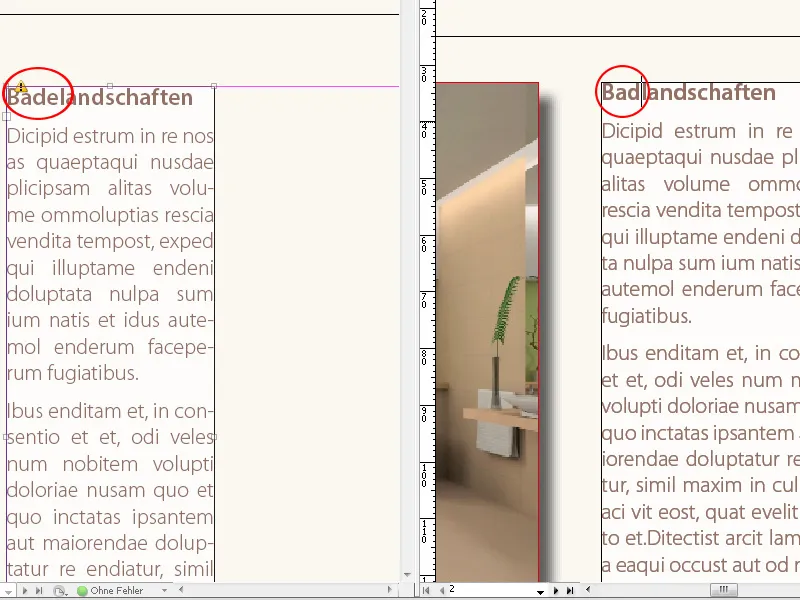
Clicking with the Selection Tool on it will update the content. This way, content used in various documents can always be kept up to date.