In this guide, you delve deep into the world of event handling in web applications with JavaScript. You will learn how to use the addEventListener method to be more flexible in responding to changes in input fields. In contrast to simpler methods like onchange or oninput, addEventListener gives you the ability to combine multiple event listeners for the same element and thus achieve a clean separation of functional logic and HTML markup. Let's go through the steps together on how you can implement this in your application.
Key Insights
- Using addEventListener allows registering multiple event handlers for the same element.
- Event listeners should be registered after the DOM is fully loaded to ensure all elements are available.
- Removing event listeners should be a common practice to avoid memory leaks.
Step-by-Step Guide
First, you need an HTML document with an input field. Add an input field with an ID in your HTML that you can later reference. Place the following HTML code in a suitable location within the -Tag:
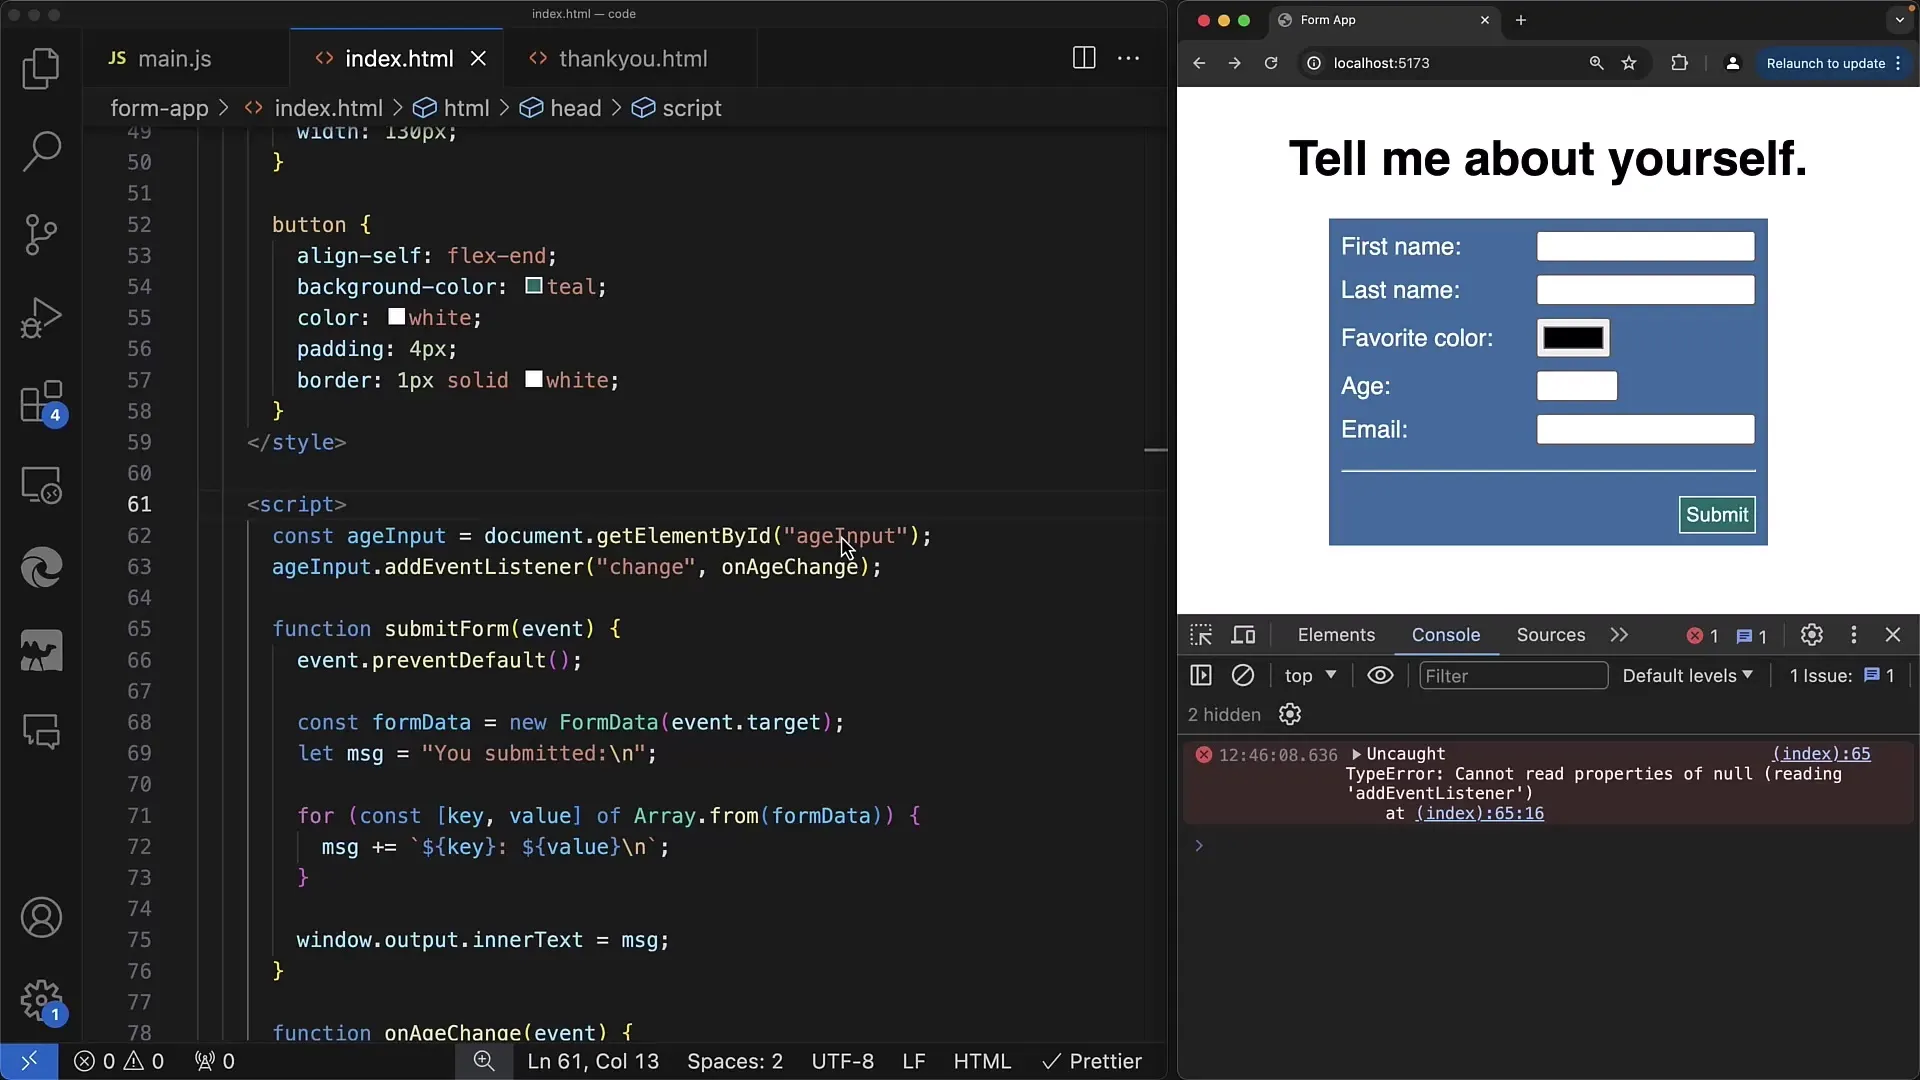
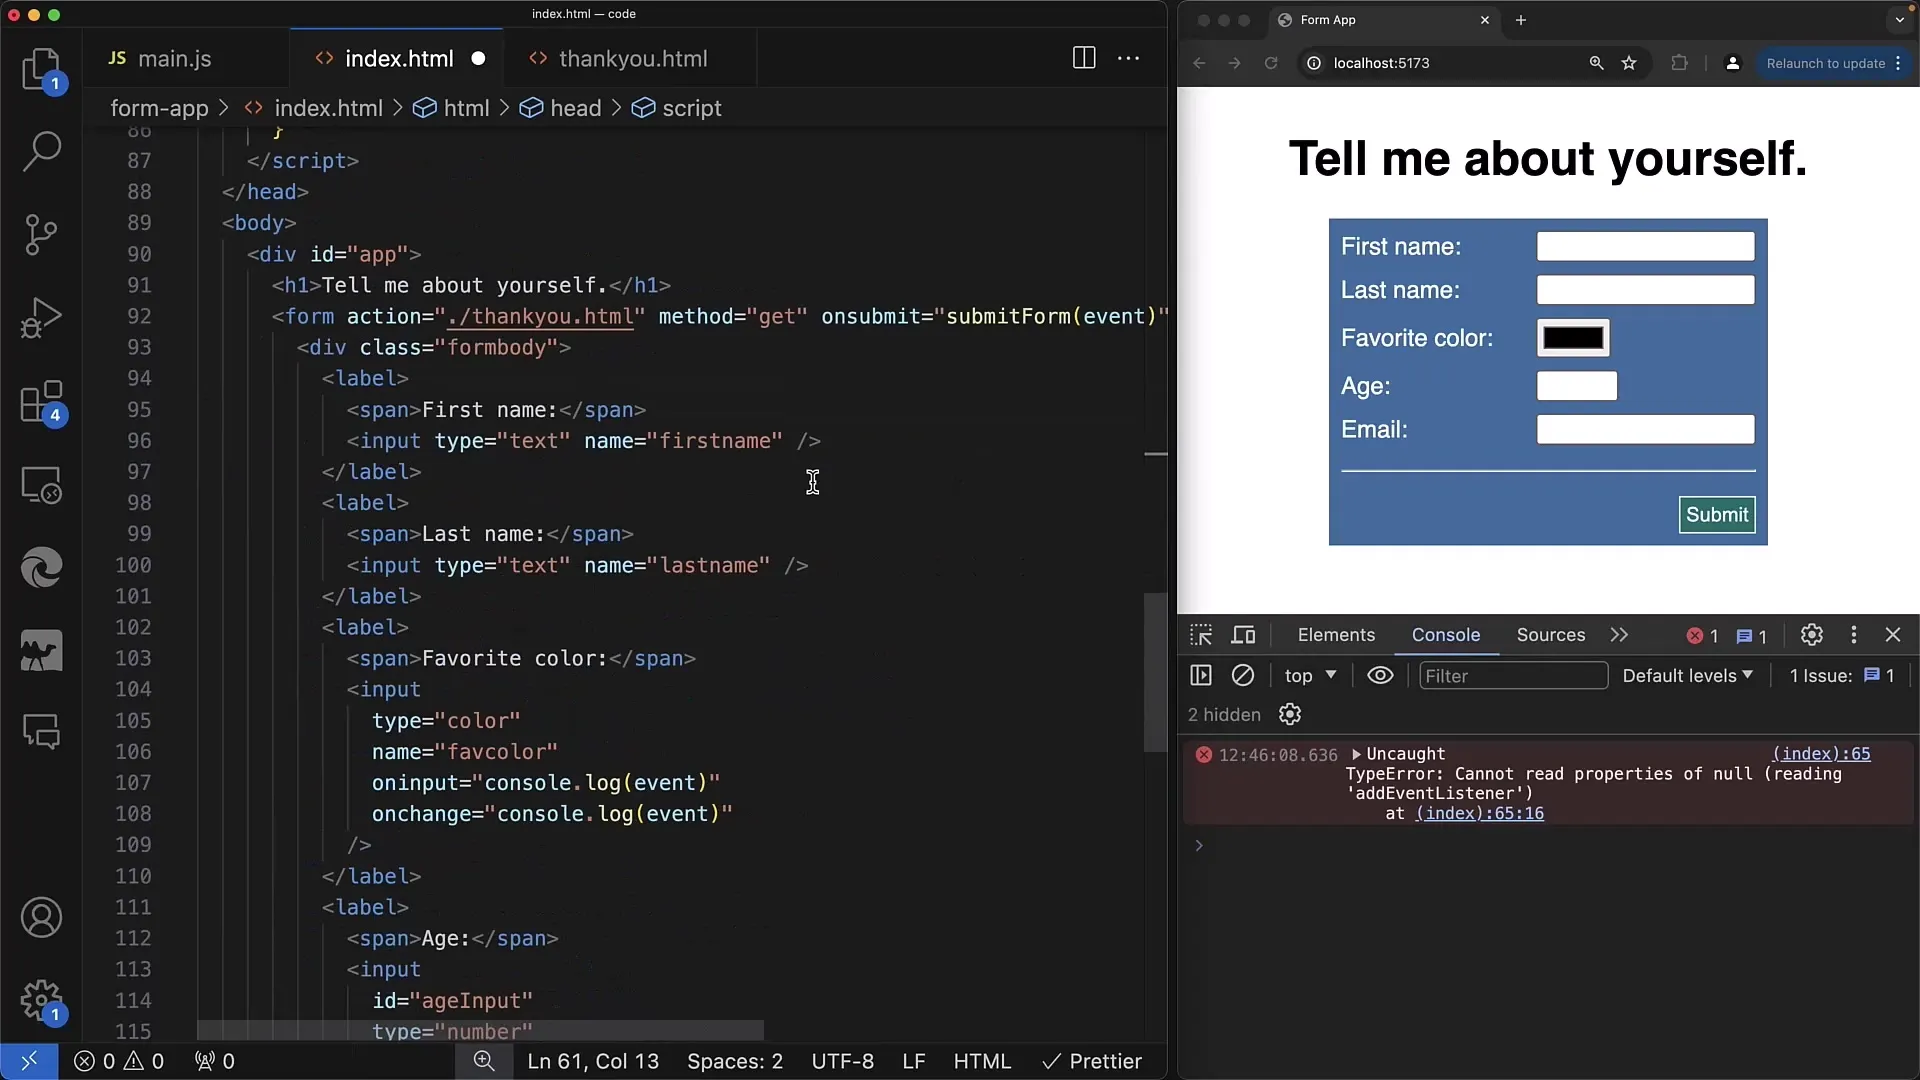
Now, to ensure your JavaScript code works, you must move the -Tag to the end of your <body> tag. This will ensure that the DOM is fully loaded before you access the elements. This prevents issues that may occur if the script is executed before the HTML elements.
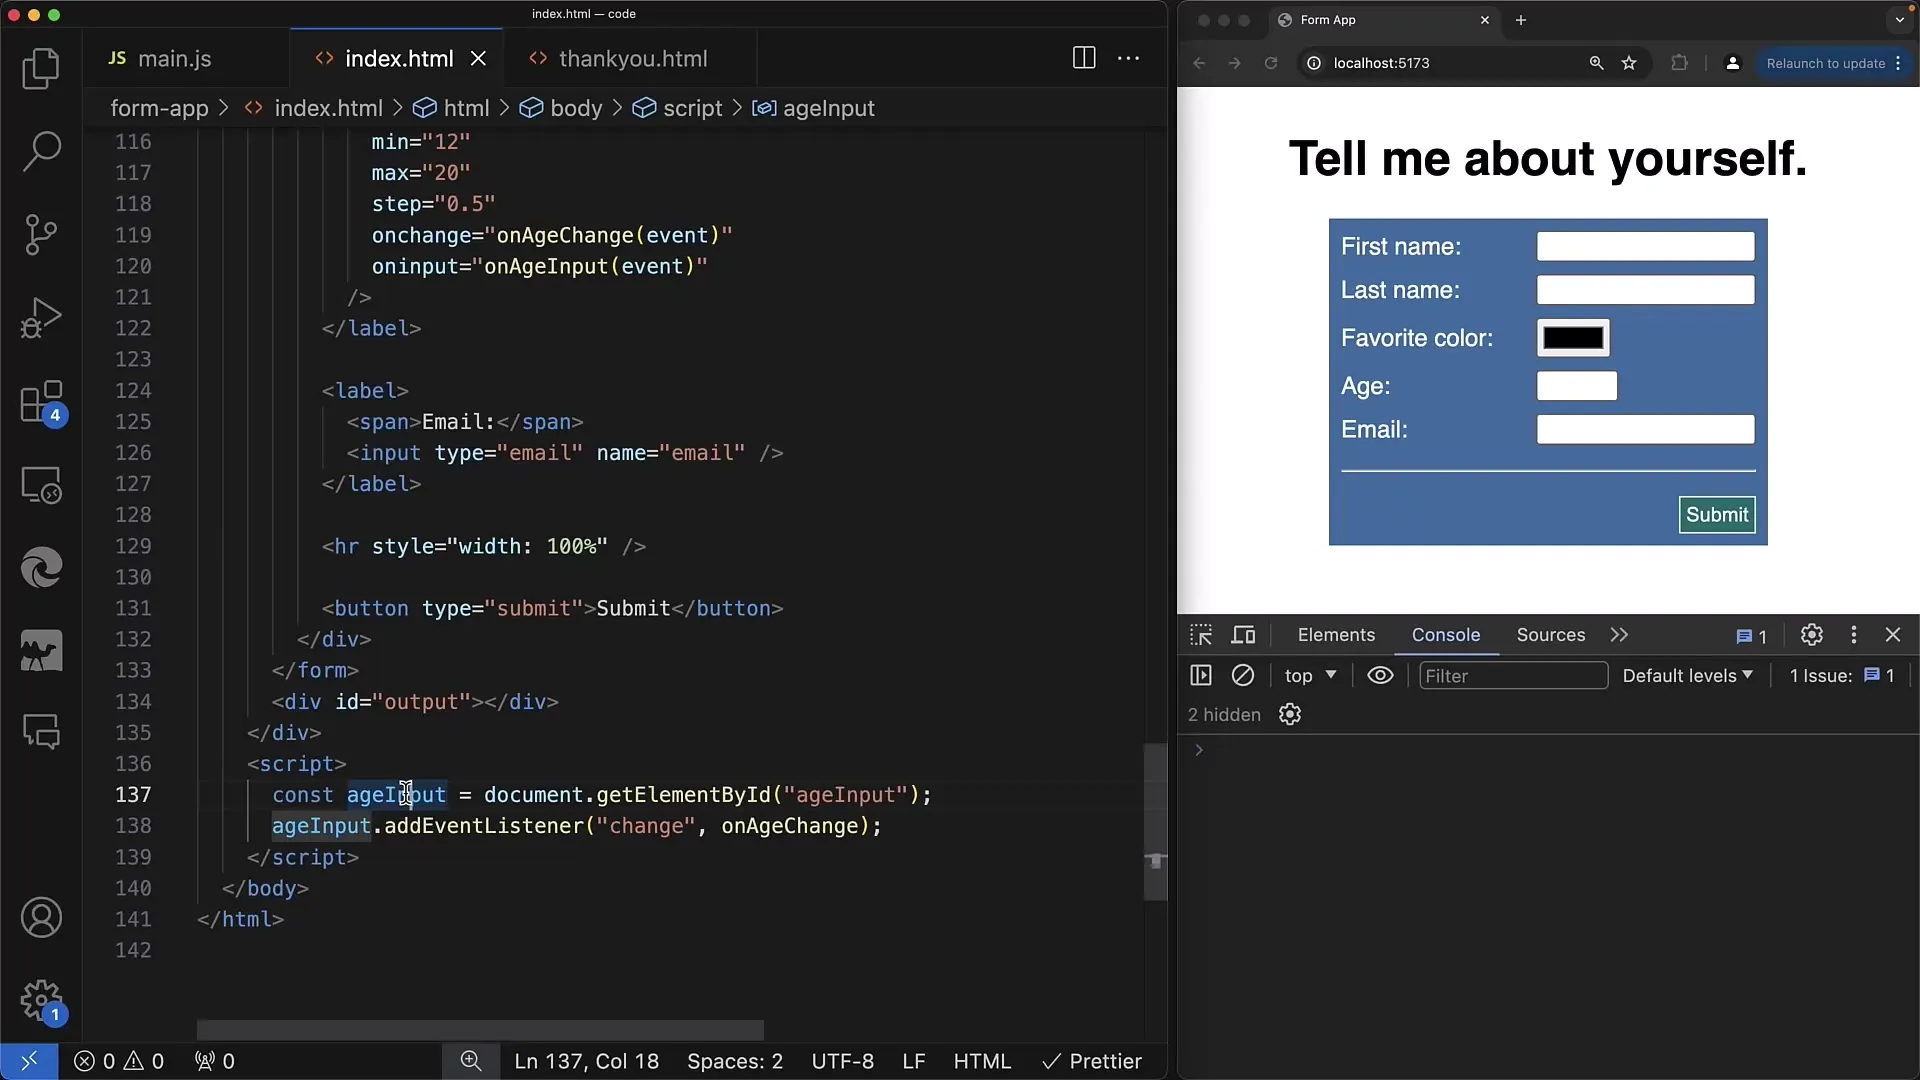
Now we can target the input element with JavaScript. In your <script> tag, use document.getElementById to retrieve the input field. Here's an example code that you can place in your JavaScript:</script>
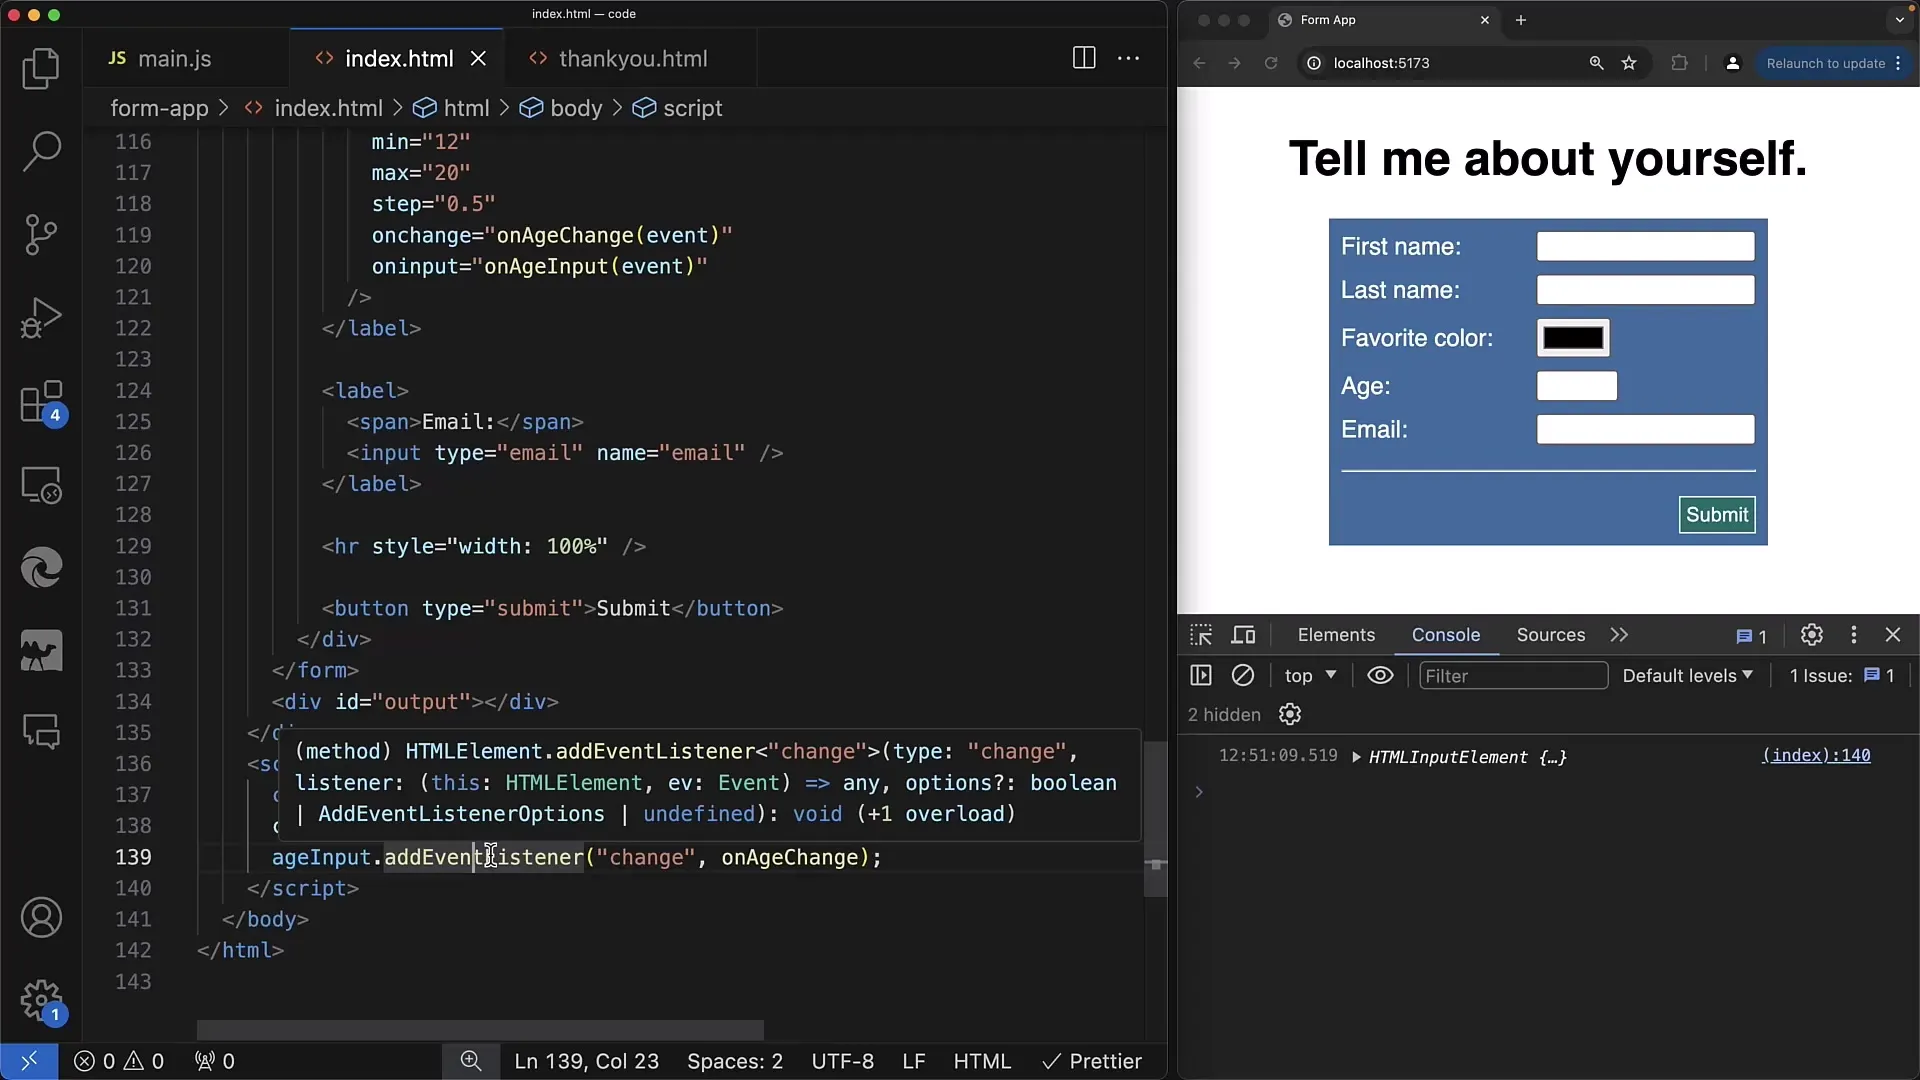
With the input element successfully referenced, the next step is to add an event listener. With addEventListener, you can specify specific events like change or input for this element. This allows you to respond when the user makes a change in your input field.
Furthermore, it is good practice to ensure that you can also remove the same event listener when necessary. With the removeEventListener method, you can remove a listener previously added. Make sure the function used when adding is the same, or else you won't be able to remove the listener correctly.
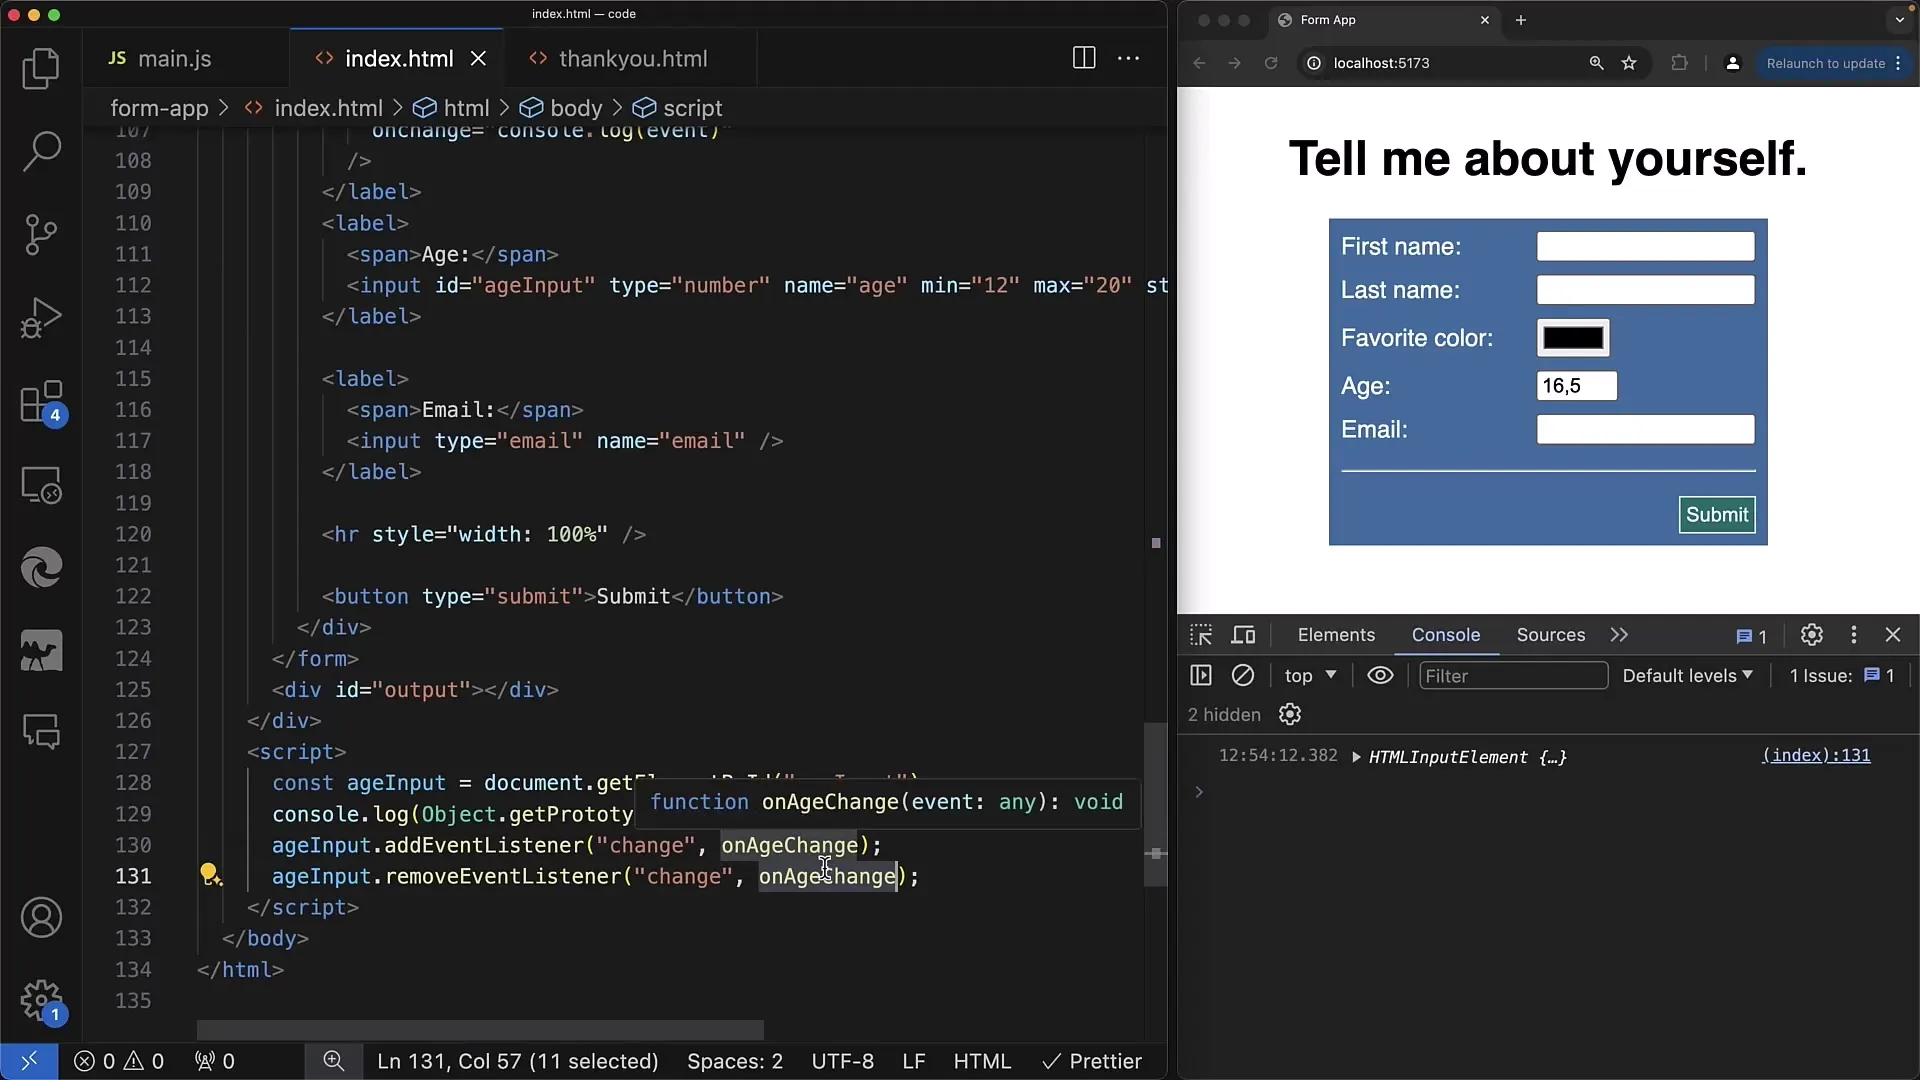
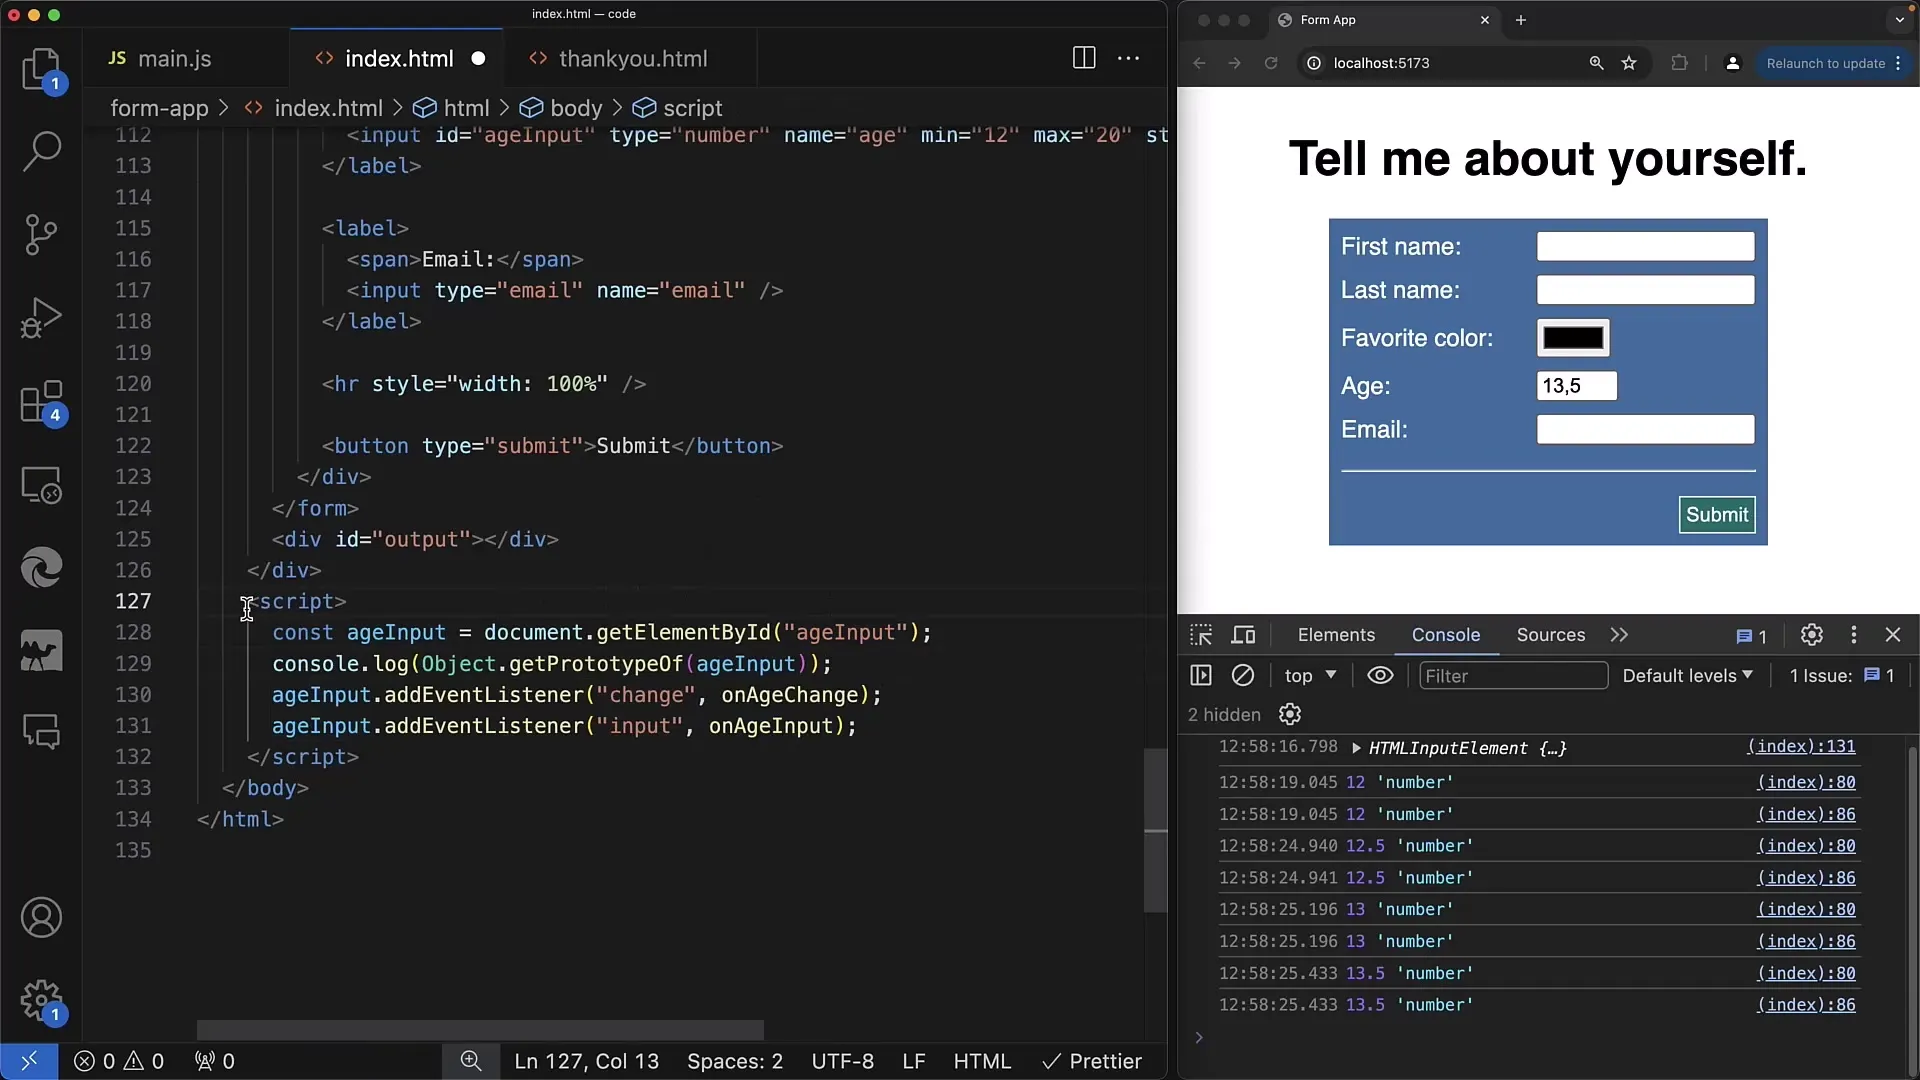
A common scenario is adding multiple event listeners for the same element. This allows for a more flexible handling of different event types. However, it is important to ensure that each function you register should have its own logical separation to ensure the readability and maintainability of your code.
When you add an event listener, it is crucial to remove them during cleanup, especially when the element is no longer needed, such as in components that are no longer rendered. You must ensure that the listener is removed when the element is removed from the DOM or no longer needed.
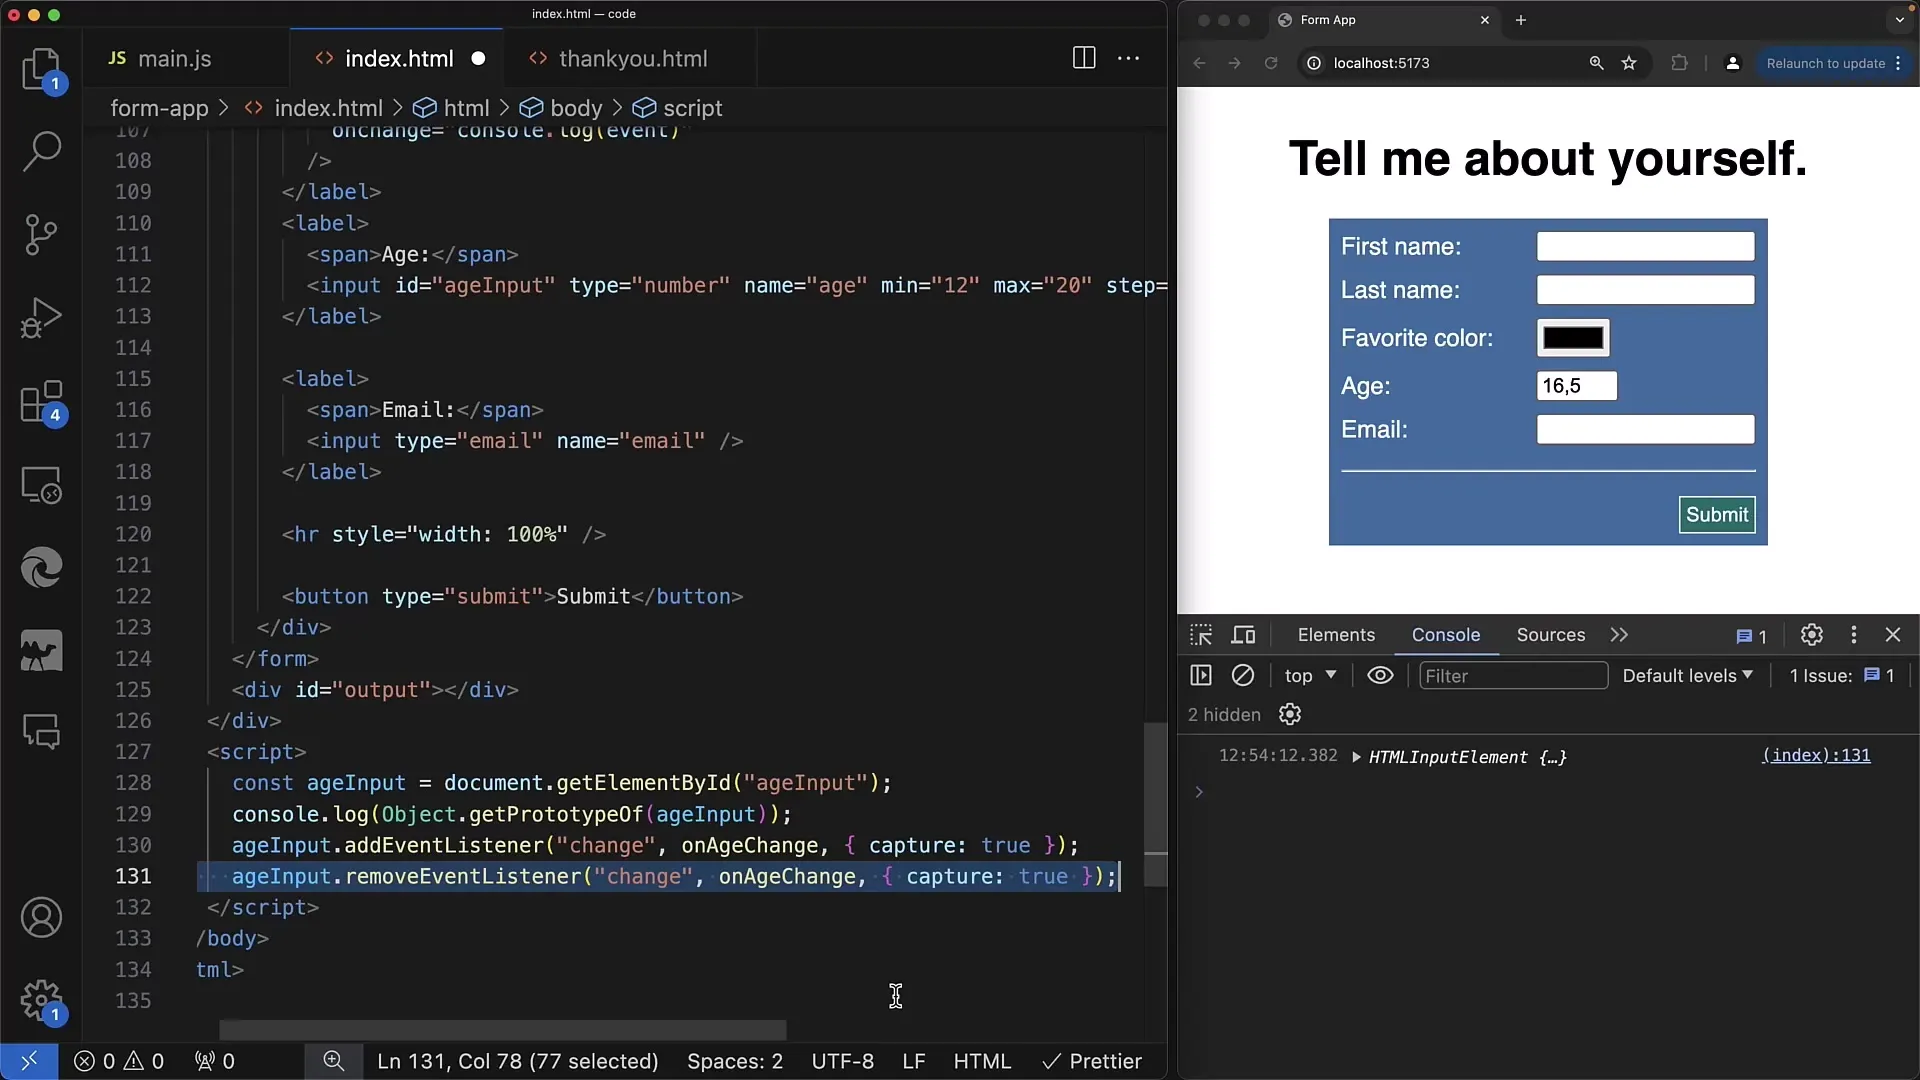
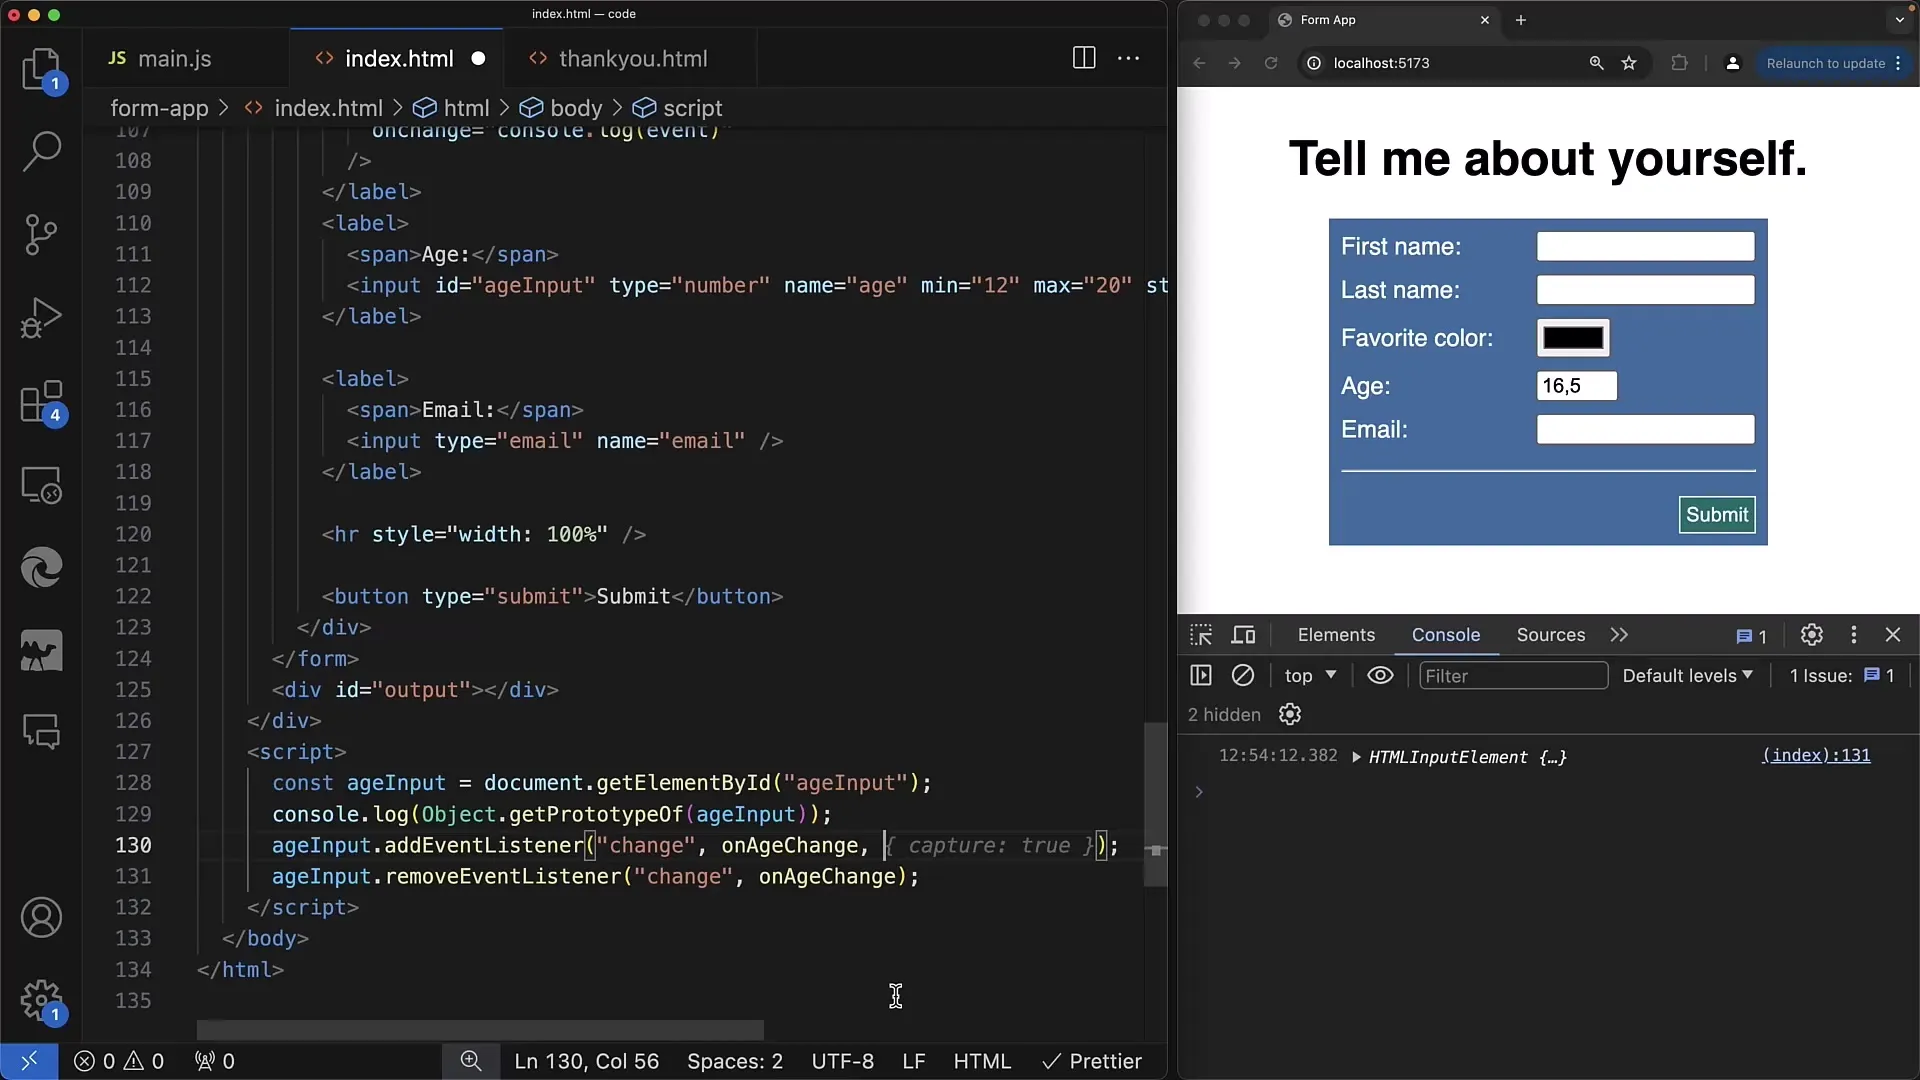
You should also consider how to further expand the use of event listeners. Sometimes developers may want to provide additional parameters, such as a capture mode, to determine the order in which events are processed. These advanced options, however, require a deeper understanding of event propagation.
Ensure your JavaScript code is behind the DOM elements so that the elements can be properly handled when the document loads. This is particularly important when you have a script with many event handlers to ensure that the element references are always locally valid.
Summary
In this tutorial, we covered the basic steps of using addEventListener for event handling in web forms. You learned how to add, remove, and respond to multiple changes with Event Listeners.
Frequently Asked Questions
What is the difference between onchange and addEventListener?onchange is an older method that allows only one event handler, while addEventListener can add multiple handlers for an event.
When should I use removeEventListener?removeEventListener should be used when an element is no longer needed or before re-registering an event handler.
How can I add multiple event listeners for the same element?You can simply use multiple addEventListener calls for the same element by passing different function references.


