Checkboxes are an essential element in web forms, especially when it comes to providing users with an opt-in option, such as accepting Terms and Conditions or subscribing to a newsletter. In this guide, I will shed light on the fundamental aspects of checkboxes, explain how they work, and provide you with step-by-step instructions on how to integrate checkboxes into your forms.
Checkboxes not only allow simple yes/no selections but can also be effectively used in combination with other form controls. This guide will provide you with the necessary knowledge to correctly implement and utilize checkboxes.
Key Takeaways
- Checkboxes are ideal tools for binary decisions in forms.
- If a checkbox is not activated, it will not be submitted.
- The default value of an unchecked checkbox is considered empty.
- You can have checkboxes defaultly activated by using the 'checked' attribute.
- Understanding how checkboxes function is crucial for handling form data correctly.
Step-by-Step Guide
Step 1: Creating the Checkboxes
Start by creating your checkboxes in HTML. You need the attribute type="checkbox" and a name property for each checkbox to identify its value when submitting the form.
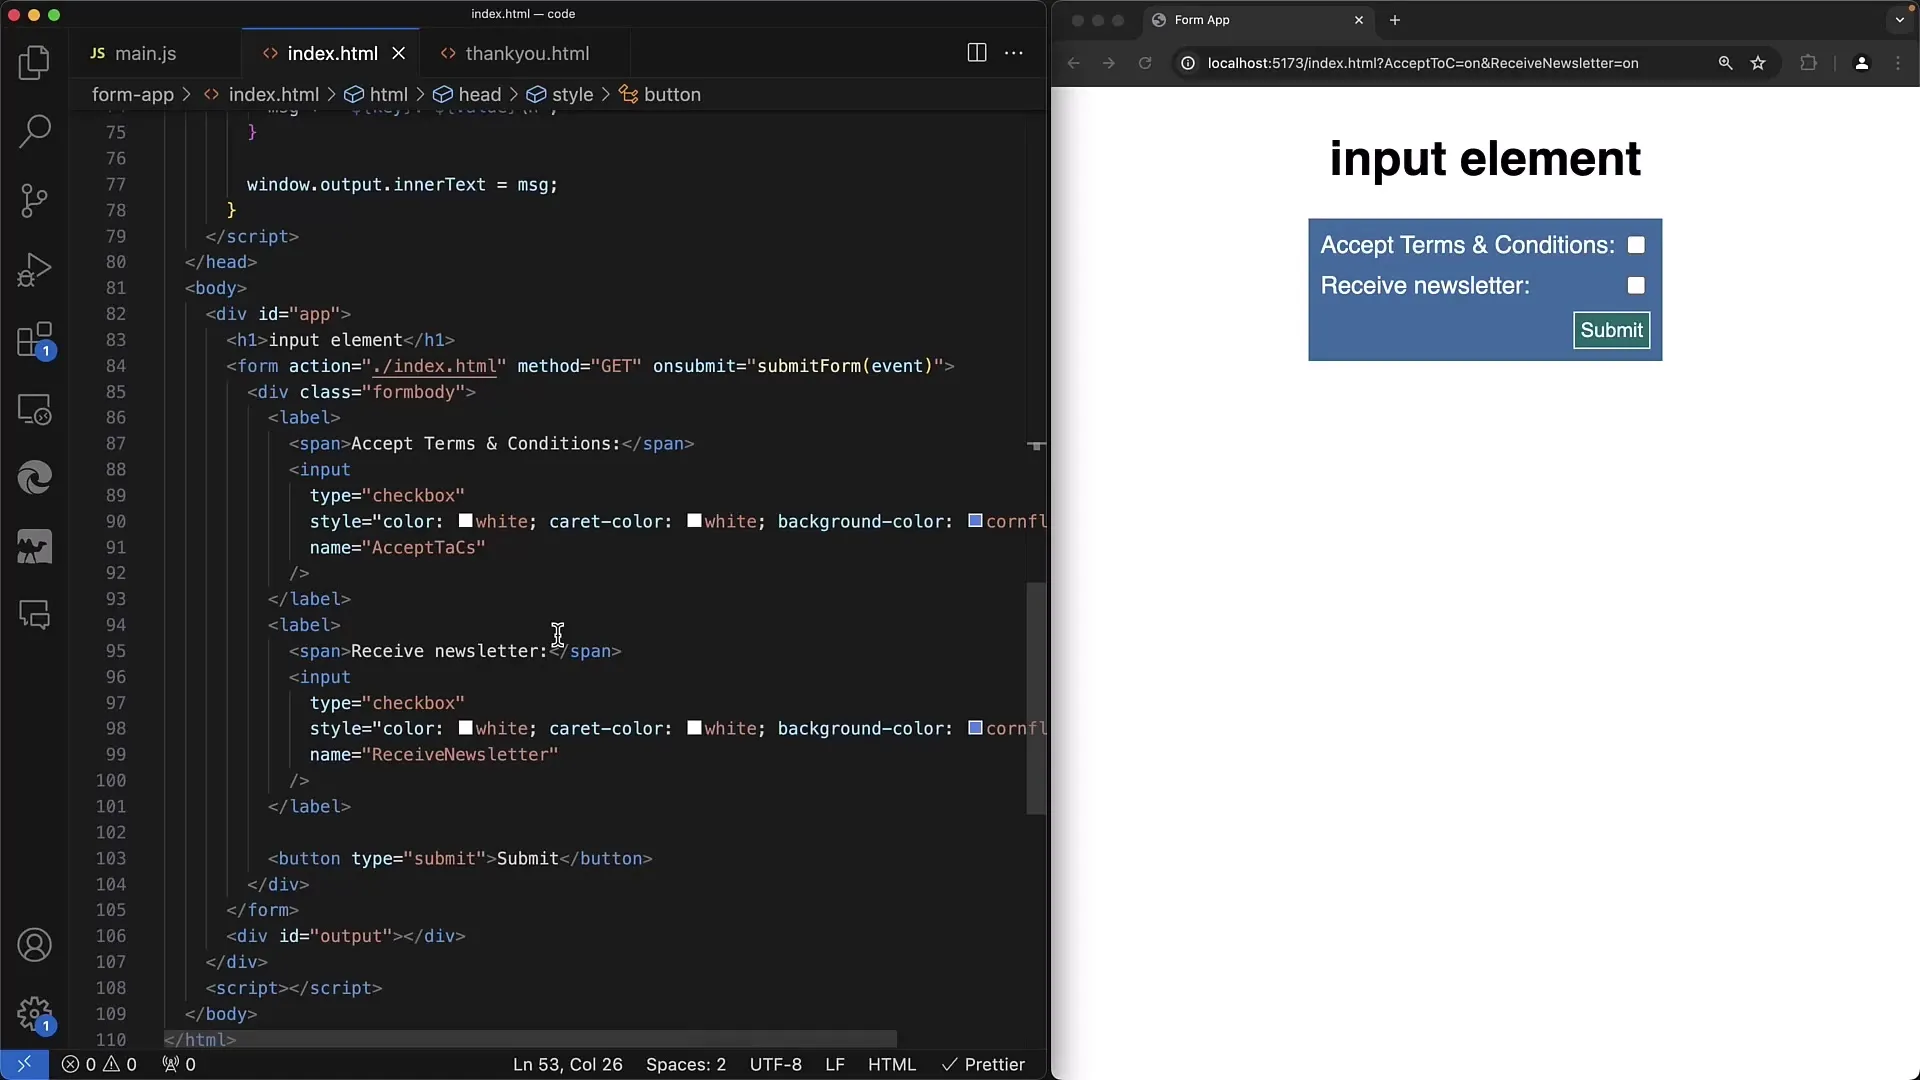
In this example, we are creating two checkboxes: one for accepting the T&C and one for receiving the newsletter. The two checkboxes are identified by the names "accept TNCs" and "receive Newsletter."
Step 2: Setting up the Form
Set up your form using the GET or POST method. In this example, we are using the GET method so that we can see the selection in the URL parameter.
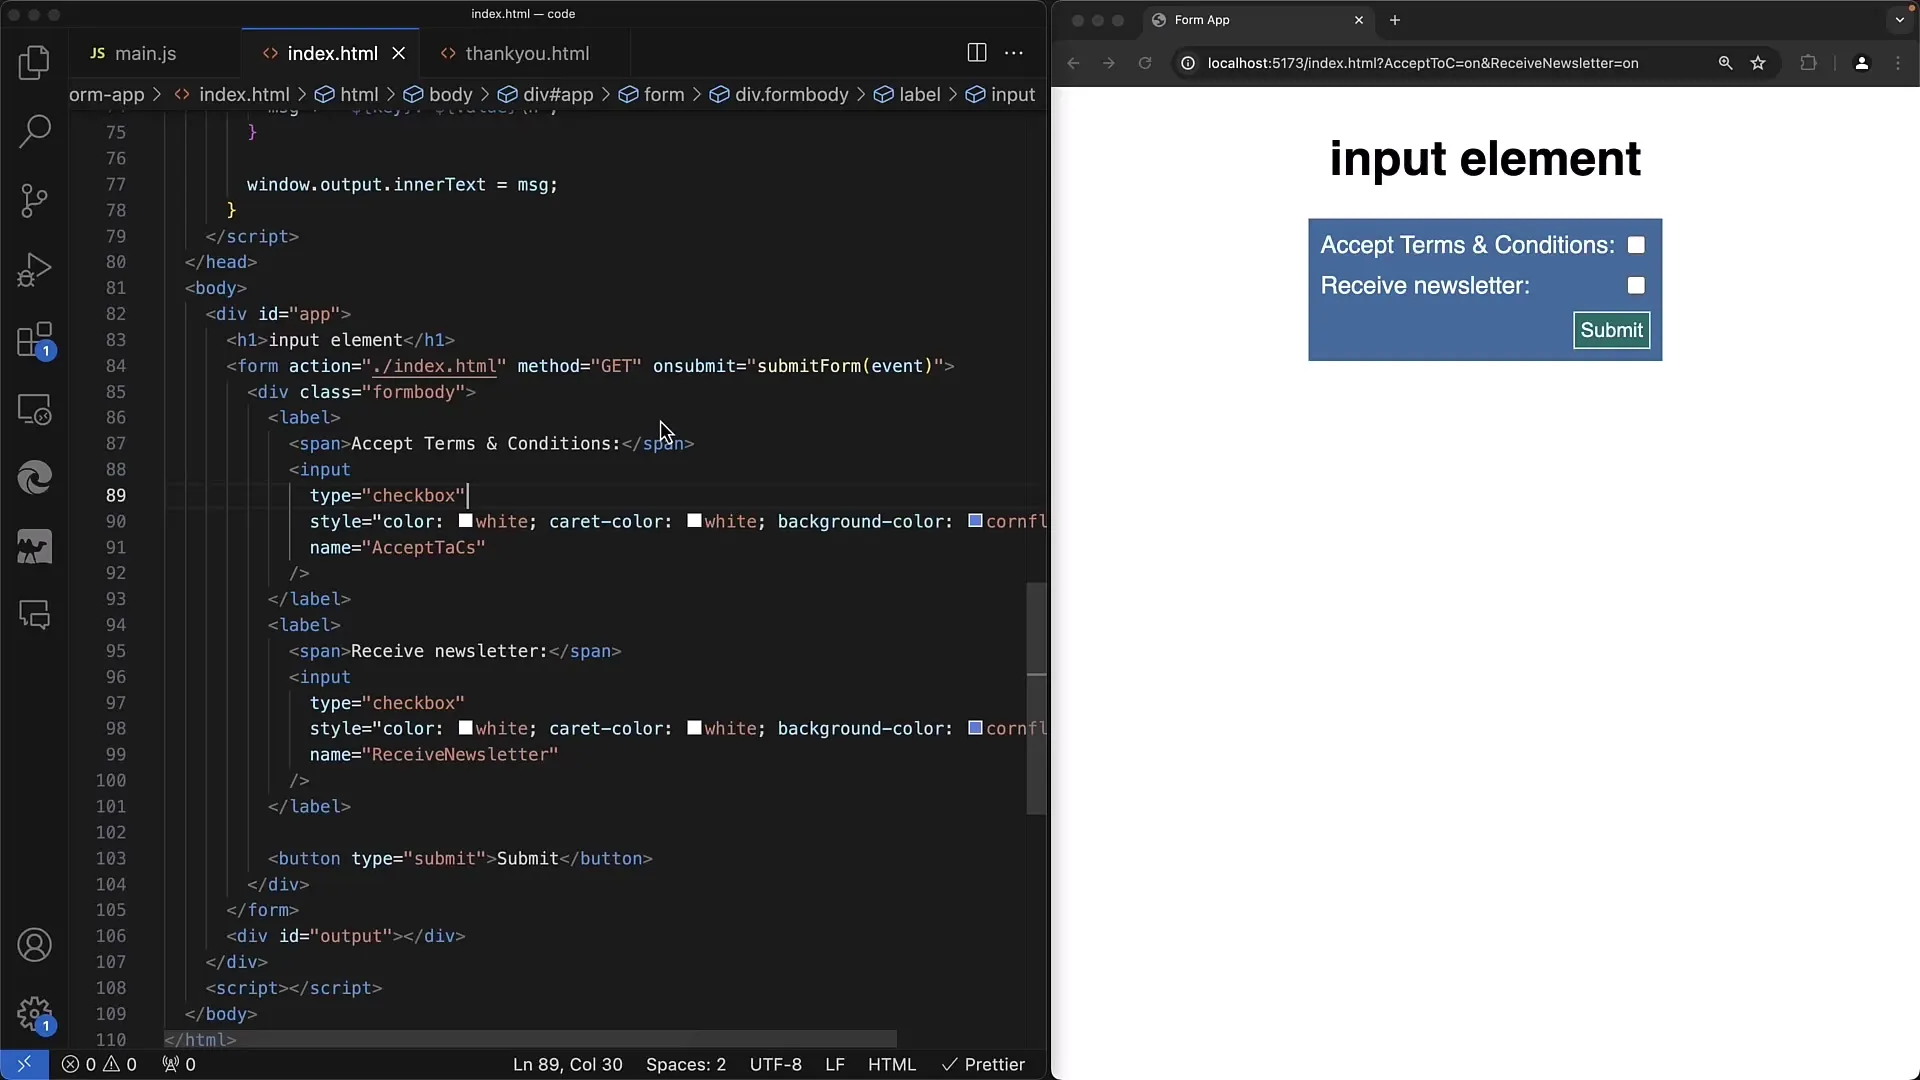
Here is a simple example of a form with checkboxes. Make sure the checkboxes are enclosed in a <form> tag to ensure the data is processed correctly.
Step 3: Checking the Submitted Data
Submit the form without activating a checkbox. You will notice that nothing appears in the URL.
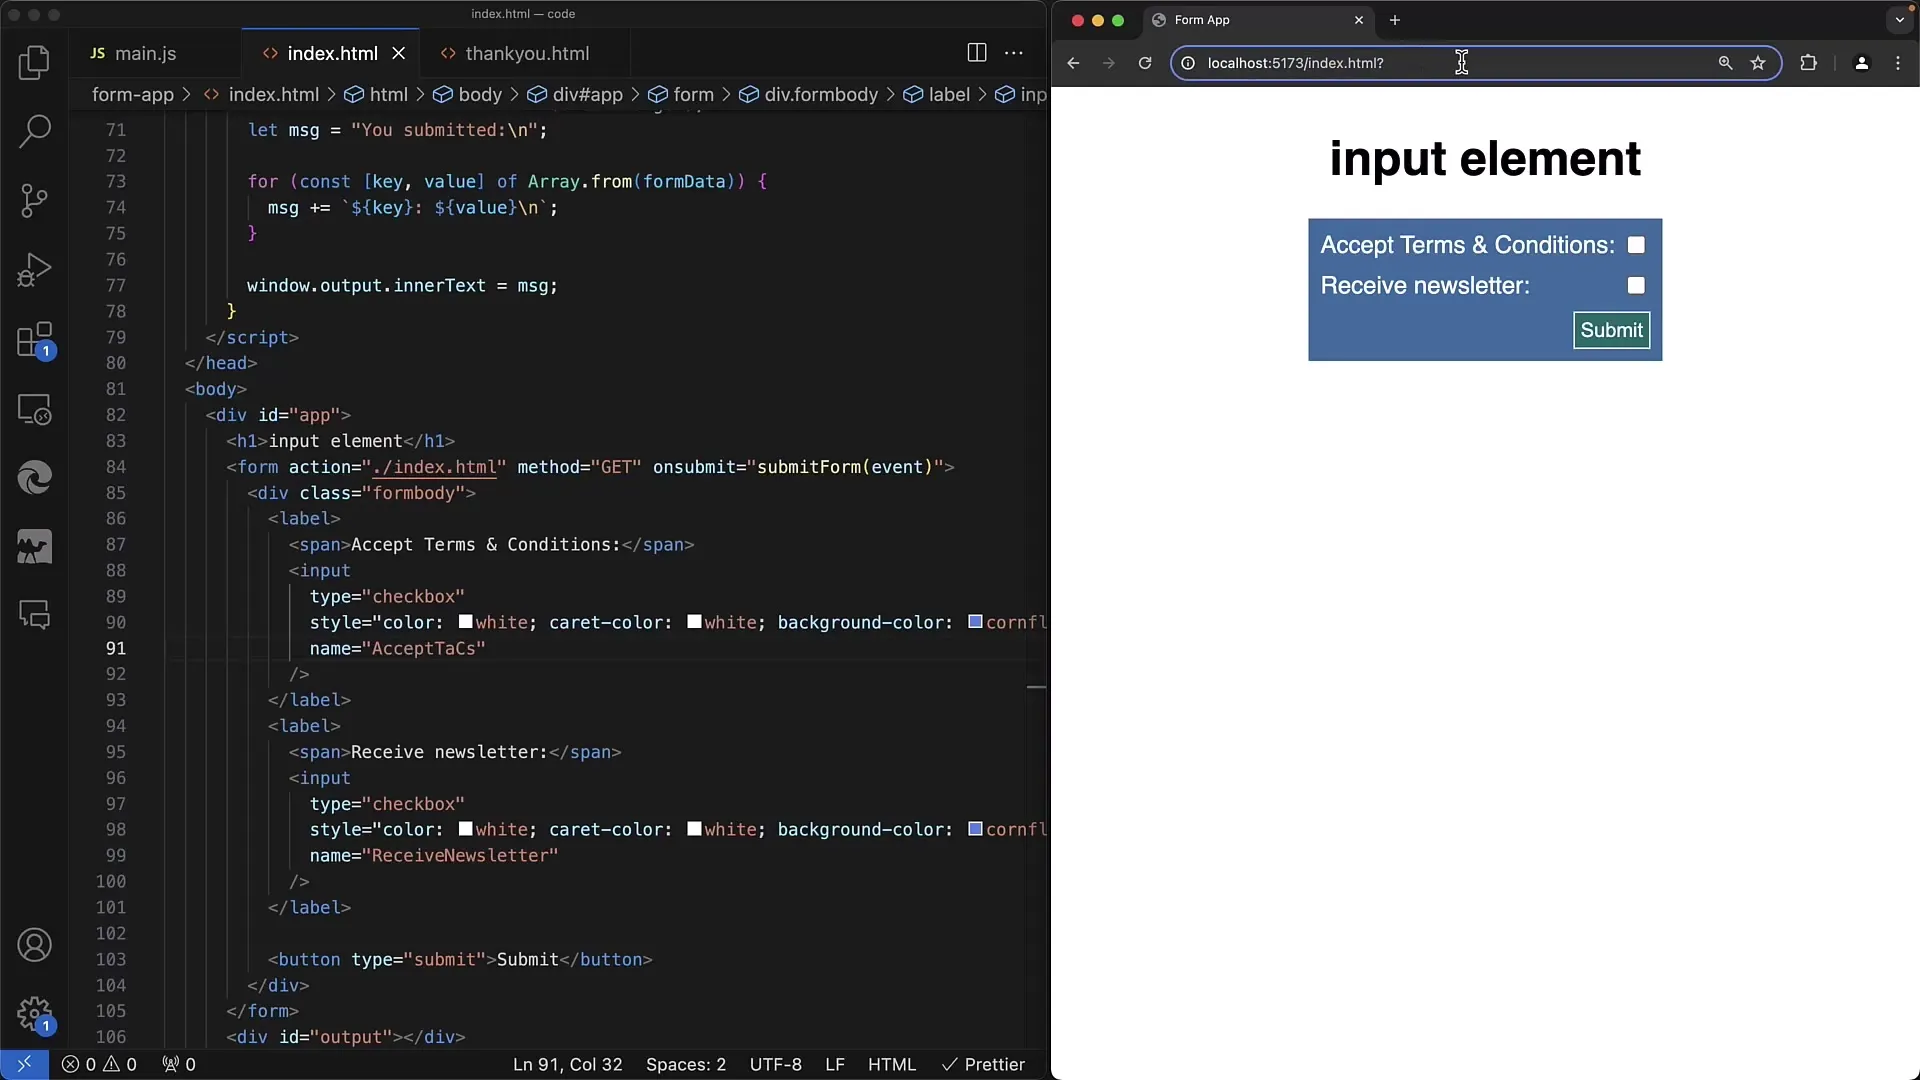
The peculiarity with checkboxes is that if they are not checked, they do not submit a value. This means they do not appear in the URL parameters, leaving the corresponding entry empty in the case of the GET method.
Step 4: Adding Values to the Checkboxes
Activate the first checkbox and submit the form again. Only the activated checkboxes will be displayed in the submitted data.
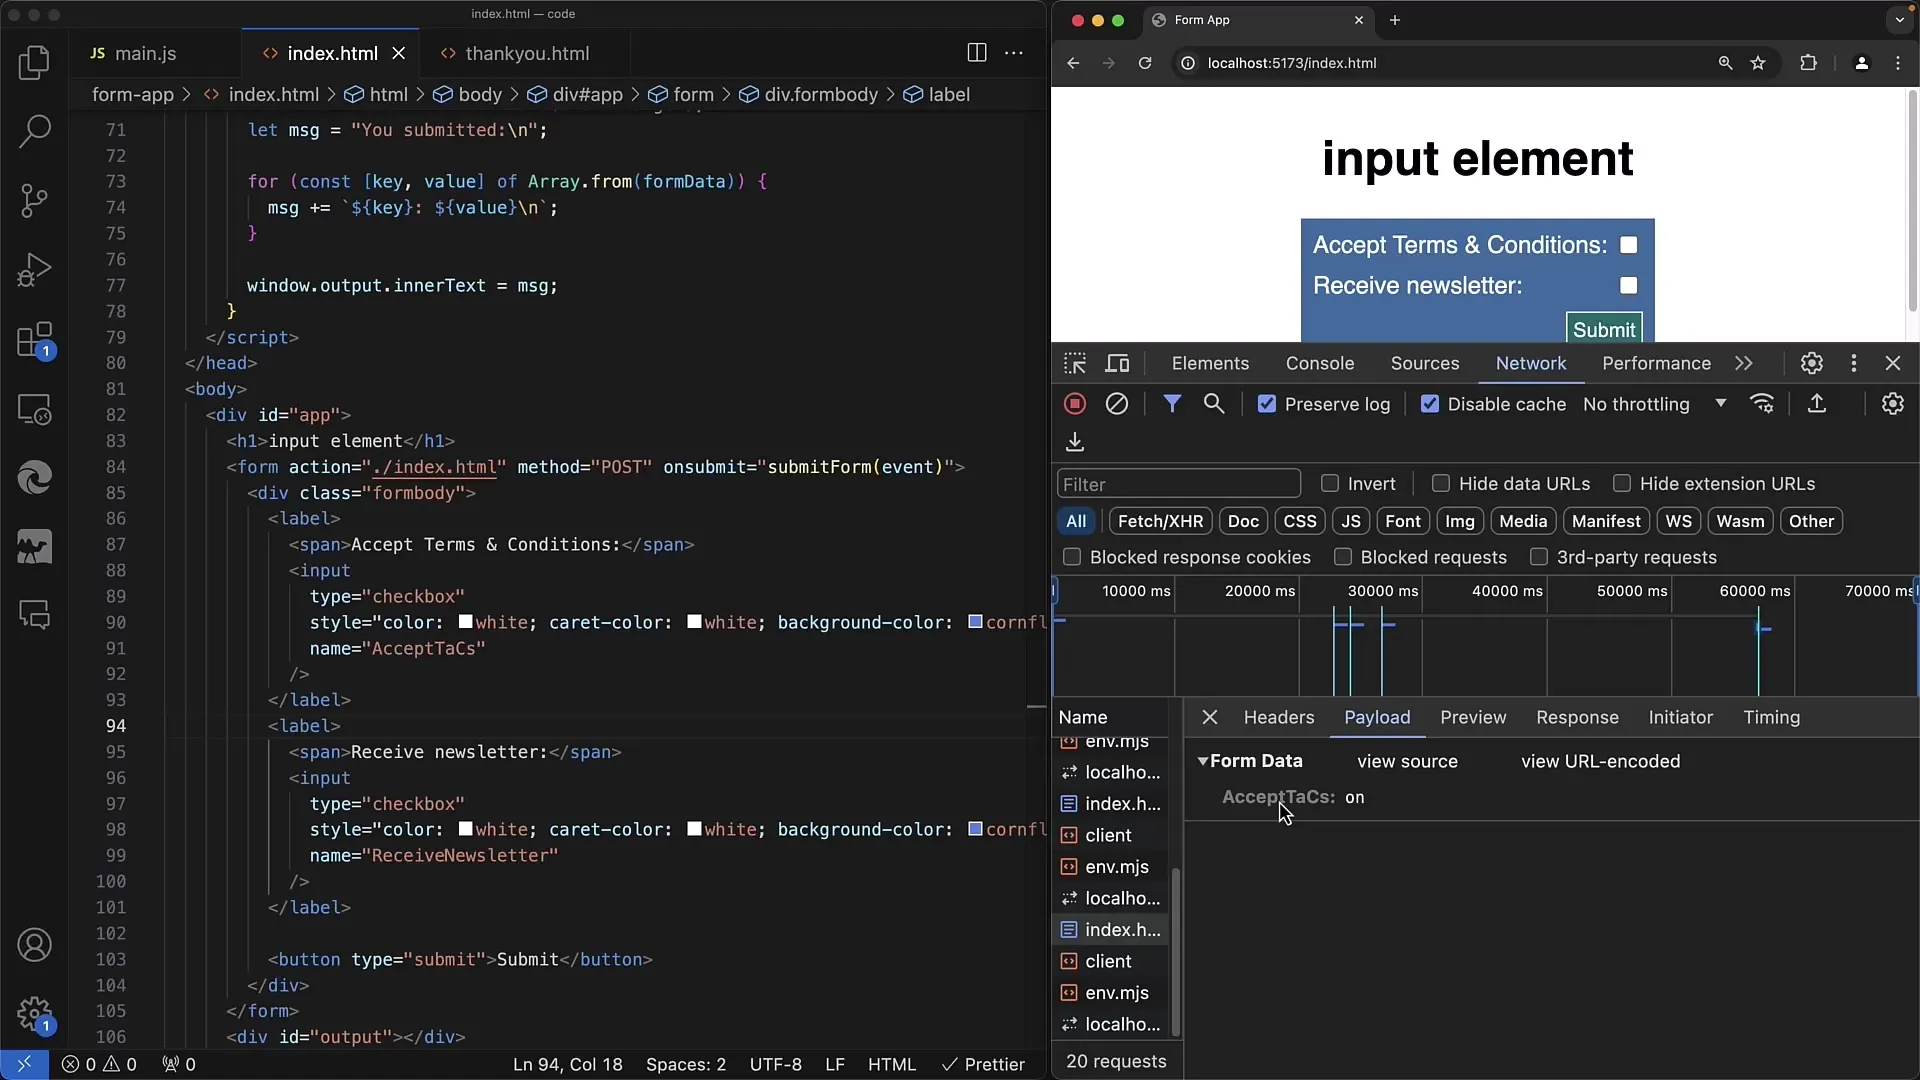
Only the checkbox that was actually selected will be submitted. In this case, you will see the specific name and value for the activated checkbox in the form data.
Step 5: Defining a Default Value
To set a checkbox as selected by default, add the checked attribute to the respective checkbox.
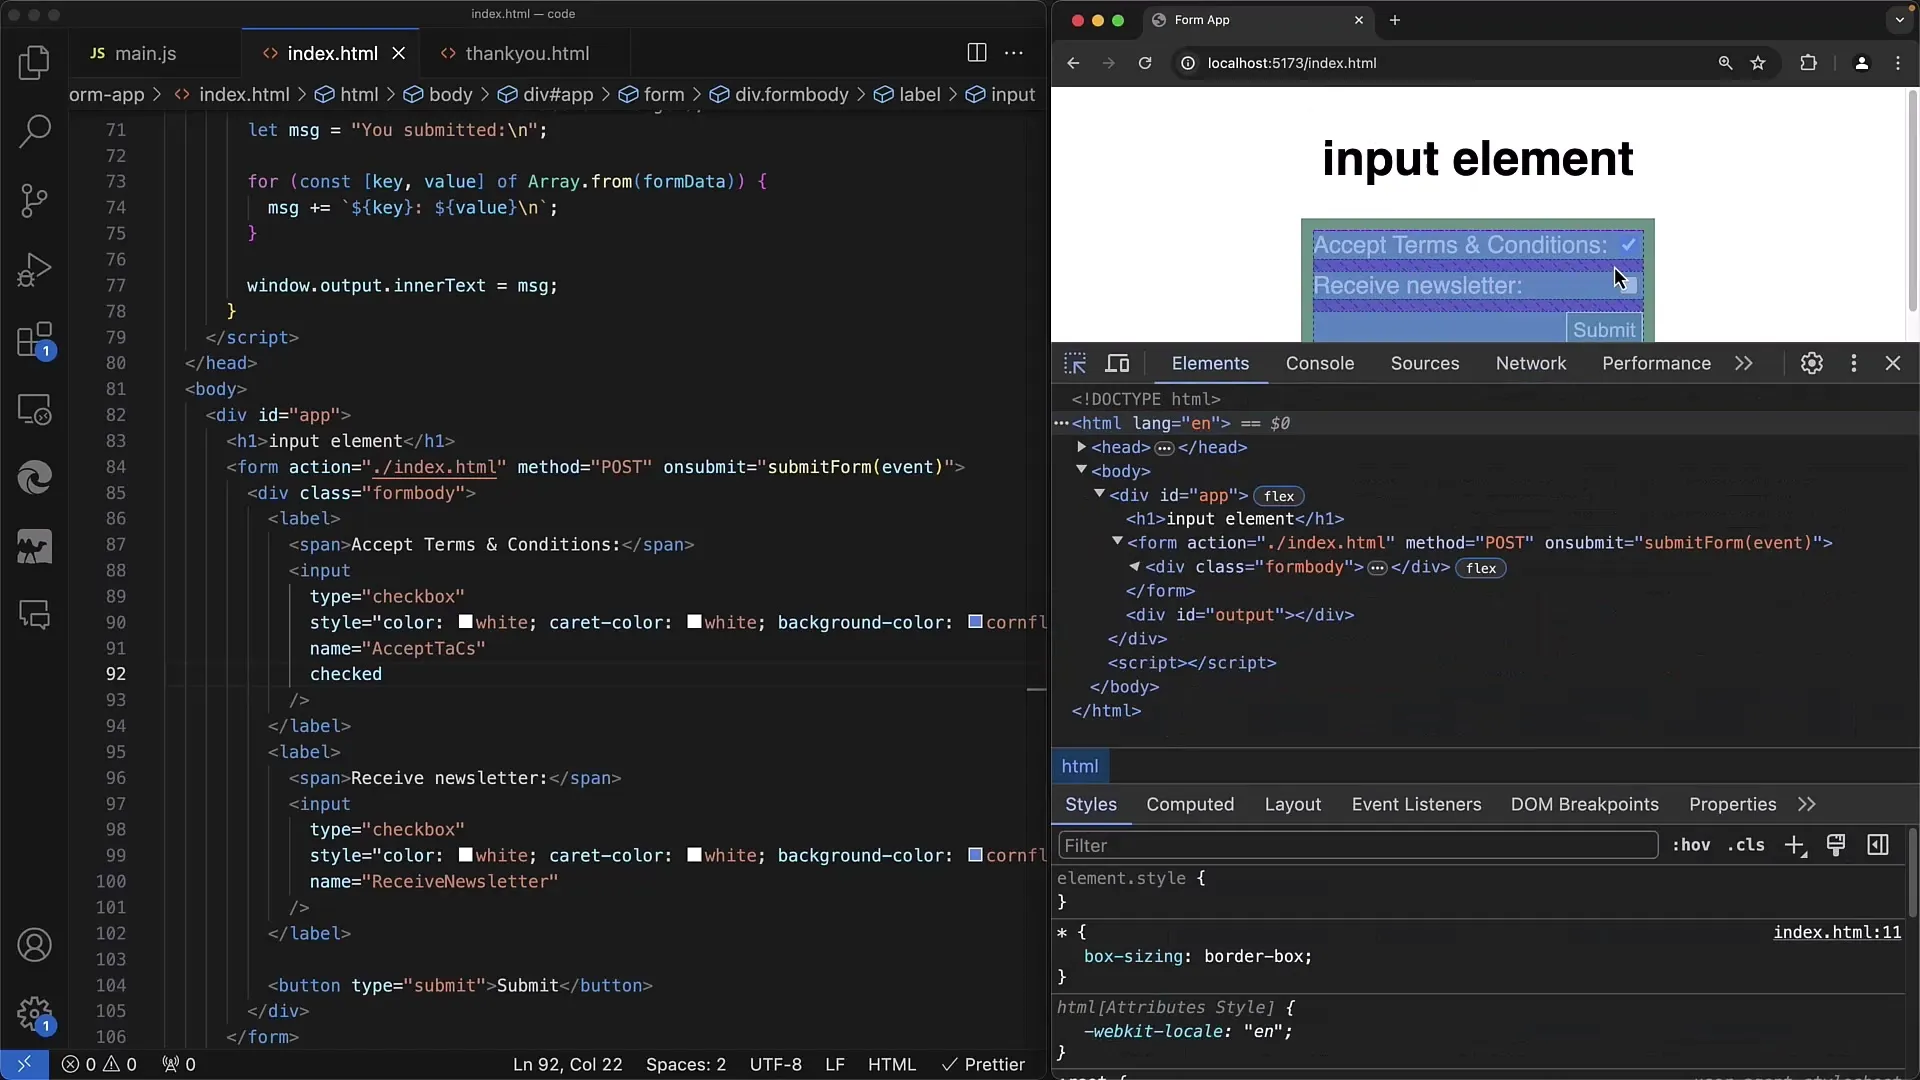
Using the checked attribute will activate the checkbox when the page loads. This is useful if you want certain options to be chosen by default.
Step 6: Processing User Inputs
When the user submits the form inputs, check the values of the checkboxes. Only expect the names of the checked boxes in the submitted data.
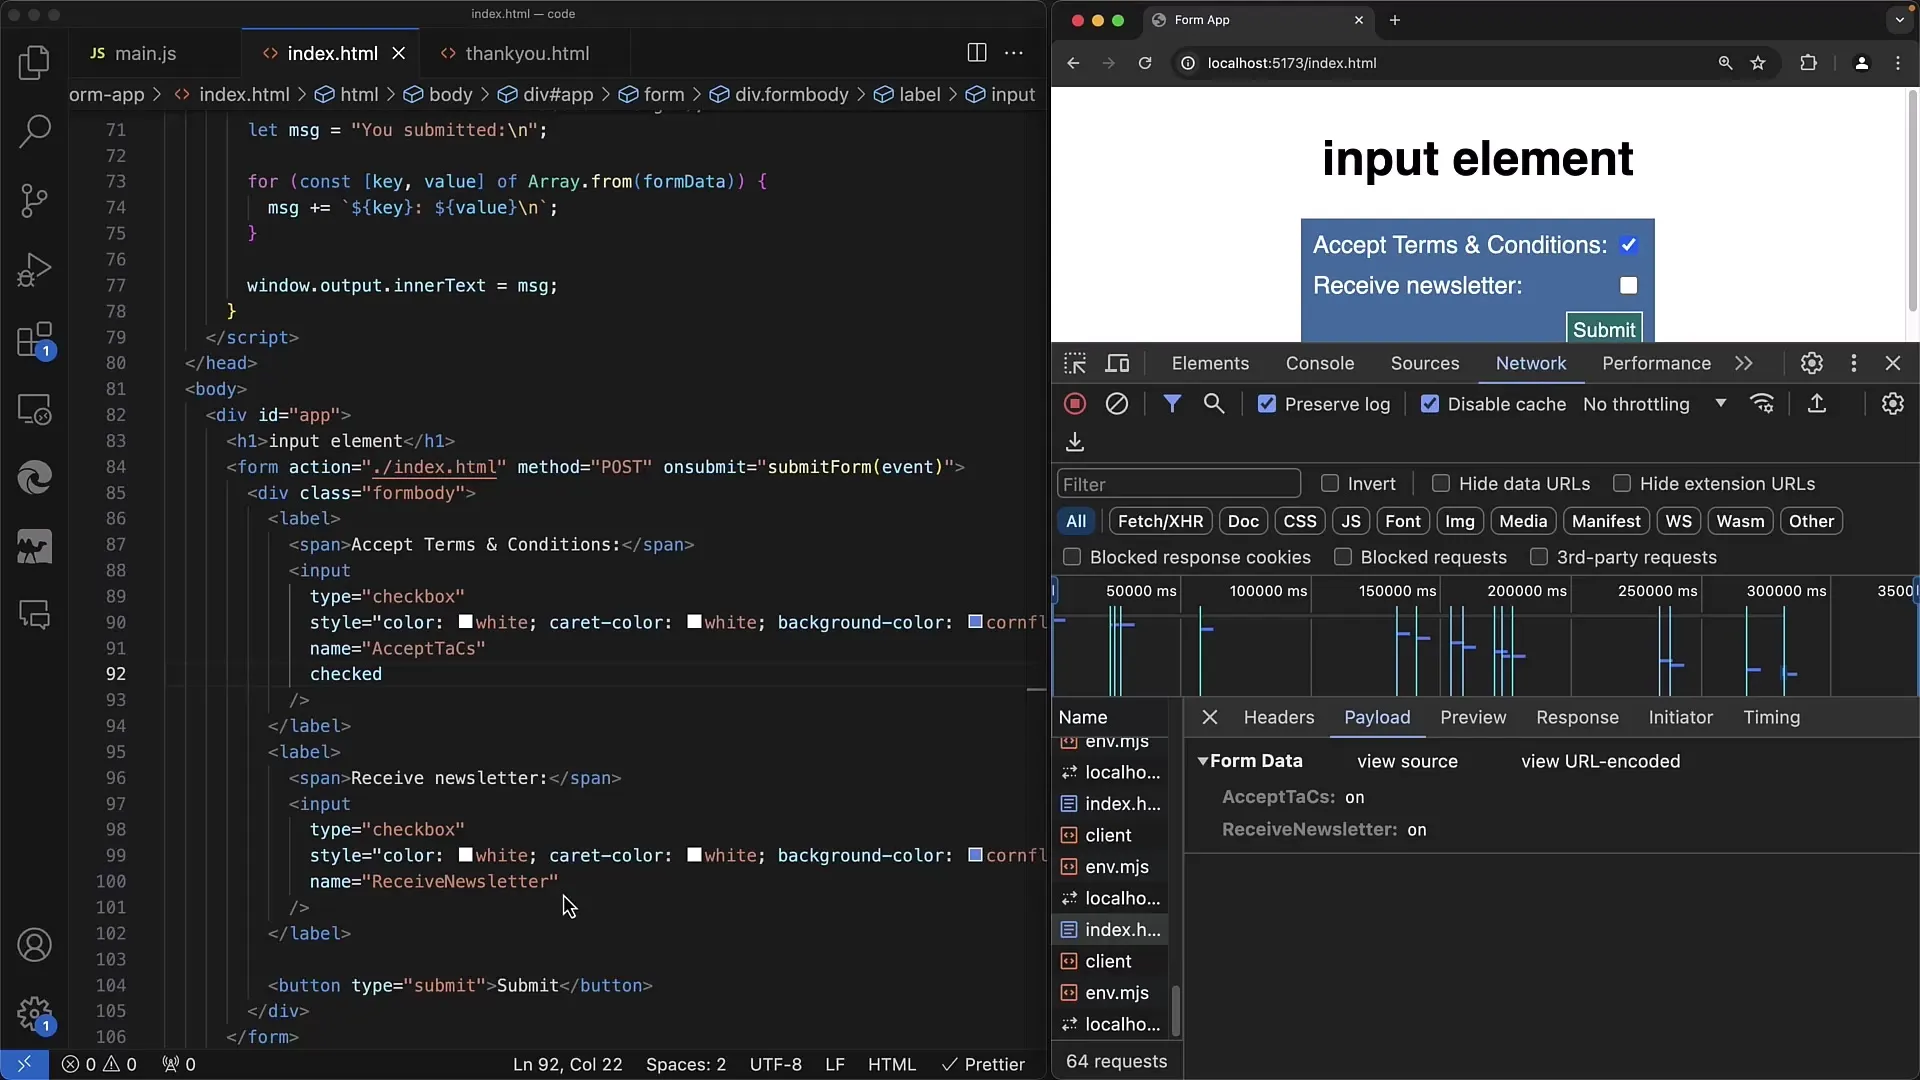
It is important to ensure that your backend (e.g., a server like Node.js with Express) can appropriately handle empty or nonexistent values.
Summary
In this tutorial, you have learned the basics of checkboxes in web forms. You now know how to create checkboxes, understand their functionality, and ensure that the data is transmitted correctly. Checkboxes provide an easy way to capture user preferences and should be considered in every web form.
Frequently Asked Questions
What is the difference between checkboxes and radio buttons?Checkboxes allow multiple choices, while radio buttons only allow one selection from many.
Why does a checkbox not appear in the URL parameters if it is not checked?An unchecked checkbox has no value and therefore is not sent with the submitted form data.
How do I set a checkbox to be "selected" by default?Add the checked attribute to the checkbox in your HTML.
Can I activate multiple checkboxes at the same time?Yes, users can select multiple checkboxes in a form simultaneously.


