Uploading files via a web form is an important part of most modern applications and websites. In this tutorial, you will learn how to effectively implement the input element type="file" for file uploads. You will understand how the file selection process works, how to ensure that the file is sent correctly to the server, and what settings are important. This guide is designed for developers who want to expand their knowledge in handling HTML forms and file uploads.
Main Takeaways
- The input element type="file" allows users to upload files.
- Using the correct form types and enctype attribute is crucial for successful file uploads.
- You can create a user-friendly interface for file uploads using JavaScript.
Step-by-Step Guide
First, you should ensure that the basic HTML form with the input element type="file" exists.
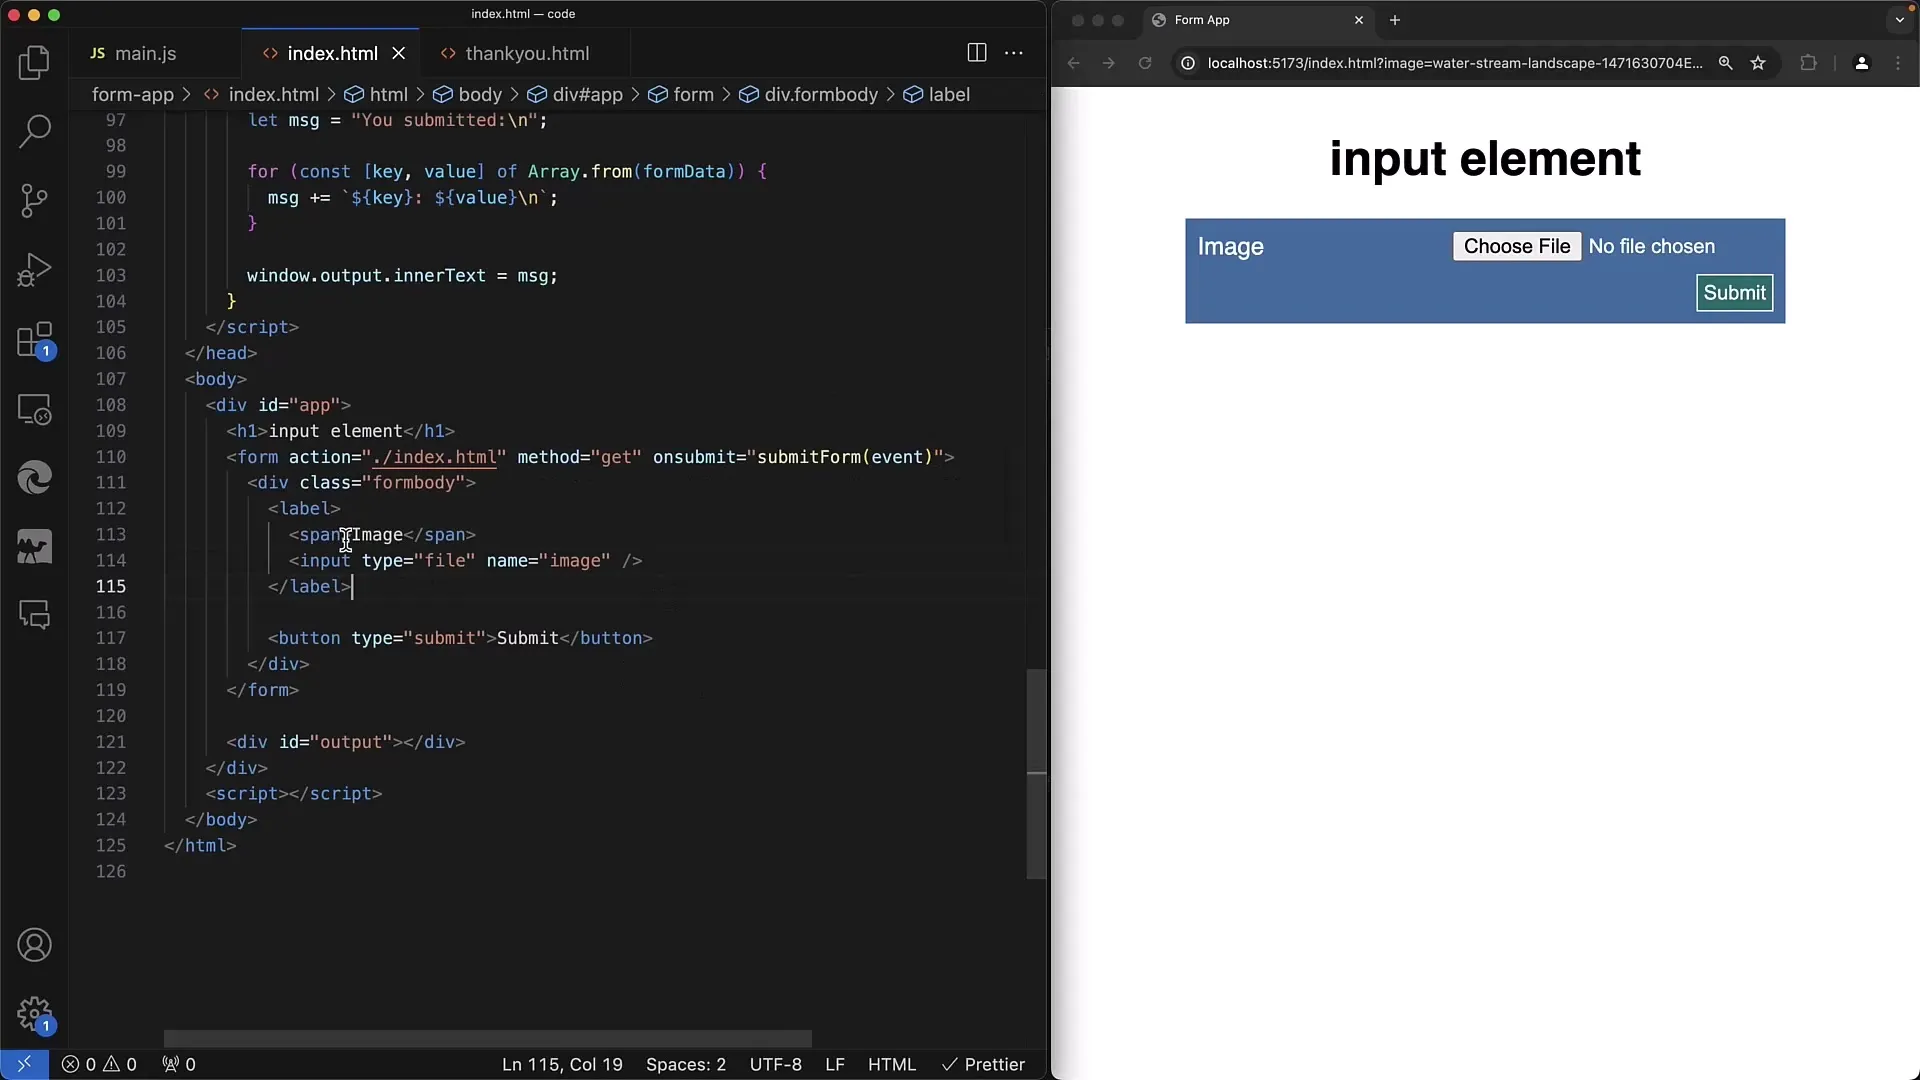
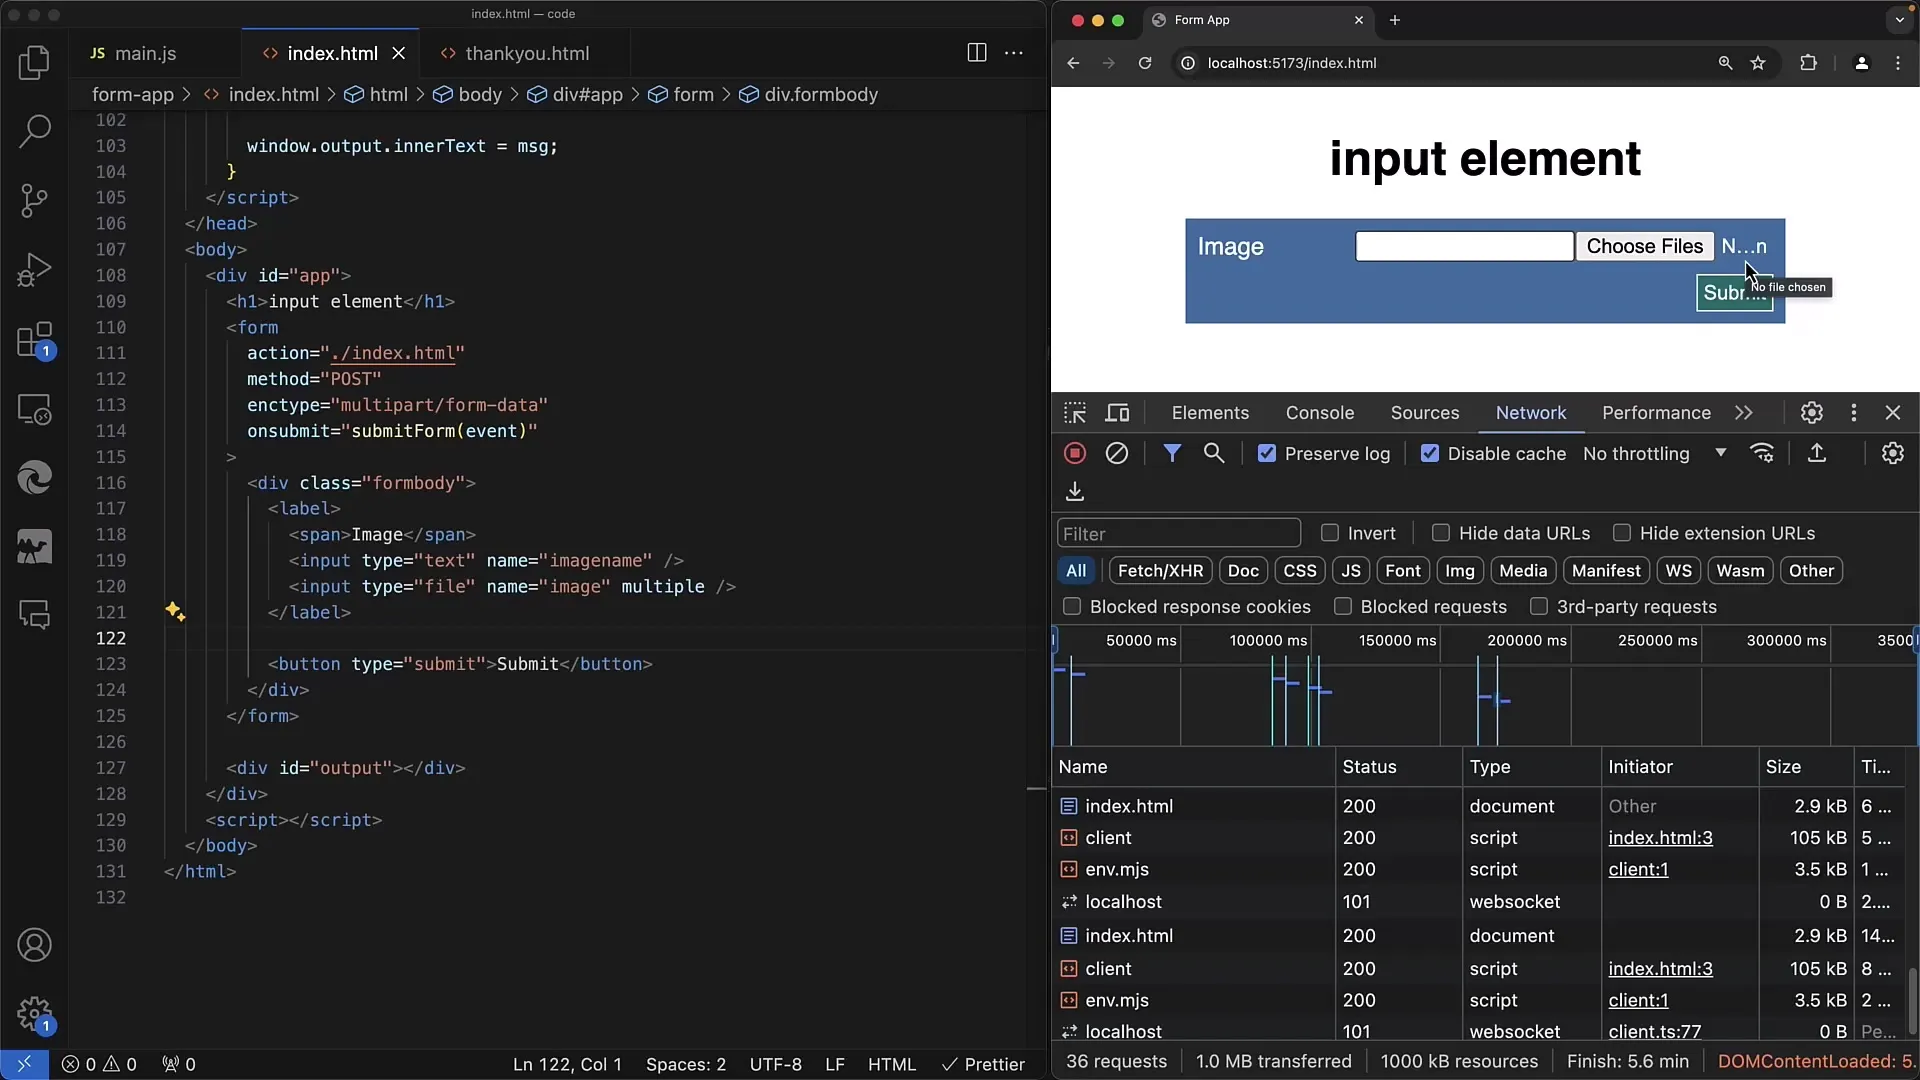
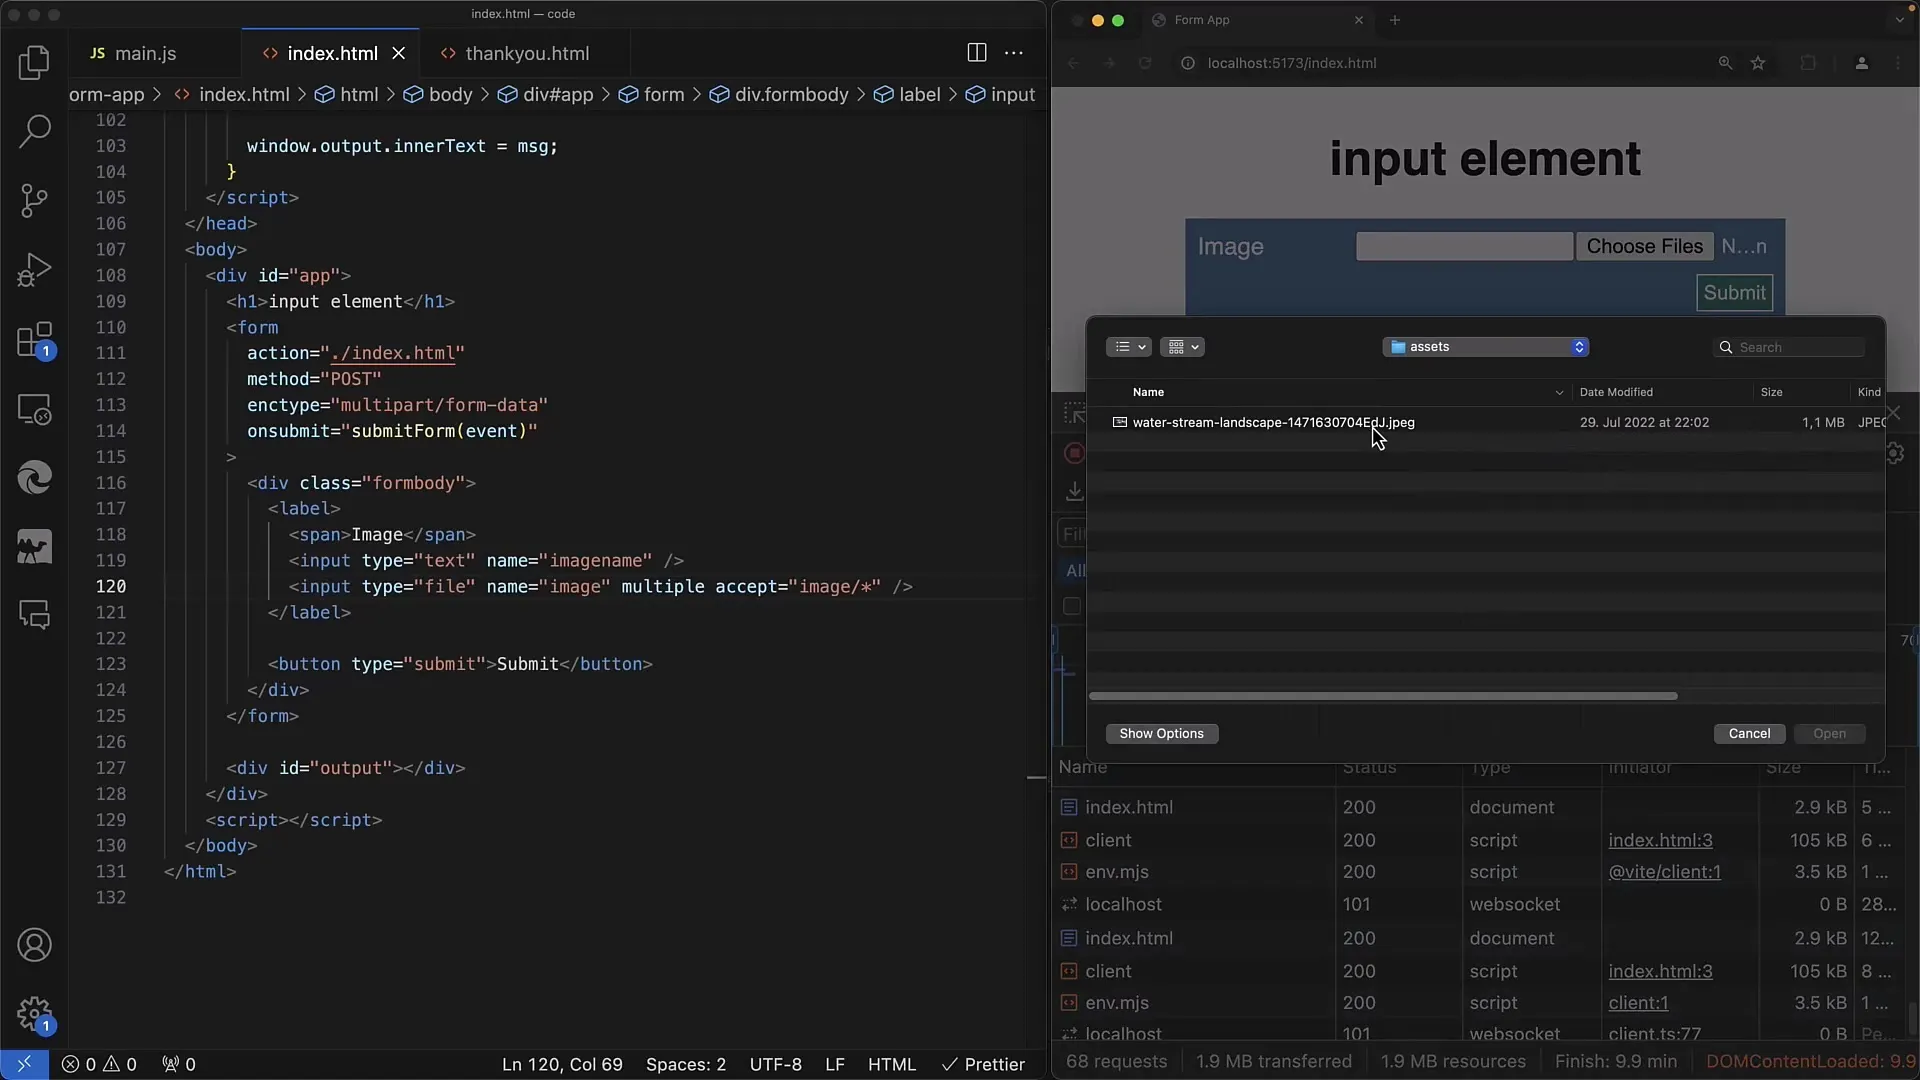
Here in this local example, I have already set up the input element with type "File." You can see that next to the button there is text that says "no file chosen." The input element type="file" allows users to select one or more files, which are then opened via a system-native file dialog.
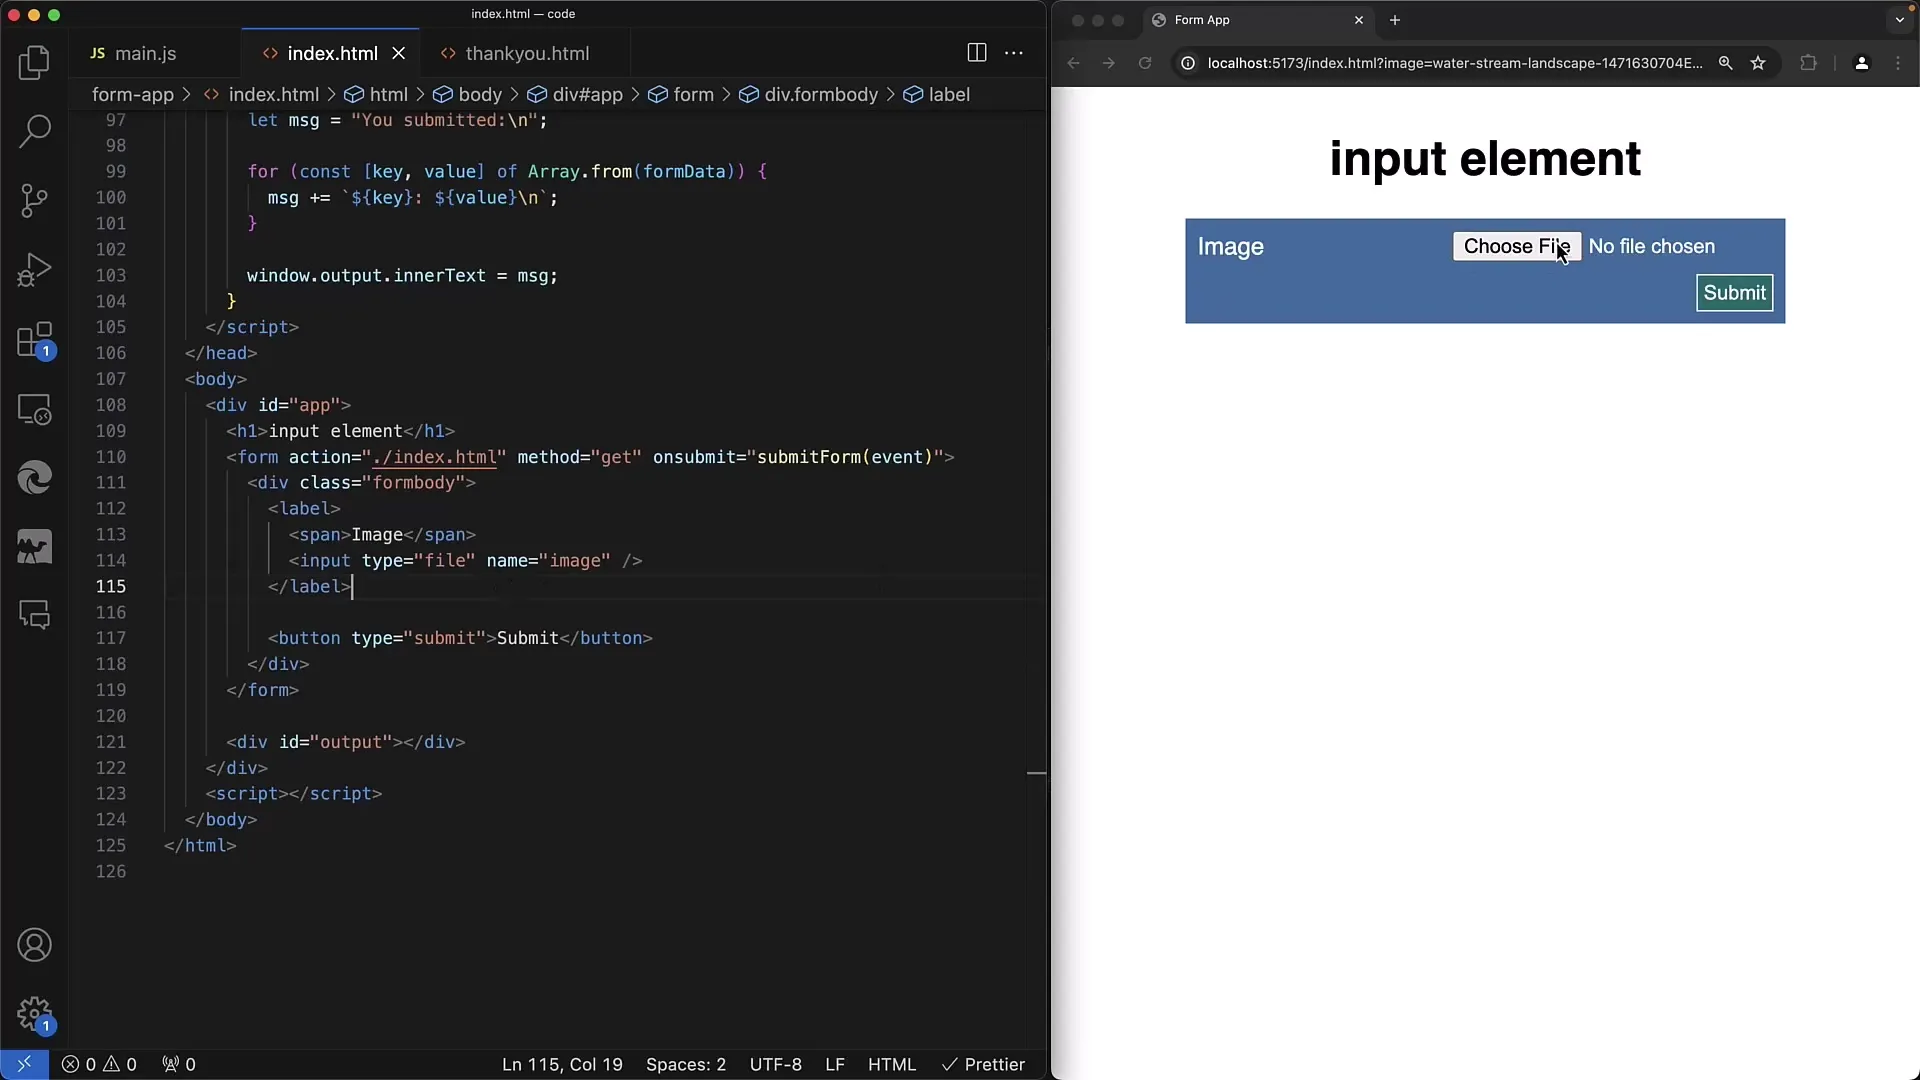
The appearance of the dialog varies depending on the operating system, be it Windows, Linux, or MacOS. Here is my example on a MacOS system, and you can access it to select one or more files. When you click "Open," the selected file will be displayed in the input field.
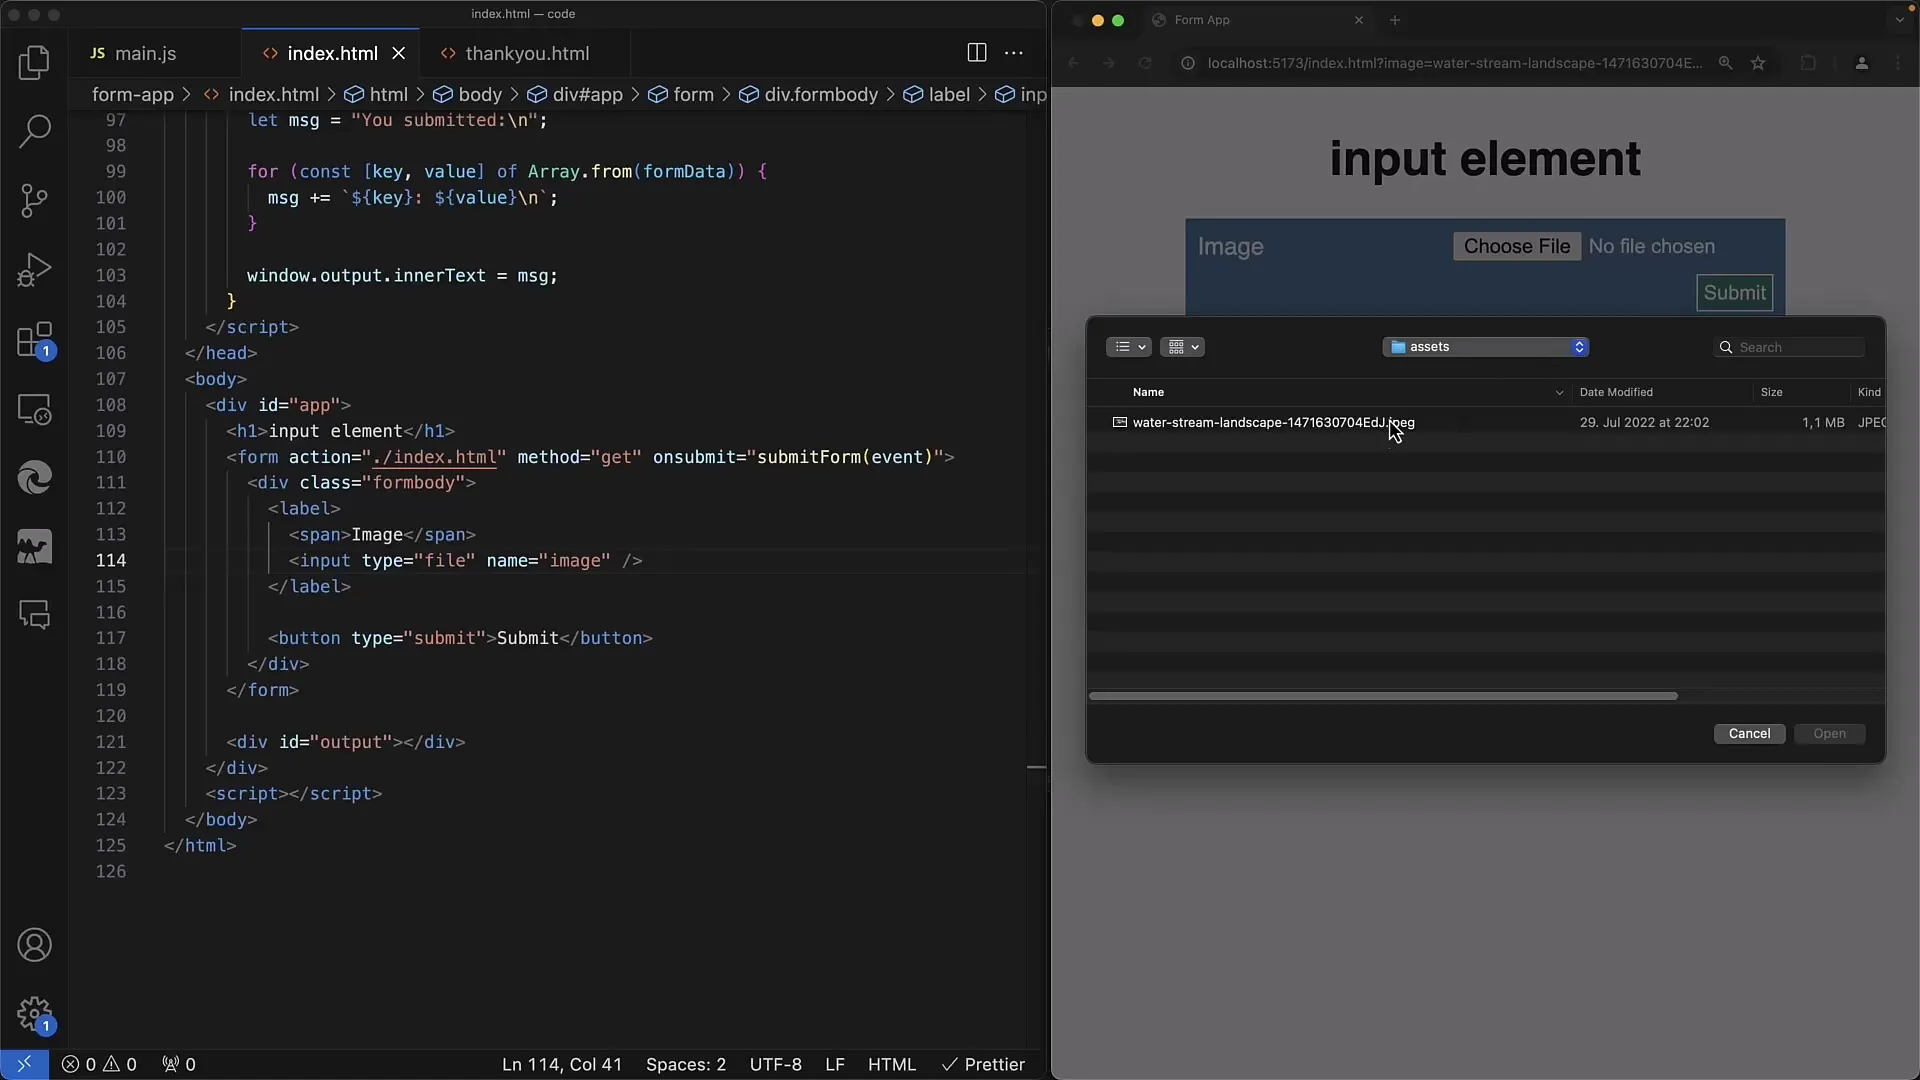
Now that you have selected the file, it will appear as a value inside the input element. To process the form, I am using the GET method.
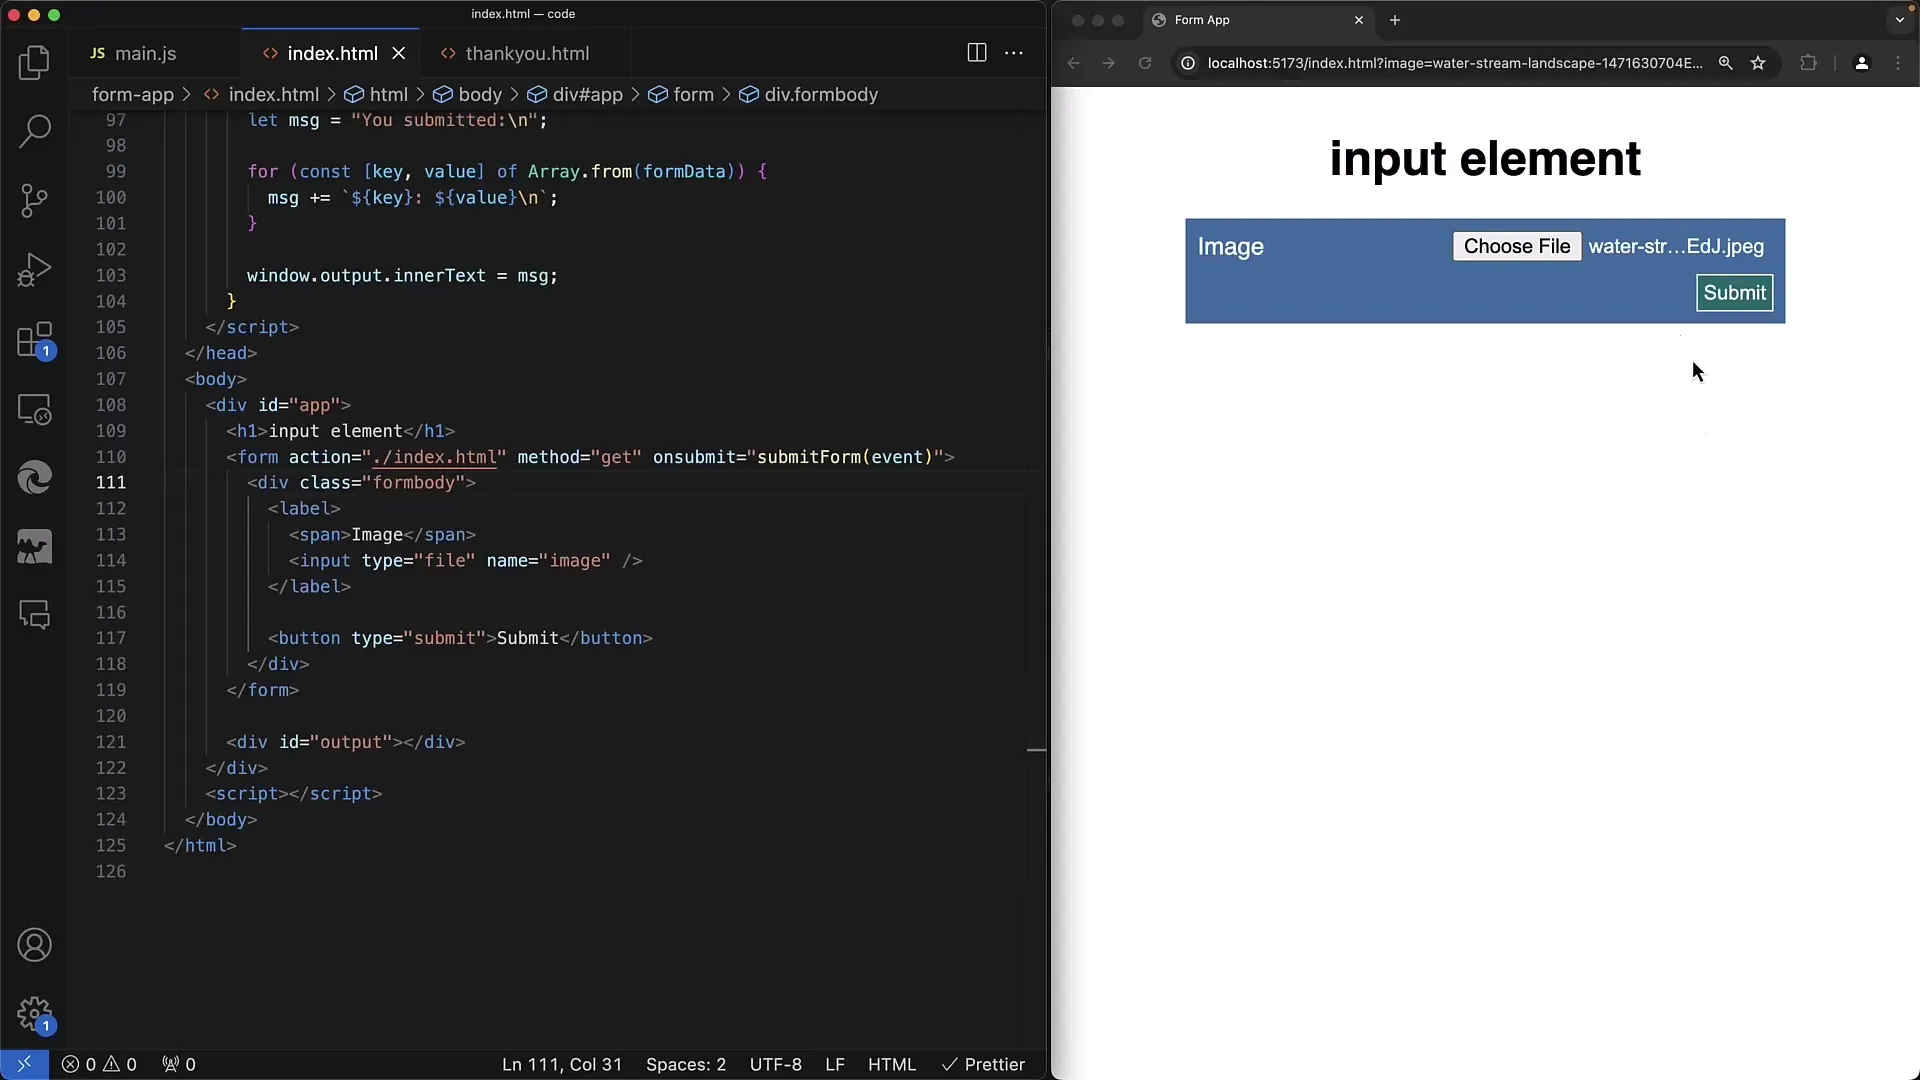
Afterwards, you can submit the form, but you will notice that only the filename is displayed in the URL. However, we should change this to transmit the entire file content to the server.
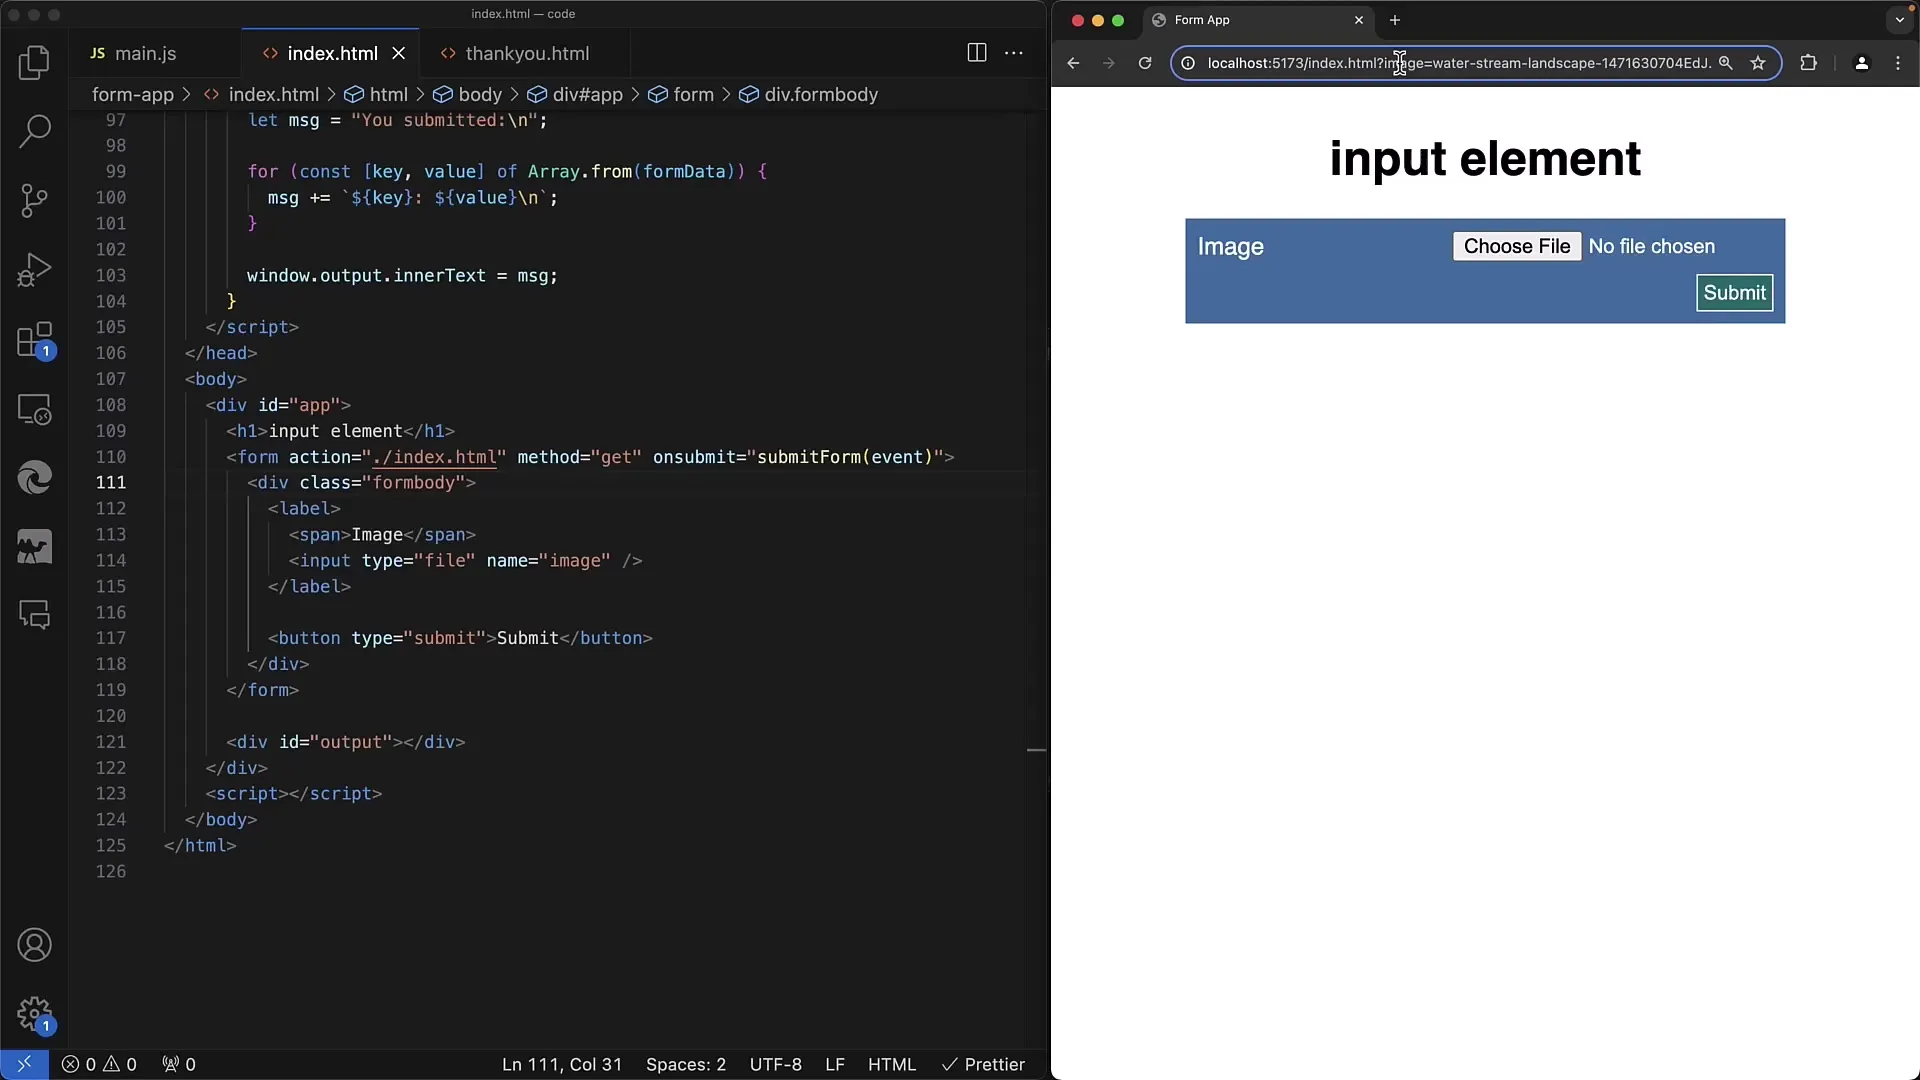
To do this, we change the method to POST. To check what is being sent, you switch to the Network tab.
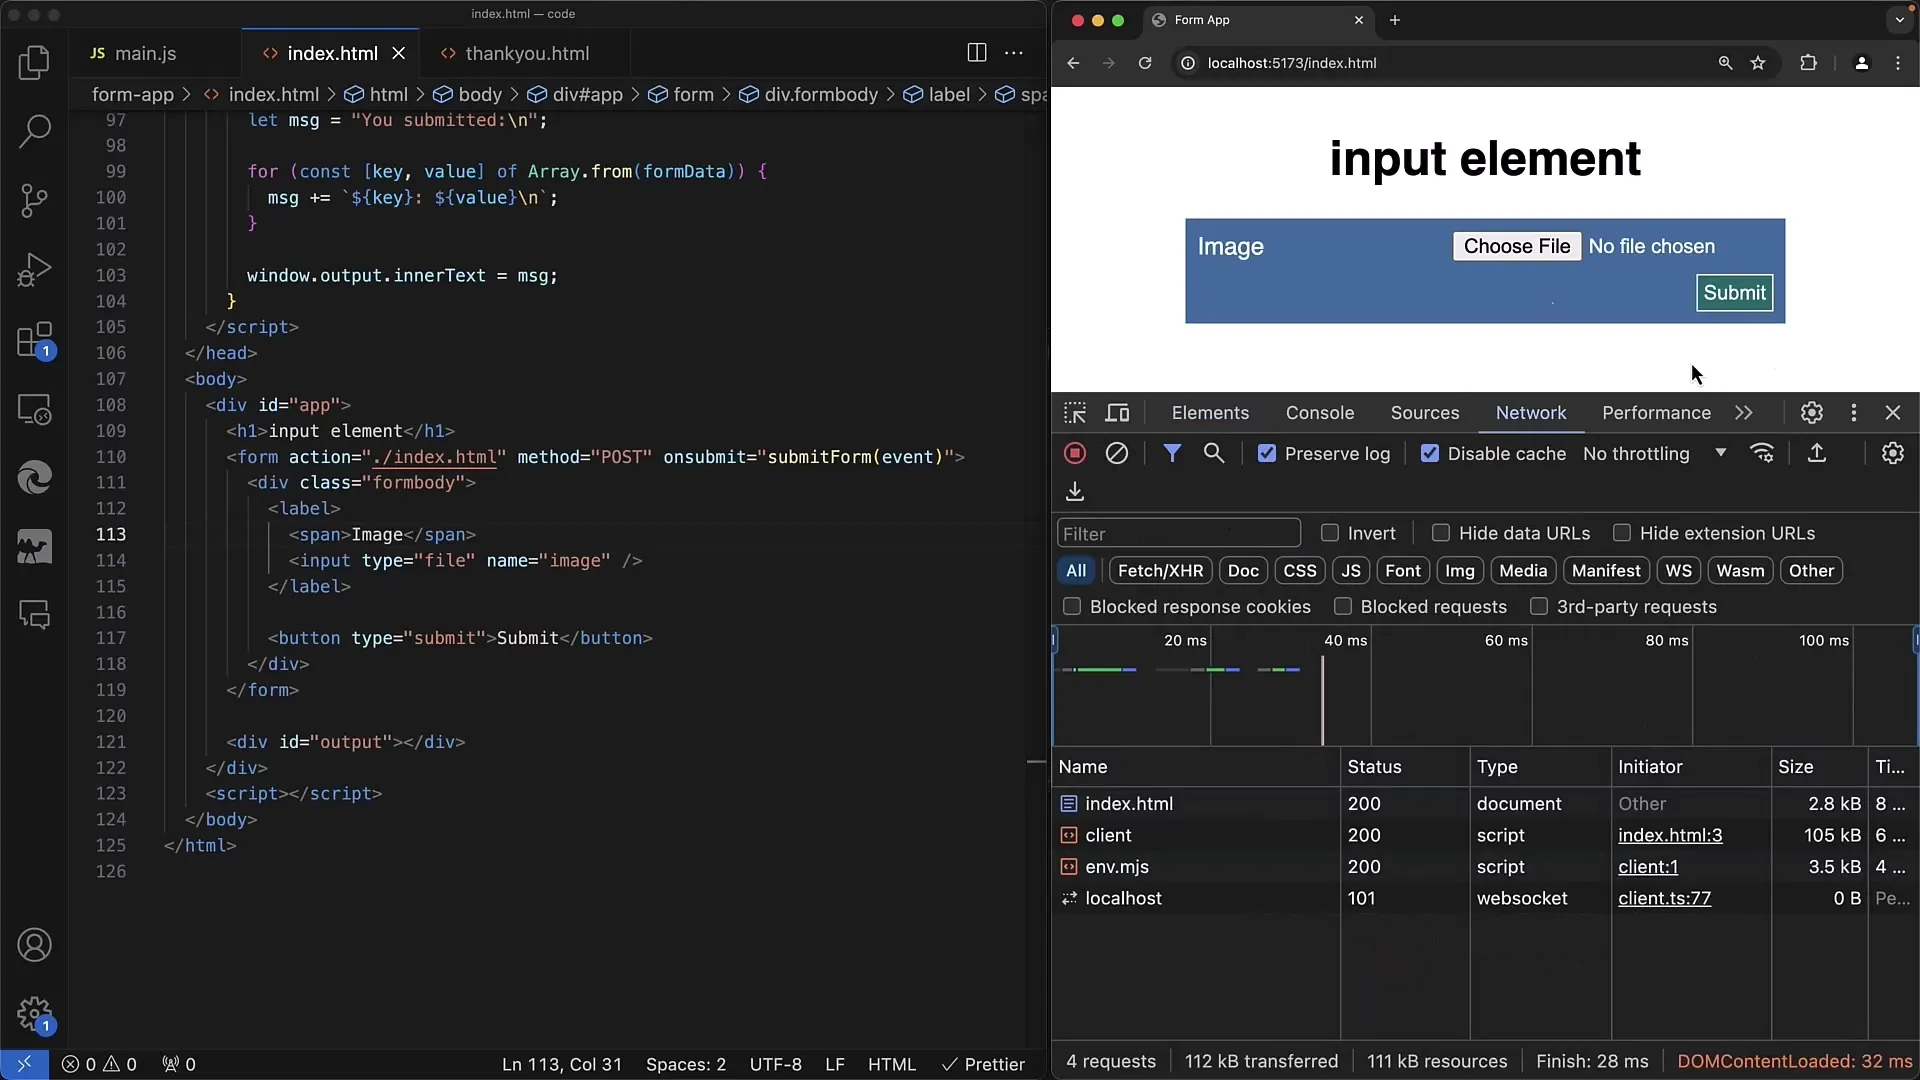
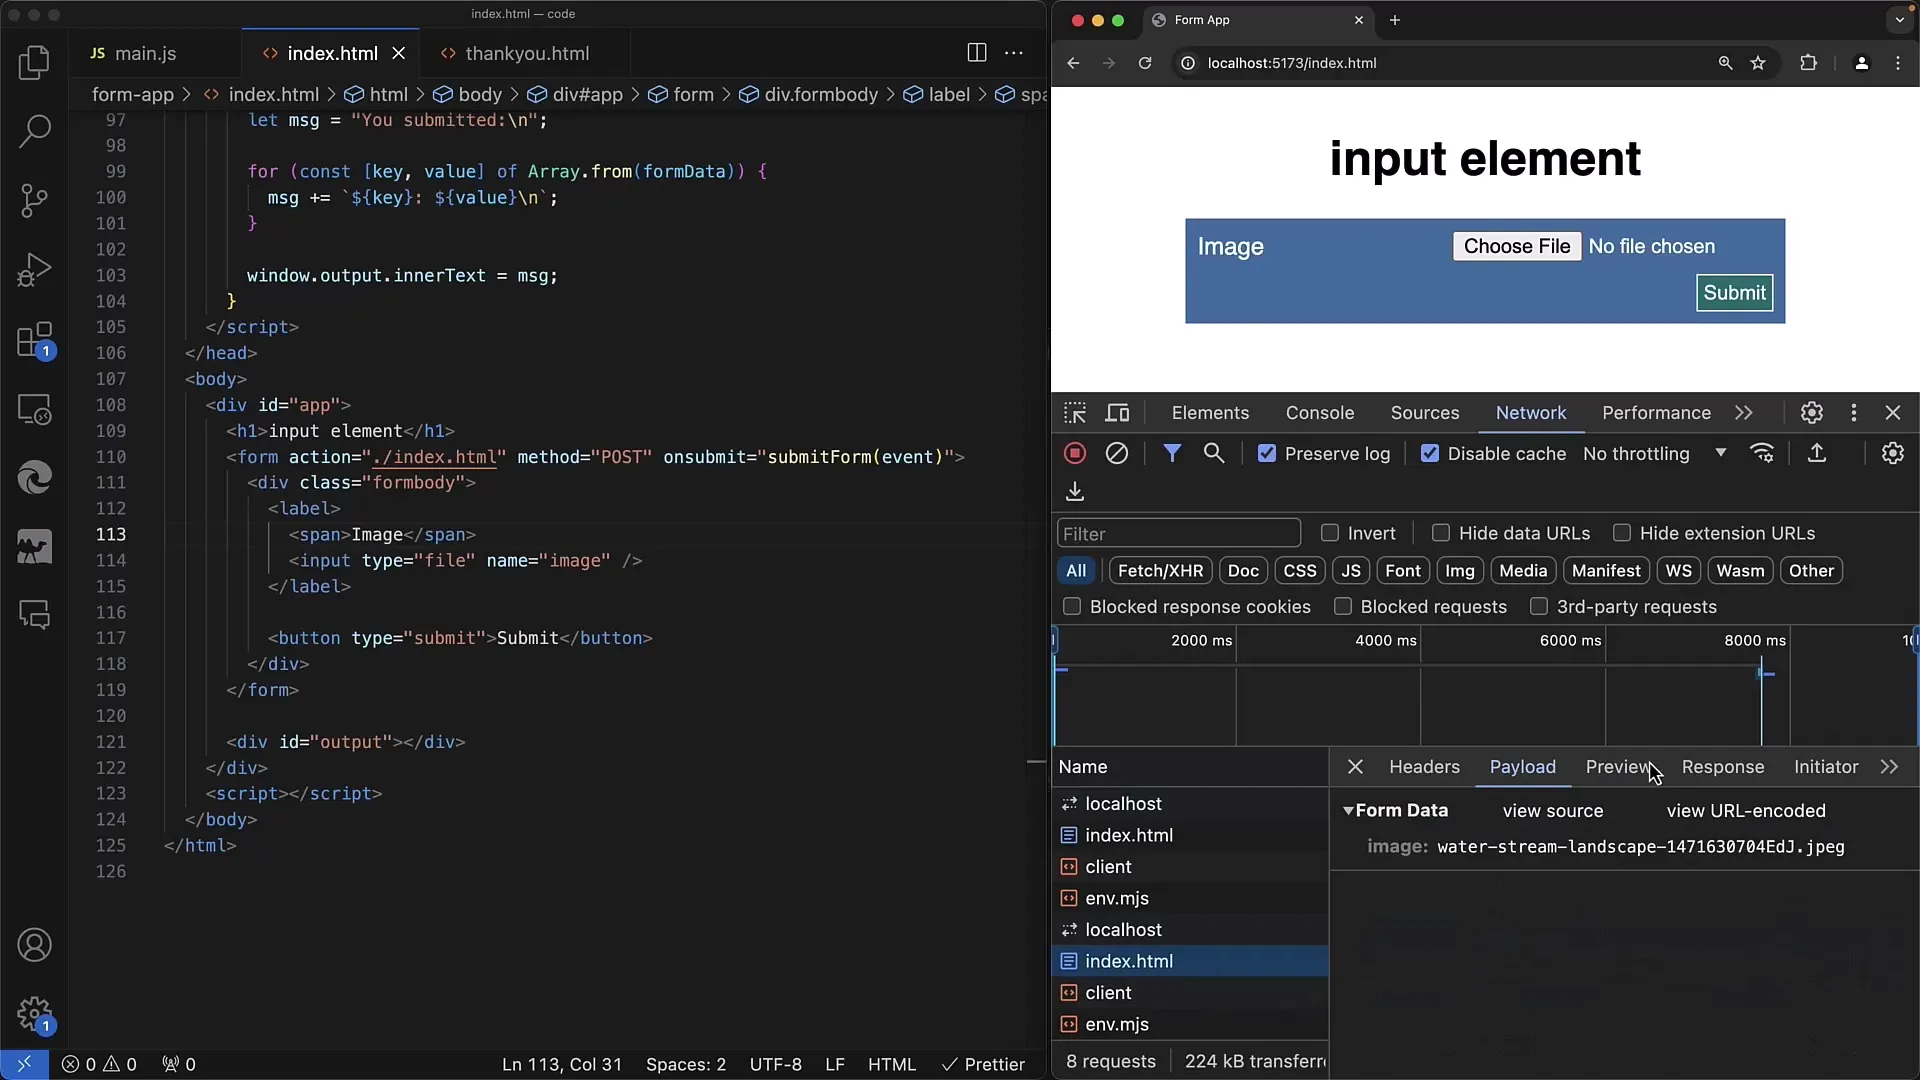
However, you need to make sure that you have selected at least one file before. If you select the file "image.jpg" and submit the form, you will find it in the payload. But you will quickly realize that only the name is transmitted here as well.
The issue lies in the enctype attribute not being set. We need to set it to multipart/form-data to transmit the file in the correct data format.
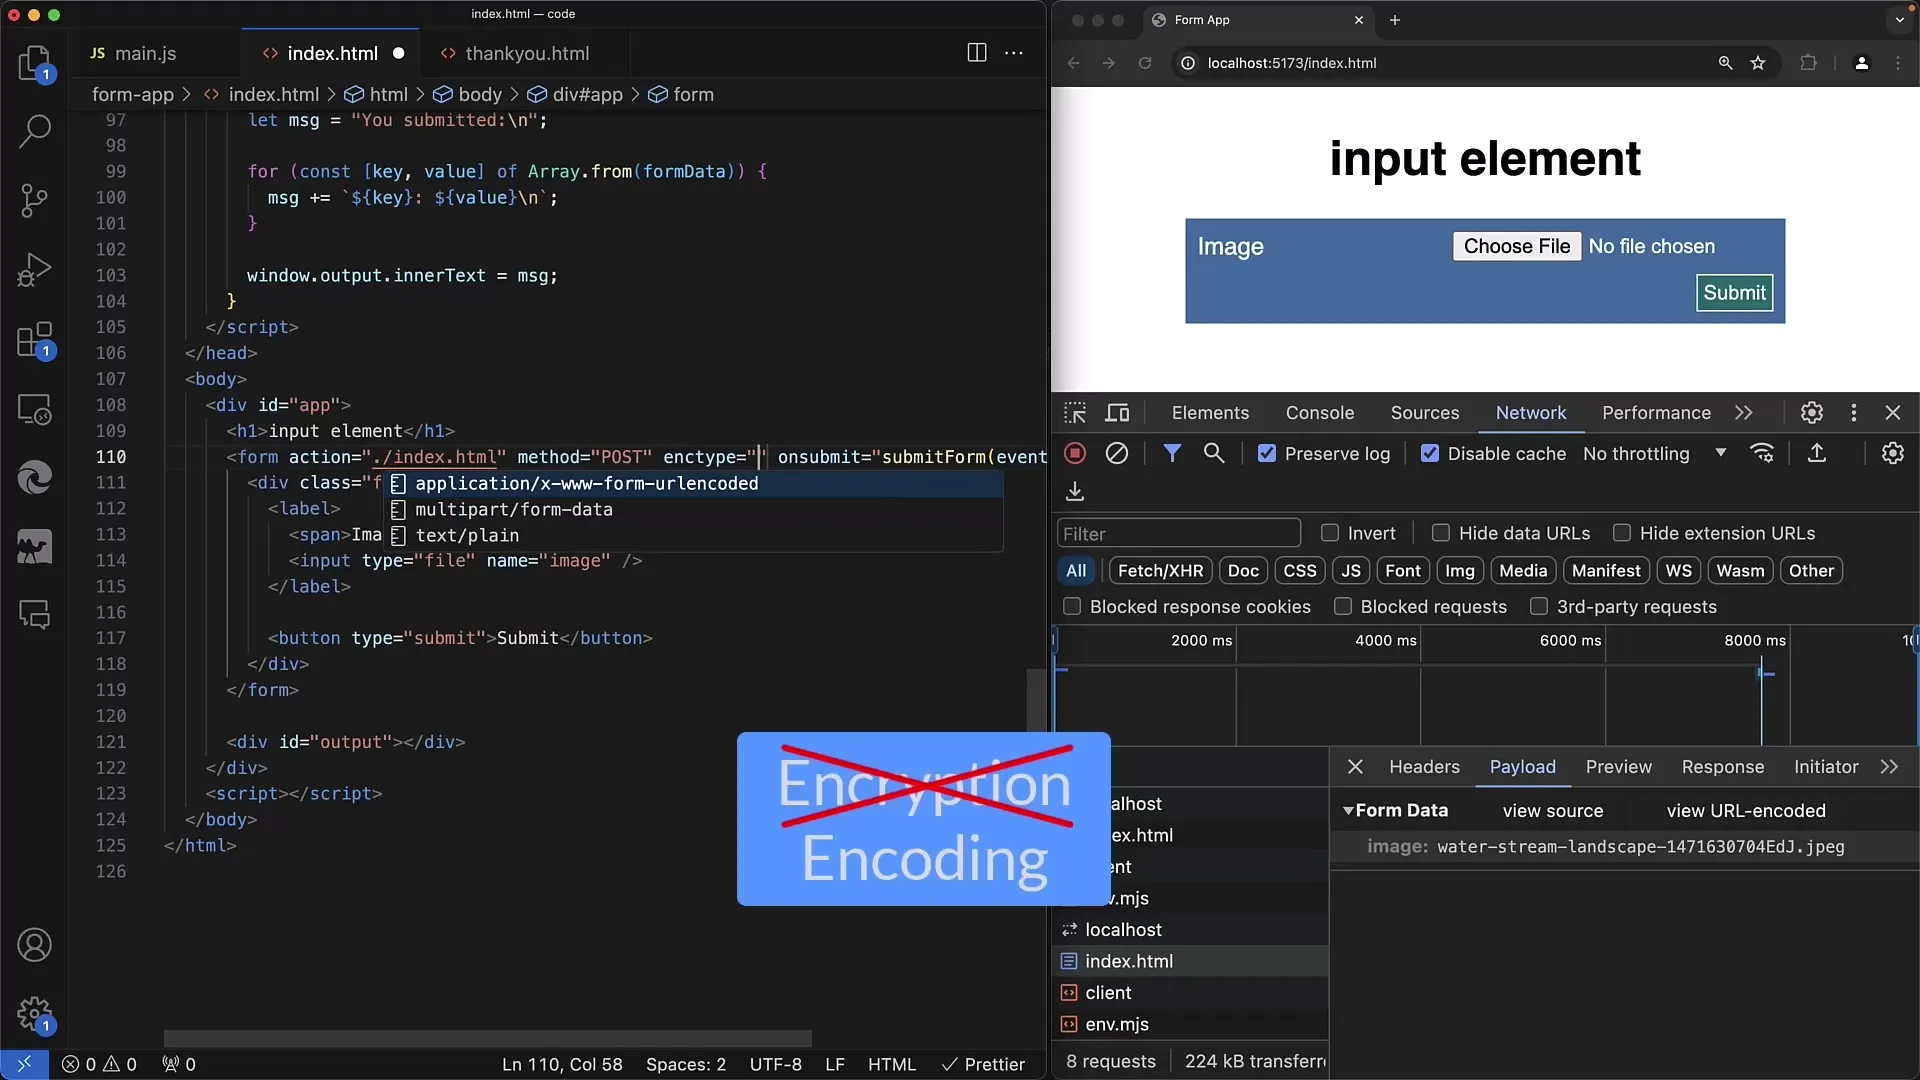
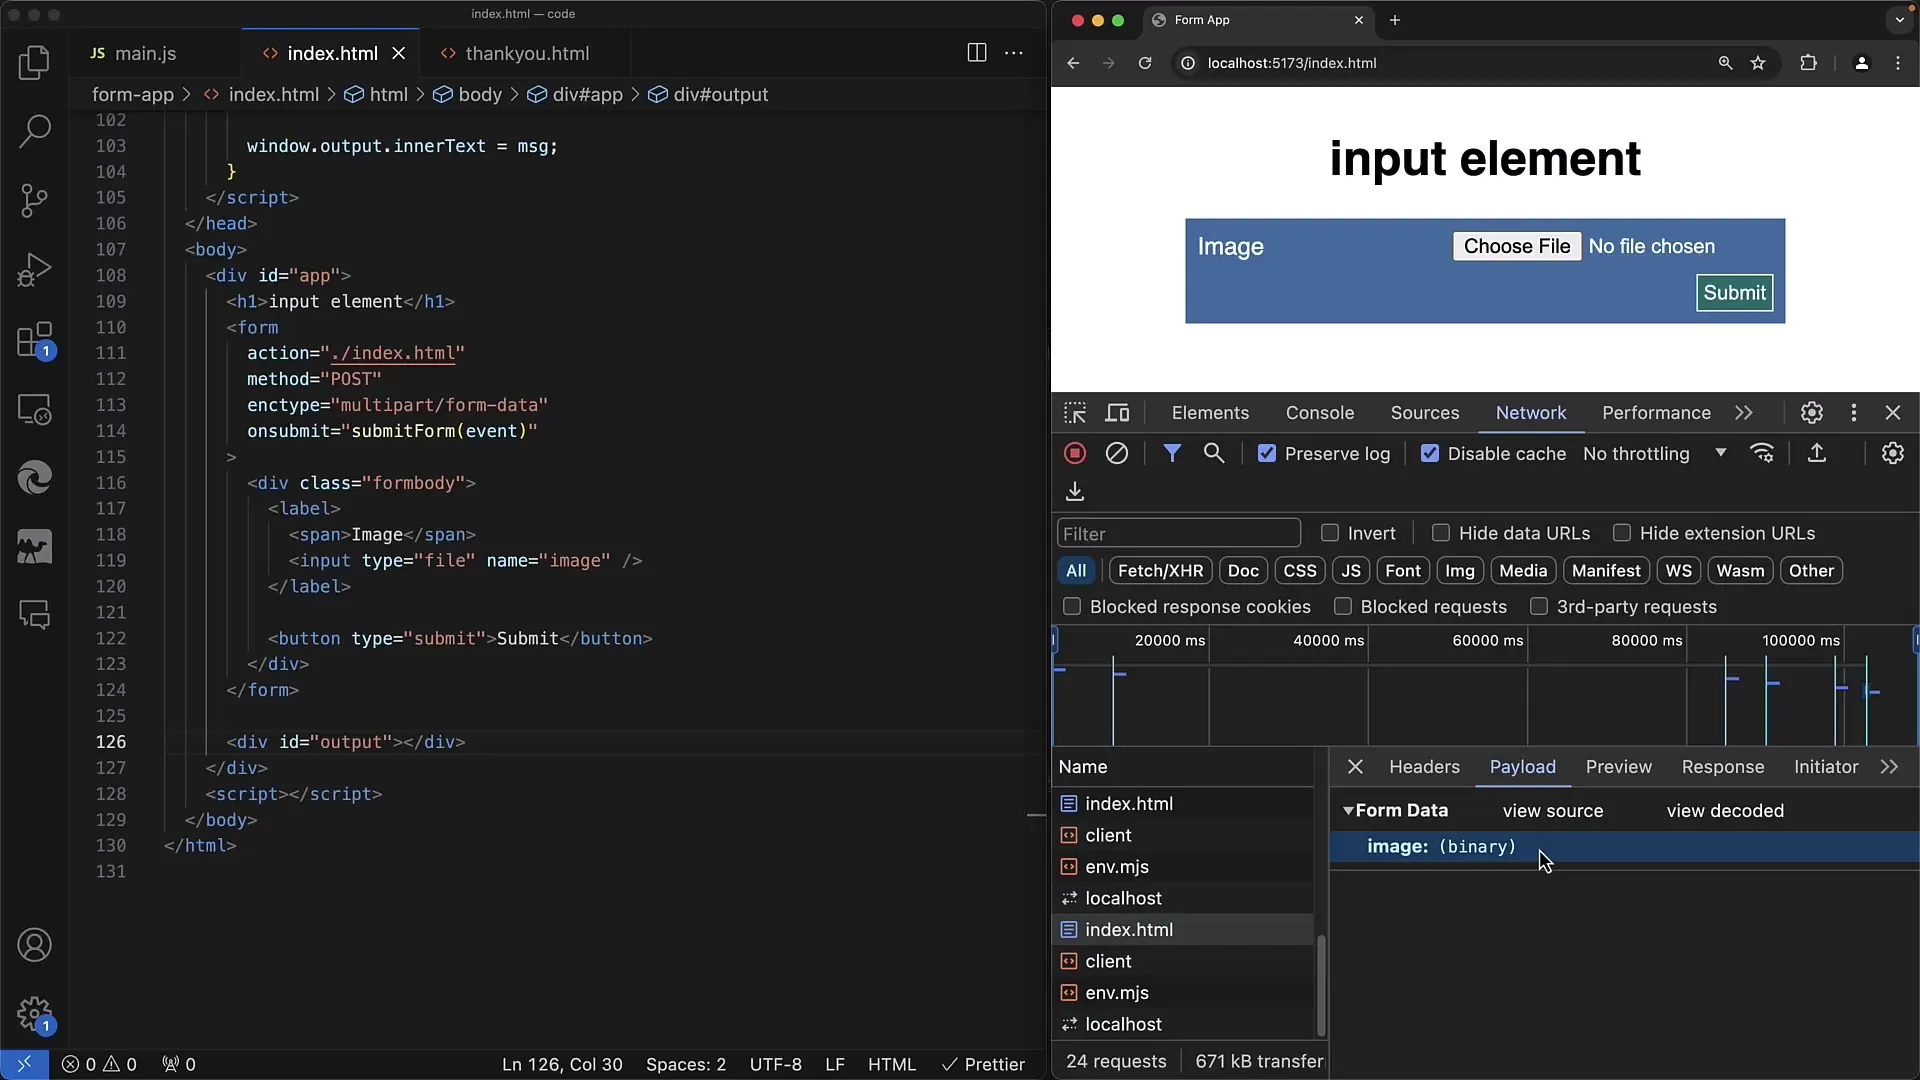
With this enctype, you can ensure that the server receives the file in its binary data. When we implement this, we select our image file again and resubmit the form.
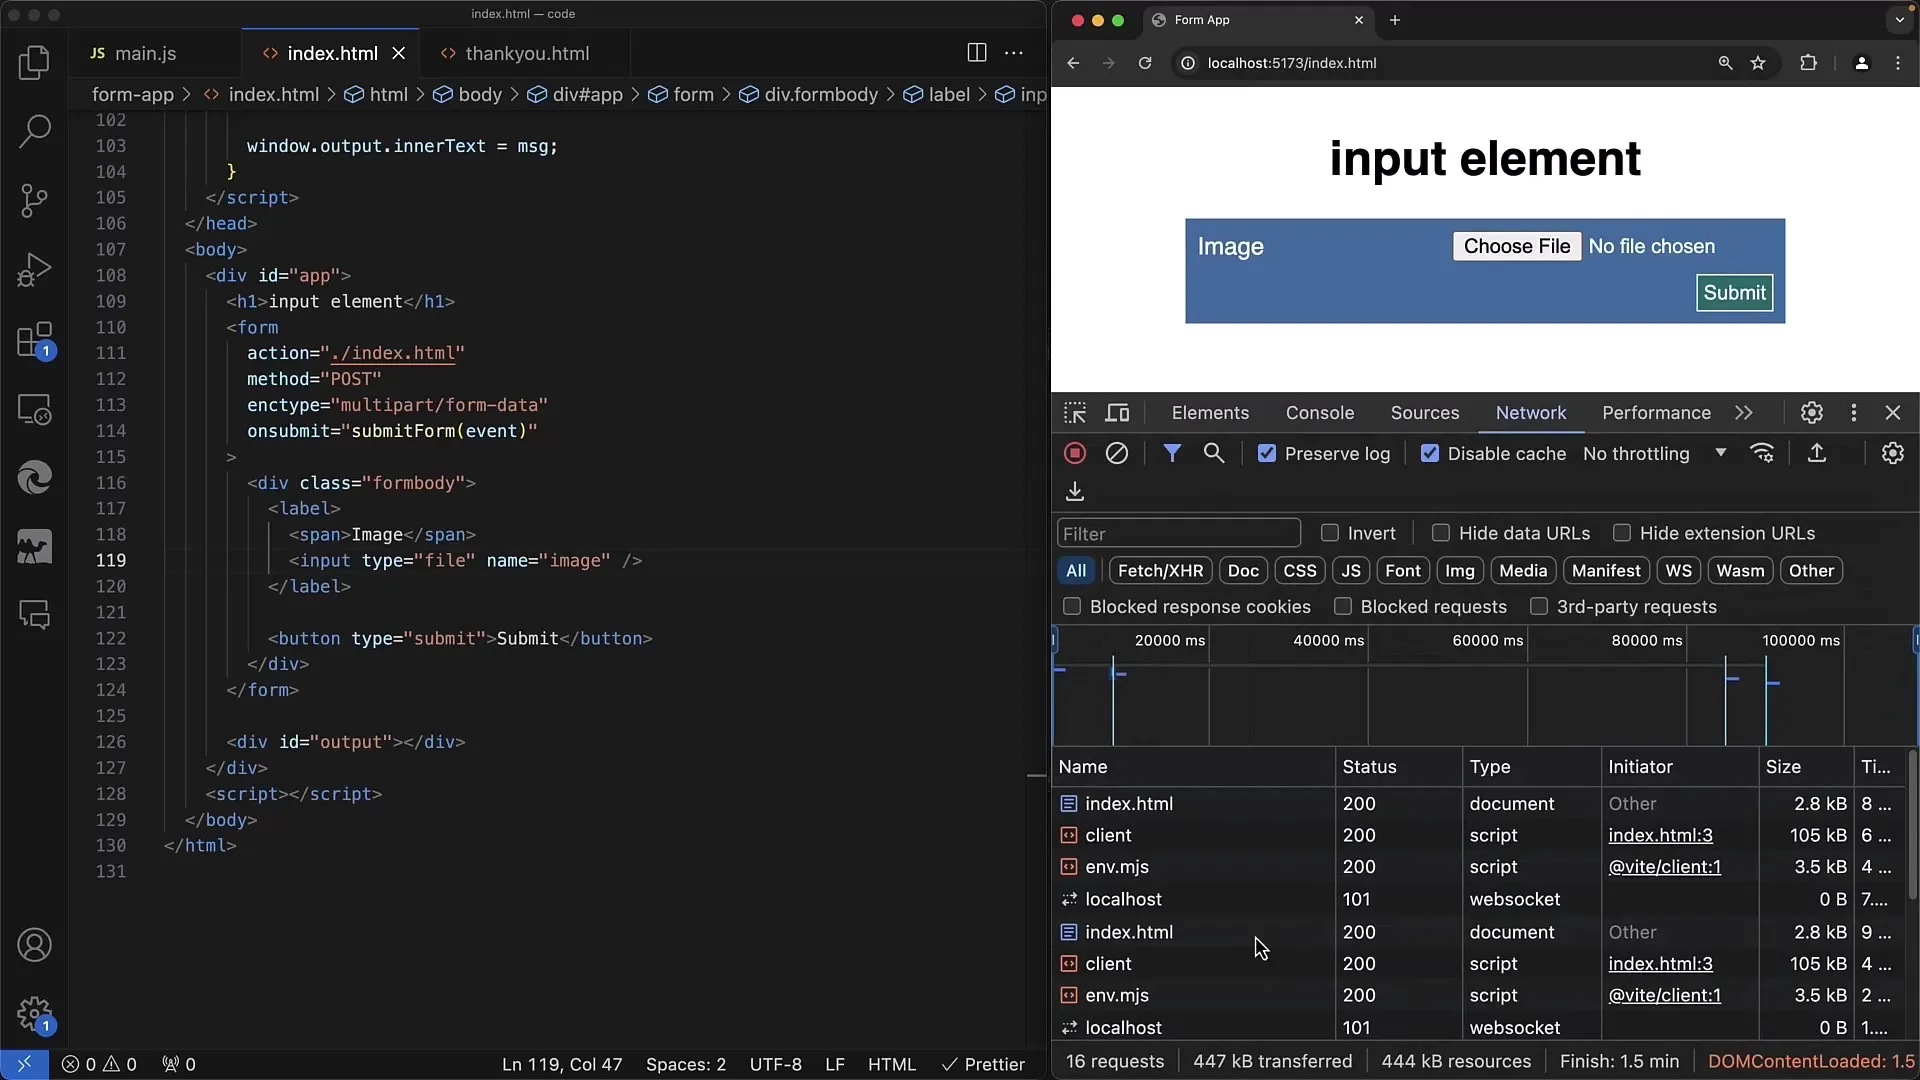
Now you can see that the transmission includes not only the file name but also the binary data that the server needs to process.
The server then needs to decode this binary data. It is crucial that the server interprets this information correctly to save the file in a database or on the server.
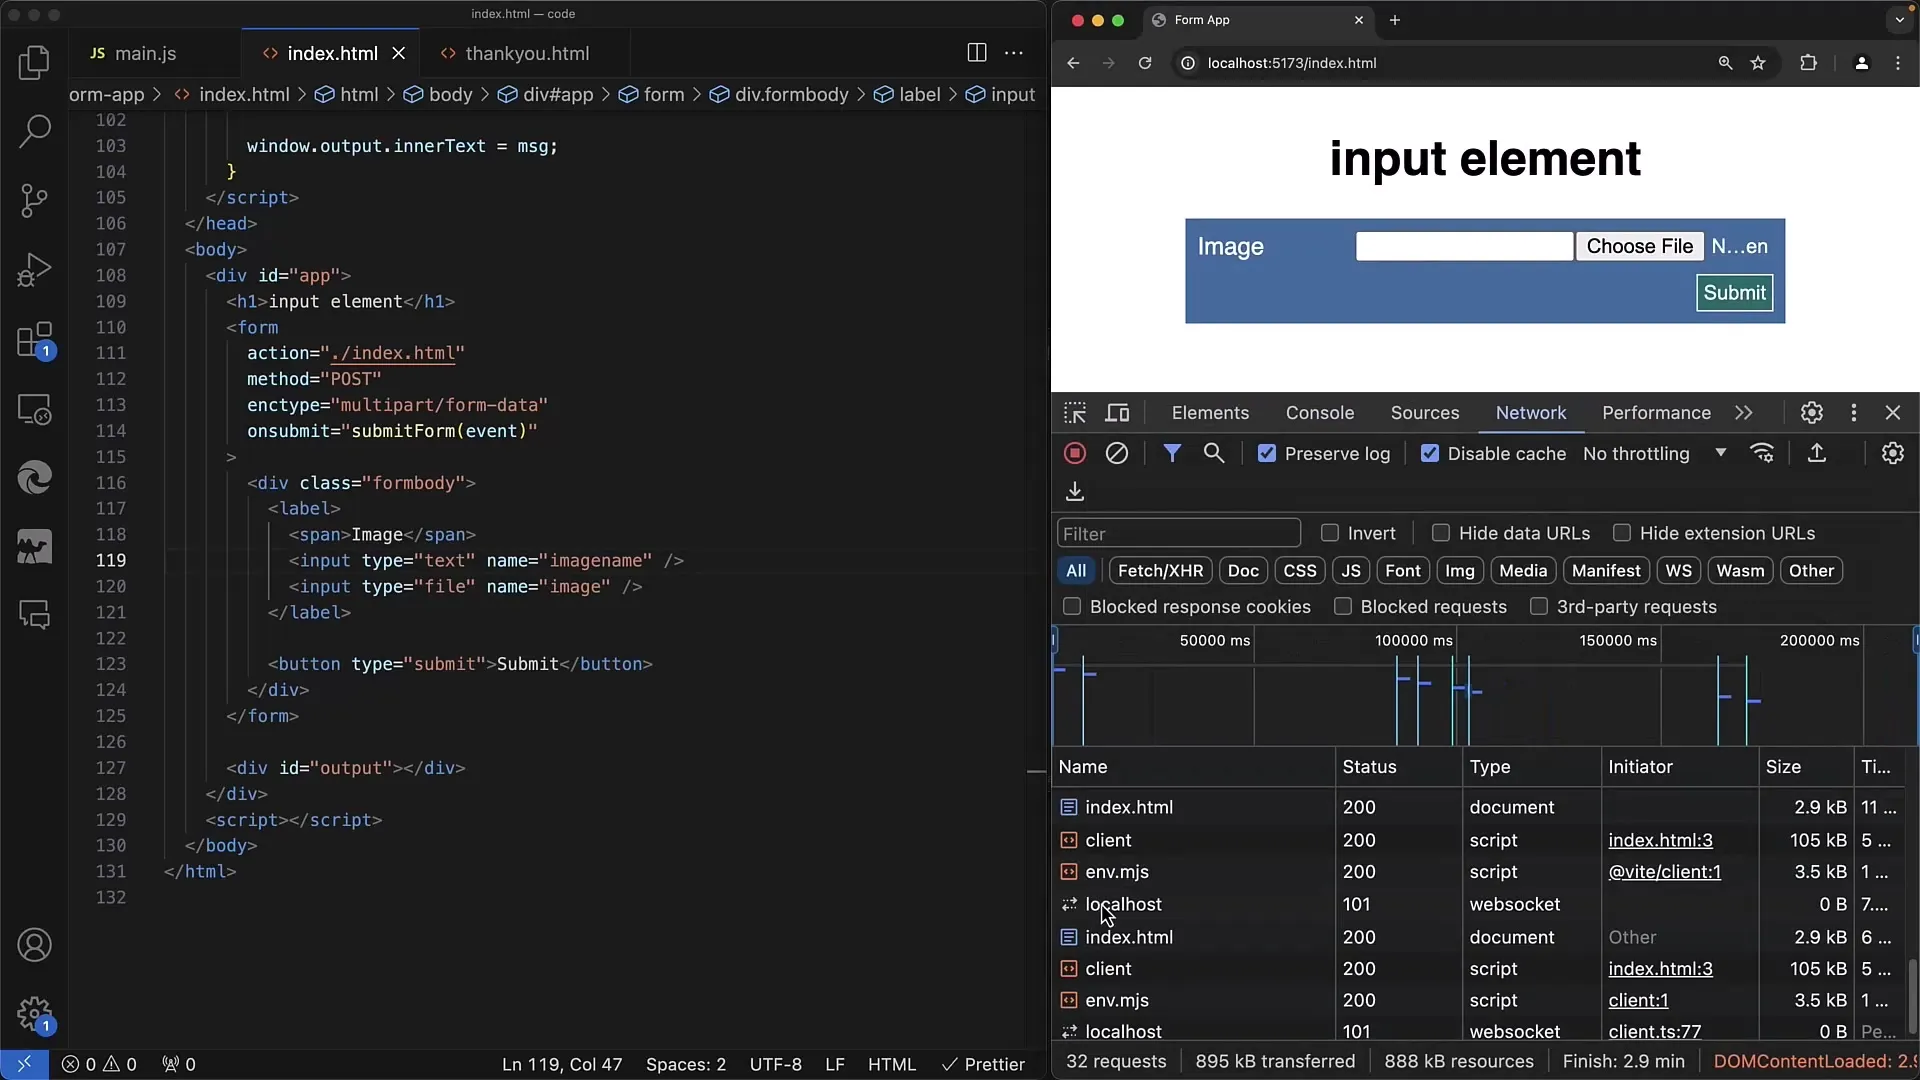
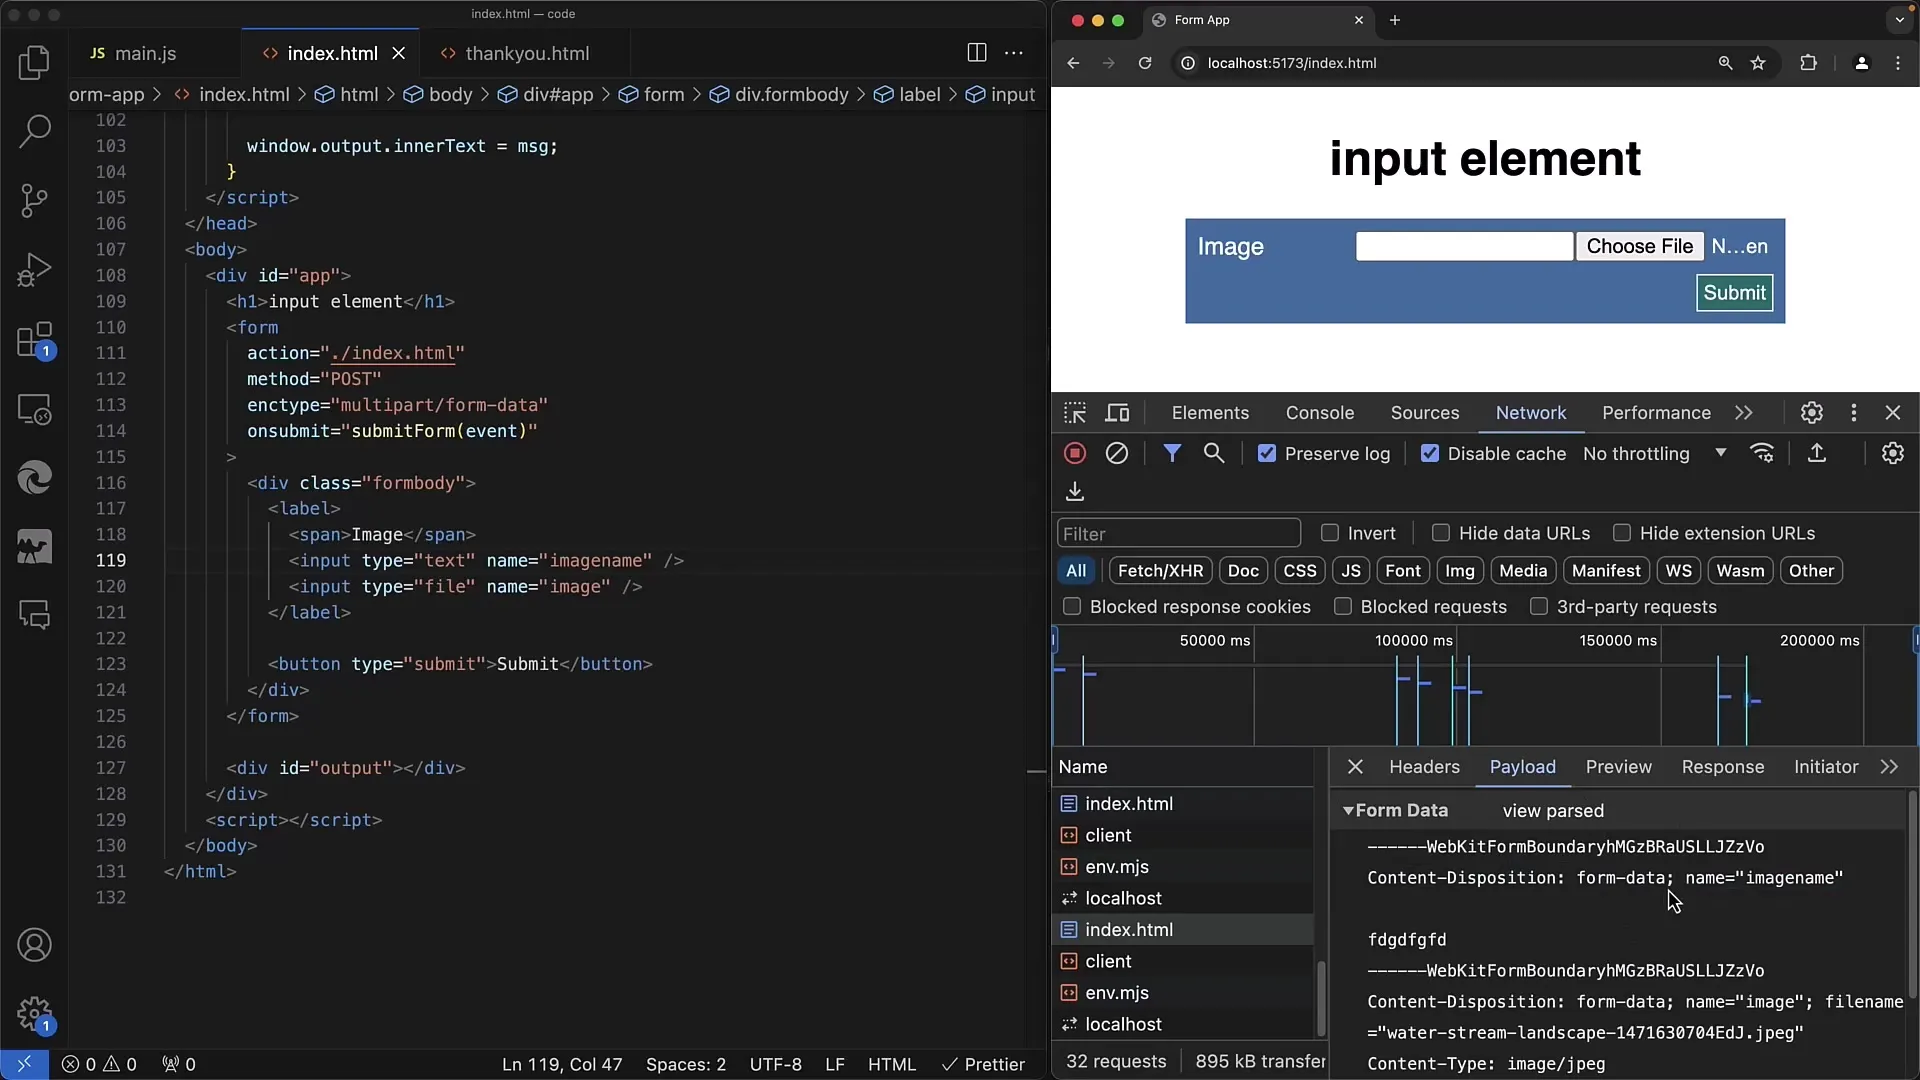
To expand your form, you can add additional input fields. For example, a classic text field to send the image name along with the image file.
The data is then transmitted as text and as binary data. This allows for complex processing on the server side.
Another useful aspect is the implementation of "multiple" so that users can upload multiple files at once.
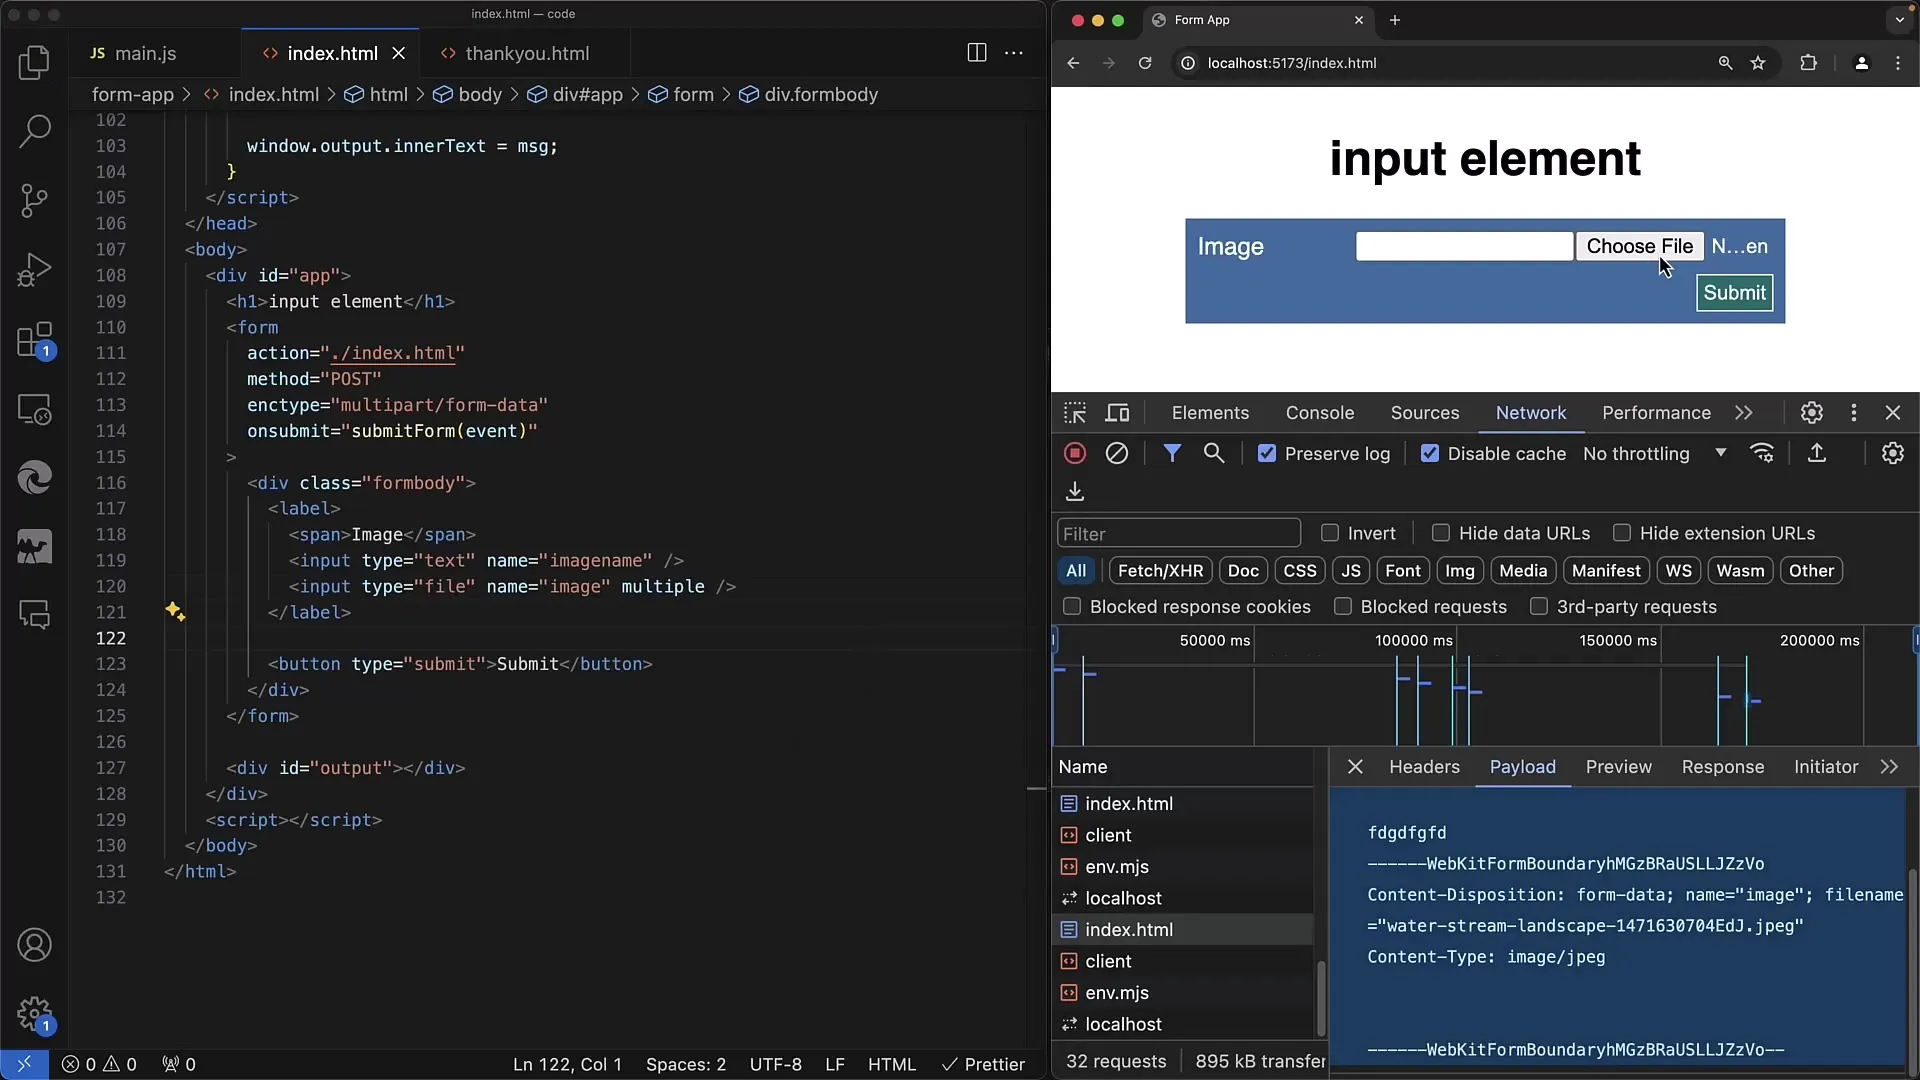
By adding the attribute multiple, users can select multiple files in the file dialog.
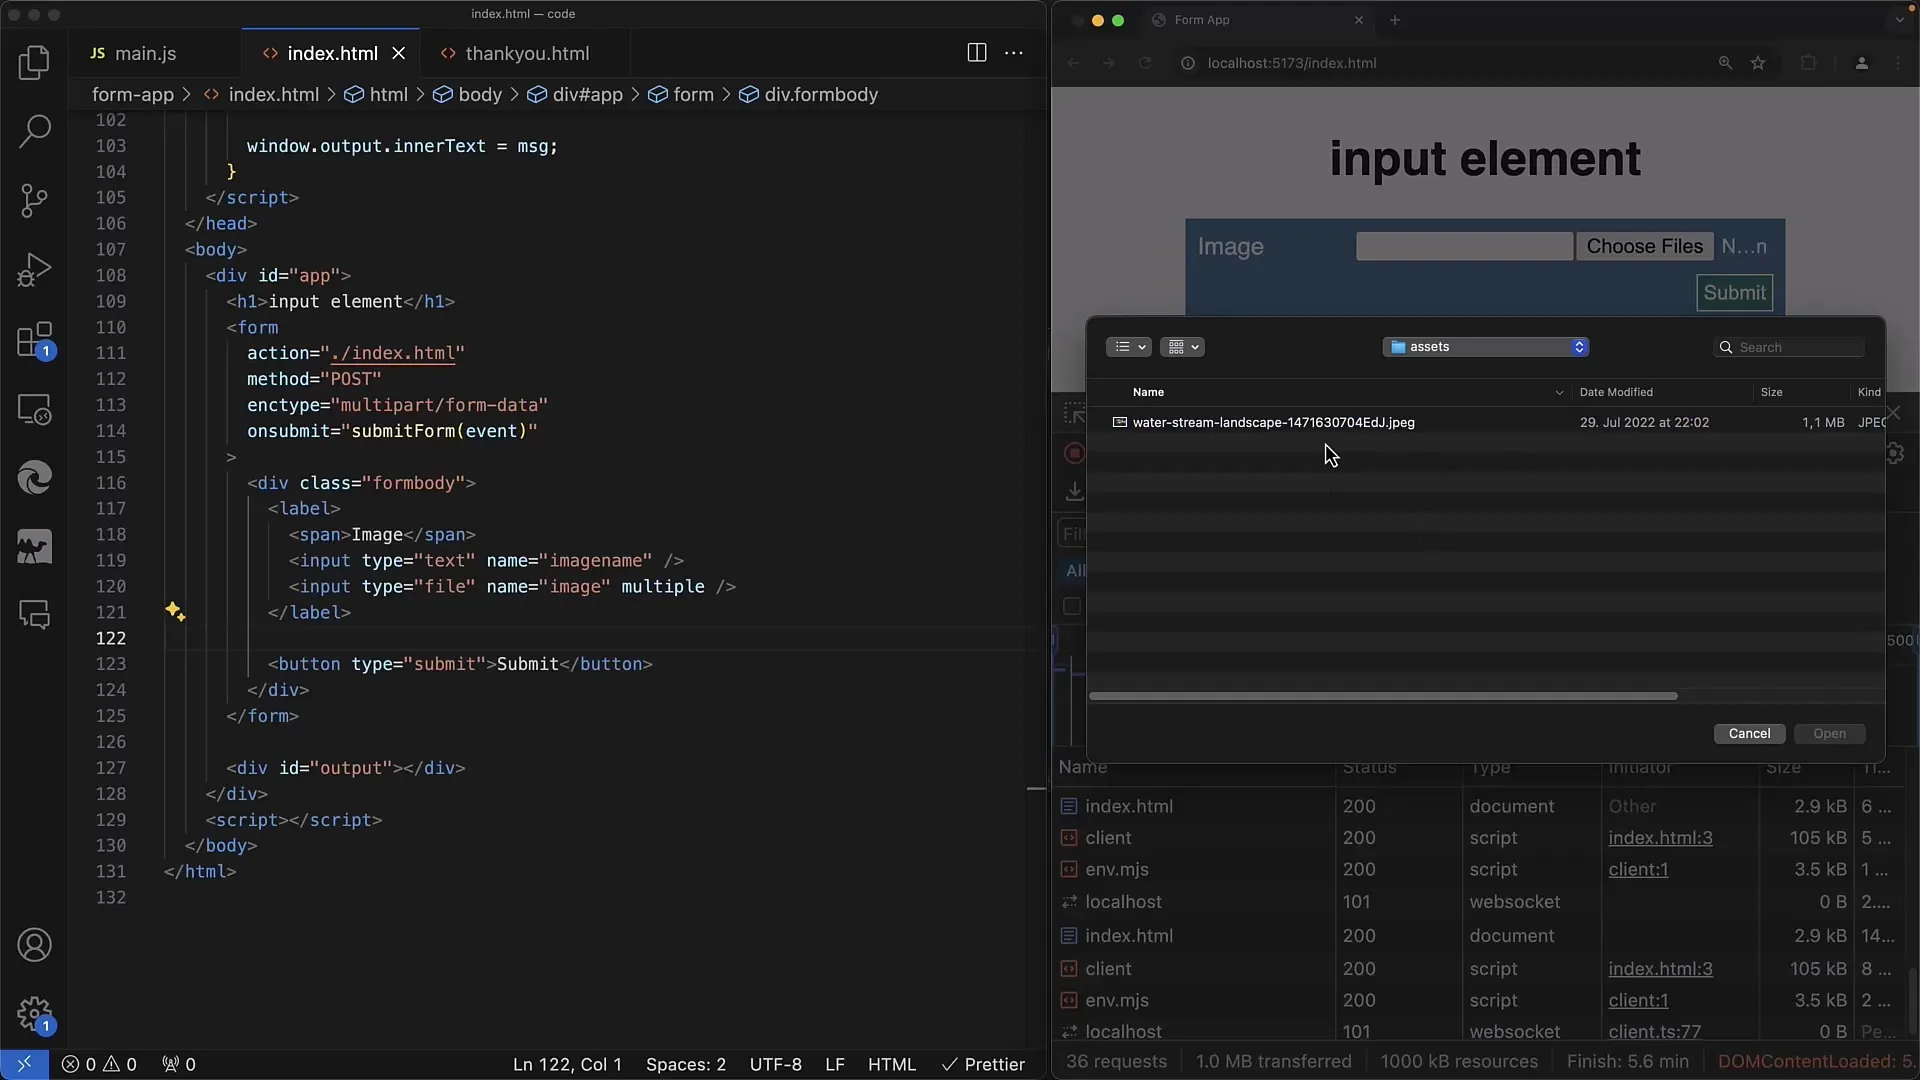
Keep in mind that you need to add an event listener to manage the selected file names when users choose their files. This gives you the opportunity to also access the number of uploaded files.
Additionally, you can specify which file formats the user can select by using the accept attribute.
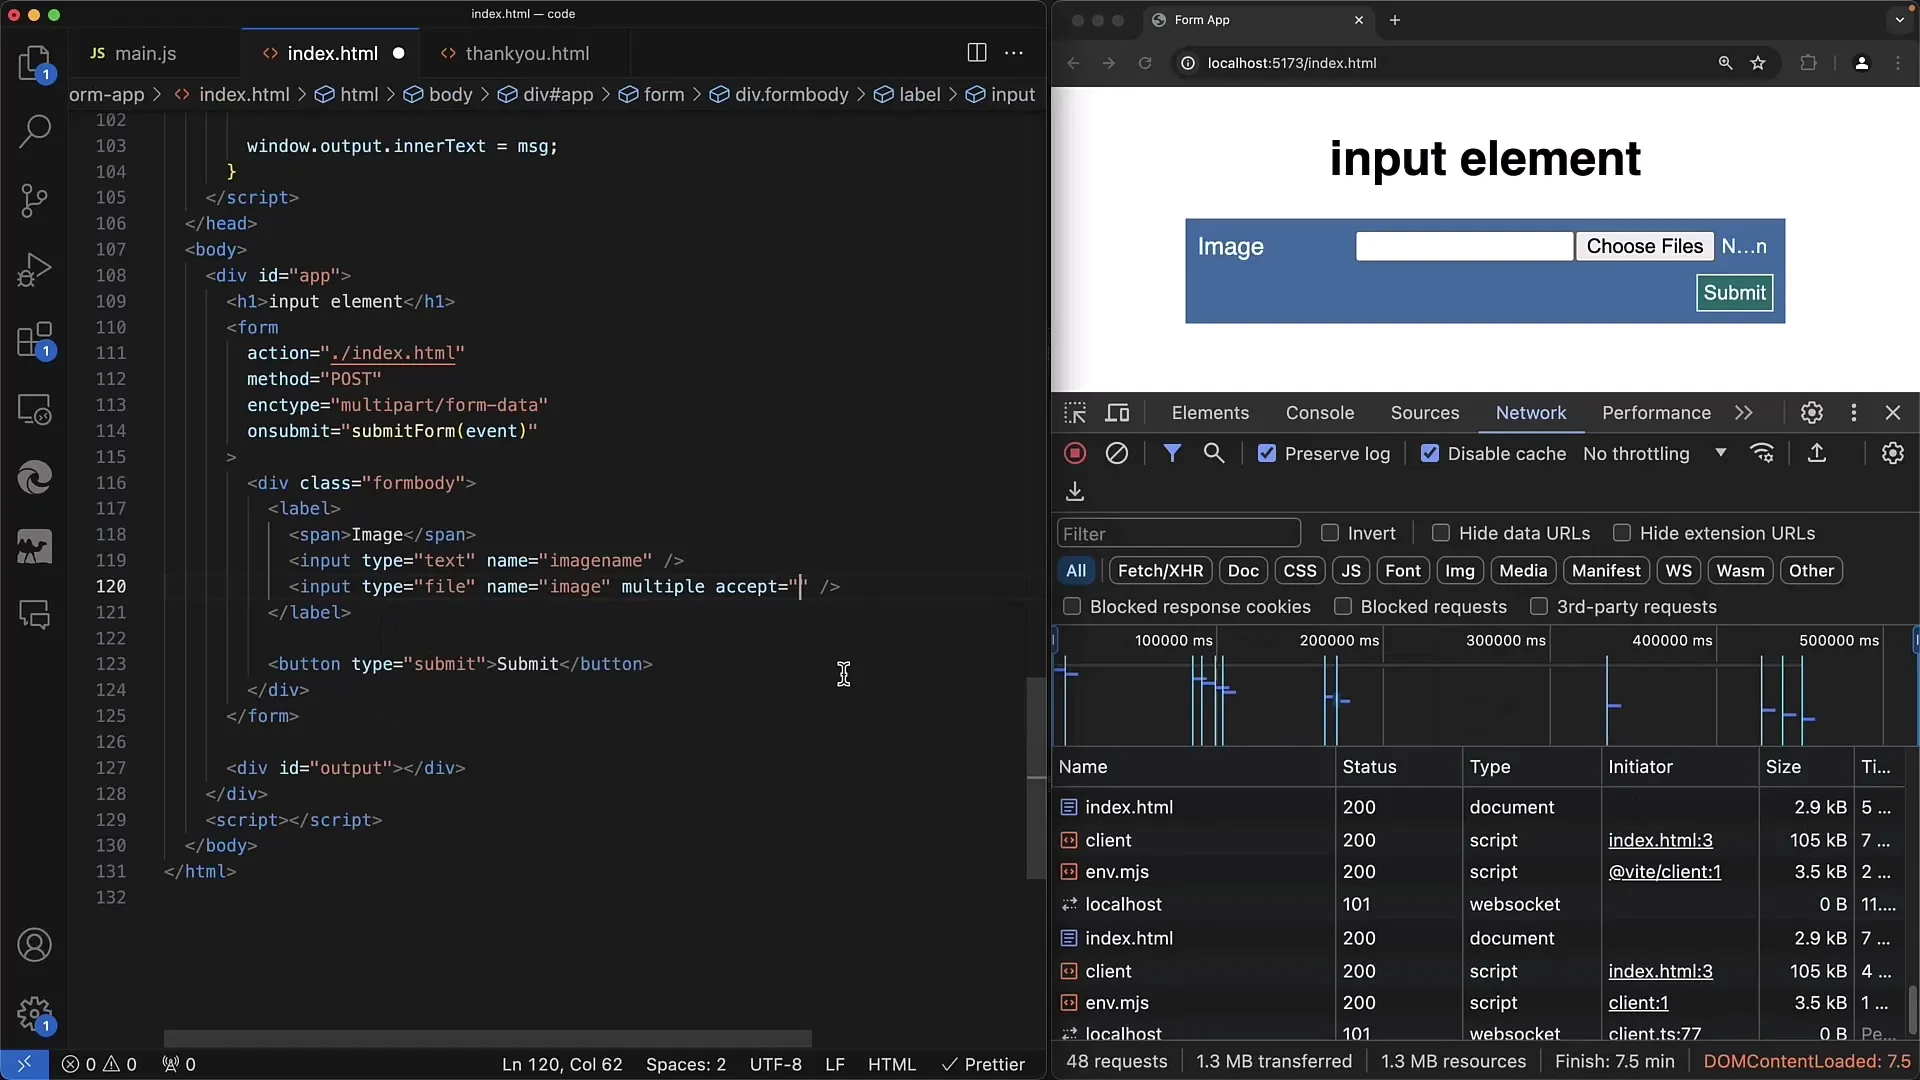
For example, if you only want to allow JPEG or PNG images, you can easily set this in the input declaration to adapt the selection based on the operating system.
You can also specify general formats using image/* to allow selection of all image files.
If you want to learn more about the possibilities of the "accept" attribute, I recommend using the MDN Web documentation.
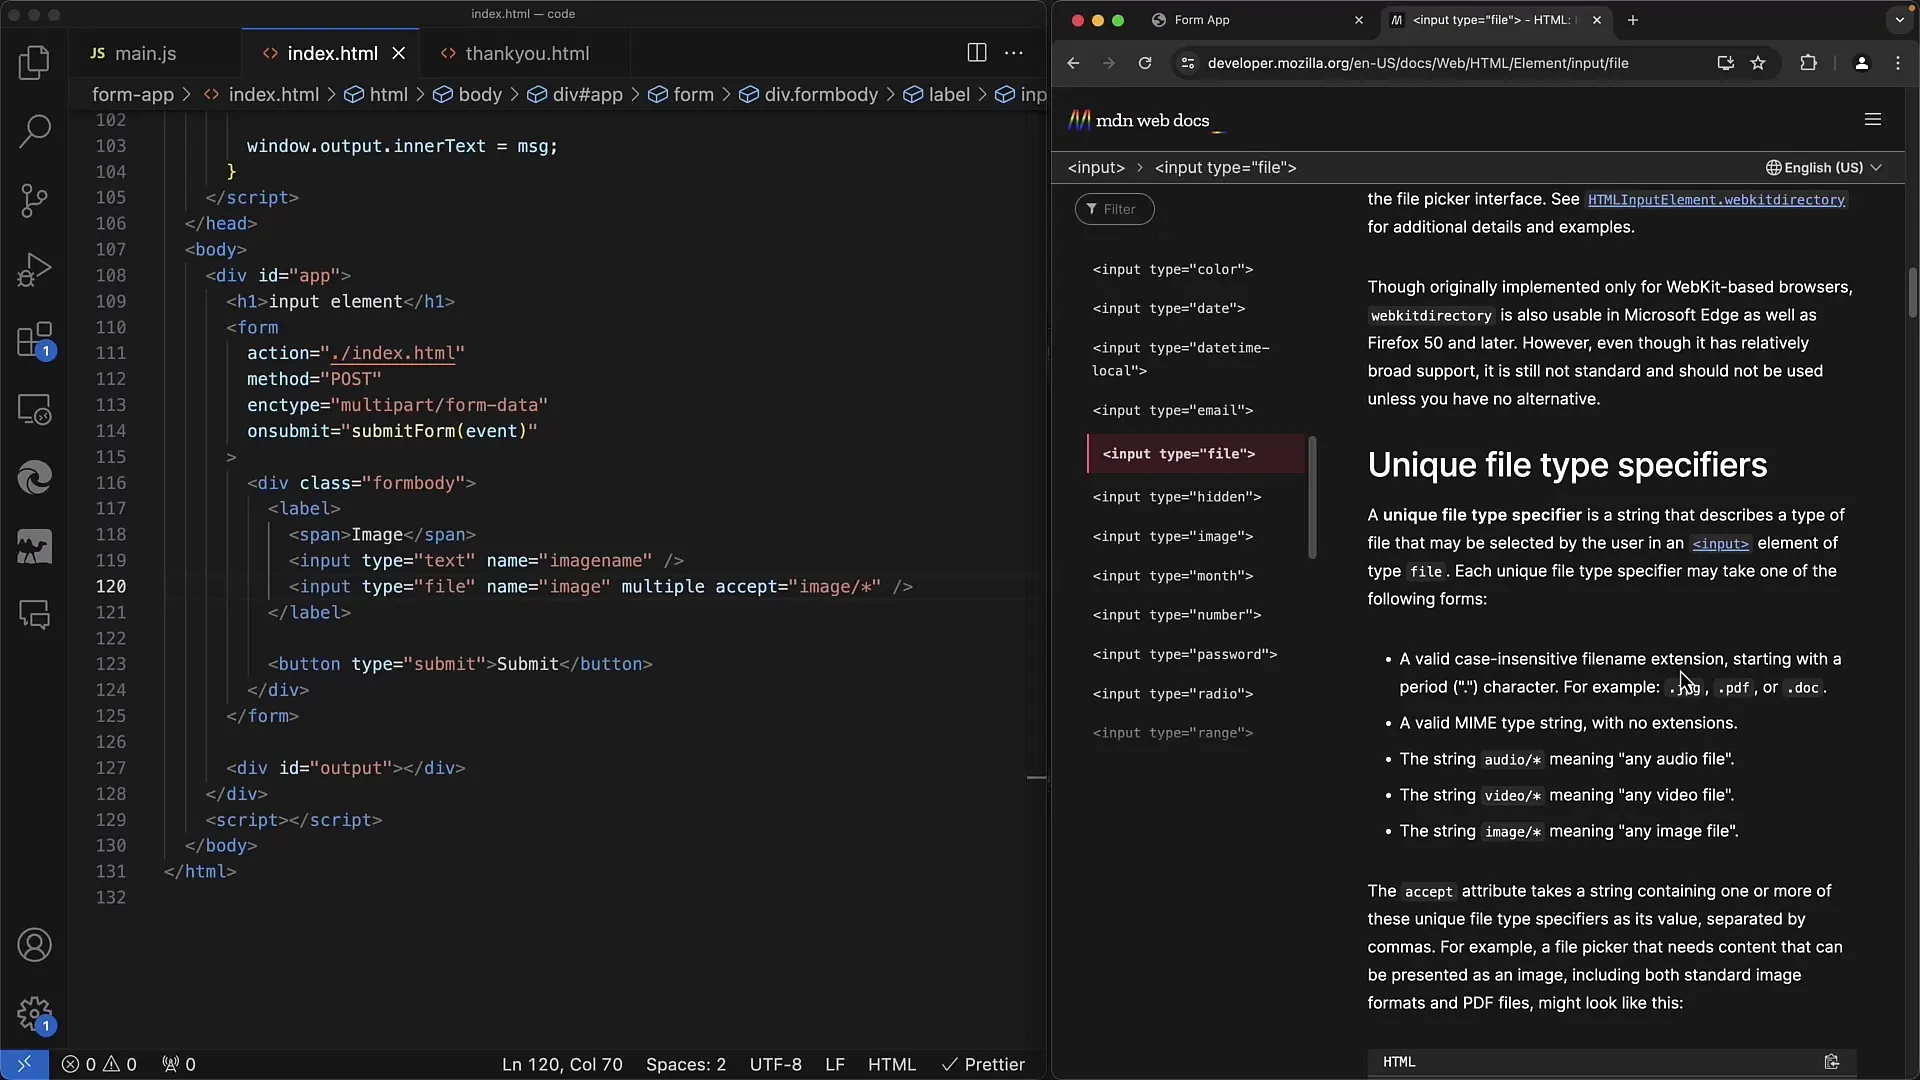
This documentation provides comprehensive information on the use of the input element and other form functions.
Summary
You have now experienced how to create a simple web form with a file upload input element. We have covered basic concepts, including the methods by which a file is sent to the server and which attributes are necessary to optimize the upload process.
Frequently Asked Questions
What is the difference between GET and POST when uploading files?GET only sends the file names in the URL, while POST transmits the file contents as binary data.
How can I ensure that the file is sent in the correct form?Set the enctype attribute of the form to multipart/form-data for file transmission.
Can I select multiple files at once?Yes, by adding the multiple attribute in the input tag.
How can I restrict the file formats that can be selected?Use the accept attribute in the input tag to specify certain file formats.
Where can I find more information about the input type="file" element?The Mozilla Developer Network (MDN) is an excellent source for detailed information and examples.


