In this tutorial, you will learn how to effectively use the track changes feature in Adobe InCopy CC. This function is particularly helpful when multiple editors are working on a project or when multiple rounds of revisions are necessary. You will gain insights on how to record, review, and accept or reject changes. This way, you always have an overview of who made which changes.
Main Takeaways
The track changes feature in Adobe InCopy CC allows you to document and manage all changes made. This is done through individual user colors assigned to each person. Additionally, you can activate track changes for all text sections and have the option to accept or reject changes made by a specific user.
Step-by-Step Guide
Step 1: Accessing the Track Changes Panel
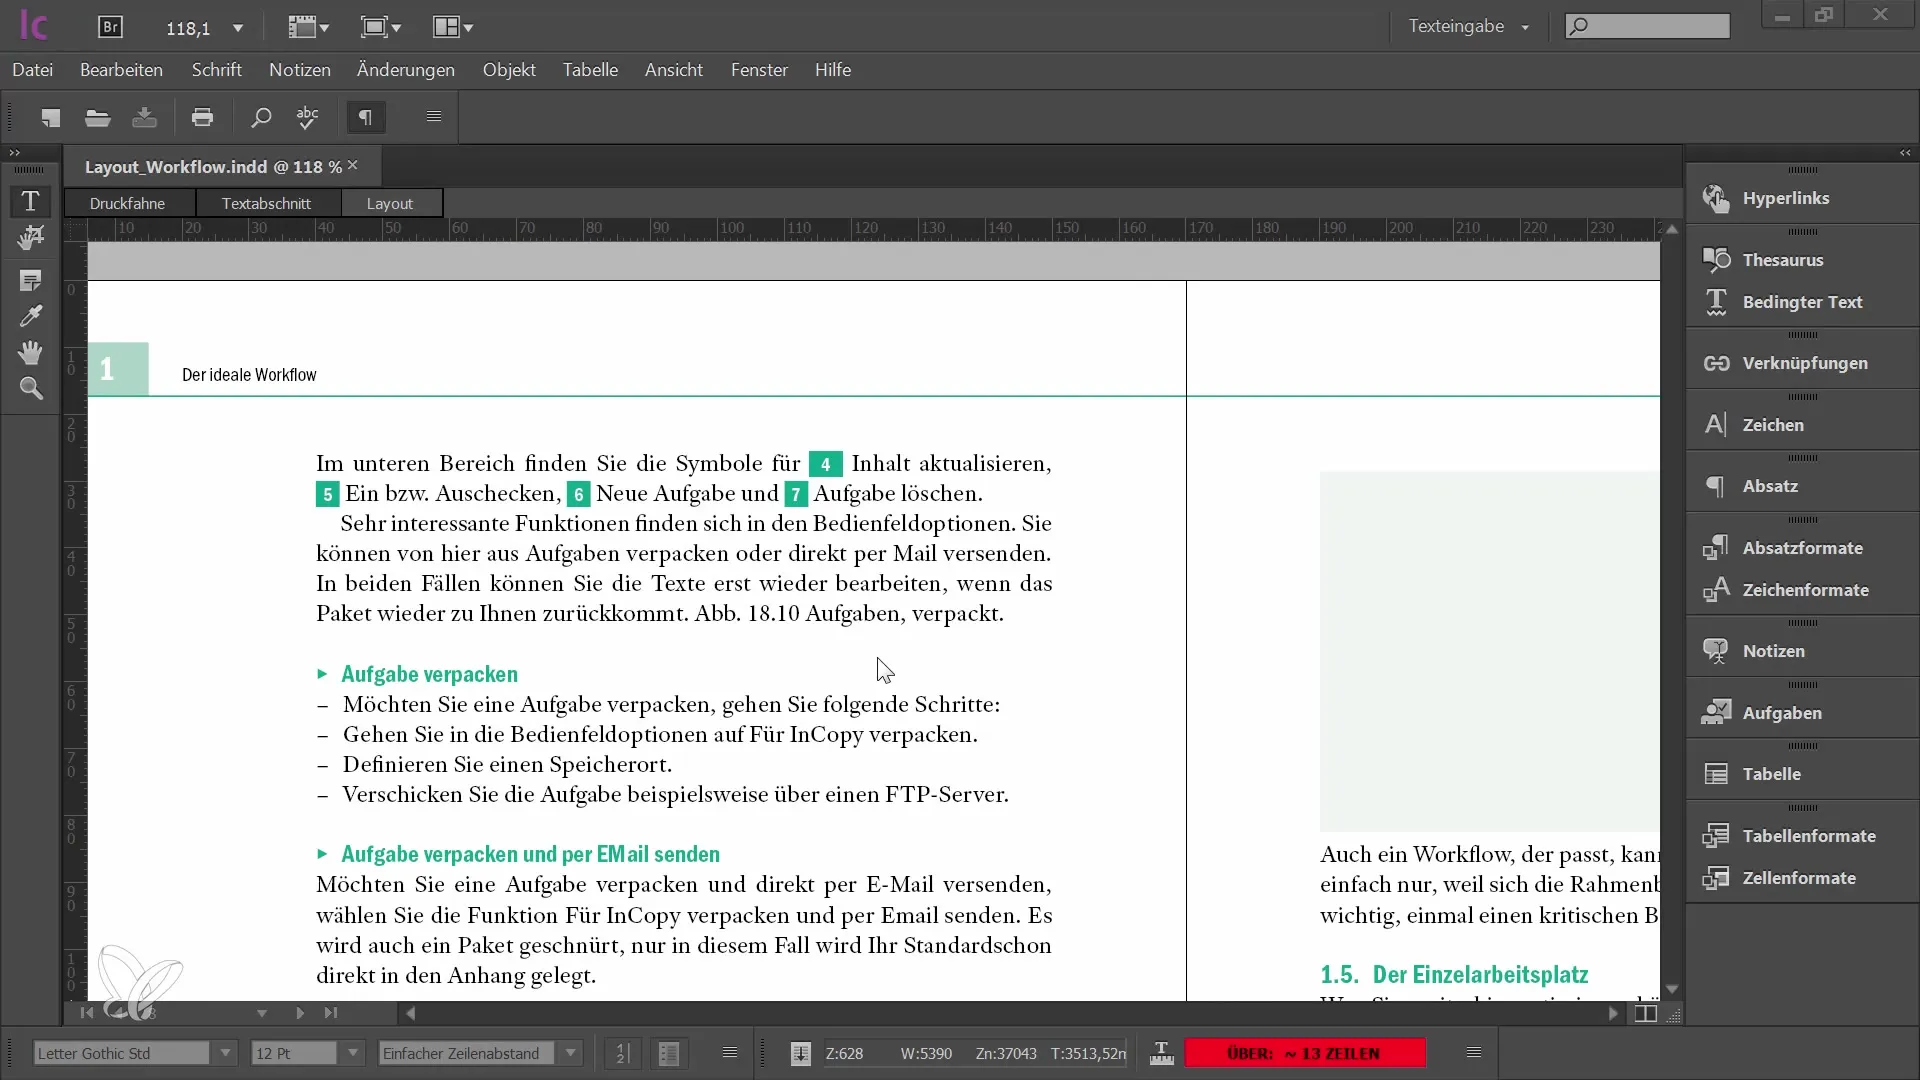
To use track changes, start by opening the Changes window. Go to the "Window" menu and select "Track Changes." This will open the corresponding panel.
Step 2: Checking Out the Document
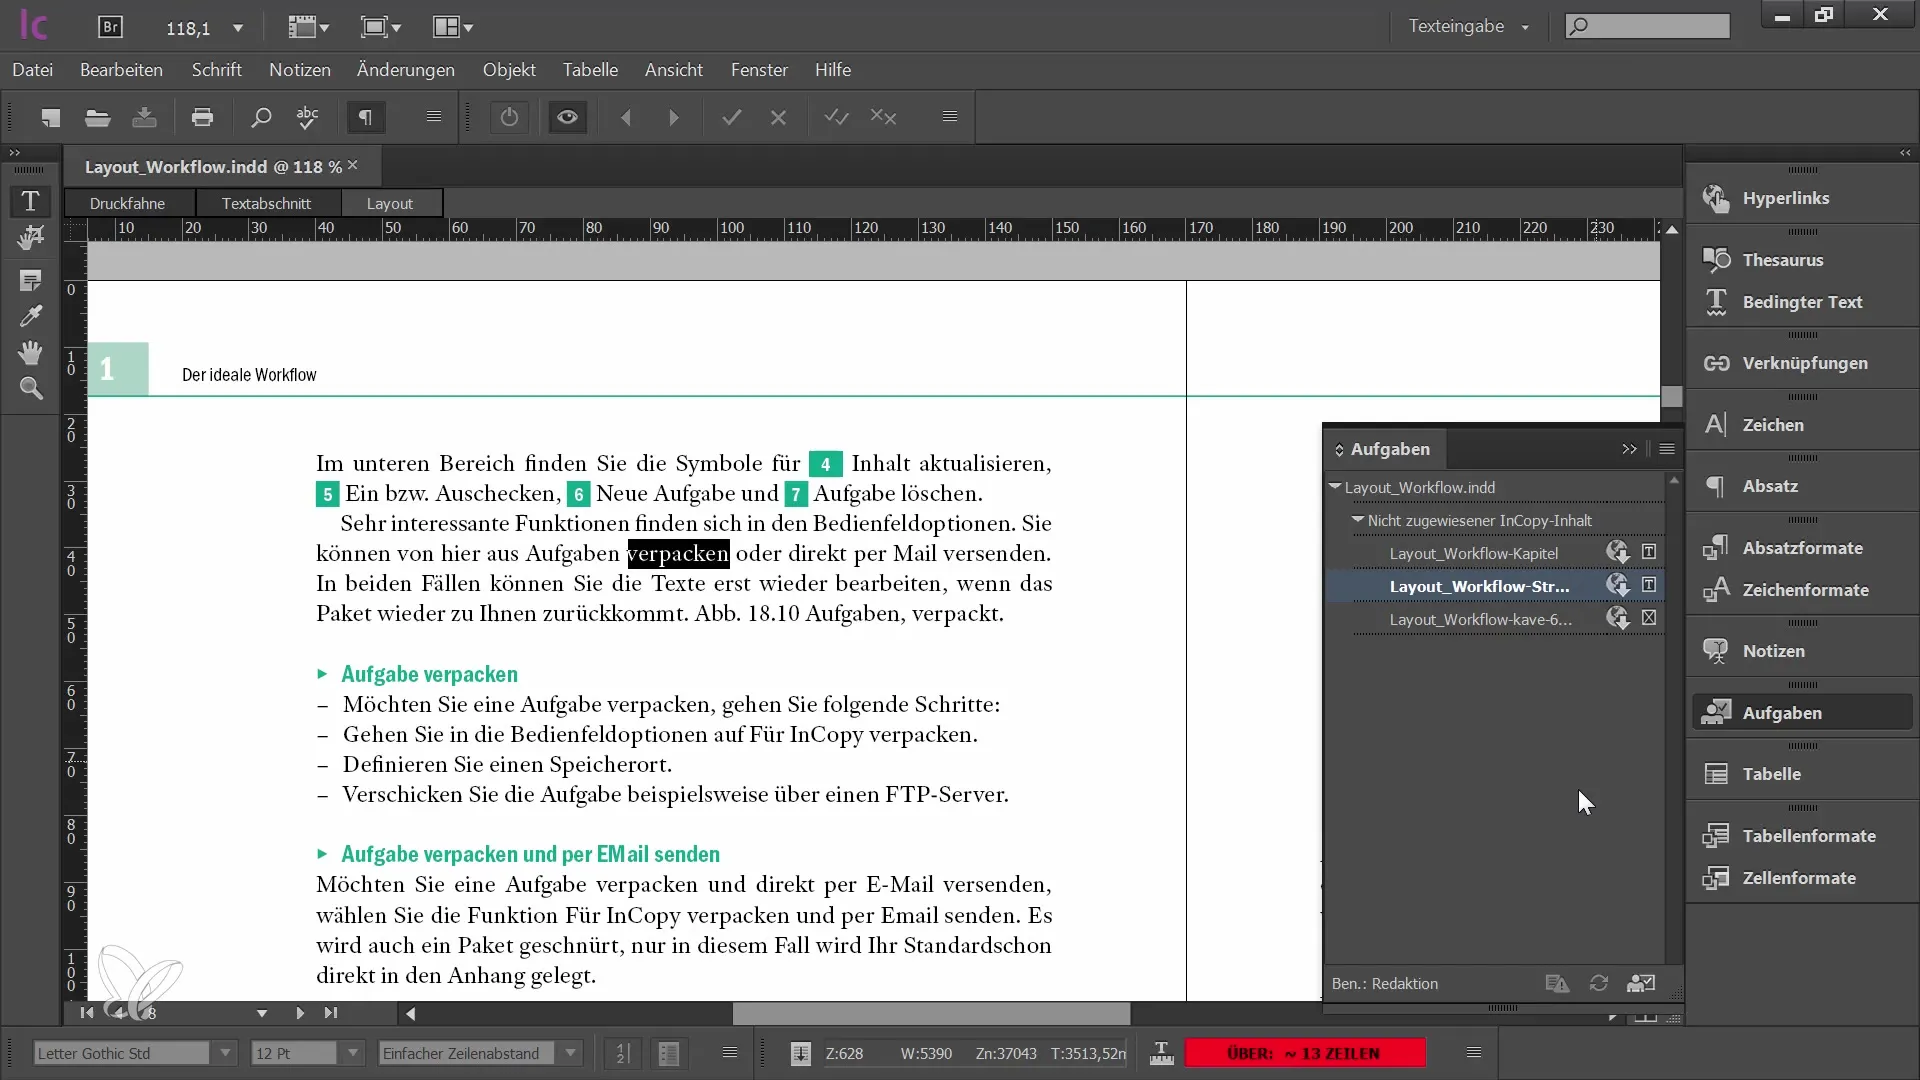
Before you start editing the text, you must check out the text frame. This is important to ensure that your changes can be documented.
Step 3: Activating Track Changes
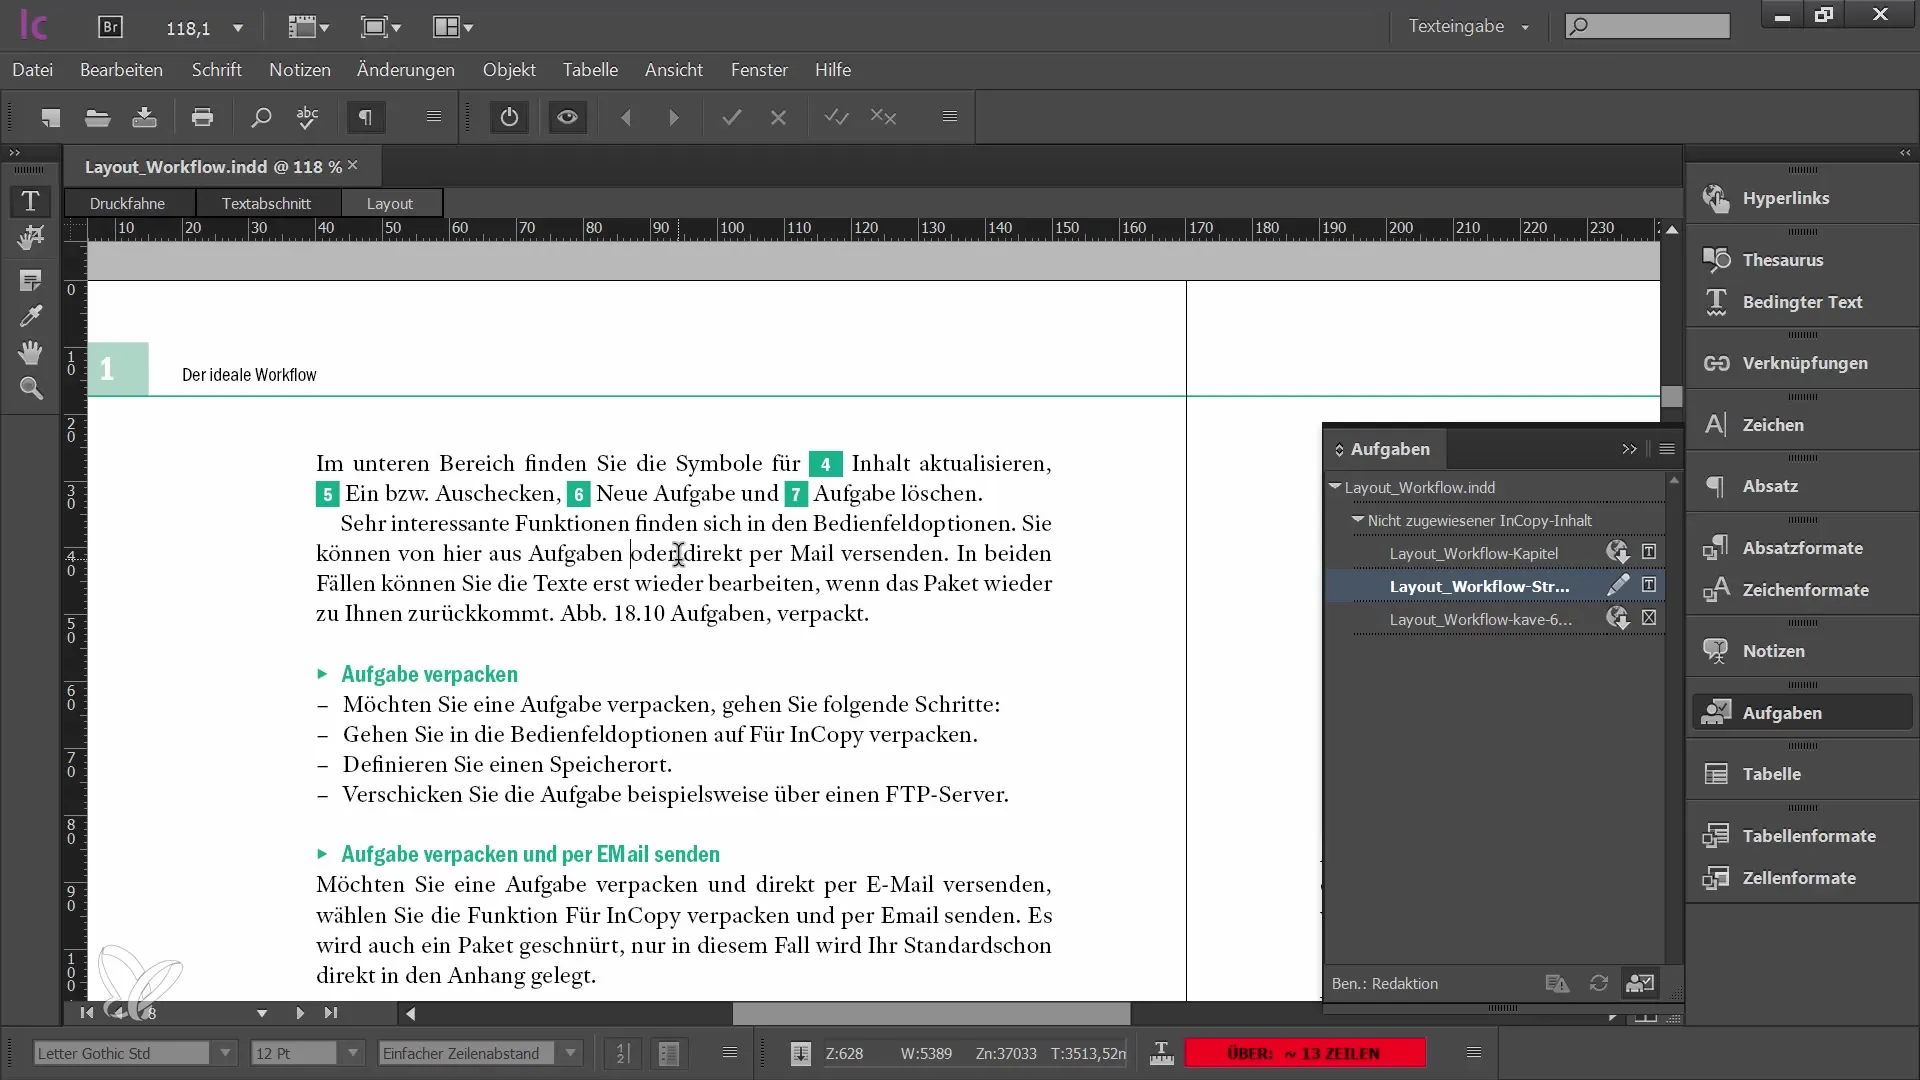
You now have the option to activate track changes. Ensure that the corresponding button is enabled to ensure all changes are monitored.
Step 4: Making and Reviewing Changes
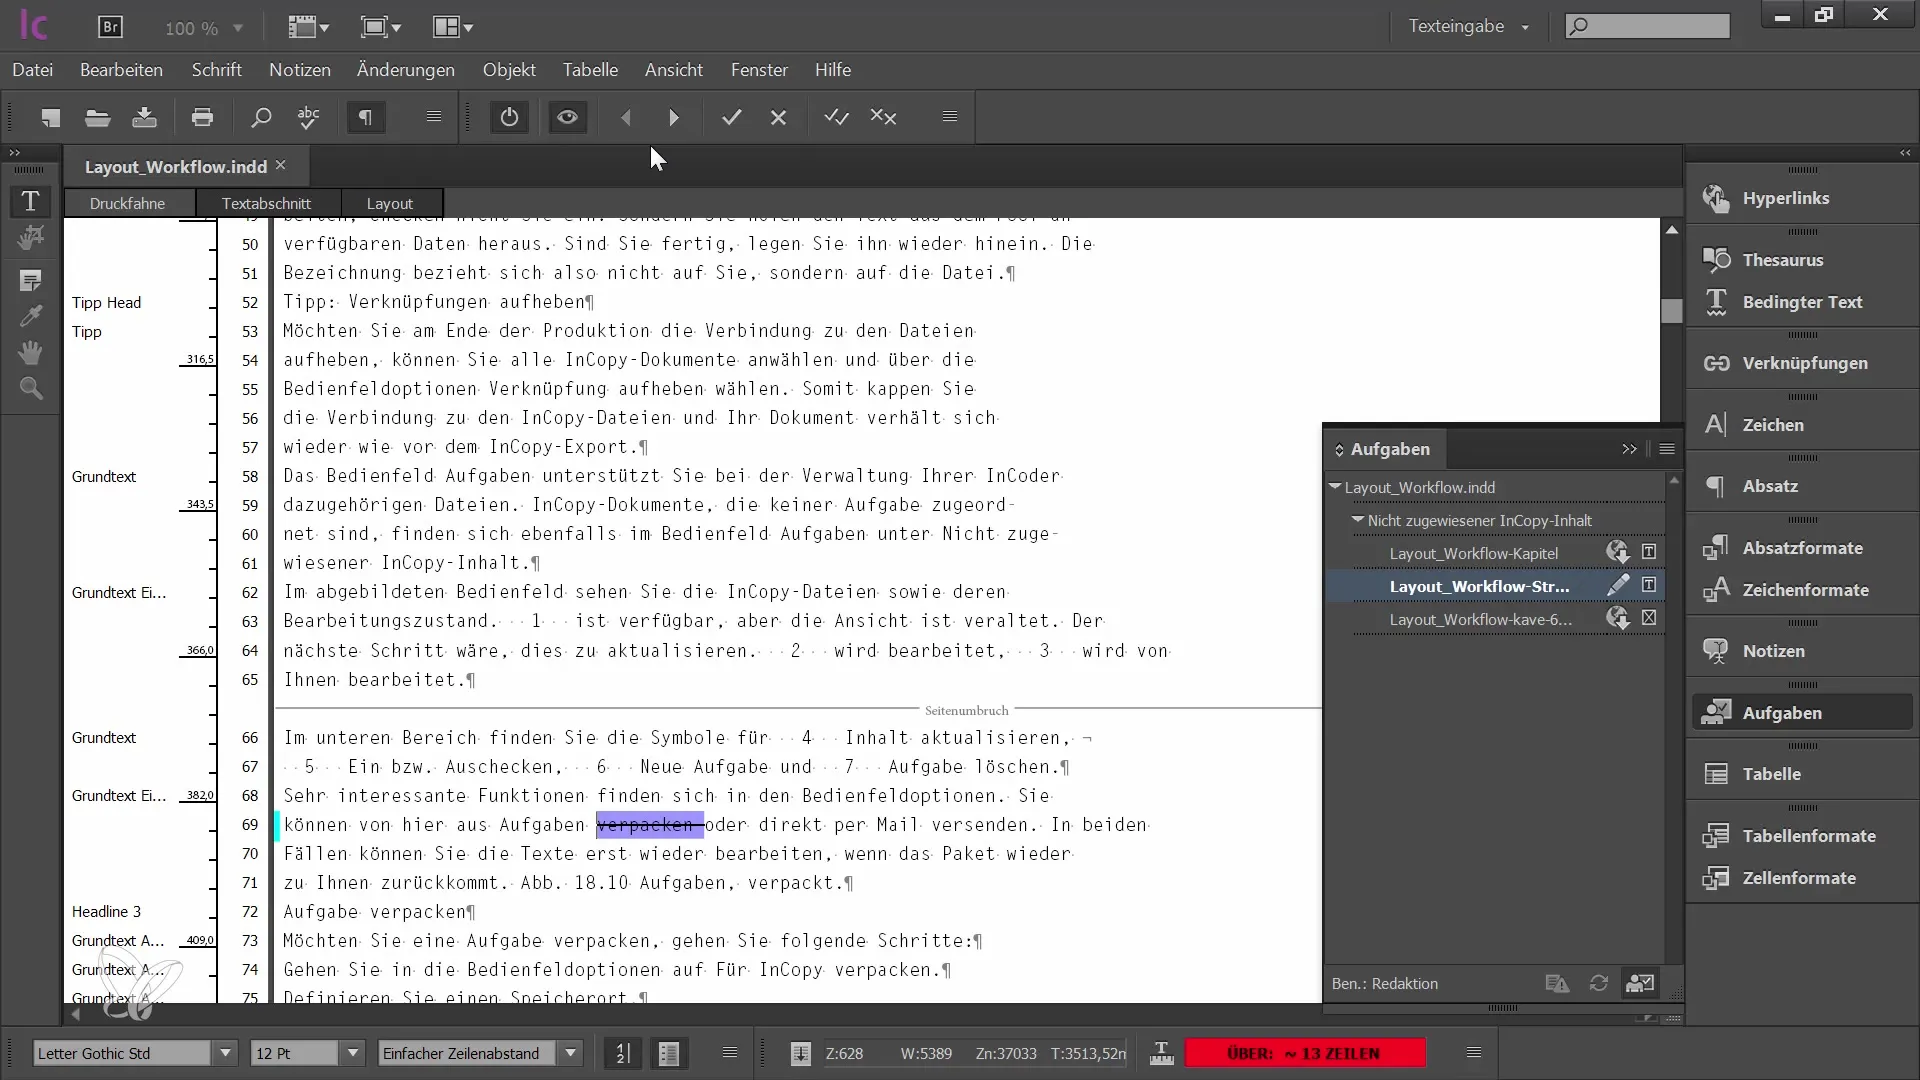
Now make your changes. For example, if you delete a word, this change will be recorded in the corresponding view. Although this may not be immediately visible in the layout view, you can switch to a different view to review the changes made.
Step 5: Accessing Other Changes
If another editor or graphic designer has made changes to the document, you can also review these in the Changes panel. You can navigate through the different changes and review each one individually.
Step 6: Accepting or Rejecting Changes
You can decide whether to accept or reject the changes made by another user. This is particularly important if you want to ensure that only high-quality changes are incorporated into the final document.
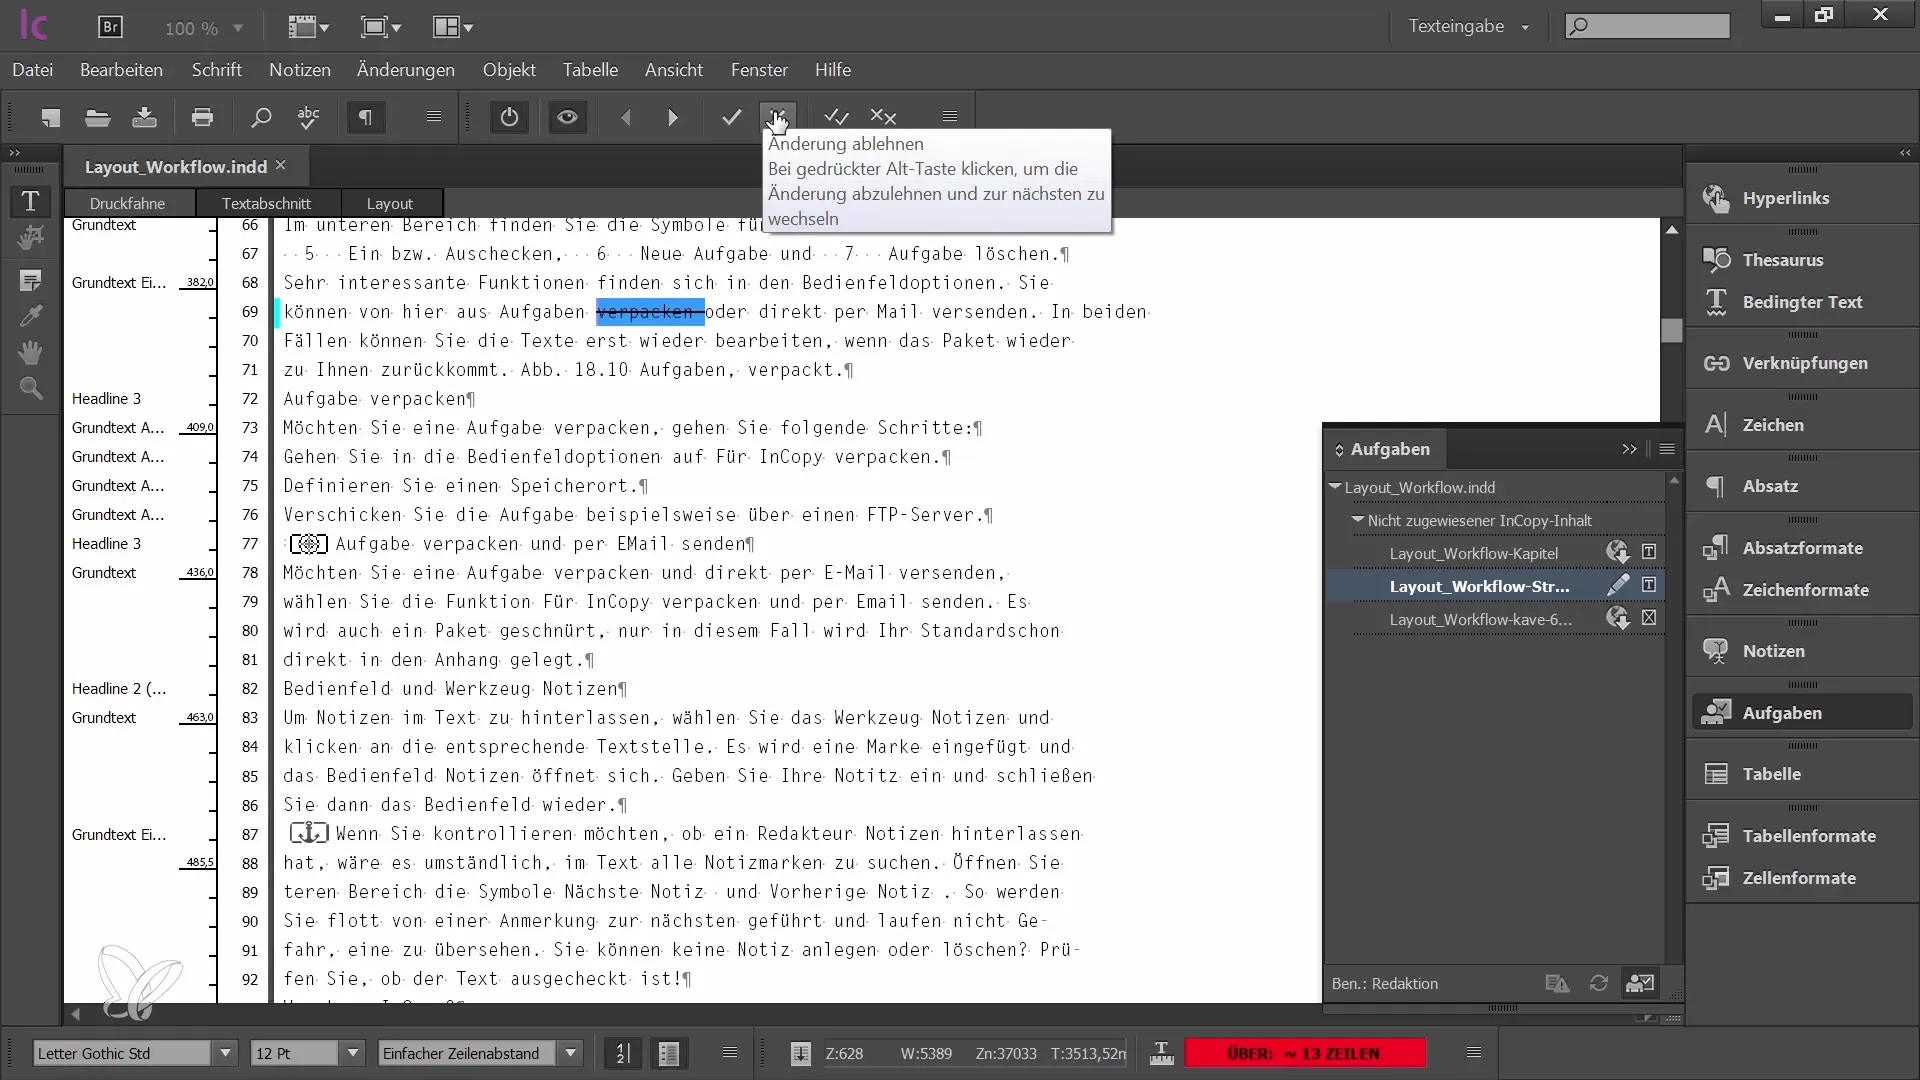
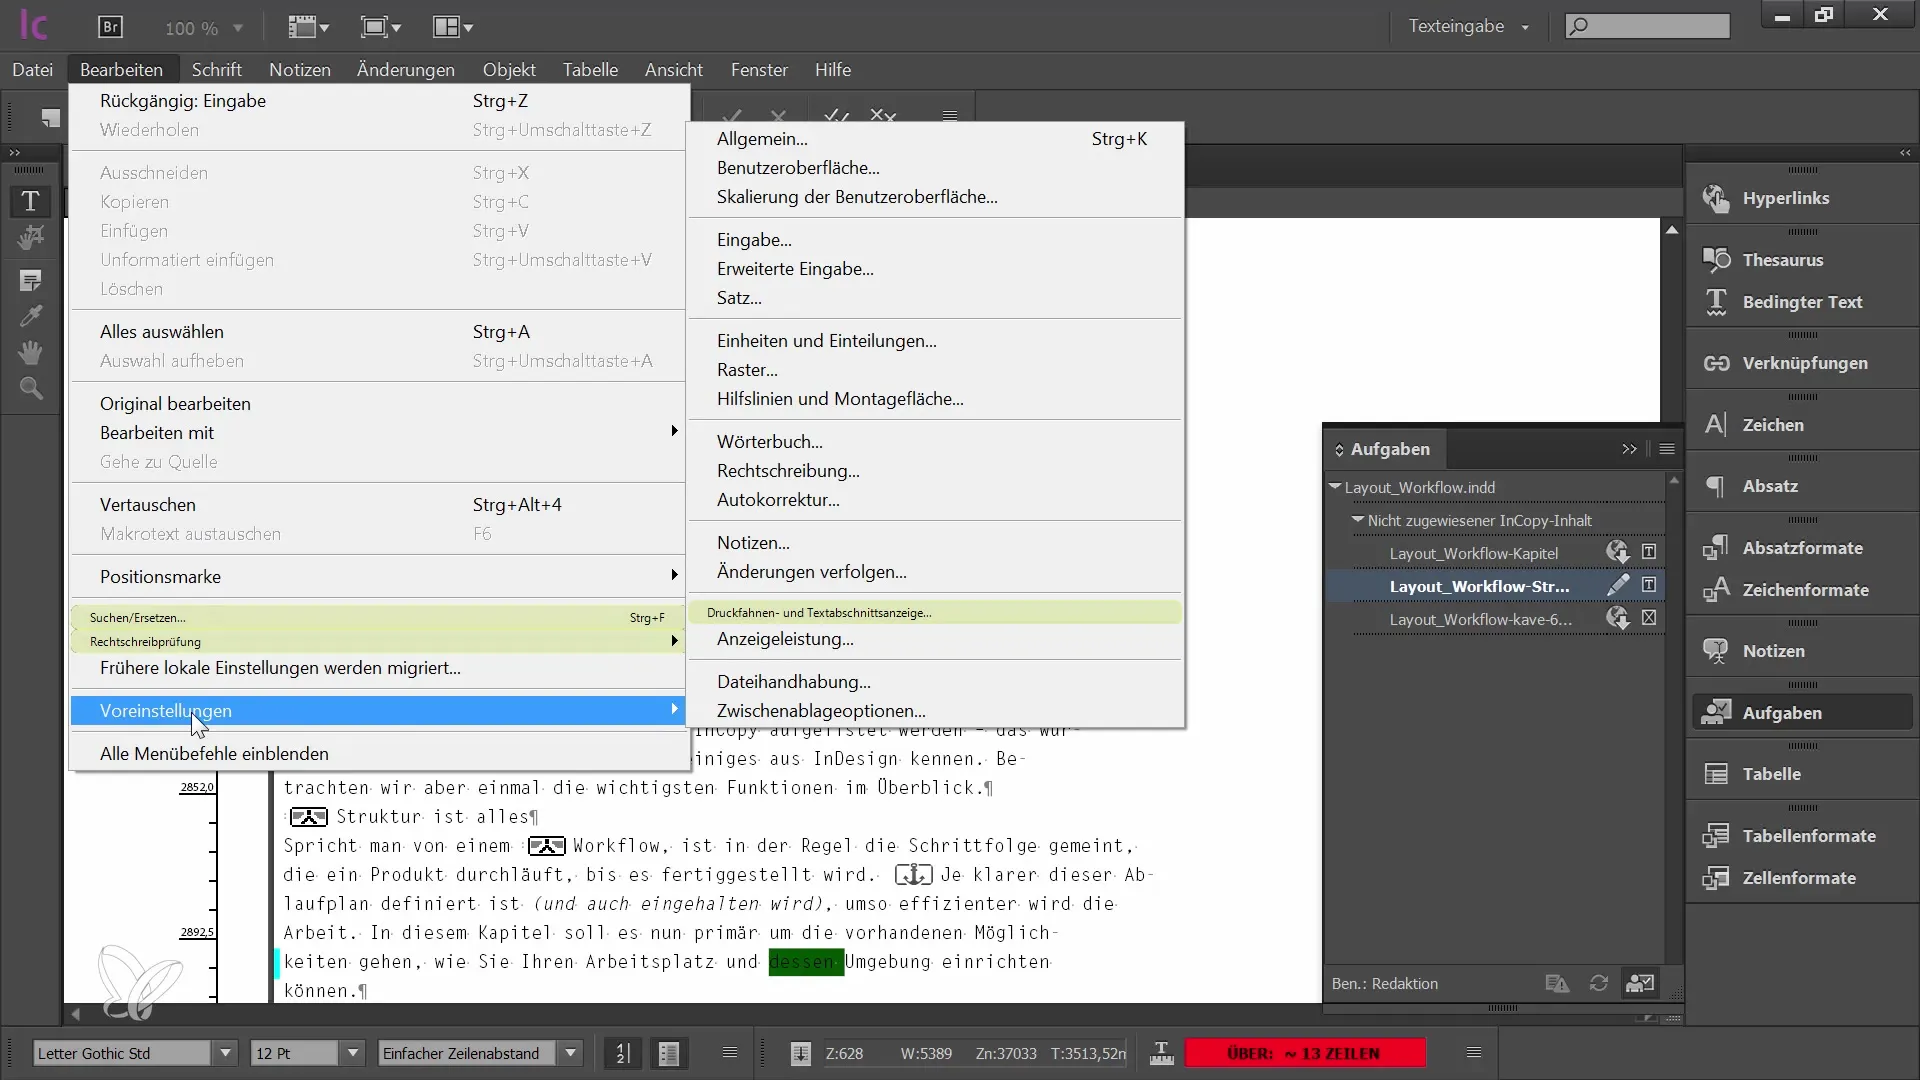
Step 7: Customizing Default Settings
The visual representation of changes can be customized in the default settings. Navigate to "Edit" and then "Preferences" to edit the settings related to change indicators.
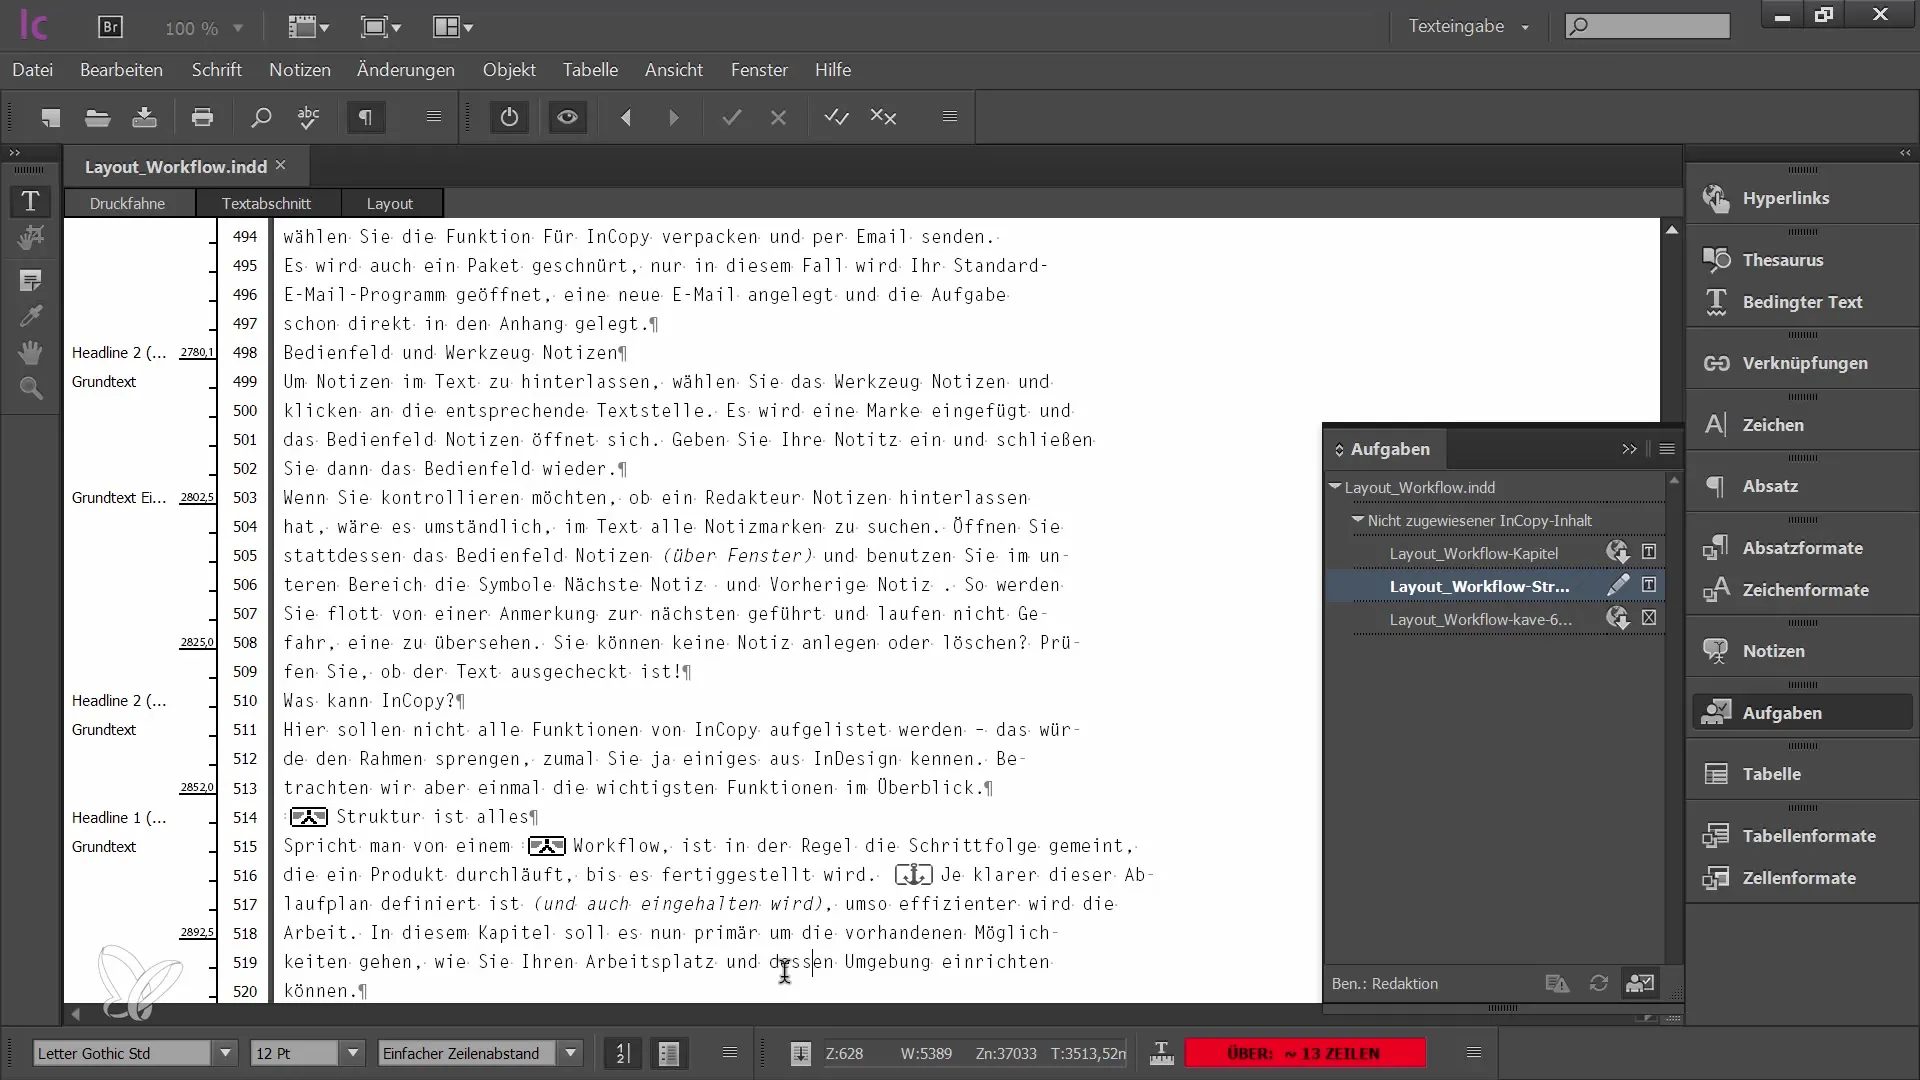
Step 8: Accepting Changes
When you are ready to accept a change, click on the corresponding button. After confirmation, the change will no longer be highlighted as such.
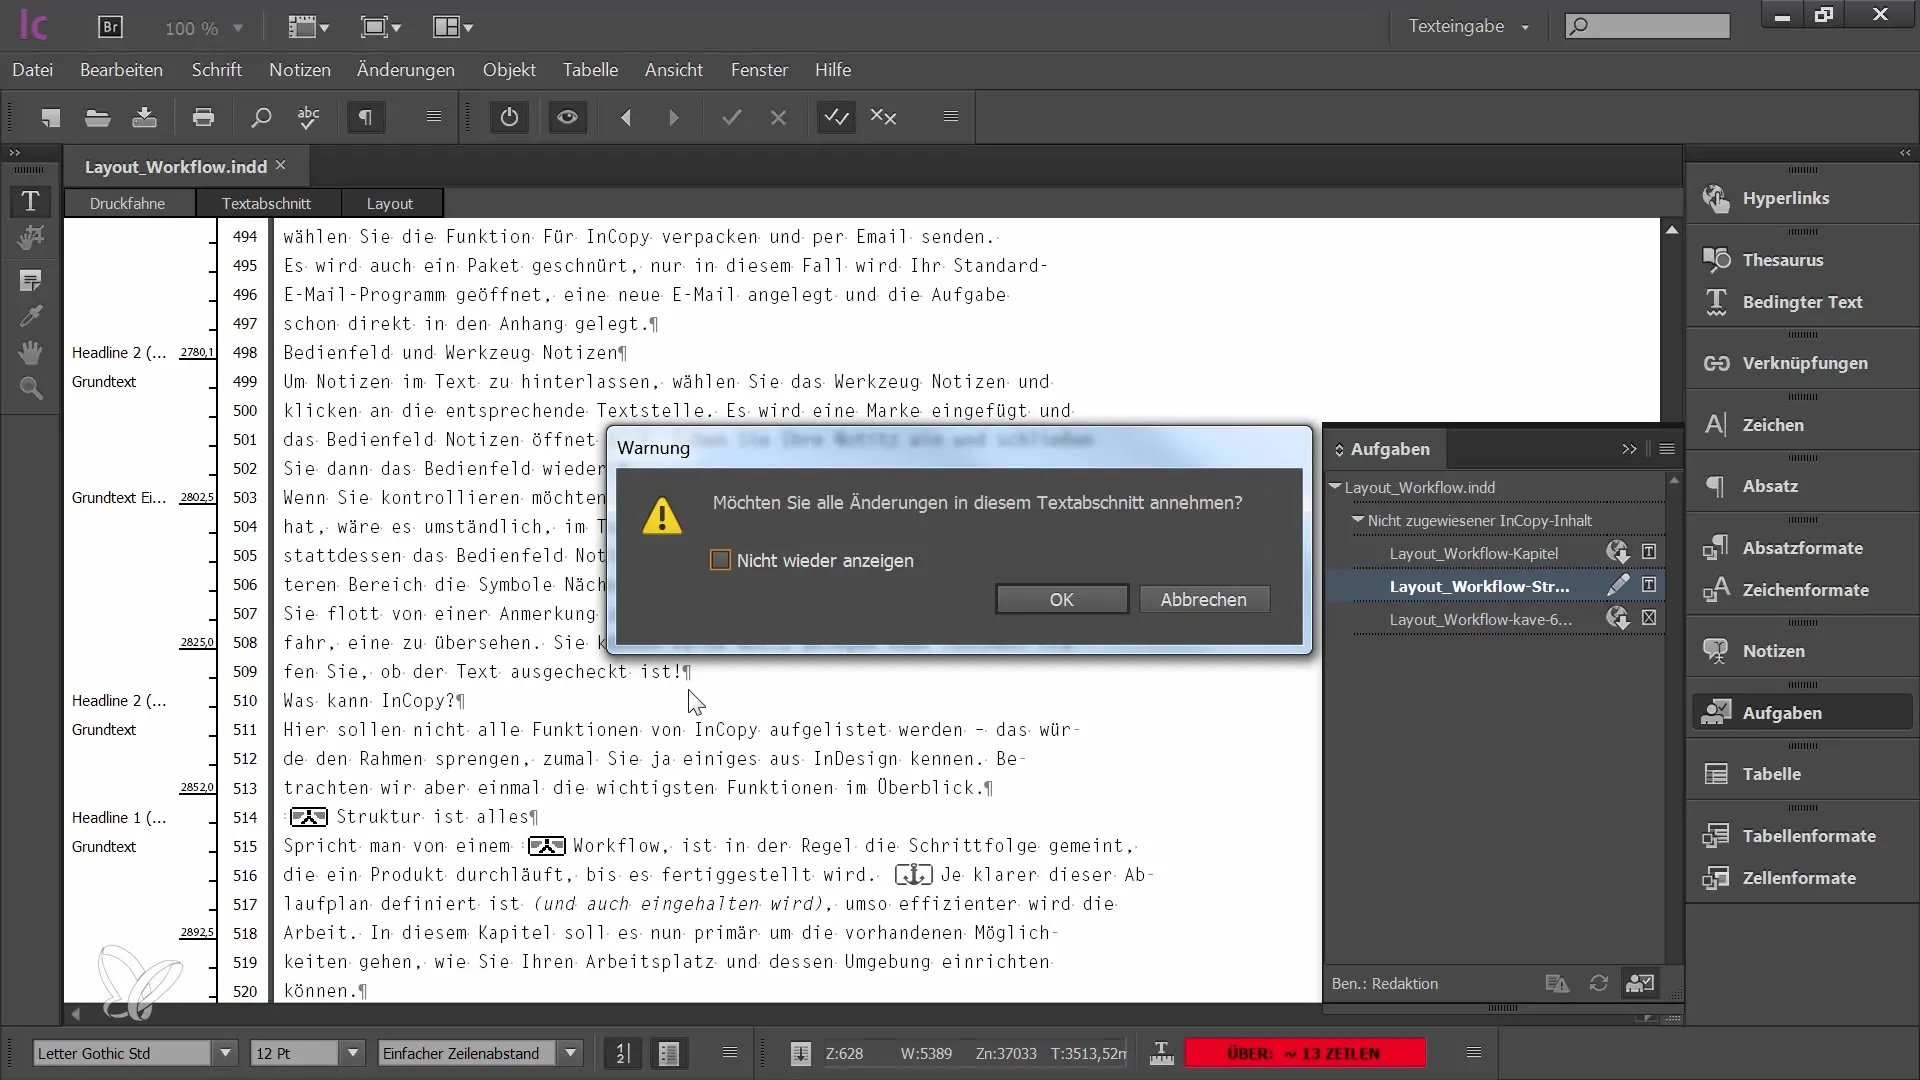
Step 9: Accepting All Changes
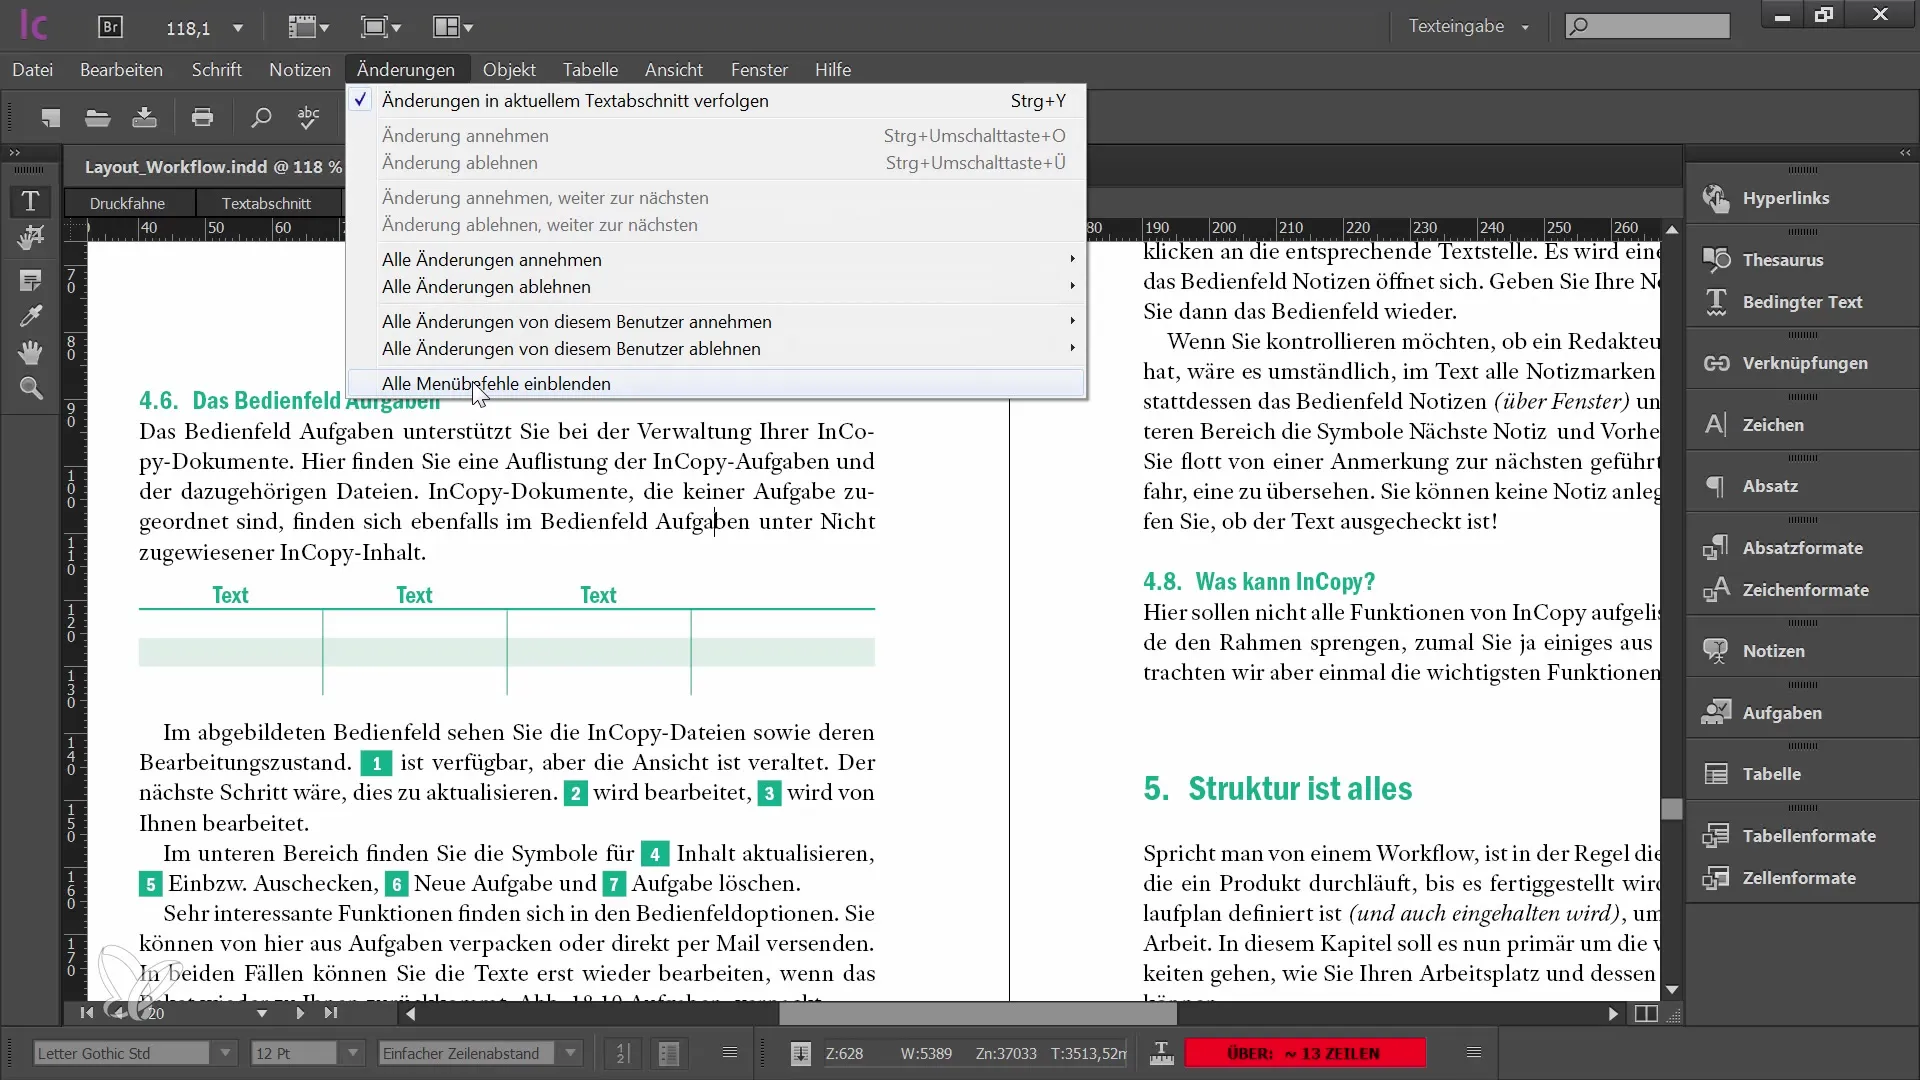
If you wish to accept all changes at once, there is also that option. However, be cautious as there may be a warning message that you need to confirm.
Step 10: Activating Track Changes for the Entire Document
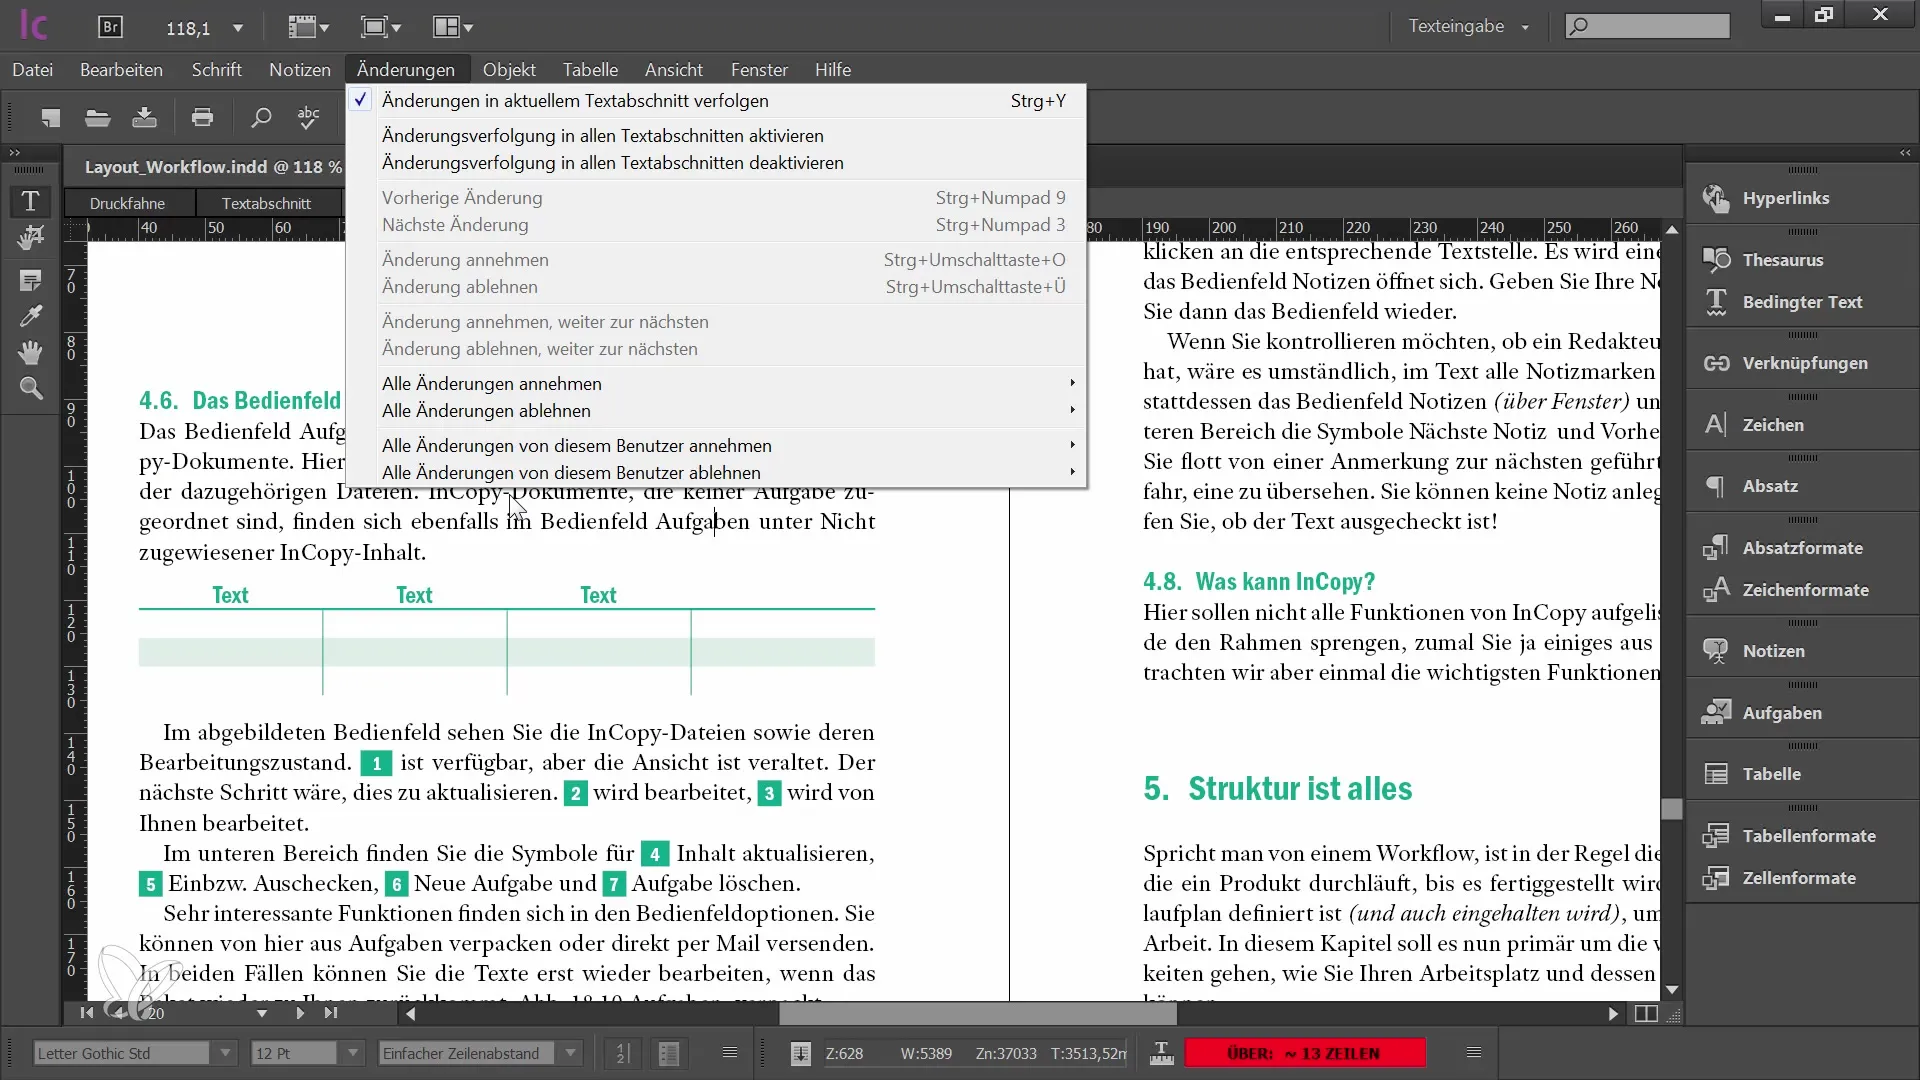
If you want track changes to be active for the entire document, you can also enable this option. This will record all future changes.
Step 11: Filtering changes by a specific user
In addition, you can also filter the changes by the user. For example, if you only want to accept or reject the changes made by a specific user, this function is available to you.
Summary
The change tracking in Adobe InCopy CC is a powerful tool to improve collaboration among multiple editors. You have learned how to activate change tracking, display different changes, and decide which changes to accept or reject. By customizing the settings, you can further enhance the user-friendliness of the feature.
Frequently Asked Questions
How do I activate change tracking in Adobe InCopy CC?You can activate change tracking by opening the change window via the "Window" menu and activating the corresponding button.
Can I accept the changes made by a specific user?Yes, you can accept or reject changes made by a specific user.
How do I see the changes in layout view?Changes are not visible in the layout view, but you can use the print view or other views to display them.


