In the world of Editorial Design, effective collaboration between graphic designers and editors is essential. This can lead to delays, especially when editors have to wait for approval from the designer. However, InCopy offers the possibility to work independently from InDesign by allowing editors to start directly with InCopy Templates. In this guide, you will learn how to create such a template and integrate it into your editorial workflow.
Main Takeaways
- Editors can work independently with InCopy Templates without having to wait for the designer.
- Transferring text and formats into InDesign is significantly simplified by using InCopy templates.
- Collaboration between graphic designers and editors is optimized through careful template planning.
Step-by-Step Guide
To create an effective InCopy template, follow these steps:
1. Create a New Document
To start a new InCopy document, open the software and go to the "File" menu. Choose the "New" option. You can now set the width and height of your document, similar to what you would do in Word. It is important that the measurements exactly match the requirements of your layout.
2. Activate Layout View
Go to layout view to get a better understanding of your document. Here you can see what the workspace looks like, similar to text processing programs. With this structure, you can work independently in InCopy regardless of InDesign.
3. Adopt Paragraph and Character Formats
Since your InCopy file should harmonize as much as possible with your final layout, it is crucial that the paragraph and character formats are correctly adopted. Go to the control panel menu, select "Text Formats," and choose the appropriate formats used in the InDesign document.
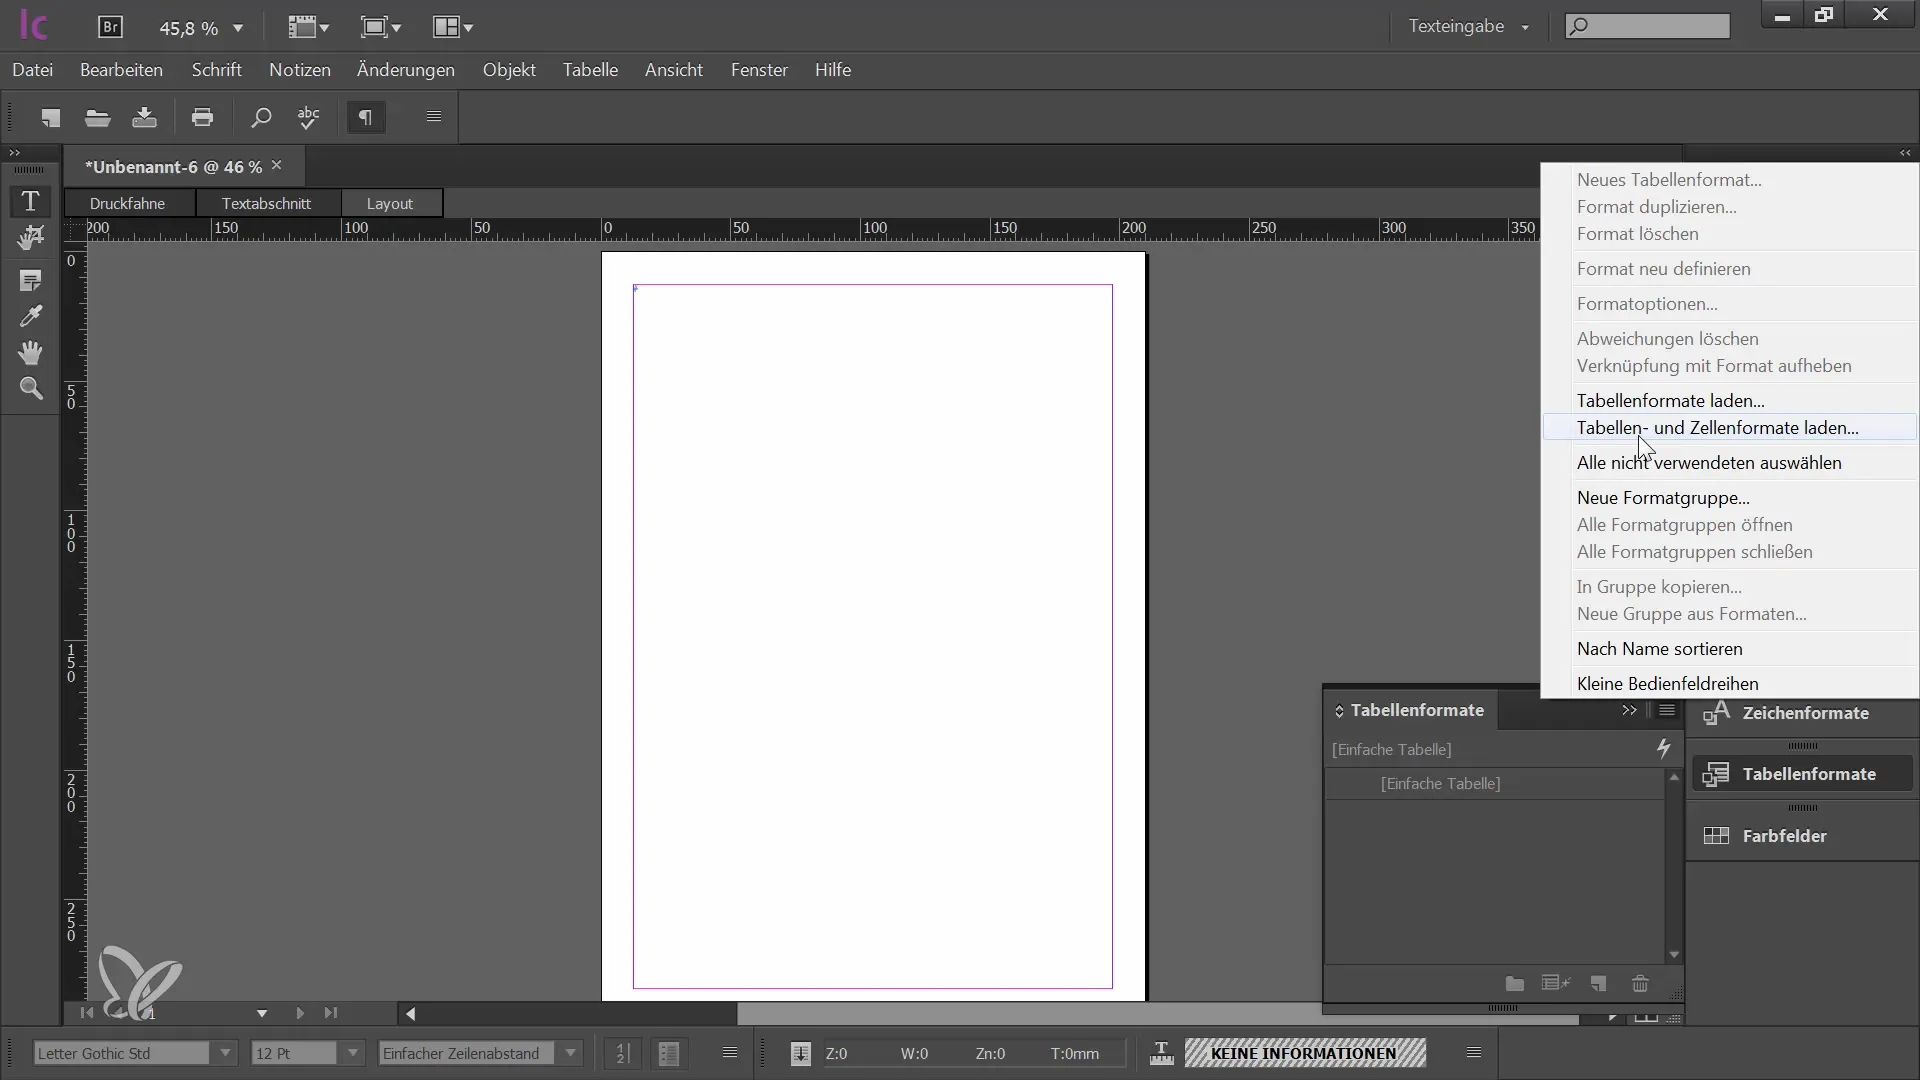
4. Add Table Formats
If you want to insert tables into your InCopy document, you can also adopt these formats. Again, go to the control panel menu, select "Tables," and choose "Table Formats." This ensures that all formatting aligns properly.
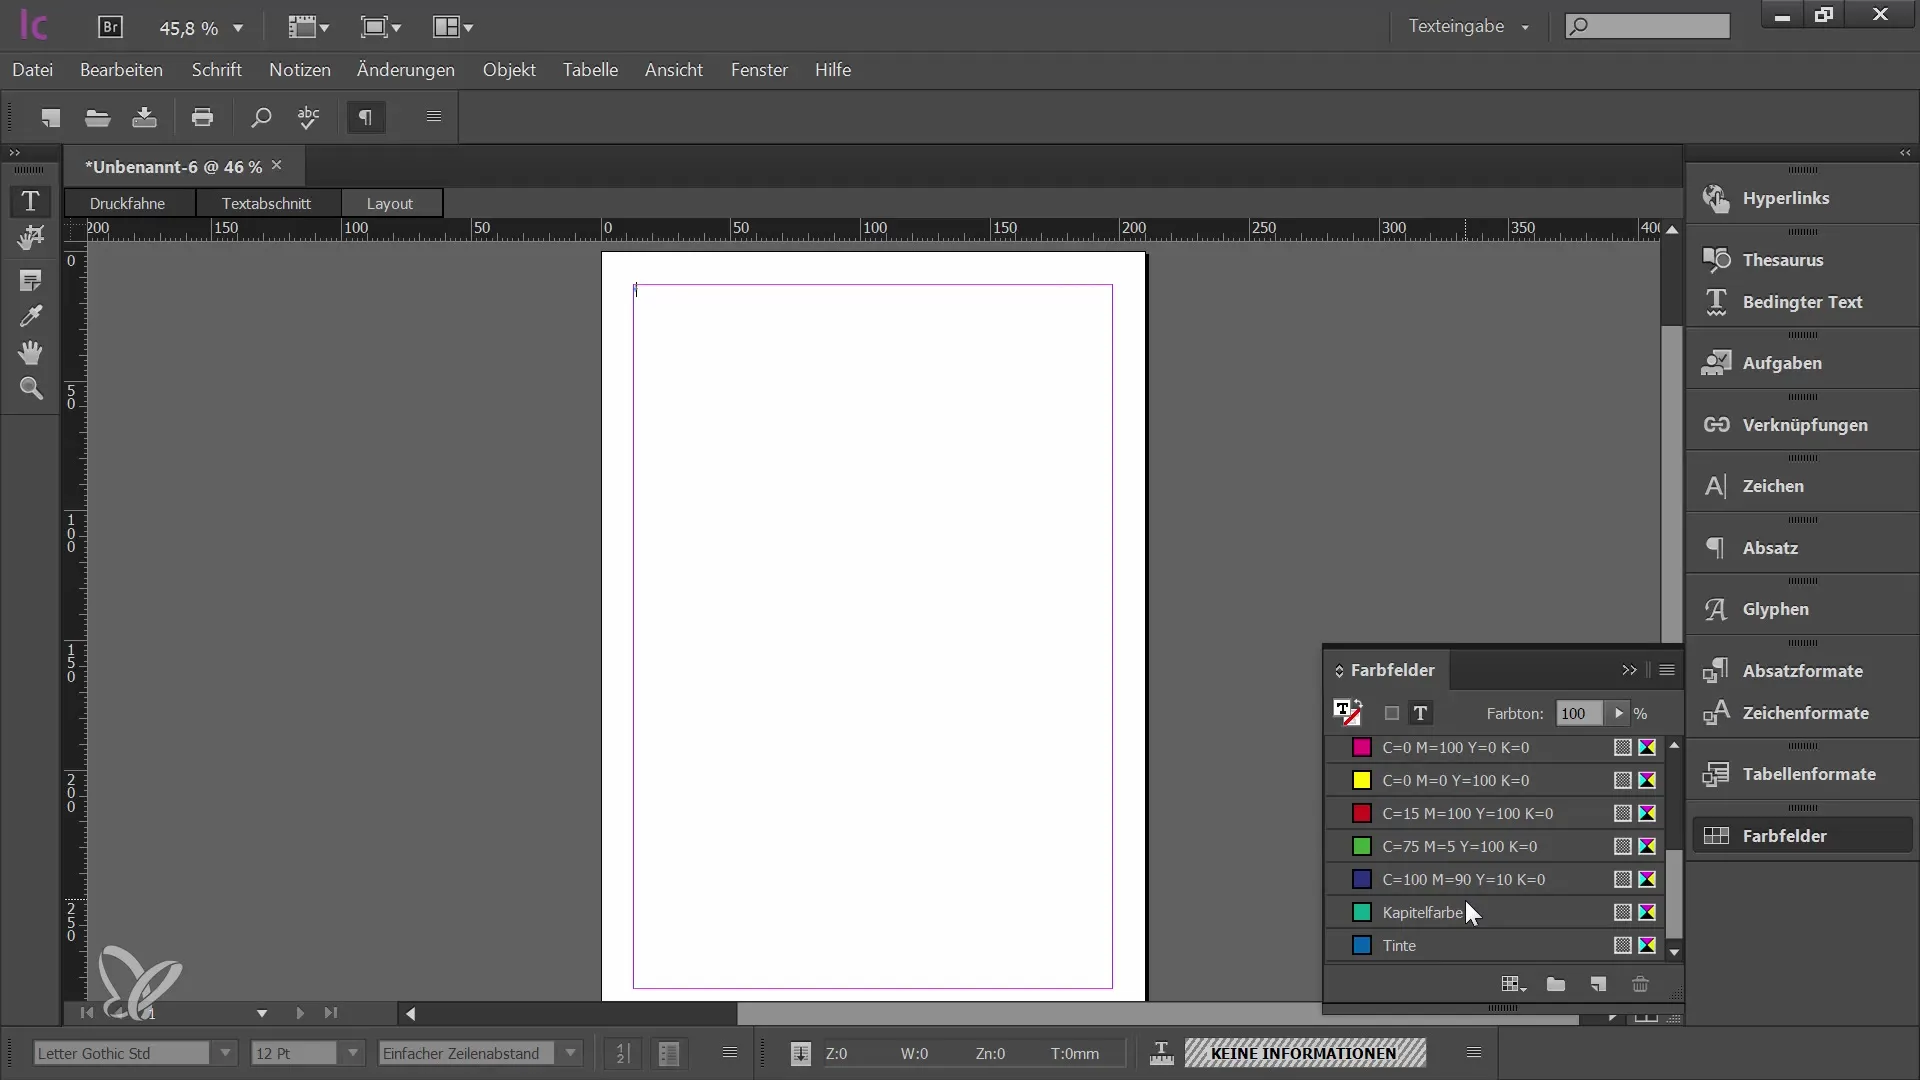
5. Insert and Adjust Colour Fields
A look into your color fields will show you if all the needed colors are present. If you have colors that are not needed, you can delete them. Ensure that only the relevant colors for your project remain in the document.
6. Adjust Preferences
Go to "Edit" -> "Preferences" or press the Ctrl + K key combination. Check the grid settings and ensure they match your layout (e.g., a grid of 12.75 points). Here, you can also make other important settings that are relevant to your template.
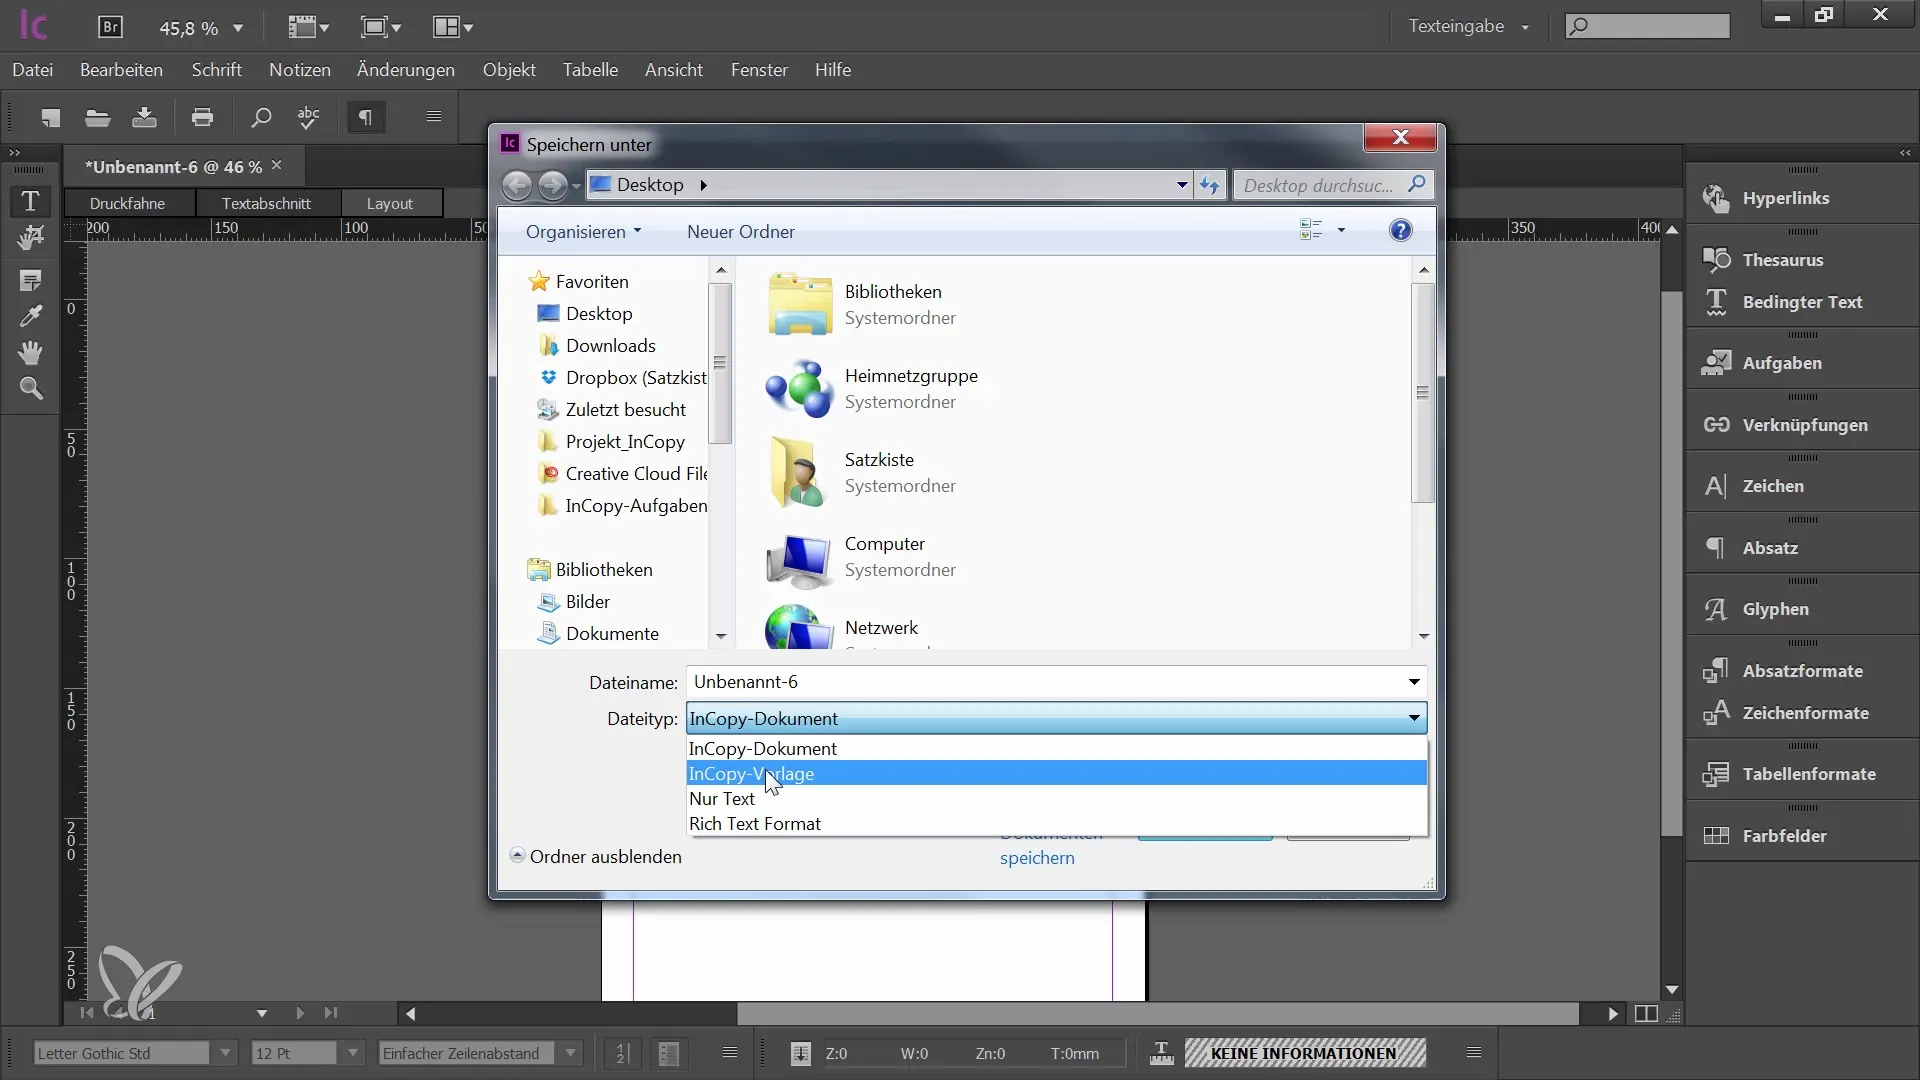
7. Save Template
After creating your document, save it under "File" -> "Save As." Make sure to save it as an InCopy template so that you can refer back to it at any time.
8. Use Template
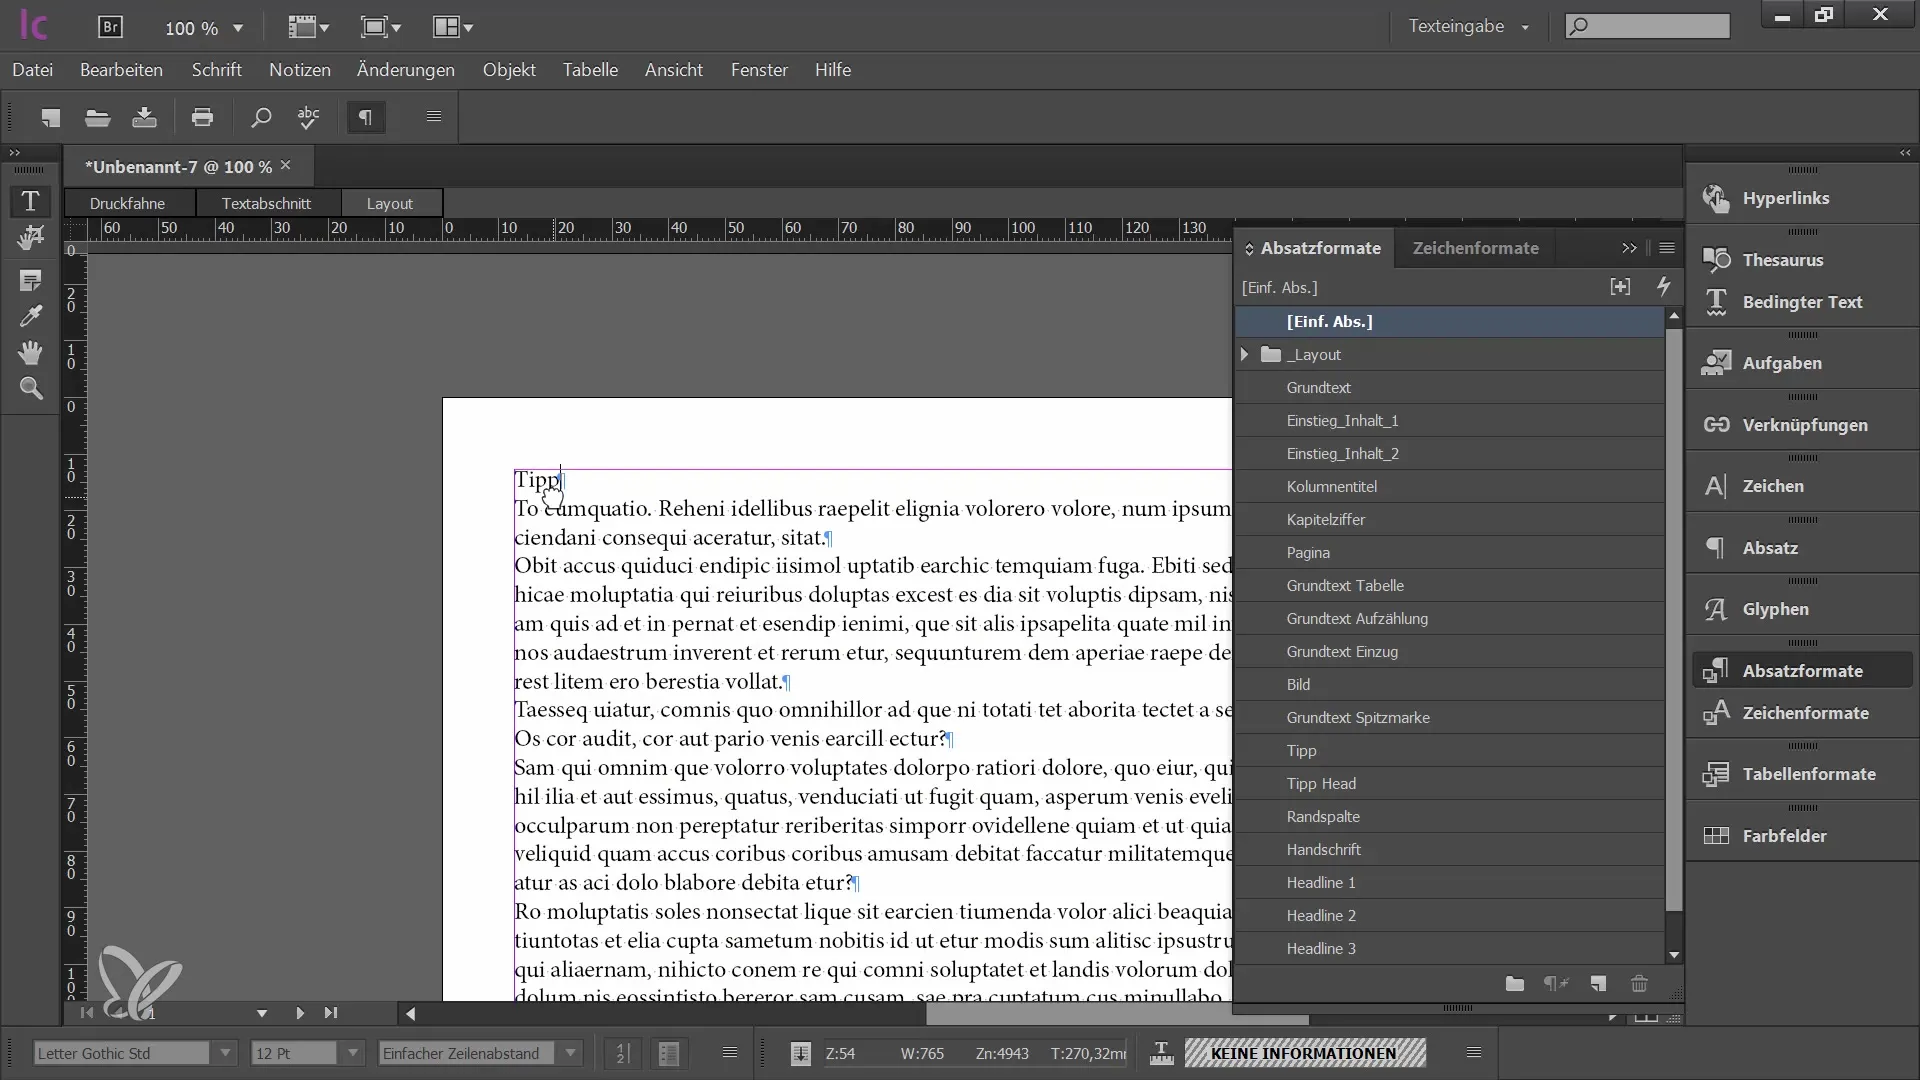
If you now want to write a new article or chapter, open the saved InCopy template. It will not open the original document but rather a copy on which you can work directly. You can use placeholder text or enter your own content directly.
9. Format Text
While working, you can format your text with the adopted styles. For example, correctly place headings, paragraphs, and tables. This ensures that everything will smoothly integrate into the InDesign document later on.
10. Prepare File for the Designer
Once you have finished writing and formatting, save the file again using "Save Content As." Name your file appropriately so the designer knows what is inside. They can now easily import the InCopy file into InDesign without any issues.
11. Place InDesign file
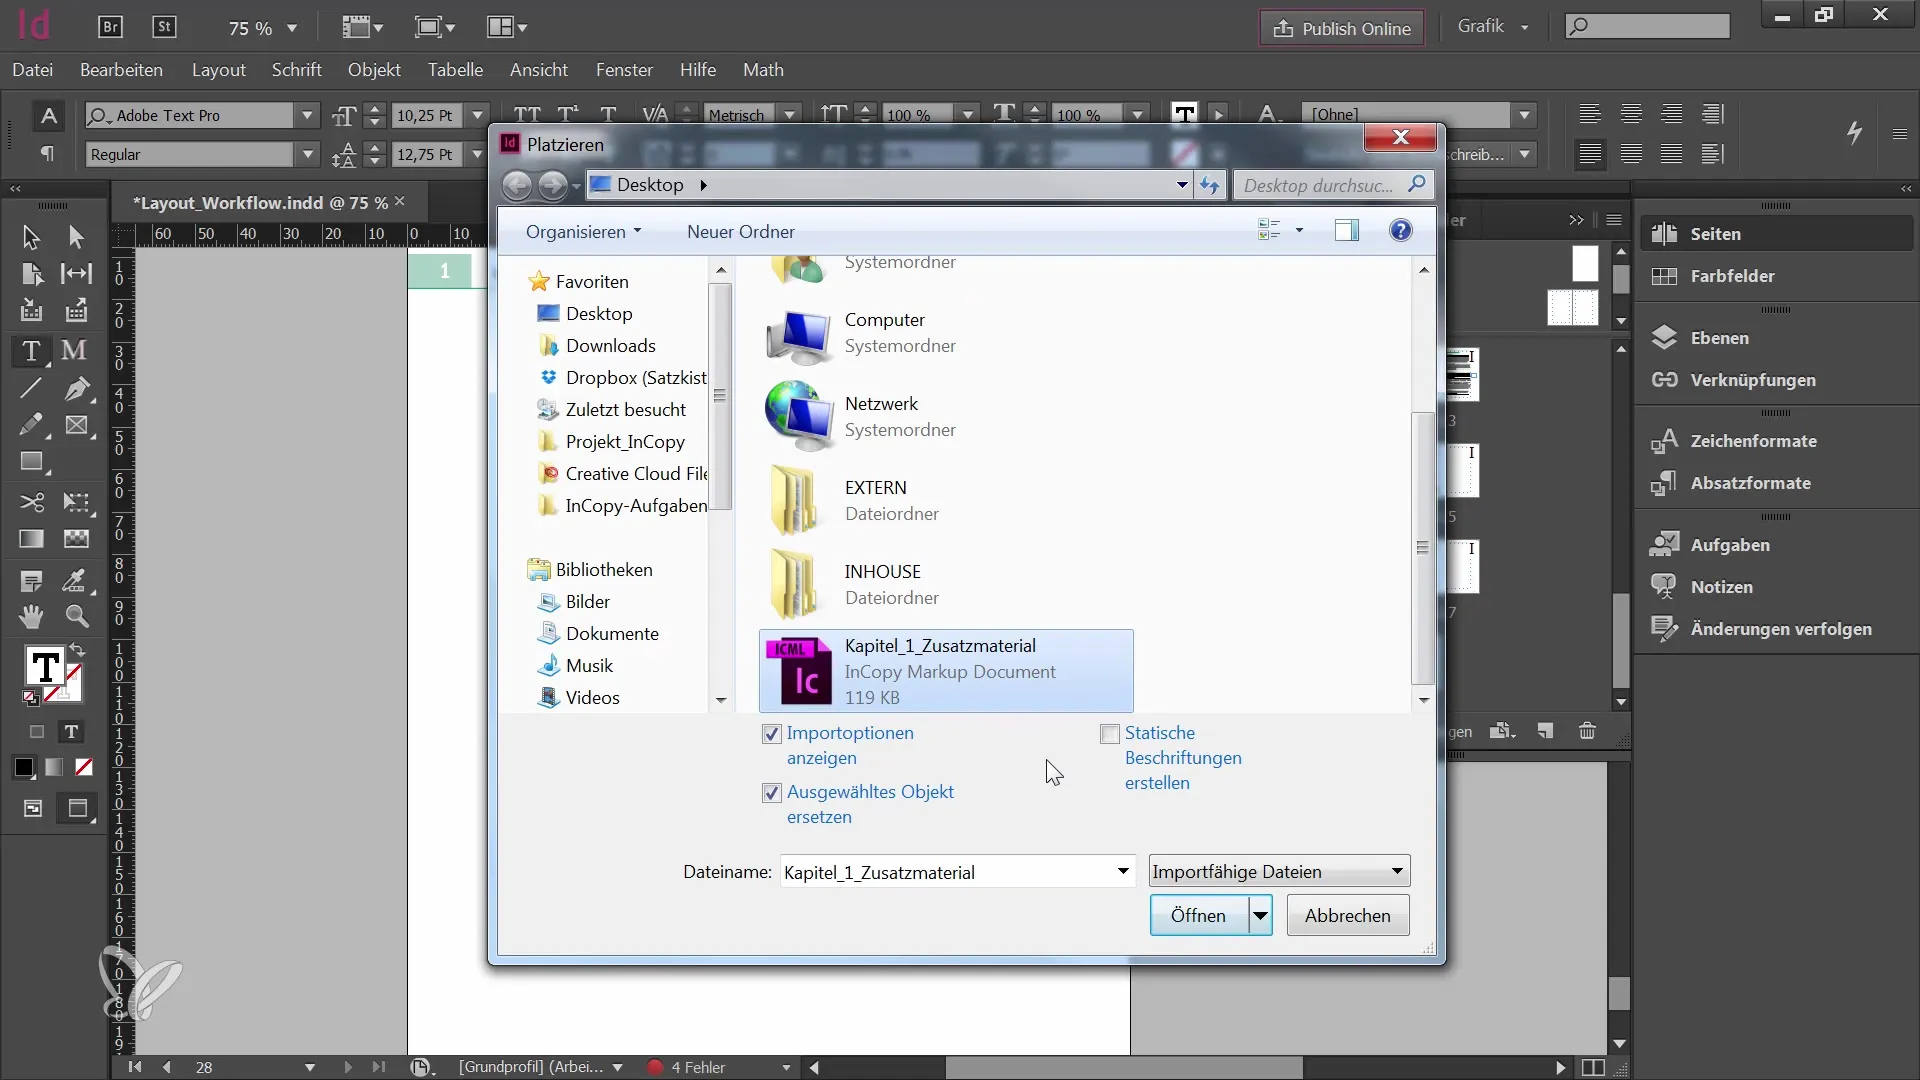
The graphic designer can now create a new page in InDesign and open the saved InCopy file via "File" -> "Place". The adoption of text formats is done automatically, and you can be sure that all the formatting has been correctly transferred.
12. Check link
By placing the InCopy file, it is automatically added as a link in InDesign. Note that you may need to assign tasks or make adjustments if necessary, but the main link is already in place.
Summary
With this step-by-step guide, you now know how to effectively create and use InCopy templates. You can work independently of graphic designers, save your formatted texts ready for integration into InDesign, thus optimizing the entire workflow.
Frequently Asked Questions
How do I create a new InCopy document?Open InCopy, go to "File" -> "New" and set the width and height of your document.
How can I adopt paragraph and character styles?Use the control panel menu to adopt text settings from the InDesign document.
What should I do if I want to delete colors?Go to the color swatches and delete the colors you do not need.
How can I prepare the InCopy file for a graphic designer?Save the file via "Save Content As" and give it a meaningful name so that the graphic designer can see what is in it.
Can I use InCopy independently of InDesign?Yes, InCopy can be used independently to write and prepare texts.


