In this tutorial, I will show you how you can make corrections within tables in Adobe InCopy CC. Tables are an integral part of text documents, and efficient editing helps you keep track and present content cleanly. I will guide you step by step through the process, from creation and editing to formatting tables.
Key Takeaways
- Tables in InCopy are part of the text flow and must be checked out before they can be edited.
- The cell height can be set either as exact or minimum to handle text content flexibly.
- By using various settings and formatting options in the table options, you can customize the appearance of tables.
Step-by-Step Guide
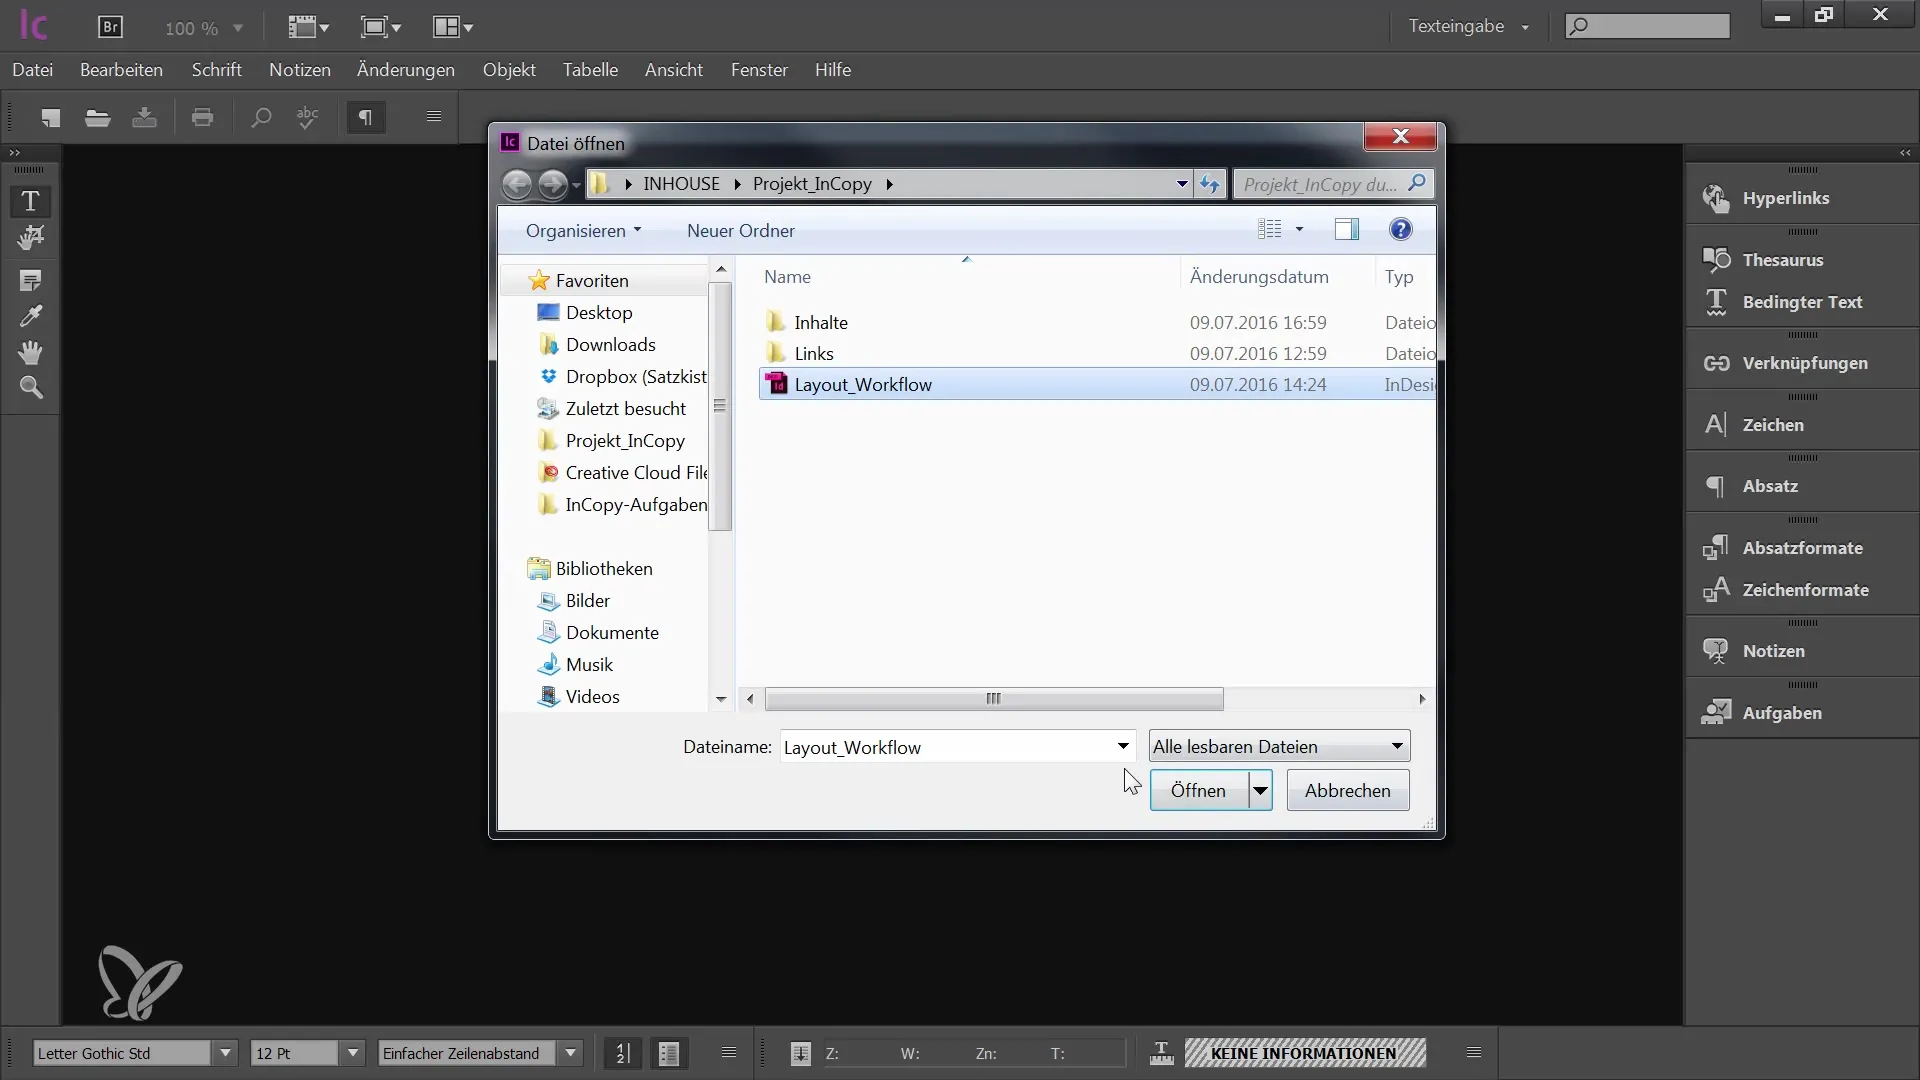
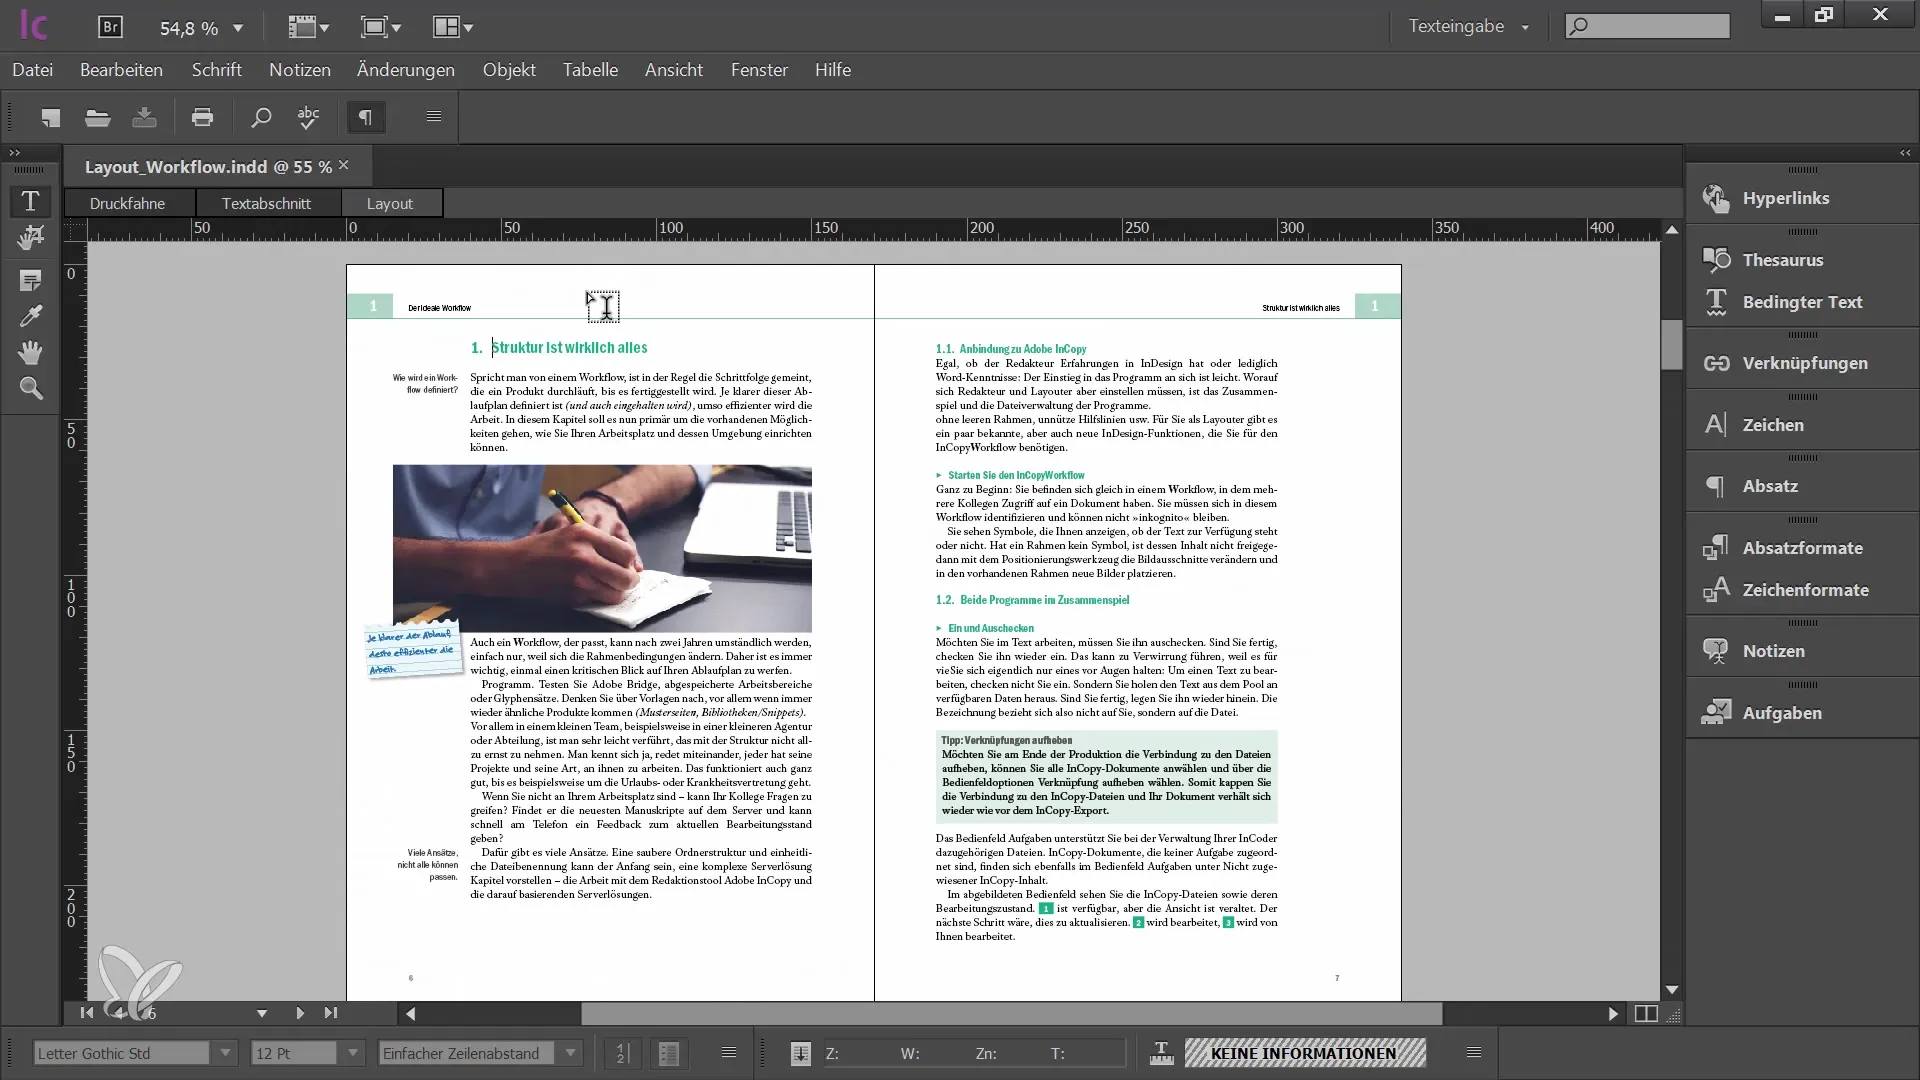
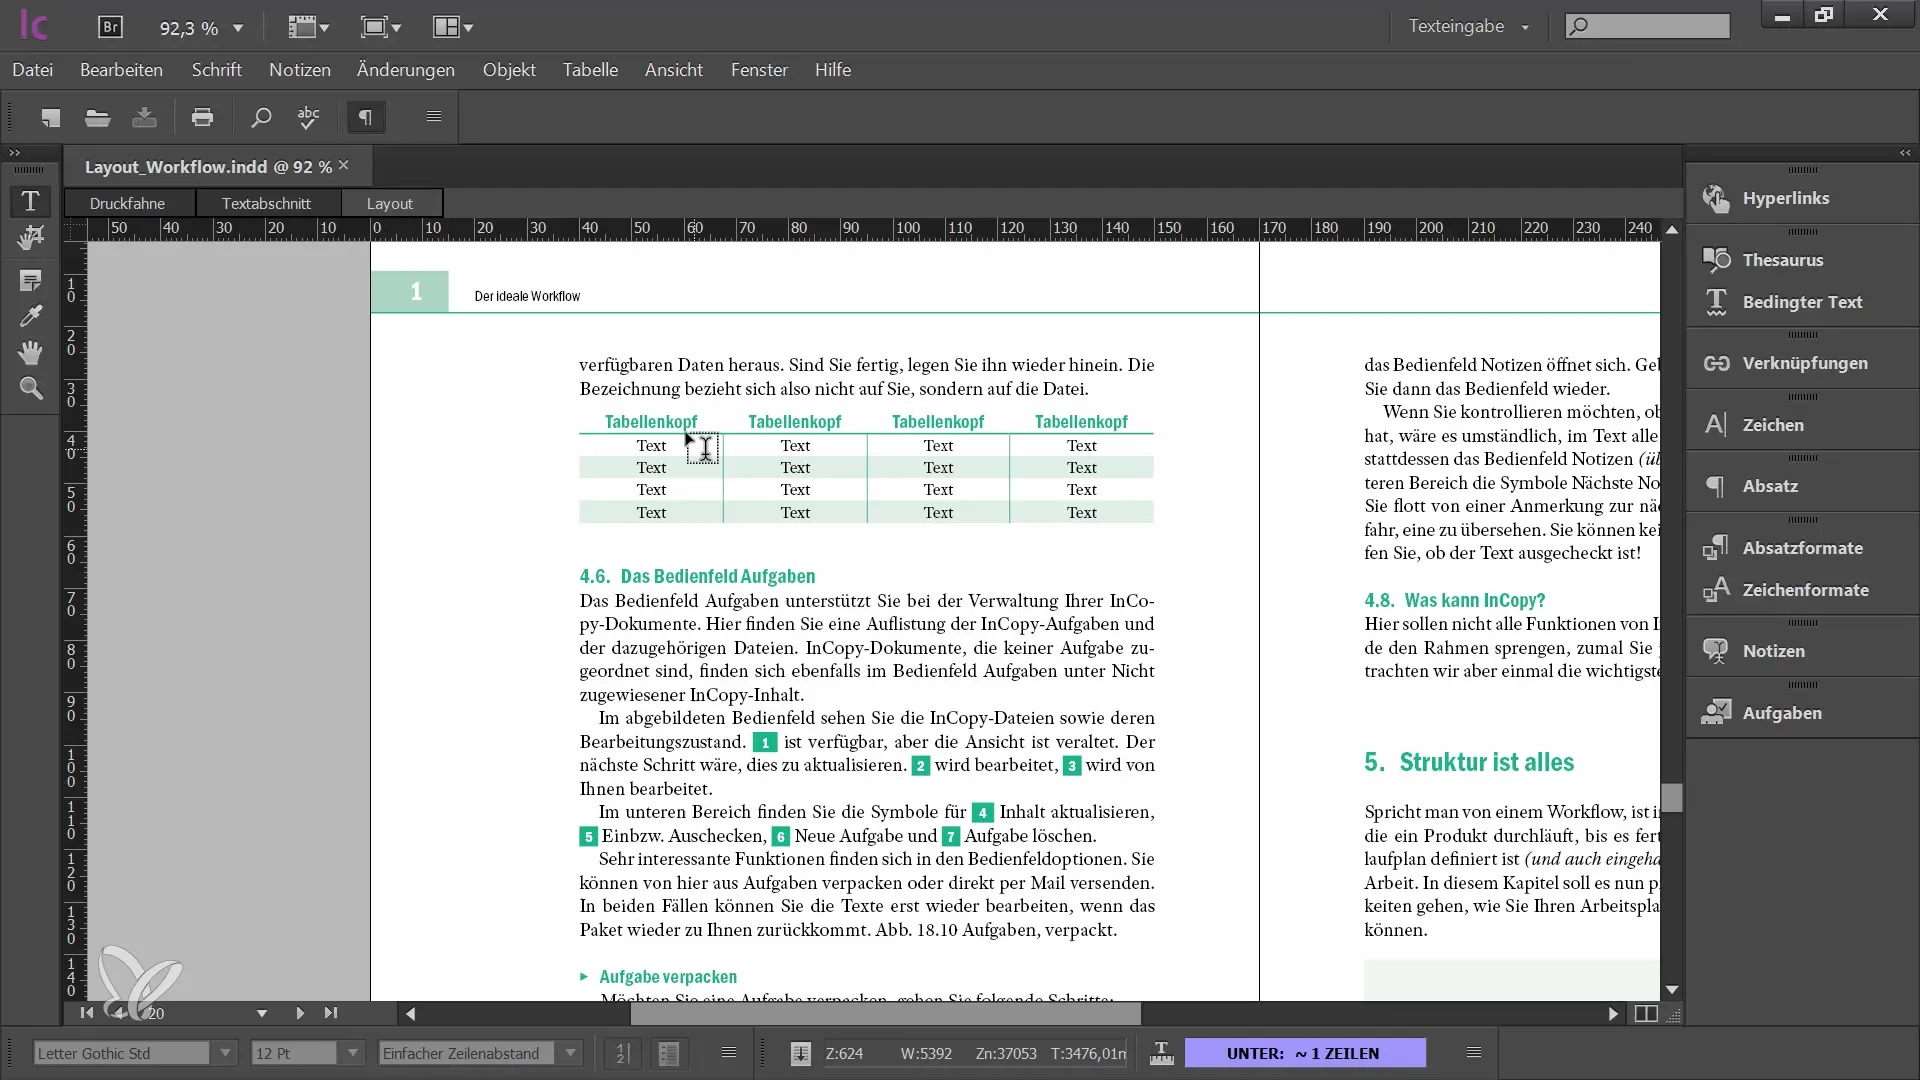
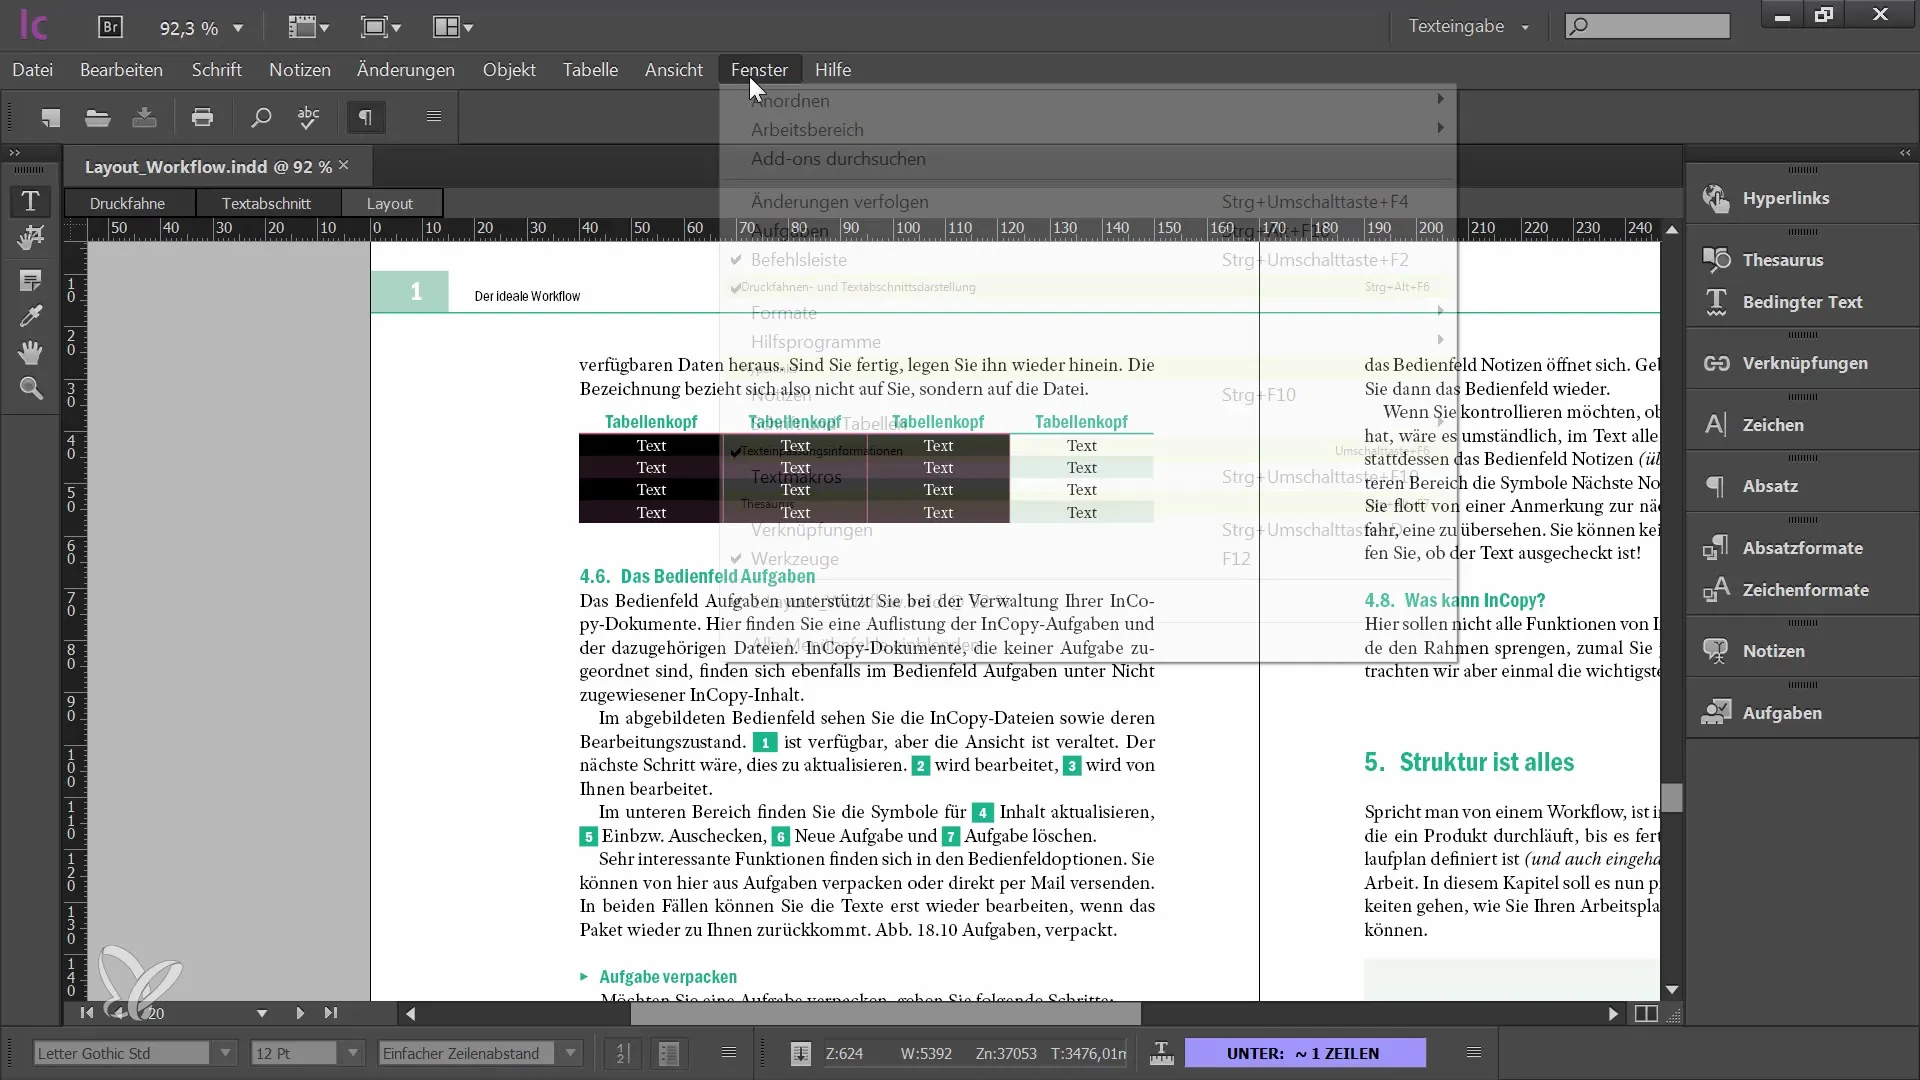
First, open your InDesign document where the table you want to edit is located. Make sure the table is already created in the document and has no content yet. For example, I find my table on page 20 and see that it only has a table header so far. At this point, I need to add content in InCopy.
Before you can start editing a table in InCopy, you must first check it out. This especially applies to the entire text frame structure that contains the table. Click on the text frame and choose the "Check Out" option to make the table editable.
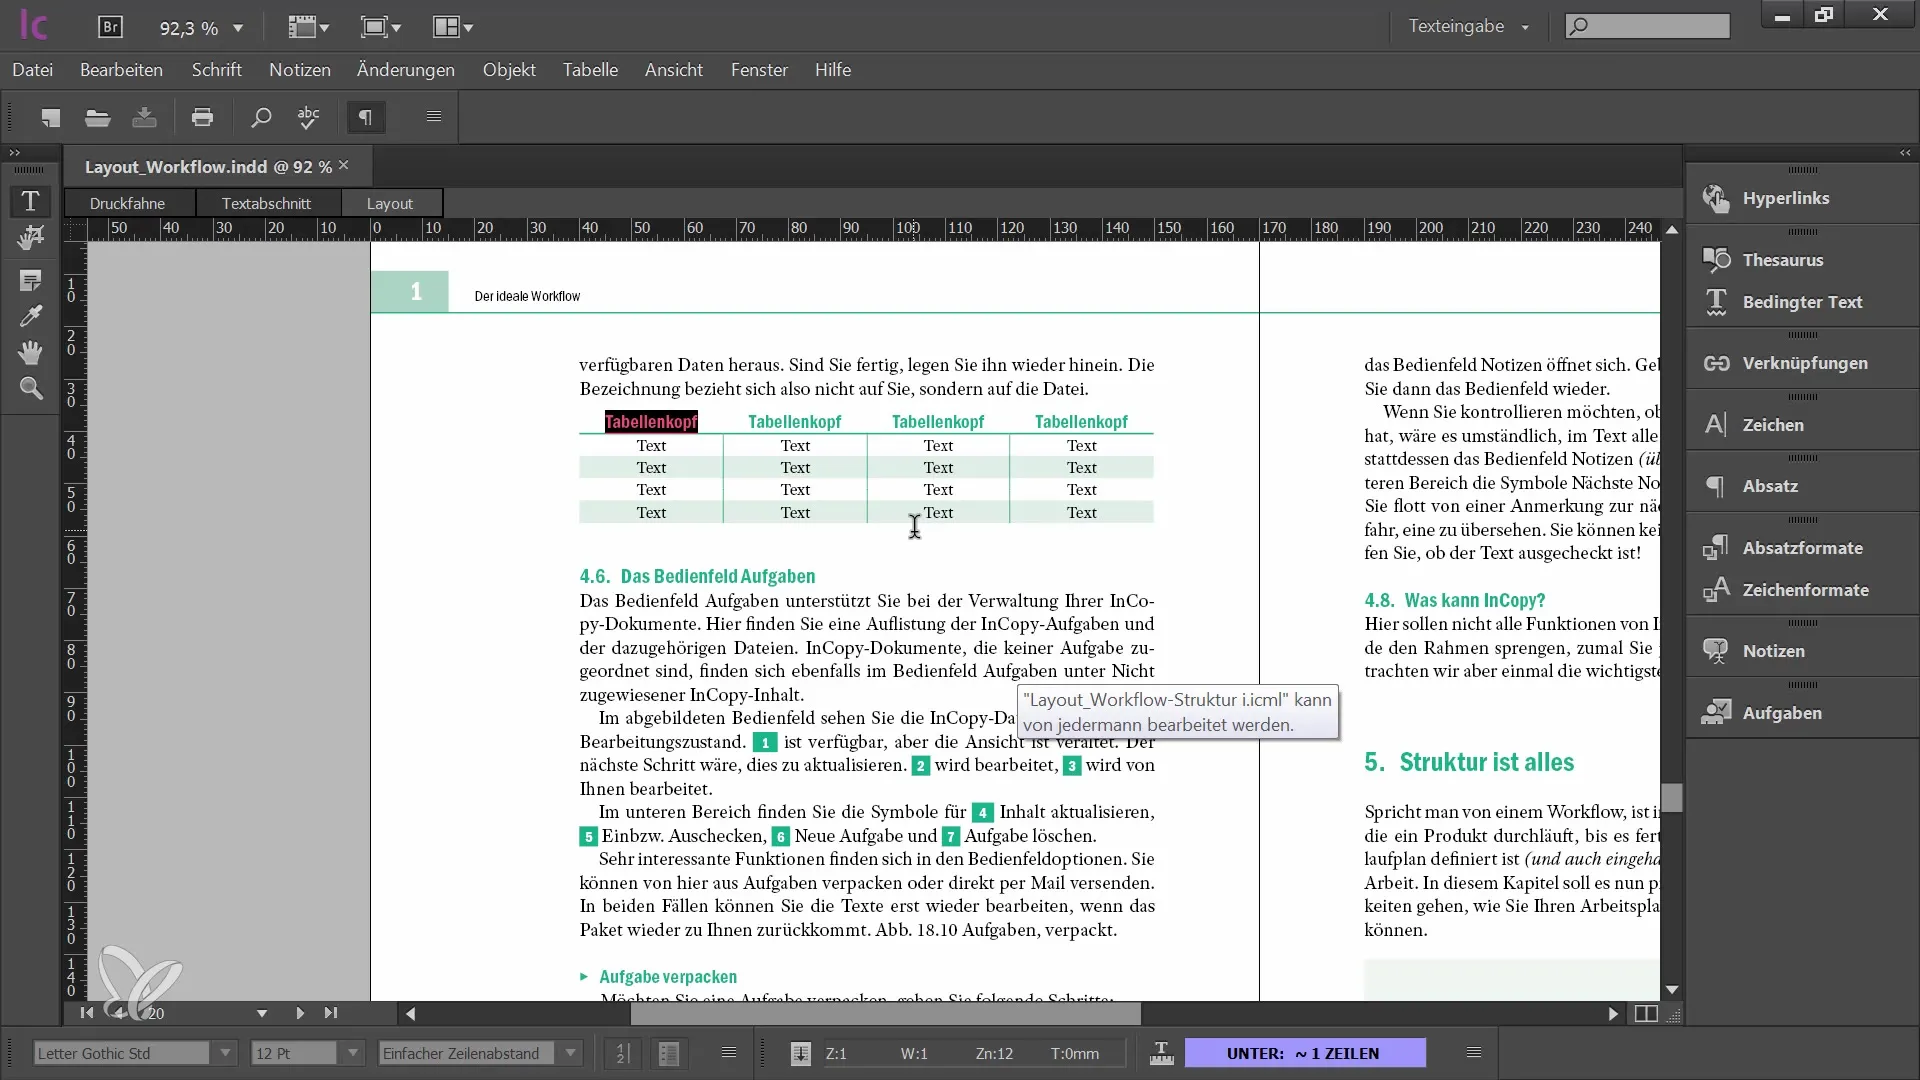
When hovering over the table, you will notice the cursor changing. You will see different arrows that help you select individual columns or rows. Hover over the top corner of the table until a diagonal arrow appears, which allows you to select the entire table. The selected areas will be displayed in reverse, meaning the cell colors change, similar to highlighted text.
To effectively edit a table, it is helpful to open some special windows. Go to "Window" – "Type and Tables" and activate the Table Panel. There you will see various settings and customization options for the table. When I select the entire table, I also see the number of rows and columns.
Through the menu in the Table Panel, you can add or remove rows or columns. For example, you can set an exact width for the columns by reducing them to 15mm. You also have the option to adjust cell size using the arrow keys. Remember that table cells can have either an exact height or a minimum height.
You can easily adjust this height by hovering over the table borders with the mouse and changing the cell height. When all table cells are selected, you also have the option to evenly distribute the columns. Right-click to find the respective settings.
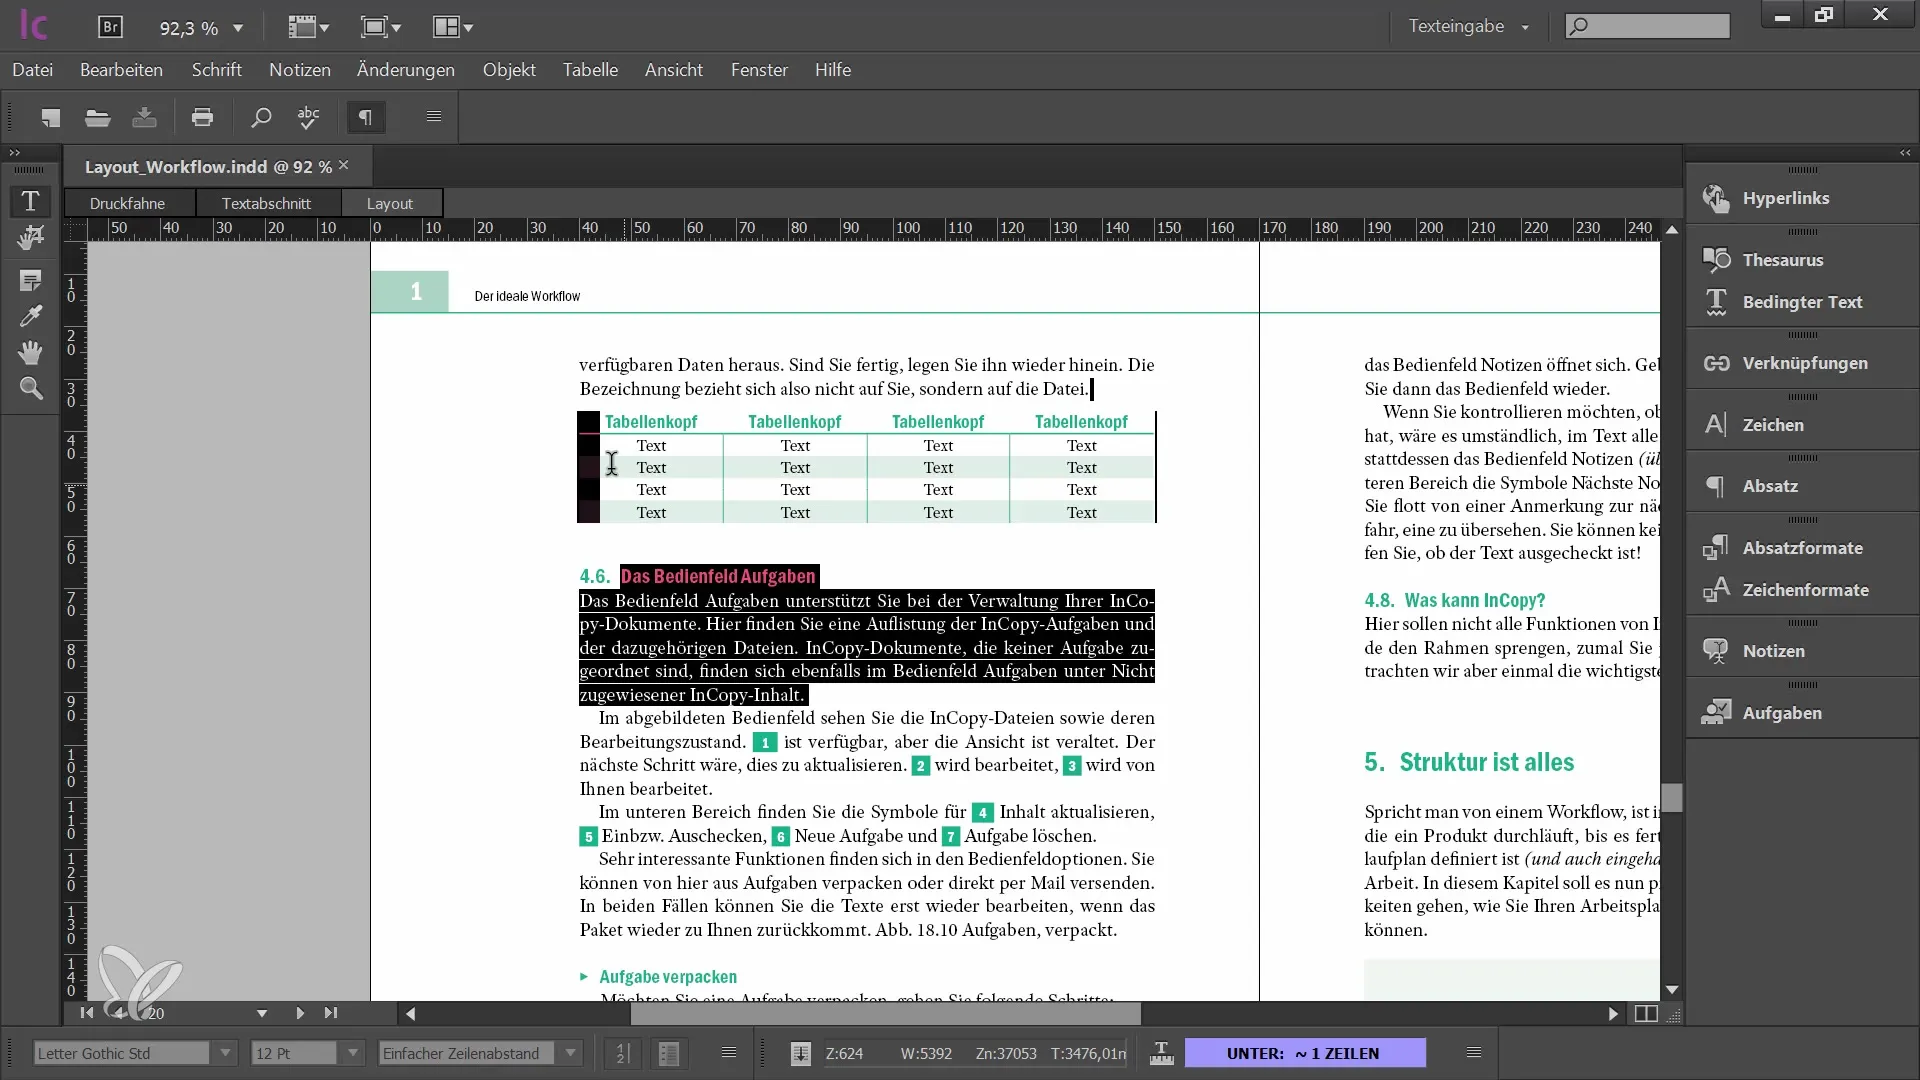
Table cells have an inner offset, meaning the text is not directly anchored to the cell's edges. Within the Table Panel, you can set the offset for all four sides. This can help make the layout more appealing and aid in content readability.
If you want to make more specific settings for individual cells, you can access cell options through the panel menu or directly in the table menu. Here you can customize strokes and fills. When selecting multiple cells and going into cell options, you have the possibility to adjust edge variations and lines for all selected cells collectively.
To add horizontal lines in your table or change the thickness of strokes, simply enter the desired value in the respective fields. These settings allow for better design customization and make your table more organized.
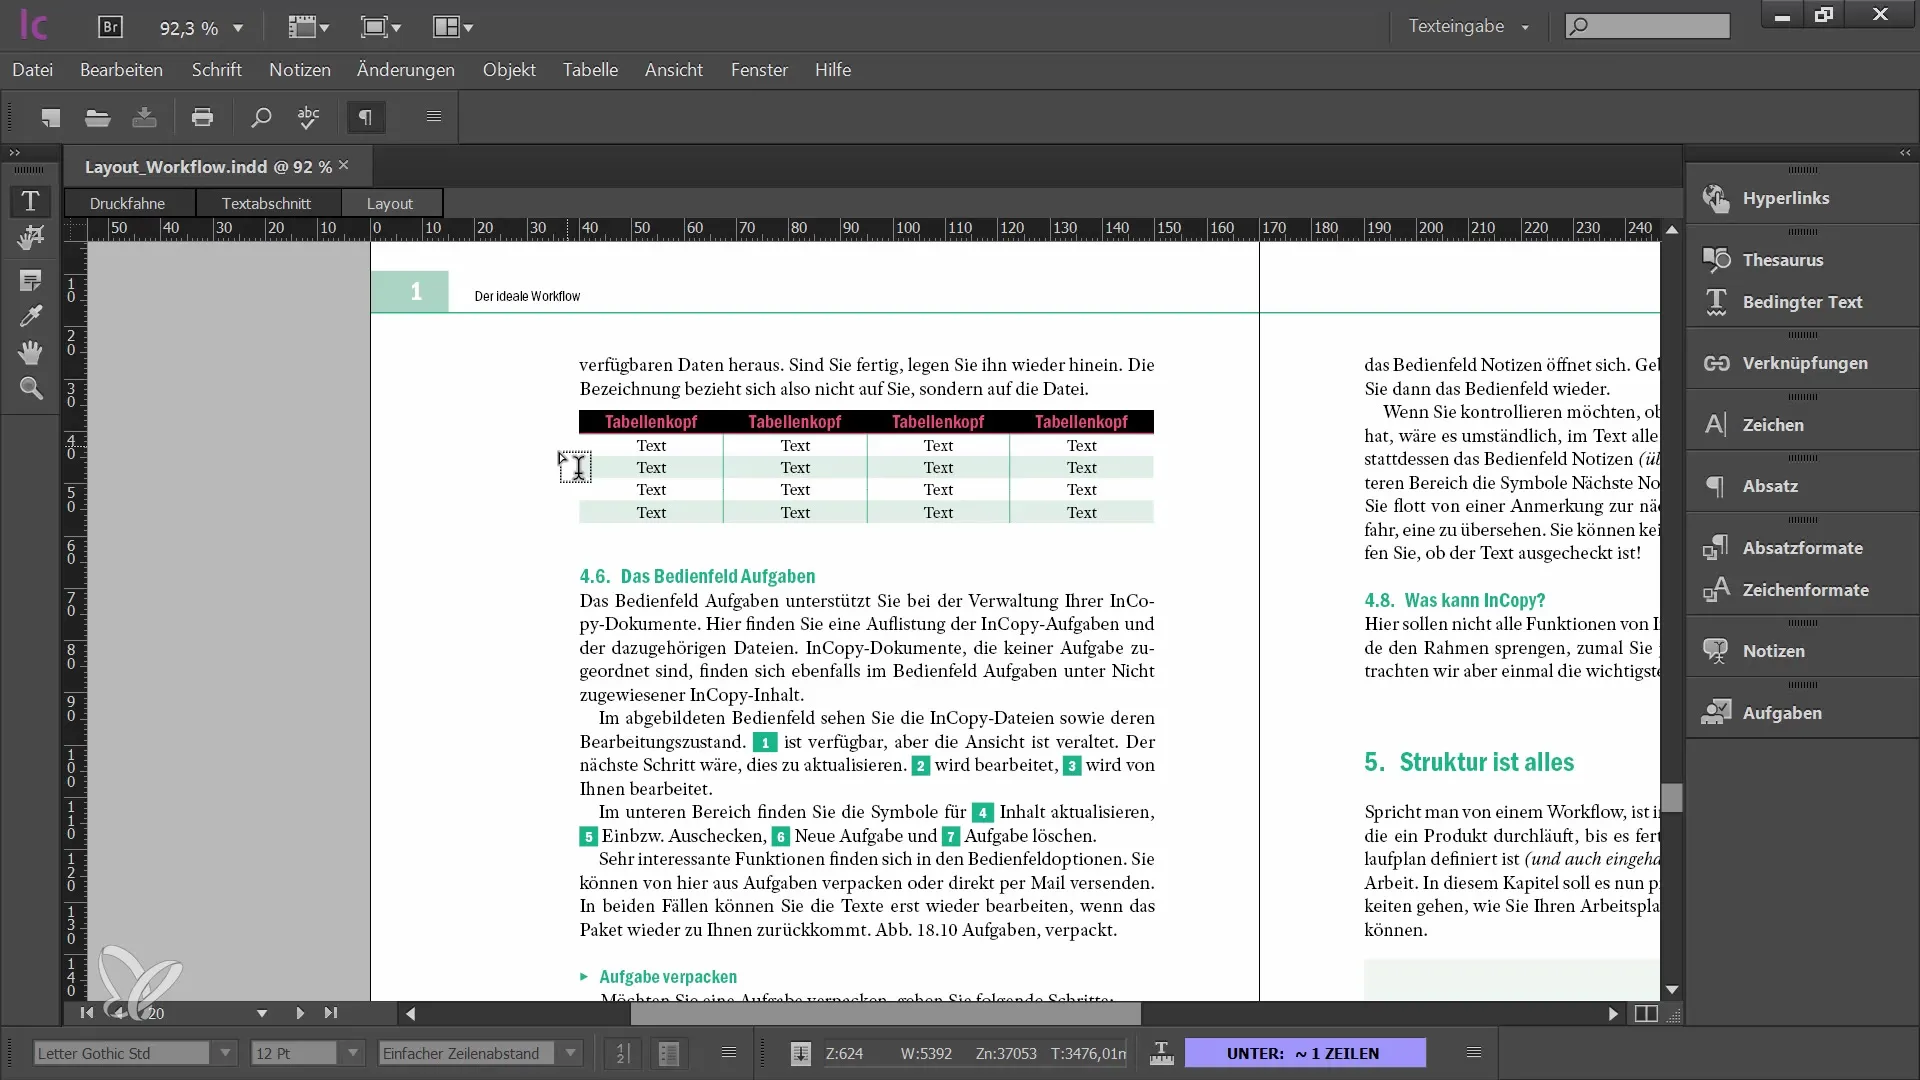
If you use table formats already set up in InDesign, you can also use them in InCopy, but you cannot change them. You can view and apply them, which is important for maintaining consistency. Make sure the table header rows are correctly formatted to avoid confusion when populating the contents.
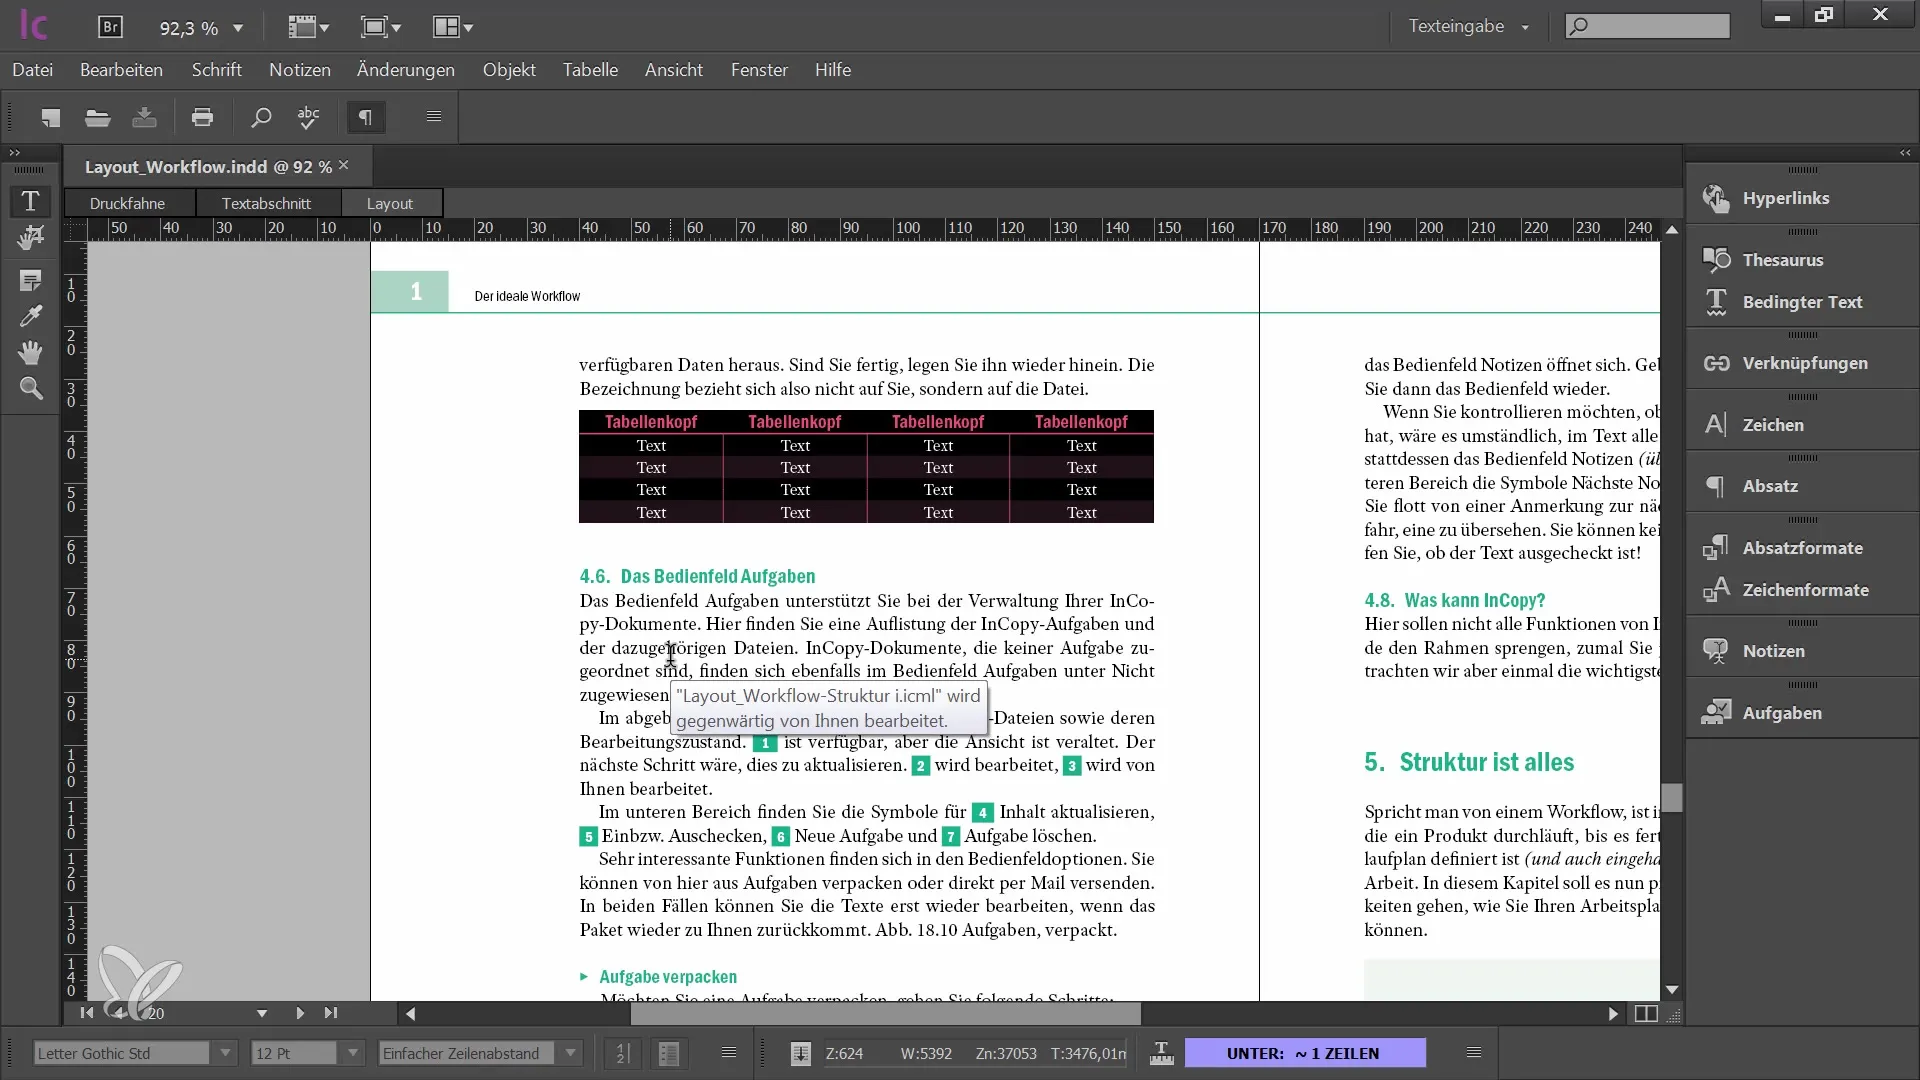
The tab key allows you to quickly switch between cells and insert the correct content. If you want to create a new table, you can also do this by selecting the corresponding area in the text box and using the table menu.
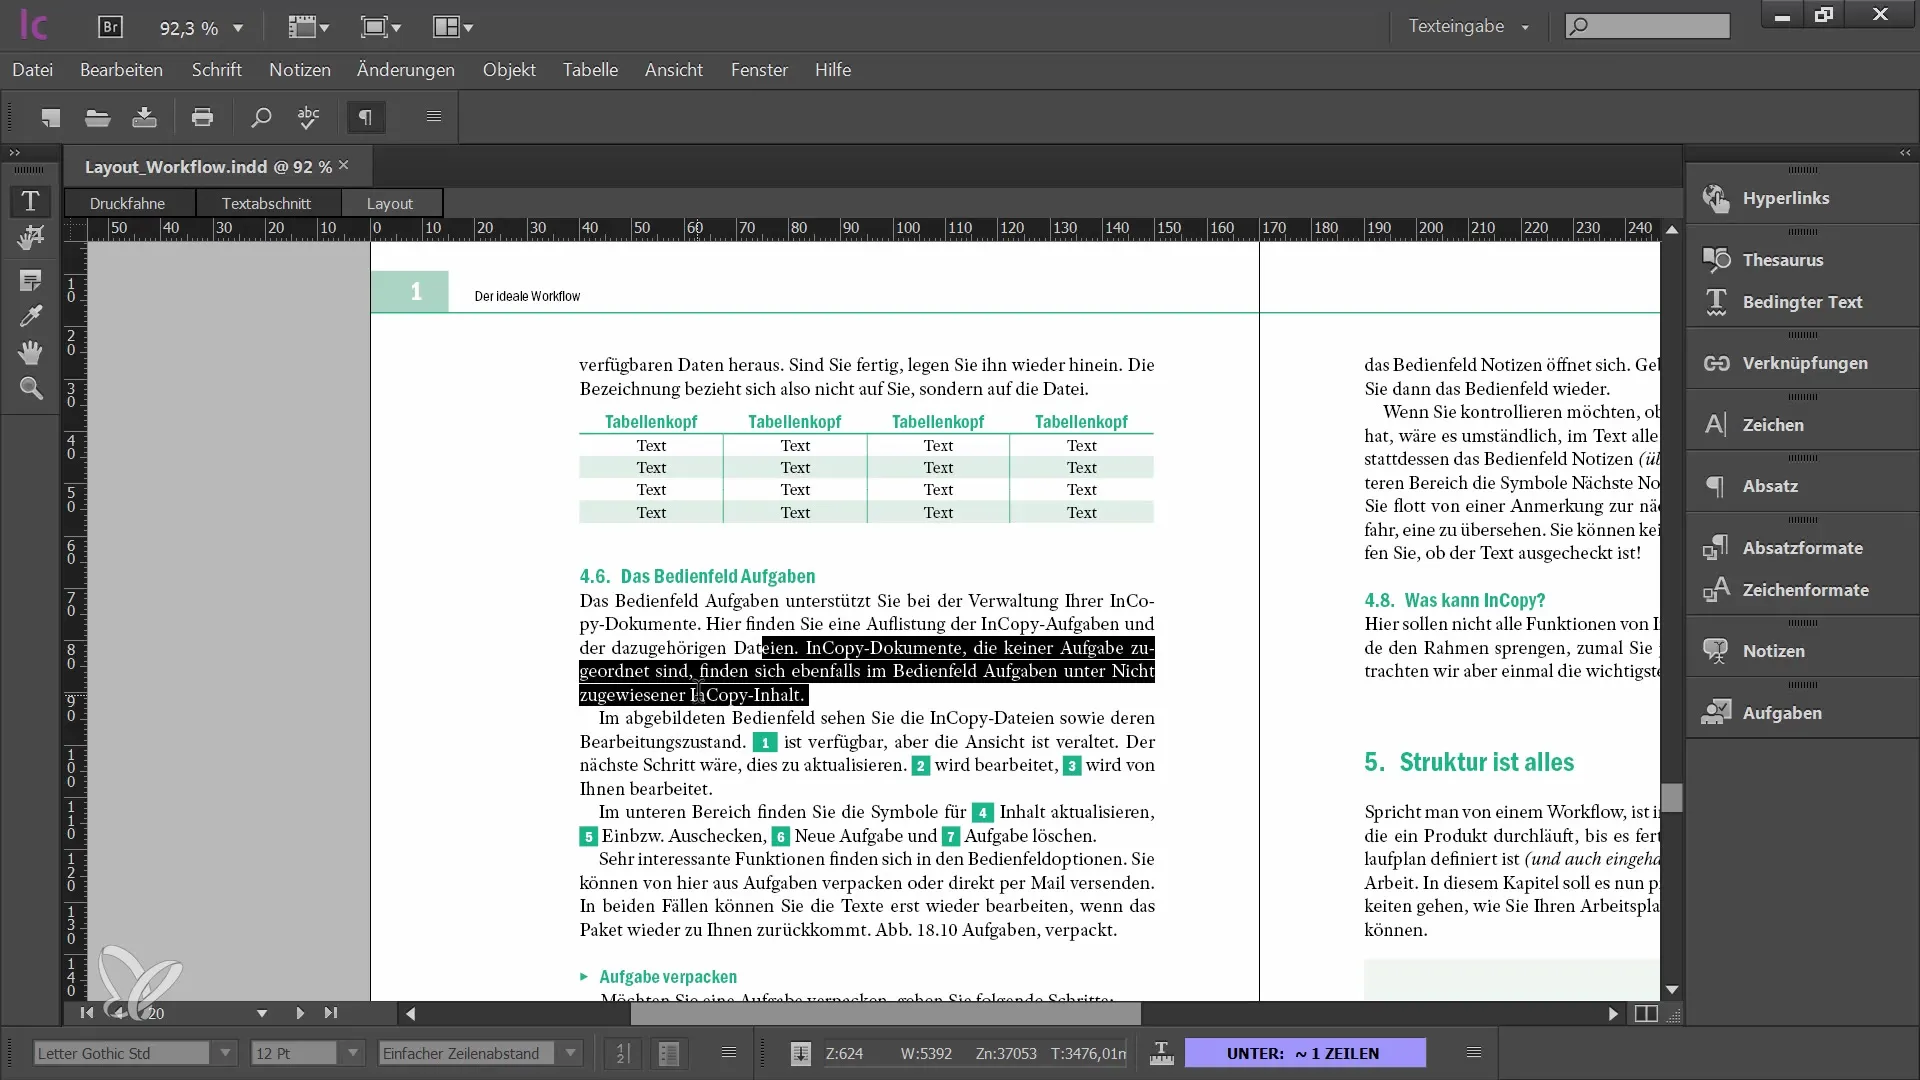
If you want to convert existing lines of text into a table later on, select the text and choose the function to convert it into a table. Conversely, you can also convert a table into normal text. Make sure you apply the correct formatting to keep the layout consistent.
Summary
In this guide, you learned how to create and edit tables in Adobe InCopy CC. The correct use of tables, adjusting cells, and proper formatting are essential for a clean layout. Pay special attention to always check the templates and table formats that were created in InDesign during editing to make your work efficient.
Frequently Asked Questions
How do I check if a table is editable?You have to check out the table in order to edit it.
How do I change the height of a cell in a table?You can either set the height of a cell to an exact value or establish the minimum height.
How can I evenly distribute columns in a table?Select the desired columns, right-click, and choose the option for even distribution.
Can I change table formats in InCopy?No, you cannot change the formats, but you can apply them.
How do I insert a new table in InCopy?Select the corresponding location in the text box and use the table menu to create a new table.


