In this tutorial, you will learn how to create web forms with effective client-side validation in JavaScript. Validation is crucial to ensure that user inputs are correct and complete before sending the data to the server. We will discuss various aspects of validation, including using HTML5 attributes and implementing custom validation logics in JavaScript.
Key Takeaways
- Input fields can be partially validated using HTML5 attributes.
- JavaScript allows for deep, custom validation.
- Error messages can be dynamically designed to provide users with helpful hints.
Step-by-Step Guide
Step 1: Create the basic structure of the form
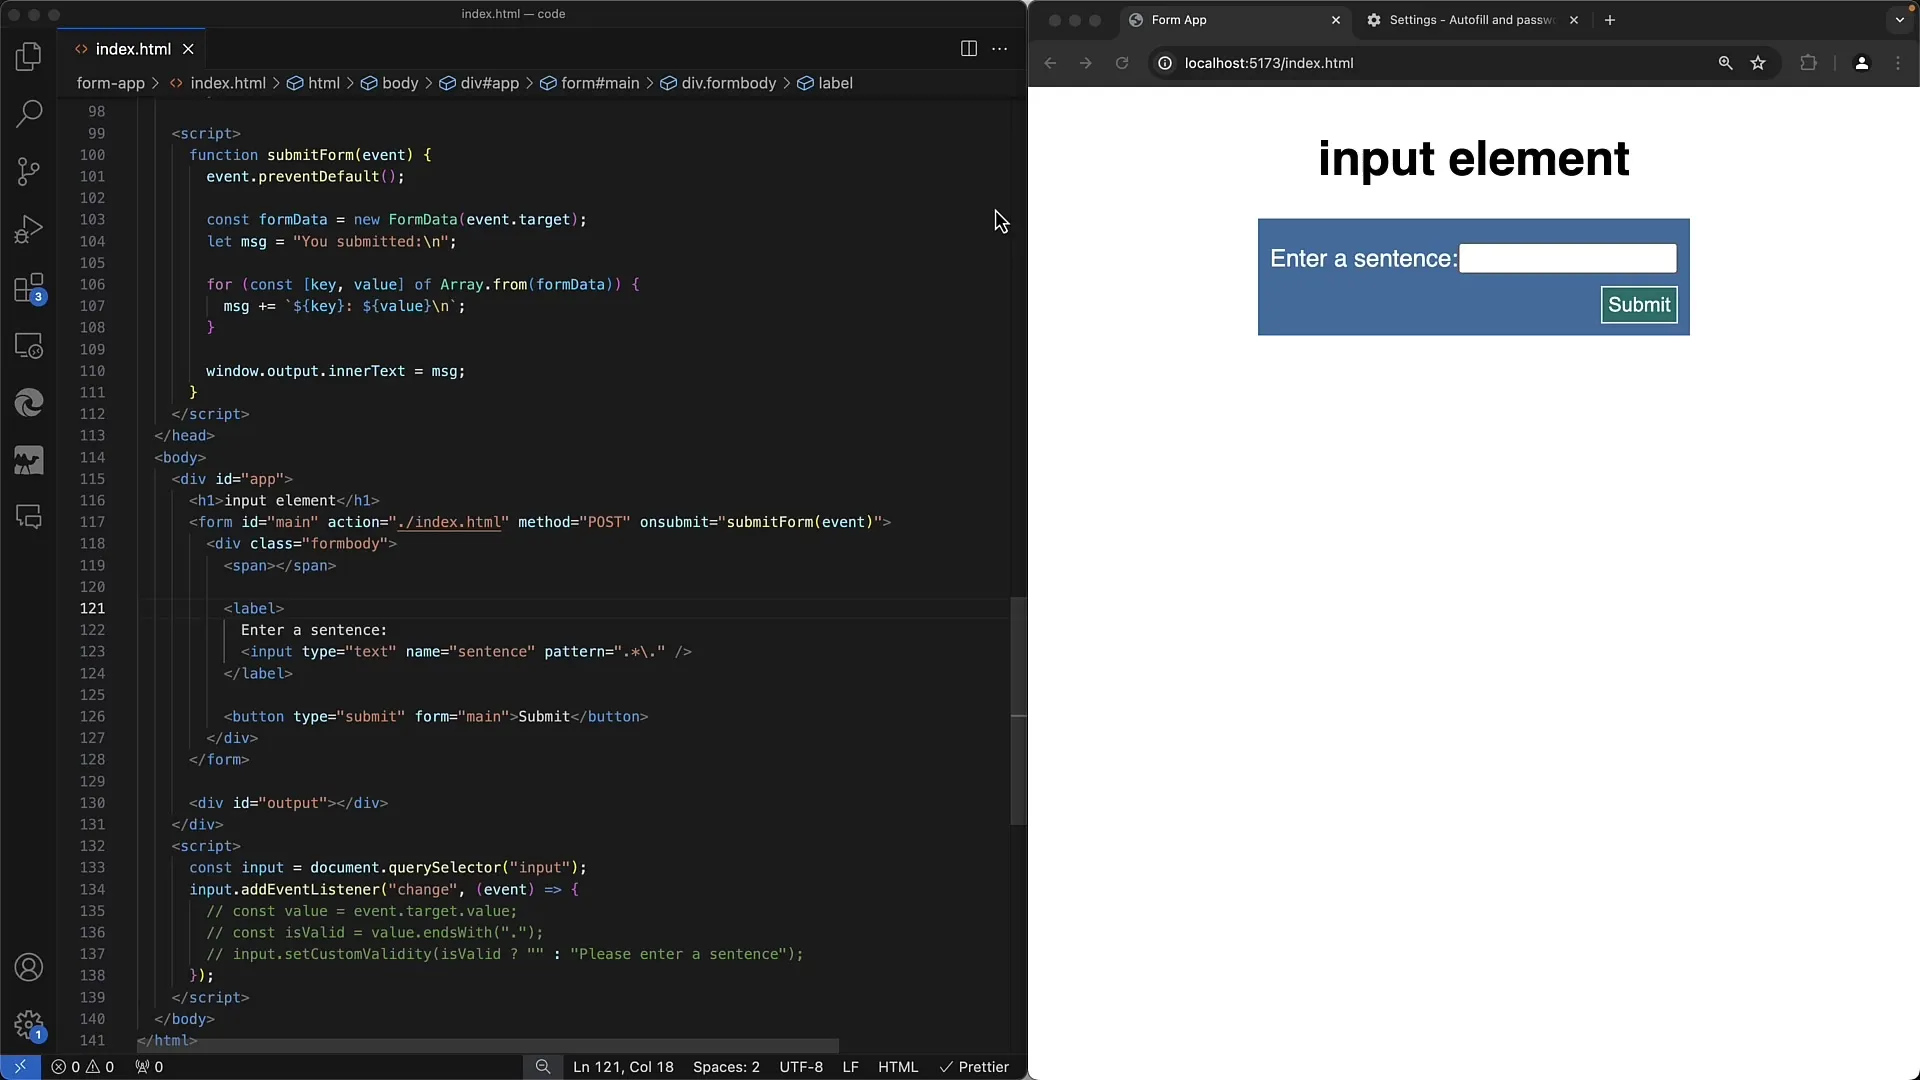
First, create a simple HTML form that includes an input field for a sentence. Make sure to include the pattern attribute for initial validation.
Step 2: Simple pattern validation
In the HTML form, you can use the pattern attribute to ensure that the entered sentence ends with a period. Test whether the validation works without JavaScript.
Step 3: Adding JavaScript
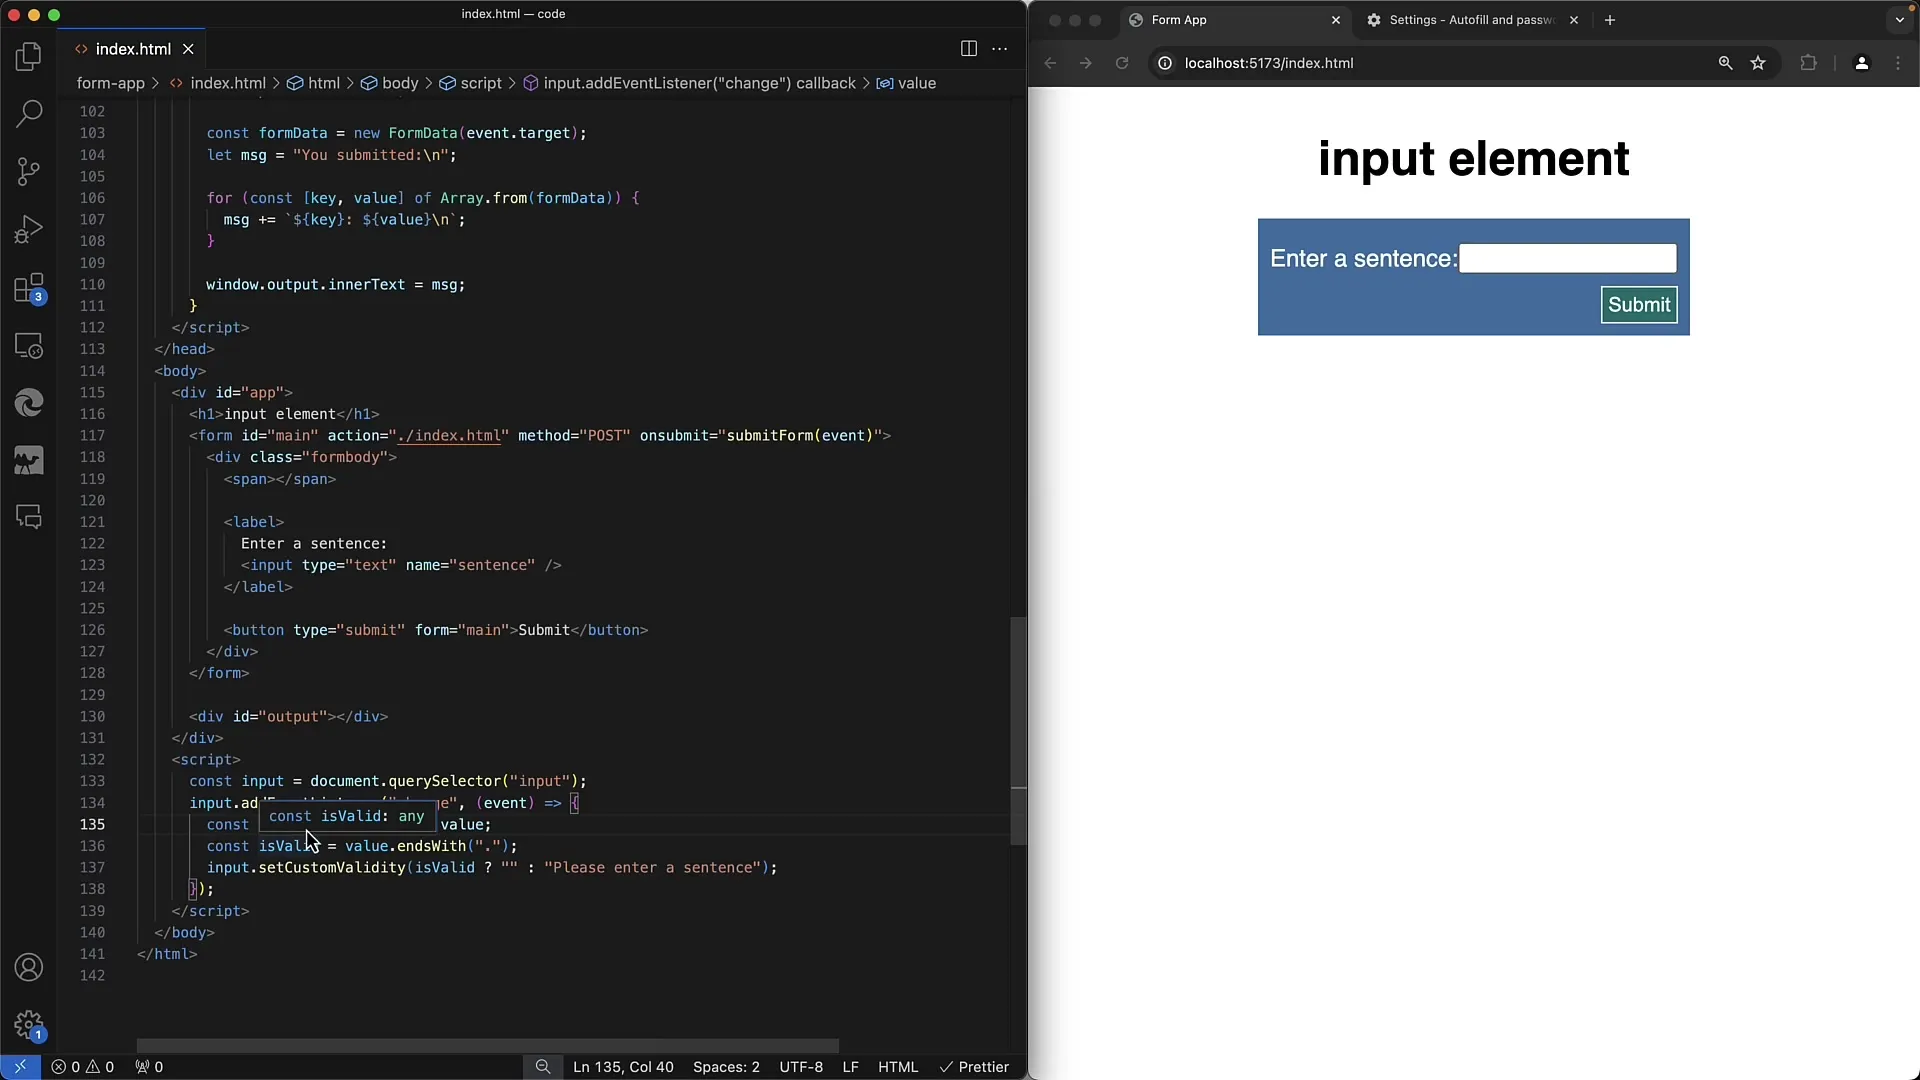
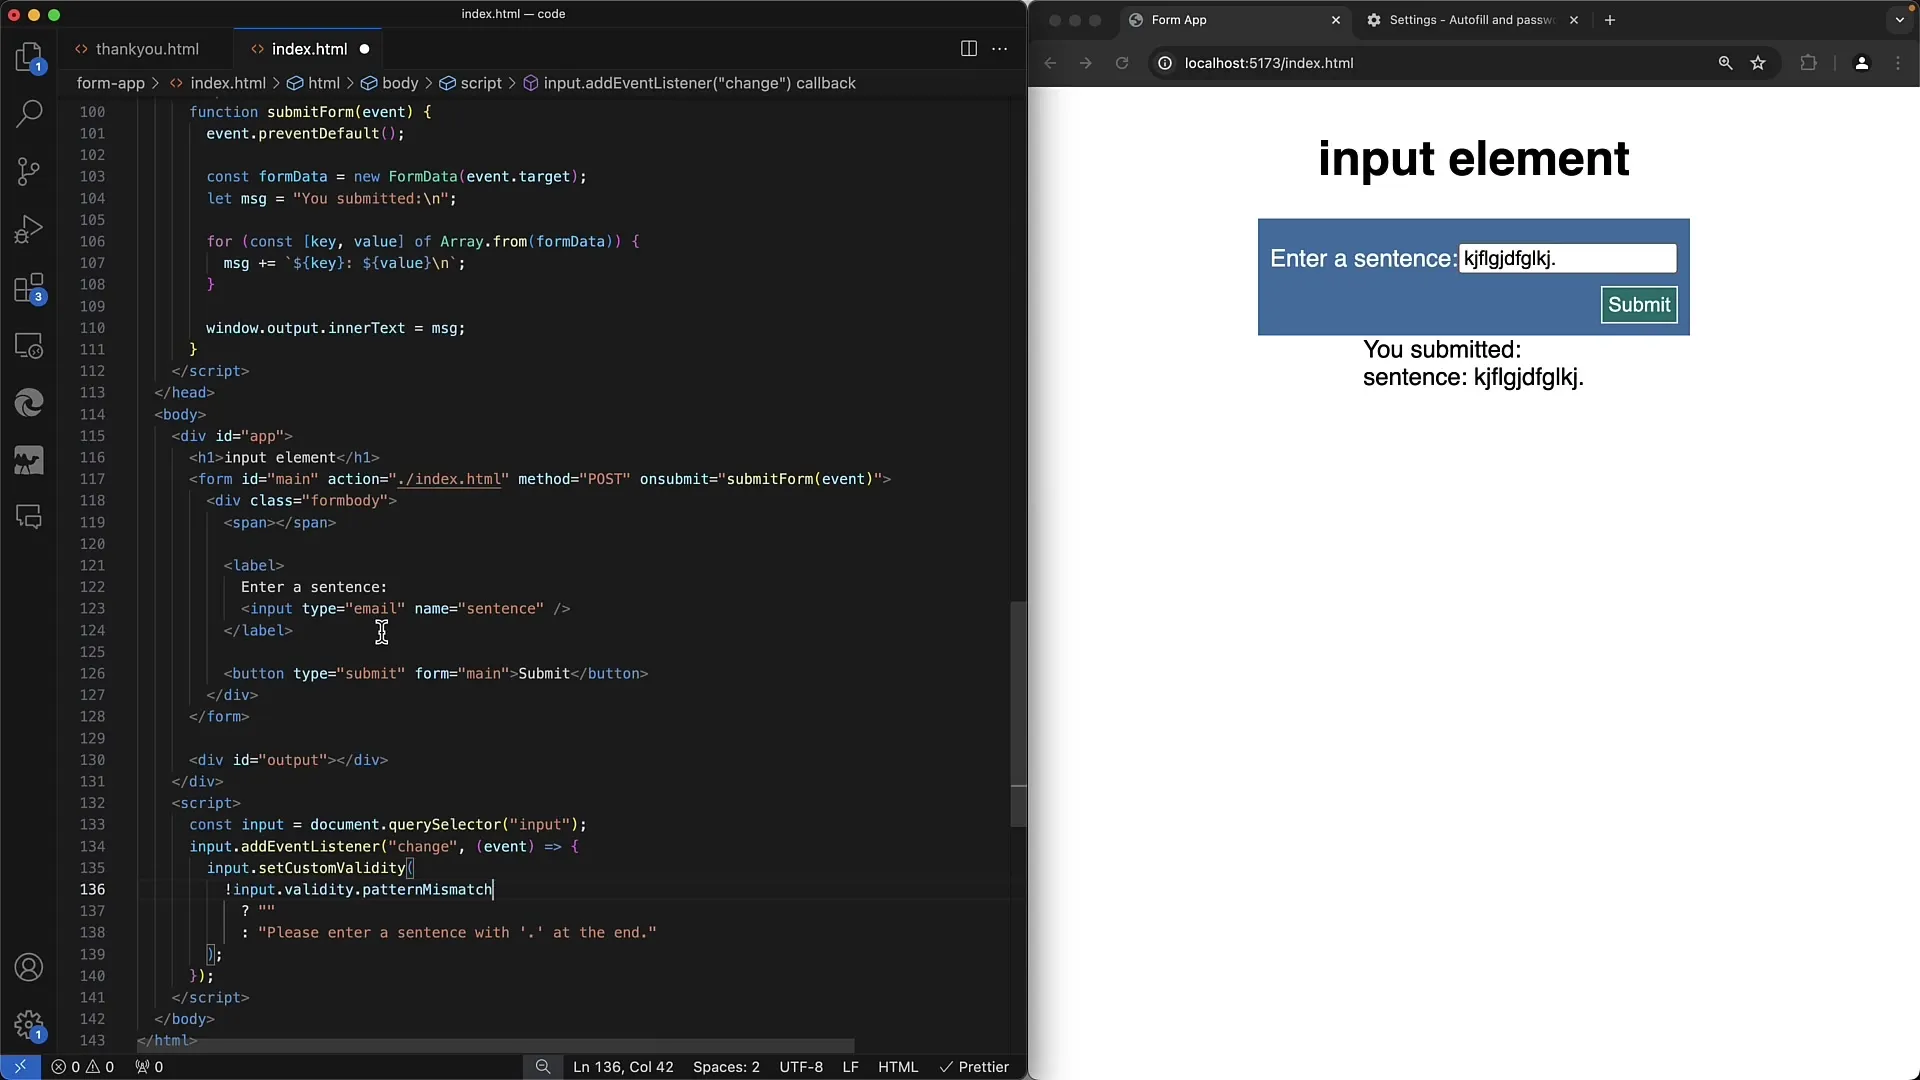
To further enhance validation, now integrate JavaScript. You can write a script that fetches the input field and handles the validation. Start by adding the event listener for the change event.
Step 4: Validation using JavaScript
In the JavaScript code, check if the entered value truly ends with a period. Use the setCustomValidity method to display custom error messages. If the sentence is not valid, provide appropriate feedback.
Step 5: Customizing error messages
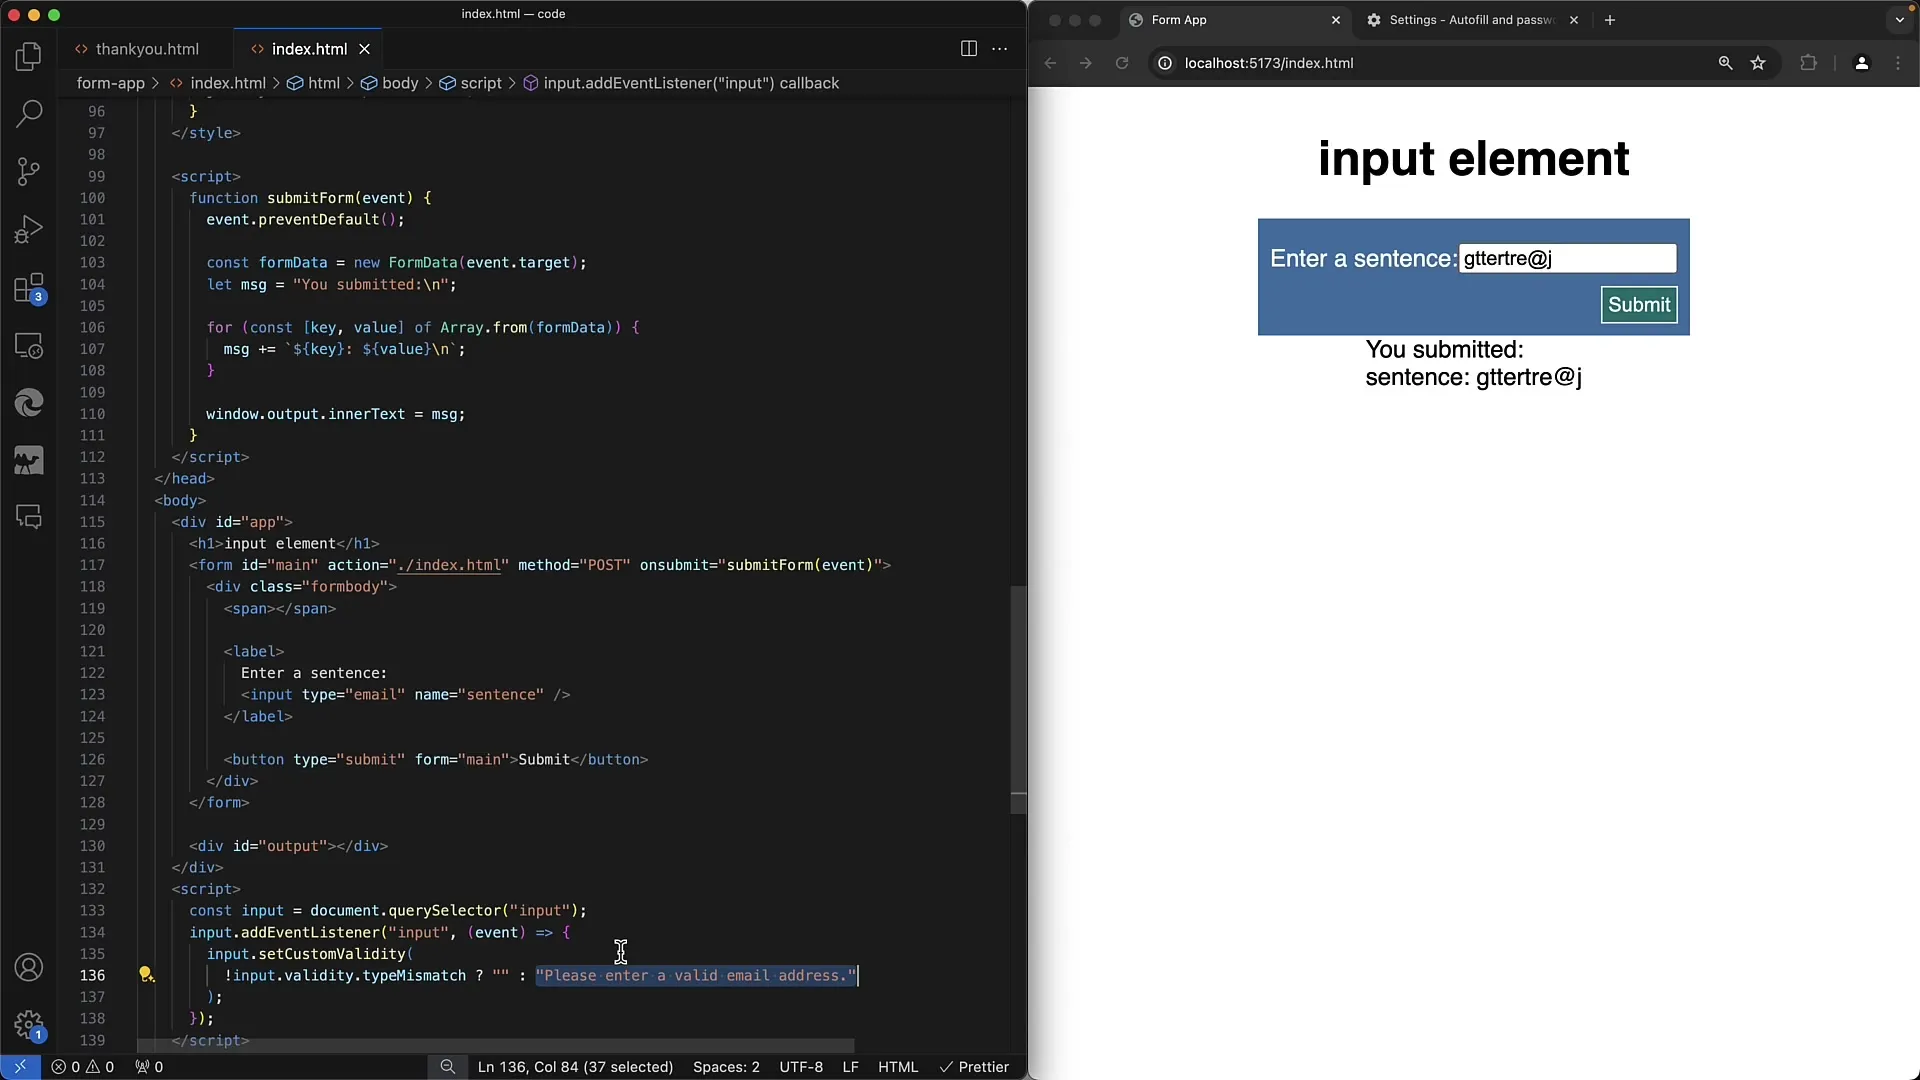
Make error messages more specific. Use event.target.value to read what the user has entered and dynamically adjust the error message.
Step 6: Implementing HTML5 validation metrics
Further optimize your form by utilizing the built-in validation metrics of HTML5. Check if your sentence also fulfills the pattern attribute and combine it with the existing JavaScript validation.
Step 7: Validation for emails
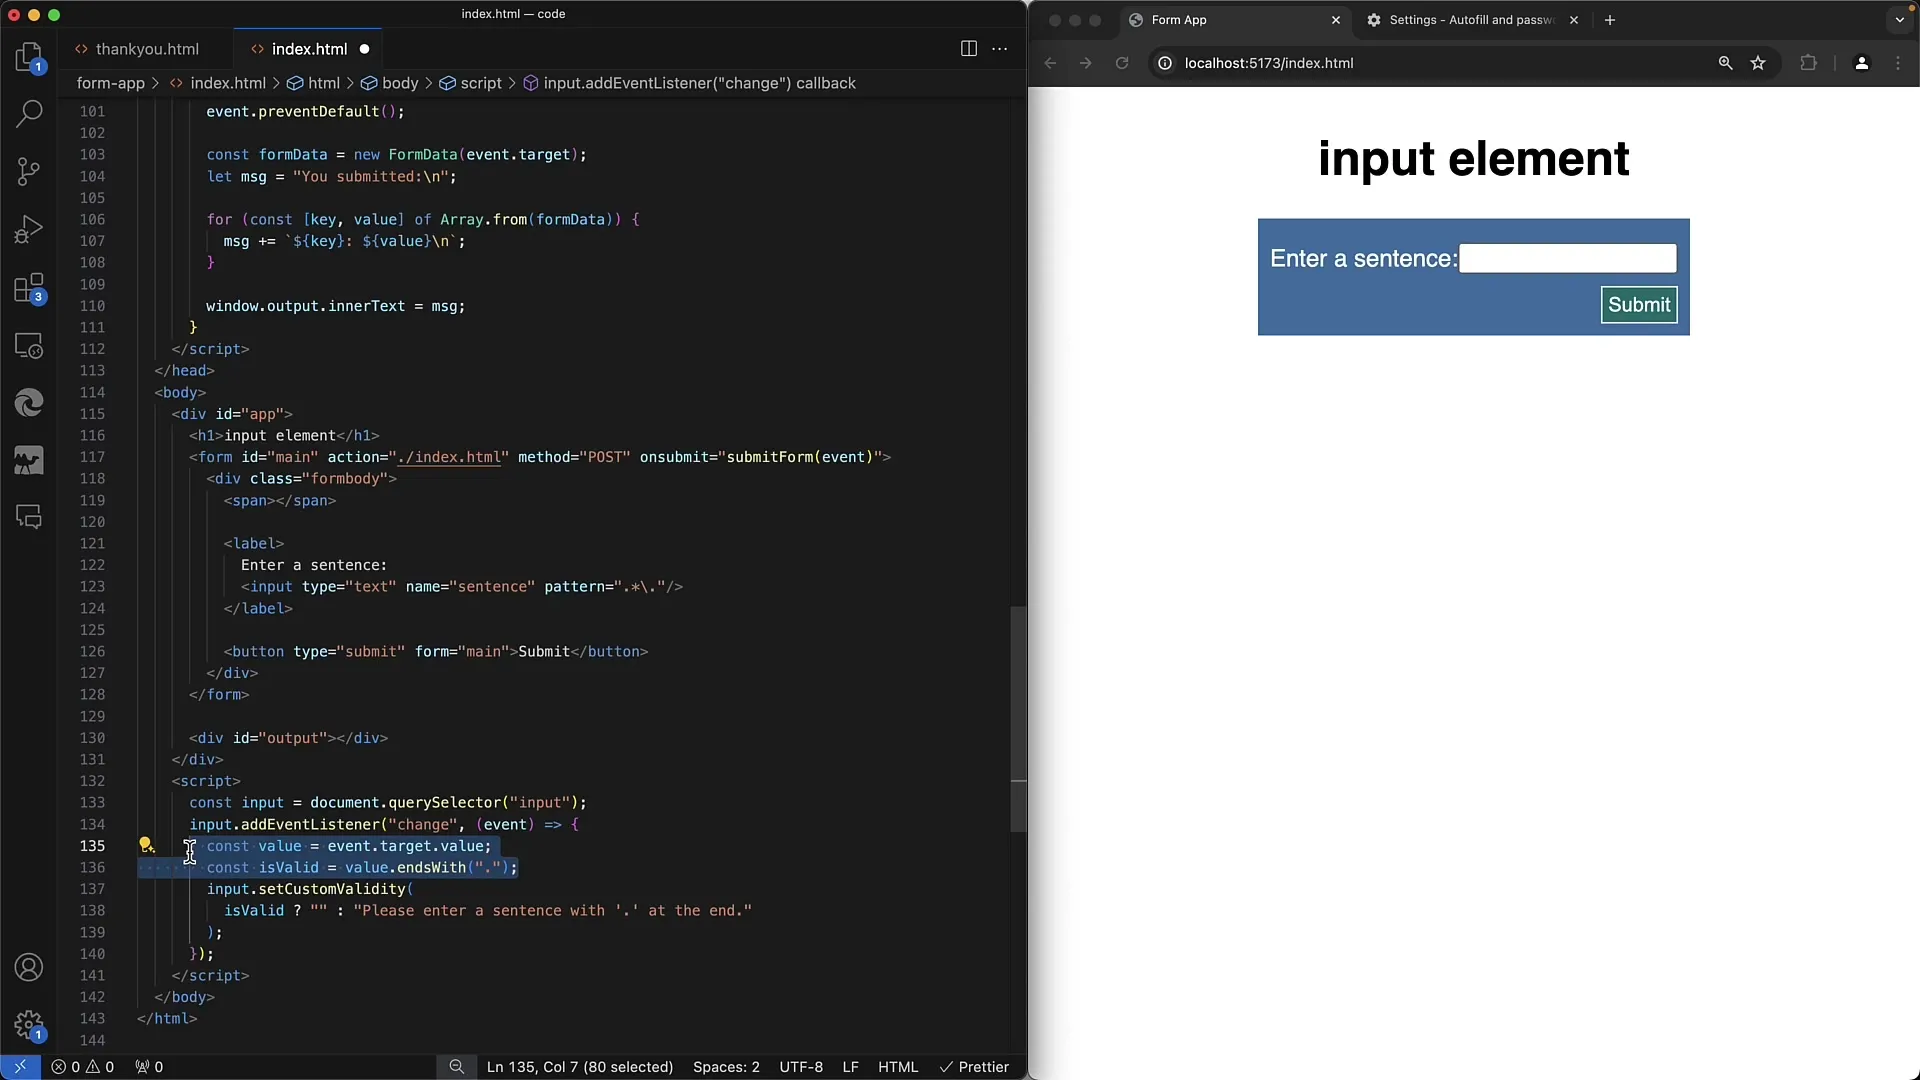
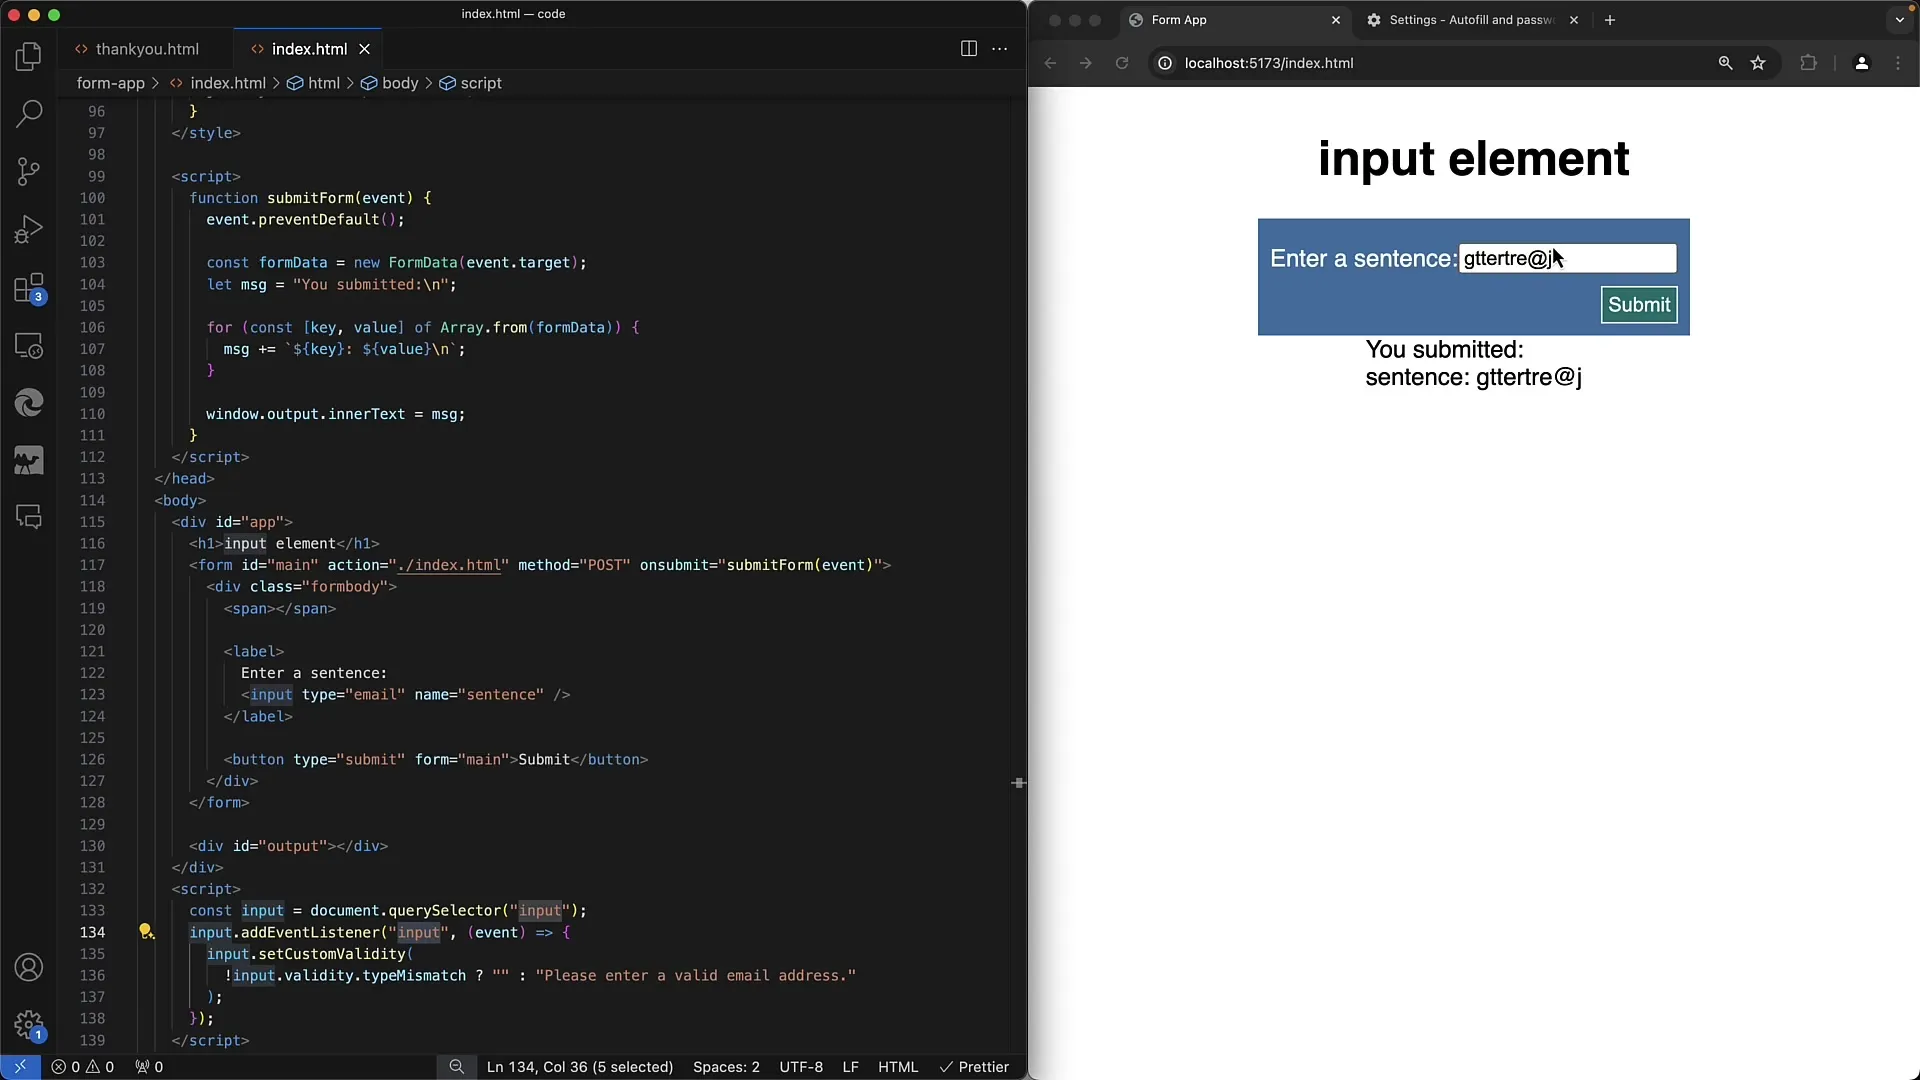
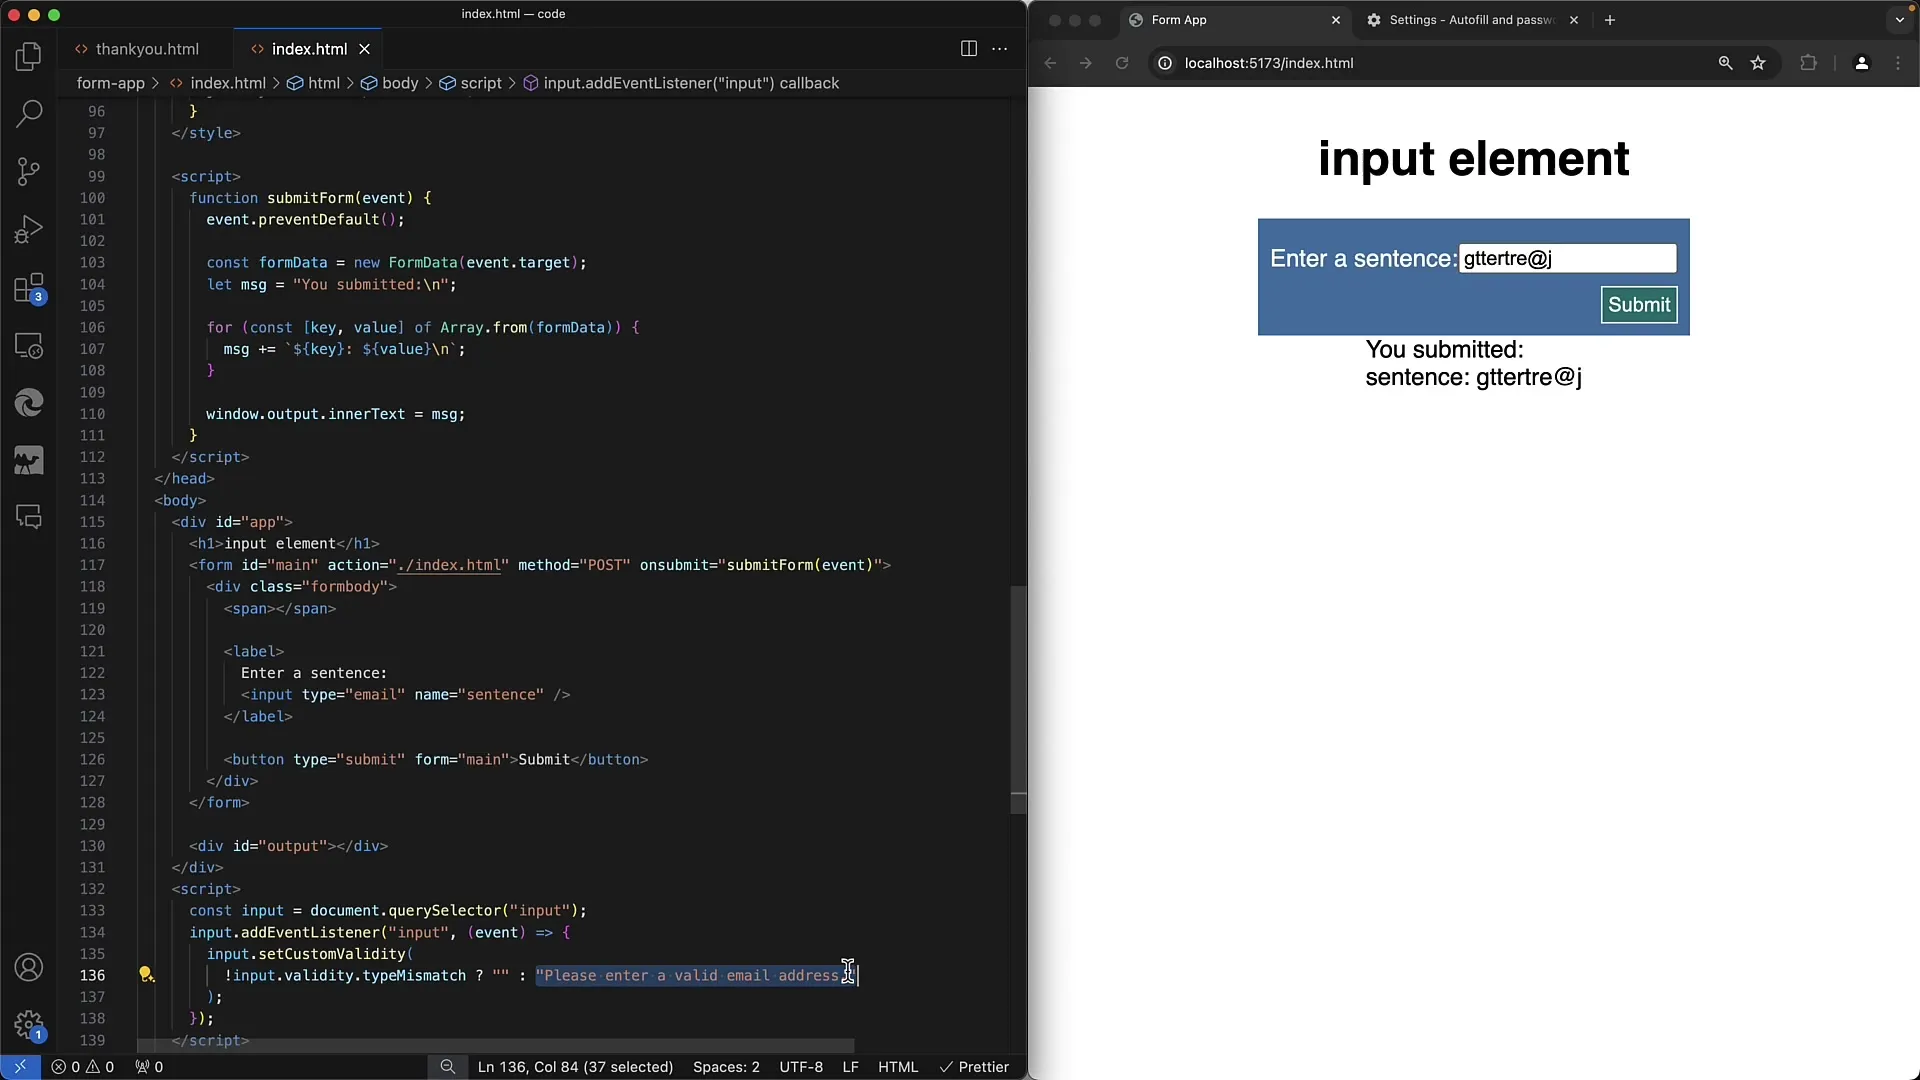
Enhance the form by adding another input field for email addresses. Utilize HTML5's type validation, but also add custom validation through JavaScript.
Step 8: Improve input behavior
To optimize input behavior for users, switch from change to input as an event listener. This way, the input is validated immediately while the user is still typing.
Step 9: Dynamic error messages
Implement logic that brings specific dynamics to error messages. Let the user know why their input was rejected and provide hints based on that.
Step 10: Final check
Conduct a comprehensive final check. Test the form with various inputs and ensure all possible error cases are covered.
Summary
In this guide, you have learned how to implement simple yet effective validations using JavaScript and HTML5 in web forms. You have seen the basics of validation through pattern and custom logic, and how to provide feedback to users for input errors to enhance their experience.
Frequently Asked Questions
How does the setCustomValidity method work?The setCustomValidity method allows setting a custom error message in the input field, which is displayed when the validation fails.
What is the difference between the 'change' and 'input' events?The 'input' event is triggered every time the user enters something into the input field, while the 'change' event is triggered only after leaving the field.
How can I check the validity of an email field?Use HTML5's type matching feature to ensure that the provided email addresses are in a valid format and display easily verifiable error messages.


