In this guide, I will show you how to easily and effectively create forms using the JavaScript framework Alpine.js. Alpine.js is a great choice if you want to develop interactive web applications without a lot of overhead and with minimal JS code. If you already have experience with HTML and basic JavaScript concepts, you will quickly realize how intuitive Alpine.js is. Let's dive straight into practical application!
Main Insights
- Alpine.js allows you to manage states in HTML and respond to events, such as form inputs.
- Integrating Alpine.js into your web application is straightforward and enables a reactive user interface without the need to load extensive scripts or libraries.
- Alpine.js uses special attributes like x-data, x-model, and x-text to facilitate interaction.
Step-by-Step Guide
Step 1: Create Project
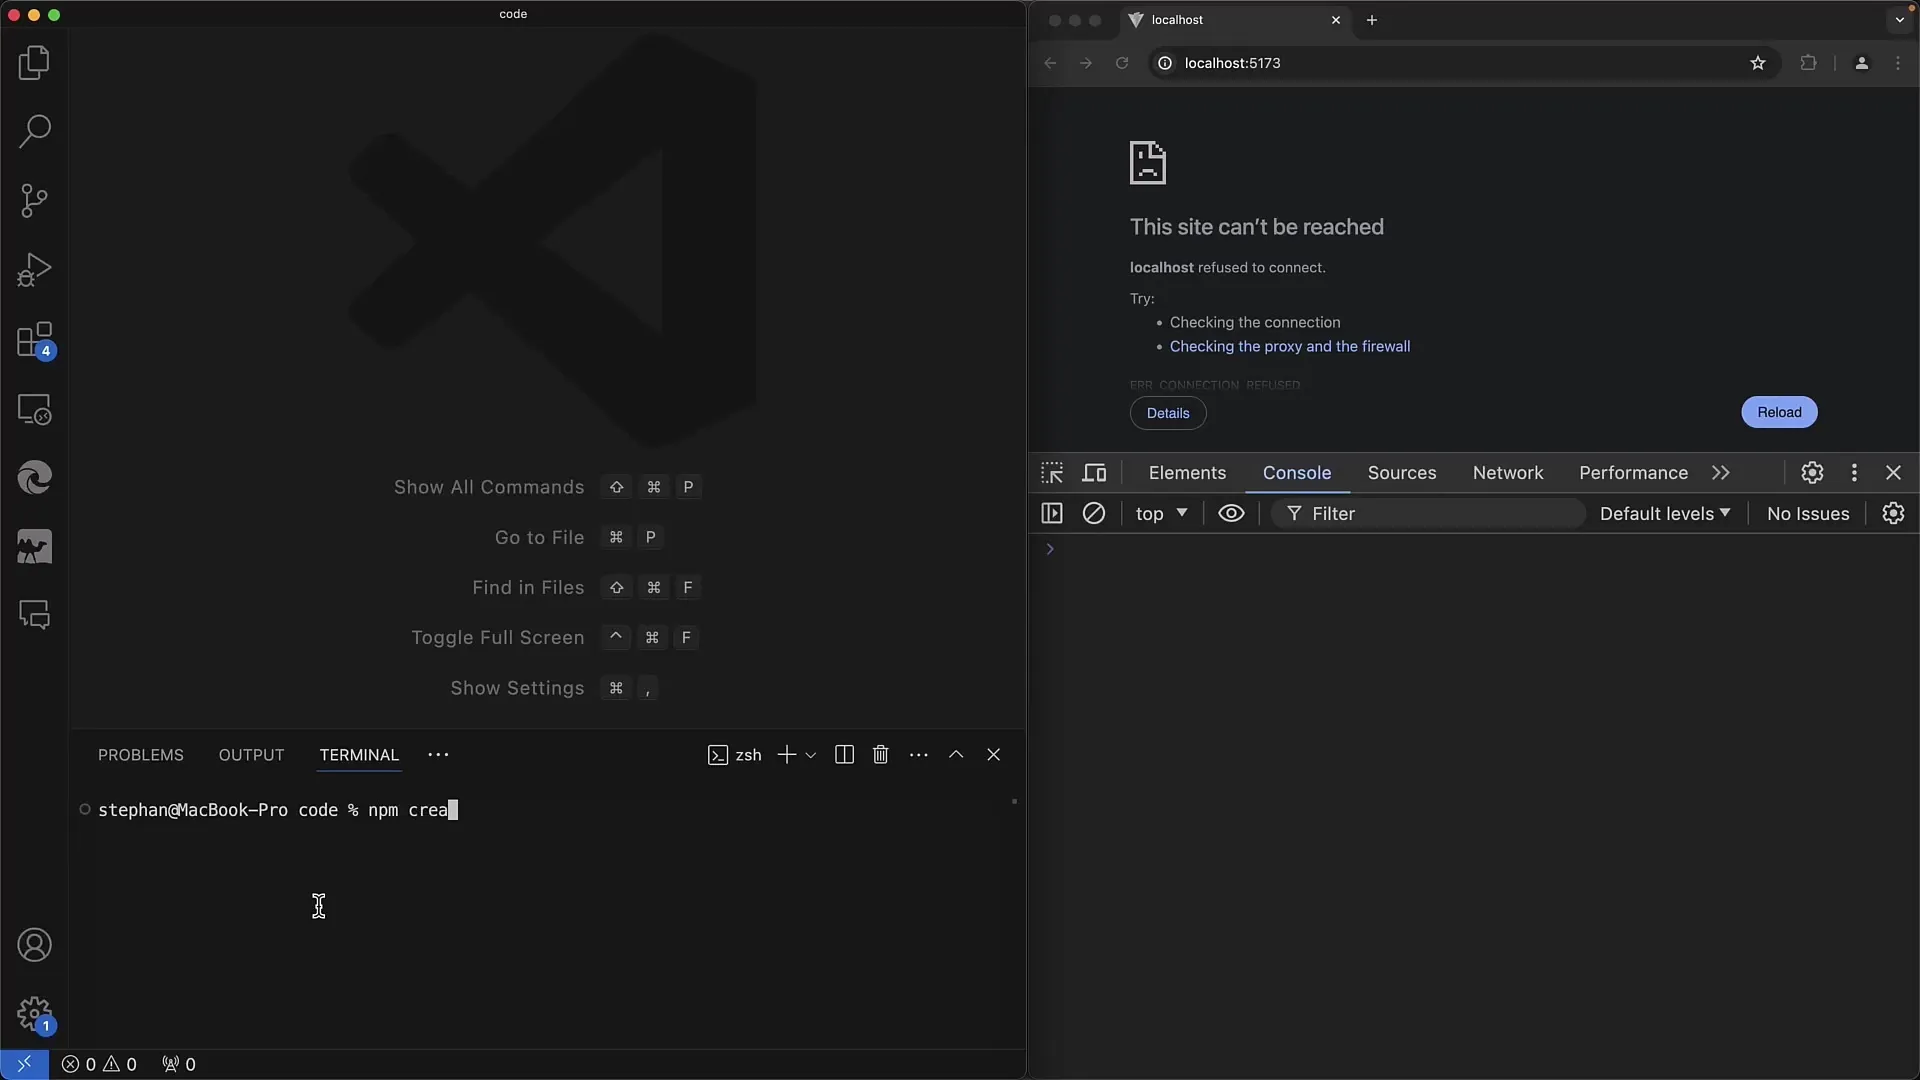
Start by creating a new project with NPM. Open your terminal and execute the following command to create a new project named "alpine-form".
You do not need to make a specific selection for Alpine.js, so you can use the Vanilla JavaScript template.
Step 2: Set Up Project
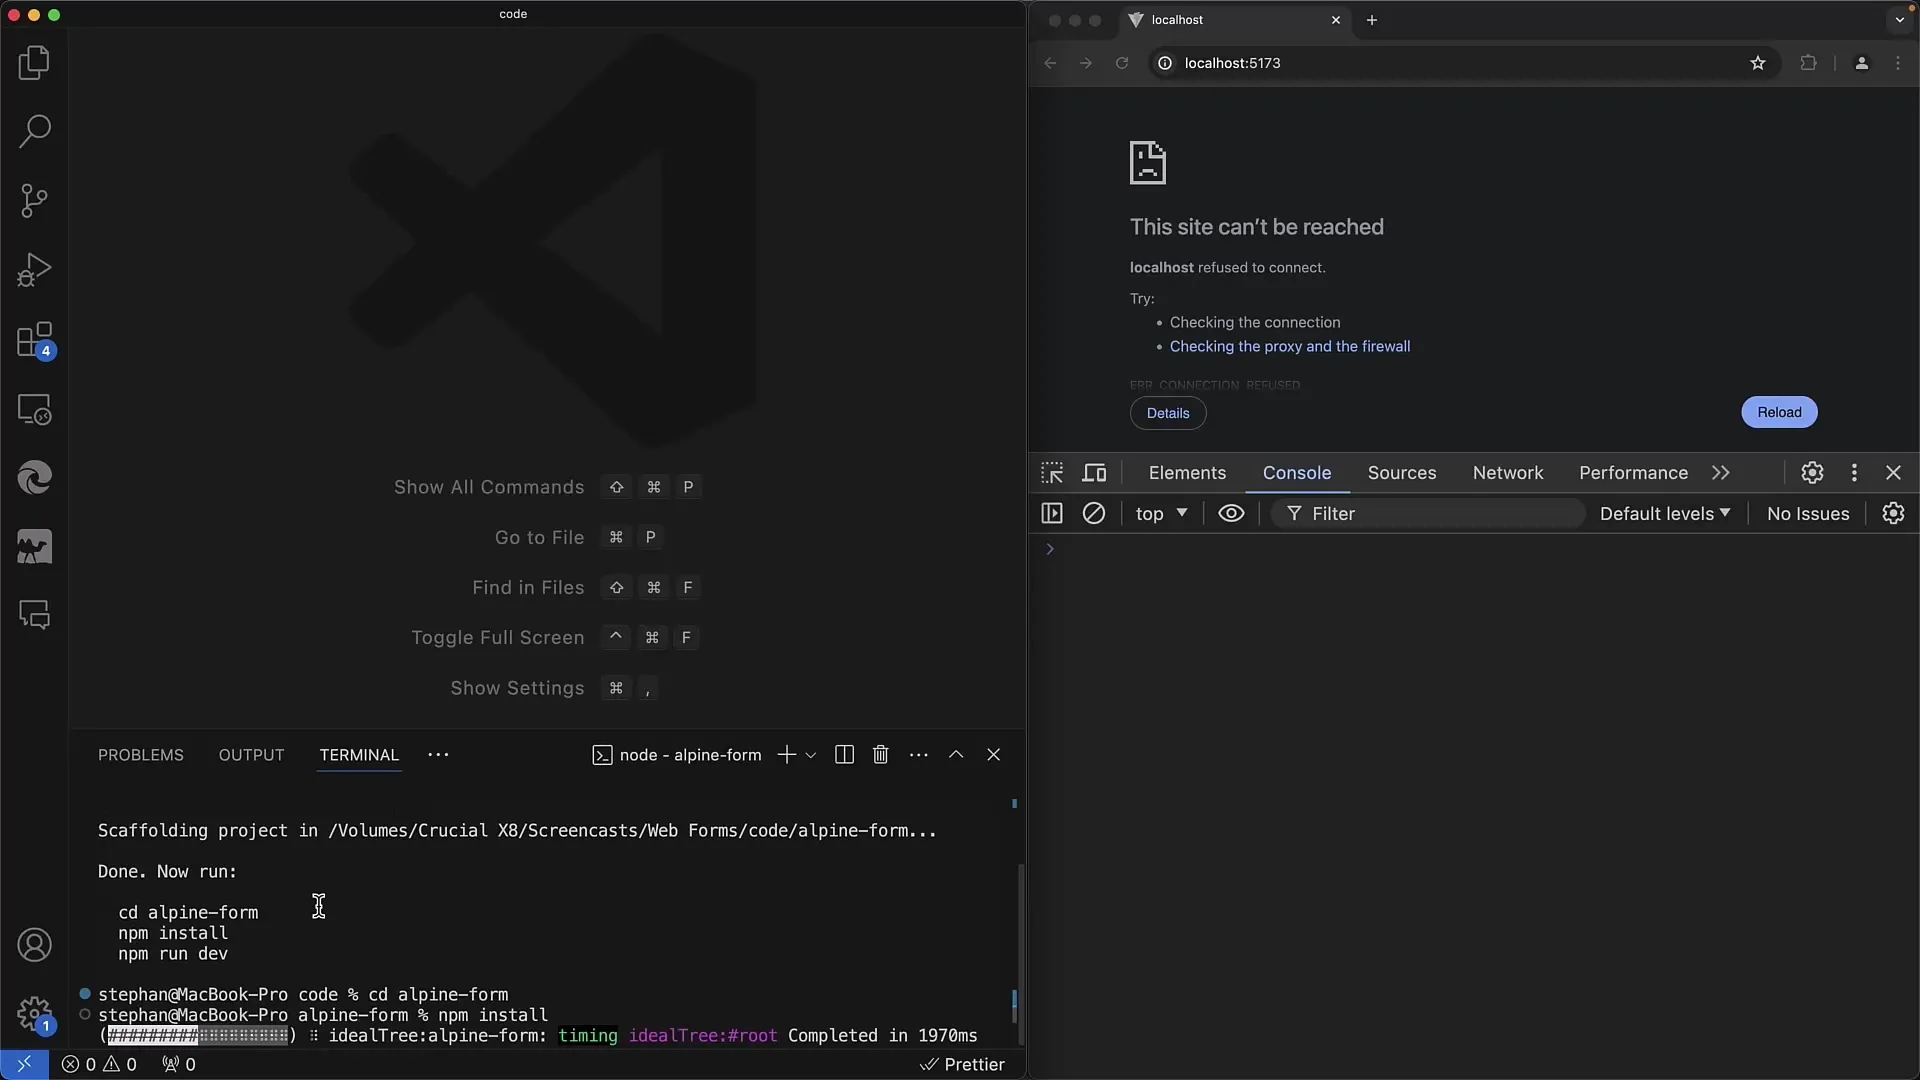
Go to the newly created project directory and install the required packages by running npm install. Wait for the installation to complete.
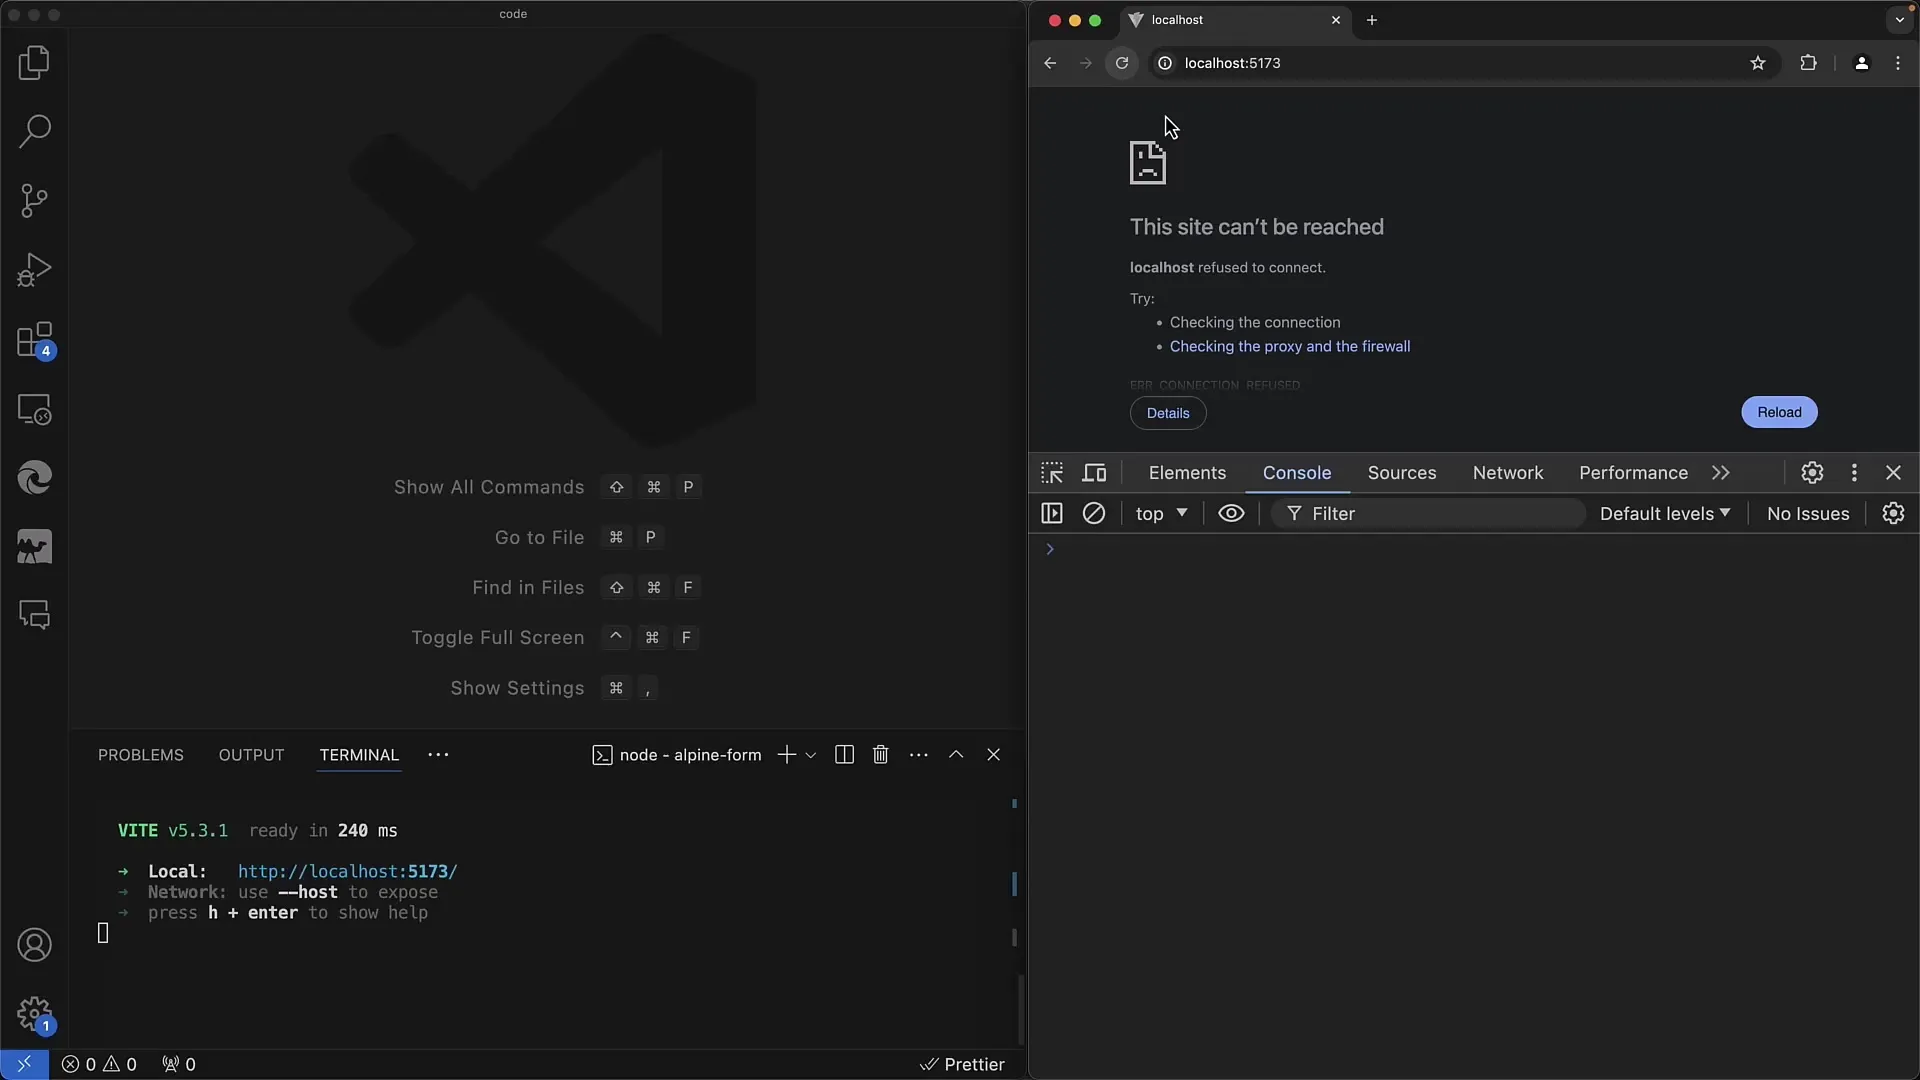
Once the installation is complete, start the development server with the command npm run dev.
Step 3: Prepare HTML Structure
Open the index.html file in your project. Here you will define the structure of your form. Remove the default content and focus on adding the Alpine.js library.
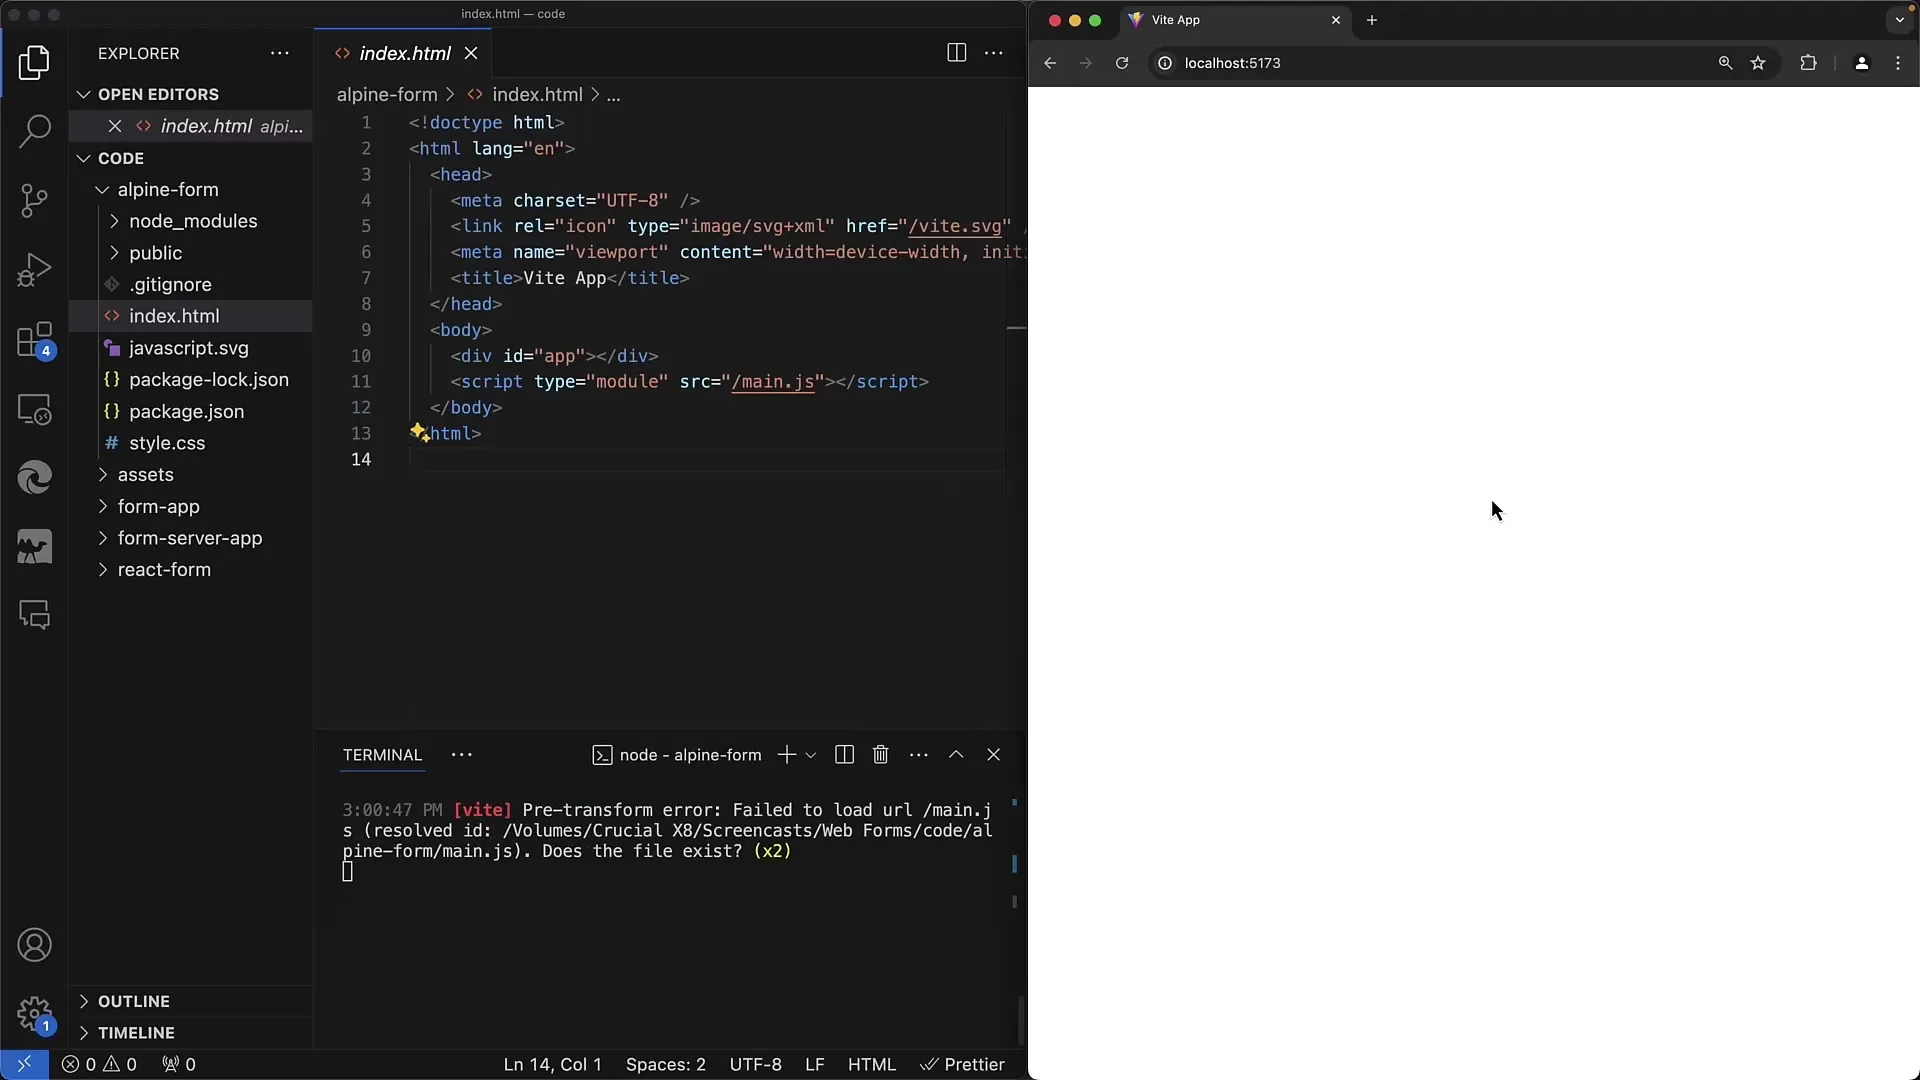
Add the Alpine.js script by loading it directly from a CDN, for example with a script tag.
Step 4: Initialize Alpine.js
To activate Alpine.js in your HTML file, you need to provide a container div with the x-data attribute. Here you declare the necessary variables in JSON format.
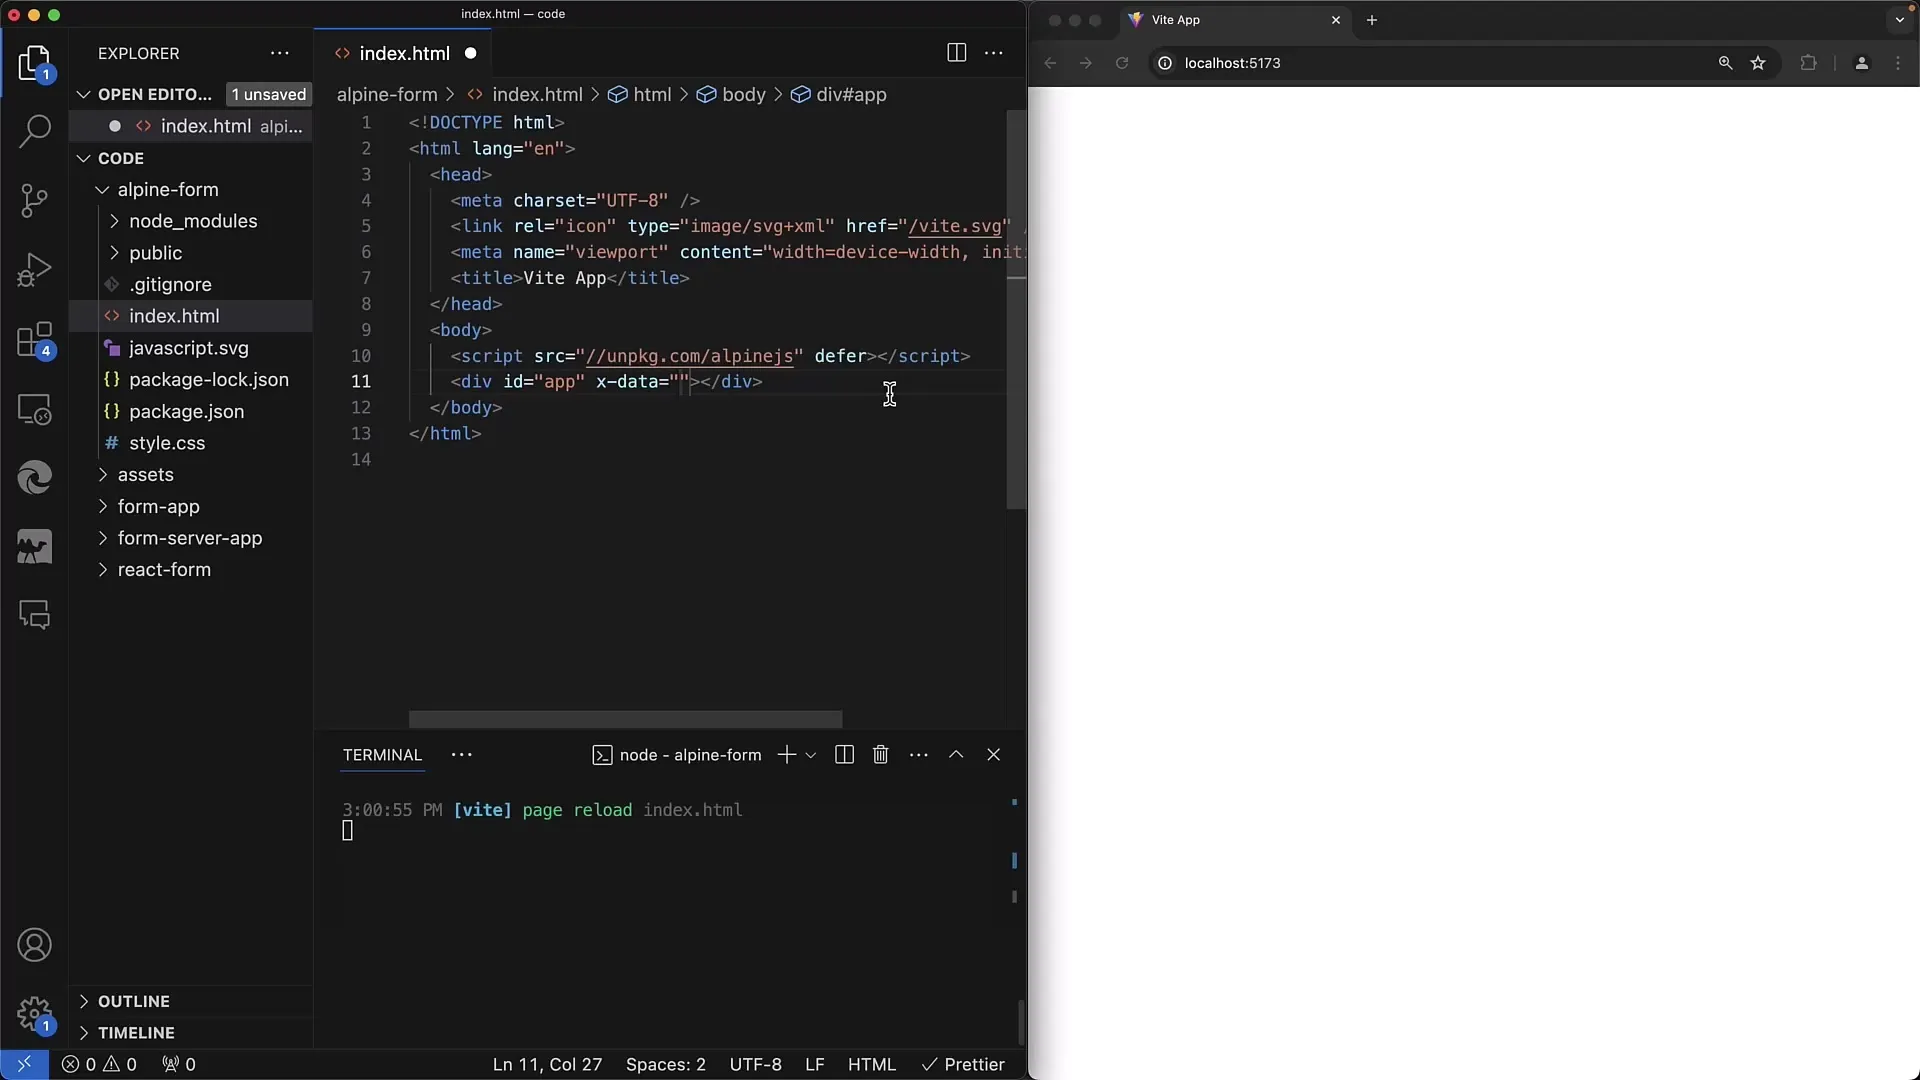
In the x-data attribute, create the variables for your First Name and Last Name. These variables will represent the states for your input fields and are currently empty.
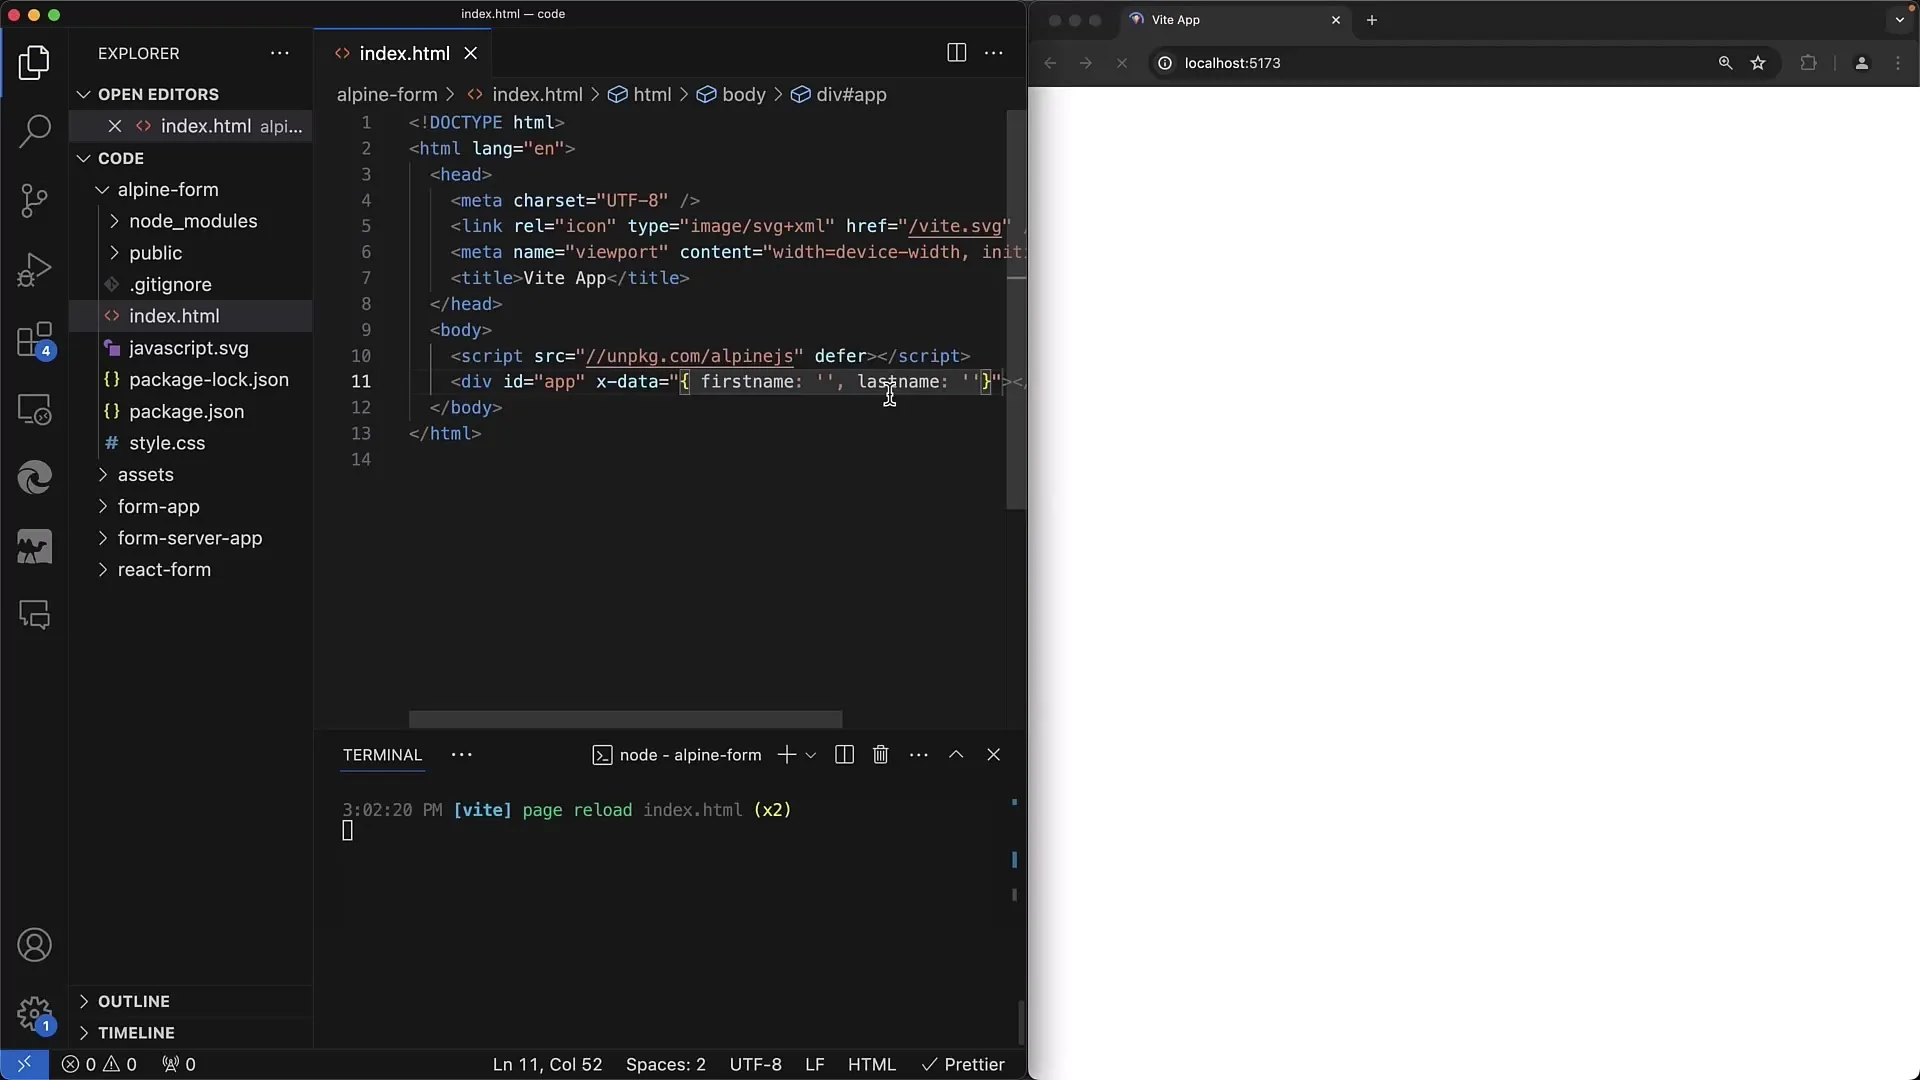
Step 5: Create the Form
Now that Alpine.js is ready, you can create your form. Add a label for the first name and enclose the input field with the name attribute.
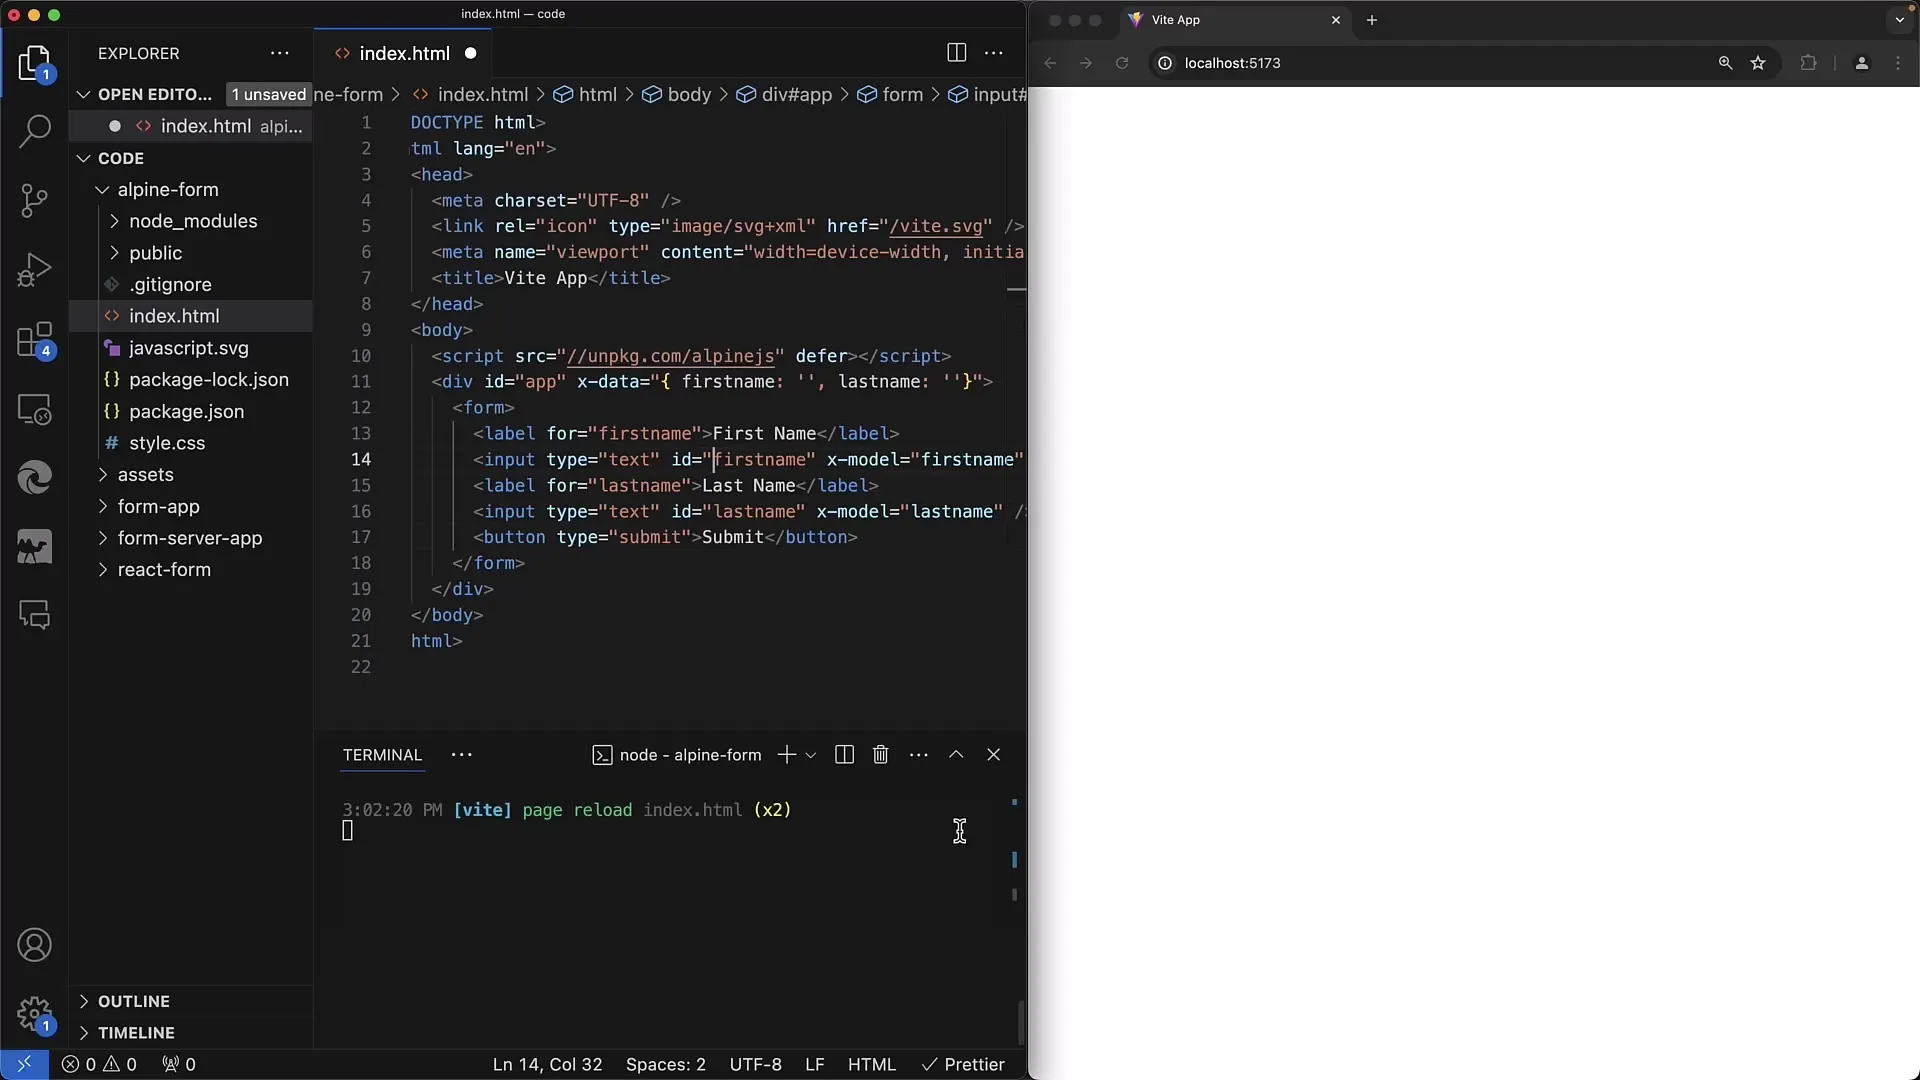
Don't forget to also specify the name attribute for the form field to ensure it is handled correctly in the form component.
Step 6: Set Up Data Binding
To retrieve the input values in your application, use x-model to establish a binding between the input fields and the variables in x-data. When the user types something, the value is automatically updated in the variable.
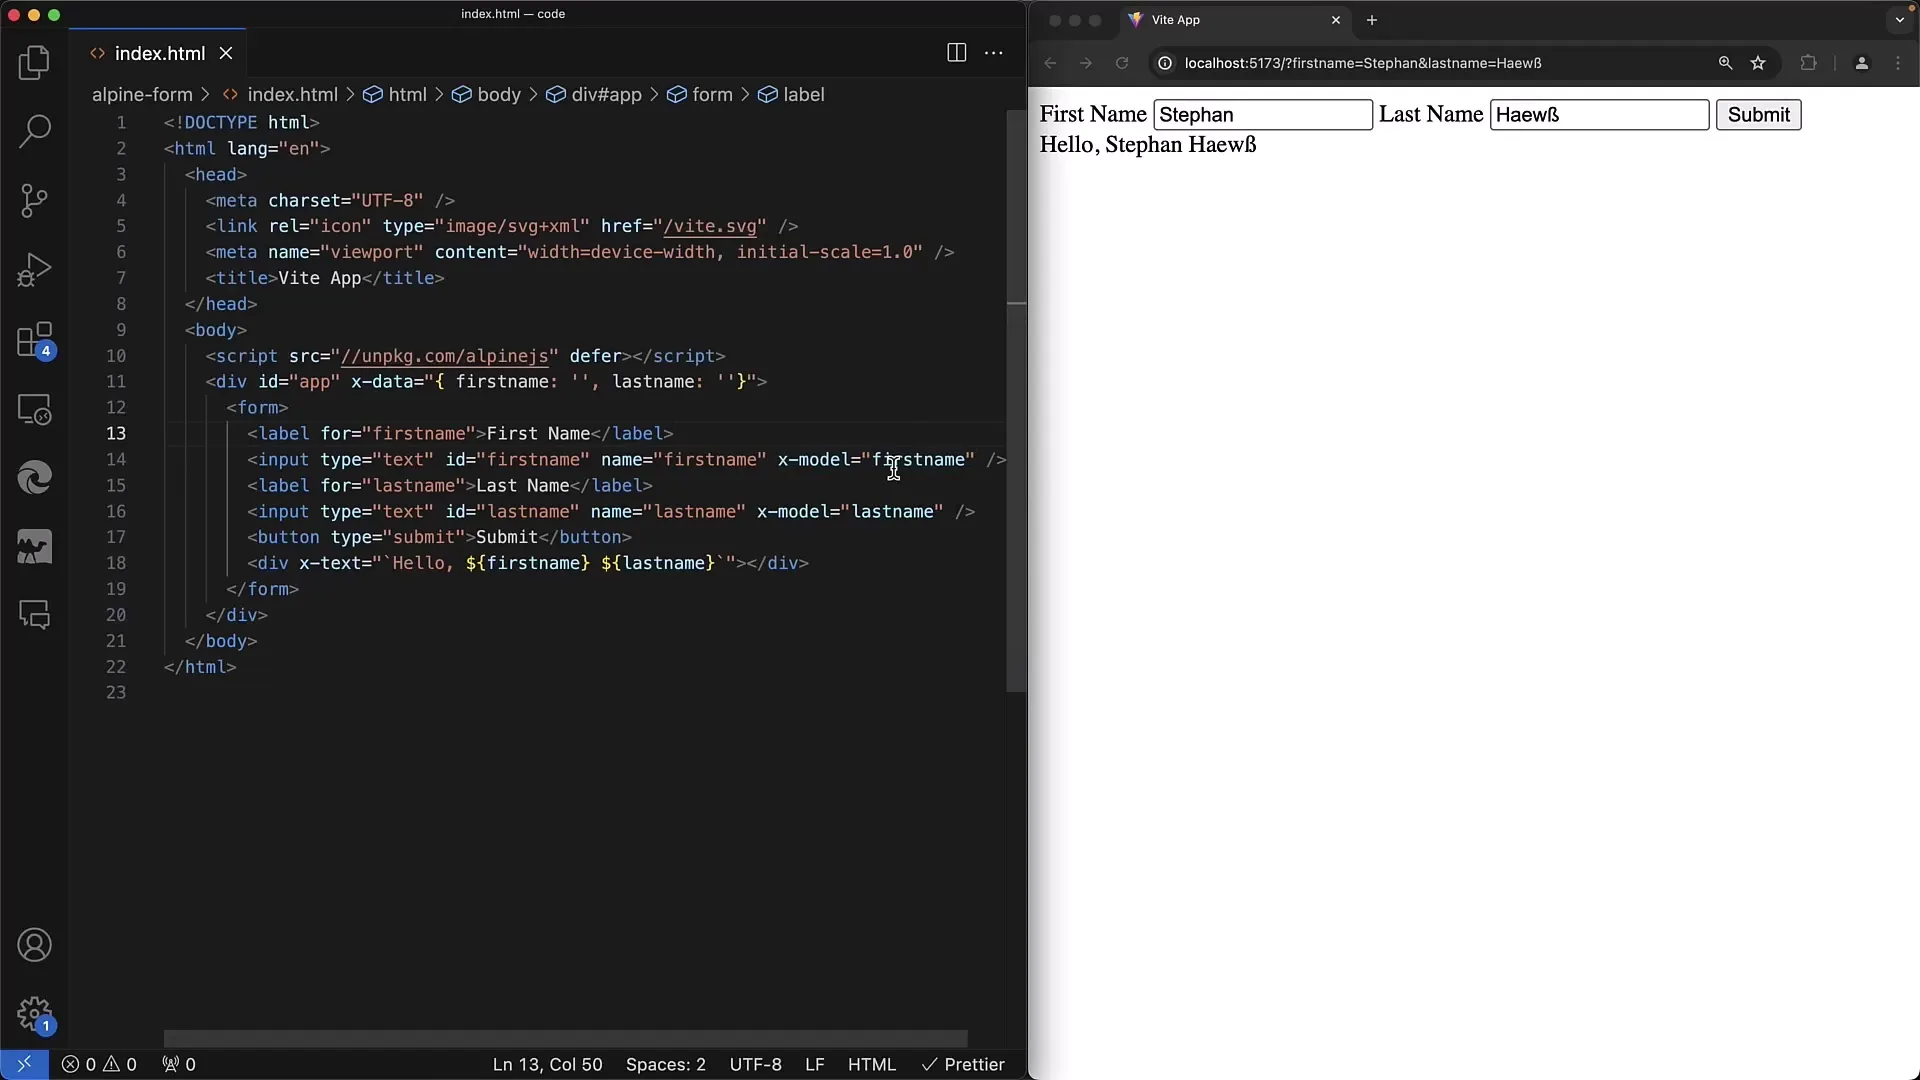
Step 7: Display Output
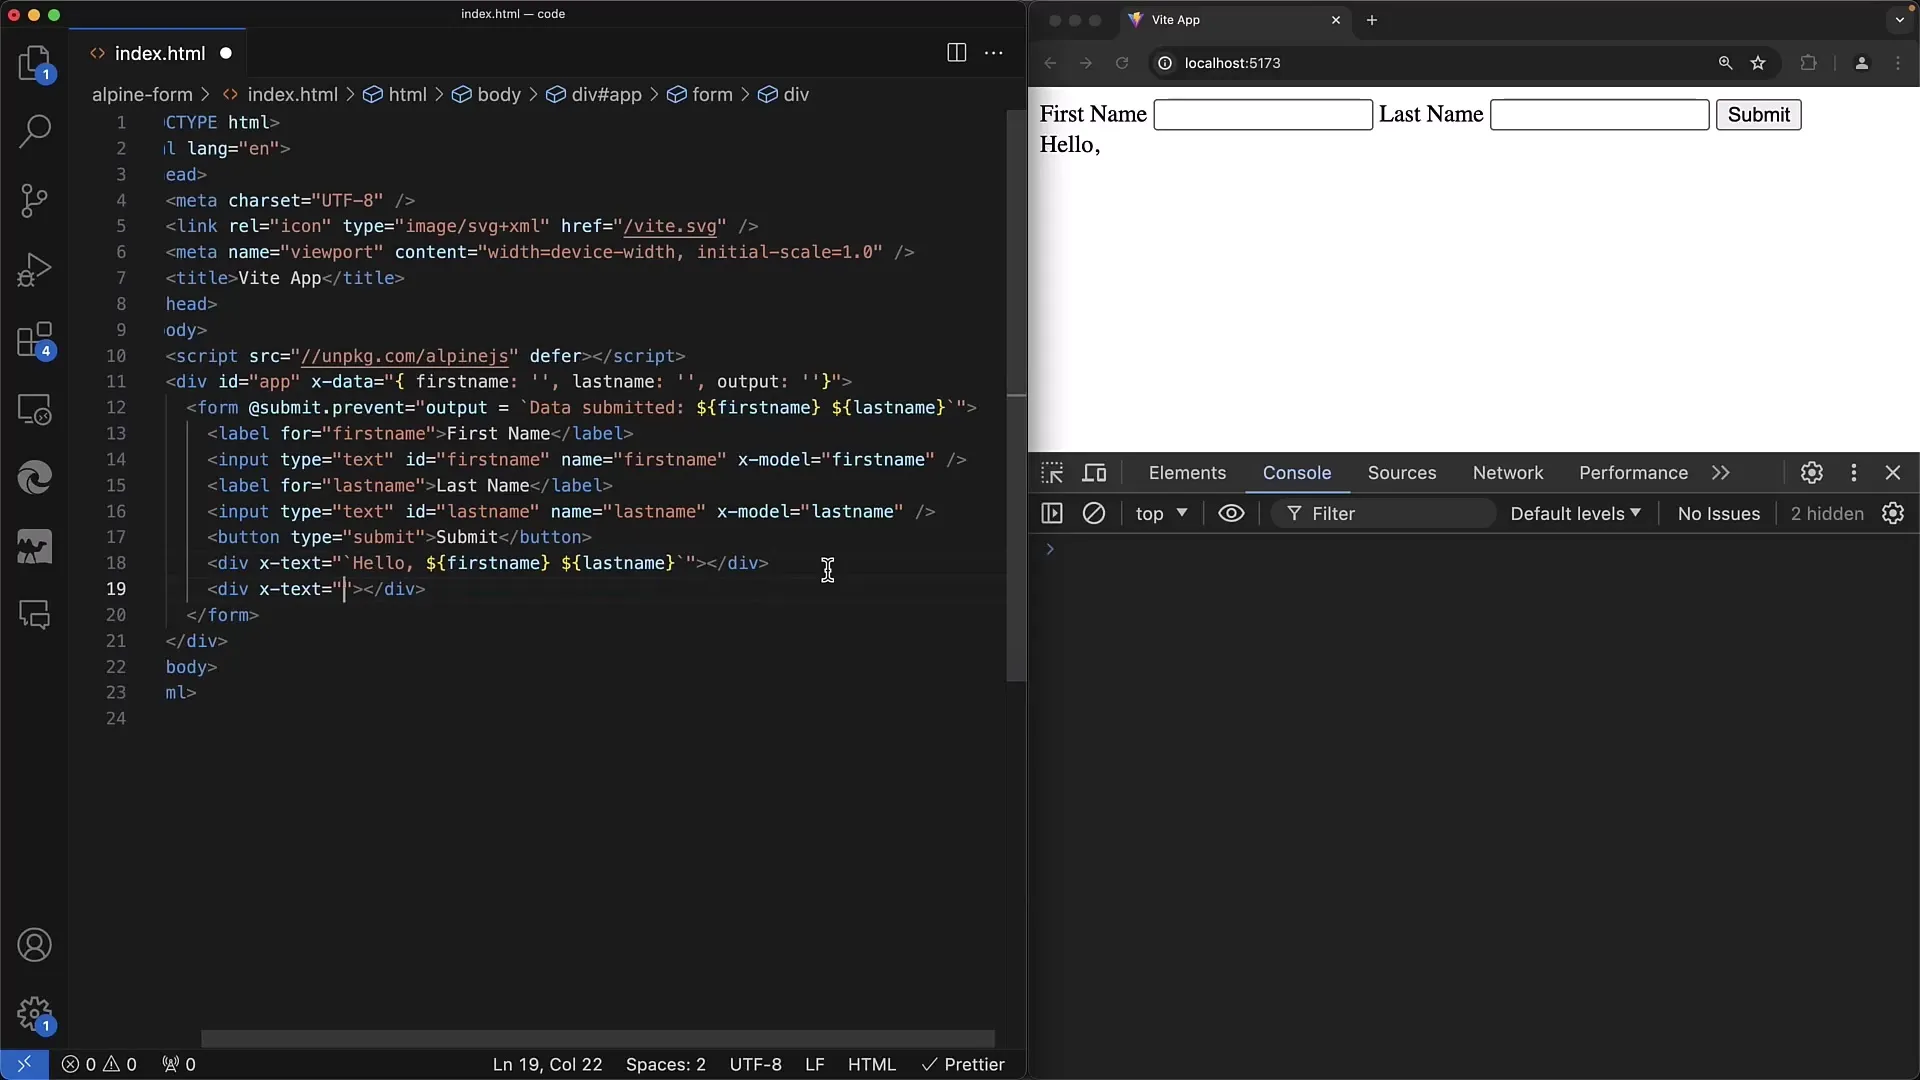
Add an output element that displays the combined name. Use x-text to dynamically update the text as the user enters their name.
Step 8: Form Submission
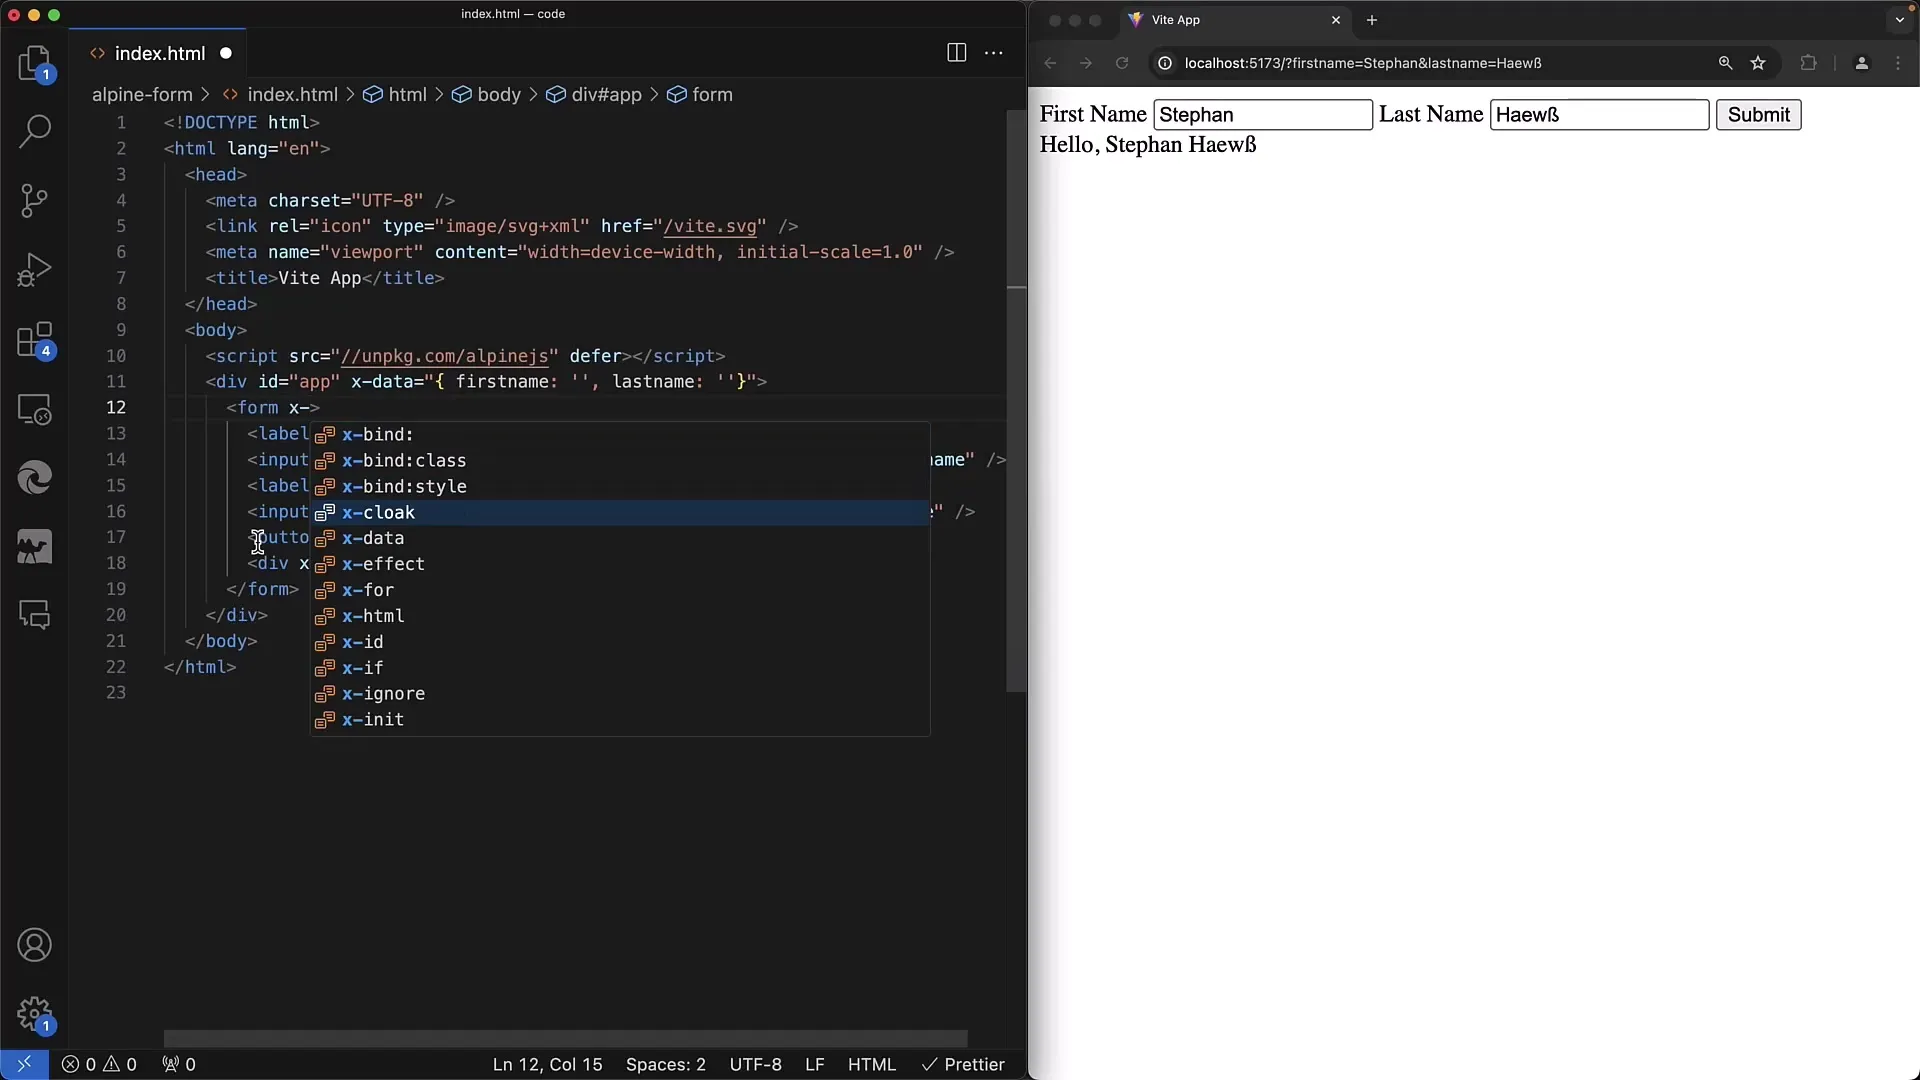
To process the form, you can use the x-on:submit attribute to define a JavaScript event that is executed when the form is submitted. Make sure to implement prevent to prevent the default behavior.
Step 9: Processing User Inputs
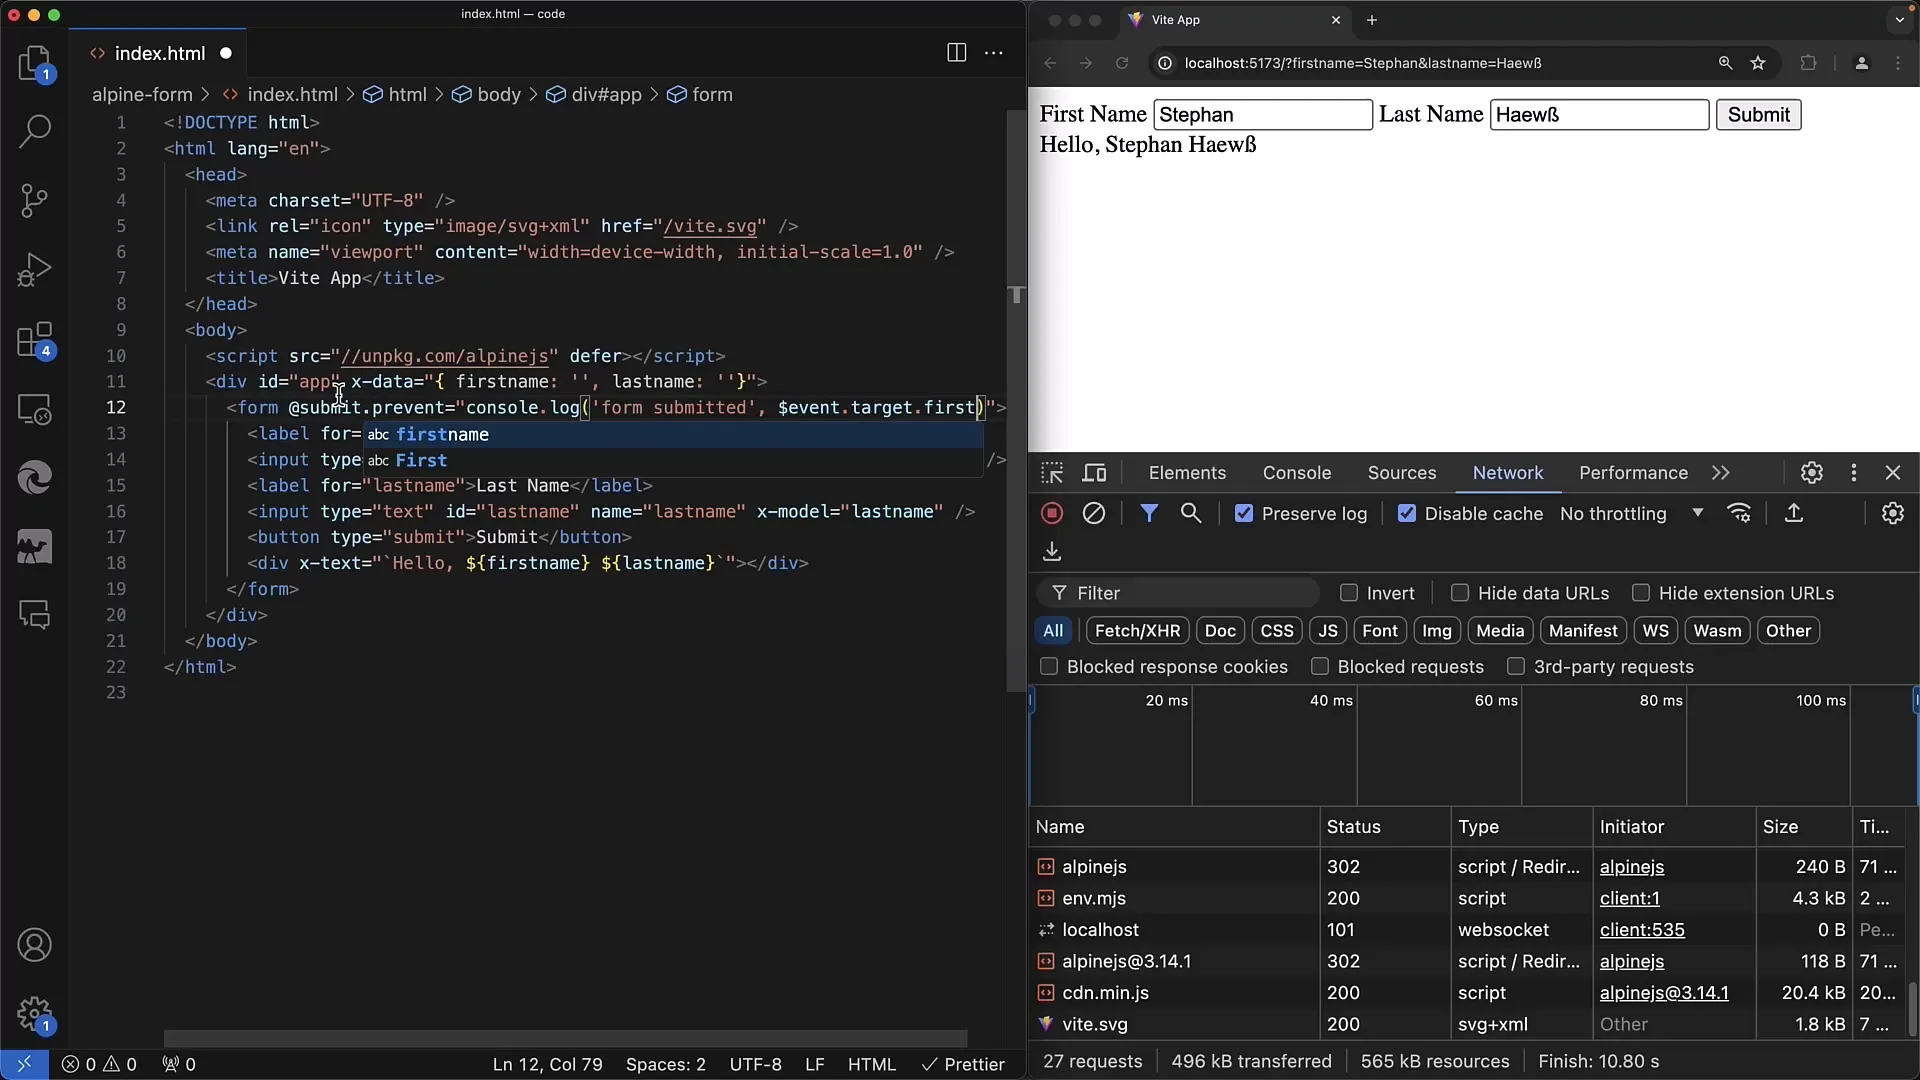
Process the inputs in a function that is called when the form's submit event occurs. You can access the values using $event.target and generate an output based on the entered information, for example.
Step 10: Completing the Form
Now you are ready to test the function. Fill out the form and click "Submit." Check the console and the output on the page.
Summary
In this tutorial, you have learned how to create and manage forms with Alpine.js. Alpine.js provides an easy way to manage states and respond to user interactions without making a complex setup. The combination of HTML and Alpine.js syntax allows you to quickly develop interactive web applications that are easily maintainable.
Frequently Asked Questions
How do I integrate Alpine.js into my project?Add Alpine.js via a <script> tag from a CDN into your HTML file.
What is the x-data attribute?x-data is an attribute used to define the data for an Alpine.js component, typically in JSON format.
How does x-model work?x-model binds an input field to a variable, so inputs automatically update the associated data variable.
How can I listen to form processing?Use x-on:submit to execute a function when the form is submitted.
What should I do with the form data after input?You can use the data to send it to a server or display it directly in the user interface.


