Once you have internalized the logic behind the shots in Cinema 4D, you can quickly fill up your shot managerwith many scene variants and switch between them. For rendering, however, it is desirable to have the variants run automatically in one go rather than shot by shot.
Selecting the recordings
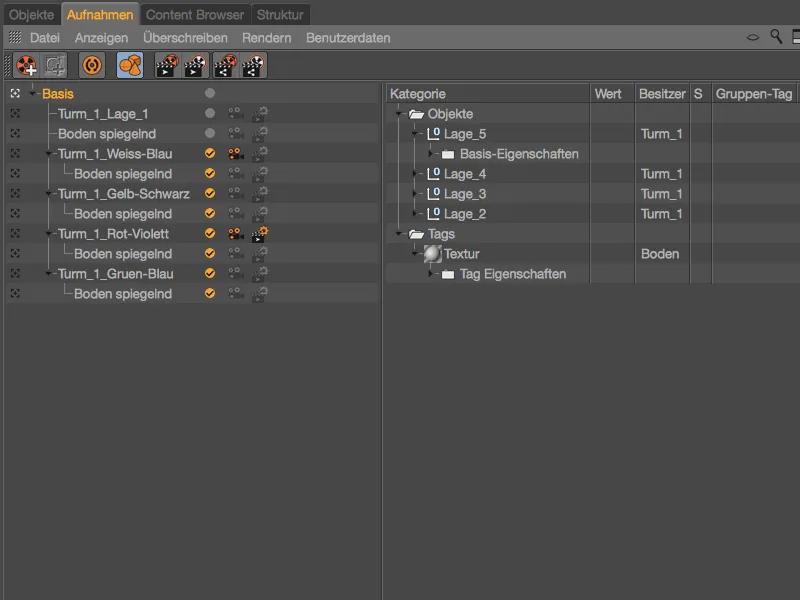
In the recordings manager, we have the option of restricting processing to certain recordings during rendering in the left-hand column in dual tree mode using the round marking buttons.
In the Render menu of the Recordings Manager, we can then start rendering the selected recordings using the Render selected recording in the Image Manager command. Alternatively, we can of course also use an icon in the command palette.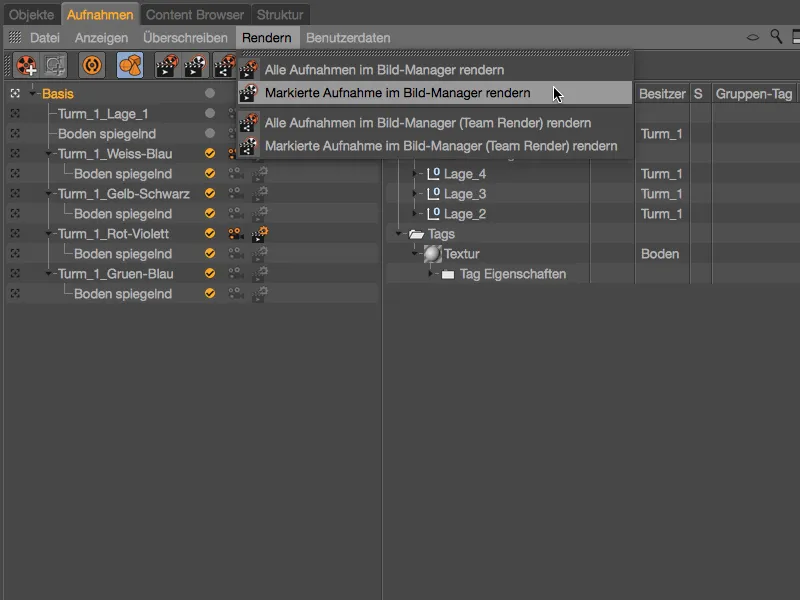
If you don't want to switch to the Capture Managerto start rendering, you can also find the capture-specific render commands in the Render>Captures menu.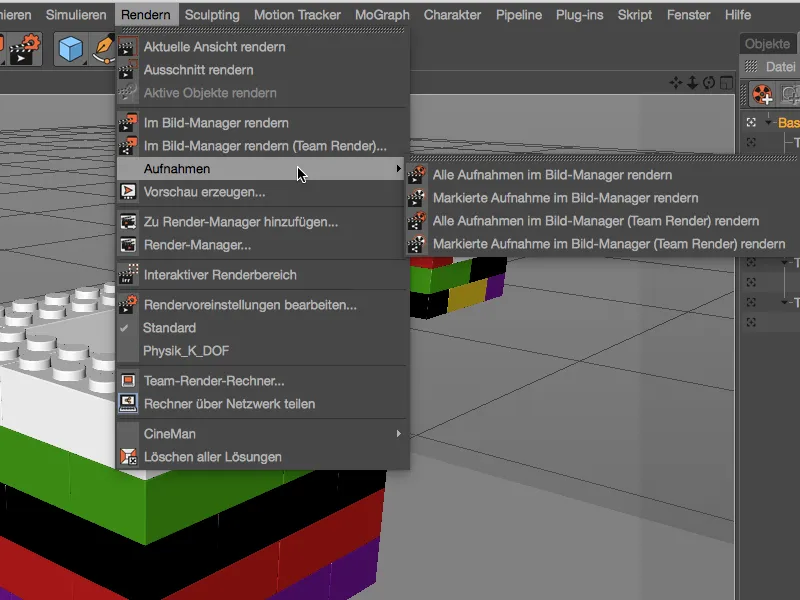
Rendering with variable file names
Now we have selected a certain number of shots for rendering, but in the Cinema 4D render preset we only find a single file lineon the Save pagewhere we can specify the desired file name.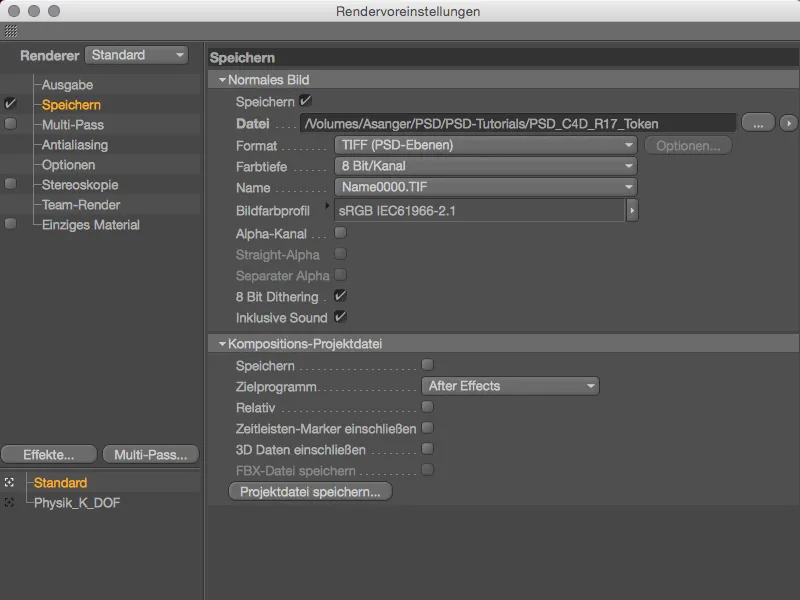
This is where the small, inconspicuous menu in the arrow button to the right of the file line comes in handy. It offers us a selection of variable file information, so-called tokens, which are attached to our rendering when it is saved. This includes, for example, the project file name, i.e. the name of the open Cinema 4D project.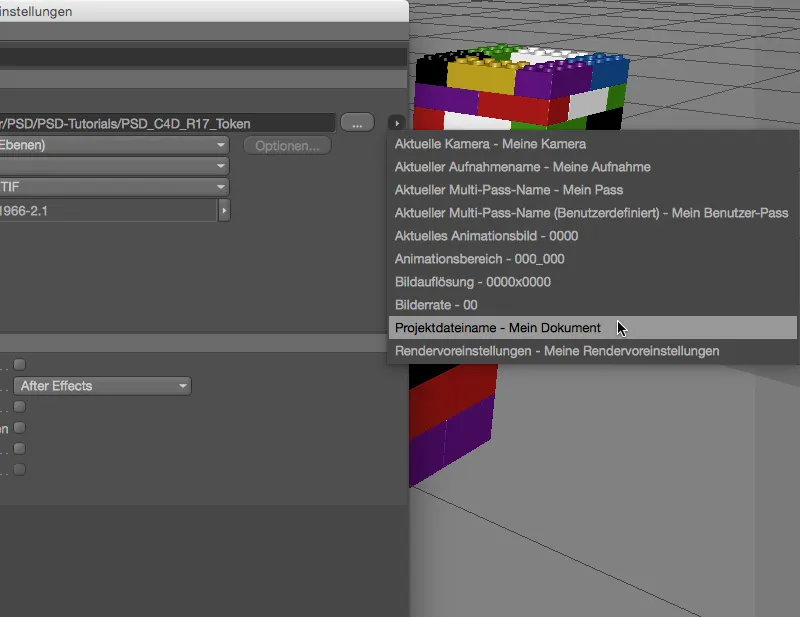
If we select this token, the abbreviation $prj is appended as a block for the file name after the directory path for saving. This is never wrong when saving, but it doesn't really help us with the processing of the various recordings.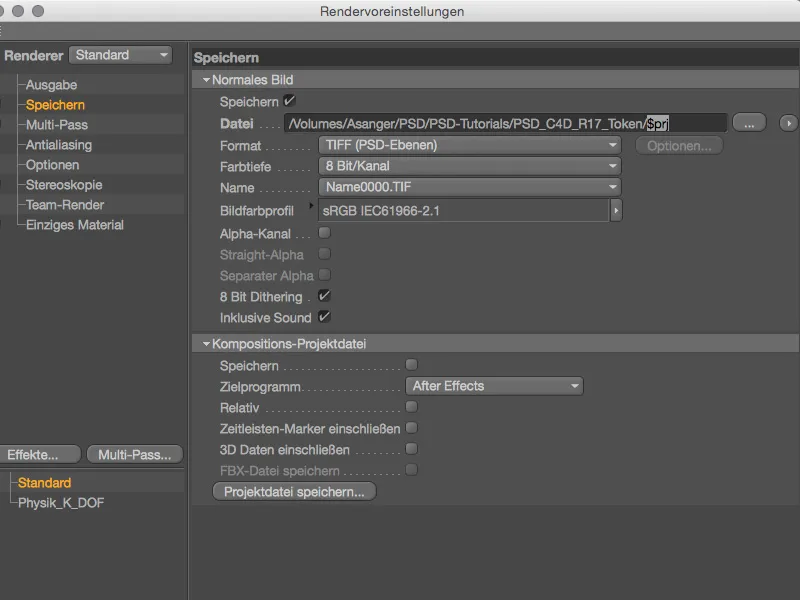
So we simply add further tokens for the variable file name. Separated by underscores "_", I have added the current camera, the current shot and the render preset used from the arrow button menu. The underscore is only used for visual separation and has no meaning when using tokens.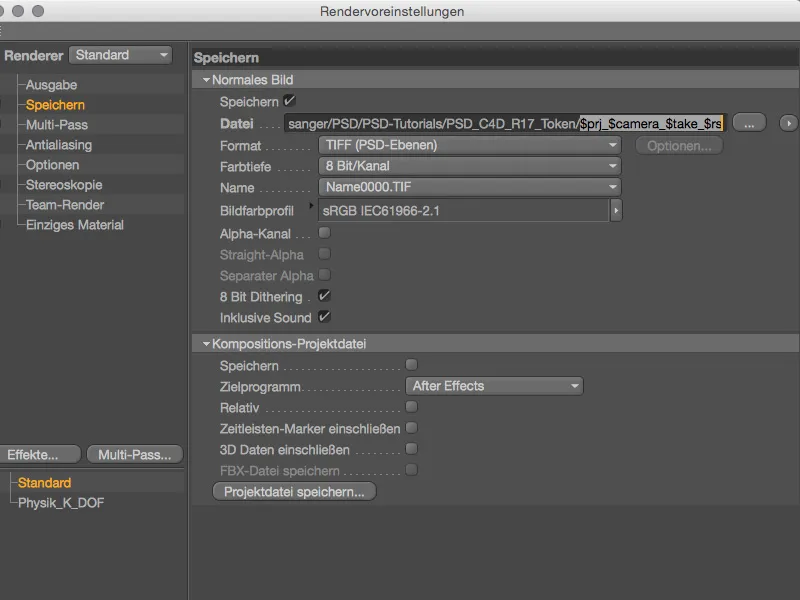
The variable file name created with tokens now contains enough information to clearly identify the renderings. However, this is done strictly according to the recording name, so that in the example shown, the subordinate recordings of the reflective floor had to be renamed slightly to avoid an error message due to duplicate file names.
Now all that remains to be done is to select the desired images and start rendering using the Render selected image command in the Image Manager.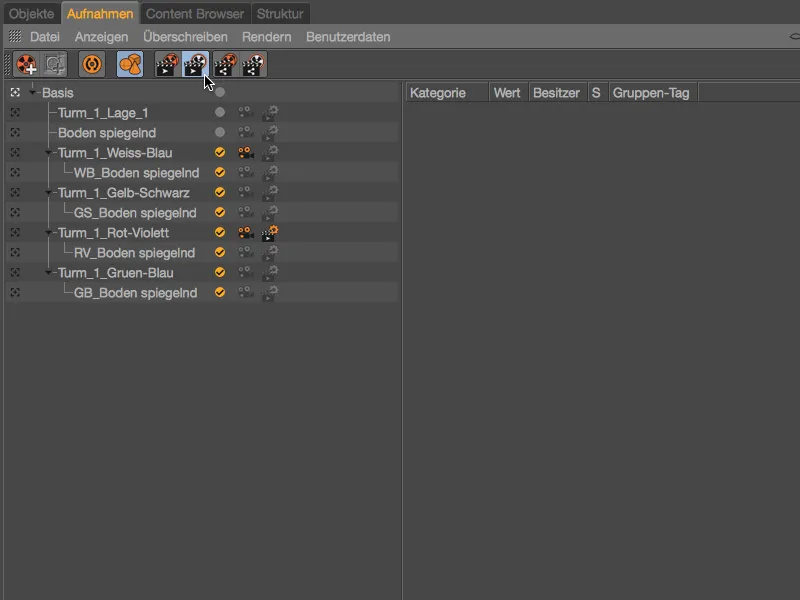
The file name composed of the tokens can already be read in the render history in the Image Manager...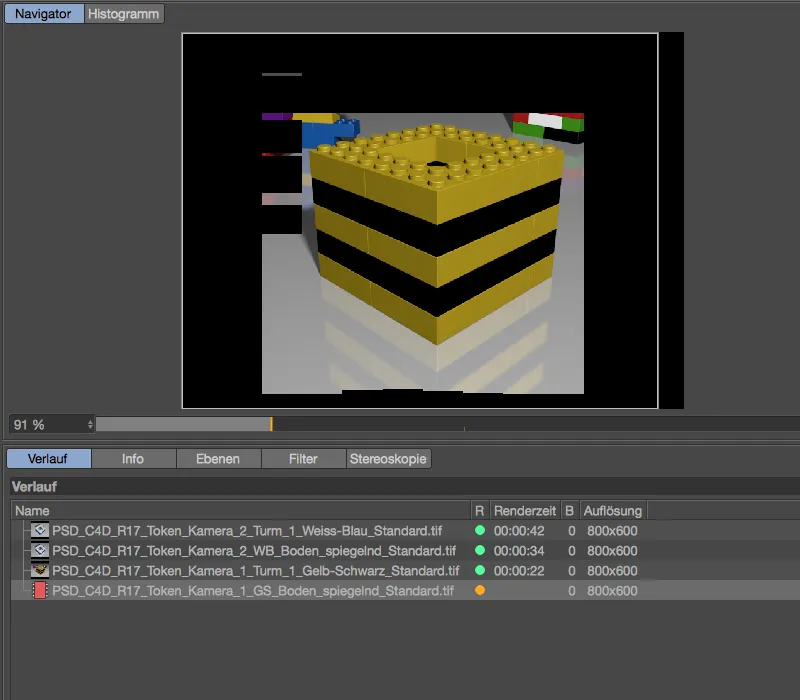
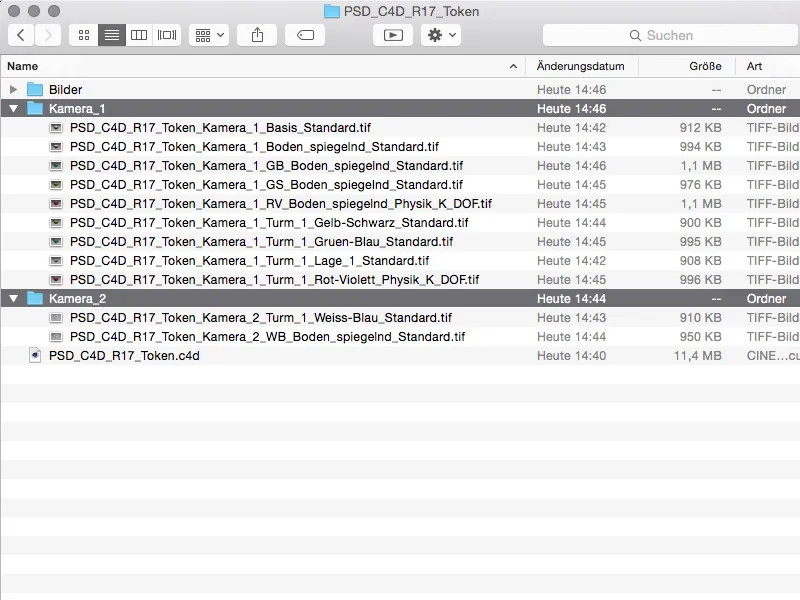
... of course this also applies to the saved renderings in the file system. As desired, only the marked images were taken into account during rendering.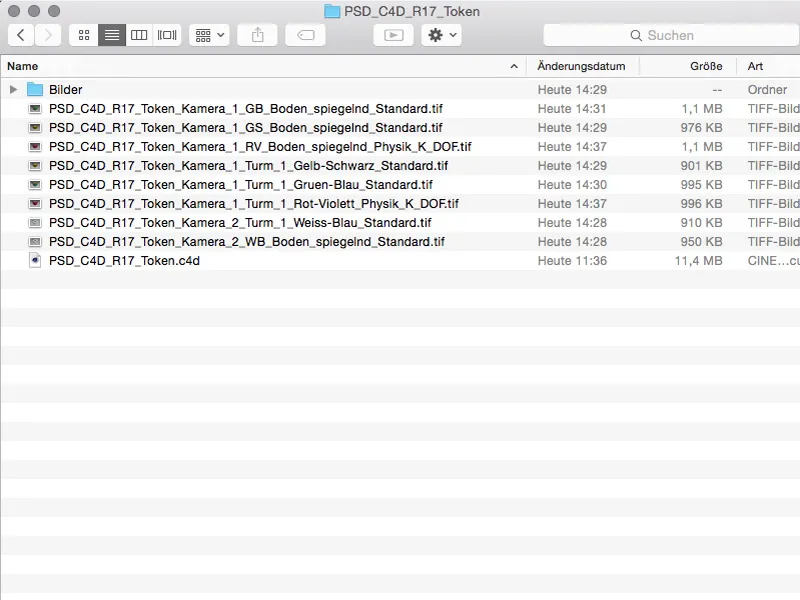
Rendering with variable path and file names
As the number of tokens increases, it becomes increasingly clear which variant is involved. However, it would be even more practical if the recordings were automatically sorted into corresponding directories during rendering. This is also not a problem as soon as you have decided on the token or tokens according to which the division should take place.
In our case, the directories for the various camera settings should be created during rendering and the renderings sorted accordingly. Depending on whether we want to keep the camera information in the file name, we copy or cut the corresponding token ...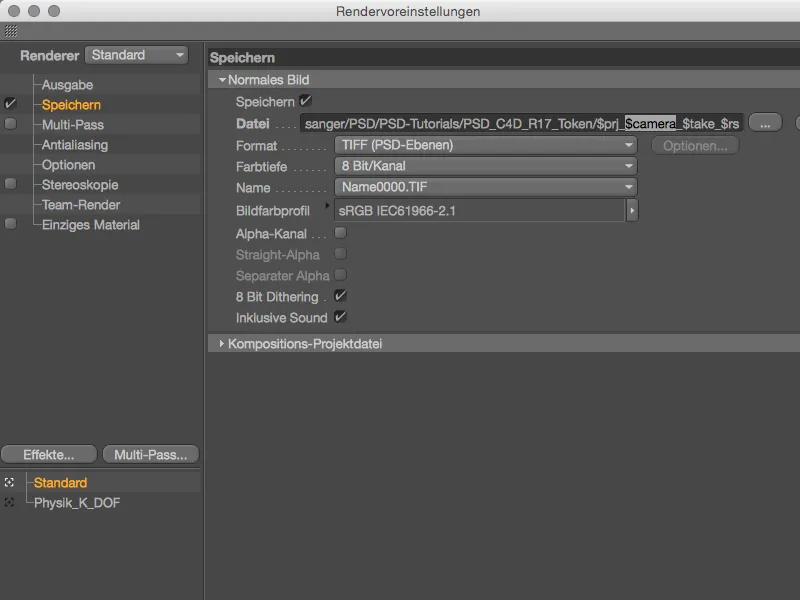
... and insert it after the last path dash with an additional dash behind it. In principle, we only need to enter a correct path in the File field.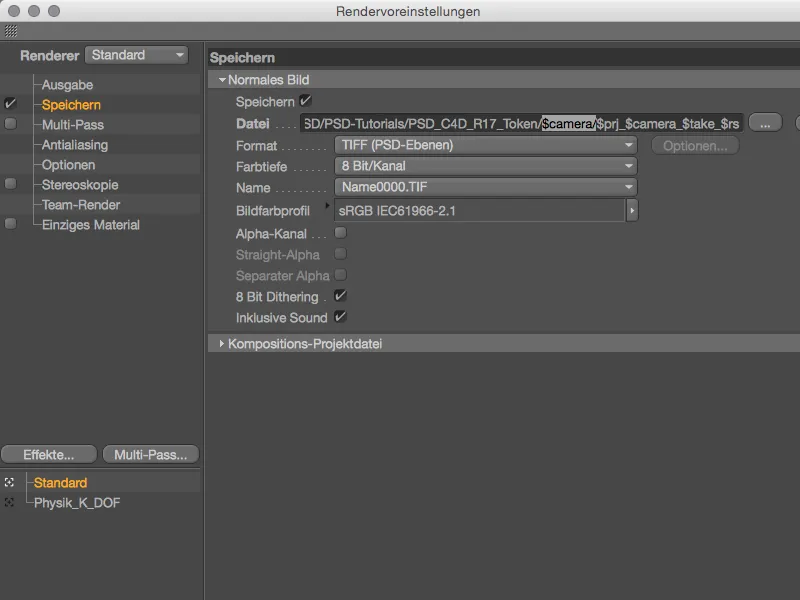
If we use several render presets for the recordings, we must of course also enter these variable path specifications in the file fieldsof these other render presets.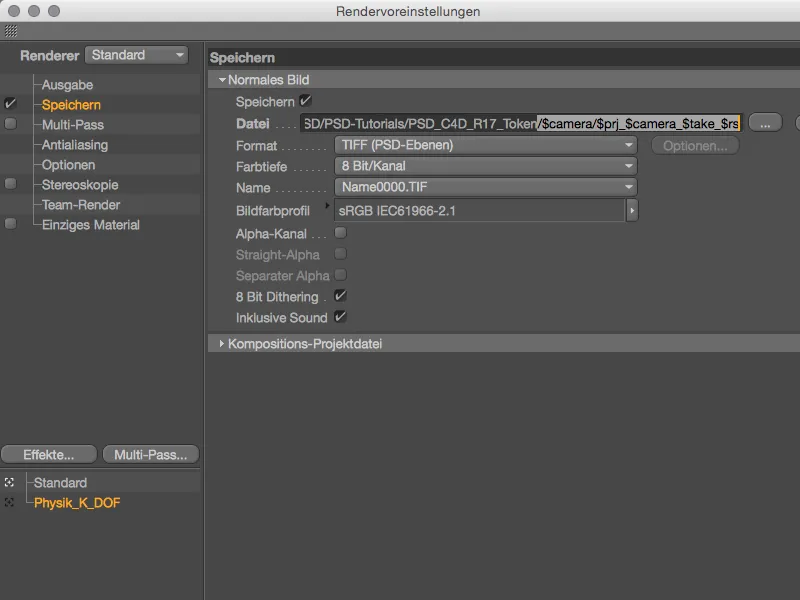
Rendering is again started via one of the known starting points, but this time not only the selected recordings, but all existing recordings are to be included in the rendering.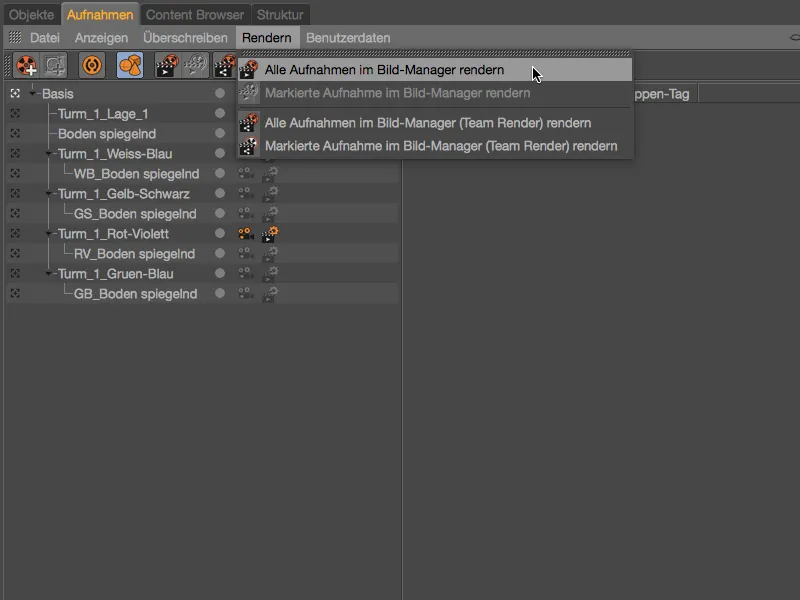
In the image manager, the rendering runs as usual with the naming specified by us using variable file names ...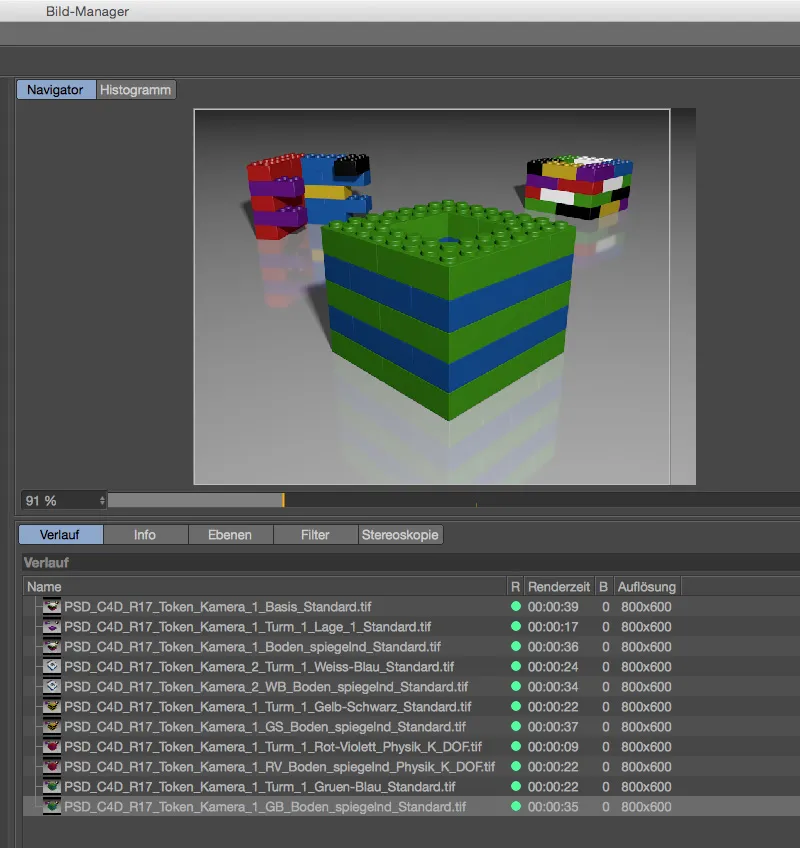
... in the File Manager, on the other hand, two new directories named "Camera_1" and "Camera_2" were created and the renderings based on the corresponding camera settings were assigned accordingly.