In this tutorial, you will learn how to quickly and easily clean up redundant data in Google Sheets, especially by removing duplicates. Often, we have data that comes from different sources or is not in the correct structure. This necessitates taking targeted steps to clean up the data in order to avoid distorting the results of our analyses. In this tutorial, I will show you how to clean up your datasets in Google Sheets efficiently using specific functions and tools to make your work more productive.
Main Insights
- Duplicates can be quickly identified and deleted using the "Remove Duplicates" function.
- The correct formatting of the data is crucial for capturing duplicates.
- You can better structure data by using the "Split Text to Columns" function before removing duplicates.
Step-by-Step Guide
To effectively clean up your data, there are several steps you should follow. I will guide you through this process.
Step 1: Split Data into Columns
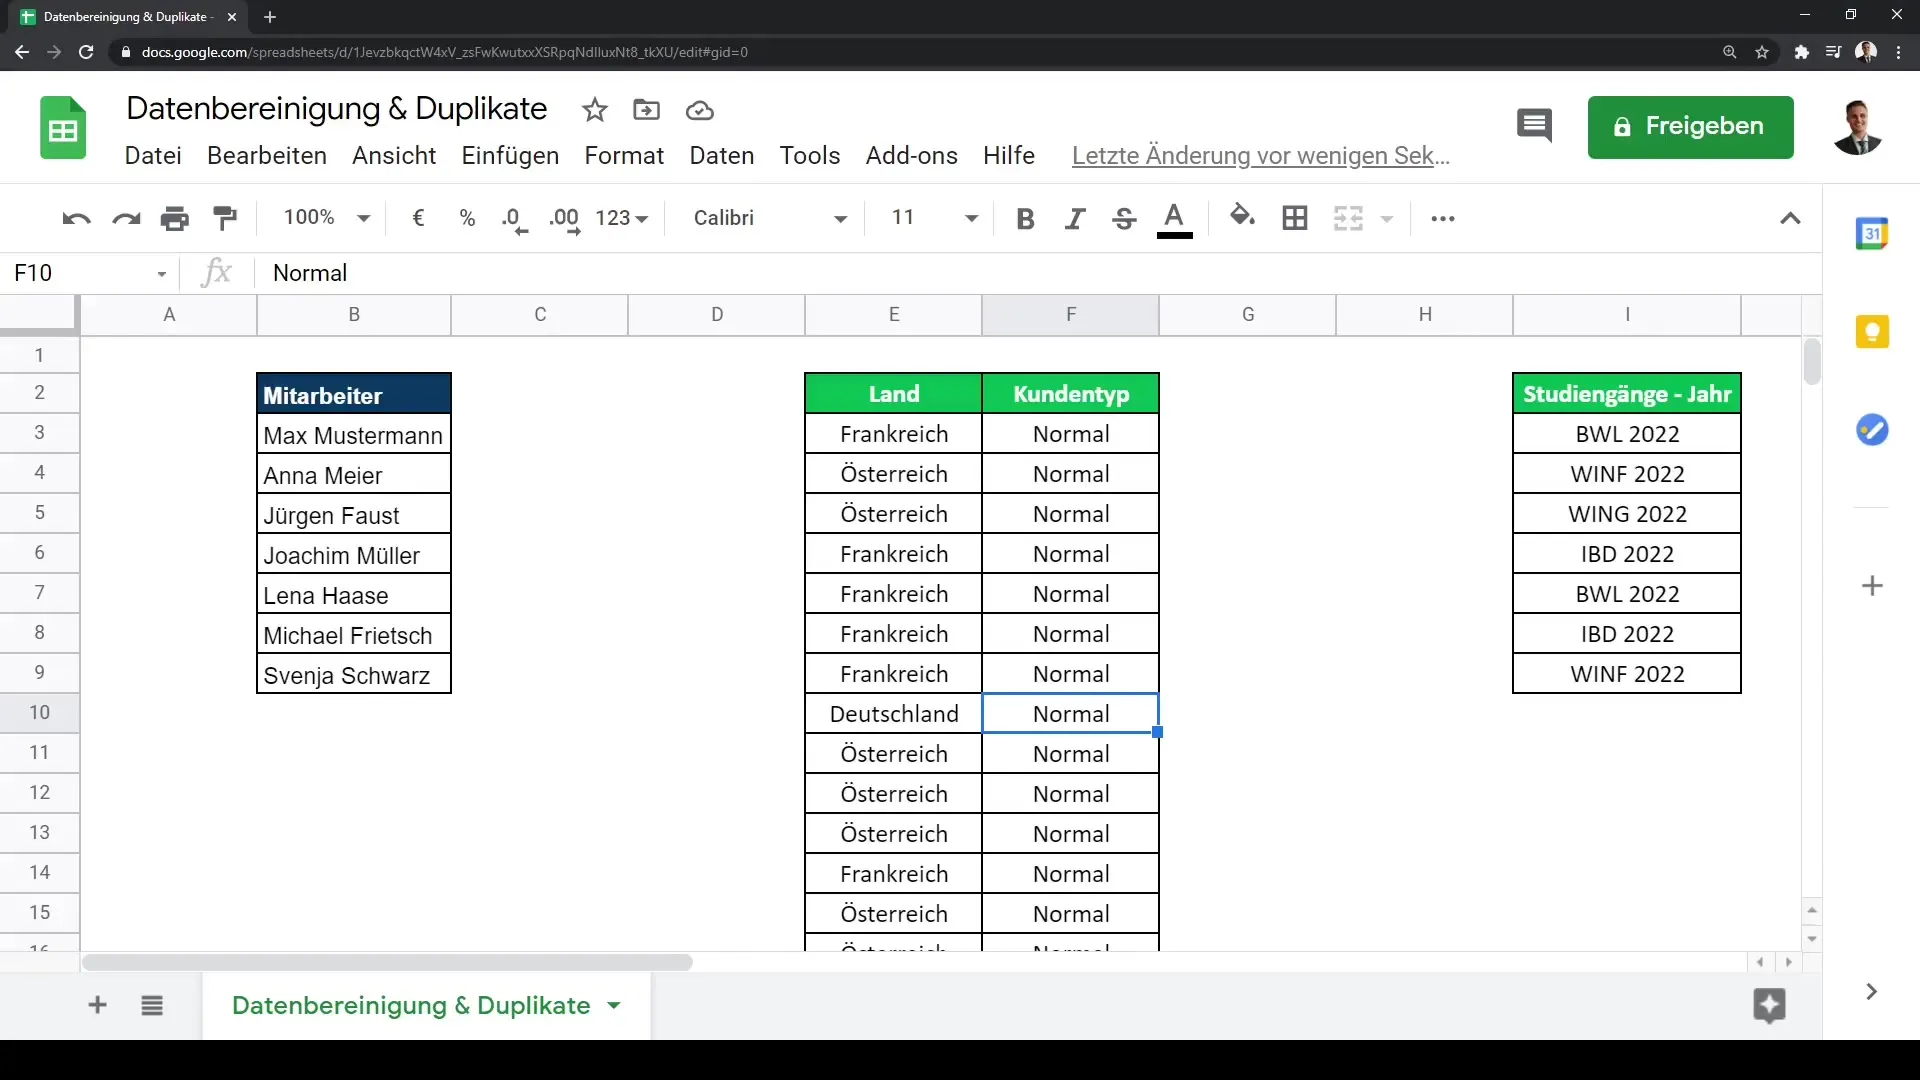
First and foremost, it can be helpful if your data is in the correct structure. A common scenario is having first and last names in a single cell.
To do this, you first select the cell or range that contains the names.
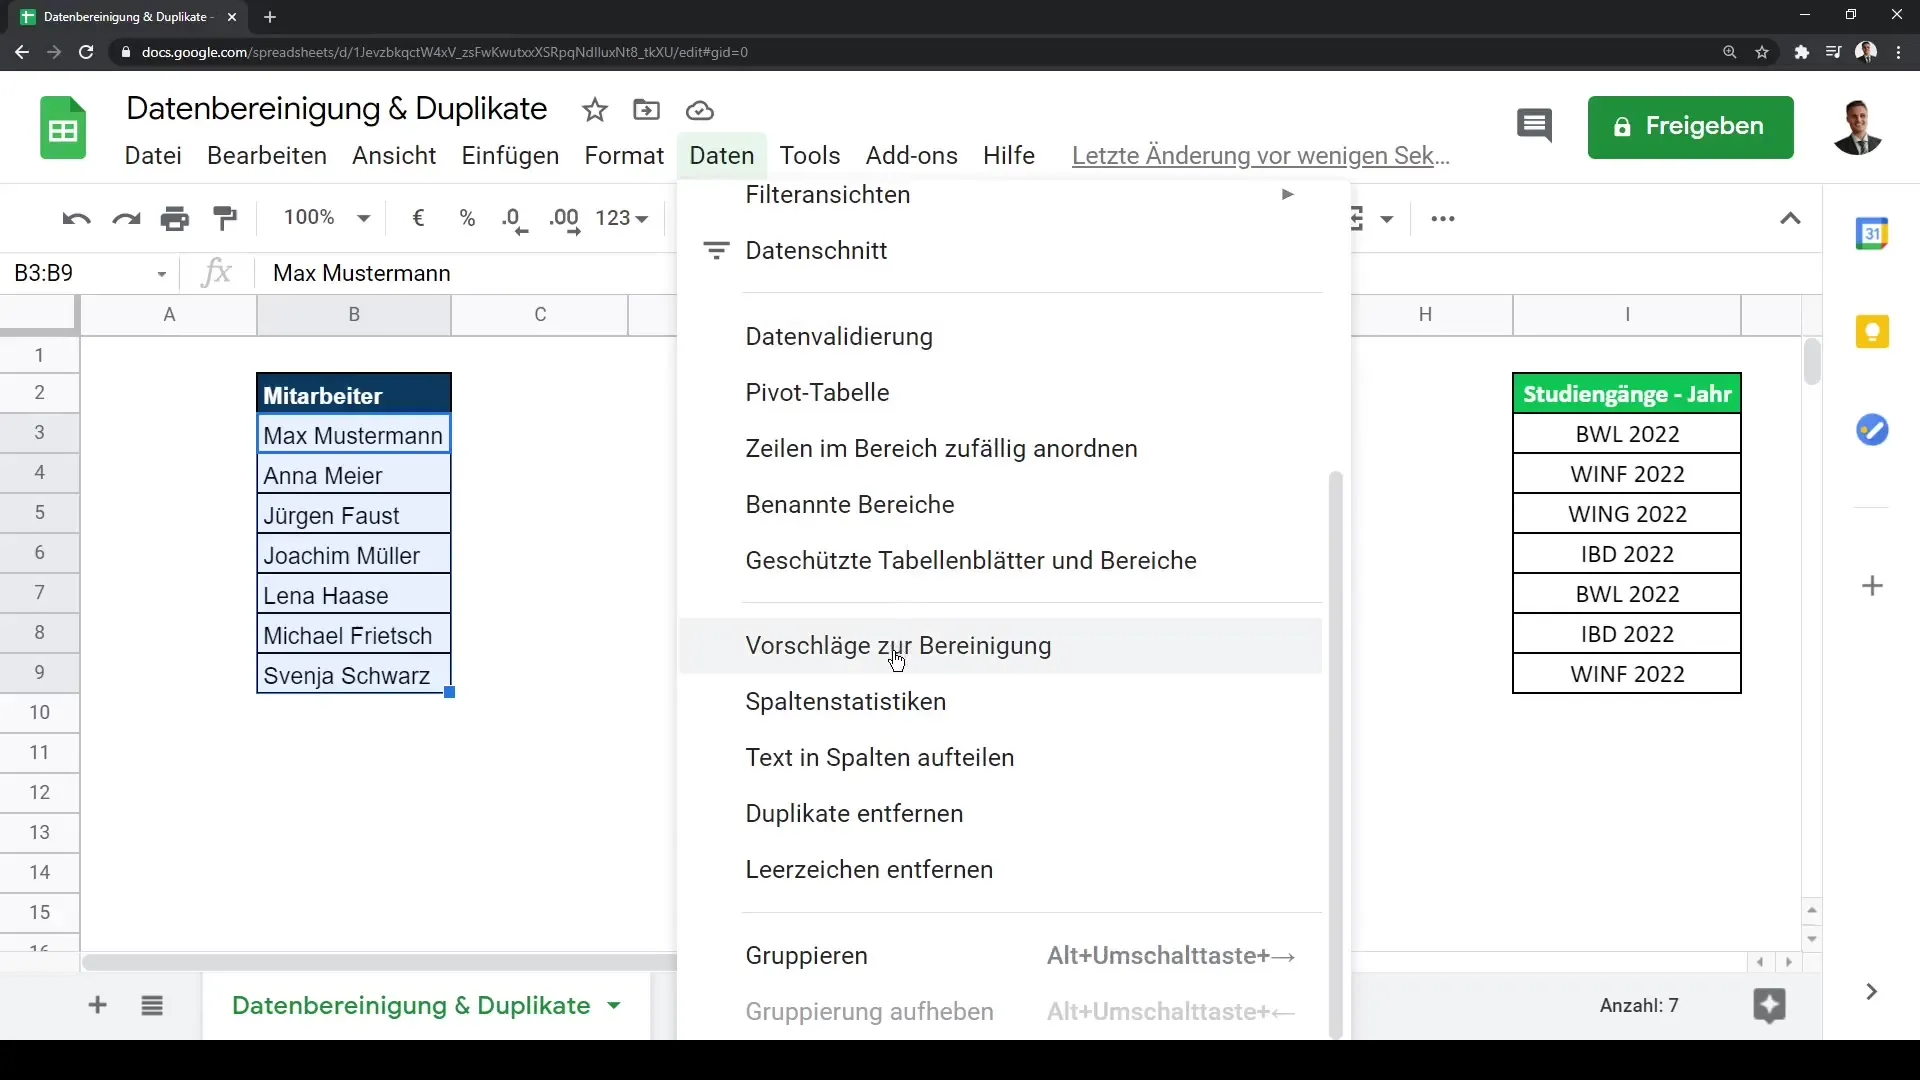
Then, go to the top menu bar, click on the "Data" tab, and select the "Split text to columns" option.
Here, you have the option to select the delimiter, for example, a space. If you choose the space as the delimiter, the names will be correctly split into two separate columns.
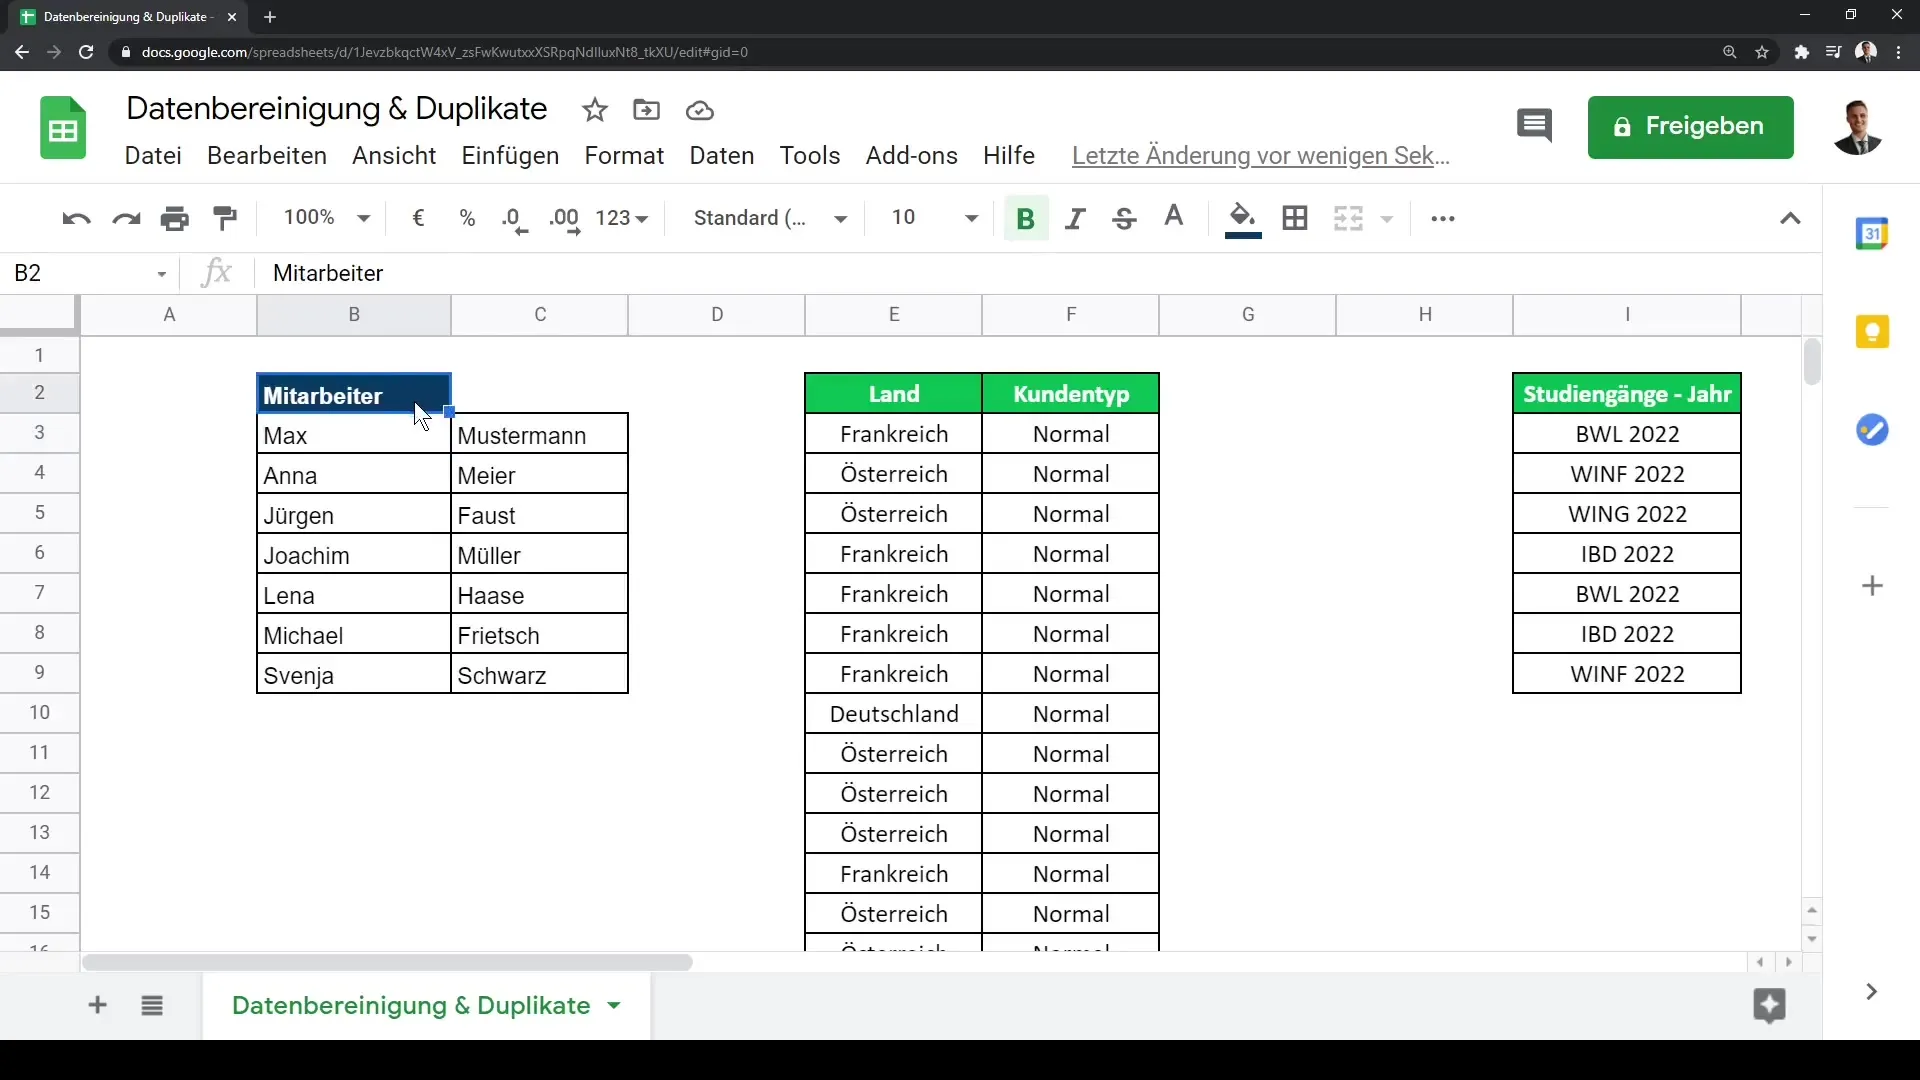
Now, you can name each cell accordingly, so that first names are in one column and last names in another.
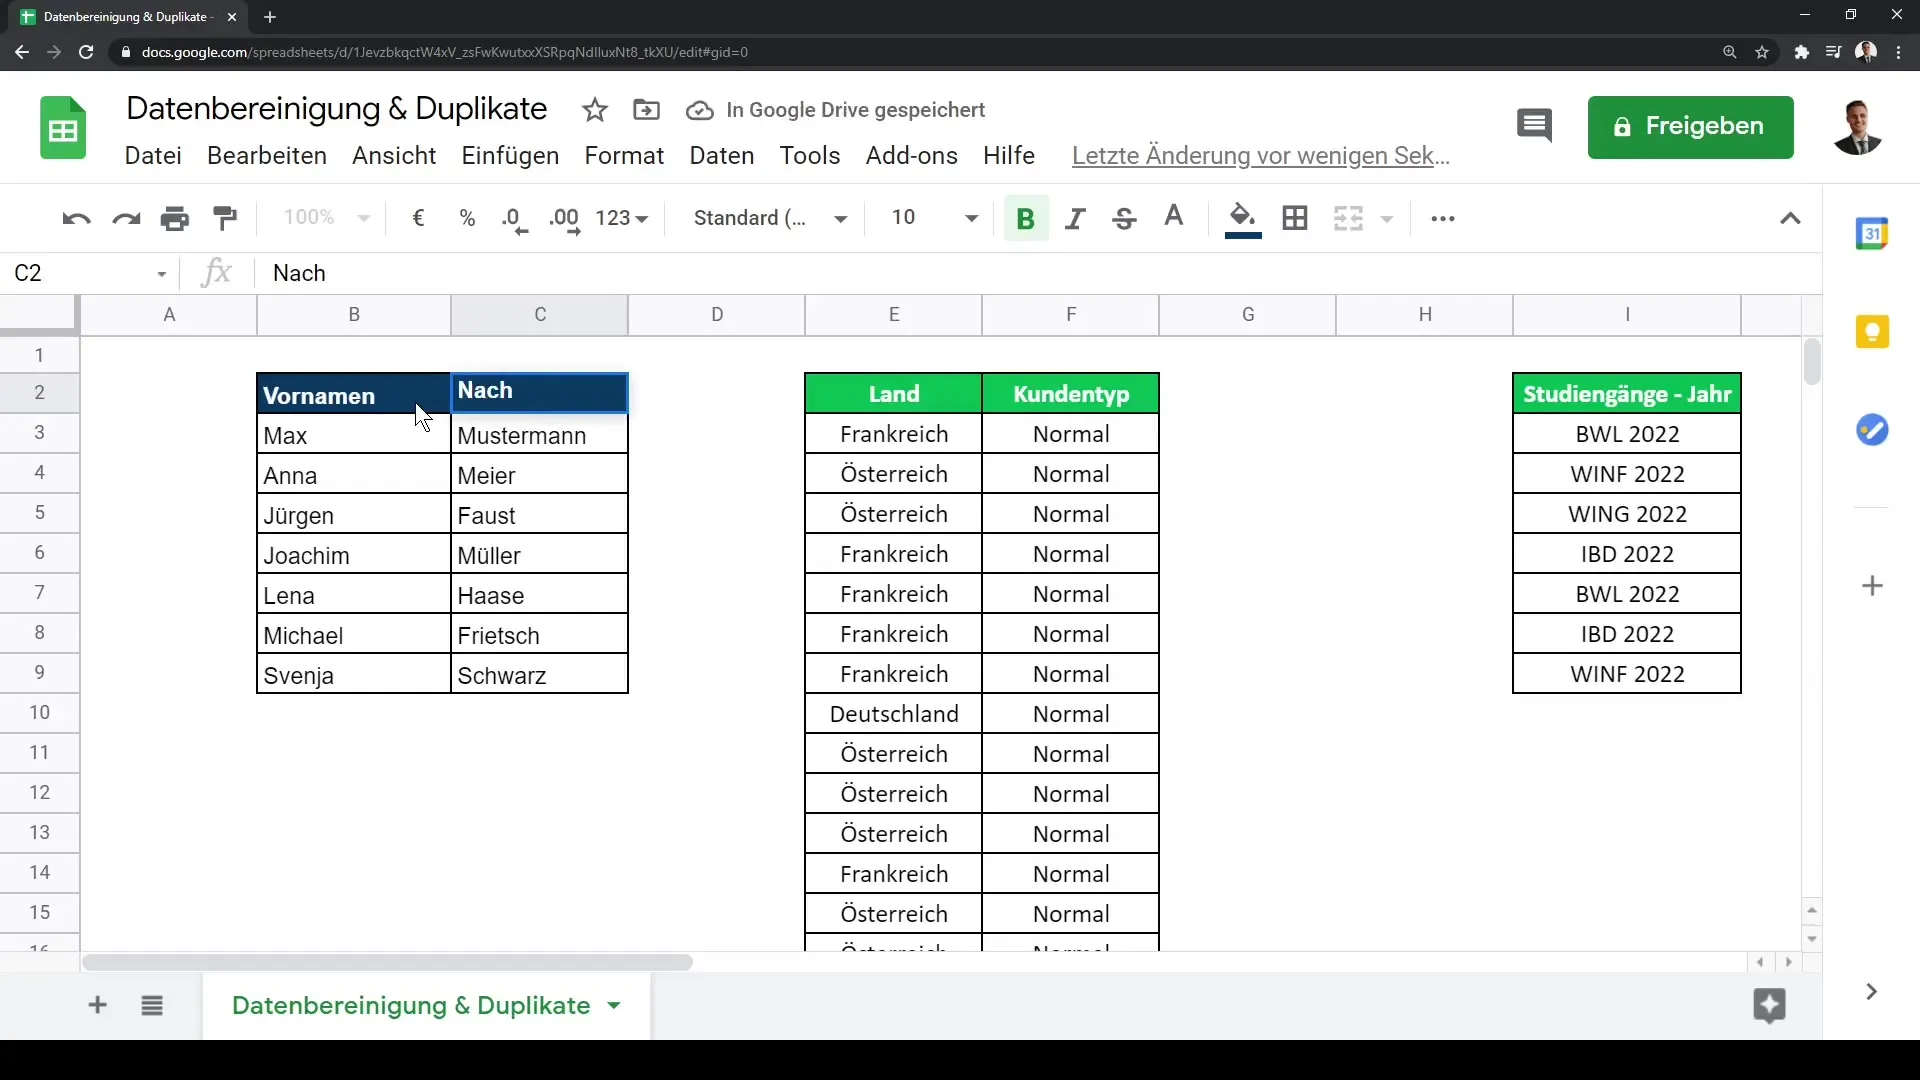
Step 2: Identify and Remove Duplicates
Once your data is in the correct structure, we can now focus on duplicates. Duplicates often cloud the analysis and should therefore be removed.
First, select the entire range that contains the duplicates. For example, if you want to clean up a list of countries, select the corresponding column.
Then, click on the "Data" tab again and select "Remove duplicates."
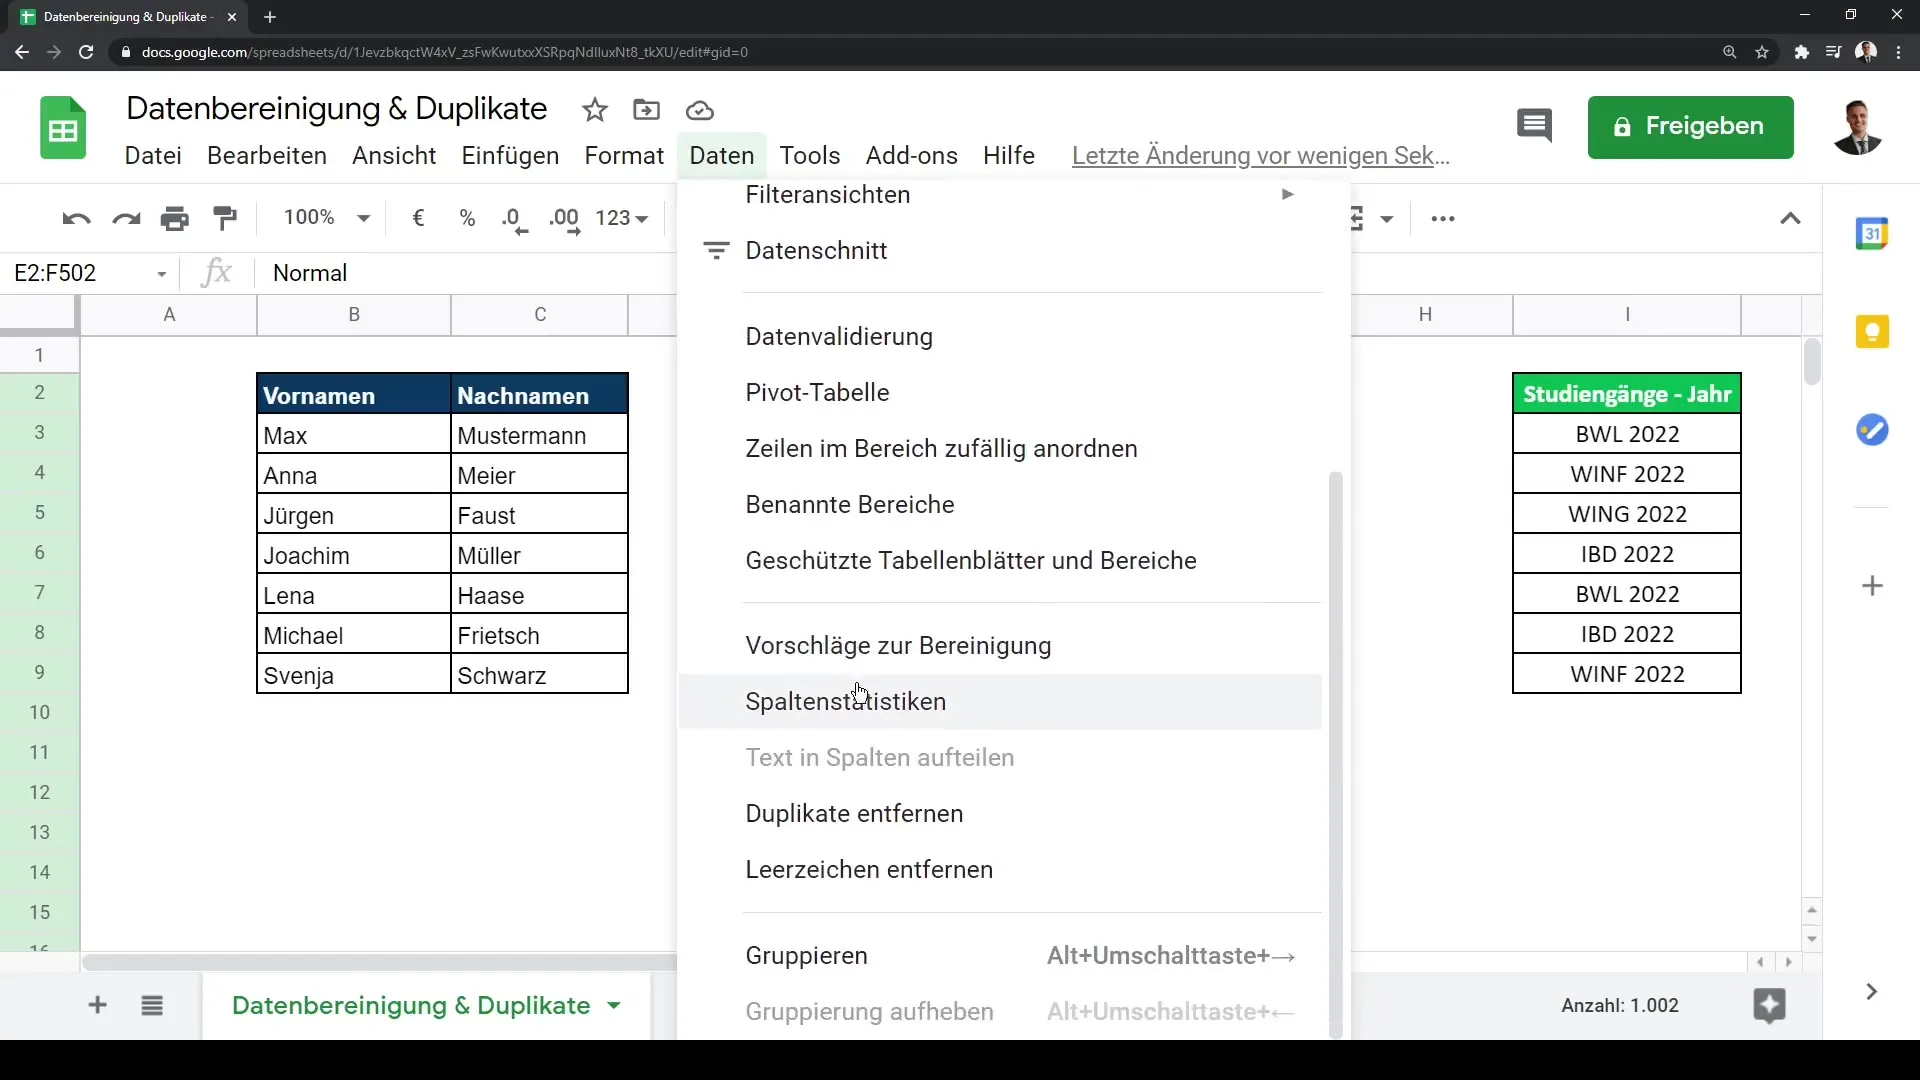
You have the option to select the columns to check for duplicates. In this case, you only select the column containing the countries.
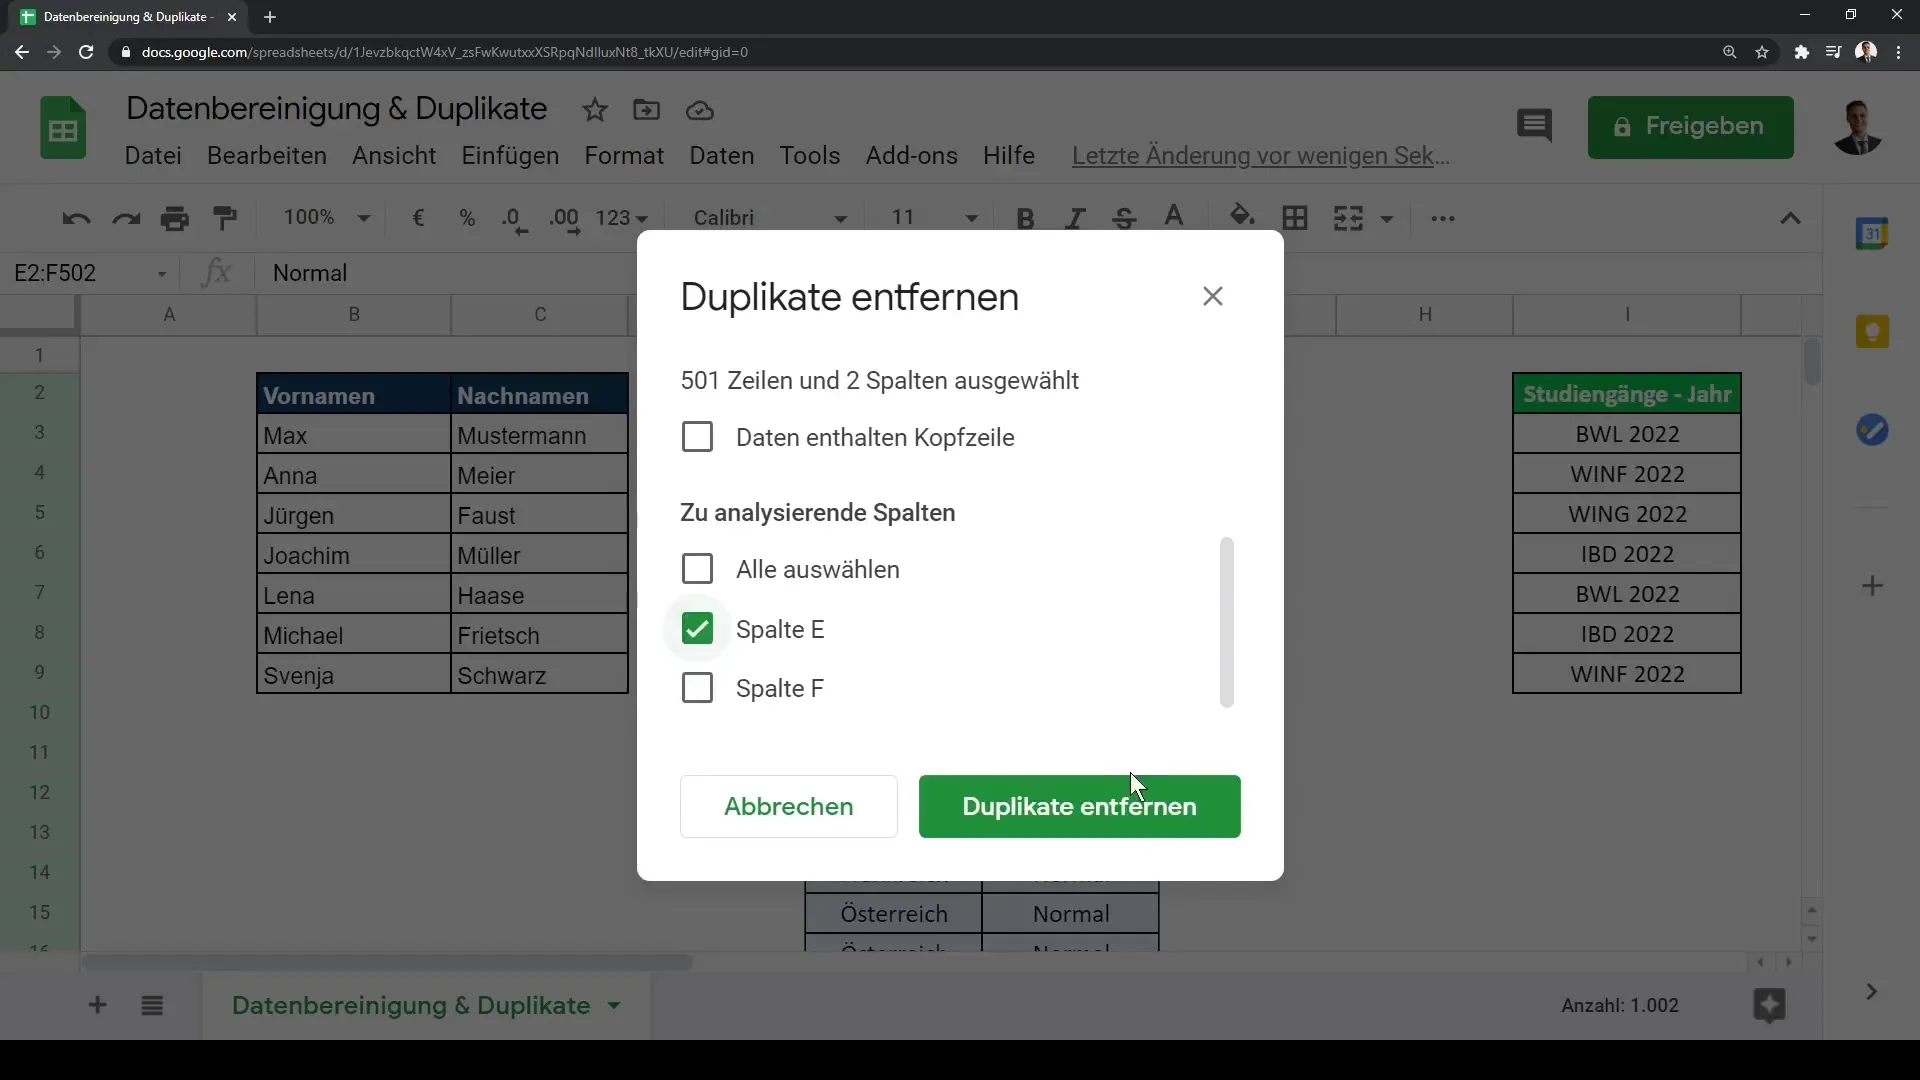
After making your selection, click on "Remove duplicates." Google Sheets will now display all identified duplicates that can be removed from your list. With over 500 rows, 466 may be identified and removed as duplicates, leaving only unique entries.
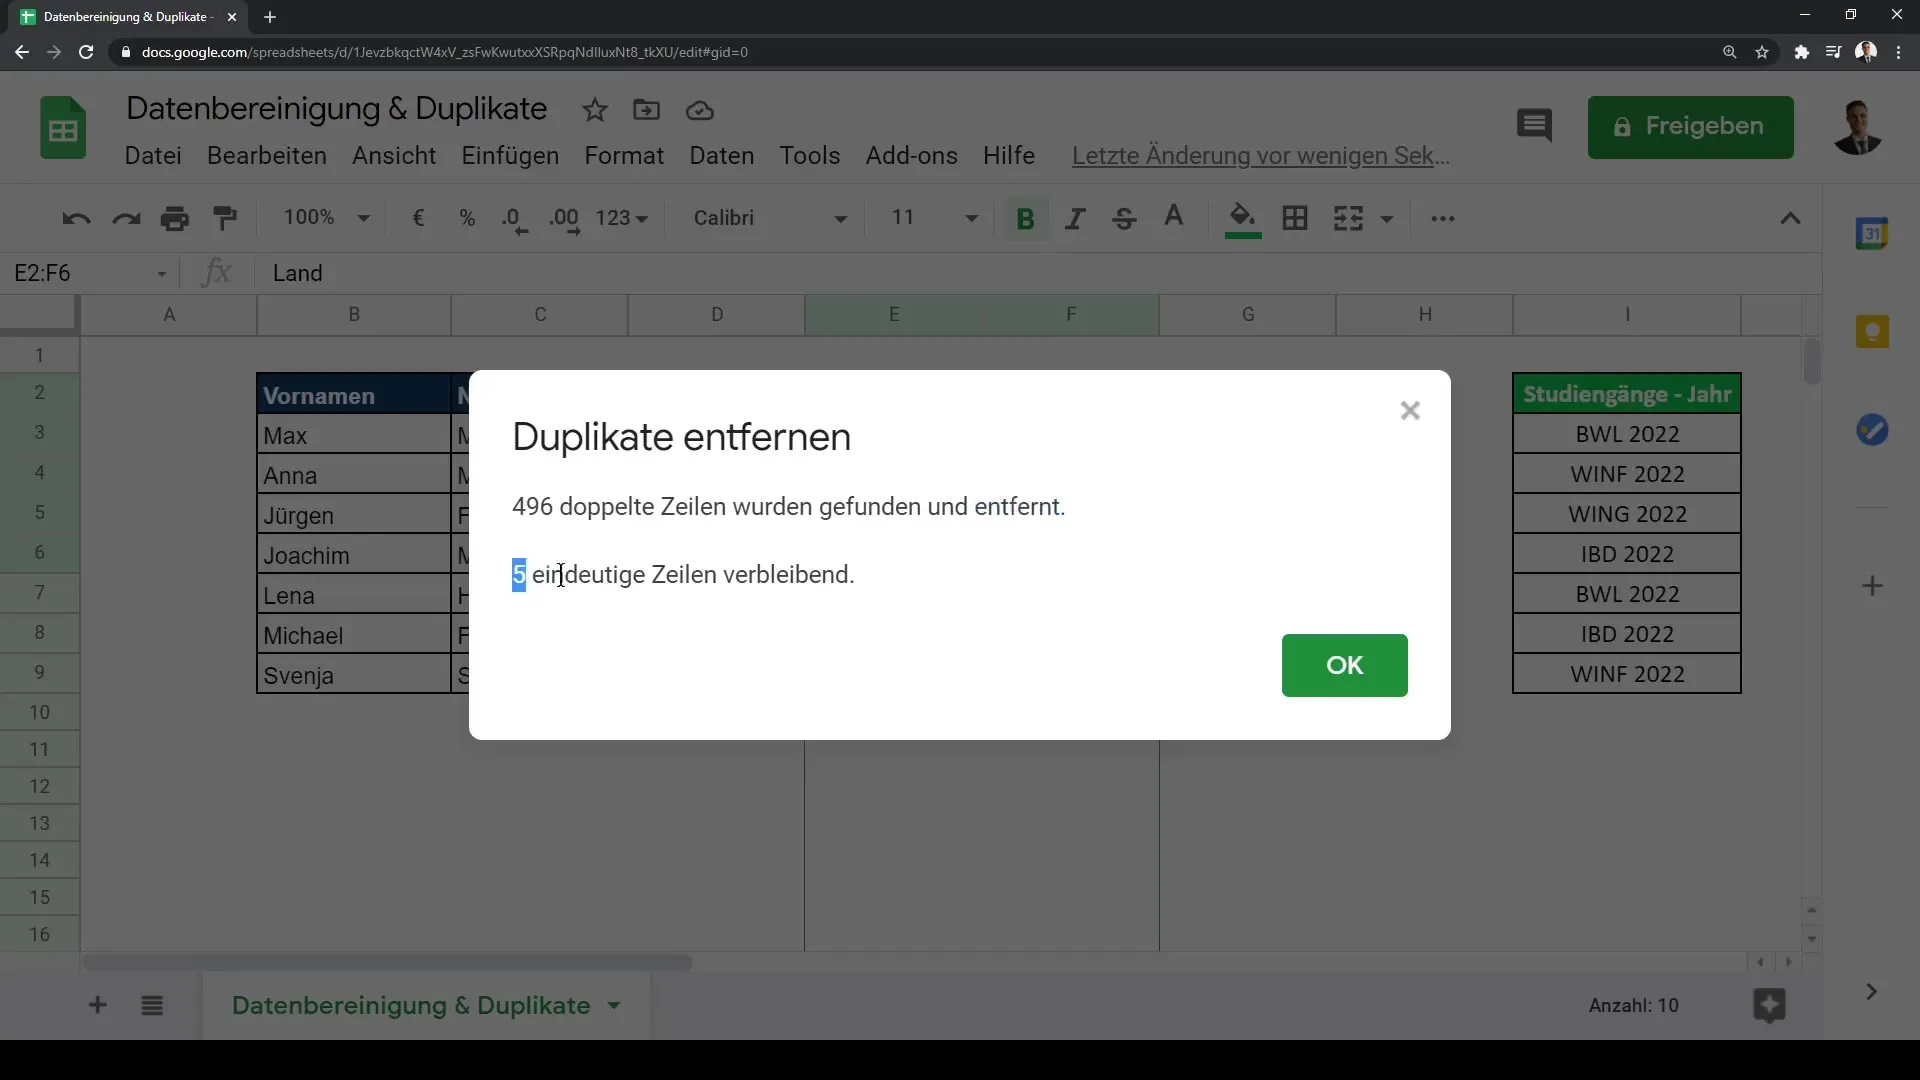
Step 3: Eliminate Inequality by Removing Spaces
A common issue in duplicate detection is unwanted spaces that are not always visible. For example, if you have two entries that look the same but are actually different, this may be due to the spaces.
To ensure that all duplicates are correctly identified, go back to the "Data" tab and click on "Remove spaces."
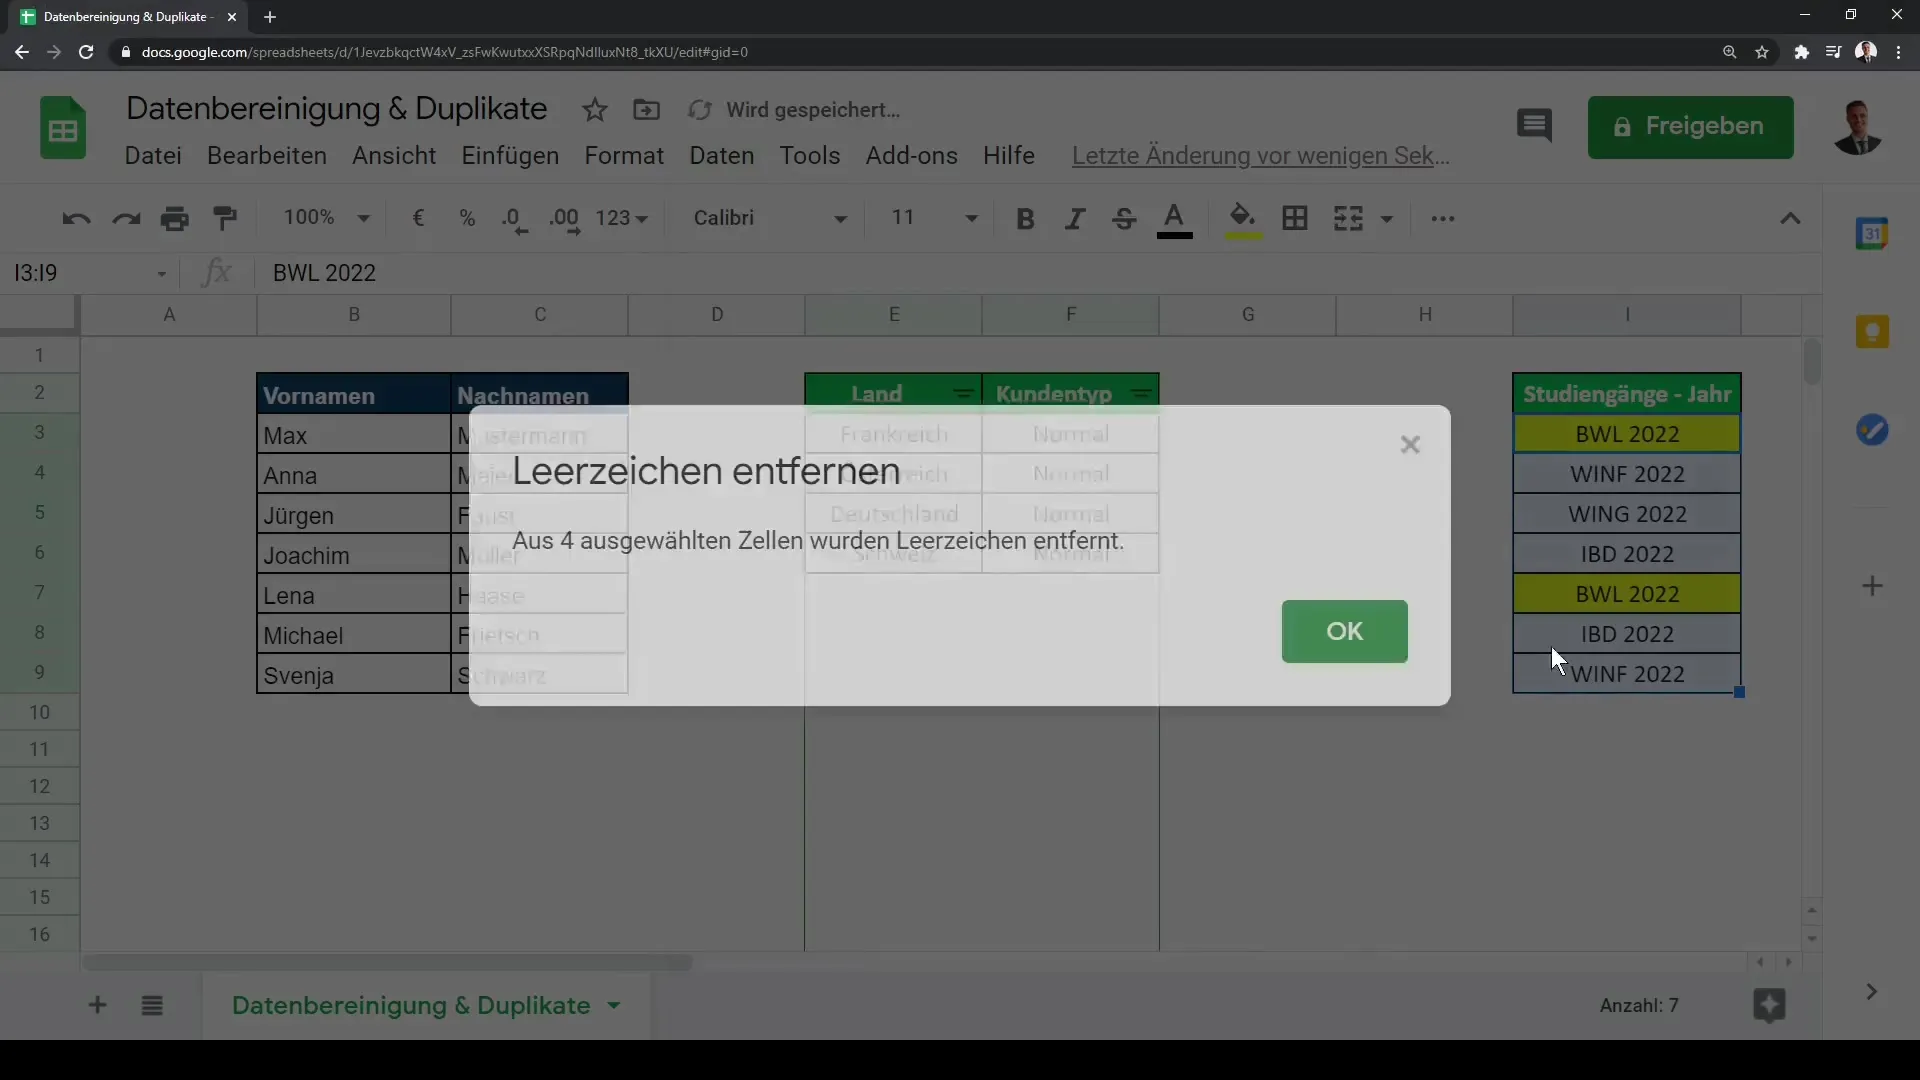
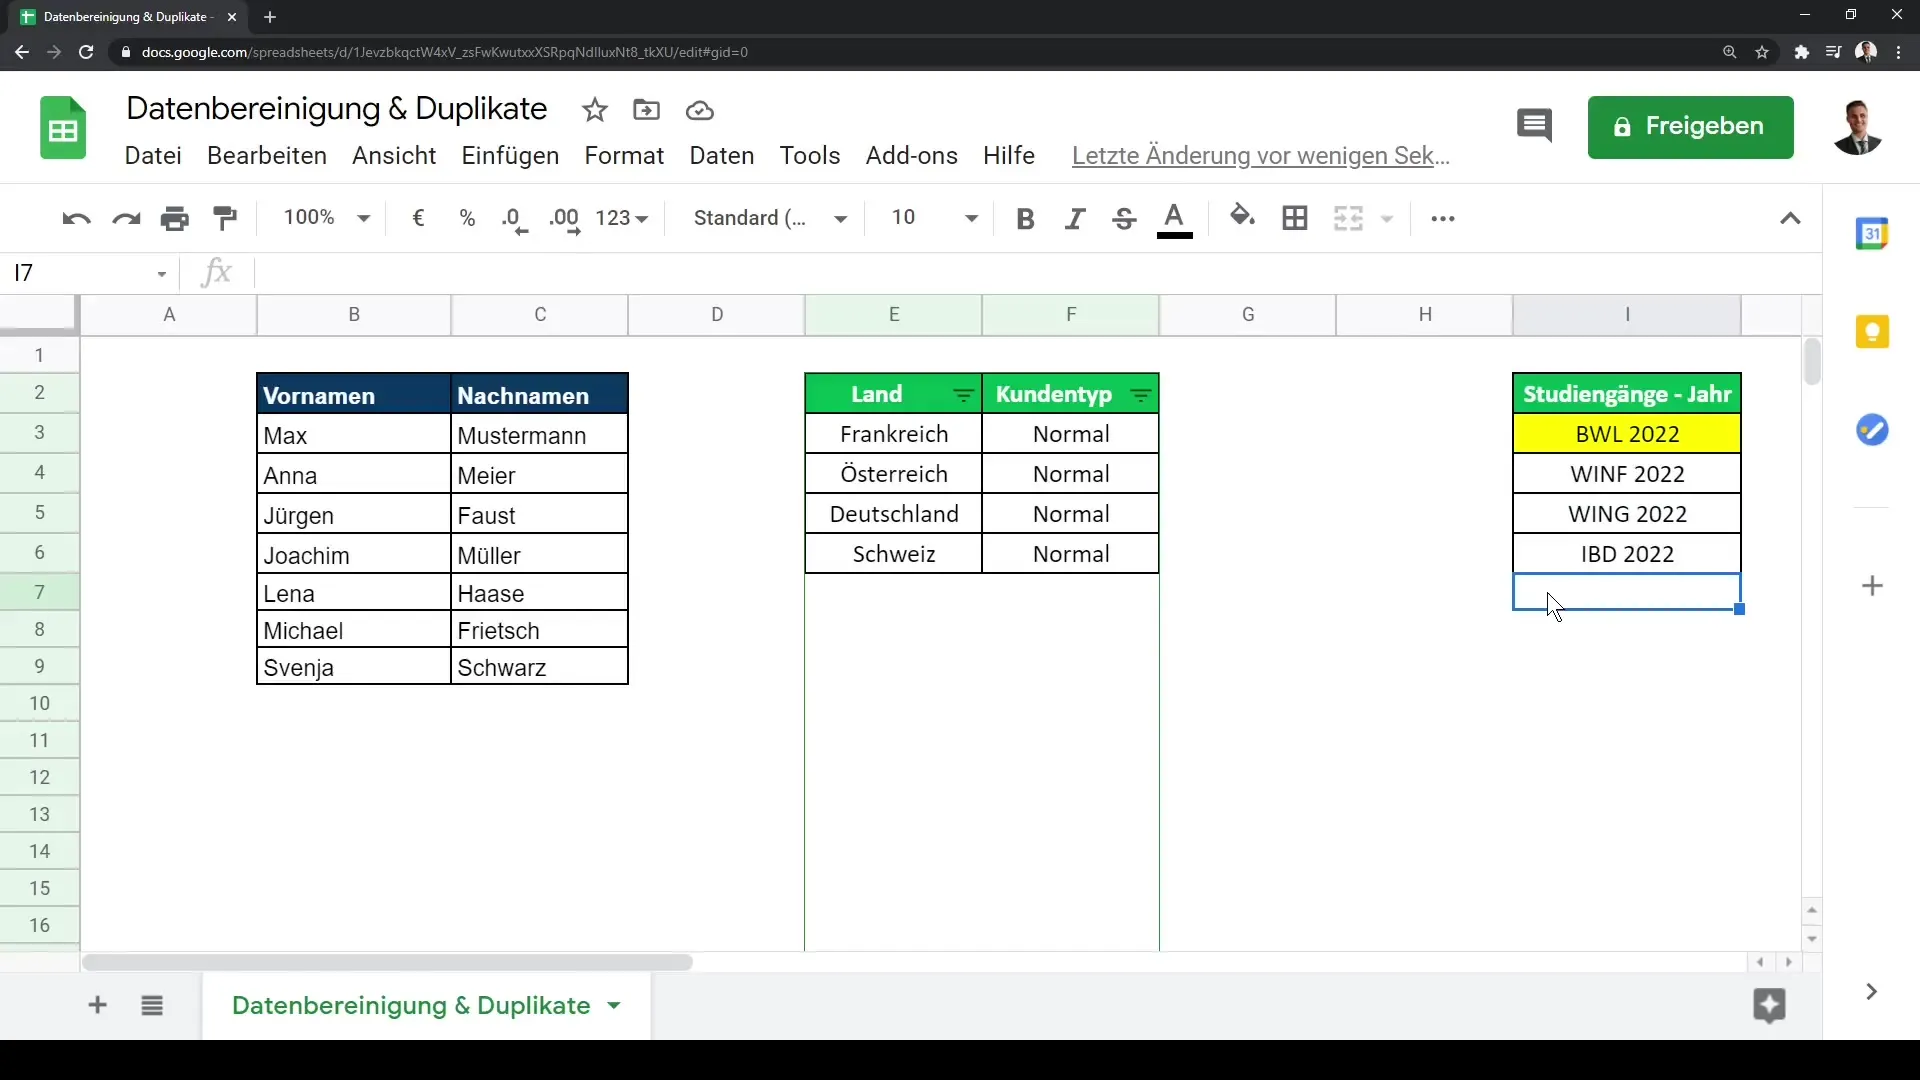
Now, you can use the "Remove duplicates" function again to ensure that all redundant entries are deleted. If only unique entries are now displayed, you have successfully completed the cleaning process.
Summary
In this tutorial, you have learned how to identify and delete redundant entries in Google Sheets using the "Remove duplicates" function. Pre-cleaning your data, especially by splitting text into columns and removing spaces, is crucial for successful data analysis.
Frequently Asked Questions
Which function is used to remove duplicates in Google Sheets?The "Remove duplicates" function helps you identify and delete redundant data.
How can I ensure that spaces do not hinder my duplicates?You can use the "Remove spaces" function in the "Data" tab to eliminate additional spaces.
Can I check for duplicates in multiple columns simultaneously?Yes, when removing duplicates, you can select multiple columns to delete redundant entries based on different criteria.
