In this tutorial, I will show you how to successfully print your Google Sheets documents. After finalizing your data, it is often necessary to have it in physical form. Printing workbooks is easy and straightforward if you follow the right steps. Let's get started!
Main Insights
- You can print your data using keyboard shortcuts or the menu.
- There are options to customize the print area and print settings.
- You can set the paper size, orientation, and scaling as needed.
Step-by-Step Guide
To print your Google Sheets documents, follow these steps:
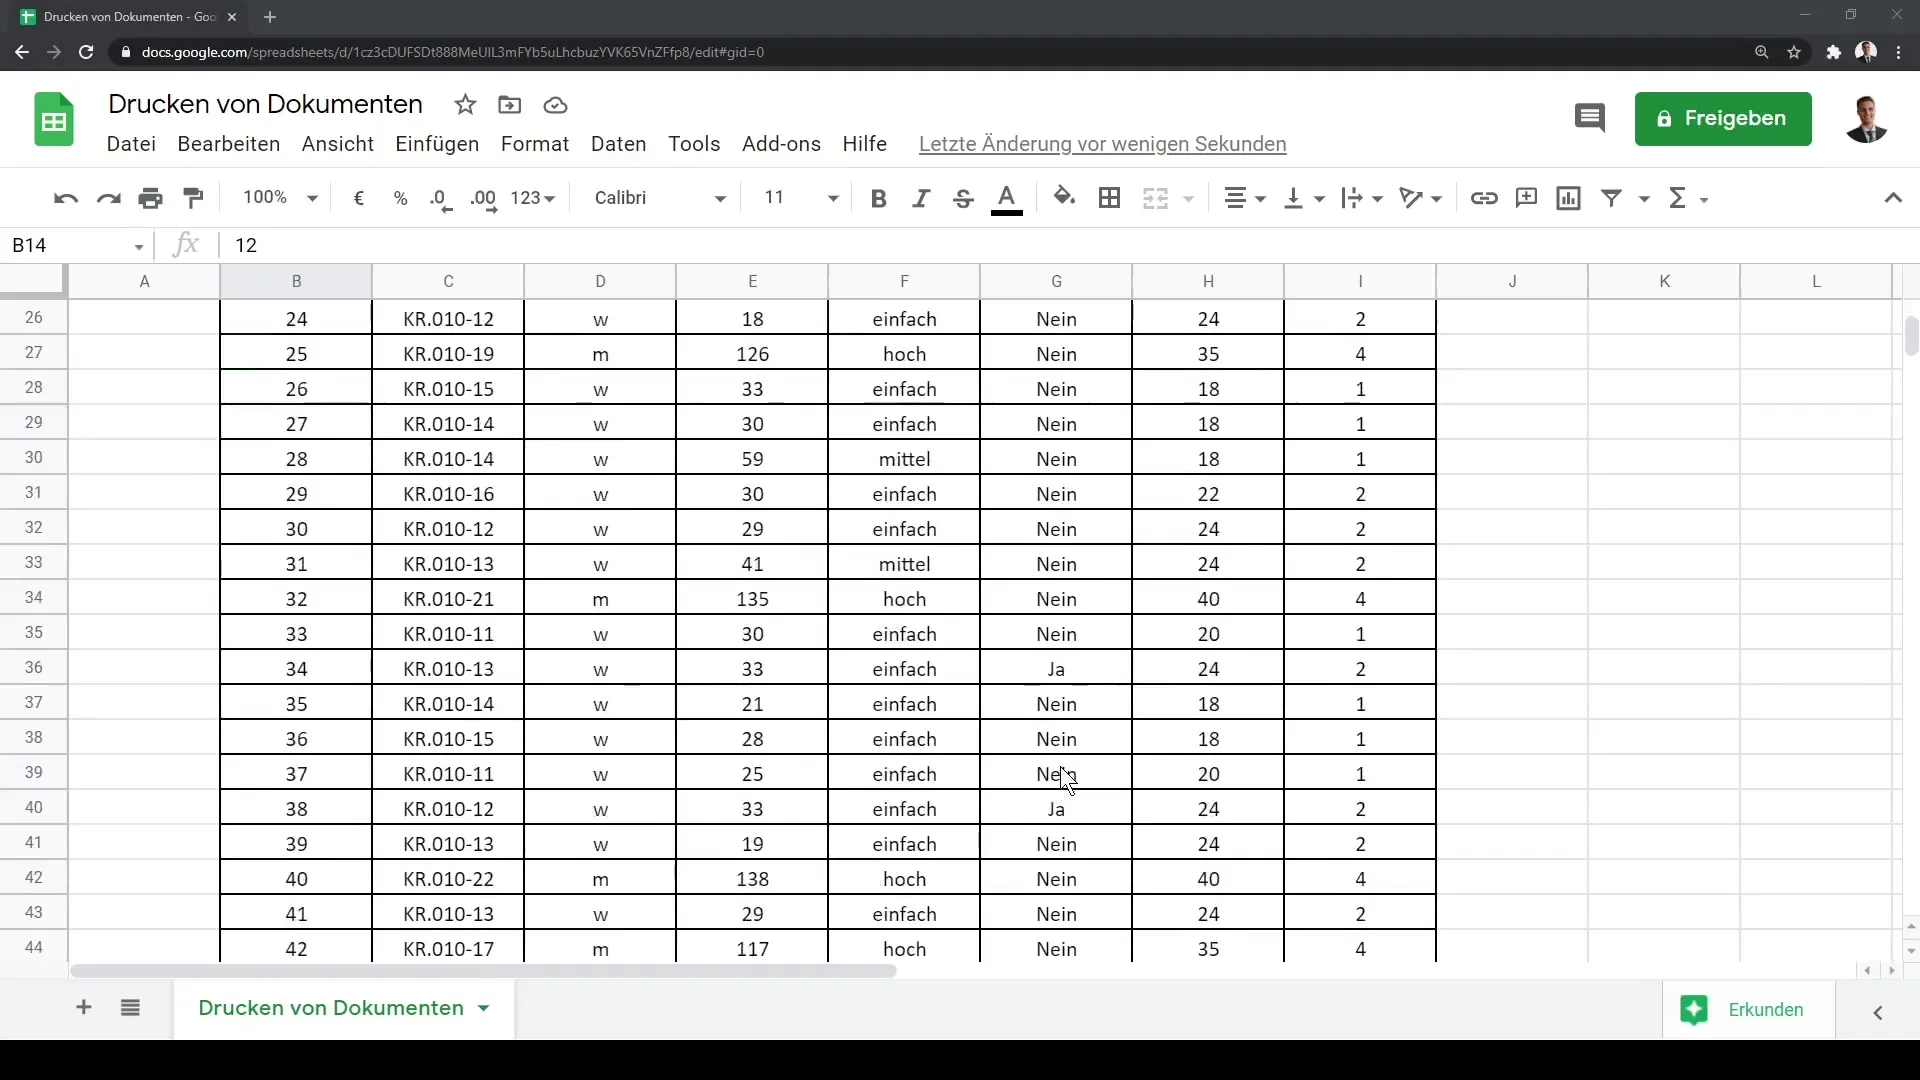
First, open the Google Sheet you want to print. Make sure your data is correctly formatted and ready for printing. If everything is in order, select the entire range of data you want to print. You can quickly do this by pressing Control + A.
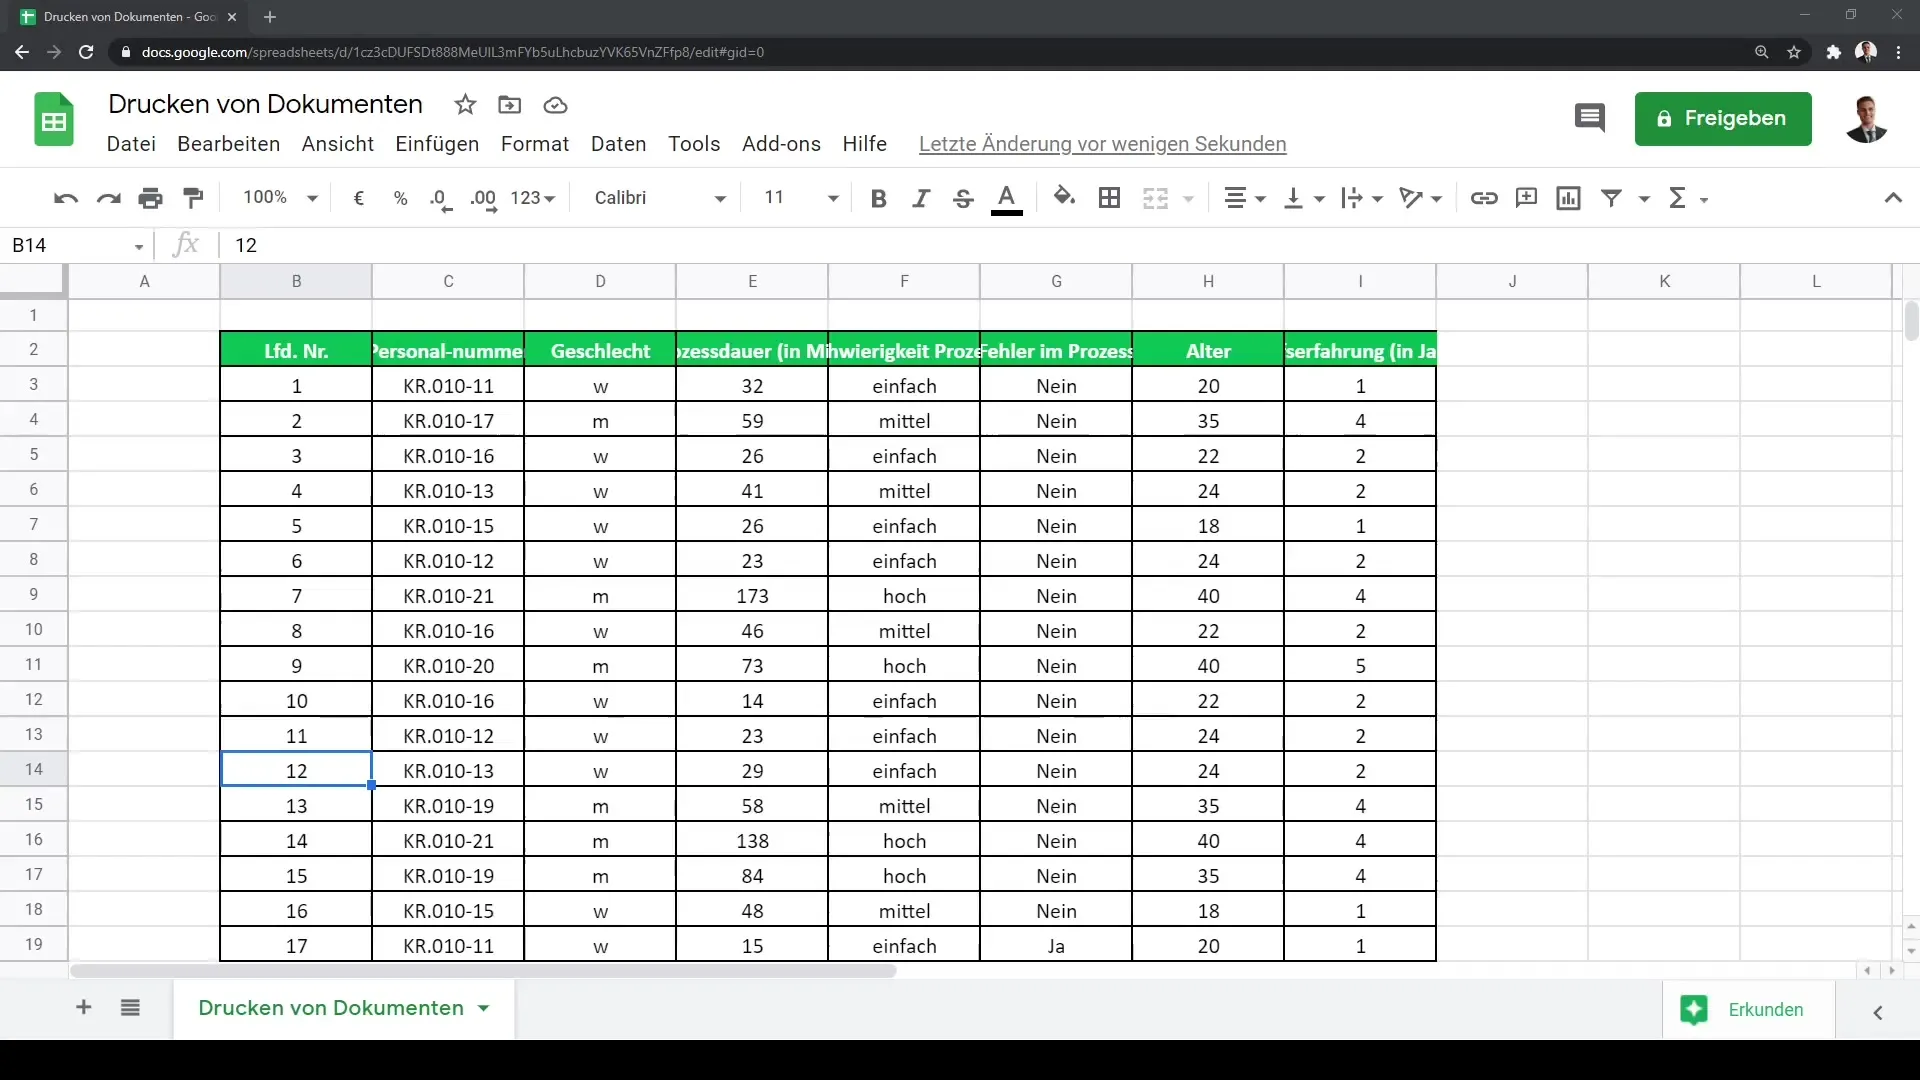
Once you have selected your data range, you can open the print dialog. You can do this either by pressing Control + P or by clicking on "Print" in the menu. Both will take you directly to the print settings.
In the print dialog, you can choose whether to print the current sheet or specific rows only. This option is particularly useful if you only need part of your table and not the entire workbook.
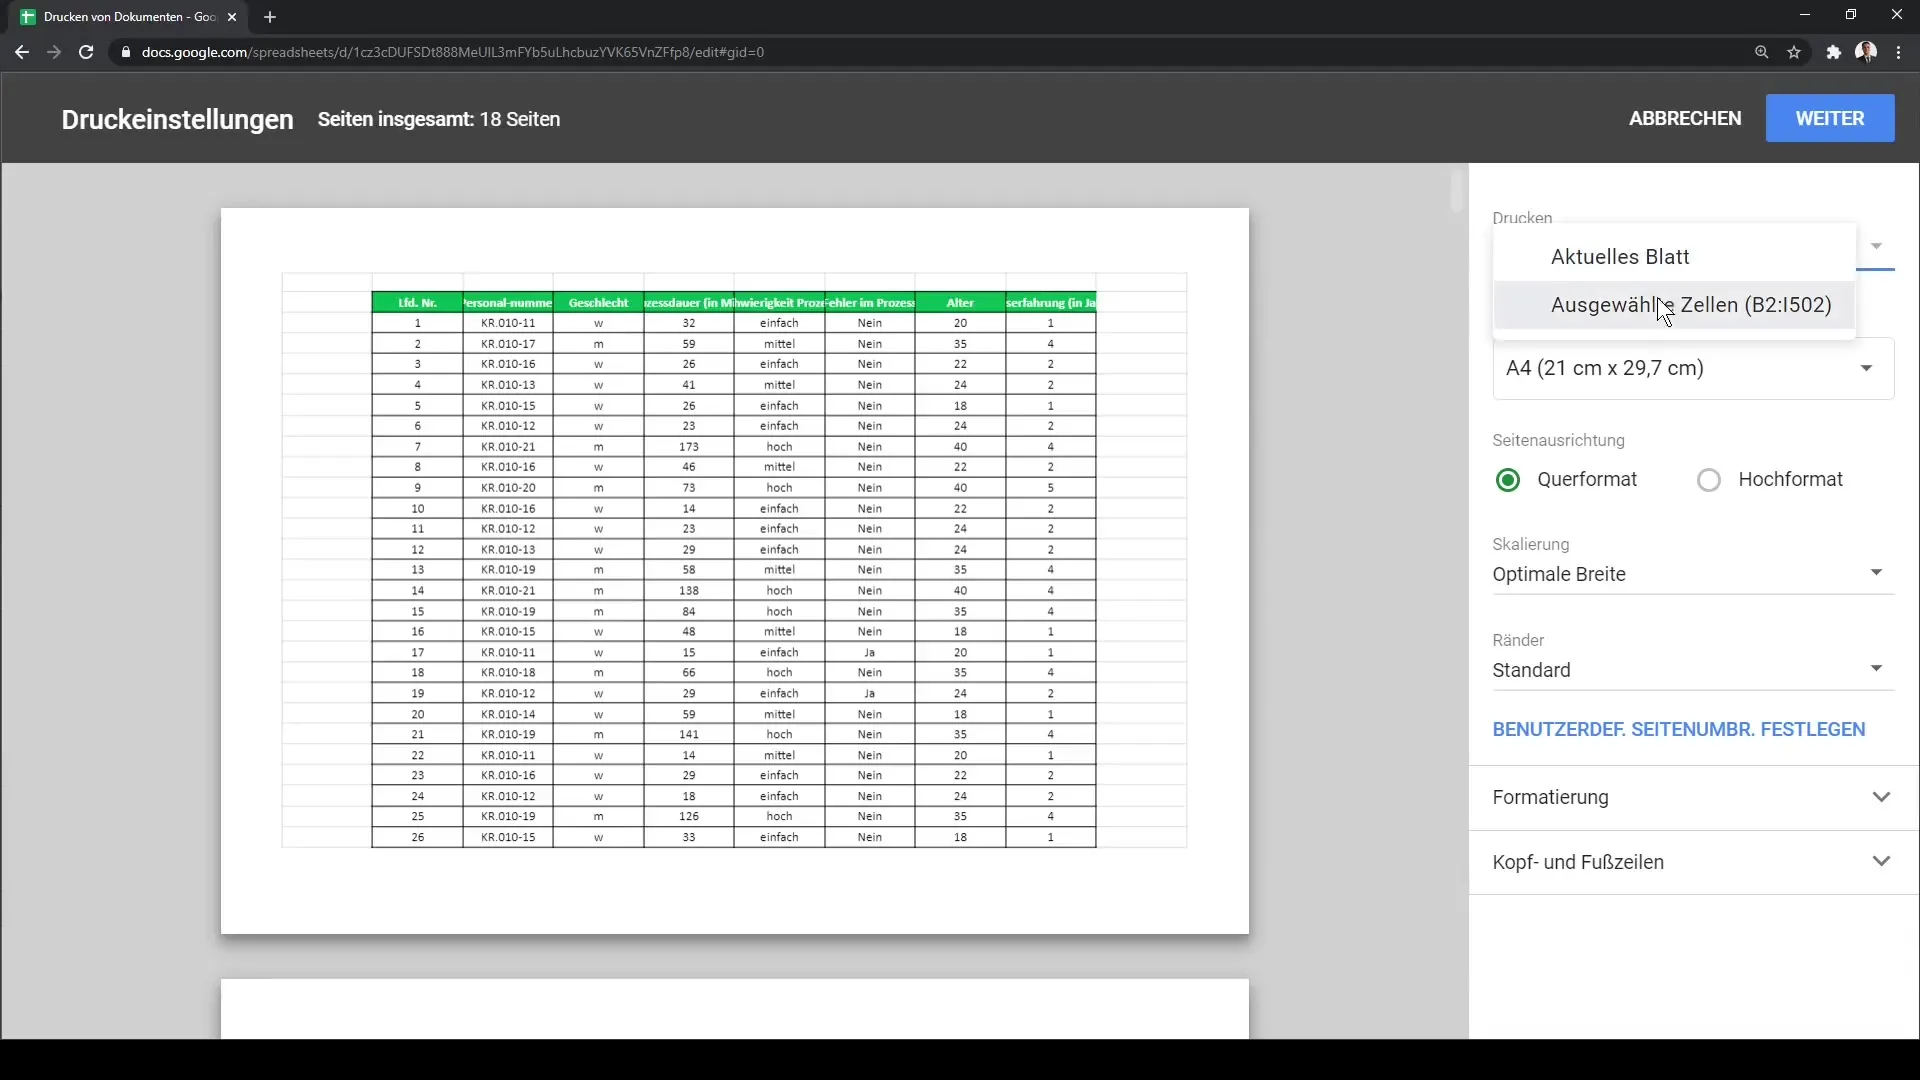
Make sure to adjust the print area settings to the data you need. If desired, you can also add text wrapping. Selecting "Text wrapping" will automatically wrap the text to the next line, improving readability on paper.
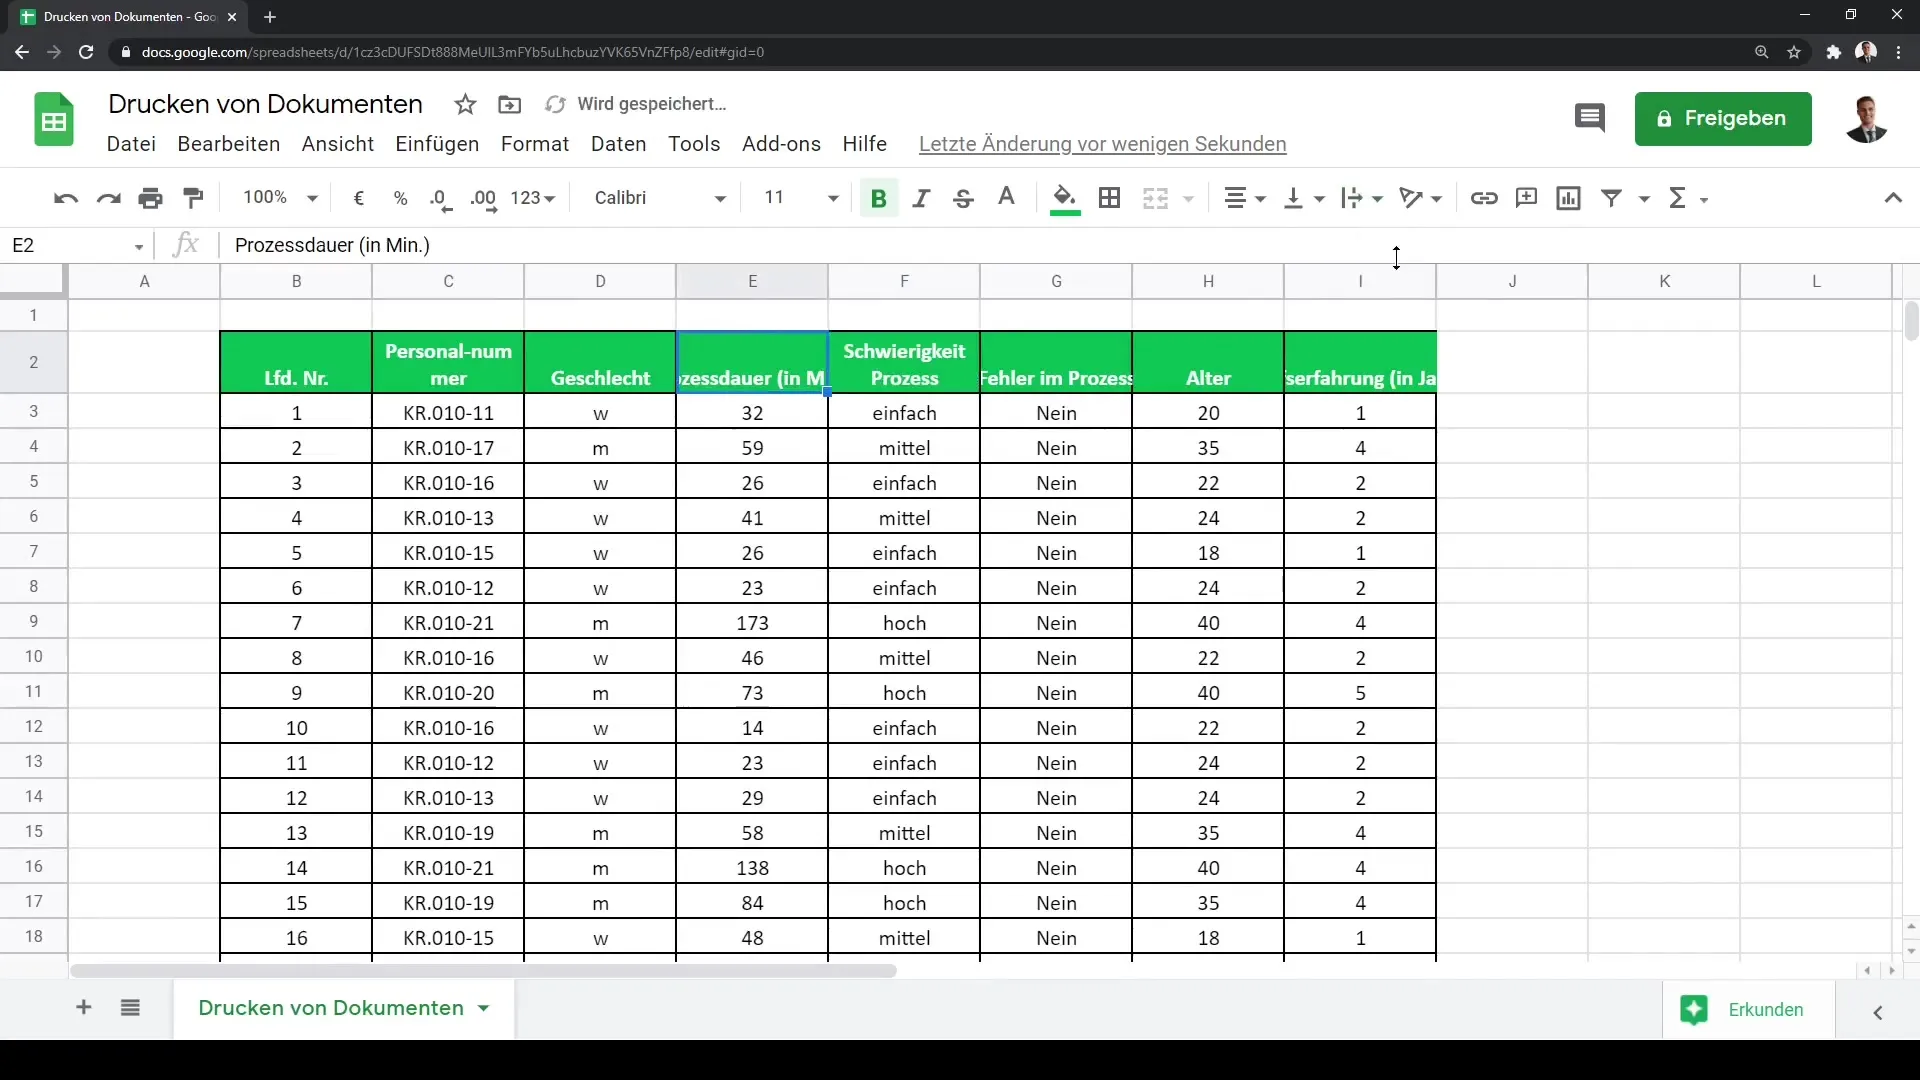
Furthermore, you can adjust the orientation of your document. For example, if you have a wide layout, you may want to set the orientation to landscape. This way, you can ensure that the entire layout fits well on the page.
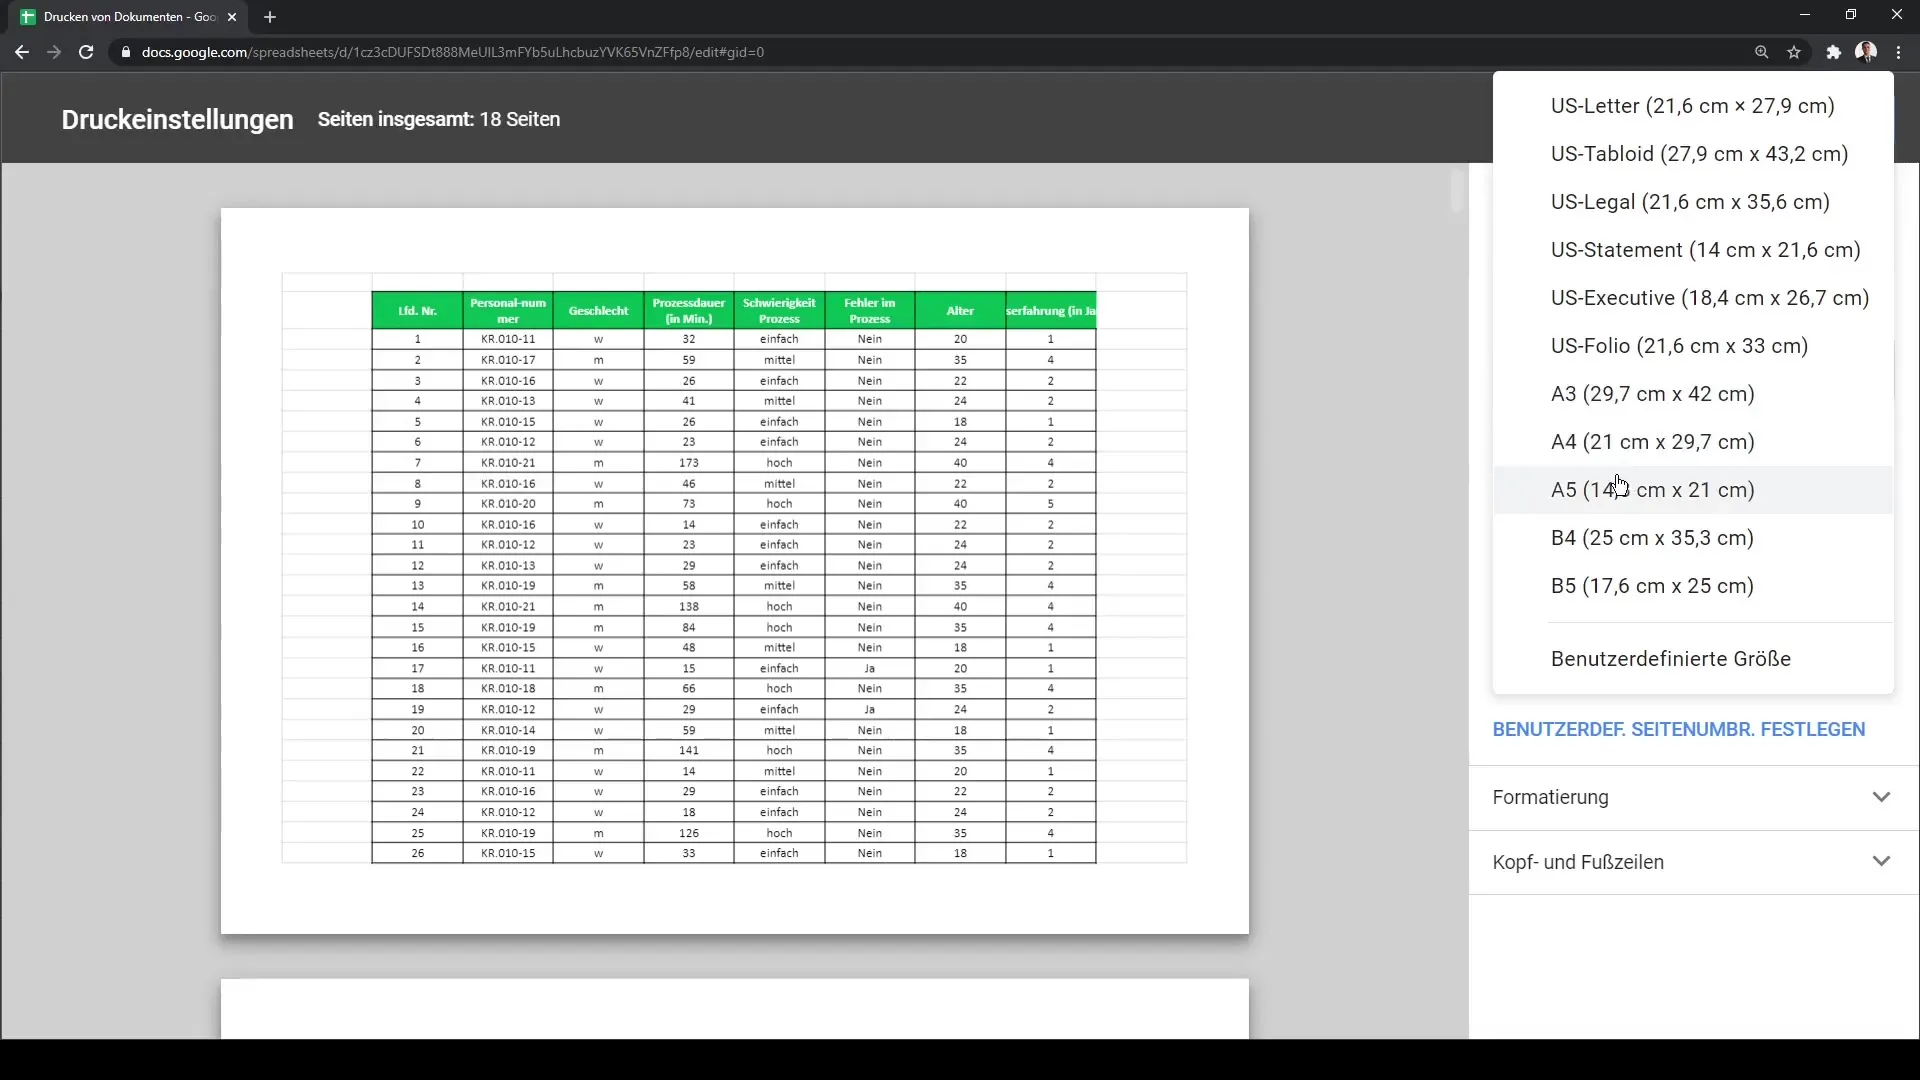
Next, select the desired paper size. This could be A4, A3, or even A5, depending on your needs. In the print settings, you will also find the option to choose between portrait and landscape orientation. In most cases, portrait orientation will suffice unless you have specific layout requirements.
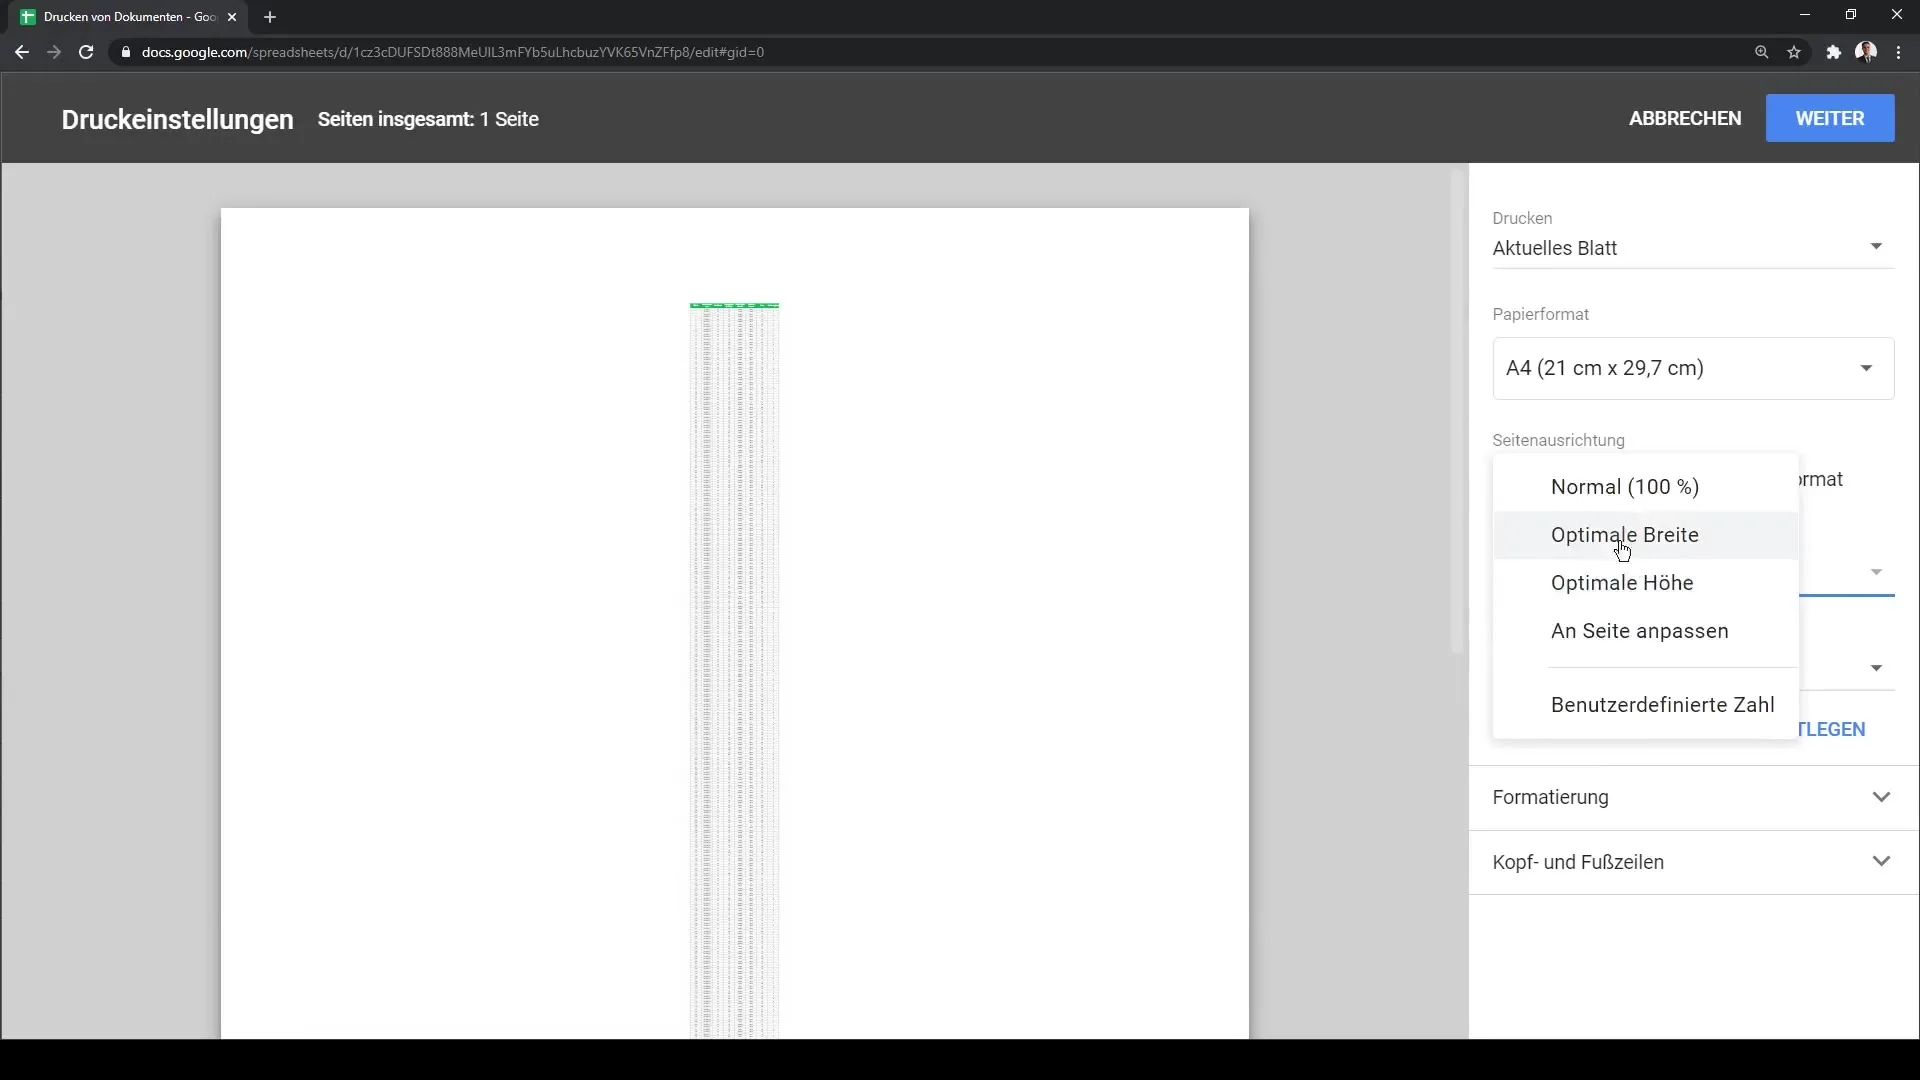
Additionally, you may want to adjust the scaling of your print. Here, you can choose between "Normal," "Fit to Width," and "Fit to Height." These options help you optimize your table layout on the sheet. For most documents, setting it to Normal (100%) is ideal.
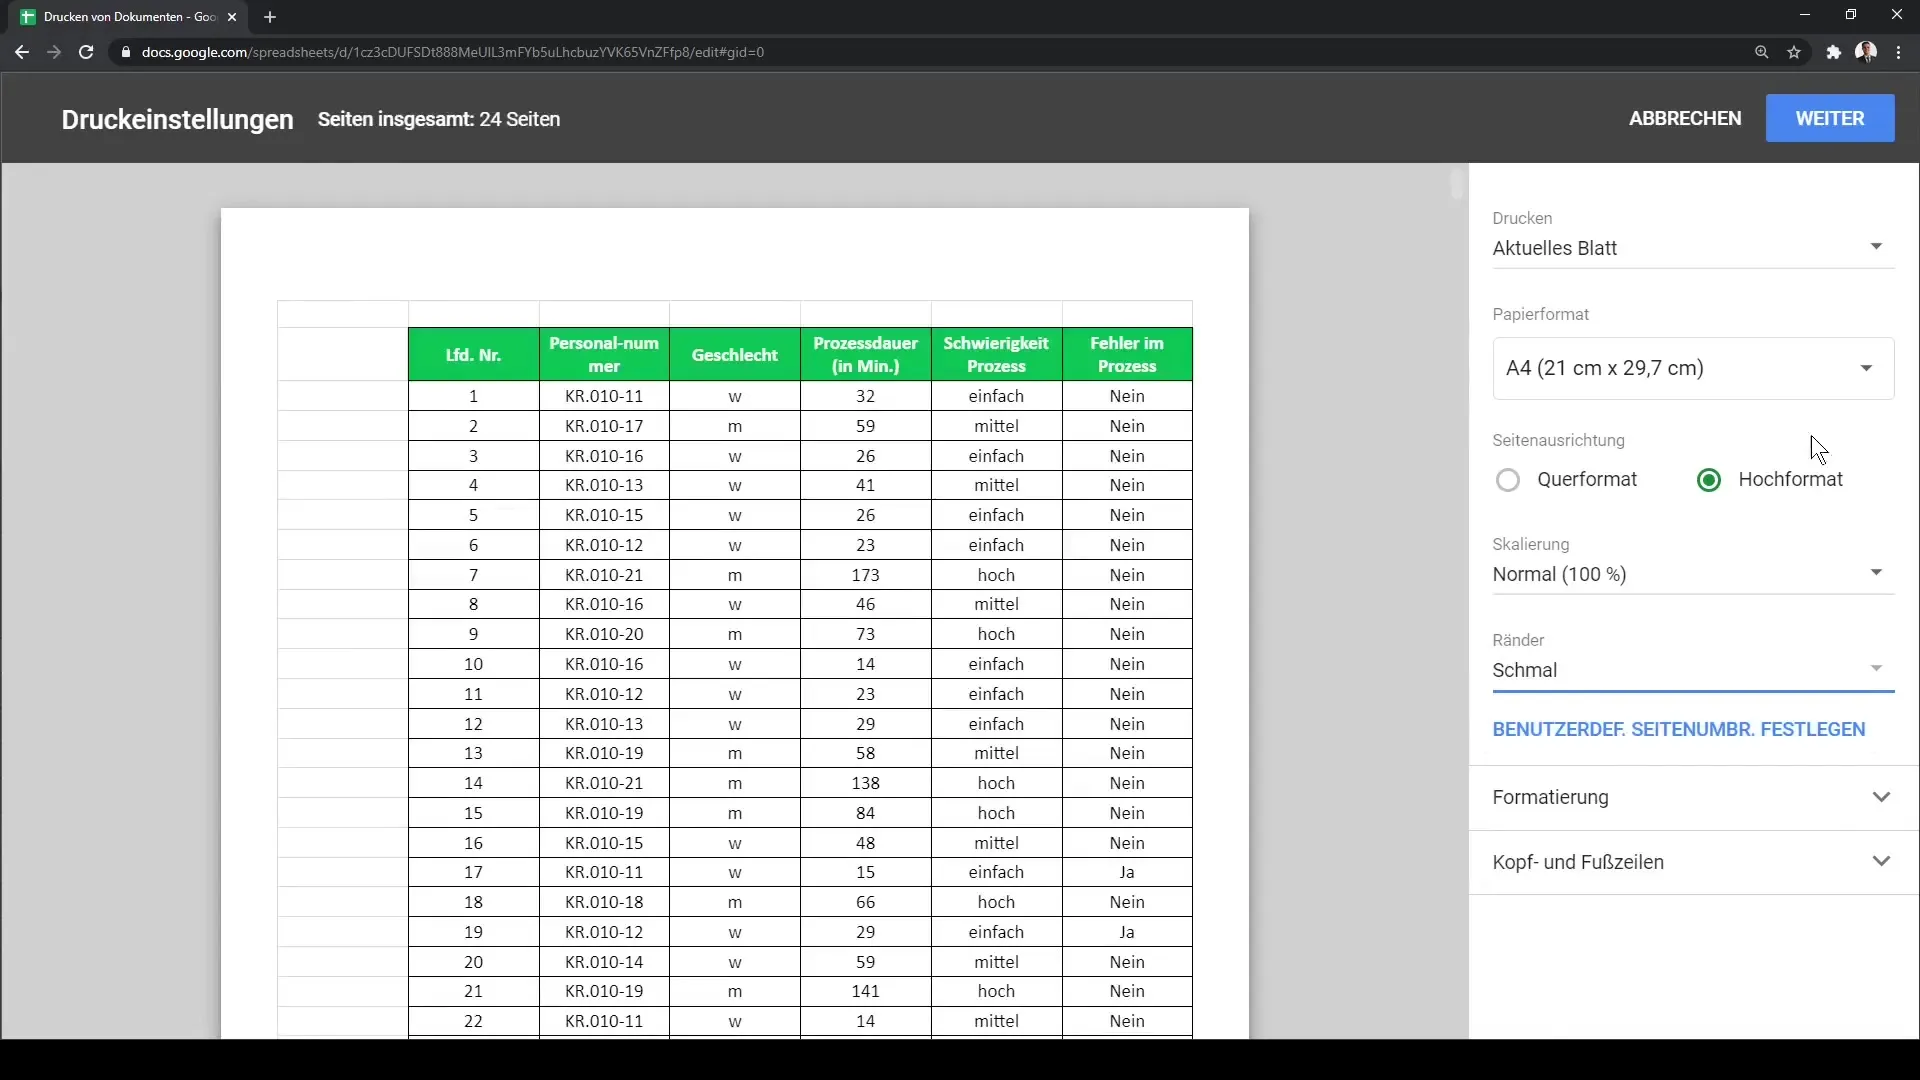
You also have the option to set the margins. A common setting is "narrow" as it provides more space for your content. After making all the desired settings, you can click "Next" to confirm the print job.
Finally, send your print settings directly to Google Chrome to print the document. In the last step, review the preview to ensure everything looks as you want it to.
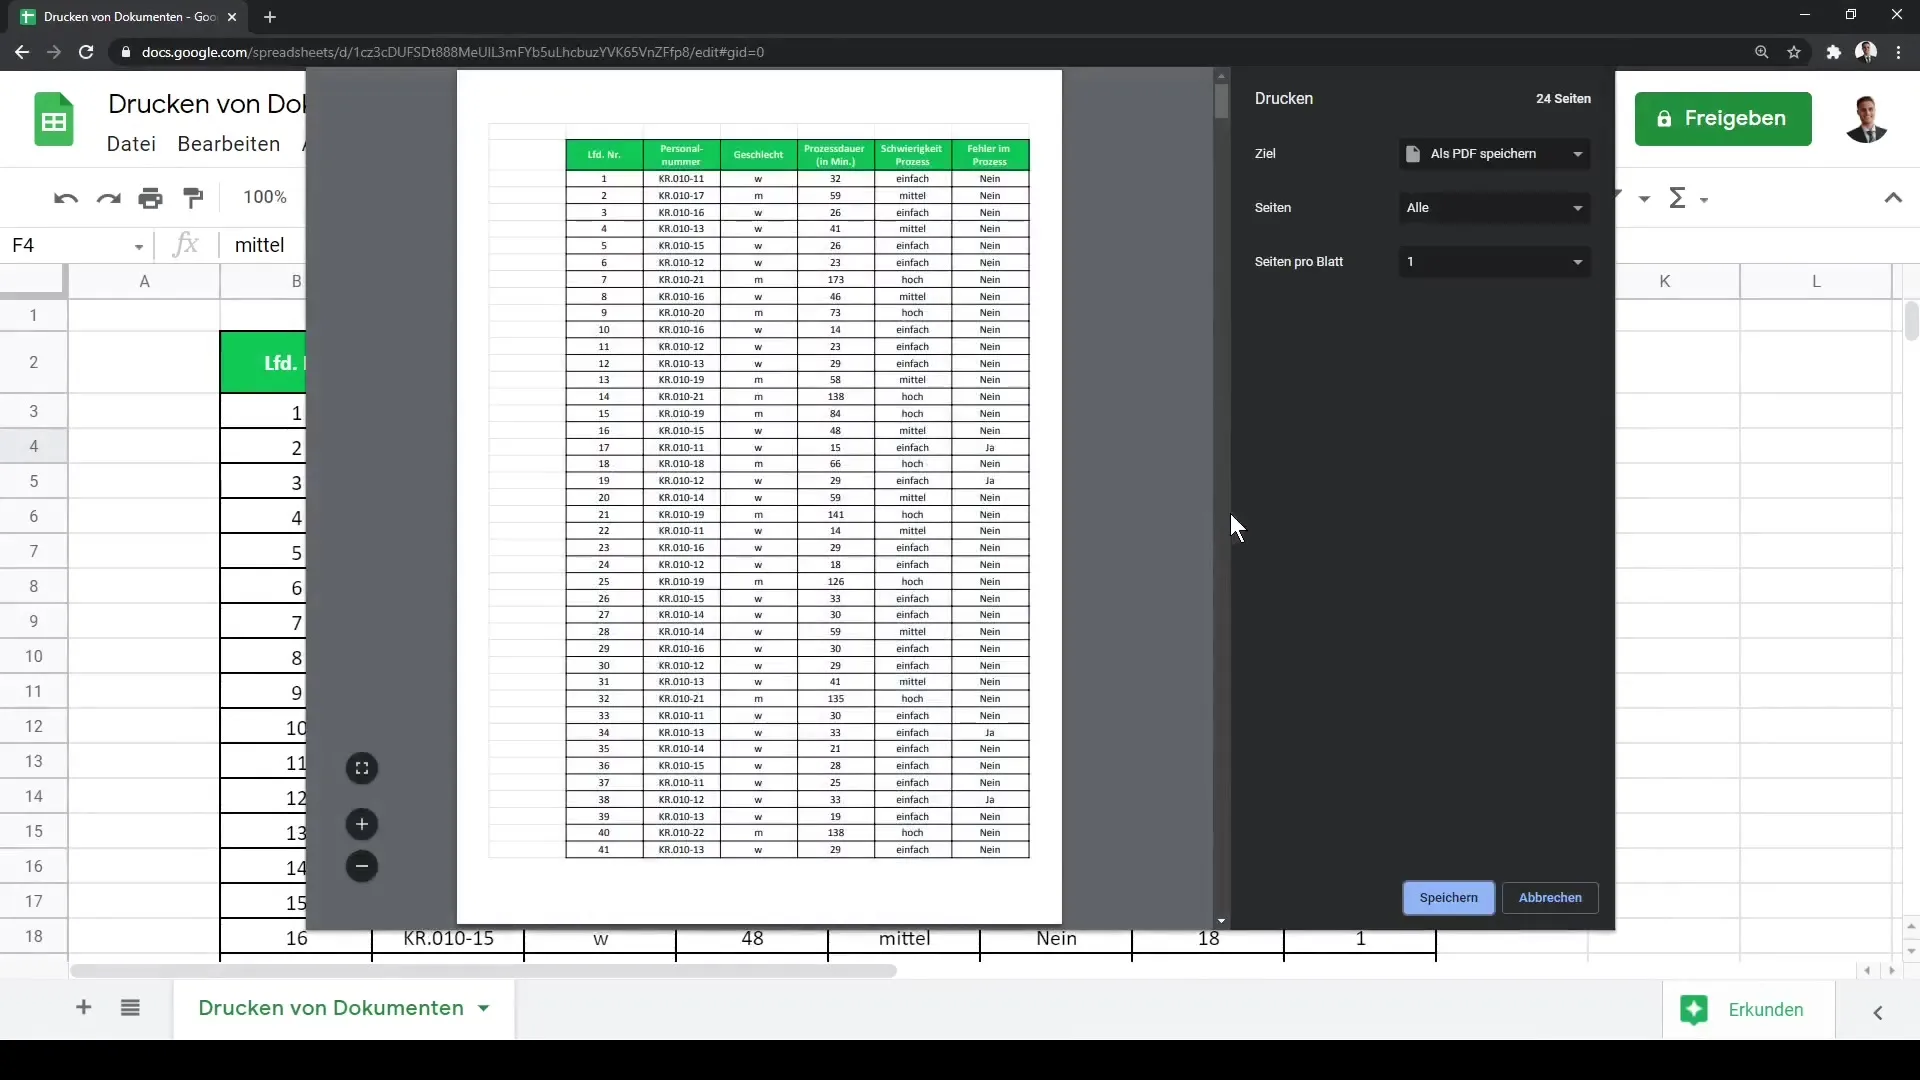
And that's it! You have successfully learned how to print a Google Sheets workbook.
Summary
In this guide, you have learned the steps to print your Google Sheets workbooks in physical form. You have discovered how to select the print area, adjust print settings, and finally send the print job. With this knowledge, you can efficiently and professionally have your data in paper form.
Frequently Asked Questions
What is the best way to print a Google Sheet?The best way is to select the entire data range by using Control + A and then use Control + P to open the print dialog.
Can I print only specific rows?Yes, you can choose in the print dialog whether you want to print the entire sheet or only the current rows.
How can I change the print orientation?In the print settings, you can choose between portrait and landscape orientation, depending on the layout of your table.
Can I adjust the margins for printing?Yes, you can set the margins to "narrow" or other predefined sizes to create more space for your content.
How do I send the print job to my printer?After reviewing and adjusting the print settings, click on "Print" to send the job directly to Google Chrome.
