There are also a few really nice tips on the subject of knives that I would like to share with you. First of all, let's get a cube. I'll simply divide it into two segments ....webp?tutkfid=65217)
... and, so that we can see that something is happening, I'll then put it into a HyperNURBS object.
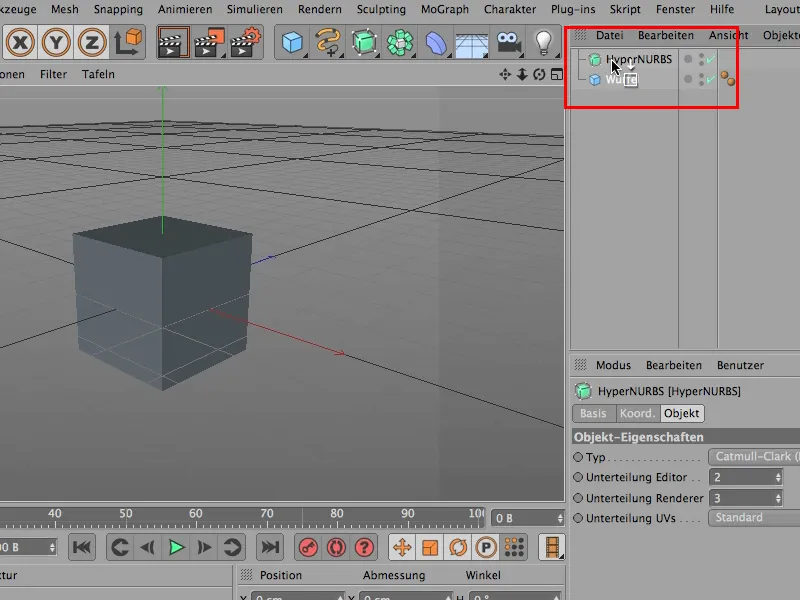
We can't do much with it yet, because our cube is not yet editable, so we first have to convert it using the C key.
And now we can work with the knife. I'll get that; it's already on loop. It's actually on Line when you call it up. As you know, you can use the line to cut from edge to edge, from point to point. But I still think you can do a bit more with the loop.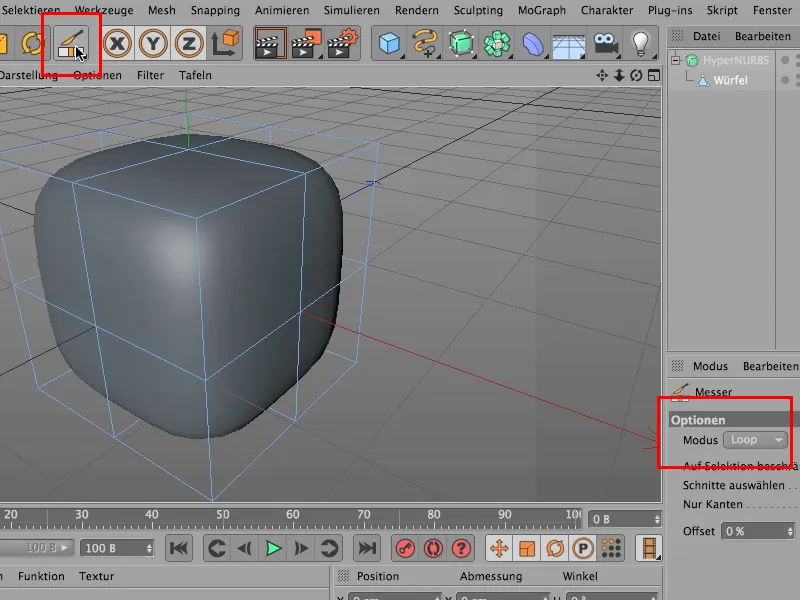
What do you do with it? For example, you set an edge so that the HyperNURBS finds two edges in a small space, and of course you have to go to the right mode, the edge-editing mode,....webp?tutkfid=65220)
... and bang - I have set an edge here, ....webp?tutkfid=65221)
... and you can see that it's actually already working. Wonderful - you could do it like this, but I'm going to undo it, because I'd rather set my edges a bit more precisely.
I want to set an edge down here, at this point, and because I can't work that precisely in the editor with this thing (note that here in the attribute manager I get a display with 3 decimal places for the offset ), because it can't work that precisely here, even if I get closer, ....webp?tutkfid=65222)
... I do the following: I simply press when I have my position approximately, really only approximately, then I press the Shift key, and now this gray frame remains.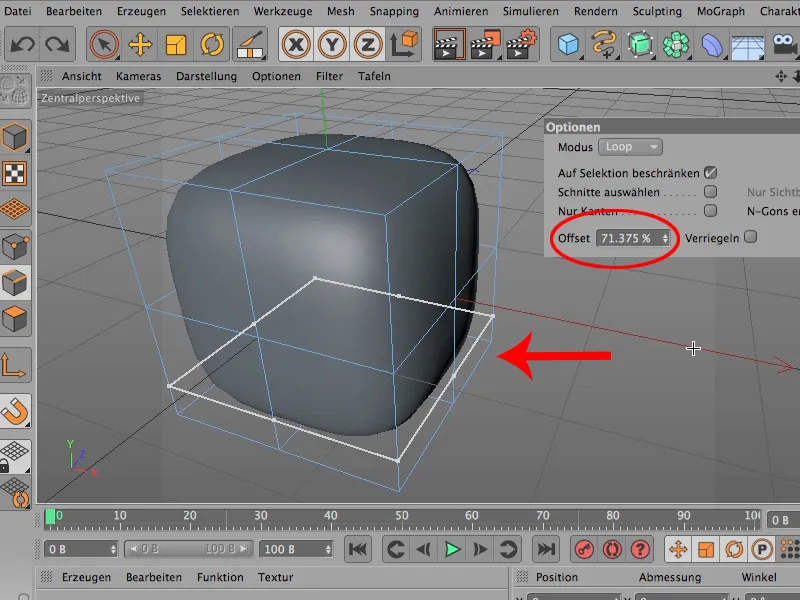
That's exactly where CINEMA would have cut now, but you might not want it at 71.375%, you might want it at 95%. That's a bit further down.
So I enter 95 here for the offset and simply click somewhere in the image, and I've set my edge at 95%.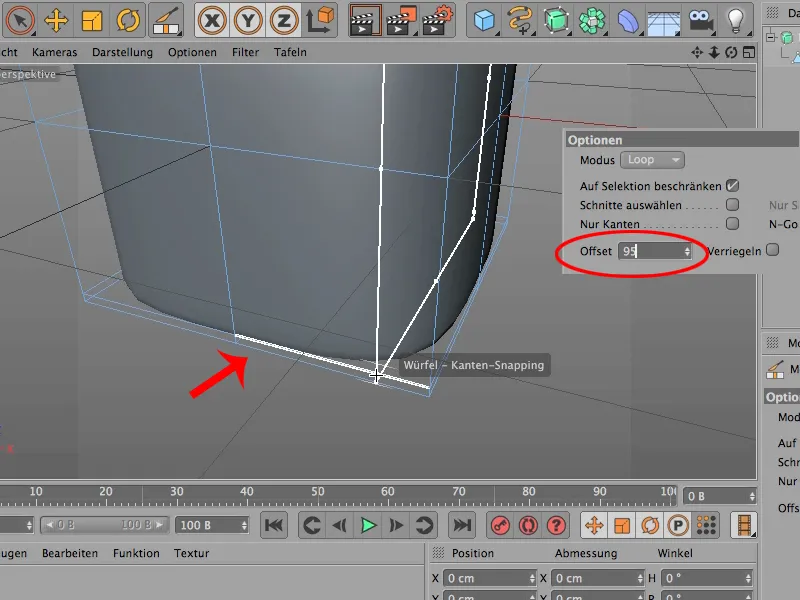
This means that this 95% is 5% from the bottom edge to the cut and 95% from the cut to the next edge. The height of this polygon was therefore divided into 20 parts, so to speak.
You can of course do the same thing again above, only this time it's the other way round. You always have to watch the offset a little, but I can definitely give you a tip: Where are 0, where are 100%? Down here it seems to be 100%, up here it's more like 0%. So I do this by moving somewhere up here, pressing my Shift key again and now of course not entering 11, but only 5, ....webp?tutkfid=65225)
... click into the picture and I've set my edge up here. The great thing about it is that the edge is just as far away from the top edge as the one I've just set is from the bottom edge.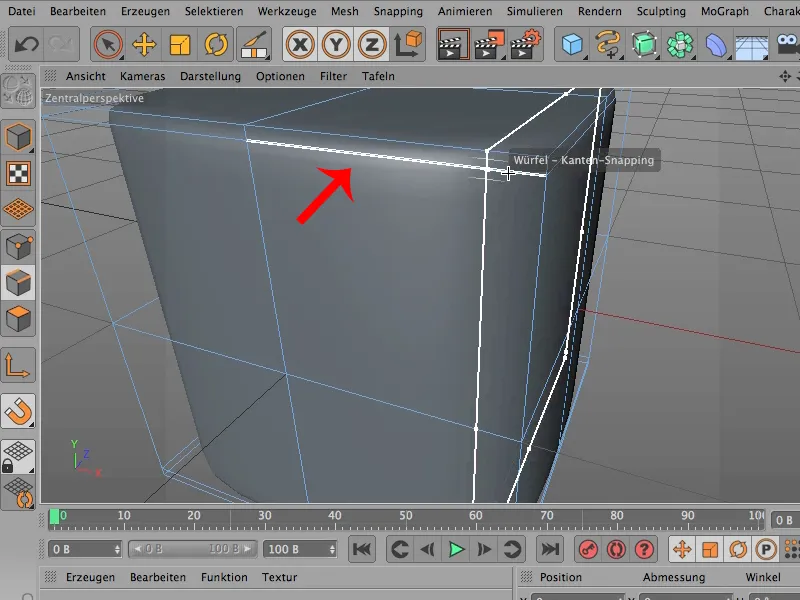
So - it remains symmetrical simply by precisely controlling the offset.
Another little thing: you can also lock something like this. So you can, for example, if I click on Lock and try the same thing here - just set the Shift key here - and if I now click into the image, then - as expected - a cut will occur at this point, but the frame will remain, and I can now move it a little further over here, click into the image again, and it will remain in place every time because I clicked on Lock in the options.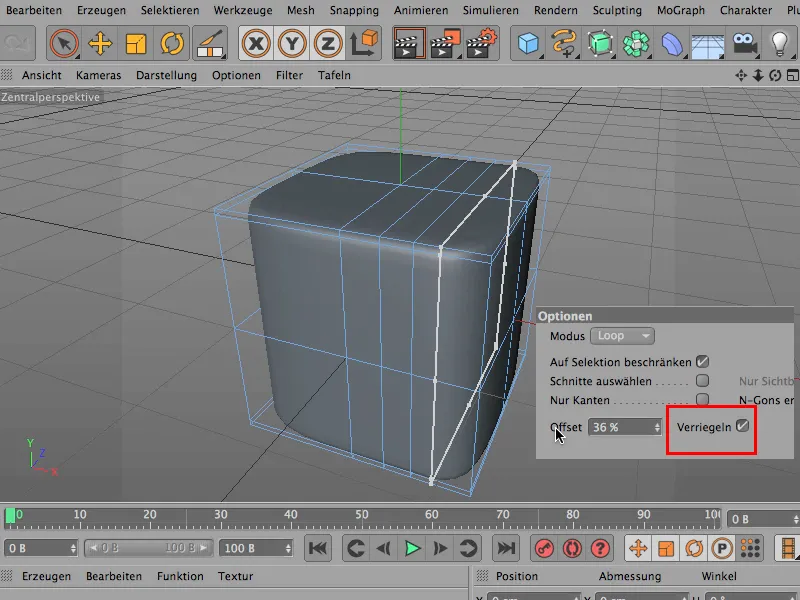
So if you want this frame to be moved by so many percent each time, you can simply click on Lock.
And here's another little thing I'd like to show you: You can also use selections if you want. So take this selection, just use the edit area mode here ,...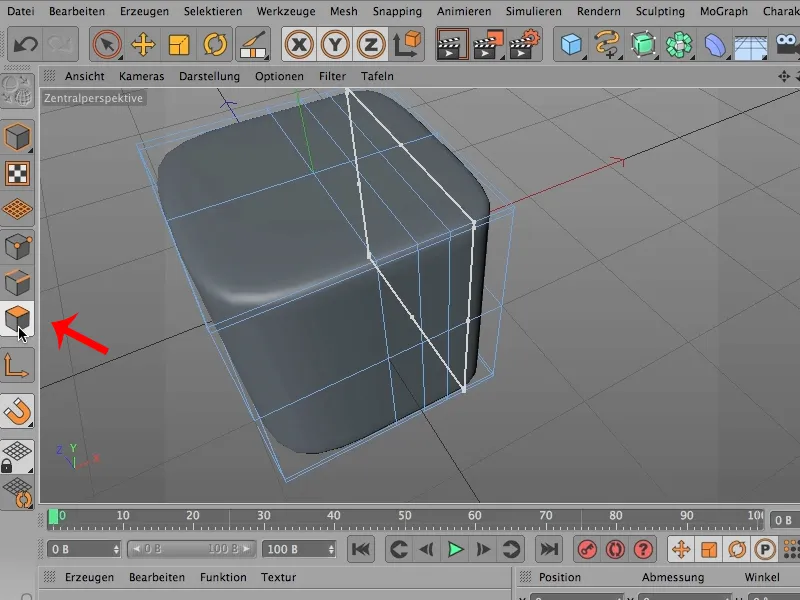
... then get a selection, the loop selection,...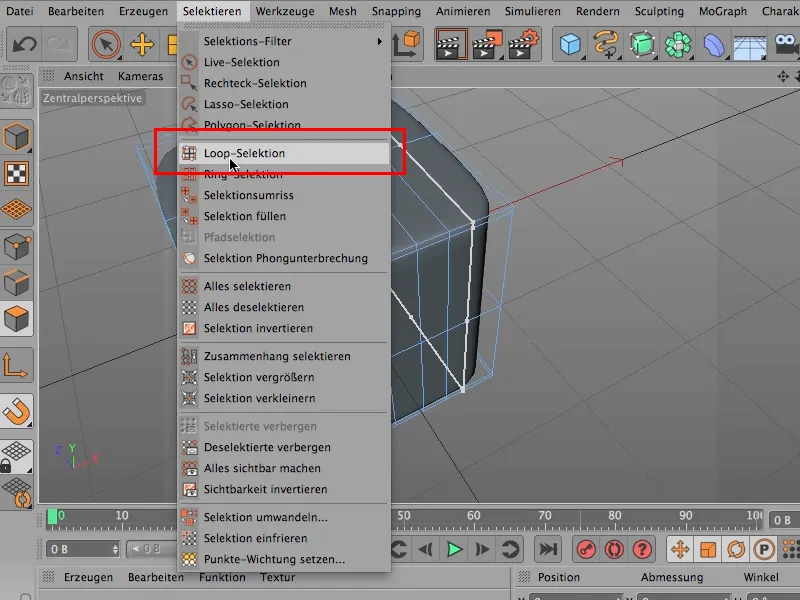
... slide around here once, you have now selected everything (1), but you don't want everything, but perhaps you want to subtract something again here (2), ...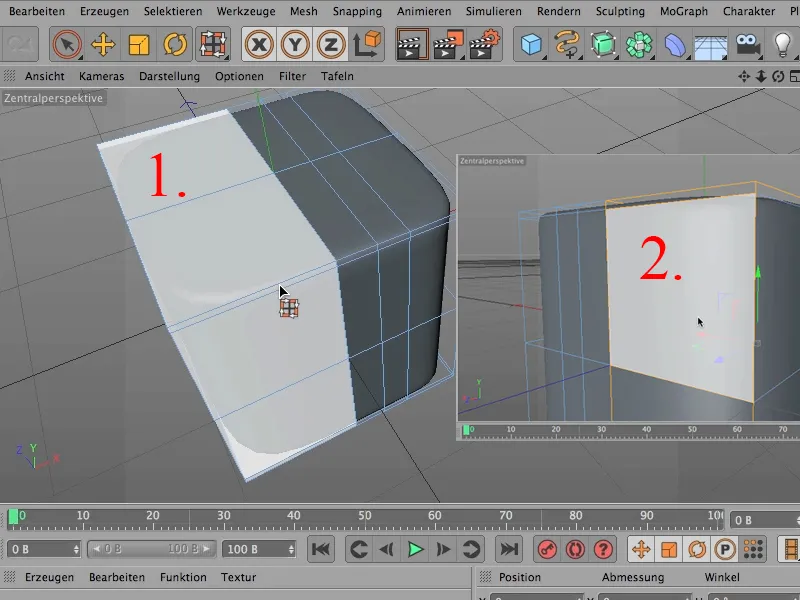
... use the Ctrl key to remove this and this here (3) and this here (4) and still create a loop for the remaining selections. How do I do that?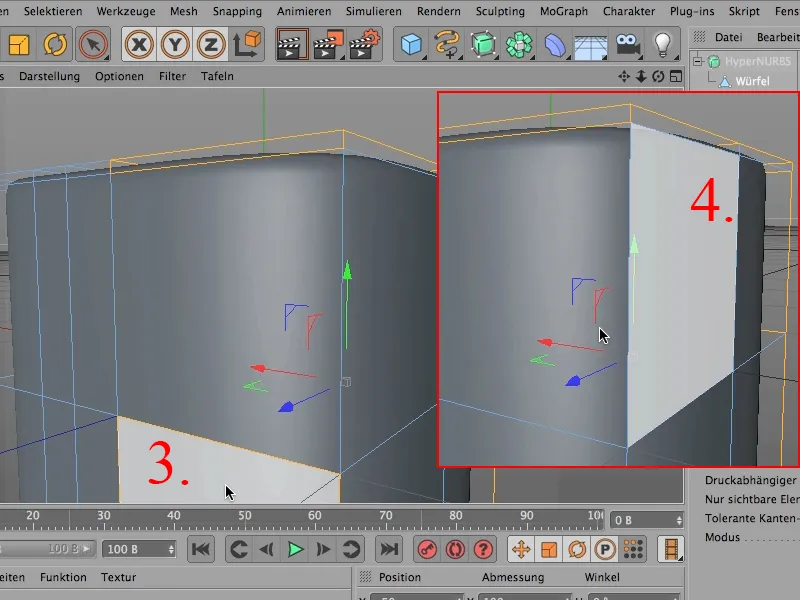
The selection is already done, so I can go back to my knife. This is still set to Loop.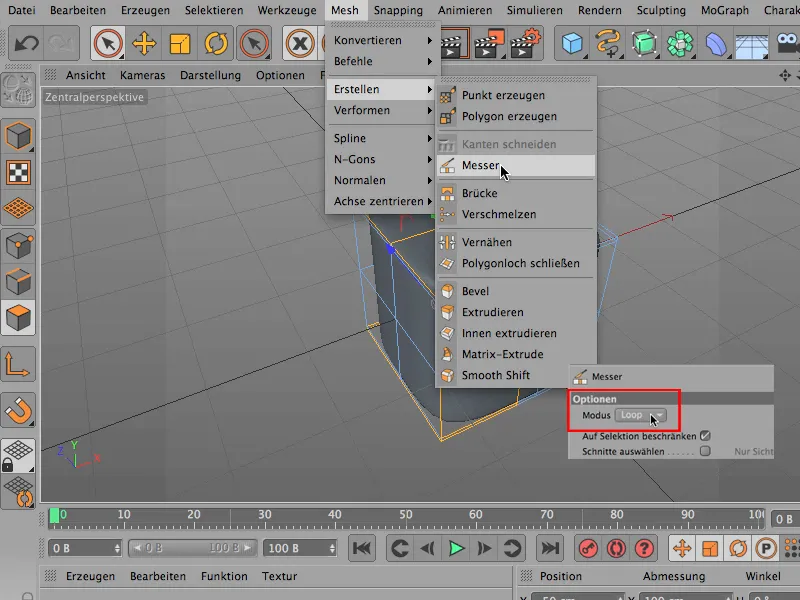
I can easily set the loop here. Zack - it's set (1)..webp?tutkfid=65233)
And the great thing is that it only happened where the selection is (2).
So usually you know that - you know that the selection is there for something like this, but: two things: firstly, I have to set the knife here in the edit area mode, and secondly, at least for me, I haven't really brought these two things, the selection and the knife, together yet, and then you have to do the following: You have to click Restrict to Selection . This is always clicked, but in this case it makes sense that it is clicked, because otherwise it would go all the way around..webp?tutkfid=65234)
The most important tip, however, is to hold down the Shift key when using the knife. This allows you to work much more precisely than if you simply click on it.


