In this tutorial, you will learn how to effectively use cell alignment in Google Sheets. The correct cell alignment can help you present your data clearly and understandably. Whether you are working with text, numbers, or dates, aligning your cells correctly directs the data in the right direction and ensures that it is easily readable. Together, we will explore the various ways of cell alignment, from arranging the cells to adjusting their size.
Main Takeaways
- Adjusting cell size, column, and row arrangement
- Using text wrapping and centering for better display
- Copying and pasting cell content and working with the clipboard
Cell Alignment in Google Sheets
Enlarge View
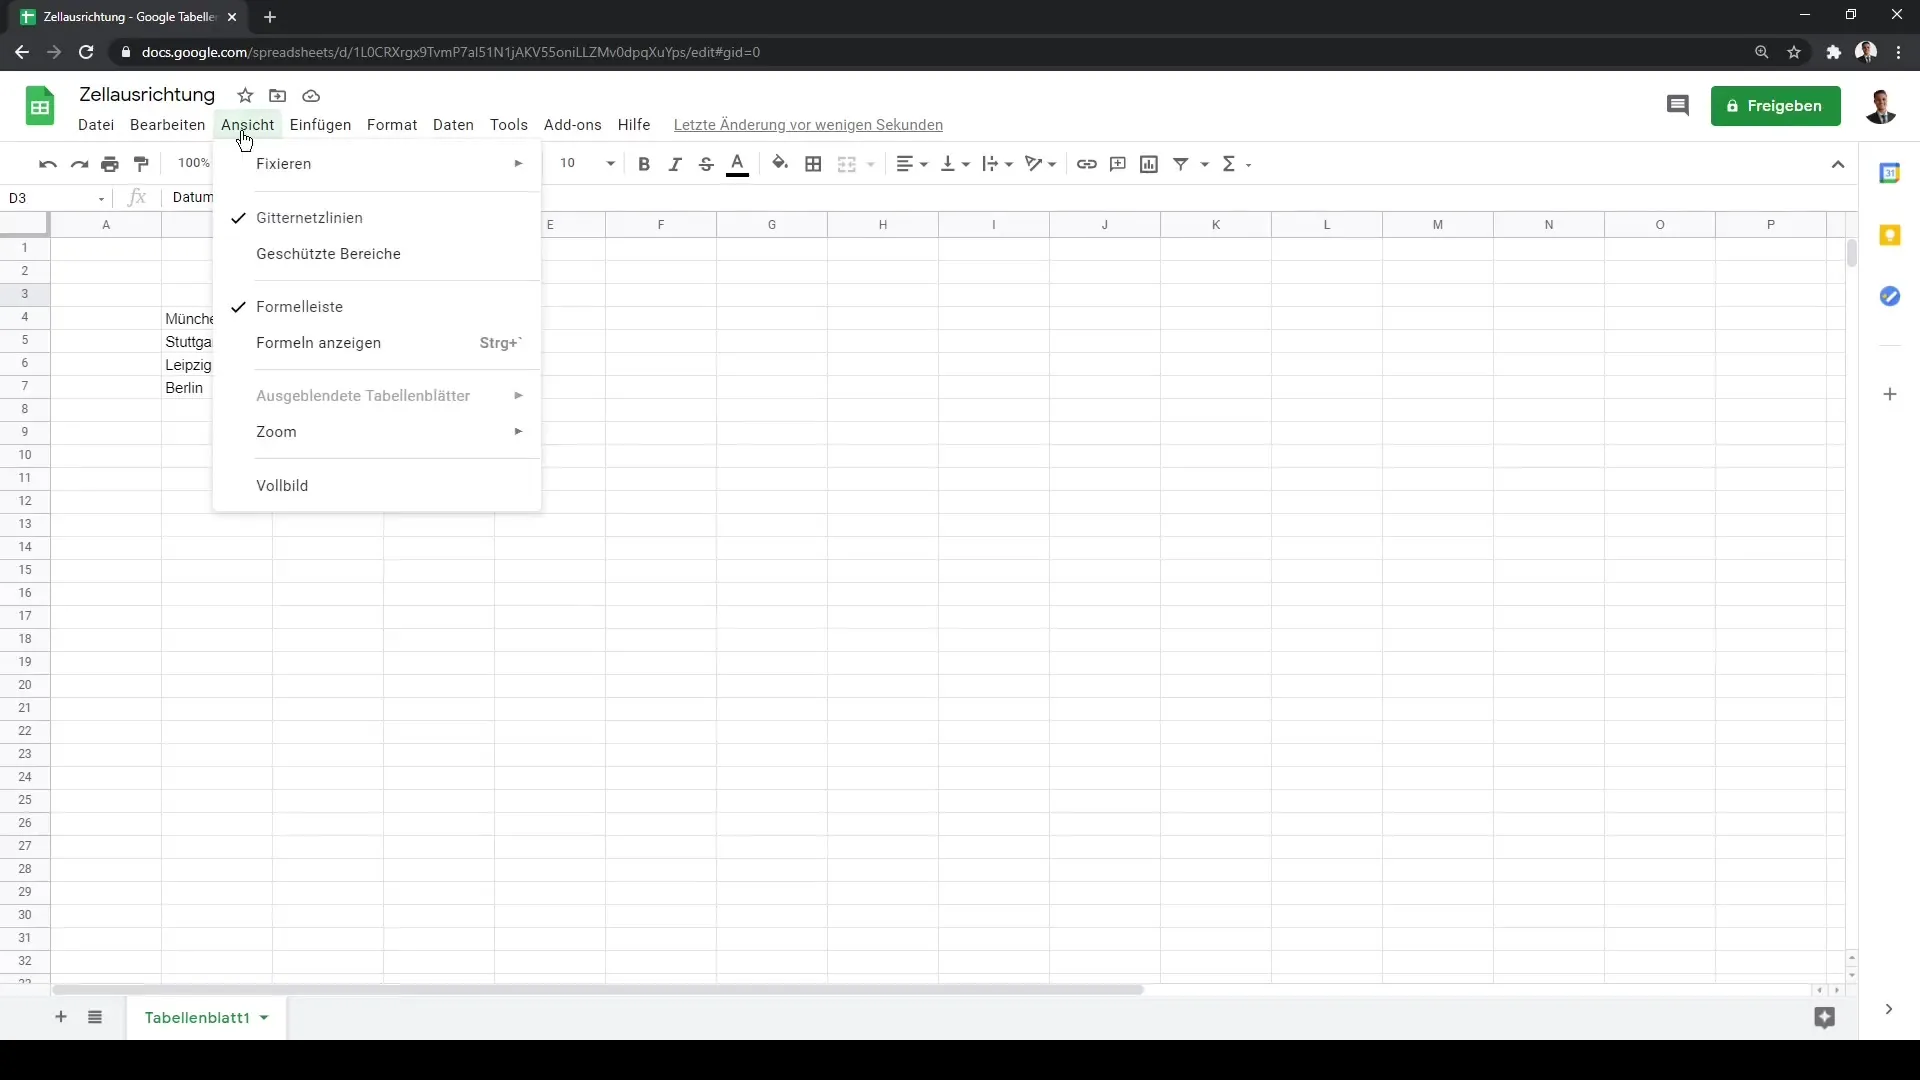
Before we start with cell alignment, I recommend enlarging the view so you can follow the steps more easily. Go to the "View" tab and select "Zoom." I zoom in at 150% to see the contents more clearly.
Columns and Rows Adjustment
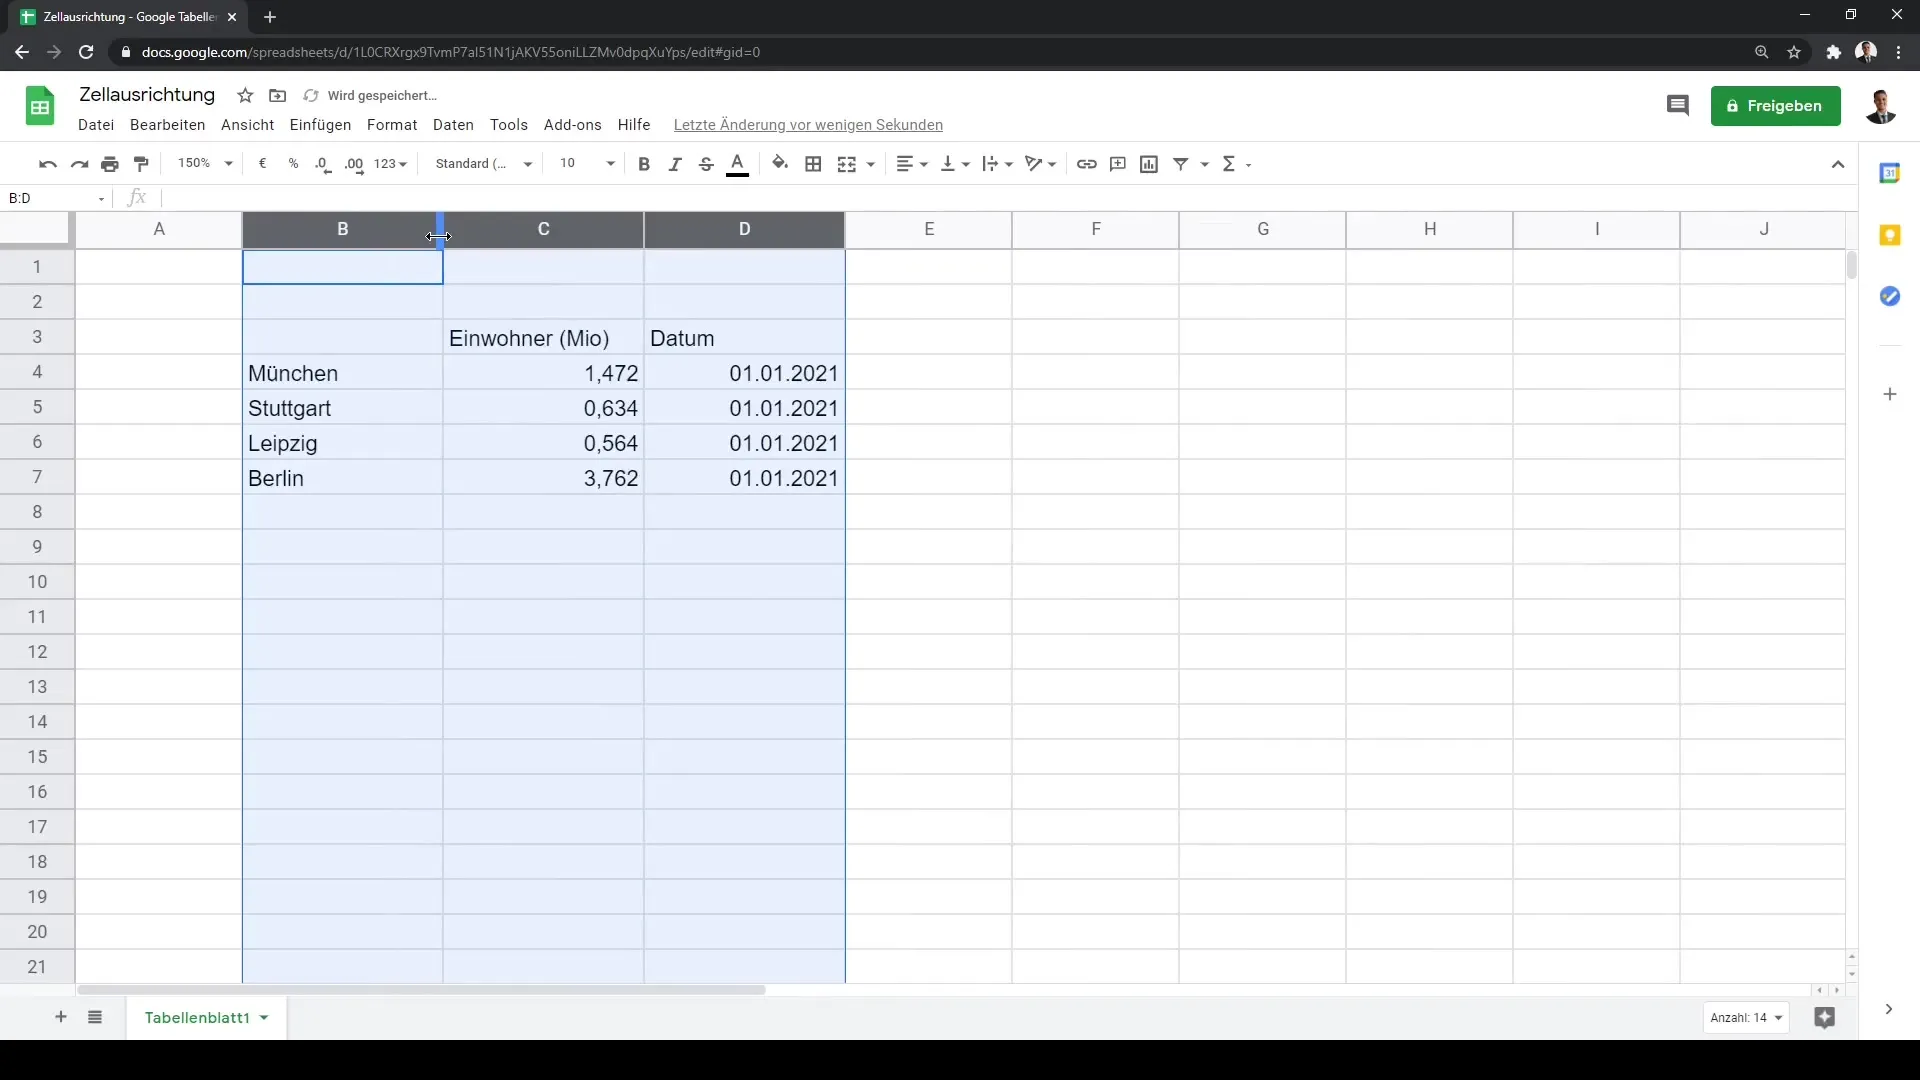
In the next step, we will look at how to adjust the size of columns and rows. To do this, you can select columns B to D. Then, when you click on the arrow between the columns, you can easily adjust the width. You also have the option to add new columns or delete existing ones by right-clicking.
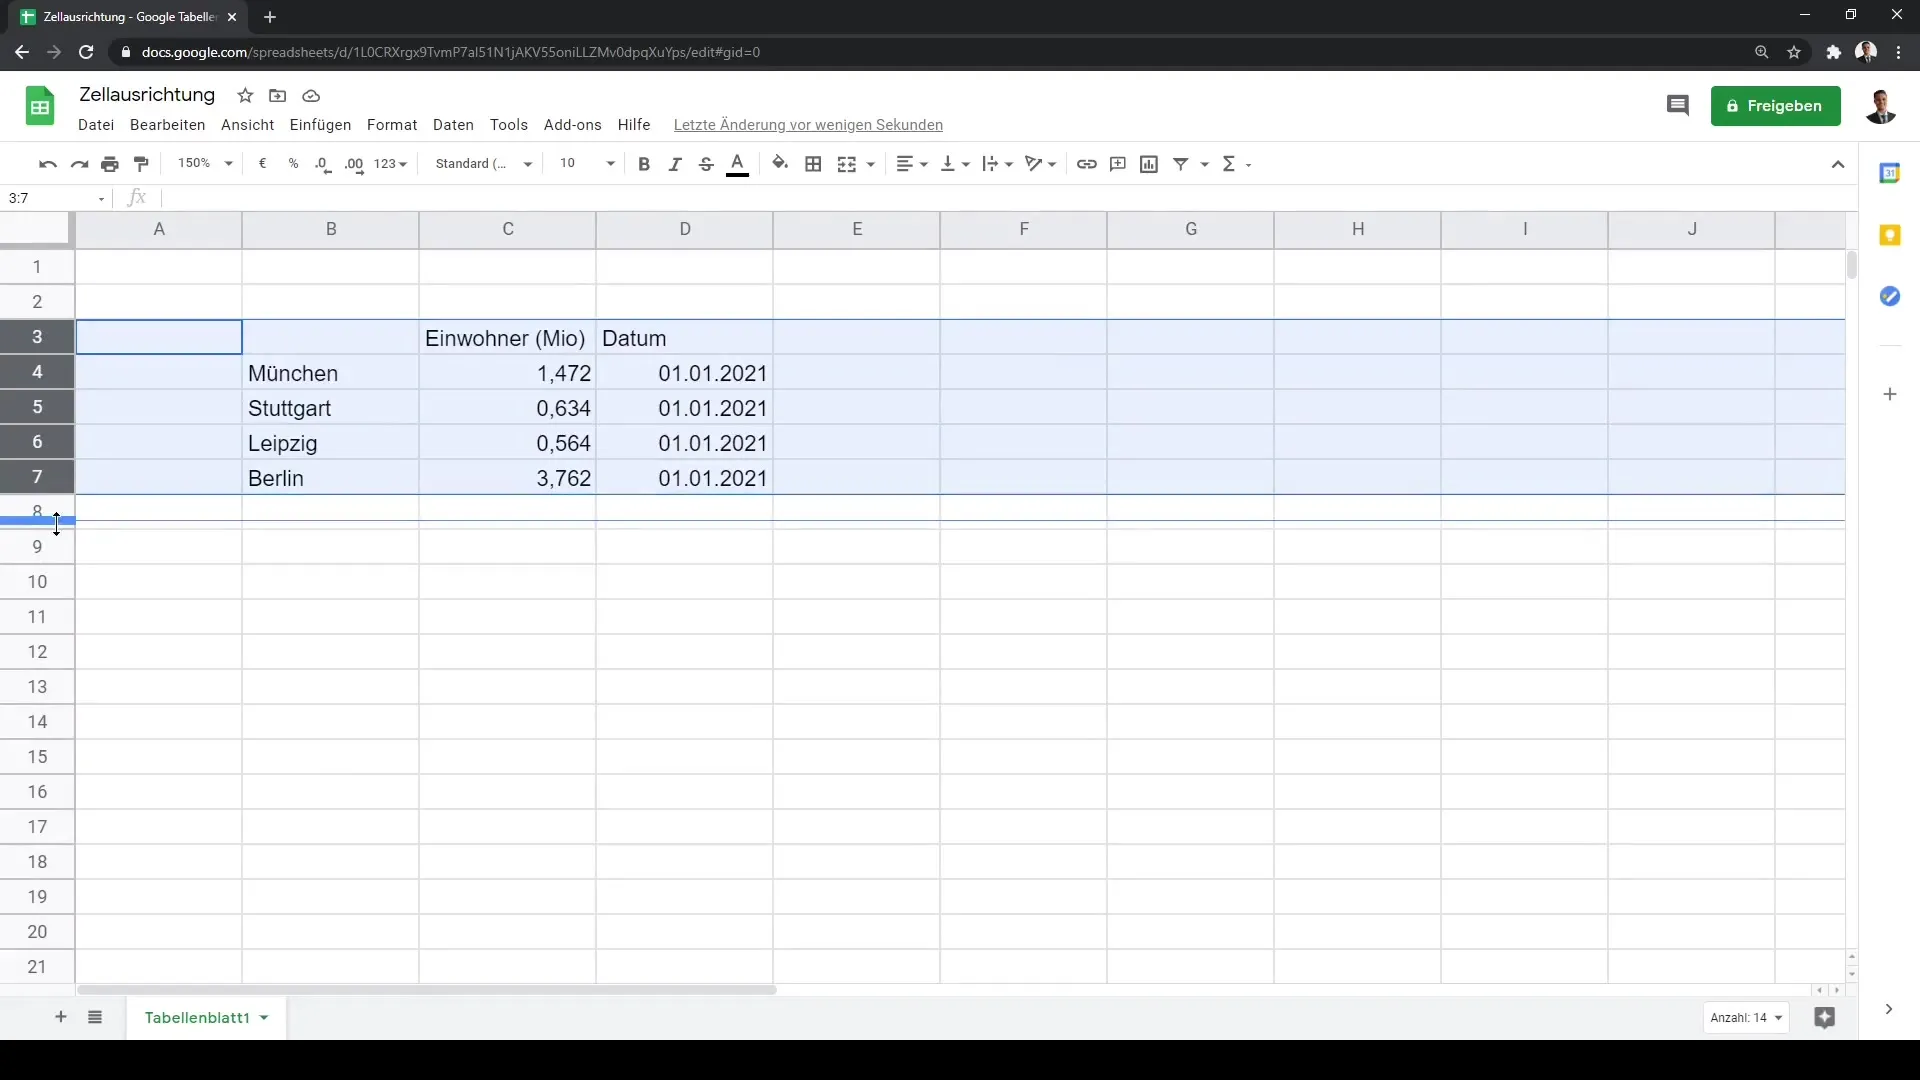
You can also select rows 3 to 7 and change their size. This is particularly helpful when there is more content in a cell than initially visible.
Edit Cell Content
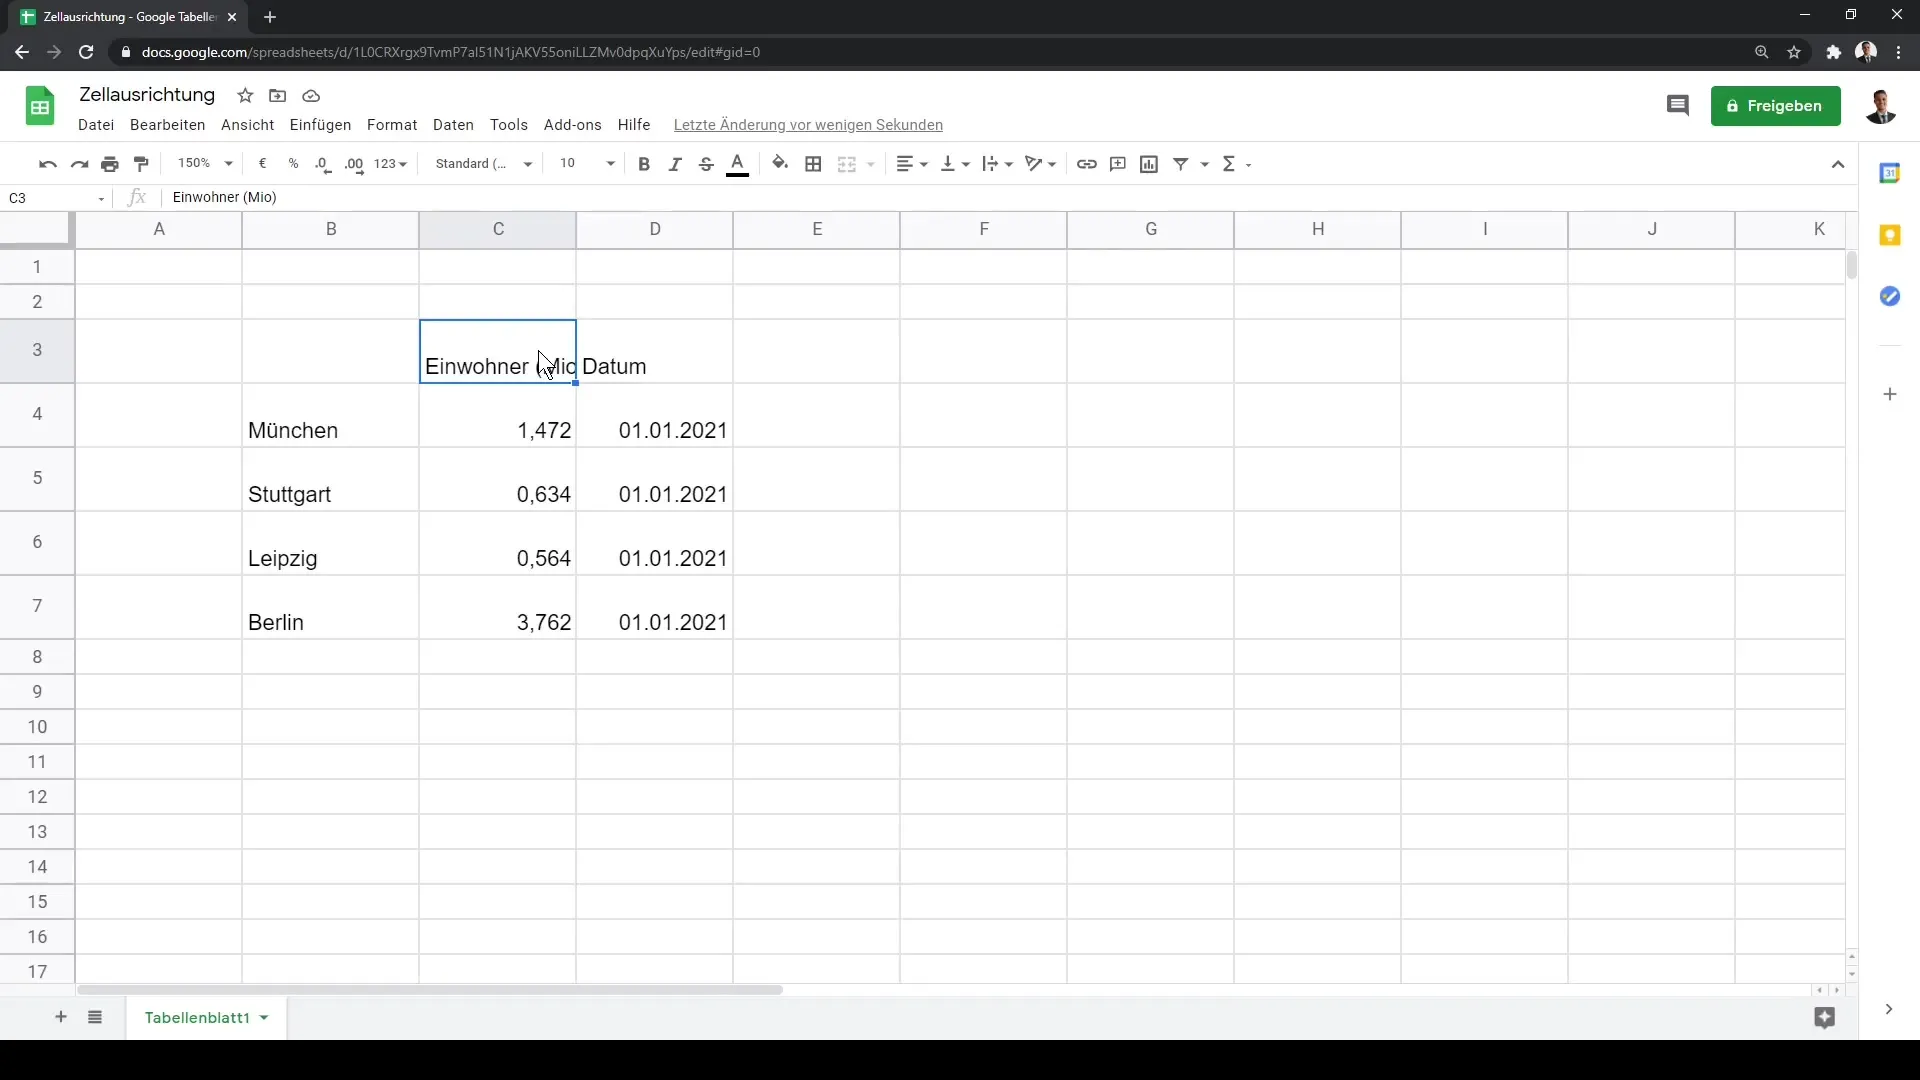
If cell C3, which contains the entry "Population in Millions," is not fully displayed, you can adjust the cells to make the data more visible. One option is to merge the cell and center it, which you can see in the top bar of your workspace.
Enable Text Wrapping
Another useful technique is text wrapping. Clicking on the "Wrap text" option will wrap the text in the cell and adjust it to the cell size so that it is fully displayed. This is especially helpful to ensure all information is visible.
Copying and Pasting Cell Content
An important tool in Google Sheets is the ability to easily copy and paste cell contents. For example, if you have an entry in the cell for Munich that you want to replicate for other cities, you can simply press "Ctrl + C" to copy the content. Pressing "Ctrl + V" will paste the content into the desired cell.
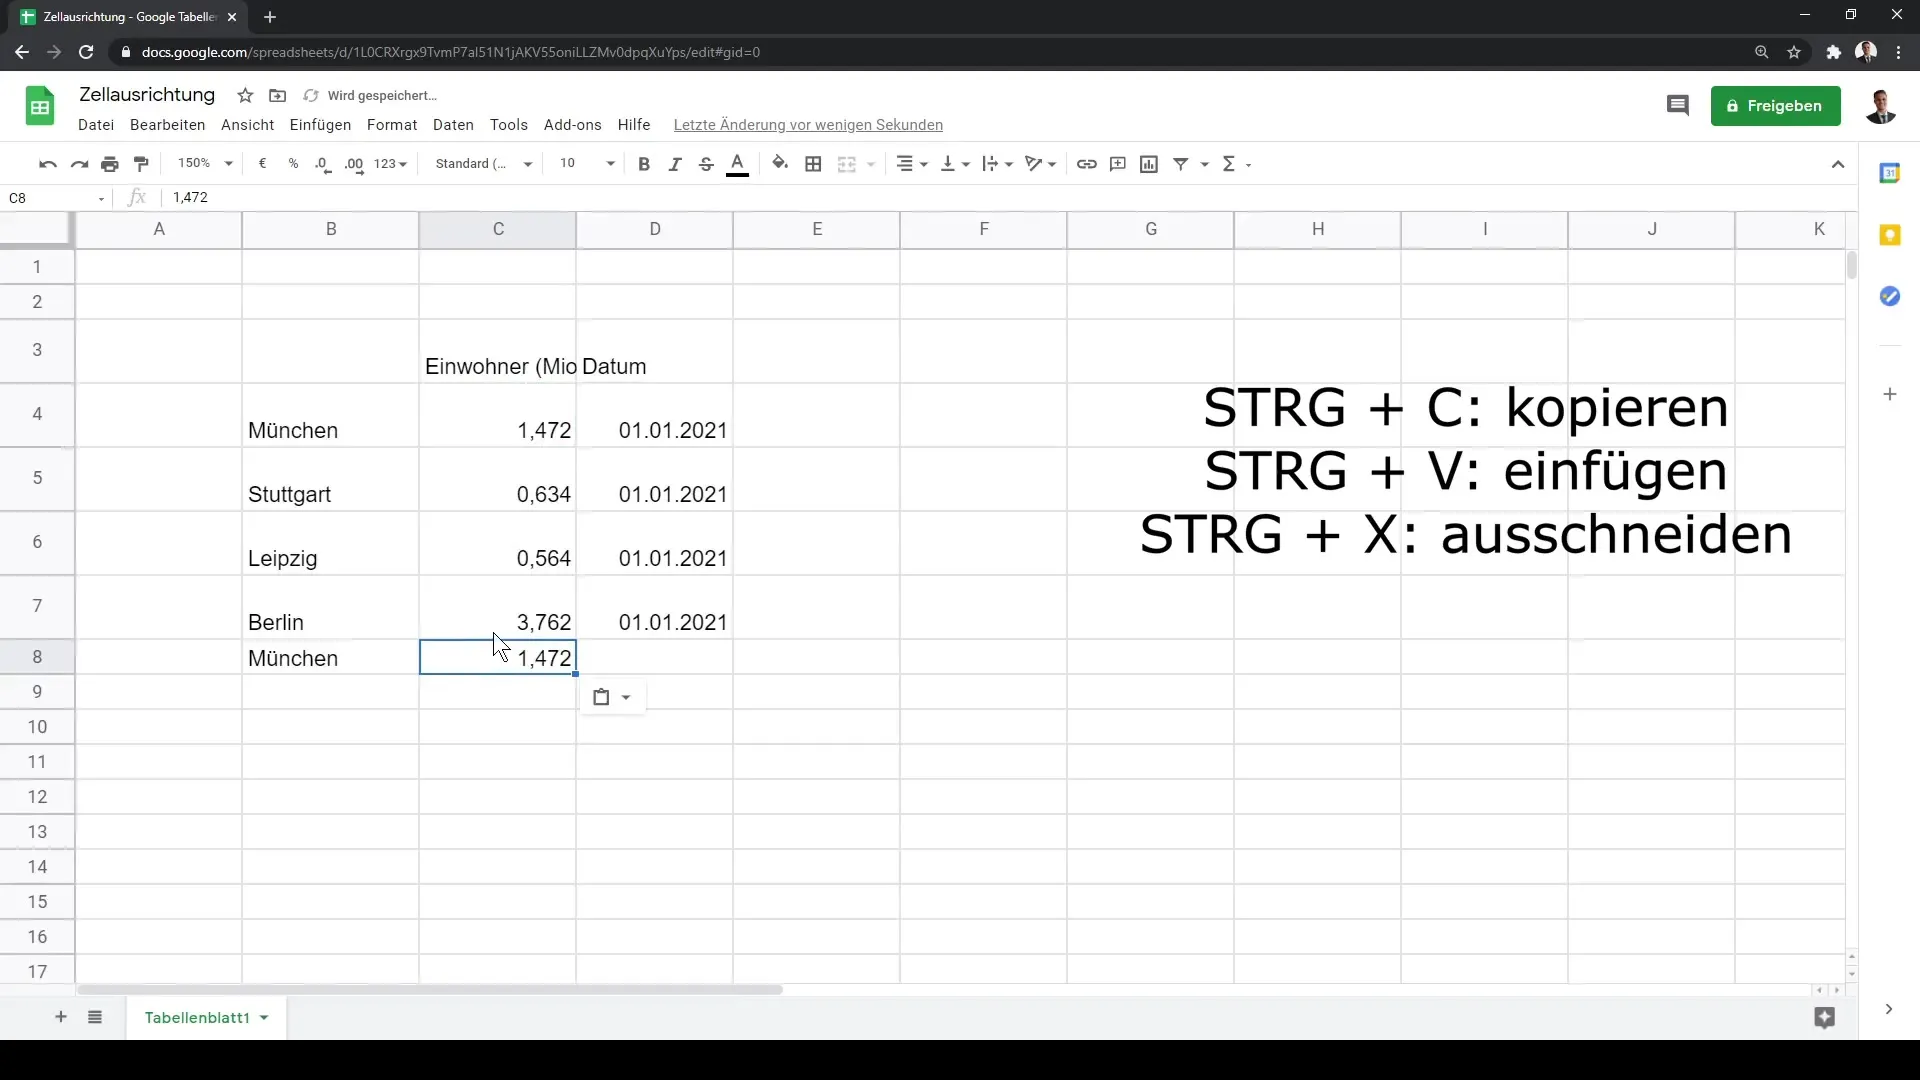
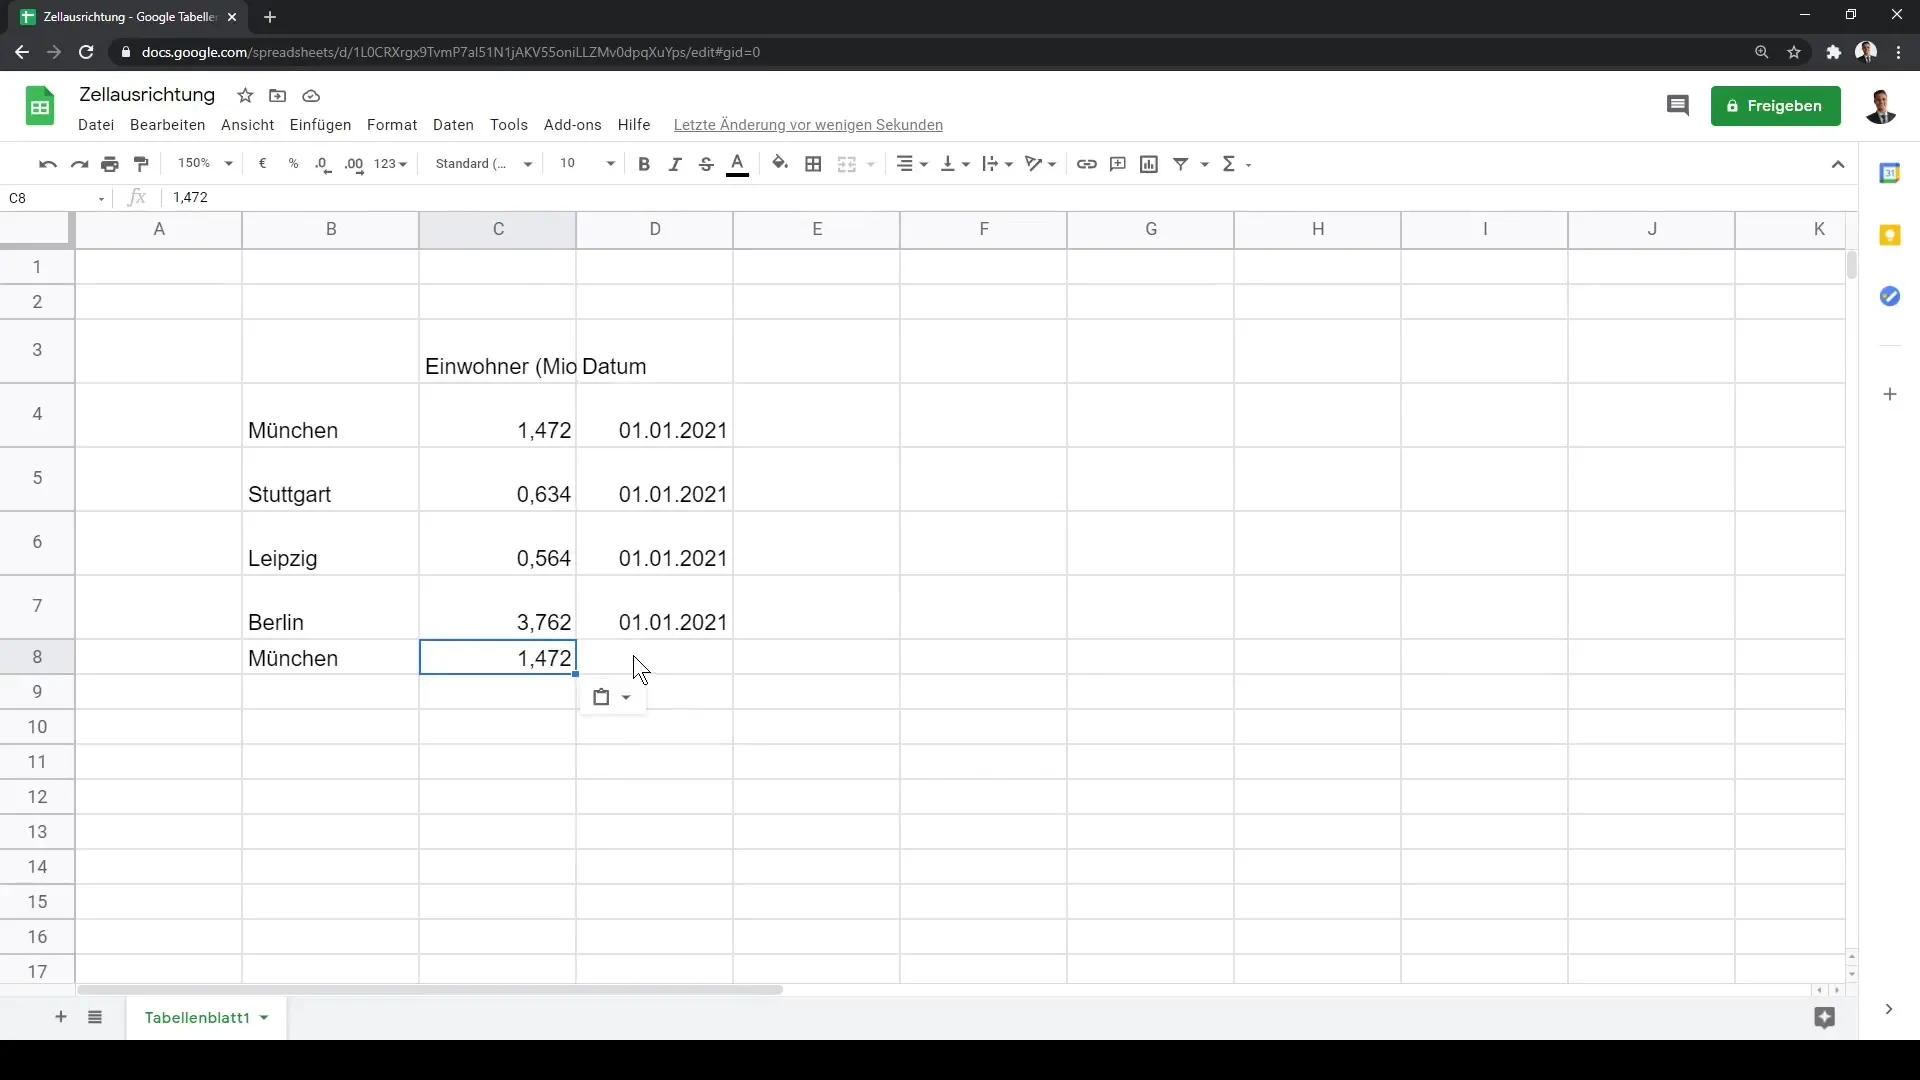
However, if you want to paste the content elsewhere and empty the original cell at the same time, you can use "Ctrl + X" to cut the content. Subsequently, using "Ctrl + V" will paste the content into the new cell while leaving the original cell empty.
Adding and Deleting Columns and Rows
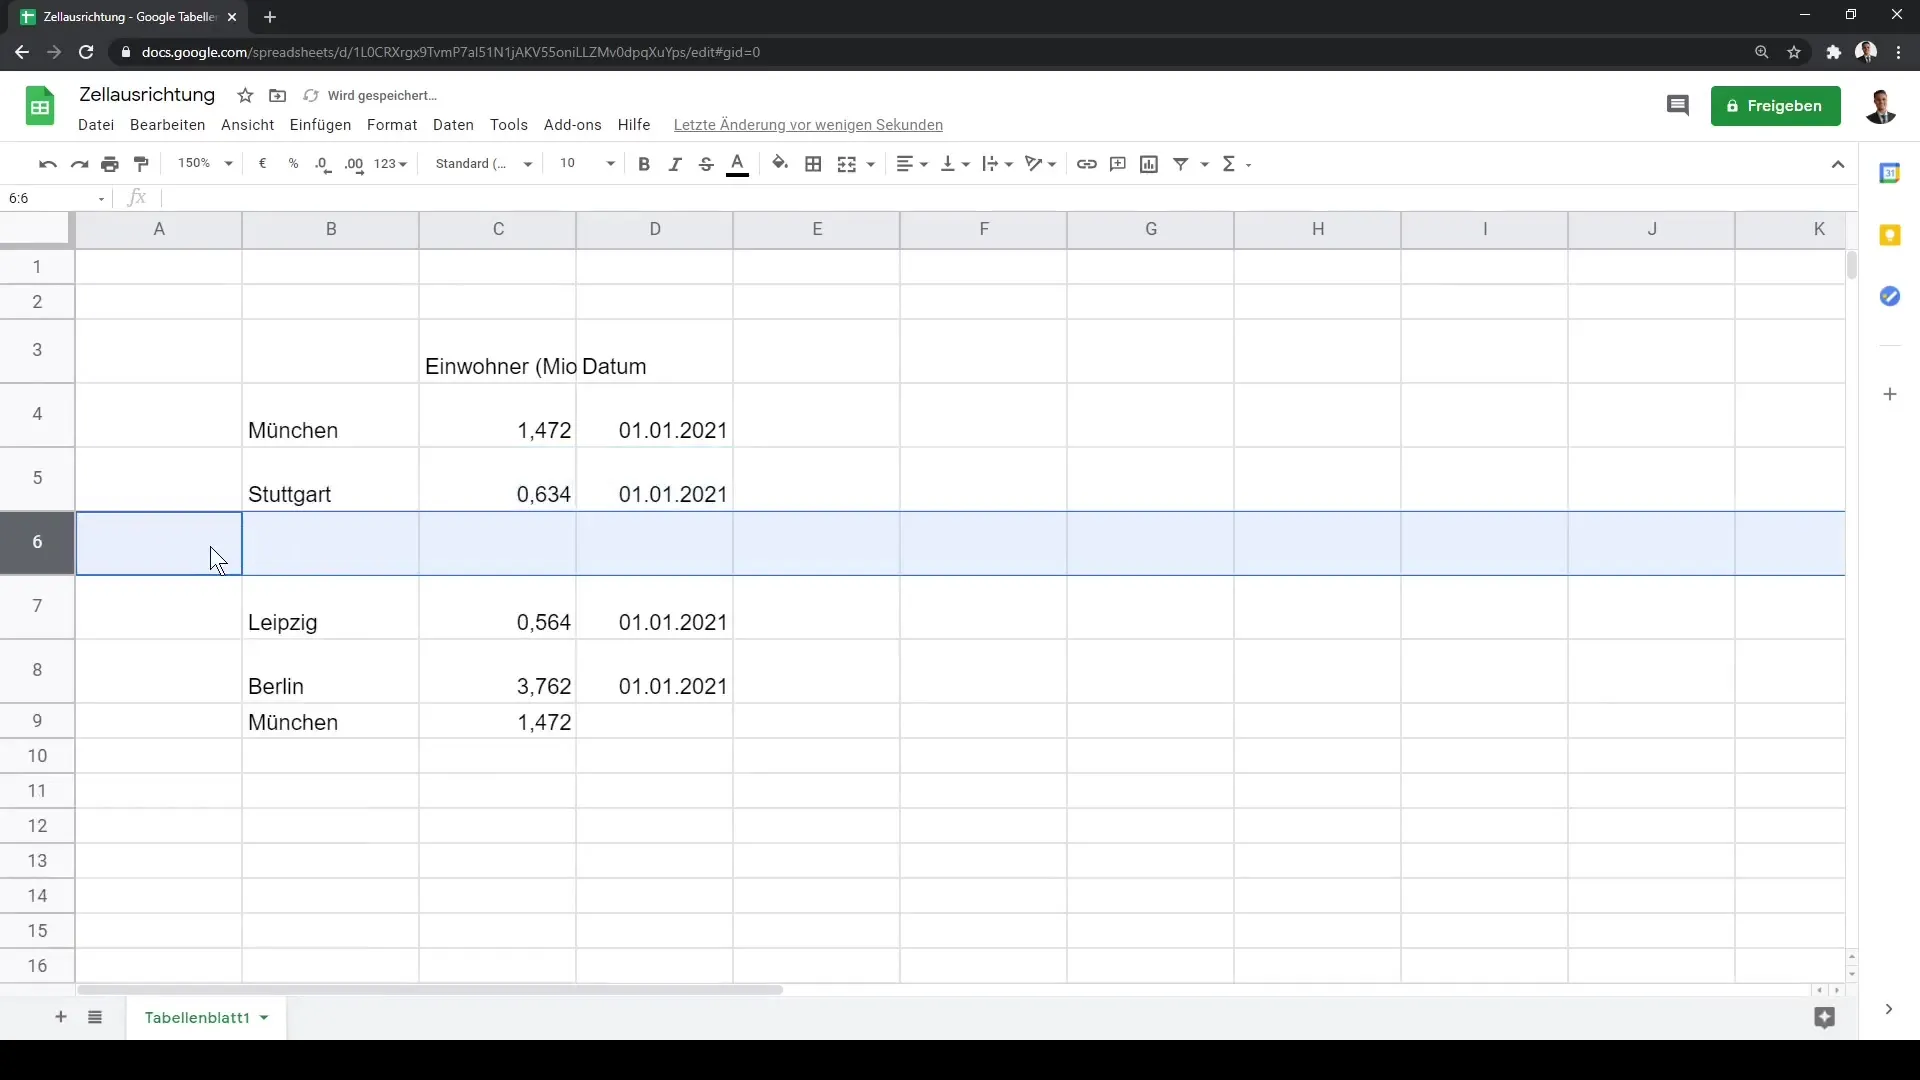
It is also possible to add new columns and rows or delete existing ones. Simply click on the target column B and right-click to insert a column to the left or right. For example, if you want to add a row between Munich and Stuttgart, you can do so intuitively using the context menu.
Additional Options for Cell Contents
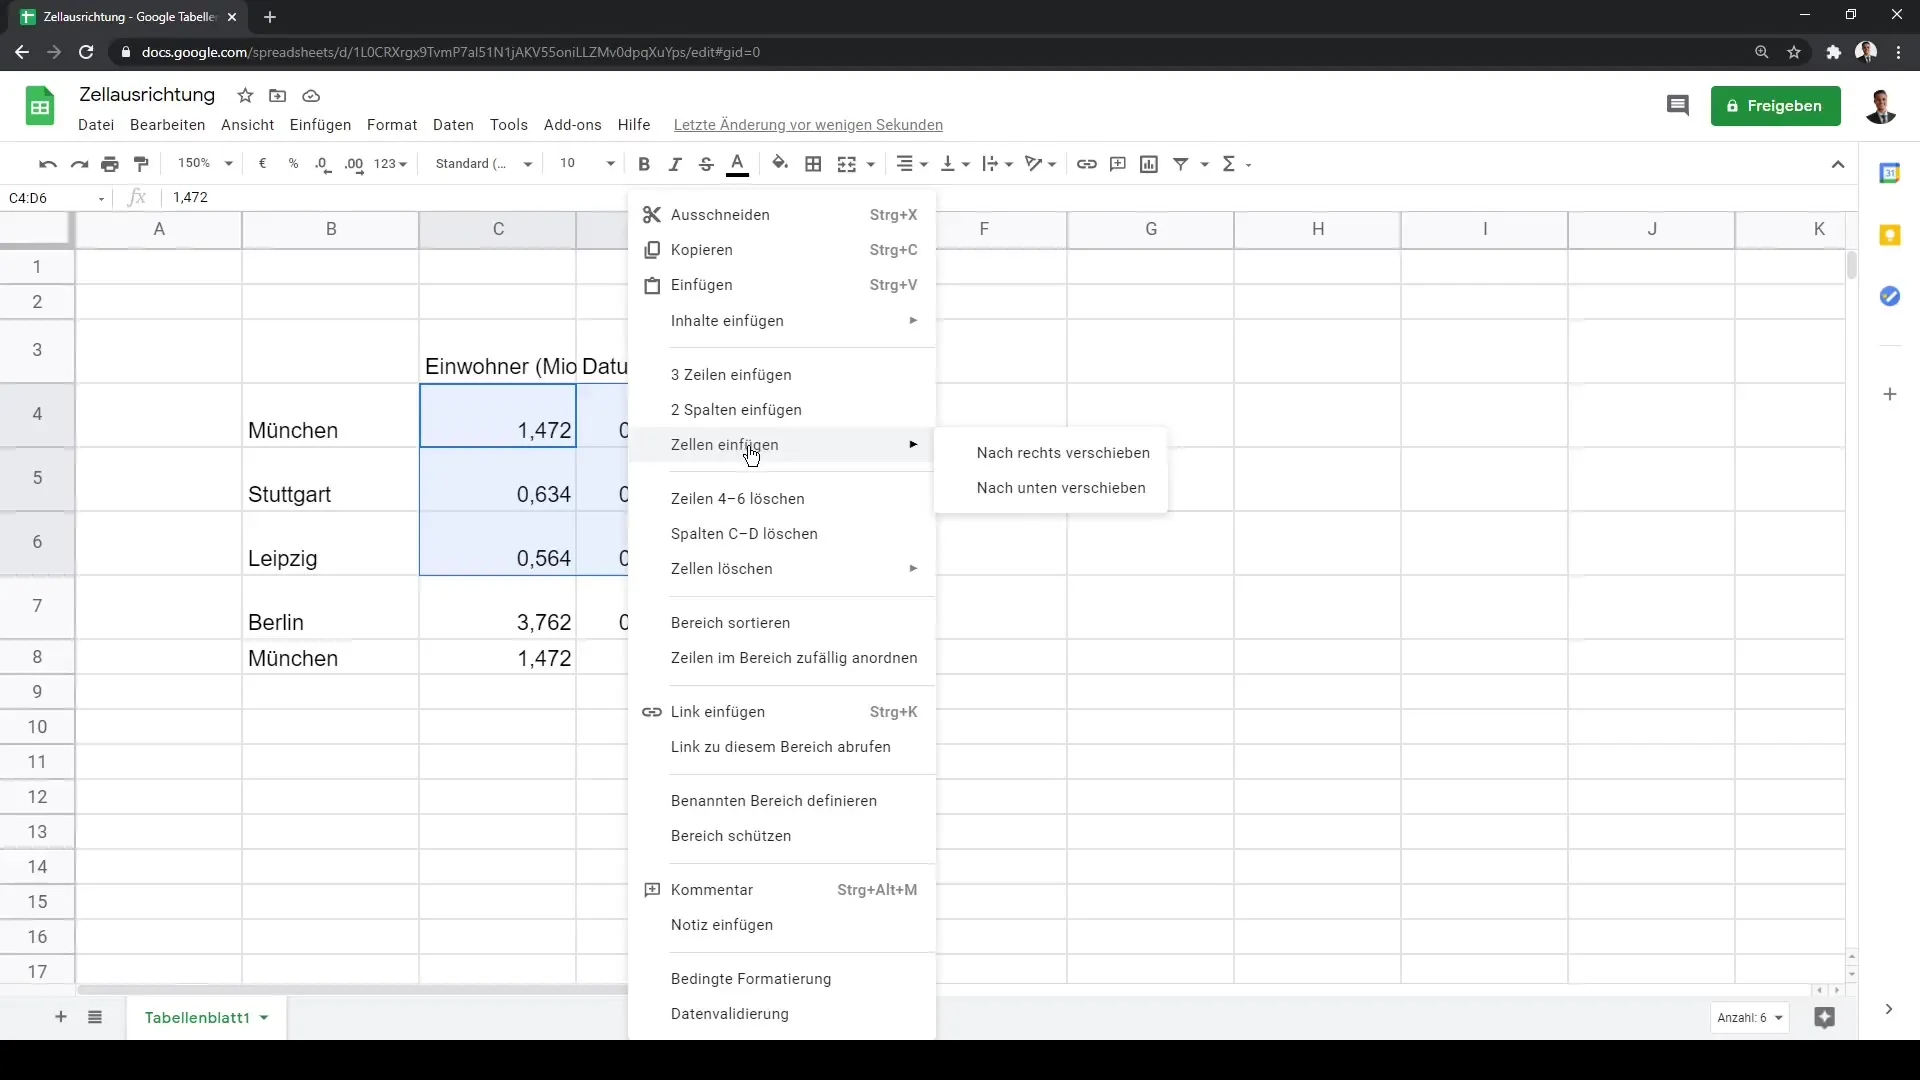
In addition, you have the opportunity to sort, delete, or even move the entire column by right-clicking on the cells. If you have content in the clipboard, you can also paste it by right-clicking or use the "Paste content" function to customize your cell.
Summary
In this tutorial, you have learned how to optimize cell alignment in Google Sheets. You have learned how to adjust the zoom, rearrange rows and columns, copy cell contents, and use text wraps. All these small steps help you achieve a clear and appealing presentation of your data.
Frequently Asked Questions
How can I change the cell size in Google Sheets?To change the cell size, select the corresponding columns or rows. Then, click on the arrow between the columns or rows and drag them to the desired size.
What should I do if my cell content is cut off?Enable text wrap in the cells. This will wrap the content and make it adjust to the cell size.
How do I copy content from one cell to another?Use "Ctrl + C" to copy the cell content, and "Ctrl + V" to paste it into another cell.
Can I also insert multiple columns at once in Google Sheets?Yes, you can insert multiple columns at once by selecting the desired columns and then right-clicking to choose the "Insert column" option.
