In this tutorial, you will learn how you can share your final created Google Sheet with your colleagues. The ability to collaborate on the sheet enables efficient teamwork and better information management. Whether it's data analysis or sharing information, with just a few clicks, you can grant others access to your work. Let's get started!
Key Takeaways
- You can share Google Sheets with different permissions: Viewer, Commenter, and Editor.
- You have the option to add people by their email address, whether it's a Gmail address or not.
- Through the File option, you can also send your sheet via email or export it in various formats.
Step-by-Step Guide
Step 1: Activate Sharing Option
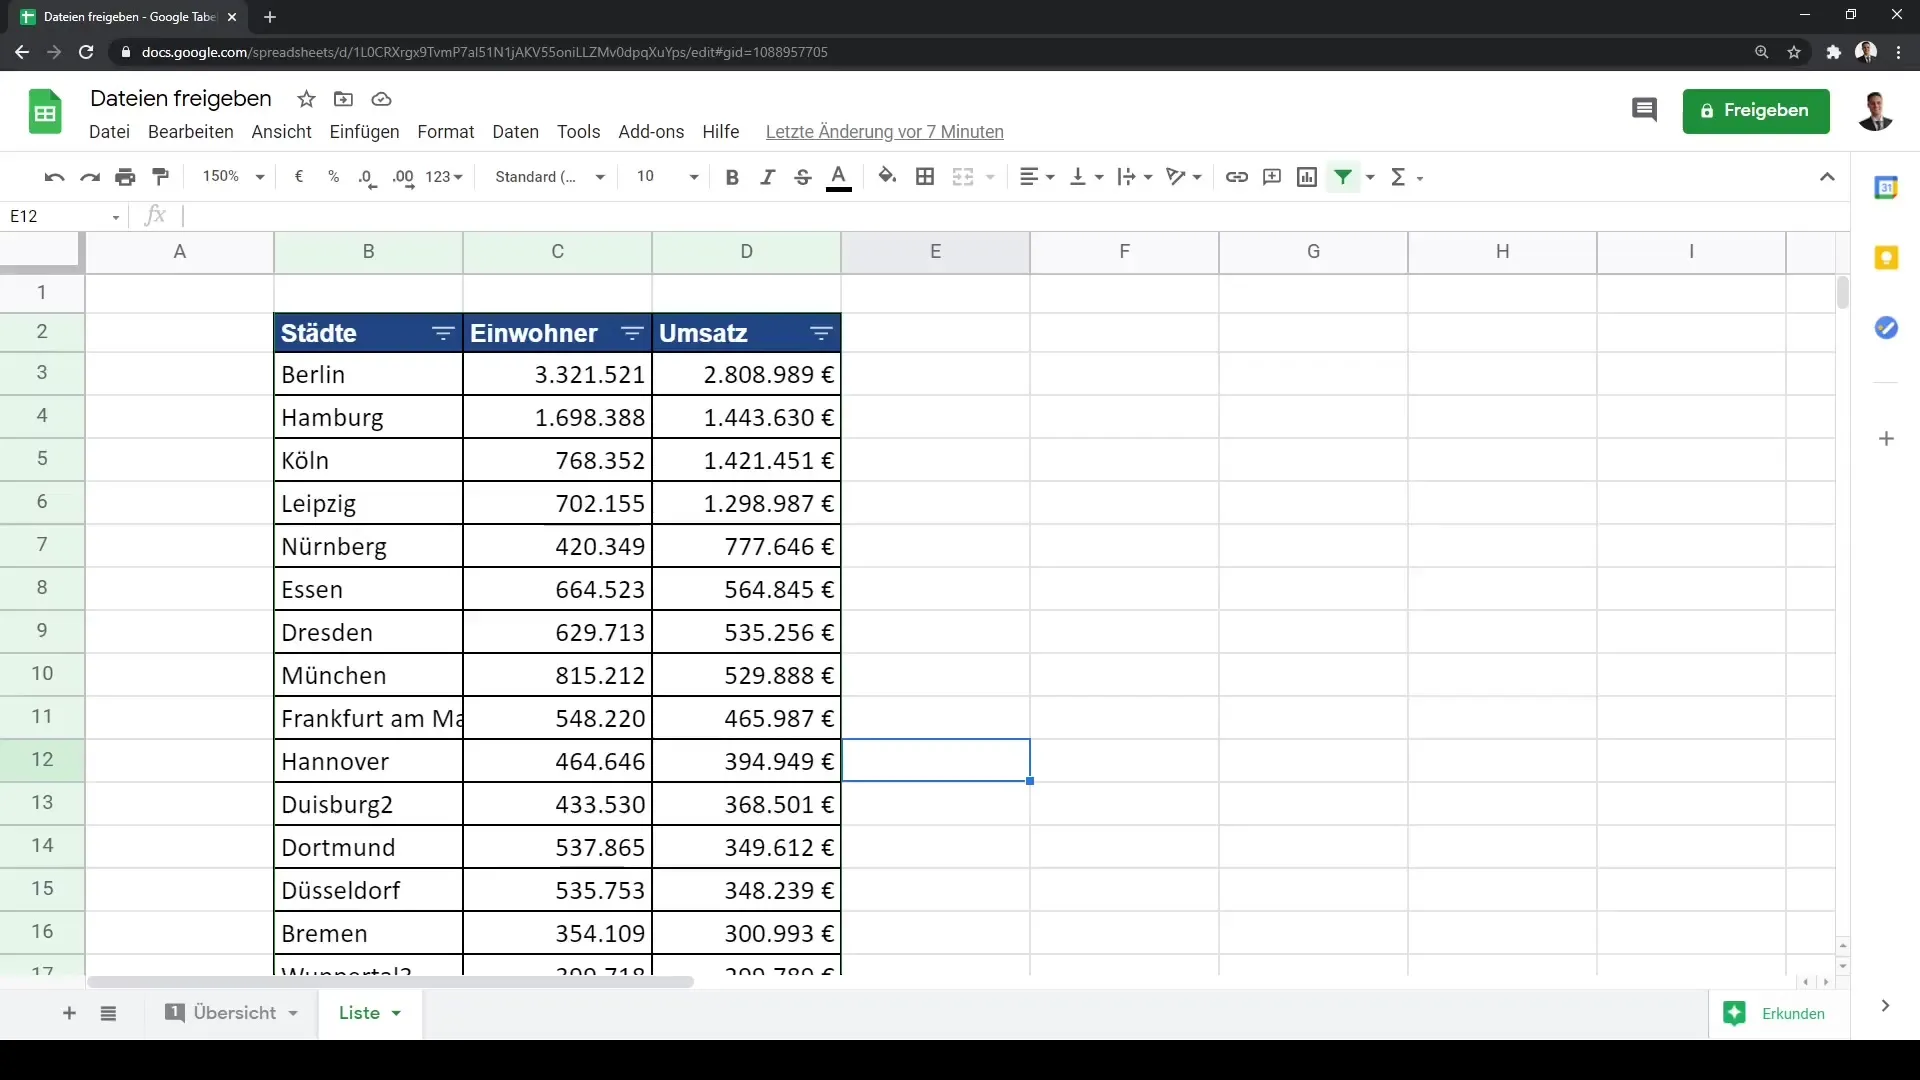
To share your Google Sheet with colleagues, first go to the "Share" button at the top right. Here, you can open the sharing dialog and see that the file is currently only visible to you.
Step 2: Add People
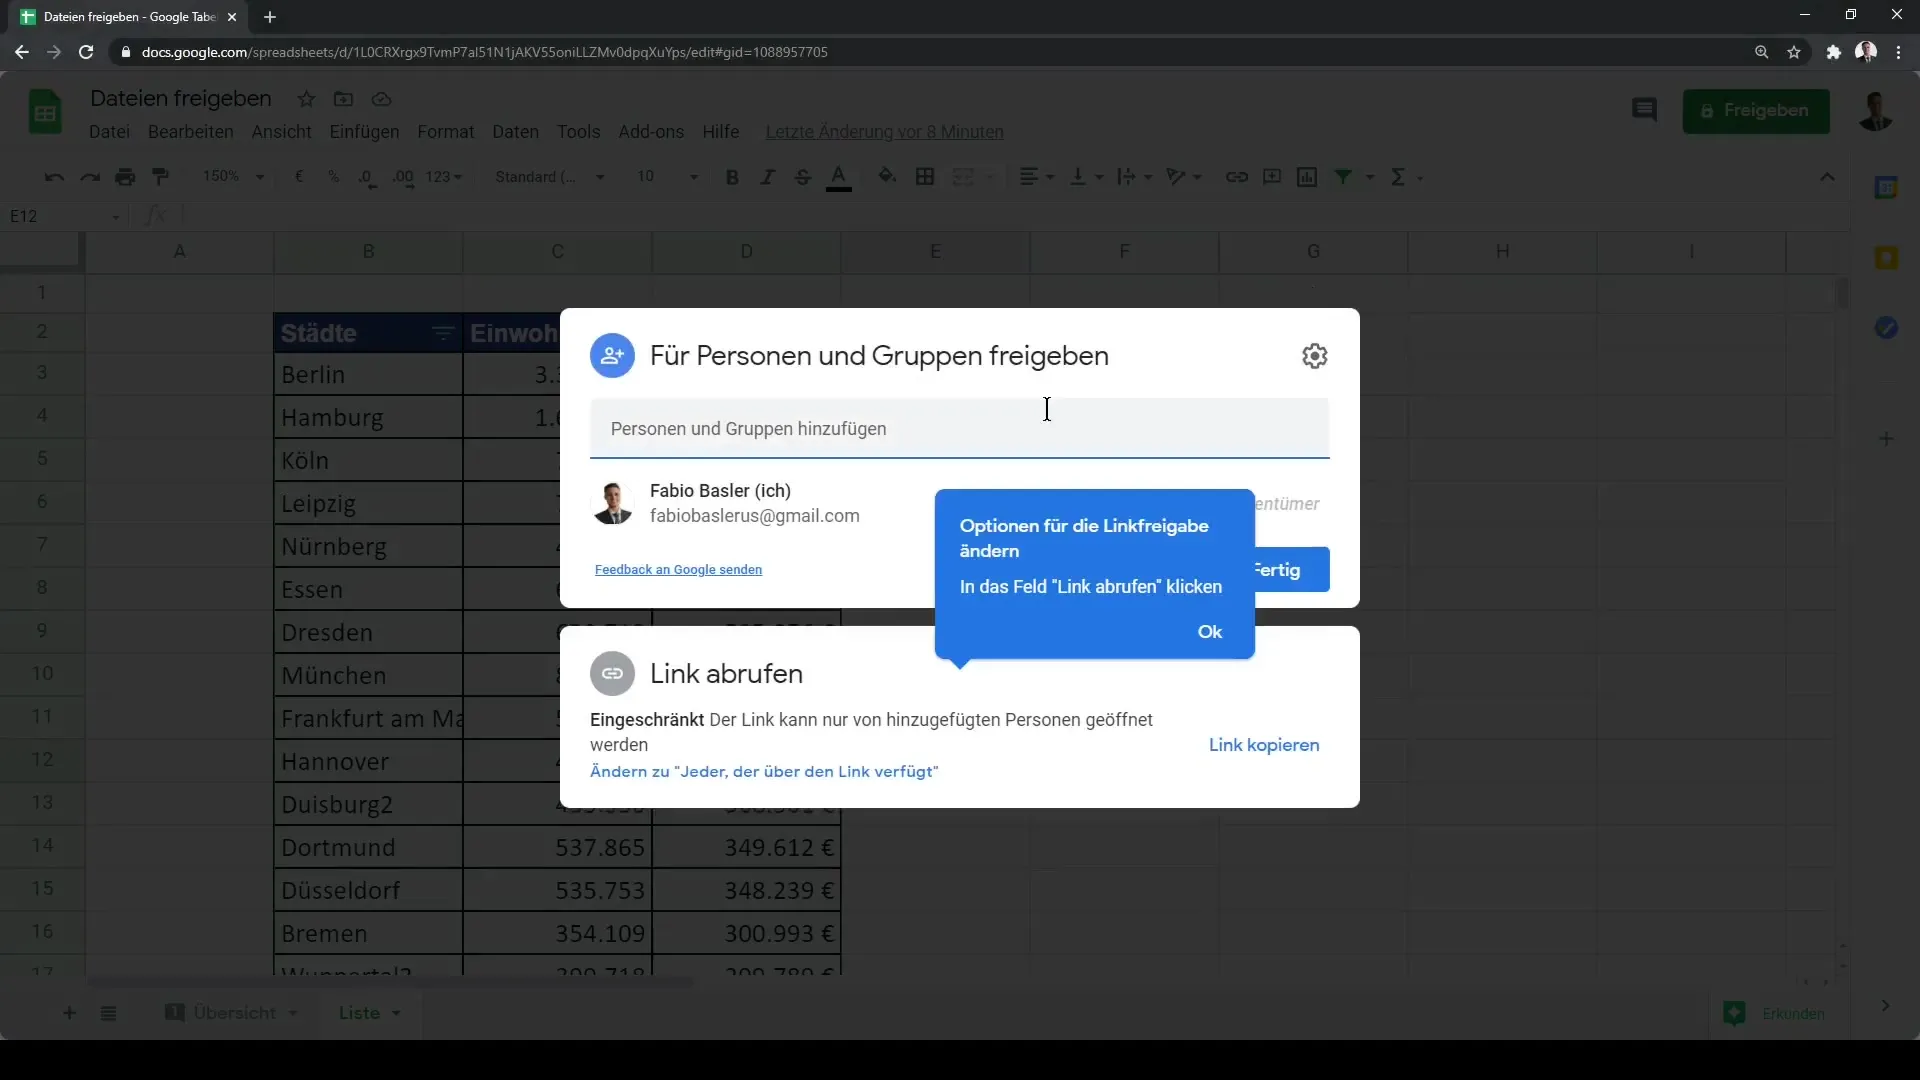
Click on the green "Share" button. Now you have the option to add email addresses of people. For example, you can enter an alternate email address of yourself or a colleague's address. It's important to note that it doesn't necessarily have to be a Gmail address.
Step 3: Activate Notification
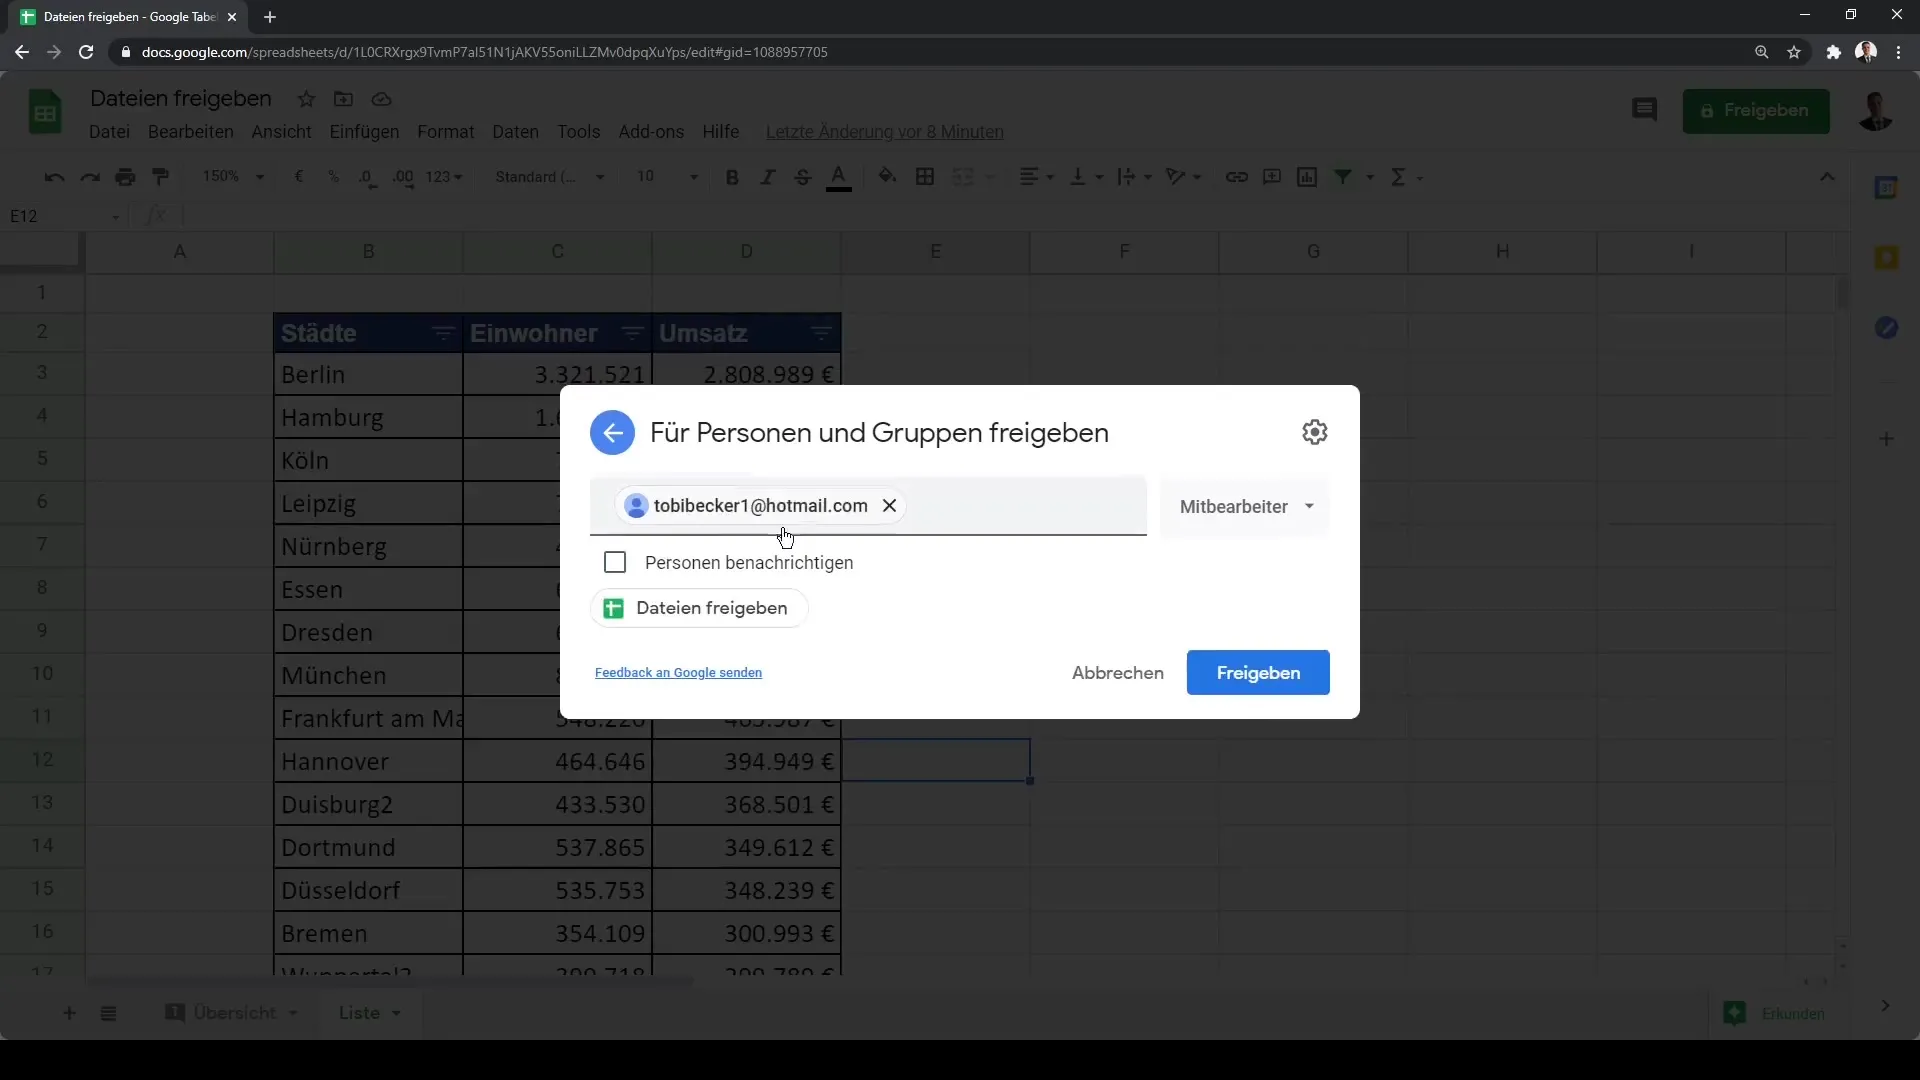
Here you can also specify if the colleague should be notified. You have the option to add a short message to provide information or explain why you are sharing the file.
Step 4: Set Permissions
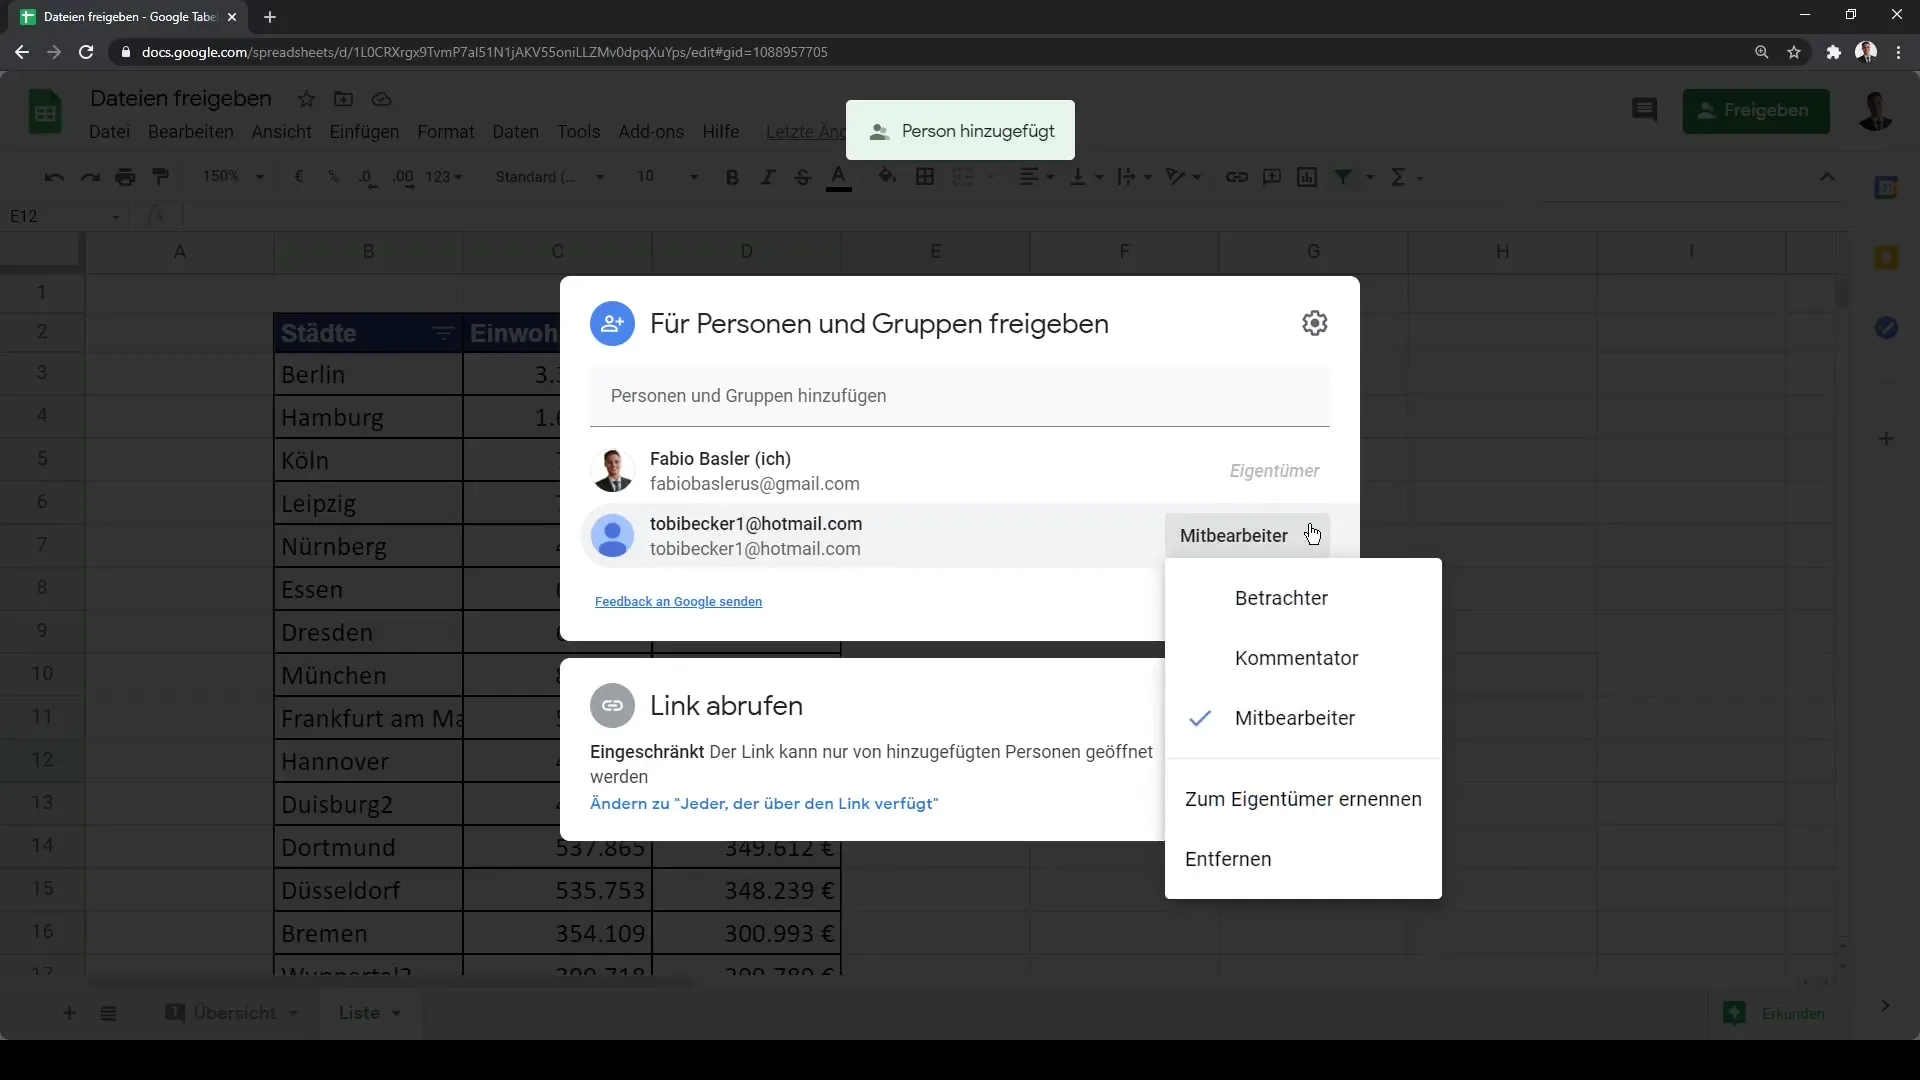
When sharing, you have three permission options: Viewer, Commenter, and Editor. A Viewer can only view the data without making changes. The Commenter can also only view the data but can add comments. The Editor can fully edit the file. Consider carefully what access you want to grant to your colleague.

Step 5: Confirm Sharing
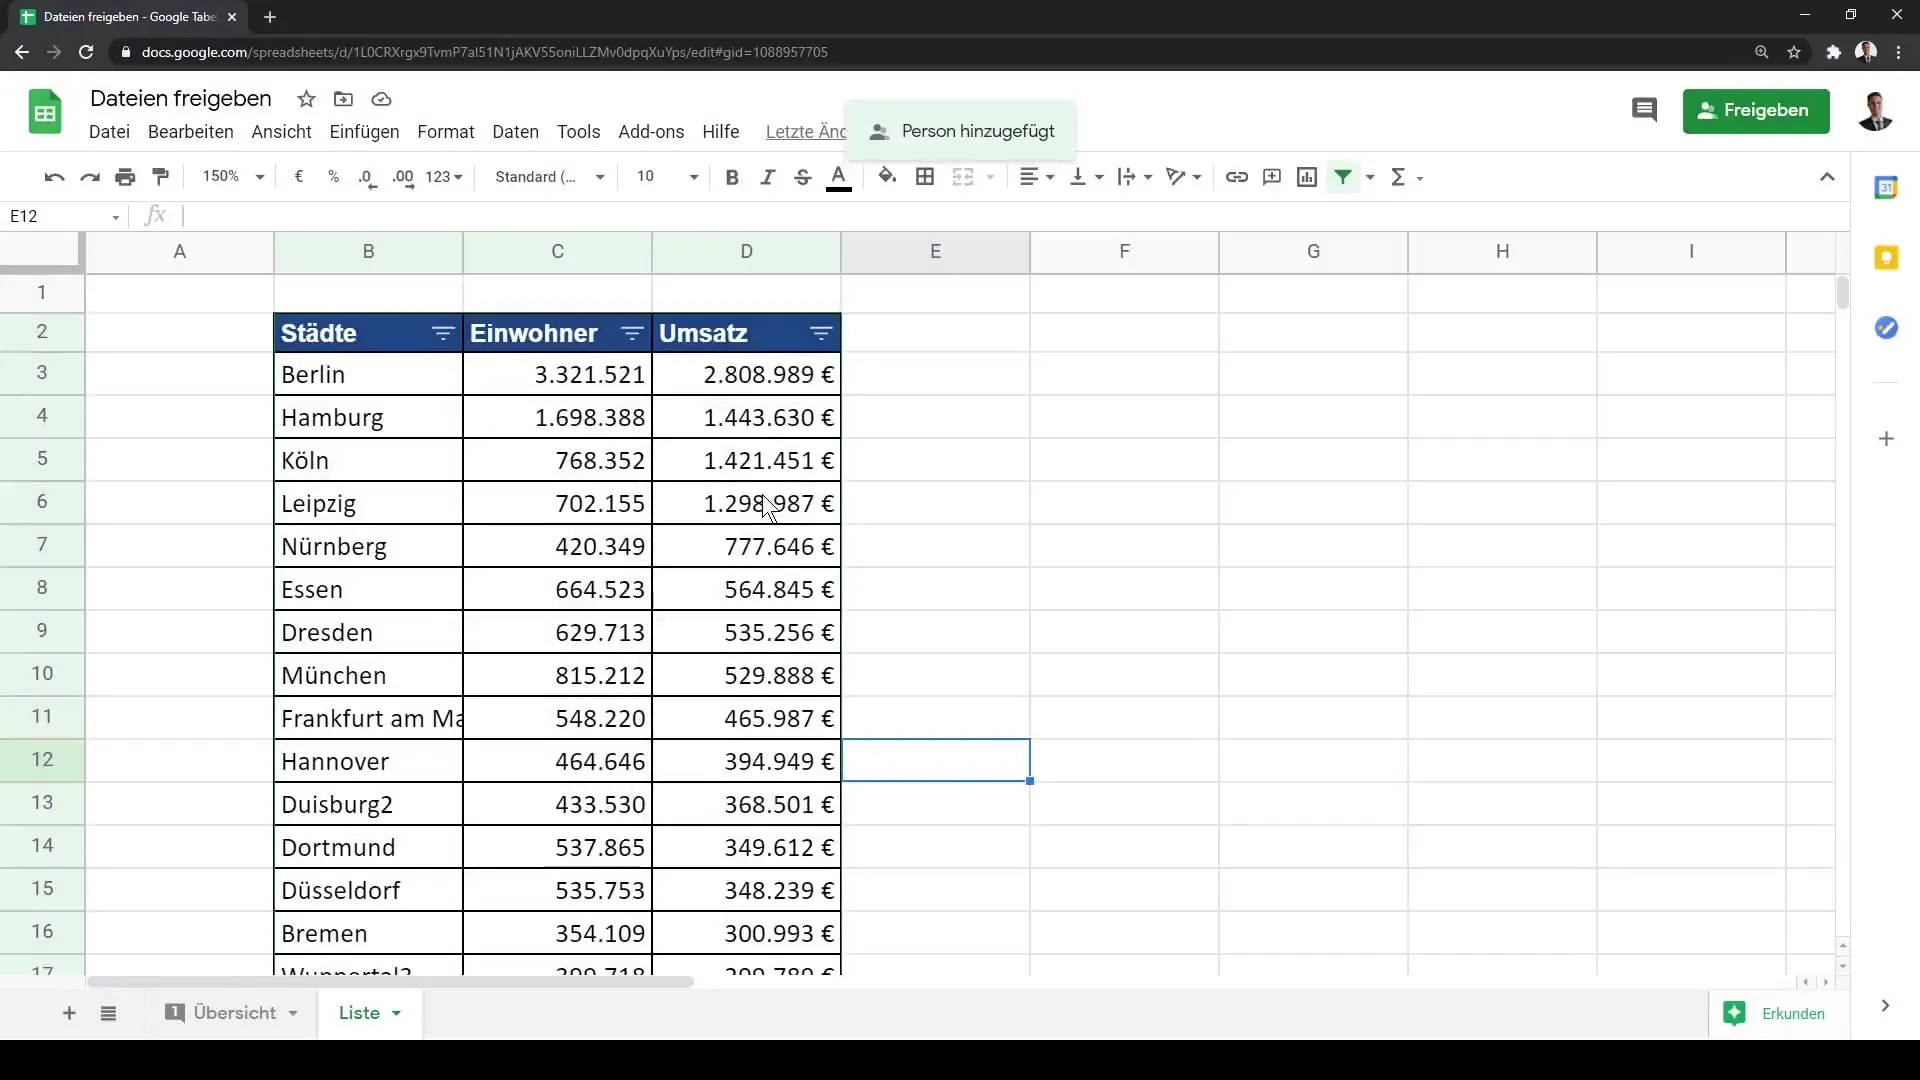
After you have defined the people and their permissions, click on "Send." The colleague will now receive an email with the link to the file, and you can always see in the overview who has access to your Google Sheet.
Step 6: Manage People
If necessary, you can add as many people as you like or change existing access. Simply click on "Share" again to see the list of shared individuals, and you can either remove each user or change their role.
Step 7: Send File via Email
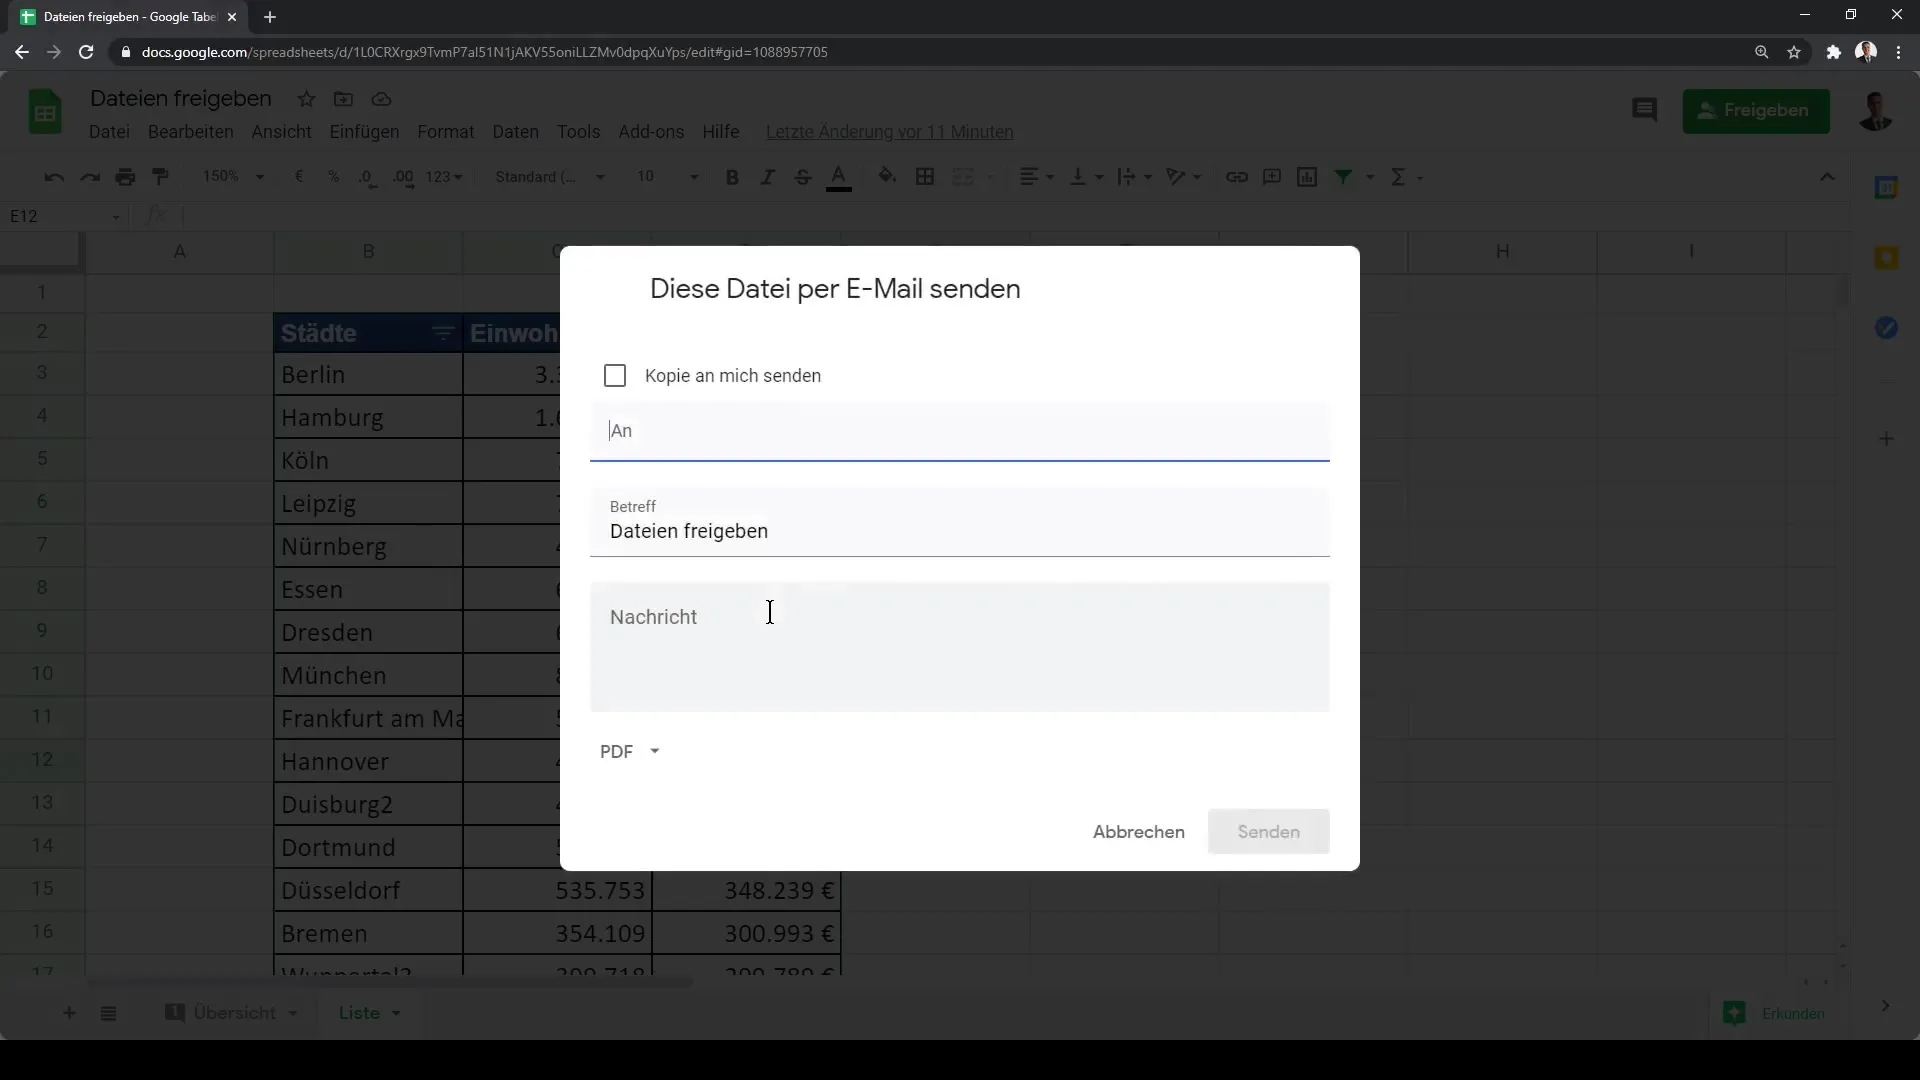
Another way to share the file is by sending it via email. Click on "File" and then on "Email." Here you can also add a message and select the format in which you want to send the file, such as PDF or Excel.
Step 8: Create Link
In addition to the sharing options, you can create a link for the Google Sheet. Right-click to add the file to your favorites bar, or use the "Create Link" option in the toolbar. You can then save this link on your desktop for quick access to your Google Sheet.
Summary
In this tutorial, you have learned how to share your Google Sheets with colleagues by assigning them different permissions. Whether you just want to provide the file for viewing or share it for editing, the steps are quick and easy to follow. Use the sharing feature to collaborate more effectively.
Frequently Asked Questions
How do I share a Google Sheet with someone?Go to "Share," add the email address, and choose the permission level.
What happens if I add someone as a viewer?The viewer can see the data but cannot make any changes.
Can I share the Google Sheet with non-Gmail addresses?Yes, you can share the sheet with other email domains as well.
How can I send an email with the Google Sheet?Click on "File," then on "Email," and choose the desired format.
Can I change permissions later?Yes, you can adjust permissions or remove people at any time.
