In this tutorial, we will show you how you can effectively manage the editing of columns and rows in Google Sheets. You will learn how to not only add or remove data but also improve the clarity of your work. Using an example from a gym, we will utilize specific use cases to explain the functions step by step. Let's get started!
Main Insights
- You can easily insert and delete columns and rows.
- It is possible to delete only the content of rows or columns without removing the entire row or column.
- By grouping rows and columns, you can present data in a space-saving manner and improve clarity.
Step-by-Step Guide
First, let's look at an example where we have an extract of data from a gym. This includes important information about customers, such as customer ID, membership status, and many other details.
To insert a column, right-click on the letter of the column before or after the position where the new column should appear. Here's an example of how you can insert a column to the left.
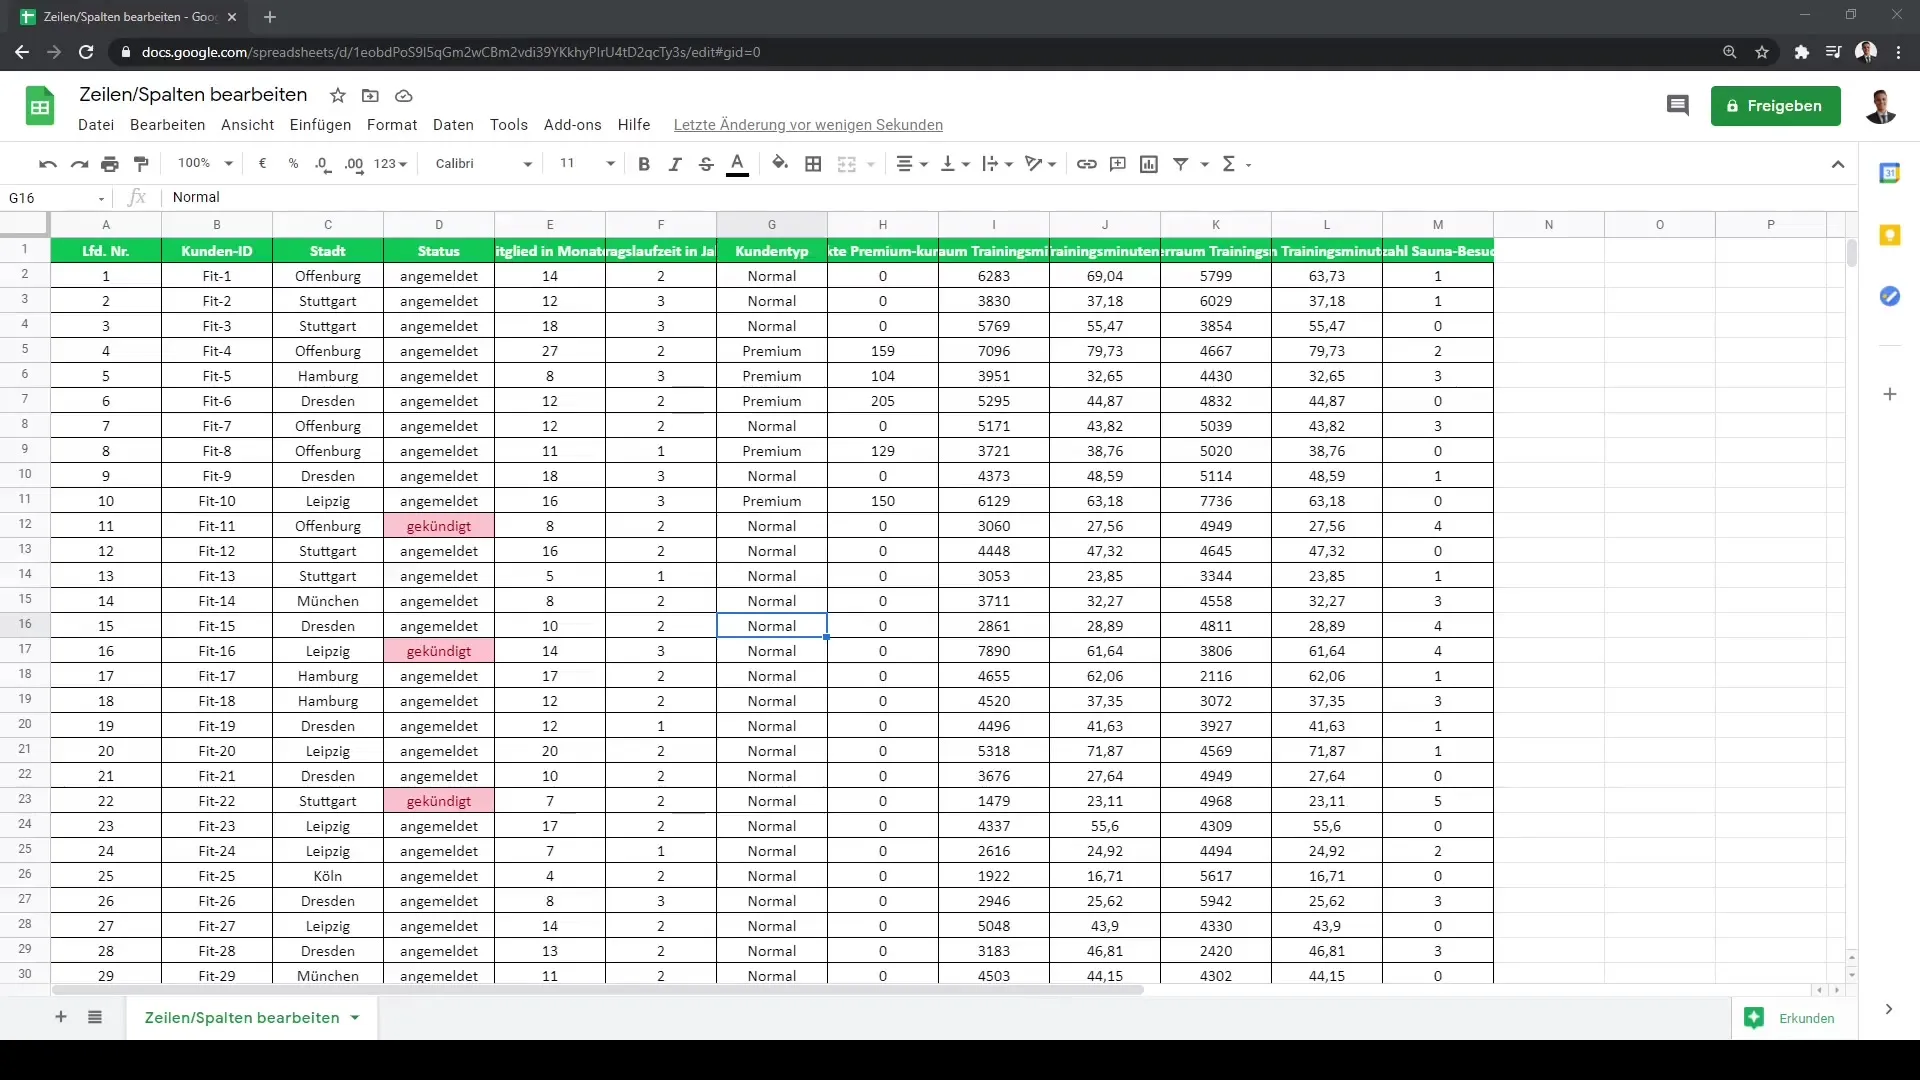
You can also delete a column. Select the column you want to remove, right-click again, and choose 'Delete'. In our example, we deleted columns F to G.
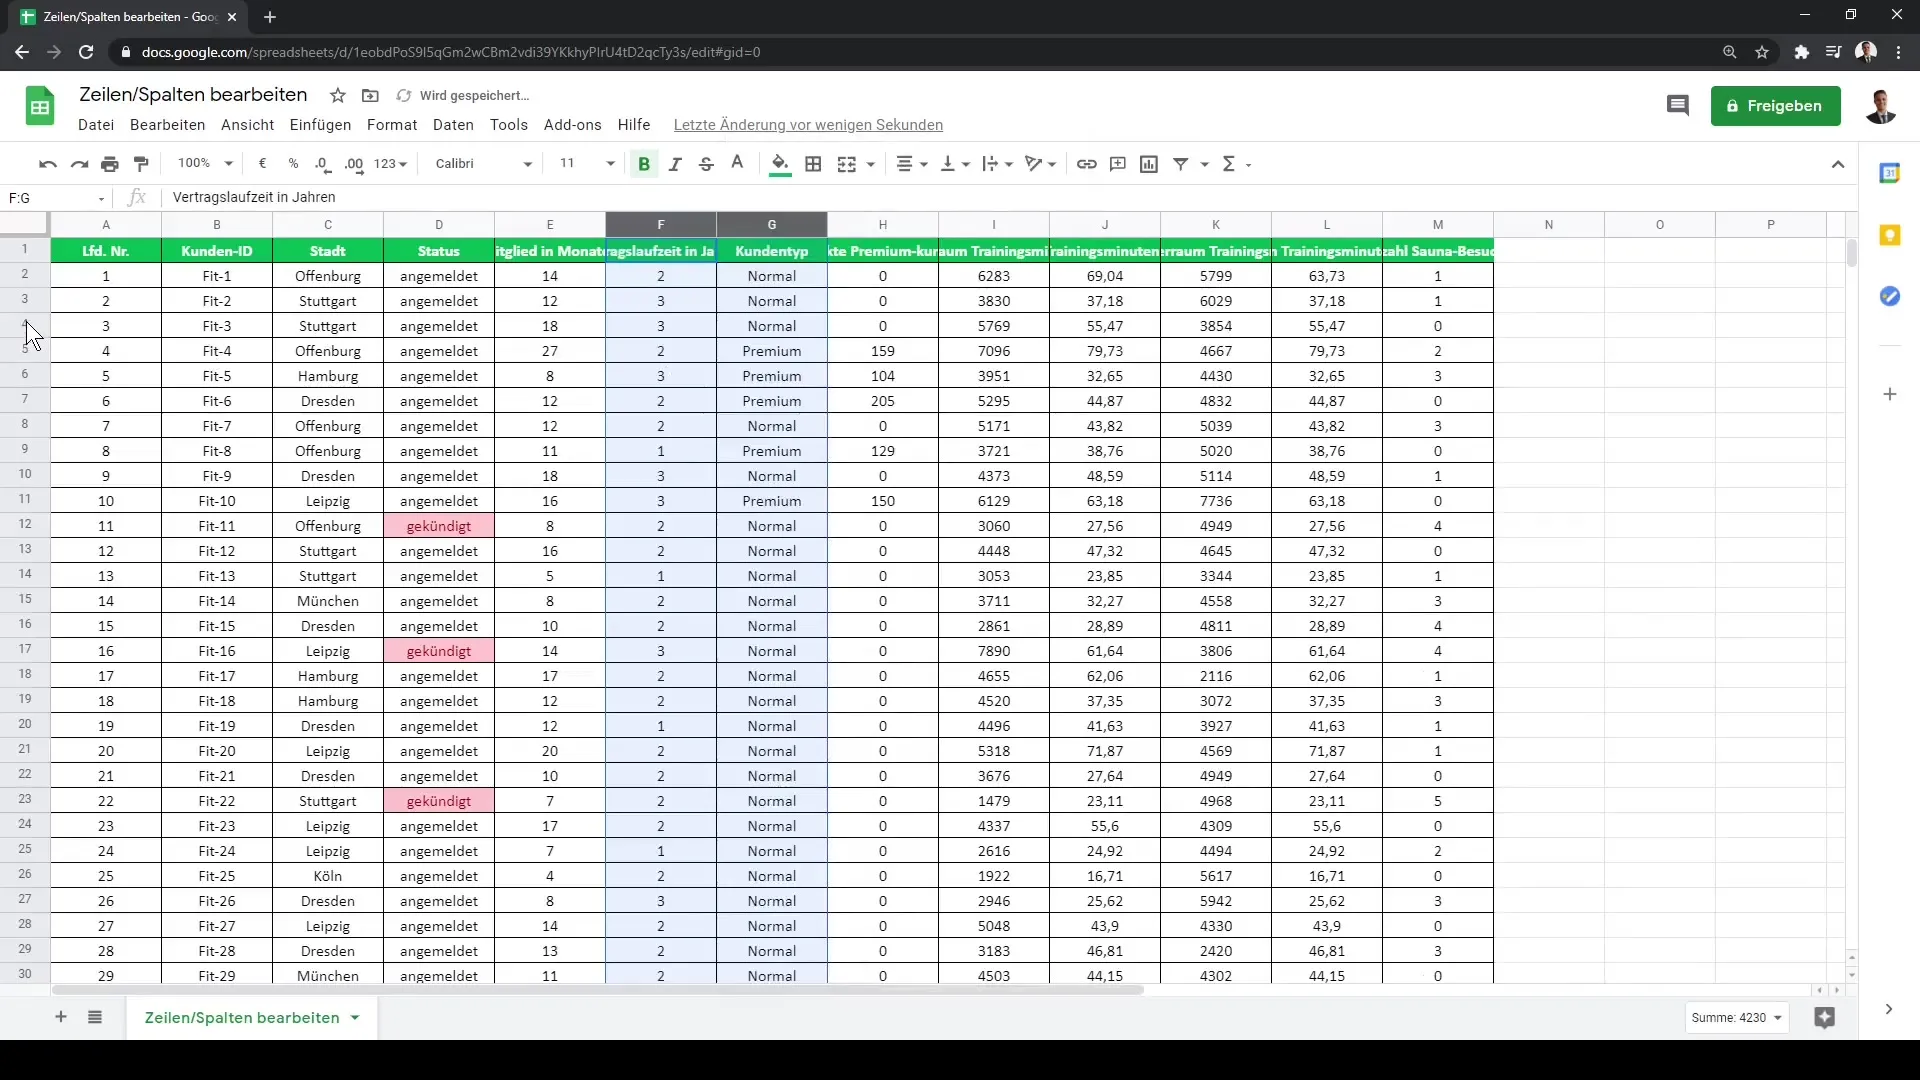
The same applies to rows. If you want to add a new row above or below an existing row, you can do so with a right-click. Choose the row under which you want to insert the new row.
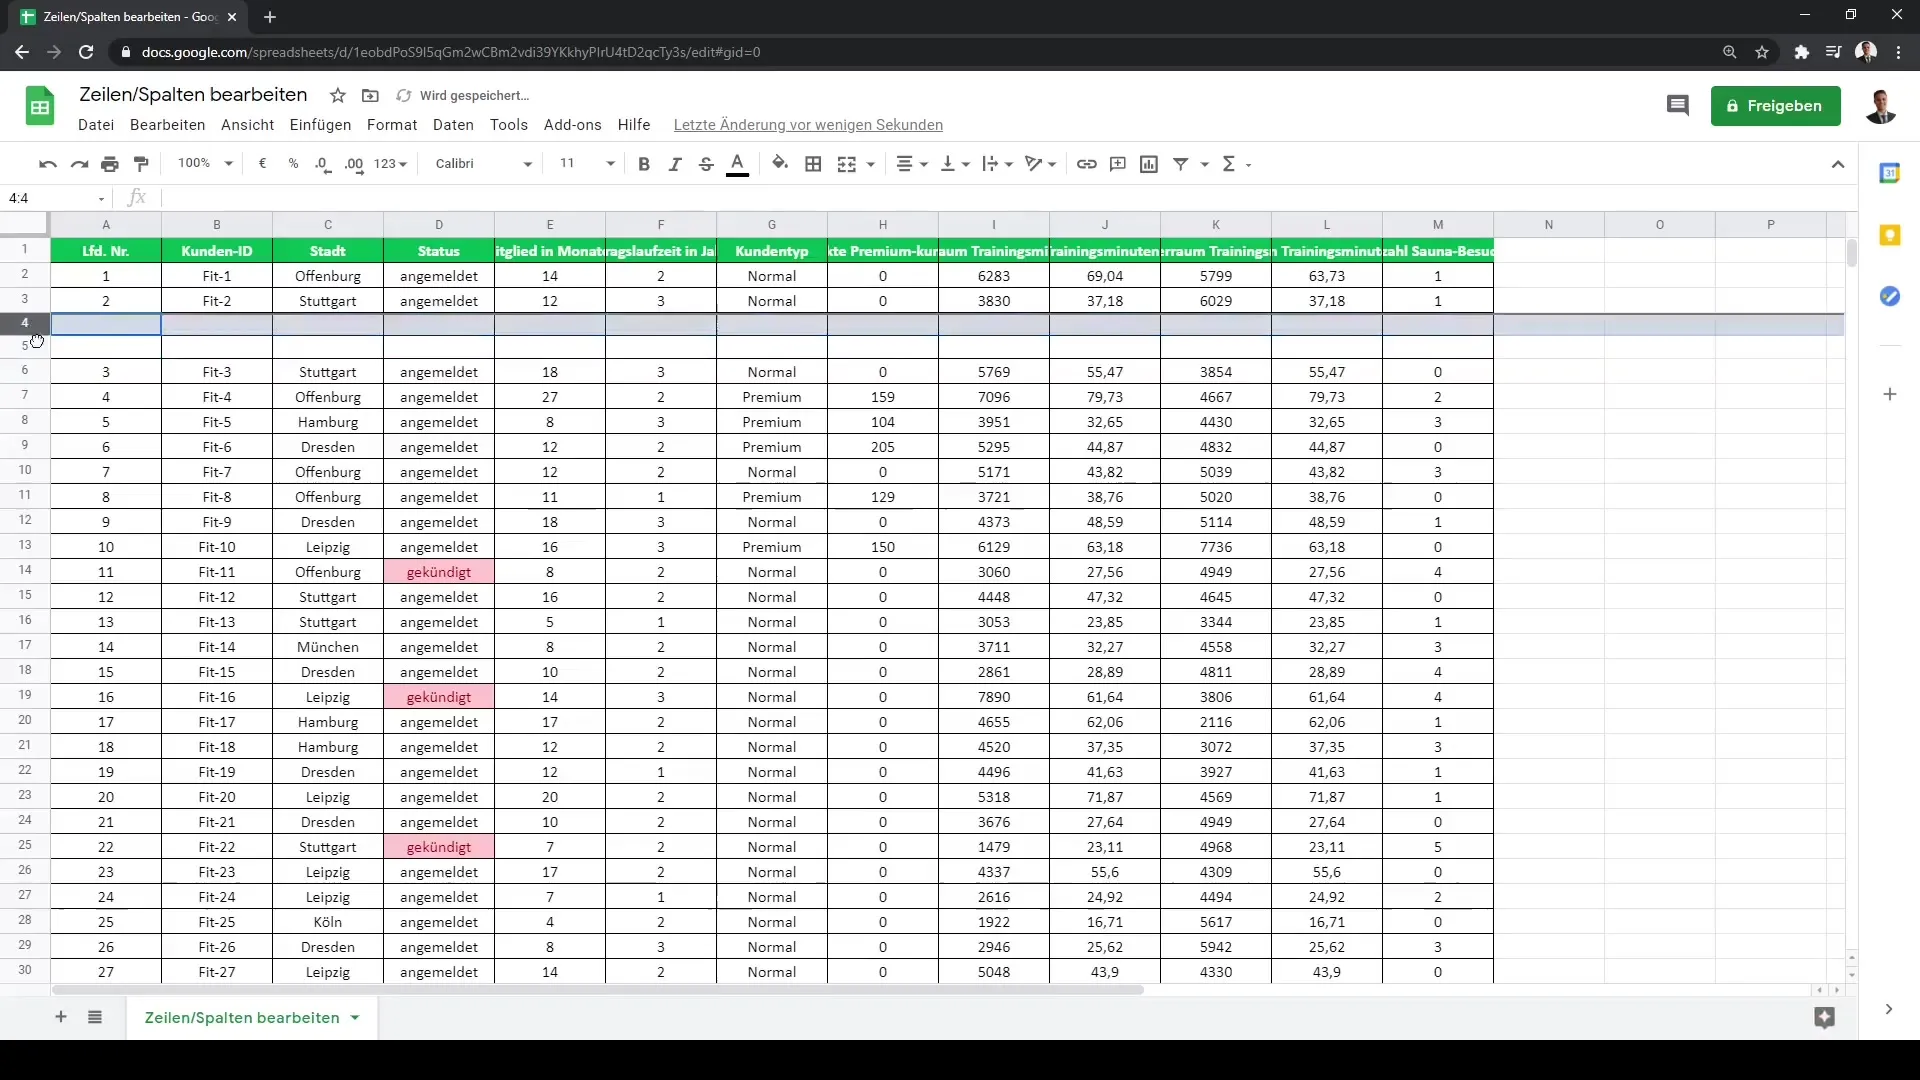
If you want to delete a row, it follows the same principle as with columns: right-click on the respective row and then 'Delete'.
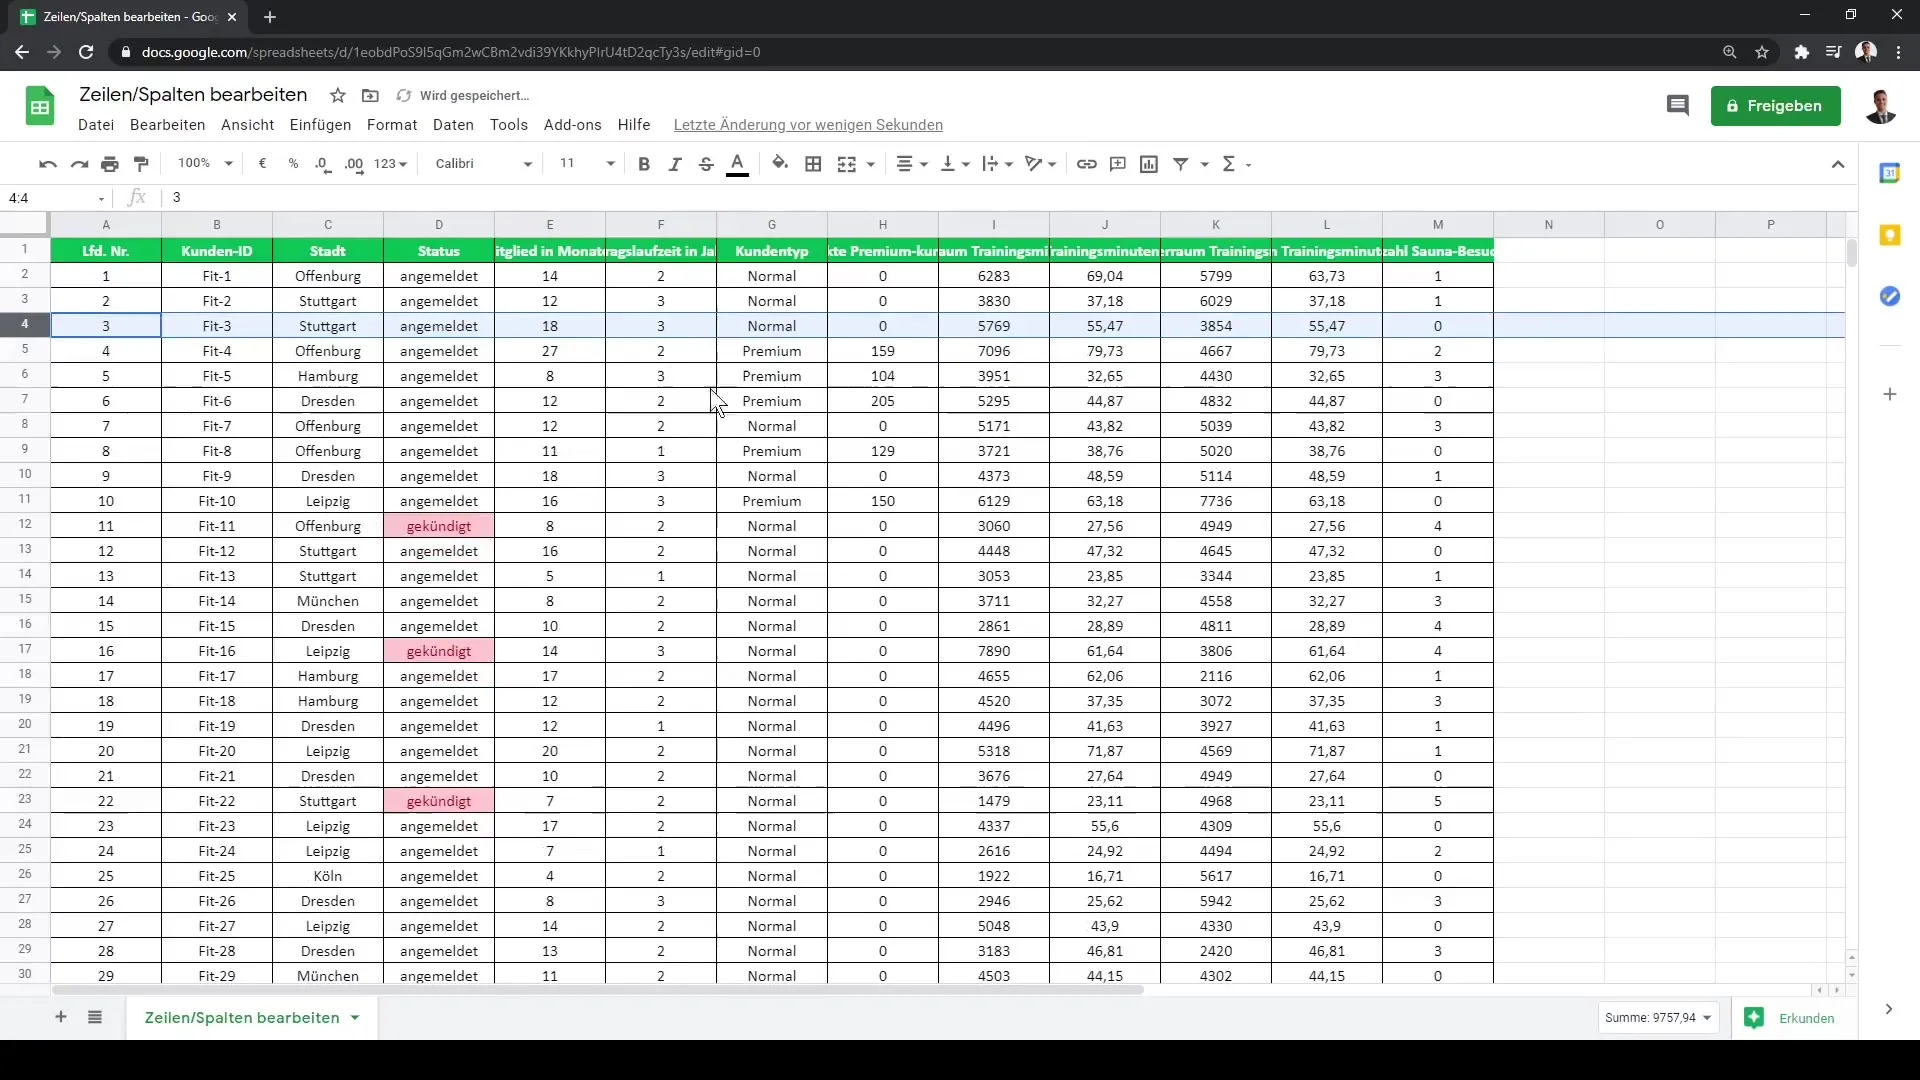
It is also important to note that you don't have to remove the entire row or column to delete the content. If you only want to remove the data in the column content, you can do so without affecting the table's structure. Here's how an empty column looks where you can enter new data.
Similarly, you can also delete contents in rows. This is particularly useful when you want to clean up older data without touching the rows and columns themselves.
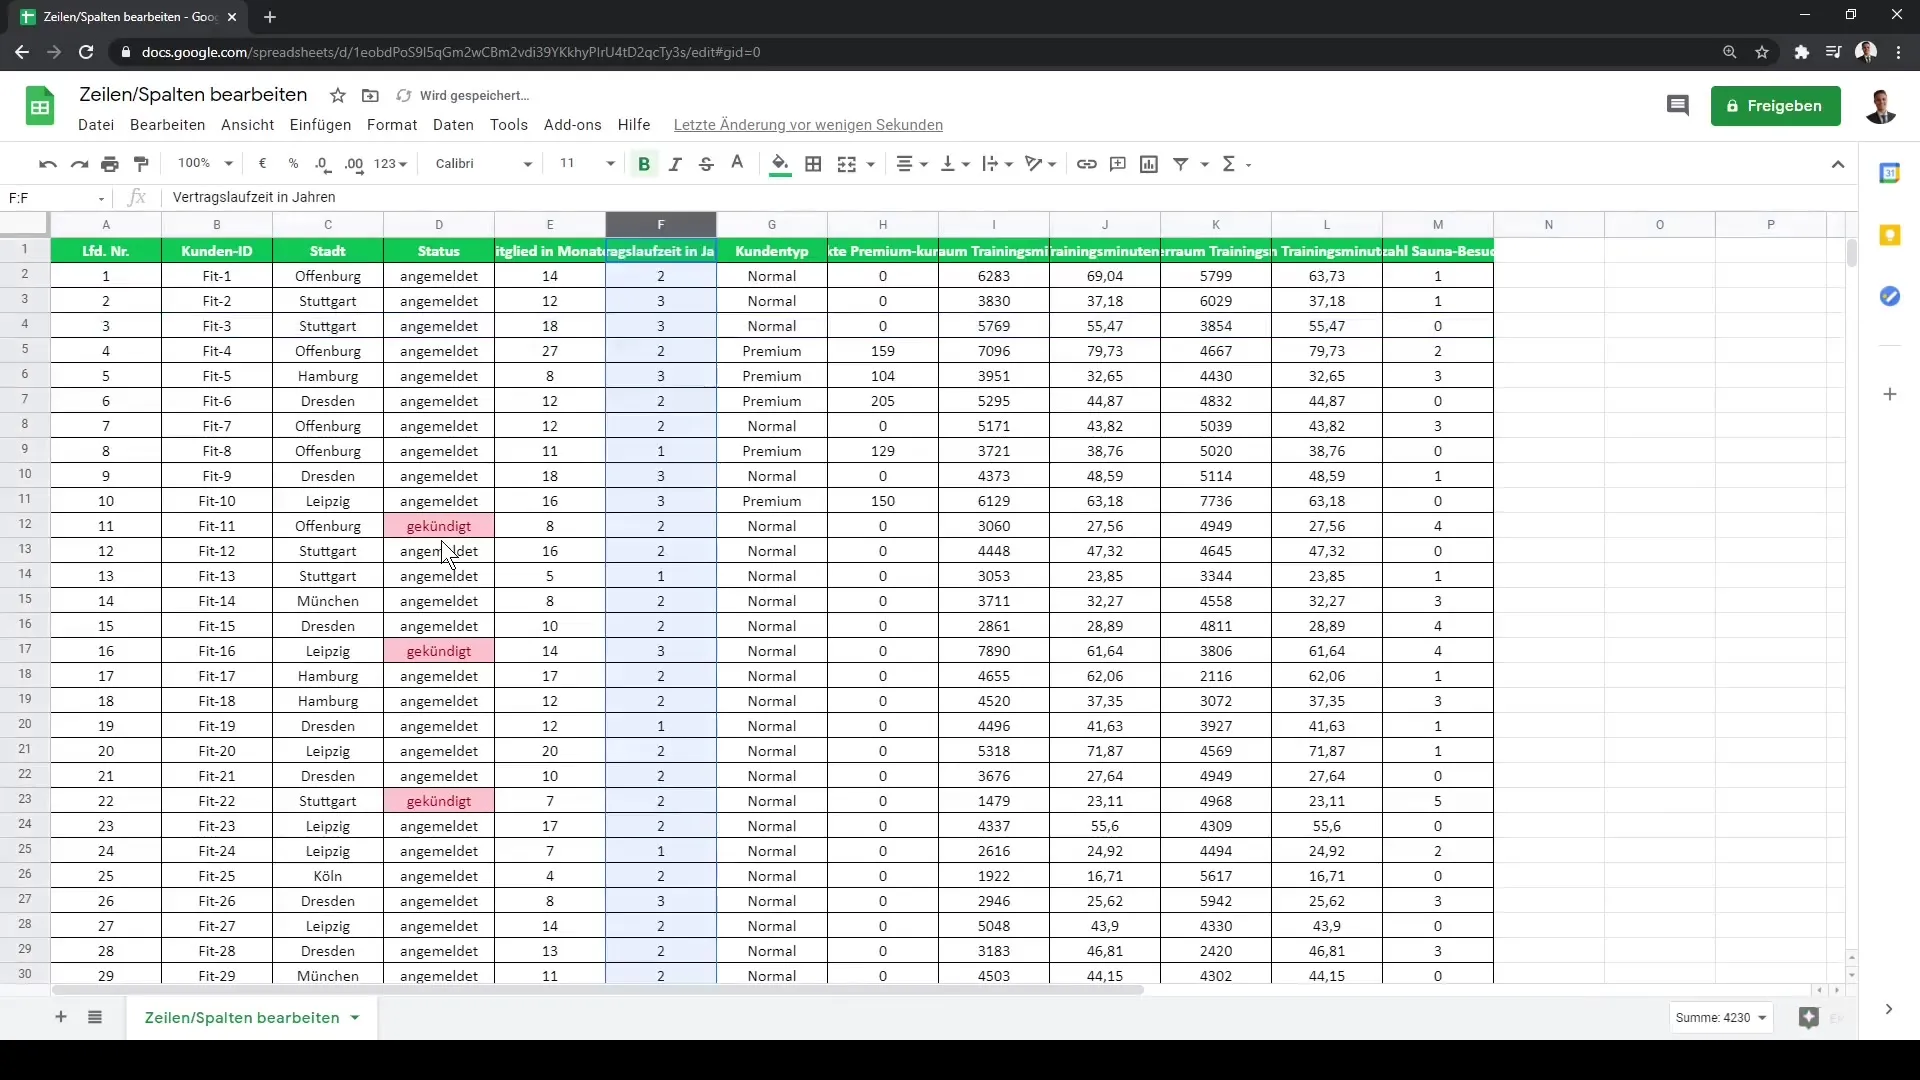
A very helpful tip is that you don't always have to permanently remove your columns or rows. Instead, you can also group columns and rows. If you select a column that is irrelevant to you, you can simply group it. This will collapse it and no longer take up space in your view.
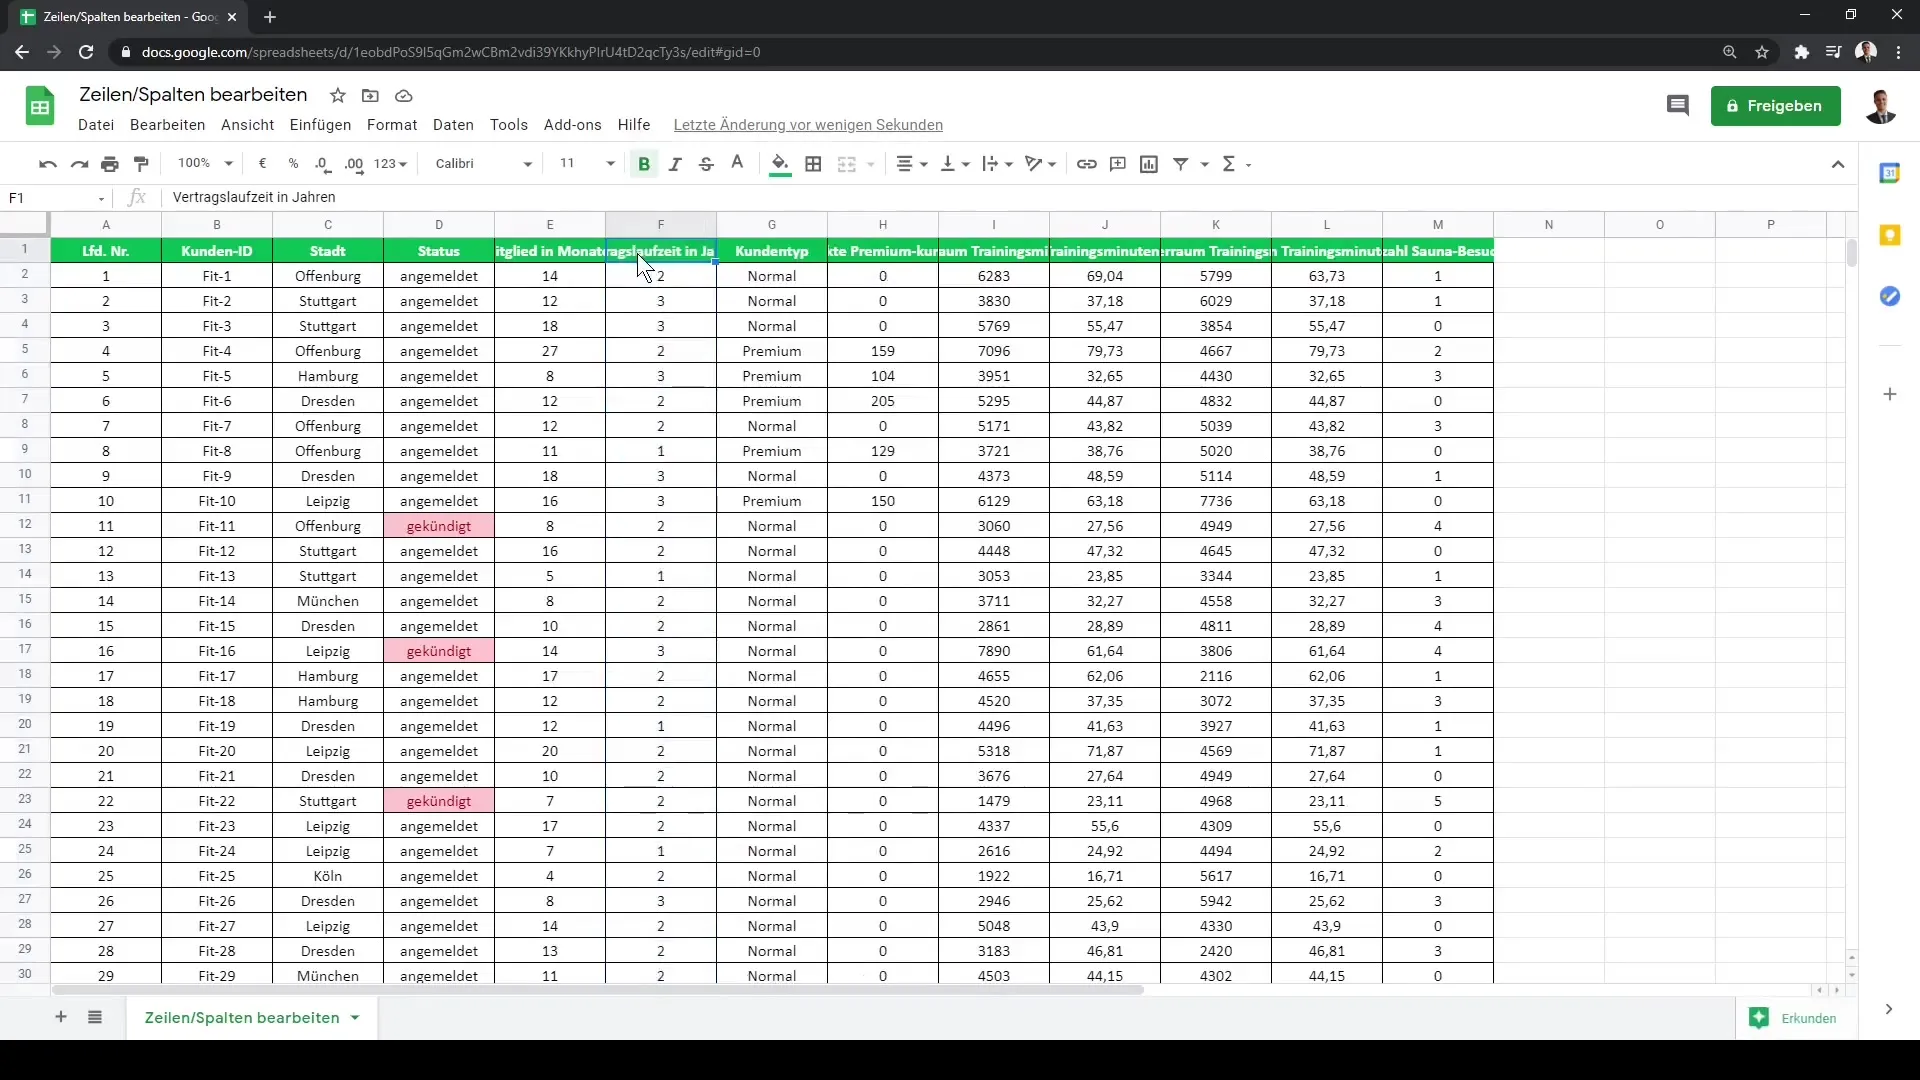
In addition, you can control the visibility of your columns for other users who have access to your Google Sheet. When they use the document, they will only see the relevant data and can potentially display the collapsed data by clicking on the plus sign.
The same applies to grouping rows. Expanding and collapsing works the same way here.
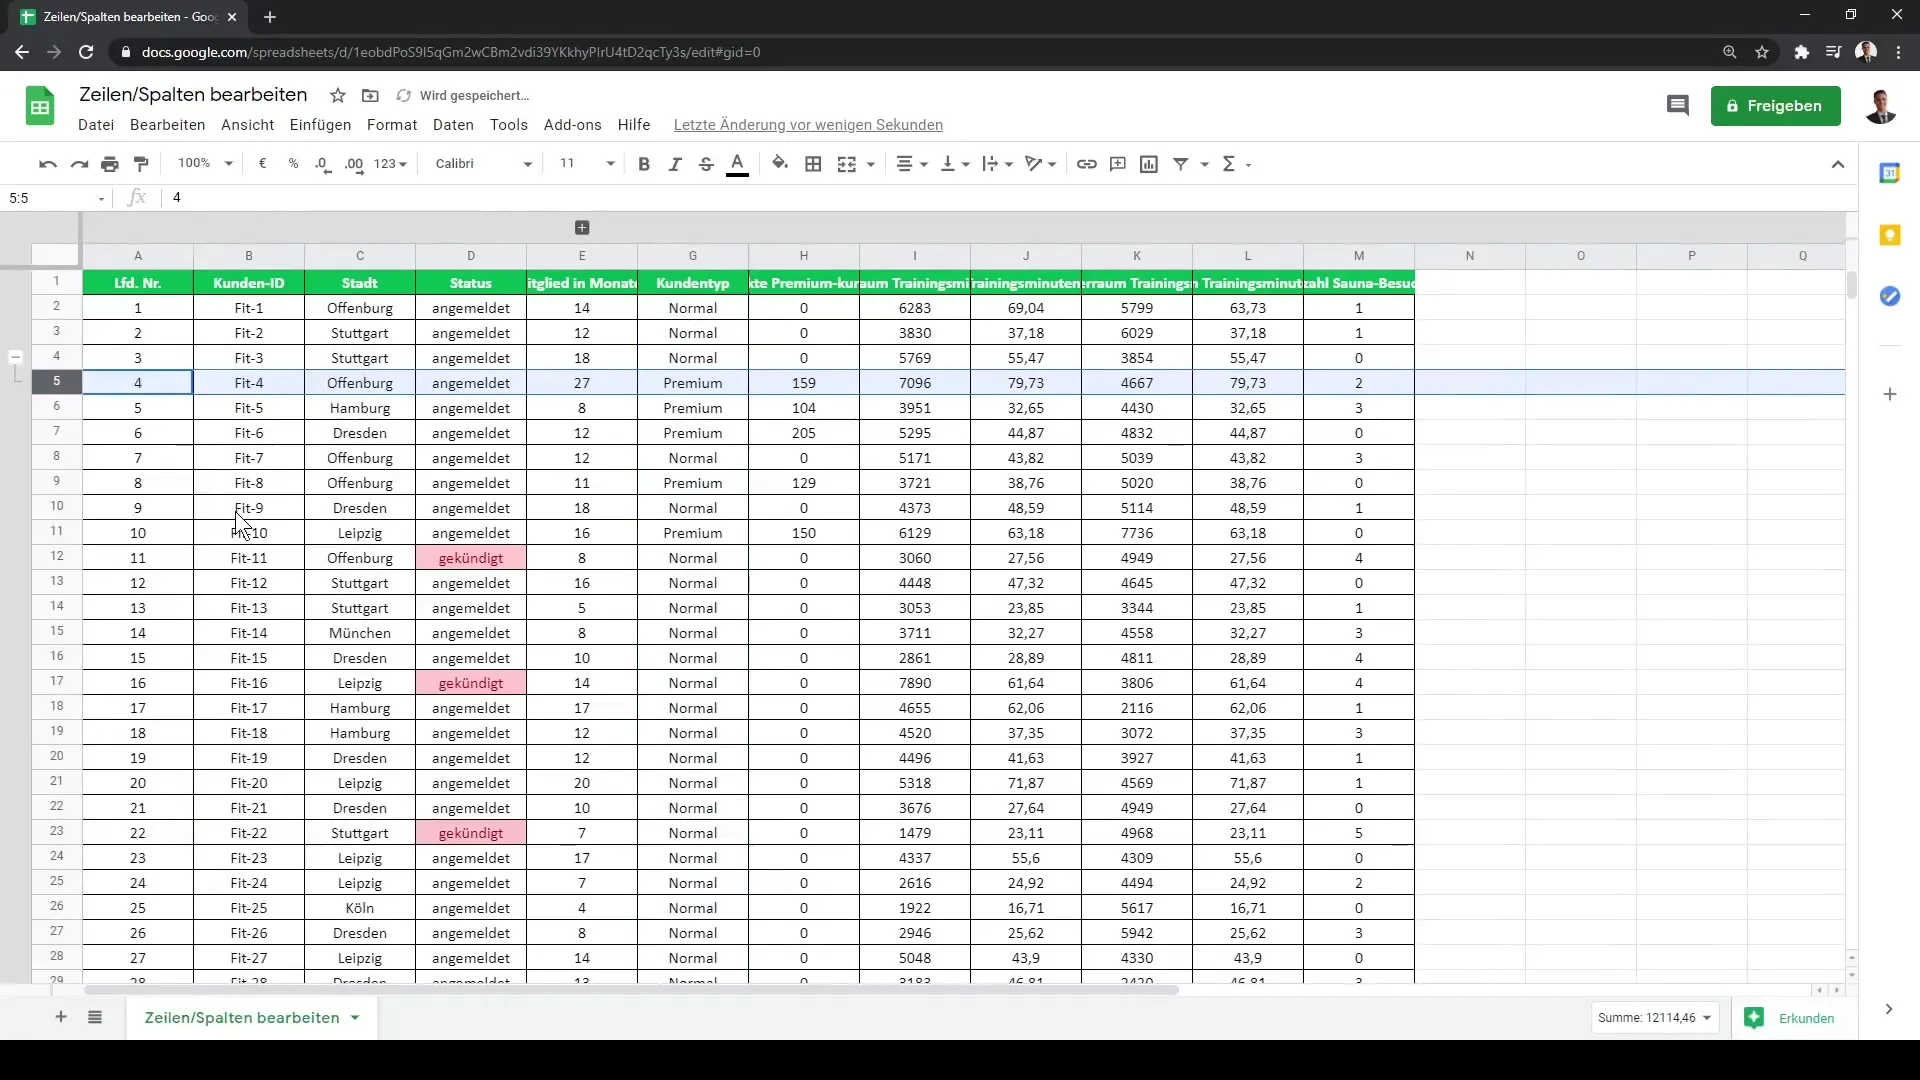
Grouping and collapsing rows and columns is especially useful when you have a lot of data and want to maintain a clear overview.
Summary
In this tutorial, you have learned how to effectively edit columns and rows in Google Sheets. Everything from insertion to grouping has been covered. These techniques help you organize your data clearly and make working within the table much easier.
Frequently Asked Questions
How do I add a column in Google Sheets?Right-click on the letter of the column, before or after the position where you want to insert the new column, and choose 'Insert column'.
How do I delete a row or column in Google Sheets?Select the row or column, right-click on it, and choose 'Delete'.
Can I delete only the content of a column?Yes, you can delete only the content by selecting the corresponding column and choosing the 'Delete content' option, without removing the entire column.
How do I group columns or rows in Google Sheets?Select the columns or rows you want to group, right-click, and choose the 'Group' option.
What happens when I group a column or row?The grouped column or row can be collapsed, making it no longer visible in the overview and saving space.
