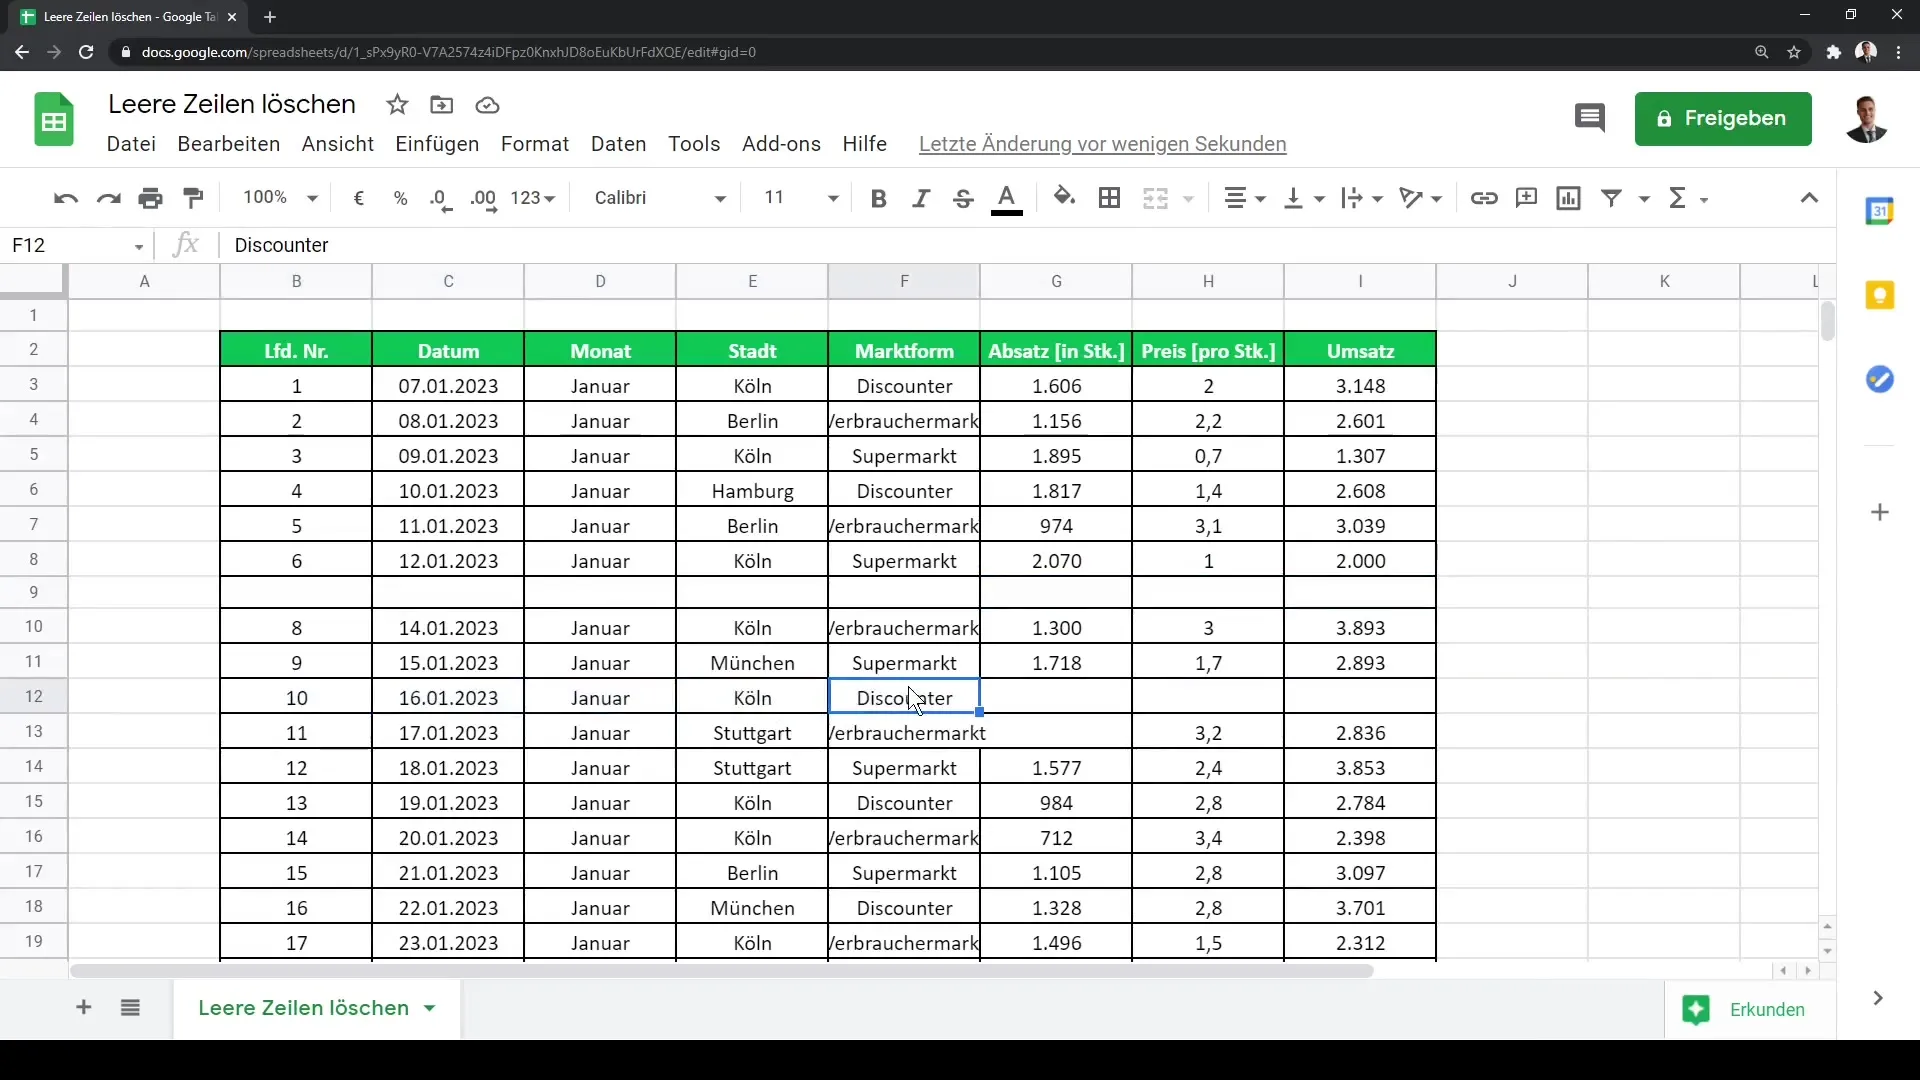
In today's lesson, you will learn how to effectively remove empty rows in Google Sheets. Often, your spreadsheet contains raw data that is not only incomplete but also prone to errors when it comes to extracting the relevant information. In this tutorial, I will show you how you can address these issues using a combination of helper columns and filter functions to clean up and organize your data sheet.
Main Insights
You will discover how to:
- Use a helper column to determine the number of filled cells in a row.
- Filter out specific data points with the FILTER function and delete the corresponding empty rows.
- Select and eliminate empty rows manually or automatically.
Step-by-Step Guide
To delete empty rows in your spreadsheet, follow these steps:
Step 1: Insert a Helper Column
First, insert a helper column into your spreadsheet. Right-click on the column header and choose "Insert column". Name the new column as "Helper Column". Here, you will input a formula to count the number of non-empty cells in the respective rows.
Step 2: Using the COUNT Function
Next, use the COUNT function in this new helper column. Enter the following into the cell of the helper column: =COUNT(A2:E2), where A2:E2 is the range of cells containing the data of each row. This function counts how many of the cells in that row contain data.
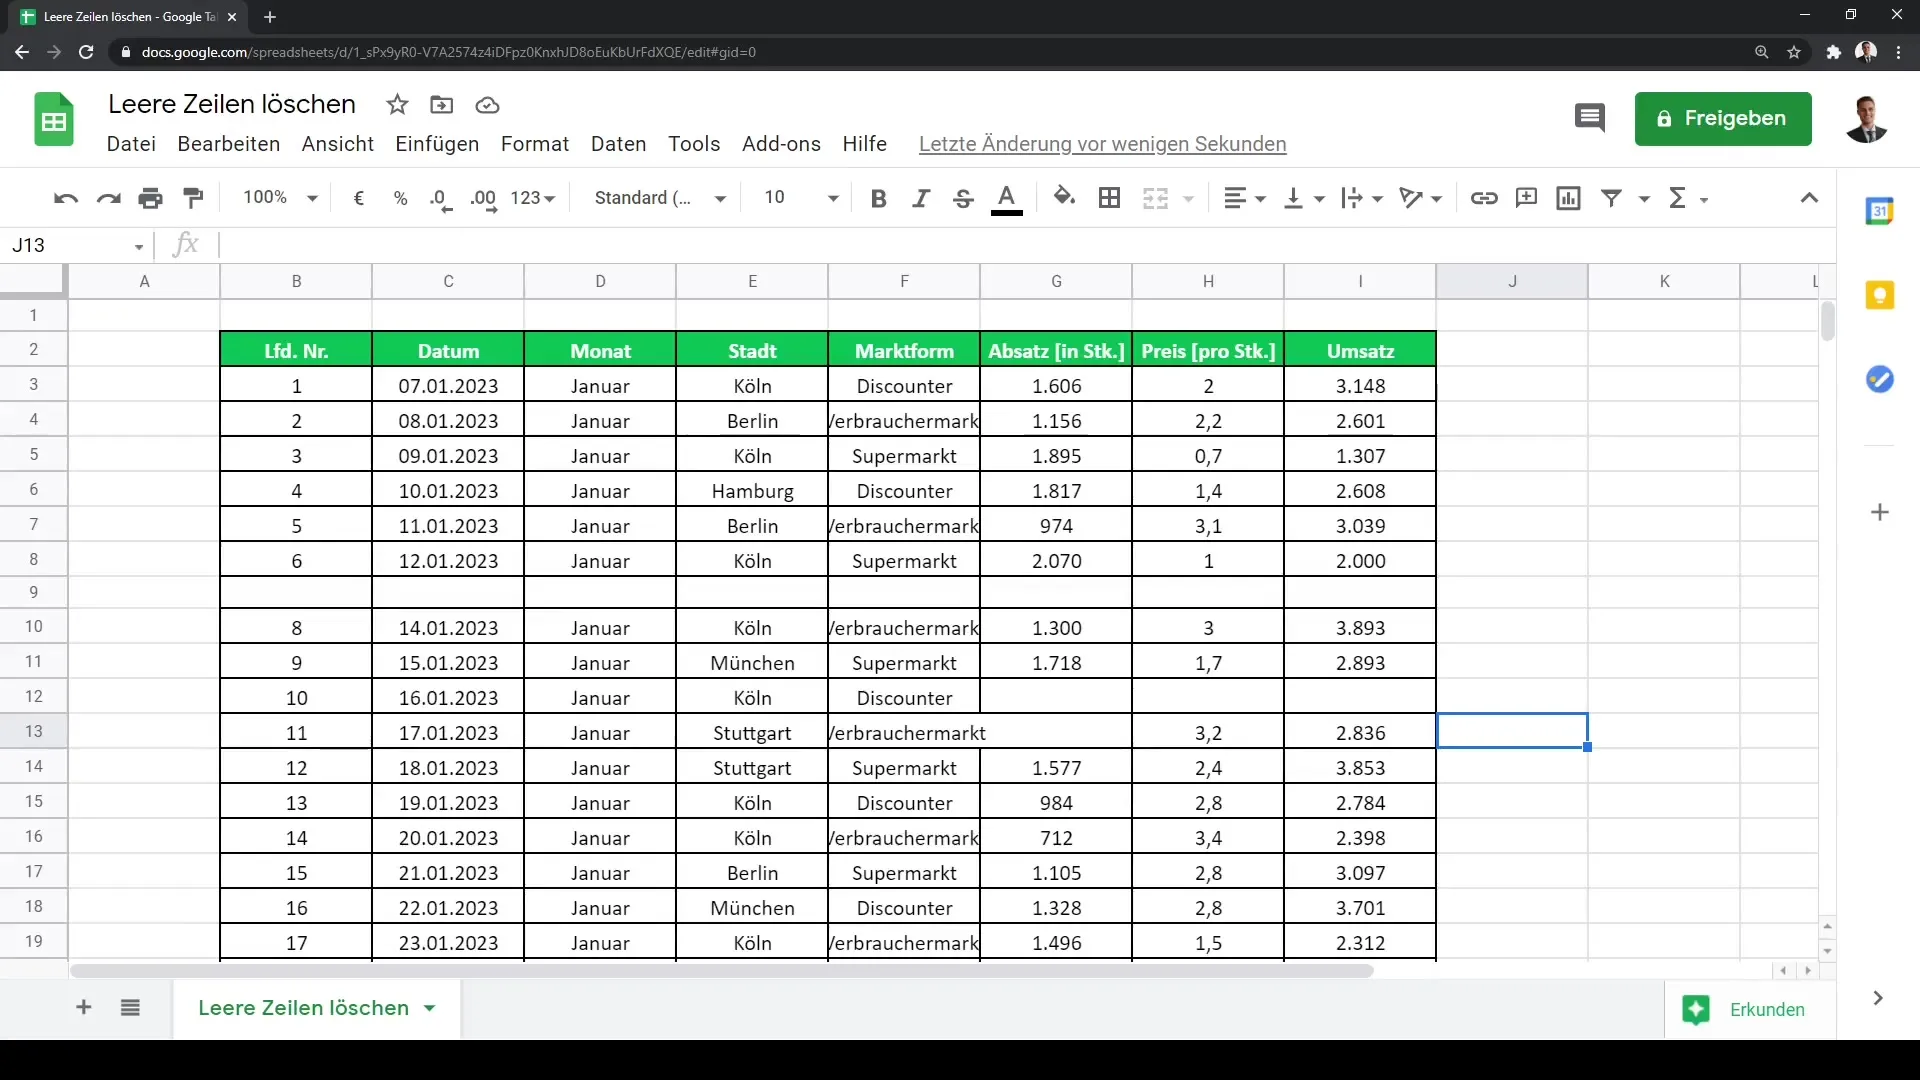
Step 3: Dragging Down the Formula
To apply the COUNT function to all relevant rows, drag the small square dot in the bottom right corner of the cell downwards. This copies the formula to the cells below and counts the non-empty values for each row.
Step 4: Setting Filters
Once the helper column is filled, select the entire data row and click on "Filter". Then, go to the filter settings in the helper column and remove all rows that do not have the value "5" in the helper column. This will display all rows containing empty cells.
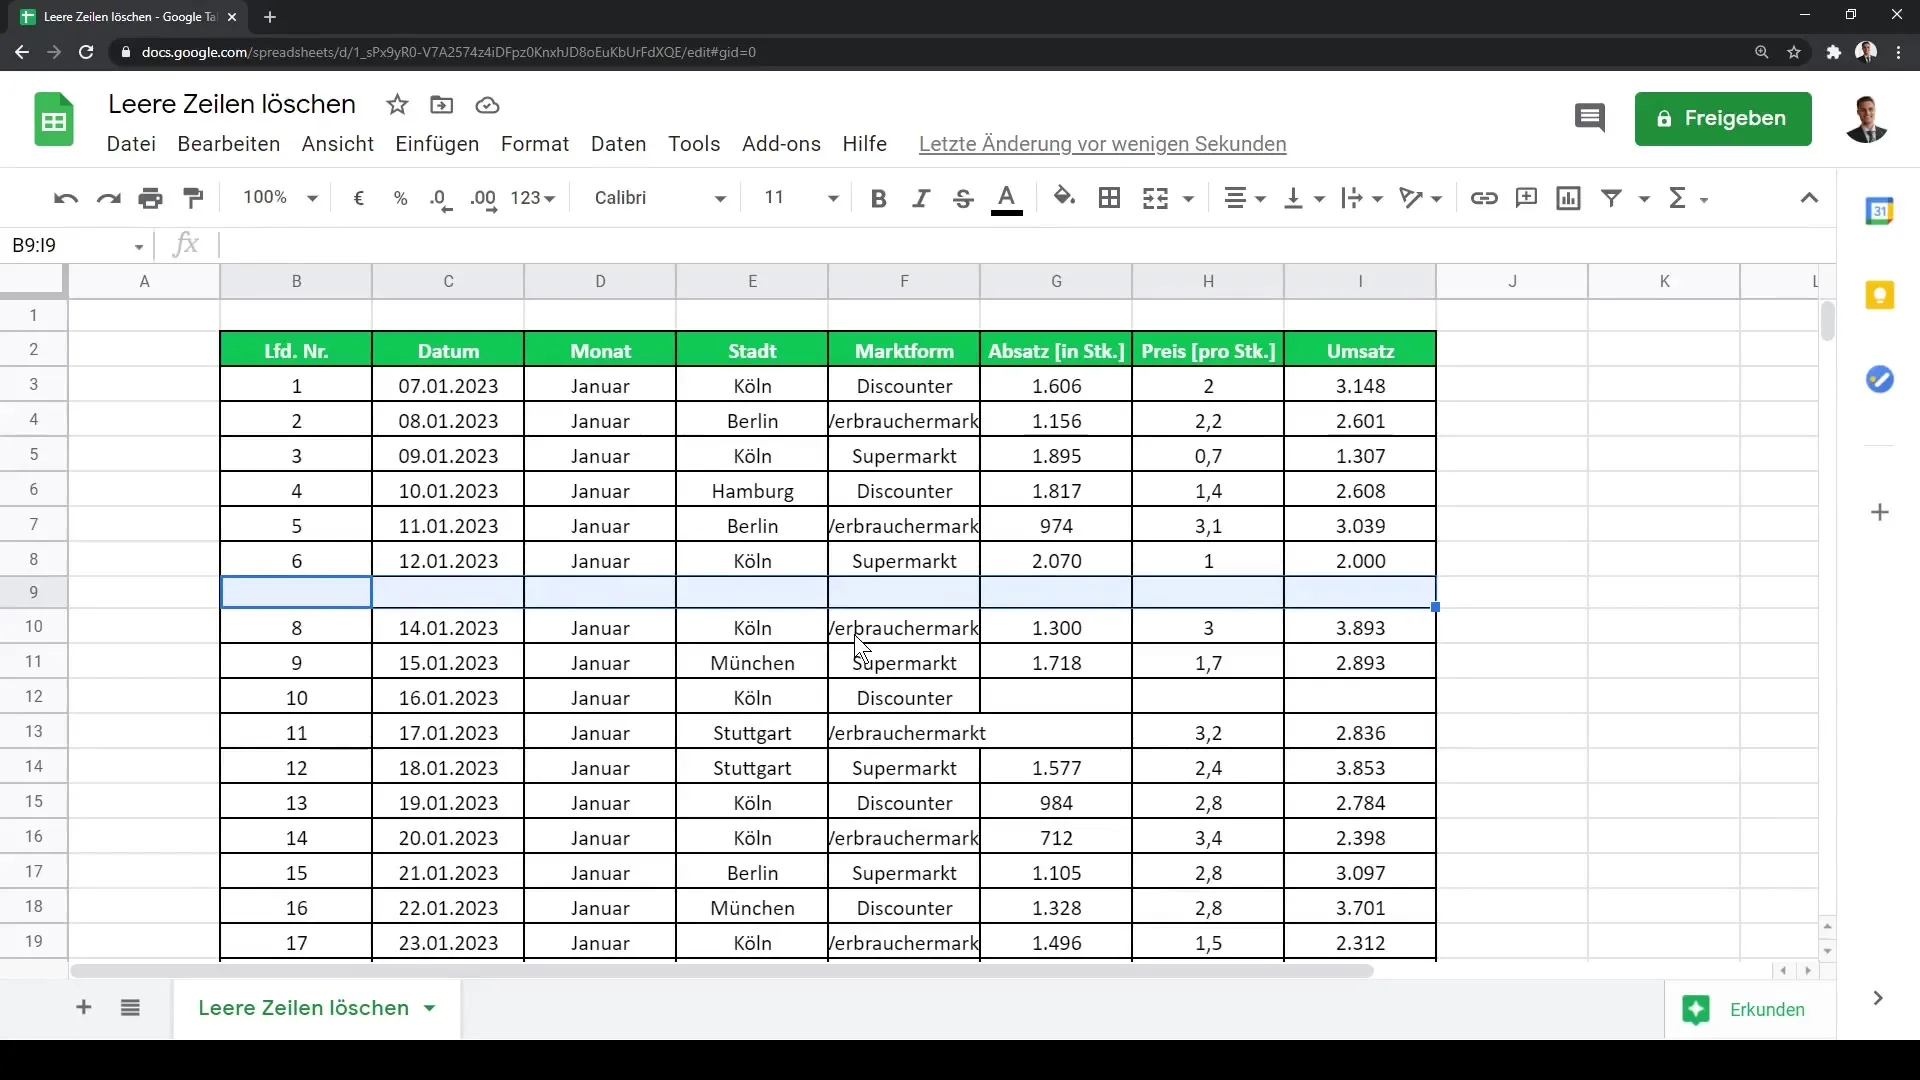
Step 5: Selecting and Deleting Empty Rows
Highlight the empty rows shown by the filter. Right-click and choose "Delete rows".
Step 6: Resetting Filters
To view the remaining data, remove the filter. Click on the filter symbol again and deactivate the filter settings to display all visible rows again.
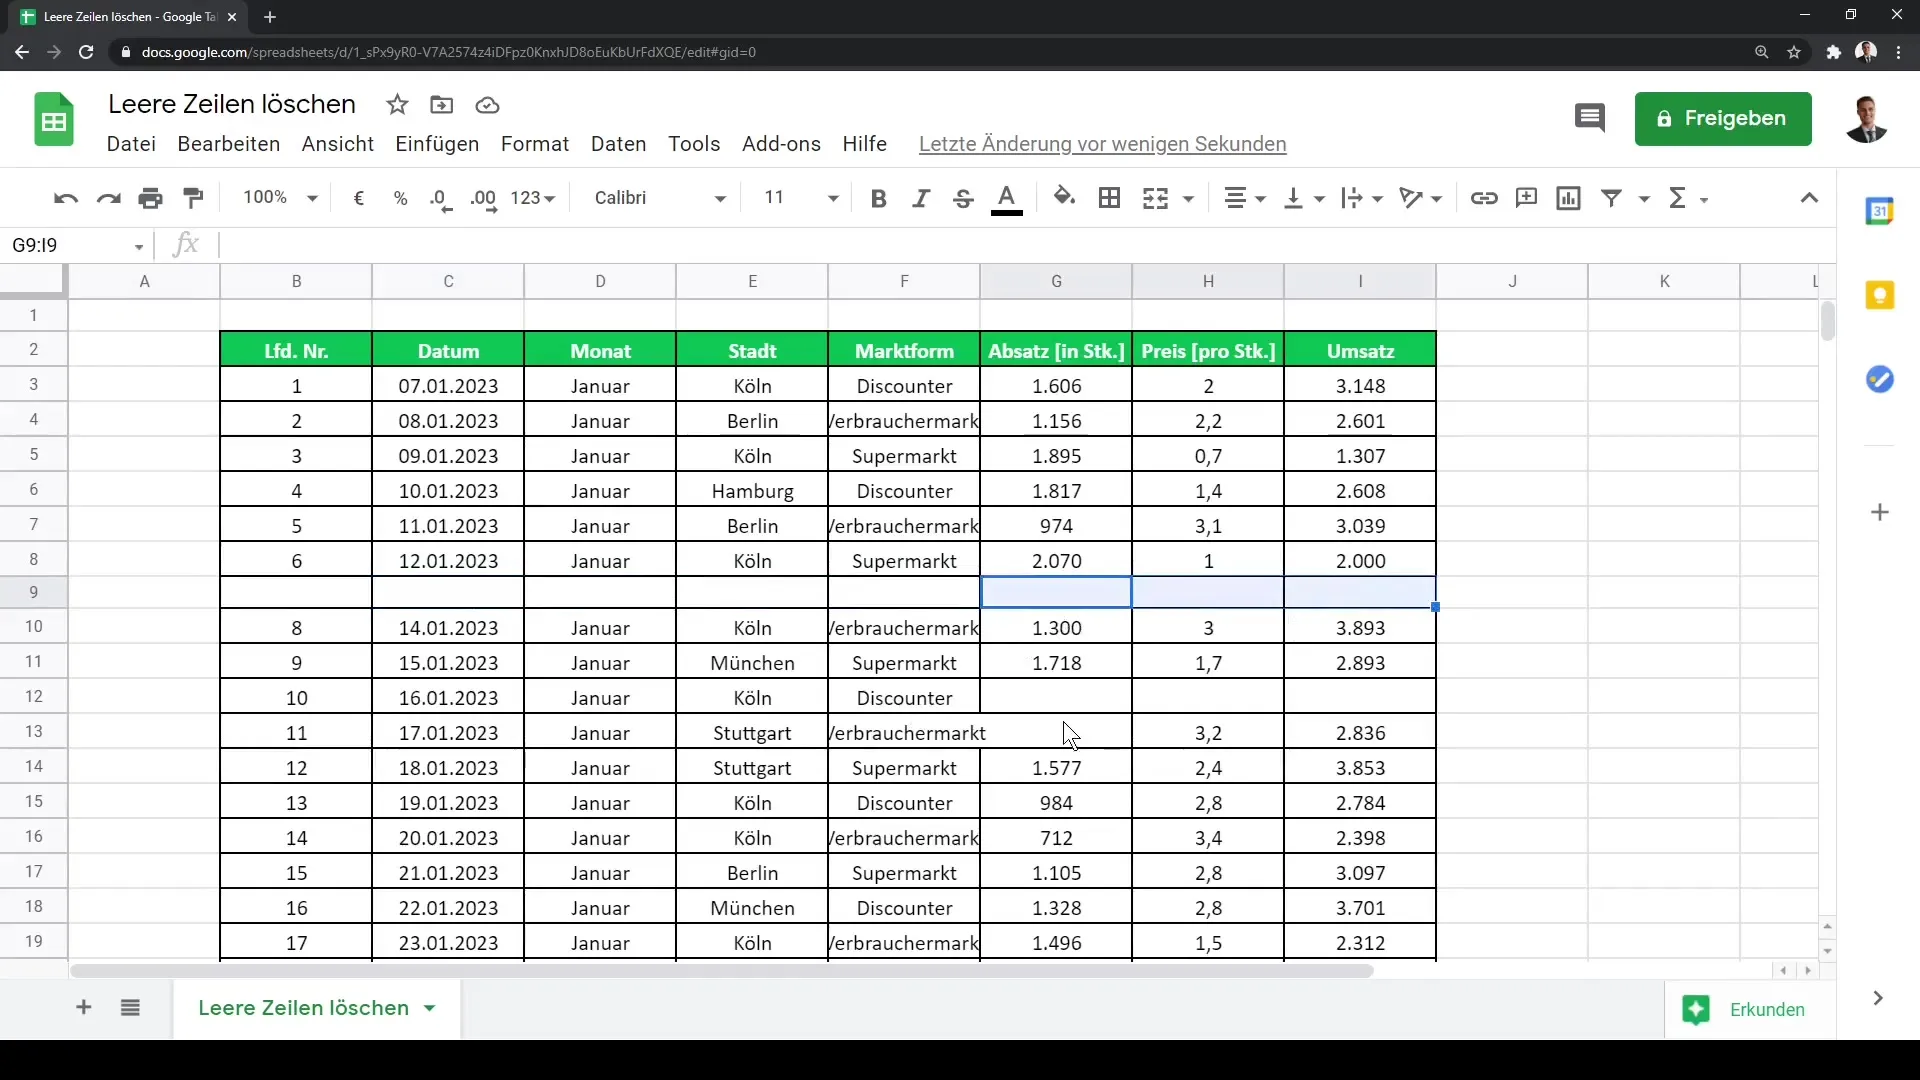
Step 7: Deleting the Helper Column
The helper column is no longer needed as you have successfully removed the empty rows. Highlight the helper column and right-click to delete it.
Summary
With this structured guide, you have now learned the necessary steps to effectively identify and delete empty rows in Google Sheets. The use of the helper column and filter function makes the process much easier and less prone to errors.
Frequently Asked Questions
How can I insert a helper column in Google Sheets?Right-click on a column header and choose "Insert column".
Which function is best suited for counting empty cells?The COUNT function only counts cells with numerical values.
How can I delete multiple rows at once?Select the desired rows, right-click, and choose "Delete rows".
What can I do if the filter gives an error?Ensure that no rows outside the filtered range are selected.
How can I revert back to the unfiltered data?Simply remove the filter to display all data again.
