Step 1
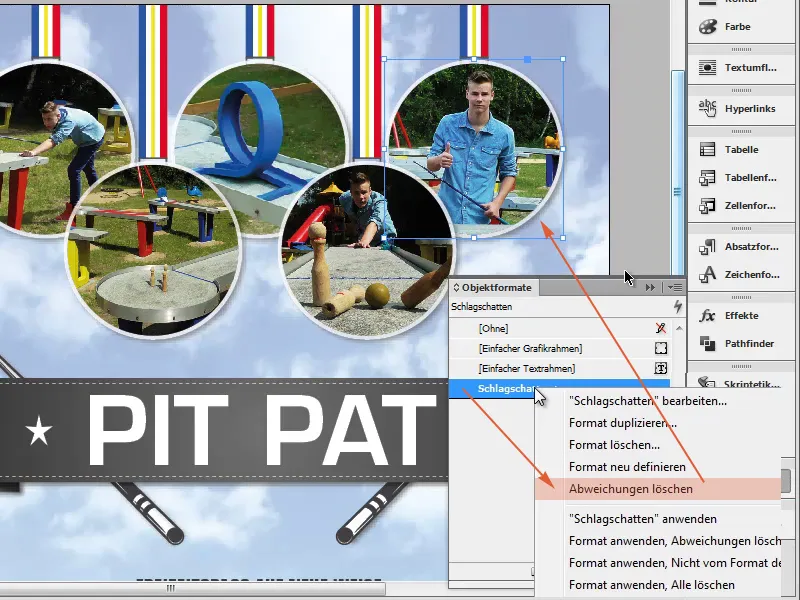
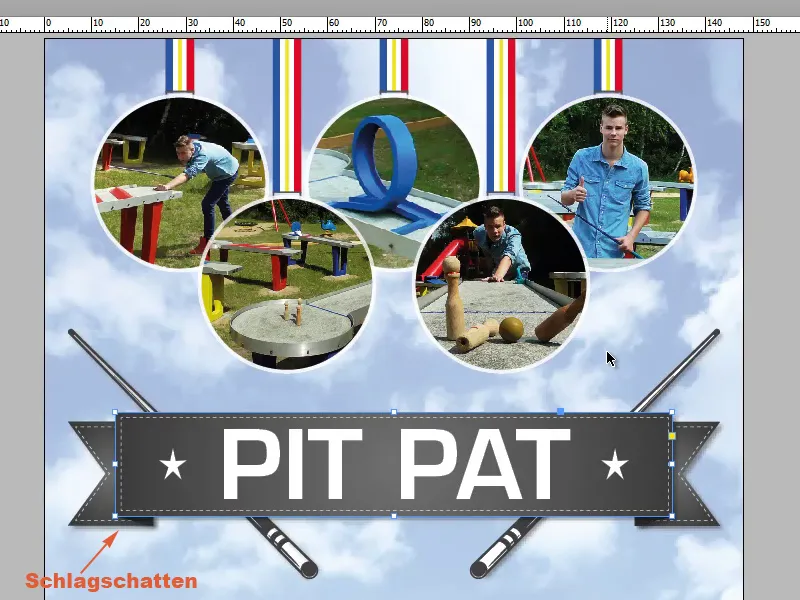
Now comes the quickest trick of all time. What do you mean by trick? Basically, it's almost always the basics. We have an object here with a minimal drop shadow, and we would like to apply it to the five circles.
Step 2
What's the quickest way to do this with the same setting? We go to the Effects paneland see that an effect (fx) is already available.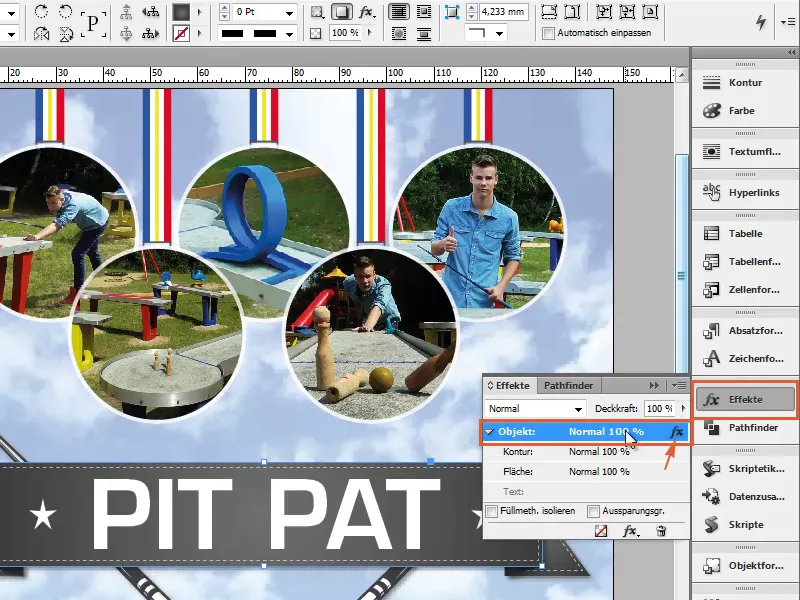
Step 3
Double-click on the fx to open the effect settings. Here you can see what is set, and in our case this is just the drop shadow with an opacity of 50%. This is exactly what we want.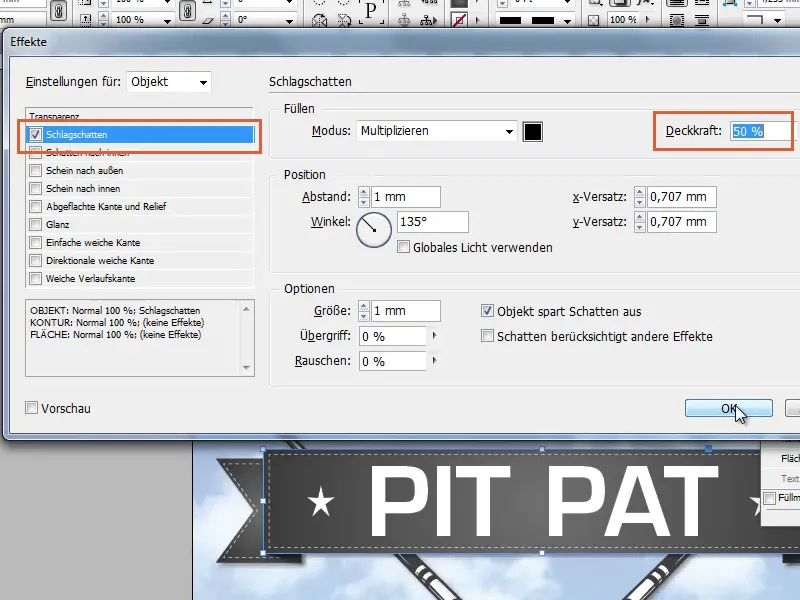
Step 4
To apply the effect, we need to press and hold the left mouse button on the fx, don't let go and drag it onto the object of our choice. Even if the mouse pointer signals that it is not working, it will still work.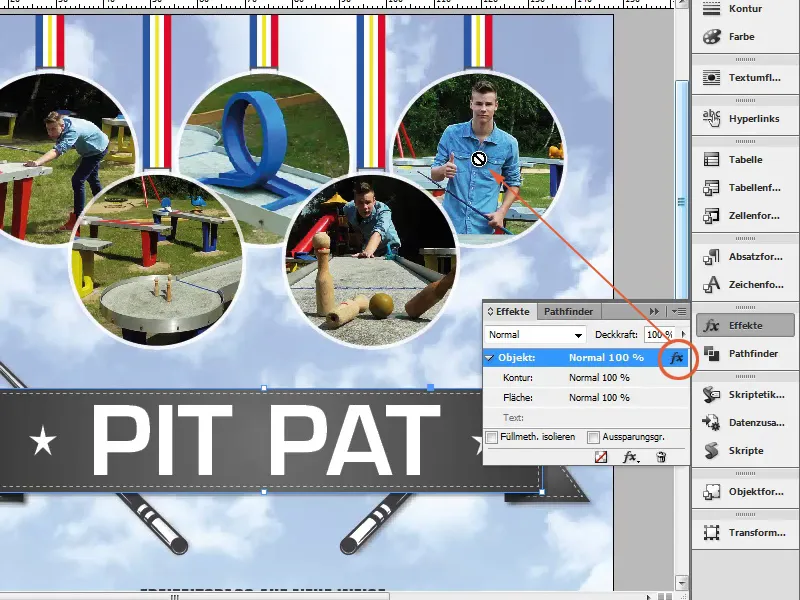
Step 5
We release it and see that the drop shadow has been transferred.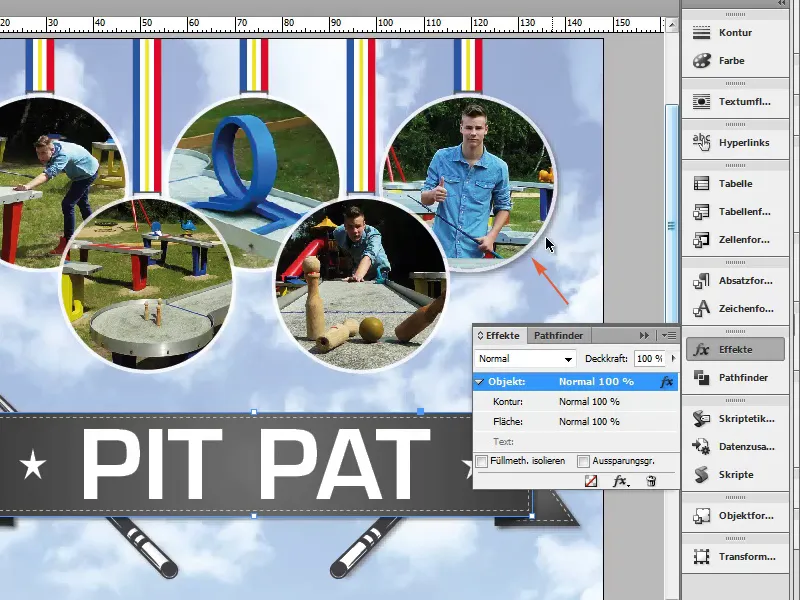
Step 6
Of course, we could also create an object format. This means that we select the object that already has the drop shadow and create a new object format.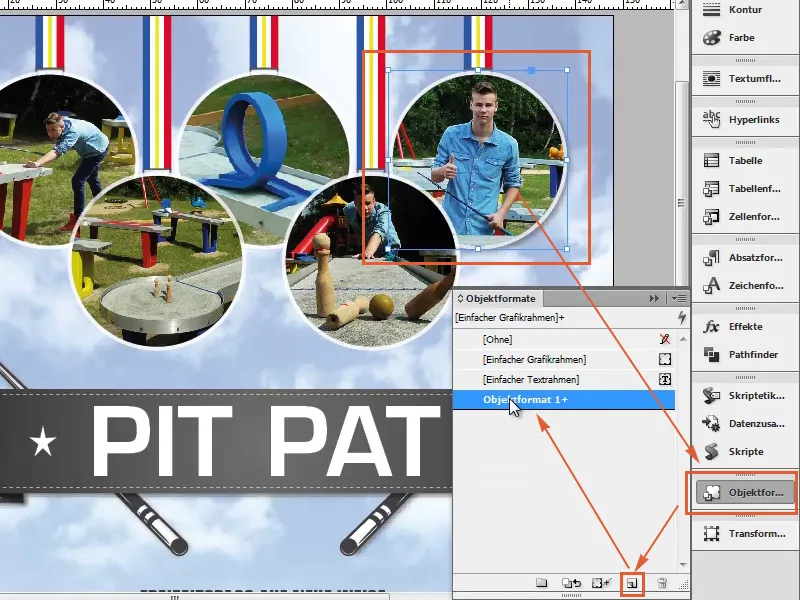
Step 7
In the object format options, we can see what is included. We call it "Drop shadow", and under Object we see that a drop shadow is set.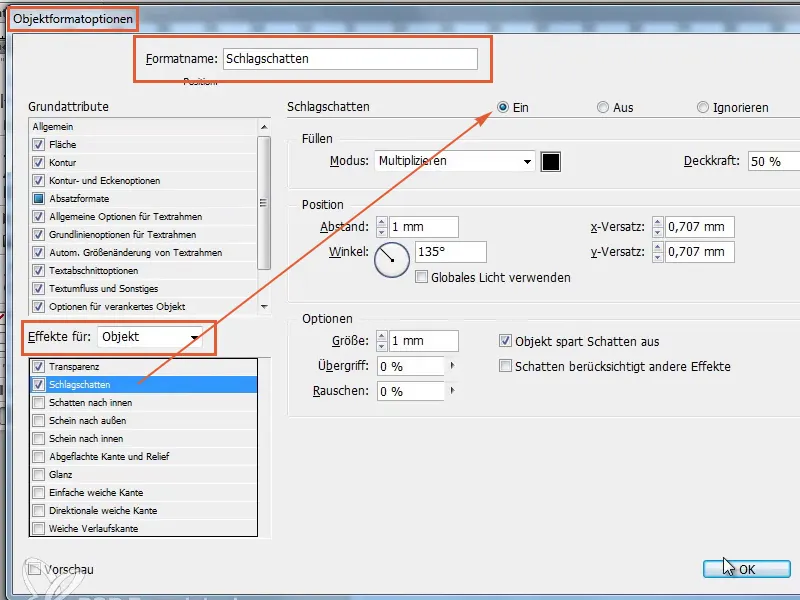
Step 8
Either we click on each object individually or we select several objects at once by holding down the Shift key. Click on Drop shadow to apply the effect.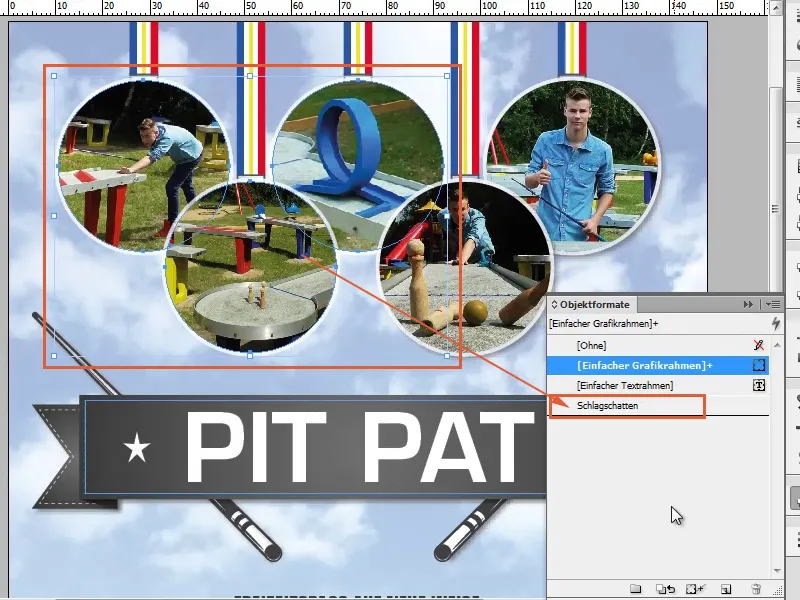
Step 9
As I said, it's all very simple. Click on the object that has a certain effect, drag the fx symbolto the desired object that is to have this effect via the Effects control panel.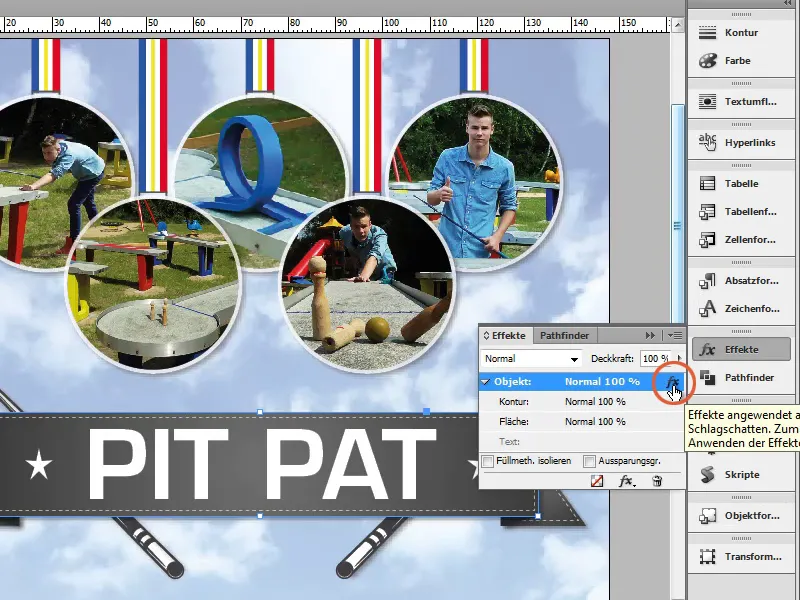
Step 10
This is a nice option and works for all things. Even if we set the outline to 0 pt (1) and deactivate the drop shadow (2), i.e. remove the drop shadow (3).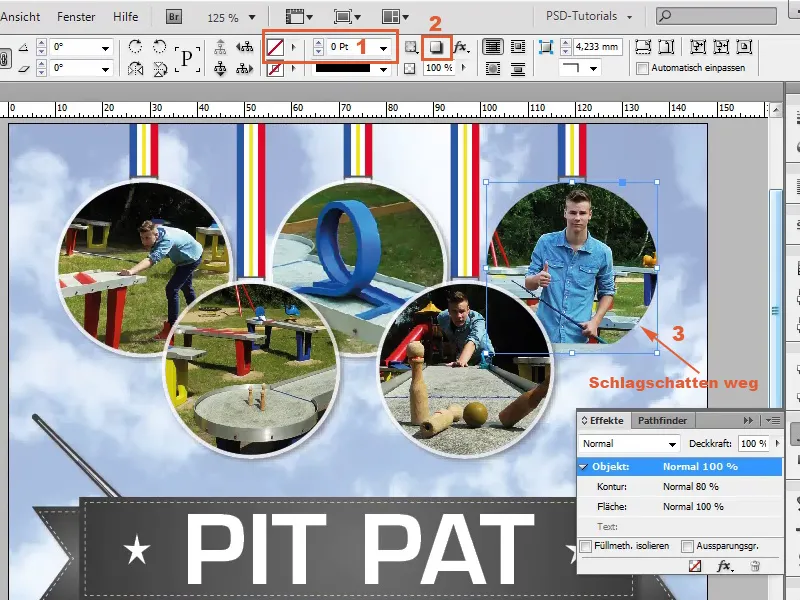
Step 11
We click again on an object with the drop shadow effectand drag the fx to the desired circle to transfer the drop shadow.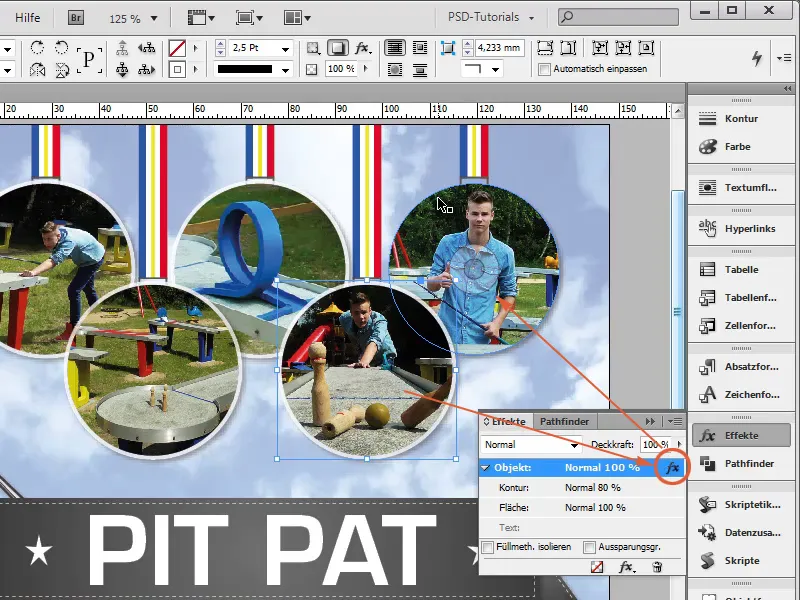
Step 12
If we also want the contour, we would have to set this separately via Contour...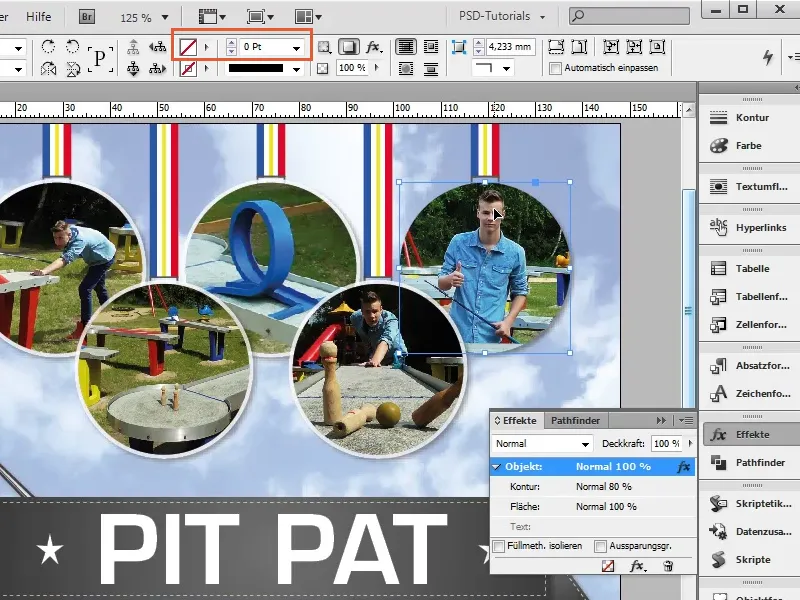
Step 13
... or we can add the drop shadow via the object formats, because the contour is also stored there. We see a plus sign after Drop shadow, which means that the contour has not been applied here.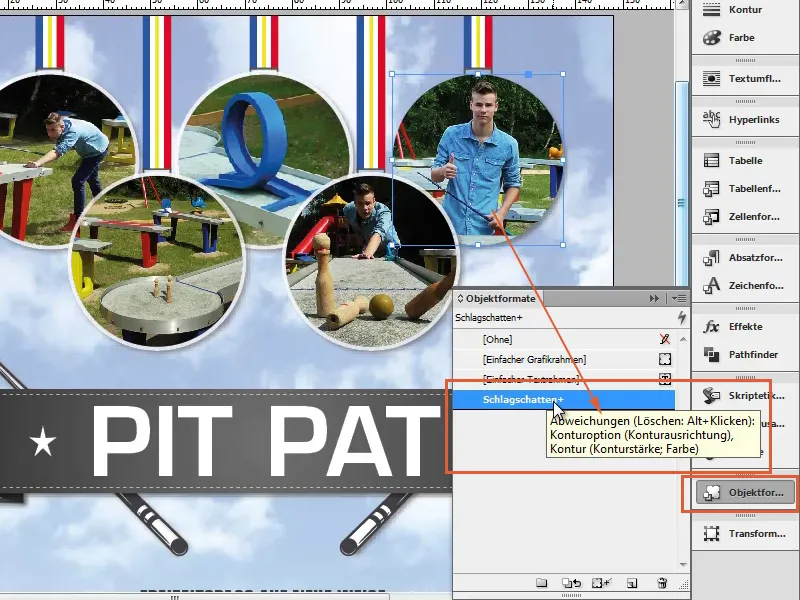
Step 14
We right-click on the drop shadow and delete it by clicking on Delete deviations and see that everything is as we want it to be.