In this tutorial, I would like to show you that you can also crop images in other ways, i.e. independently of the classic selection options.
I will not use the channel selection, the color range selection or any of the other selection tools for cropping the subject. Instead, I rely on the layer mapping options in Adobe Photoshop. The following image of a web layout was created using this technique.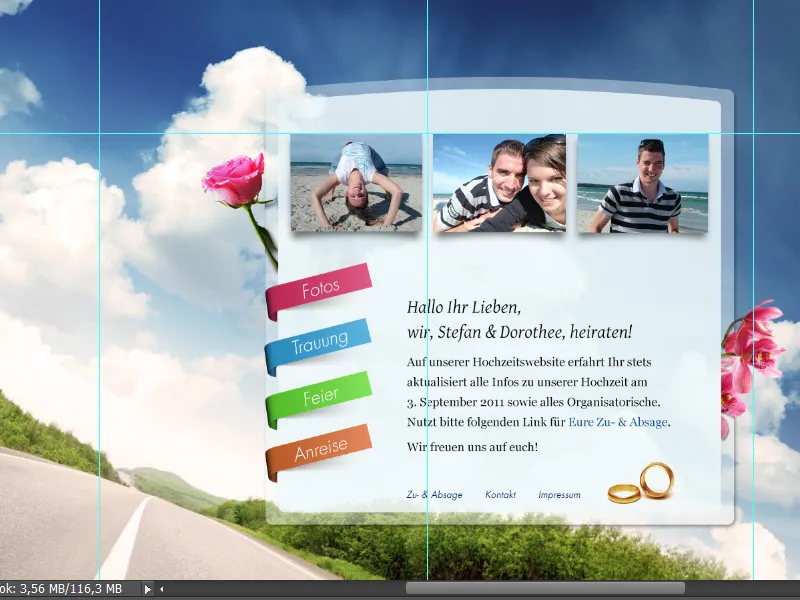
Various clipping tools are used in this web layout. These include both the rings and the Blums. However, there is still a little something missing in this work that I would like to add. I have added a picture of birds to the project.
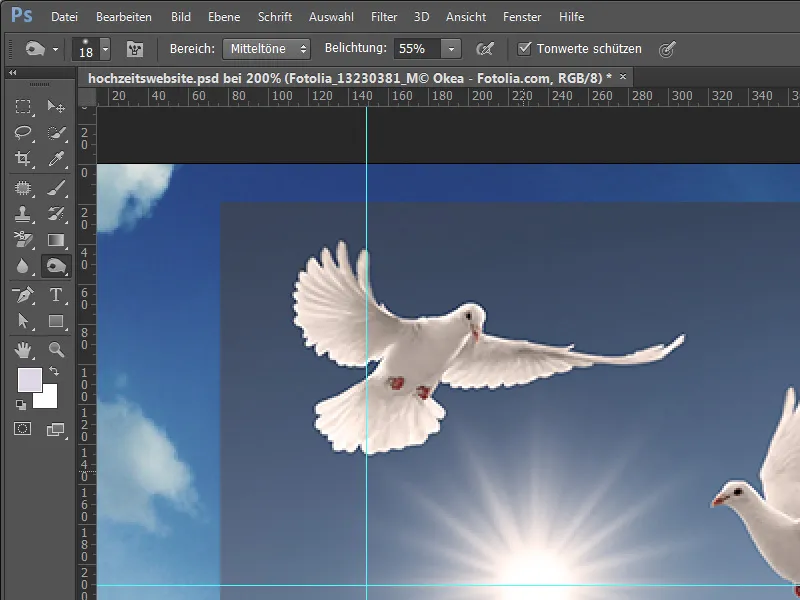
This bird should now be cropped so that it fits seamlessly into the almost finished layout. For example, I could now remove the blue with a layer mask or a color selection. However, this is not necessary. For an initial selection, I first remove the parts of the image that I don't need. To do this, I use the lasso tool - to roughly outline the motif.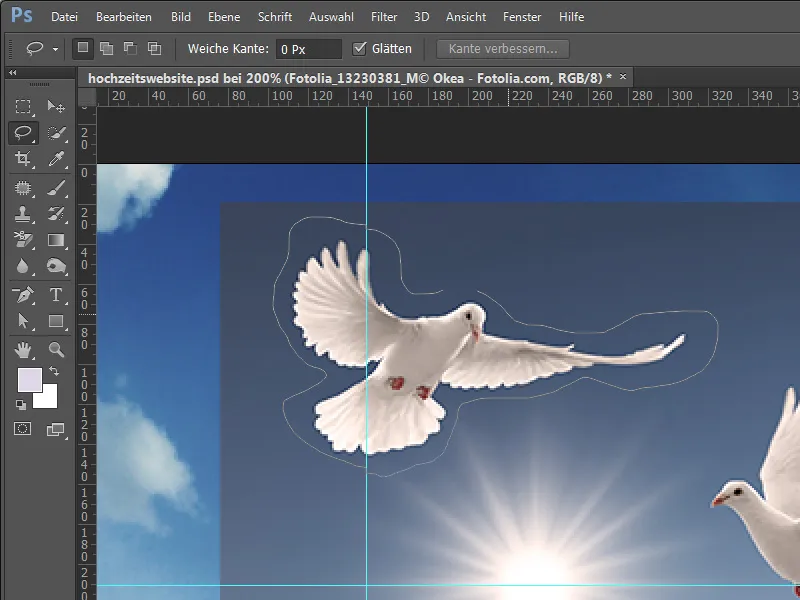
This rough selection separates the subject from the unnecessary parts of the image. I use this selection to create a layer mask by clicking on the layer mask symbol in the layer palette. Initially, only the main motif and the surrounding border areas remain visible.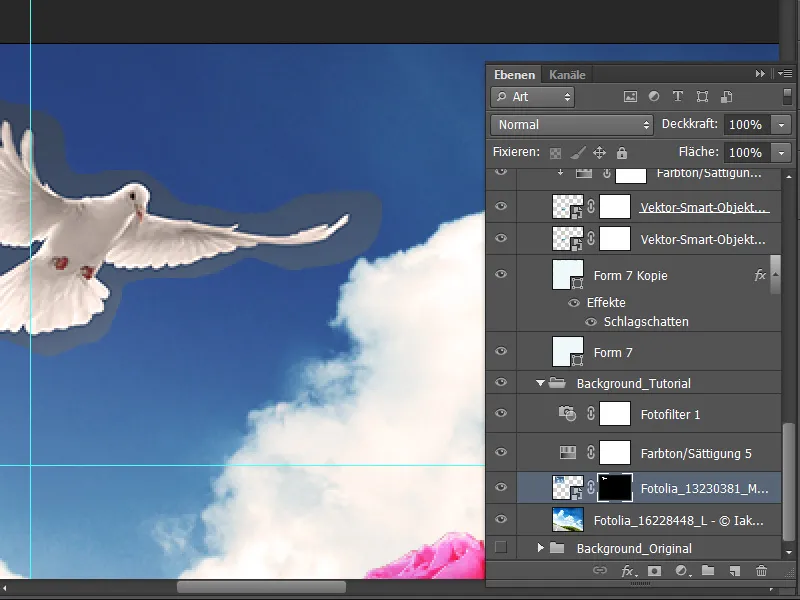
The aim now is to crop the bird as precisely as possible and hide the surrounding sky areas. I first open the layer style dialog box by double-clicking on the layer.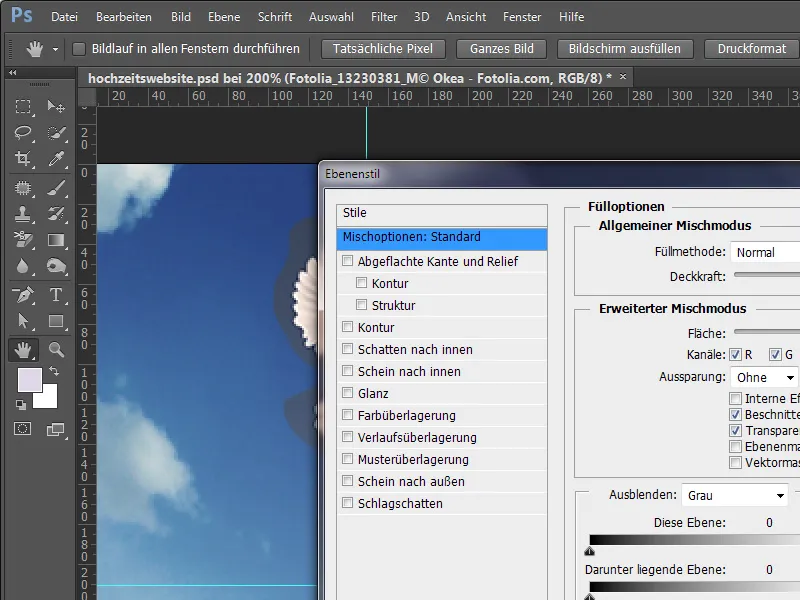
In this dialog box, I can choose between various fill options and, for example, hide entire colour areas or channels.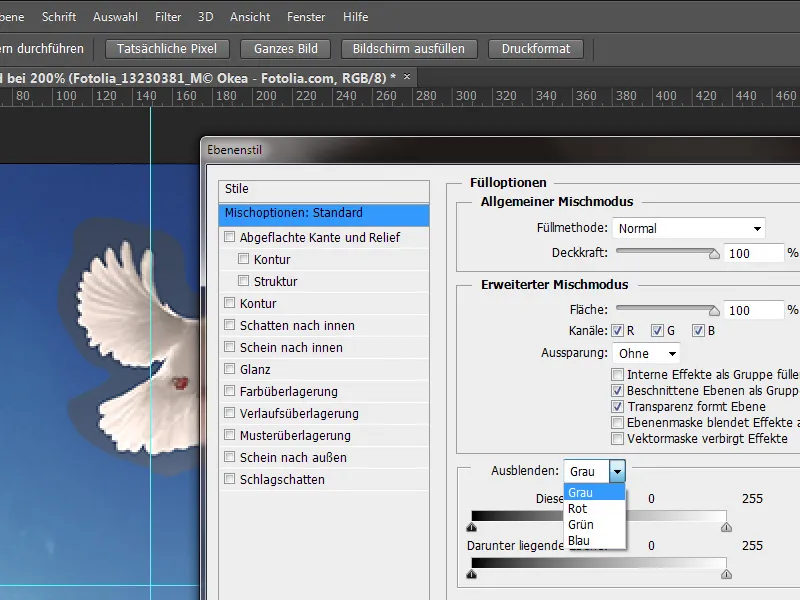
I can now use the sliders below the Fade out selection field and, for example, gradually fade out the depths by moving the black value slider towards the center.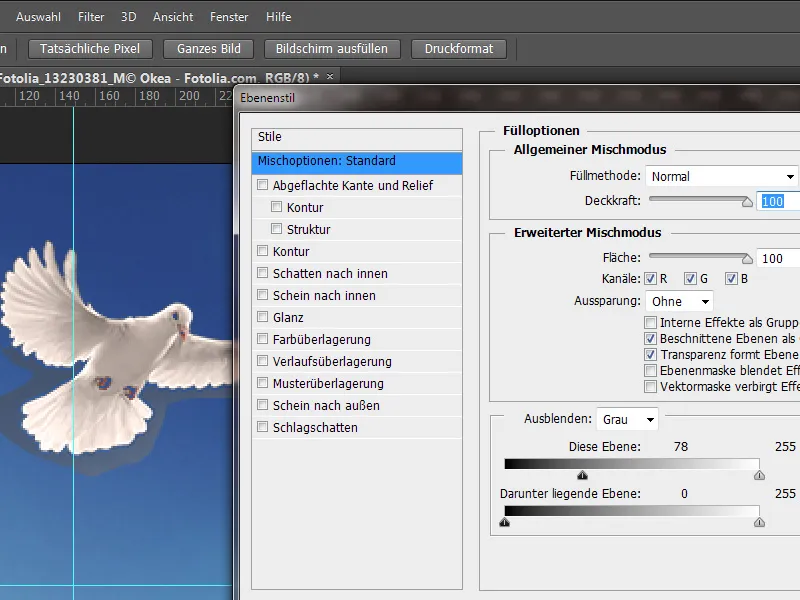
The disadvantage of this action, however, is that parts of the image that I would have liked to keep are also faded out. These include, for example, the eyes and the area around the claws.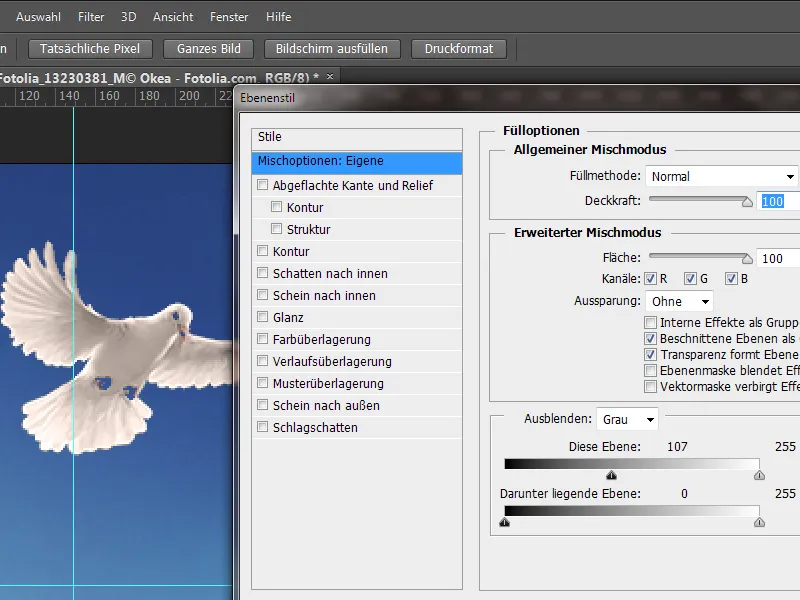
If I now switch to the blue channeland also move the slider towards the center, a few important parts of the image disappear here too.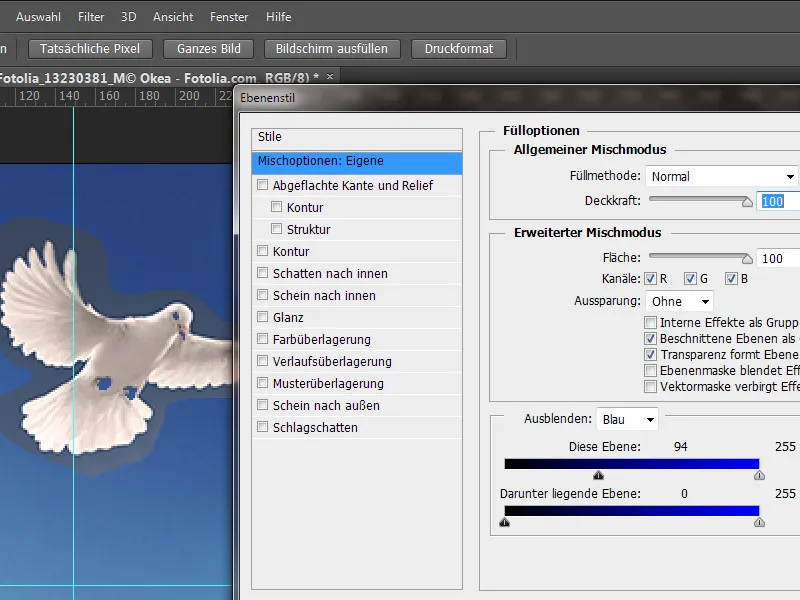
The same picture results when using the green channel.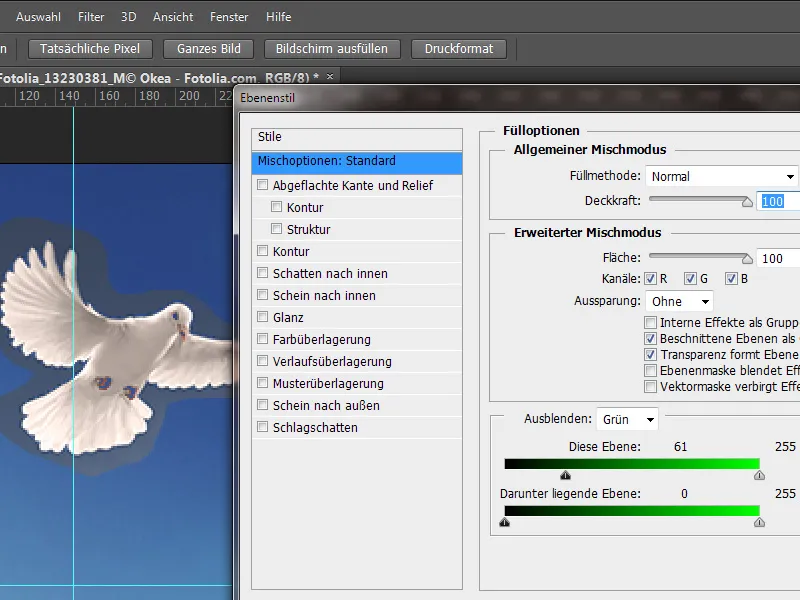
Only when I try the red channeland move the slider there do I achieve the decisive fade-out without destroying the image. The feet and eye remain largely unaffected by this channel selection.
To show exactly what has happened there, I duplicate this layer. I right-click on the layer and select Duplicate layer from the dialog box. Another dialog box then appears in which I can specify where this copy should be saved. I select the entry for a new document.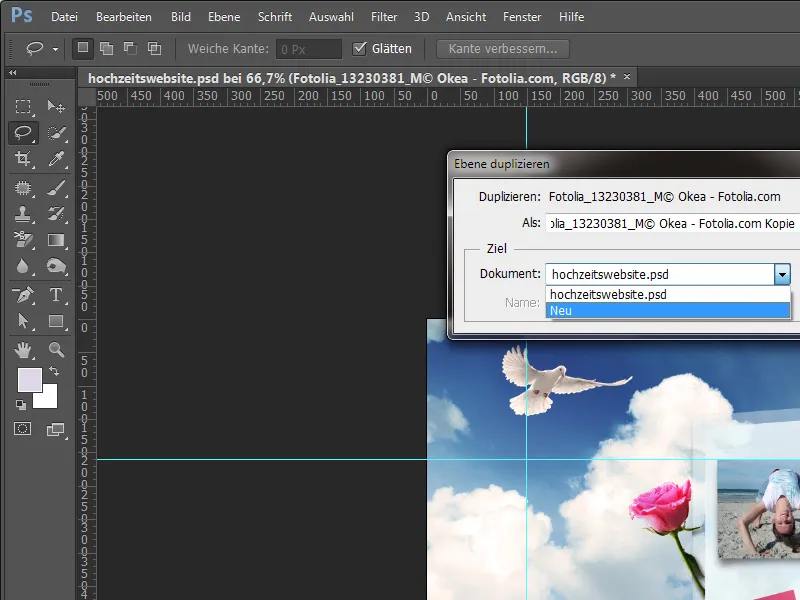
In this new file, you can see very clearly how the mapping was carried out in Adobe Photoshop.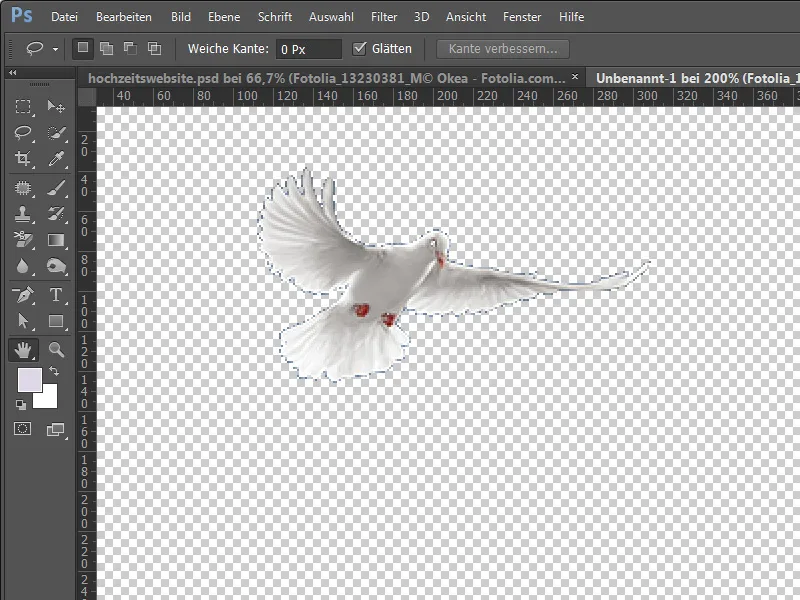
I now want to undo the color range masking and open the Layer Style dialog box by double-clicking on the layer.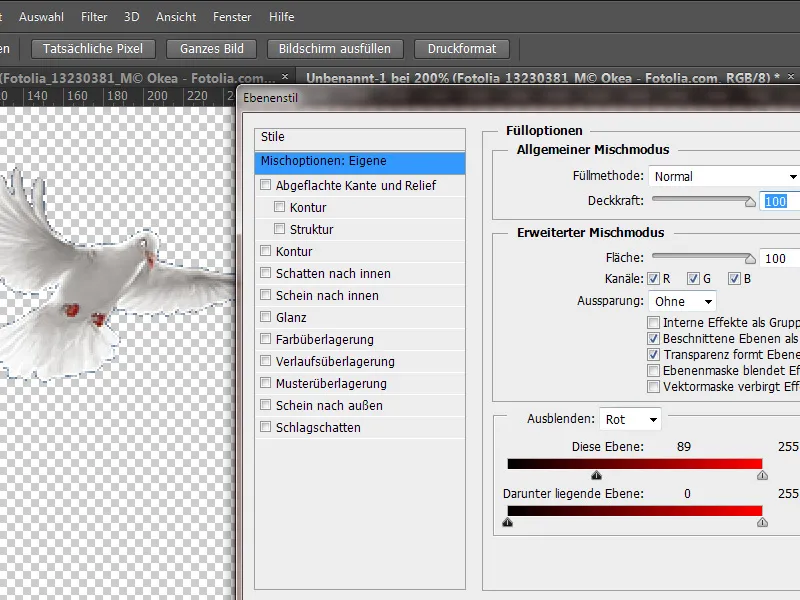
Now I can remove the color range masking again by moving the depth slider.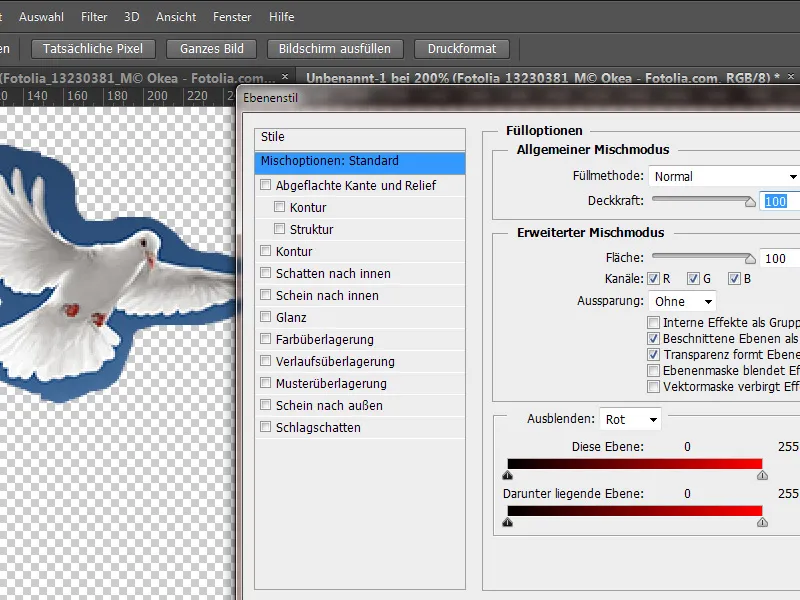
I also delete the layer mask by right-clicking on the layer mask thumbnail and selecting the Delete layer mask entry.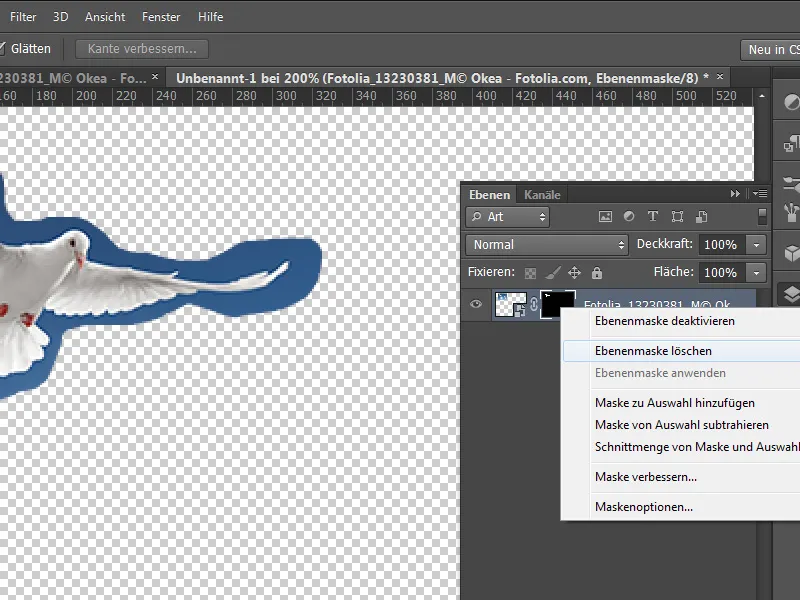
The image is now completely restored. I switch to the channels for demonstration purposes.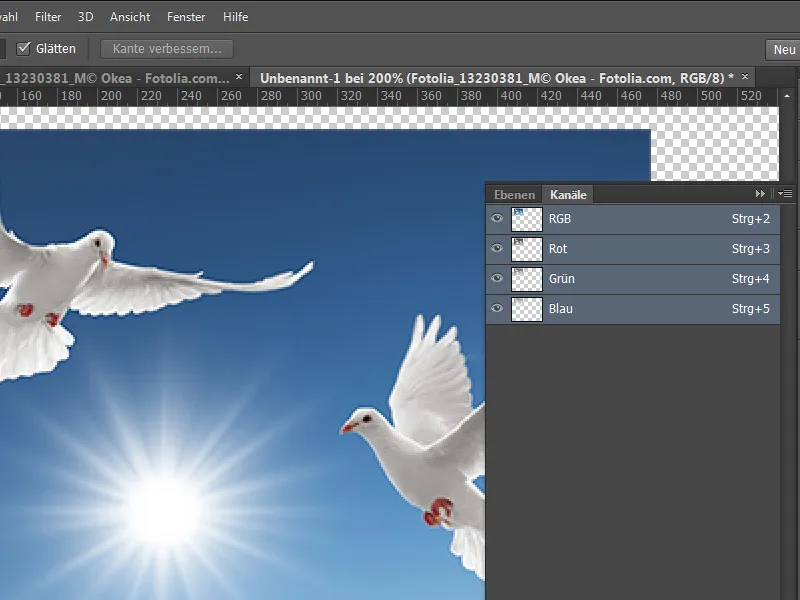
If I look at the individual channels now, I can already draw some conclusions about the image components. The blue channel, for example, shows very large differences in contrast between the feathers, the feet and the eyes. If the blue components were reduced, this area would be the first to be removed.
I observe something similar in the green channel of the image.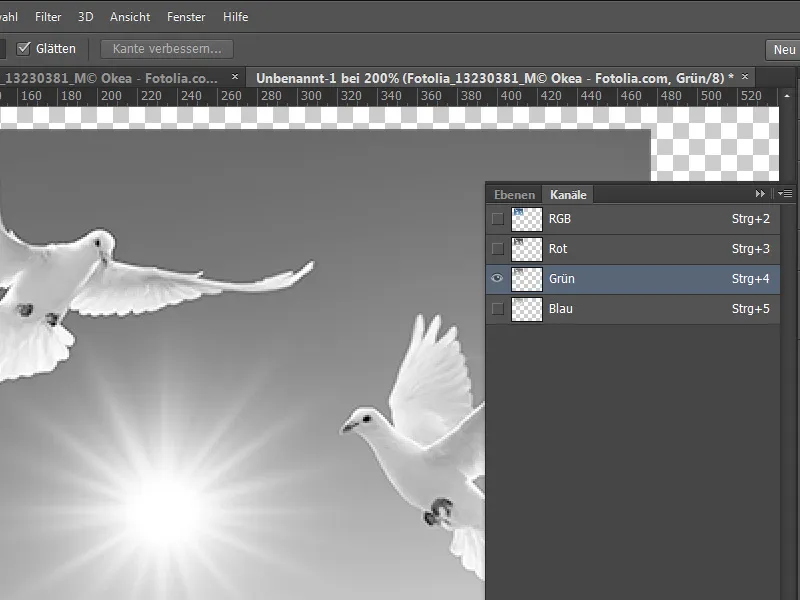
In the red channel, on the other hand, there is very little contrast between the plumage, beak and feet. This is why these parts of the image remain unaffected for the longest time during processing.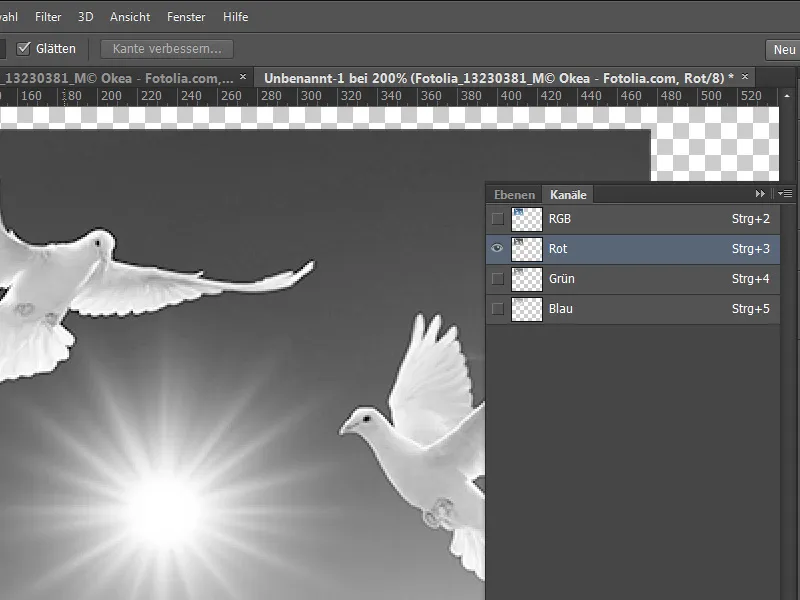
To illustrate this a little more clearly, I create a new, empty document and fill it with a black and white gradient.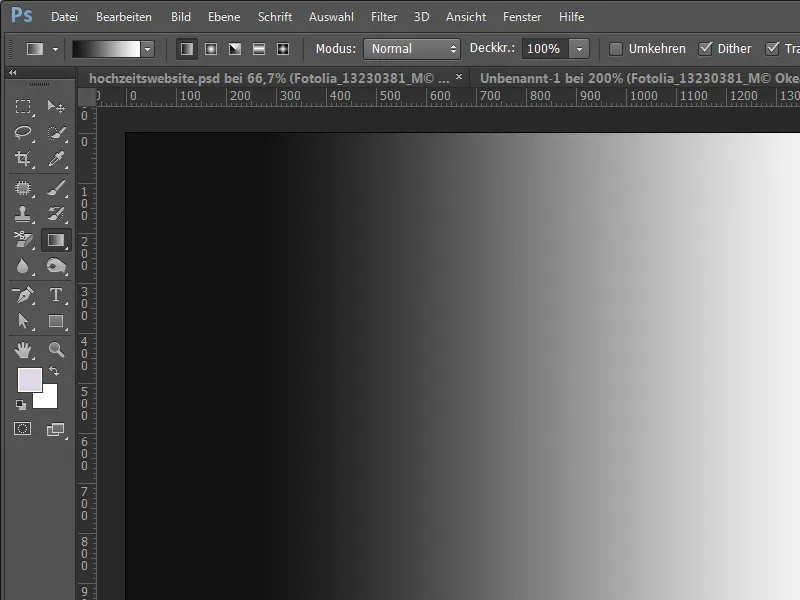
Now I show what is happening at this moment. To do this, I double-click on the layer again after converting it to a normal layer to open the Layer Style dialog box. If I then move the black slider in the area of the (tonal value) fade-out function towards the center, the first parts of the gradient are already faded out.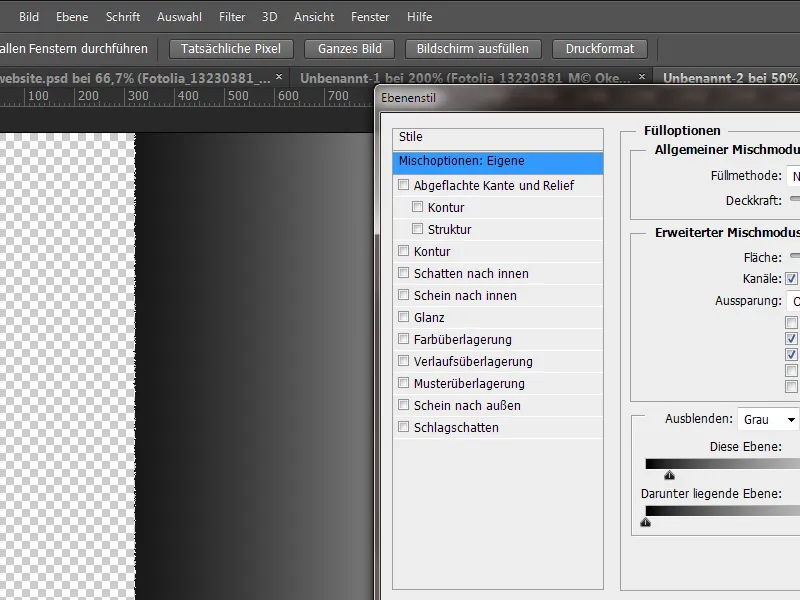
The further I move this slider towards the center, the more parts of the image are faded out.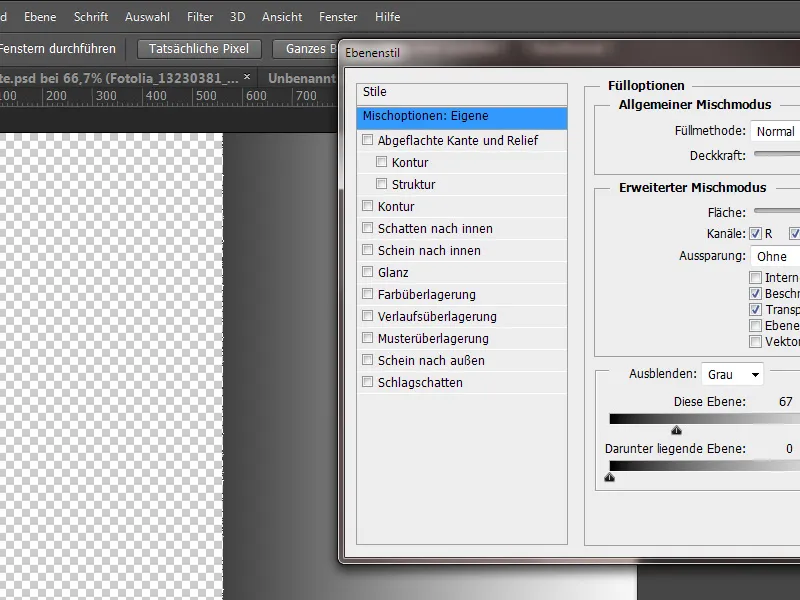
However, this edge or the transition from color range to transparency may then be a little too hard. You can use a trick to make this transition a little softer. To do this, I hold down the Alt key and click on the triangle that has just been moved and split it. This gives me a softer transition.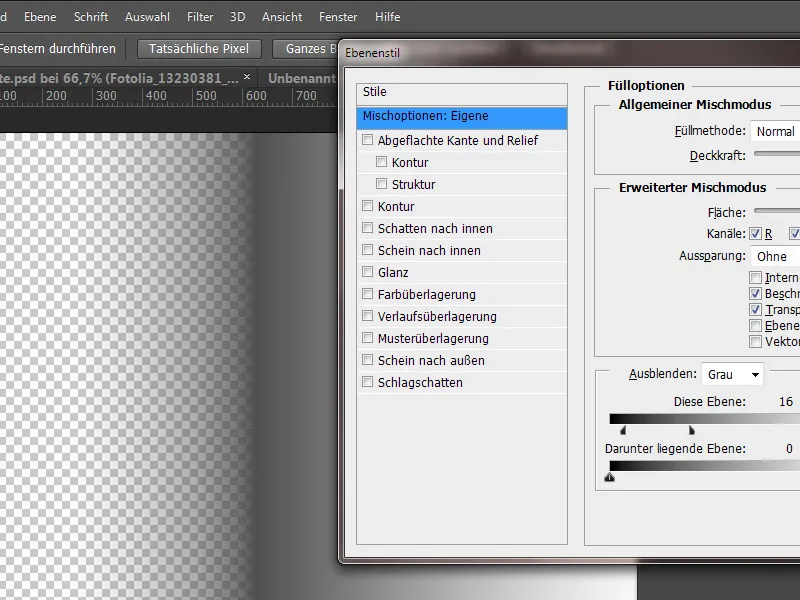
I would now like to use this technique again on another image. To do this, I place a new image in my working document via Place file.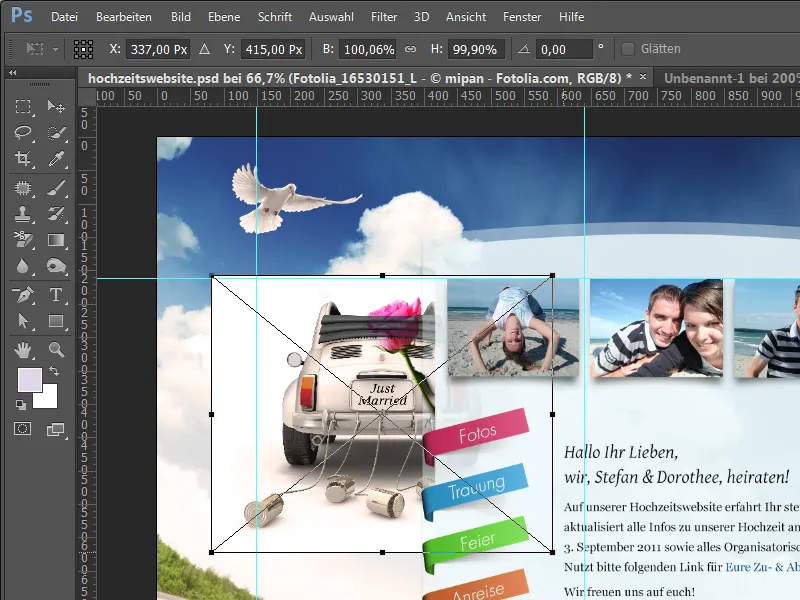
I first adapt the image itself to the circumstances, rotate it a little beforehand and position it in a new place.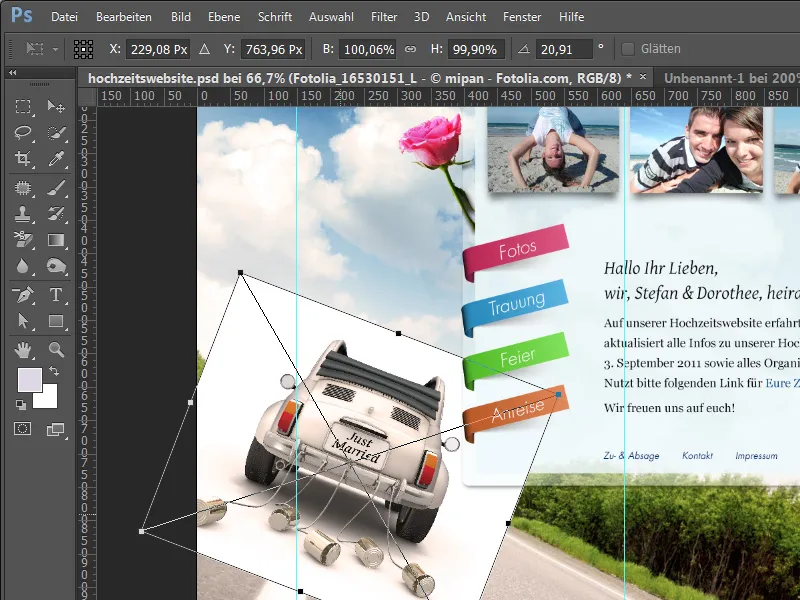
Now I could simply crop the car using the usual tools. However, I decide to use the Multiply blending mode.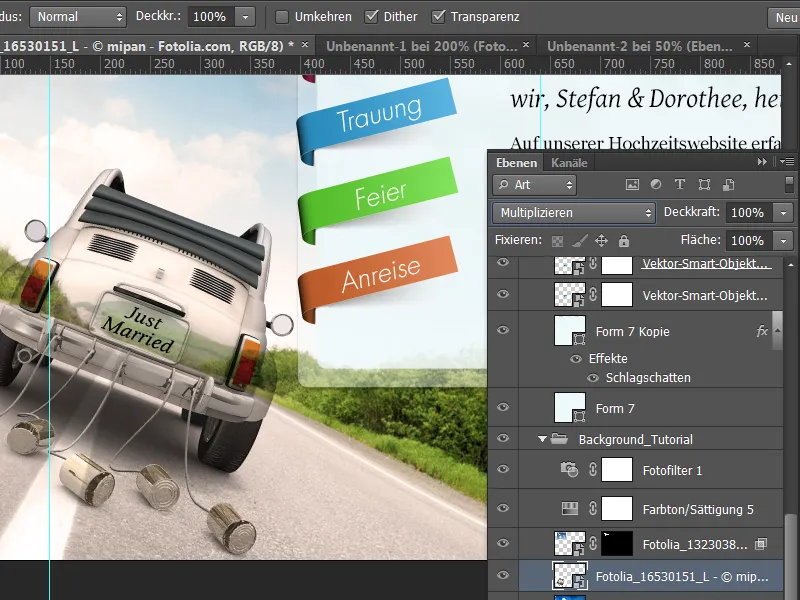
Although the image is well offset against the background in terms of shadows, the background still shines through the subject. I therefore duplicate this layer first and set it to Normal mode.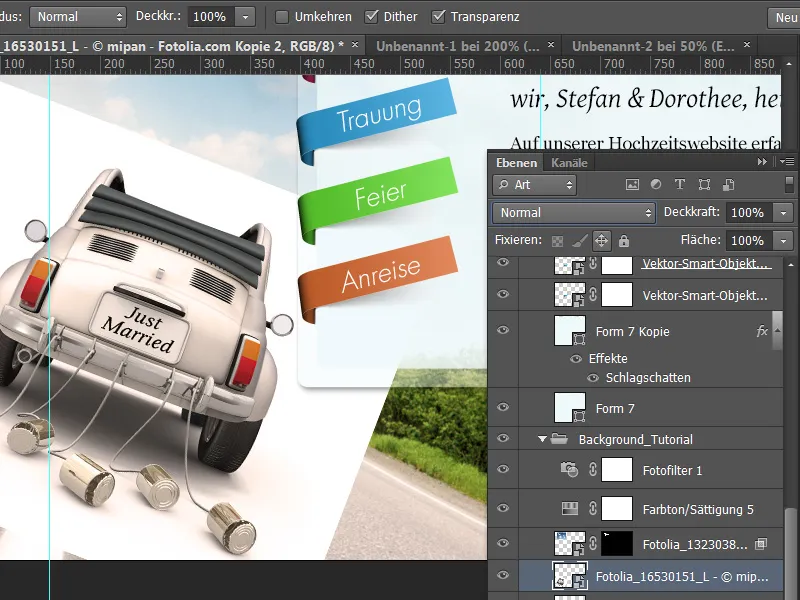
The duplicate image inserted in this way is now processed using the offsetting method. To do this, I double-click on the active layer to open the Layer Styles dialog box.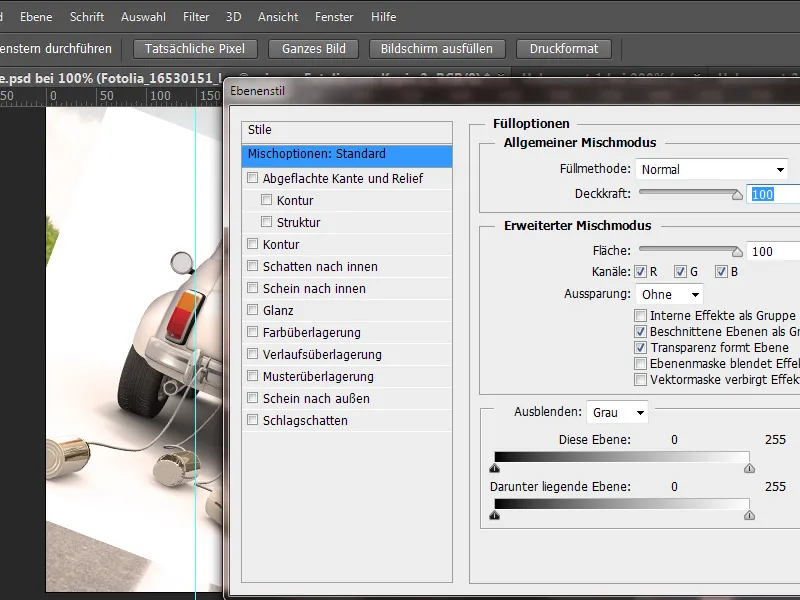
This time I'm not going to hide the dark color tones, but the light areas in the image. Therefore, I first move the brightness slider to the right towards the center to gradually fade out the light parts of the image in the grey channel.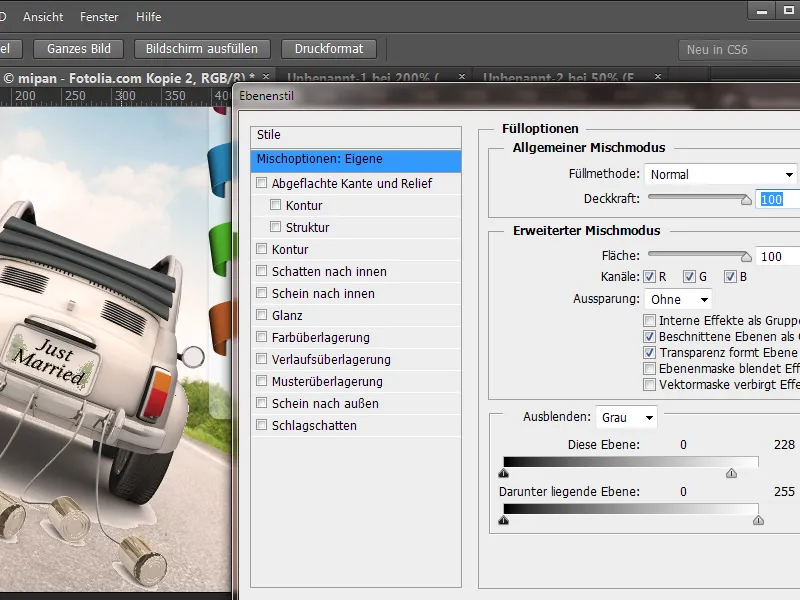
However, as too much image information is lost from the vehicle interior, I stop the change in the gray channeland switch to the red channelas a test. But even there, too many areas are removed from the center of the image.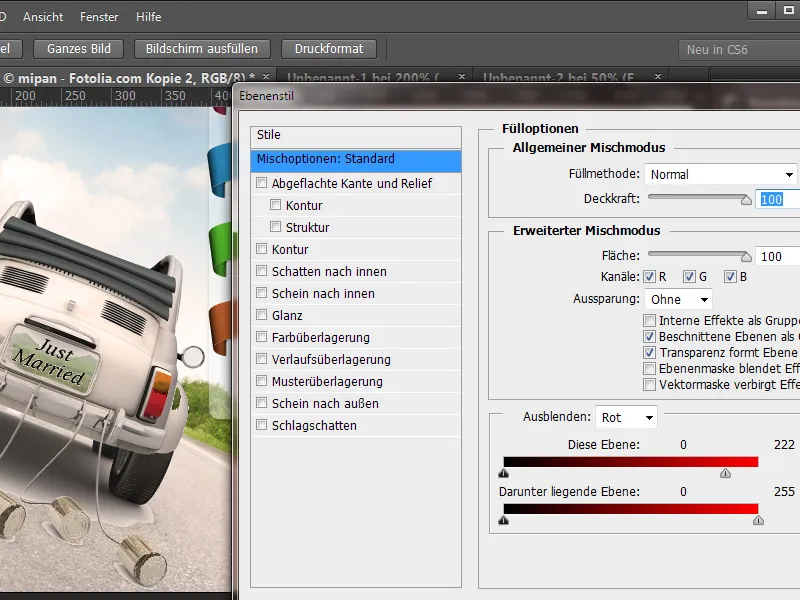
I already know from experience that the bluechannel is best suited for this. I therefore discard the changes in the red channeland go straight to the blue channel. There I reduce the bright values only slightly and already get a good initial result.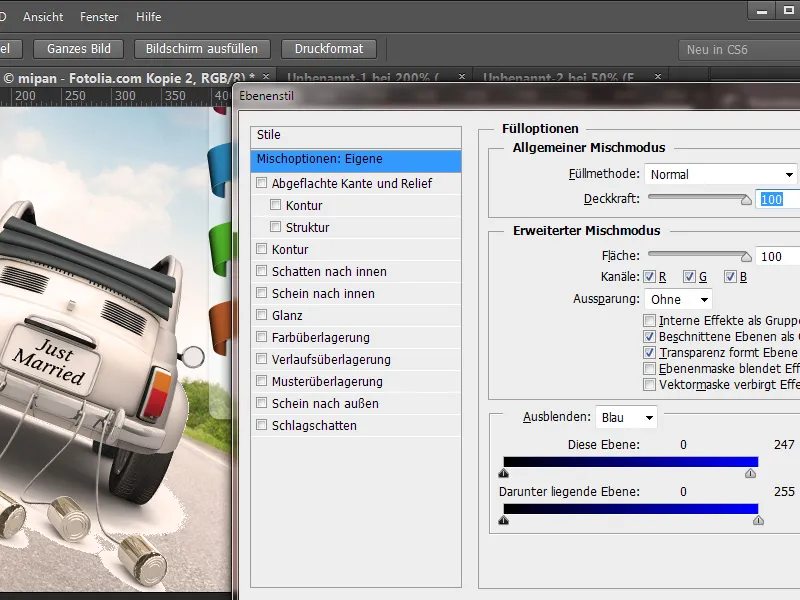
However, to make the transition softer and therefore less noticeable here too, I use the range blending function by splitting the brightness range using the Alt key.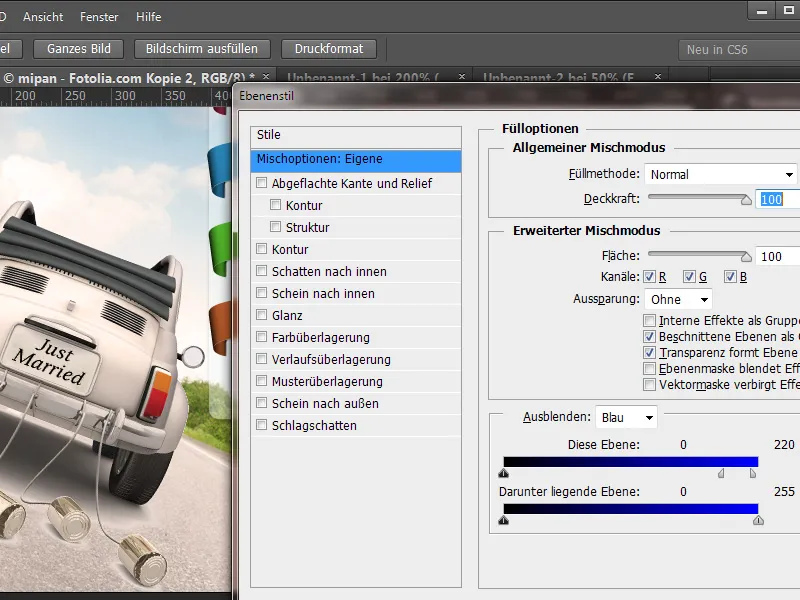
Once this setting has been made, I can close the dialog box by clicking on OK. I then edit the remaining image areas with a layer mask, which I first create on this layer.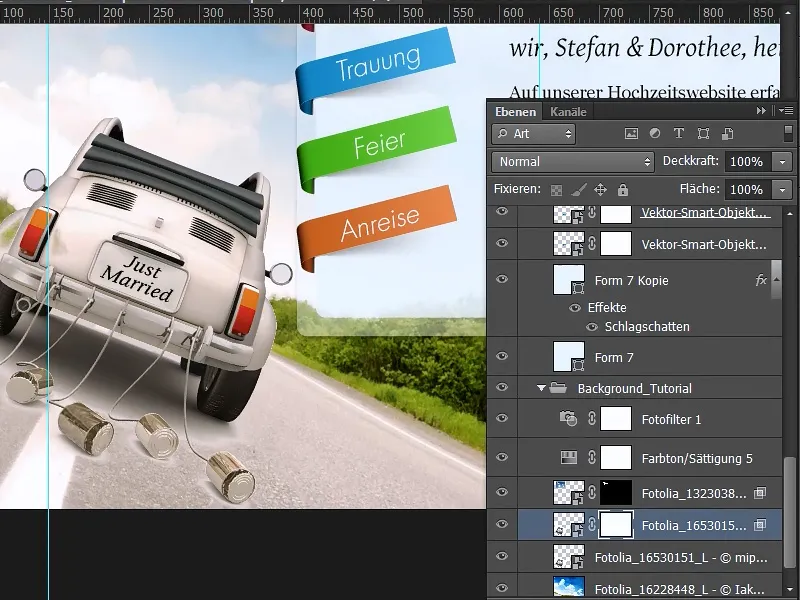
I remove the areas of the image that I don't need with a brush by masking them out on the layer mask by painting over them with black.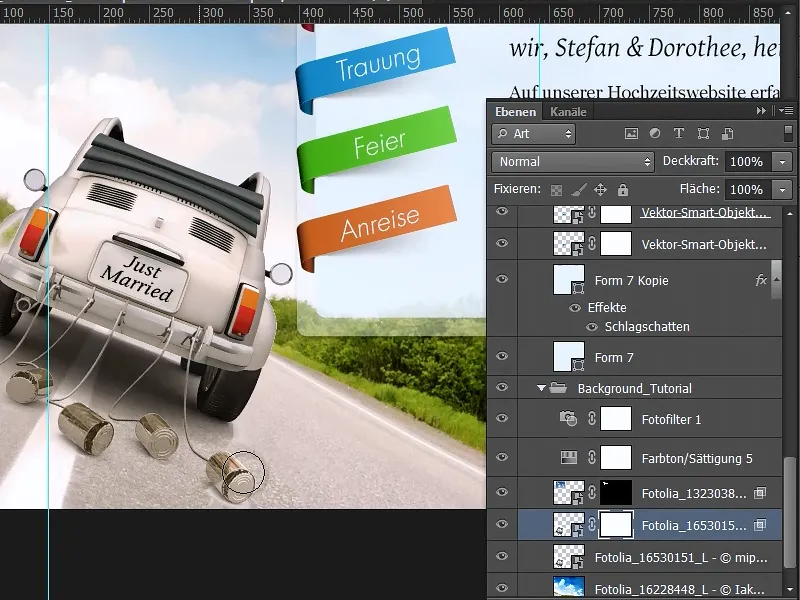
A small area in the image still needs to be treated separately with a small selection. To do this, I select this area with the lasso tool.
I duplicate this small area using Ctrl+C and Ctrl+V, create it as a new layer and drag it upwards.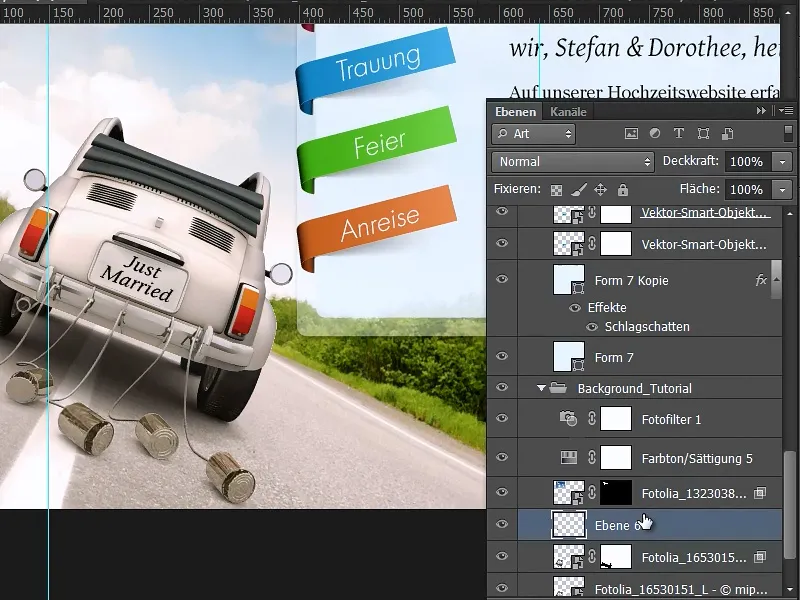
Now the editing is complete and further clipping has been added quickly.


