The text tools in Adobe InDesign are essential for integrating text precisely and creatively into layouts. While the classic text tool is ideal for text boxes and flowing text, the text on path tool offers the possibility to set text along lines, circles, or other shapes. With these tools, you can create both functional and artistic text layouts. In this guide, I will show you step by step how to effectively use both tools to create professional and appealing text designs. Let's get started and showcase your texts!
With the Text Tool (Shortcut T) you can draw text boxes by holding down the mouse button and start typing immediately upon release.
The Control Palette takes on the appearance necessary for the typographic formatting of texts.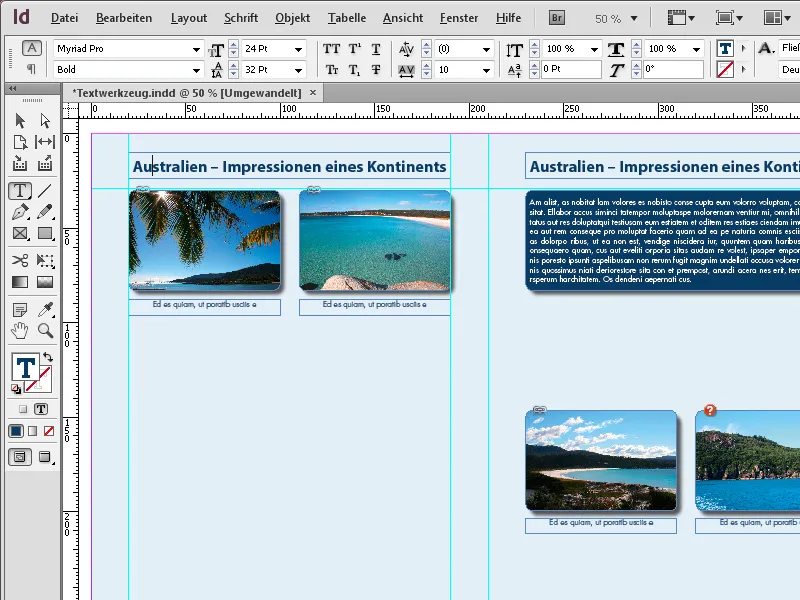
After typing, the text can be formatted either using paragraph styles or manually.
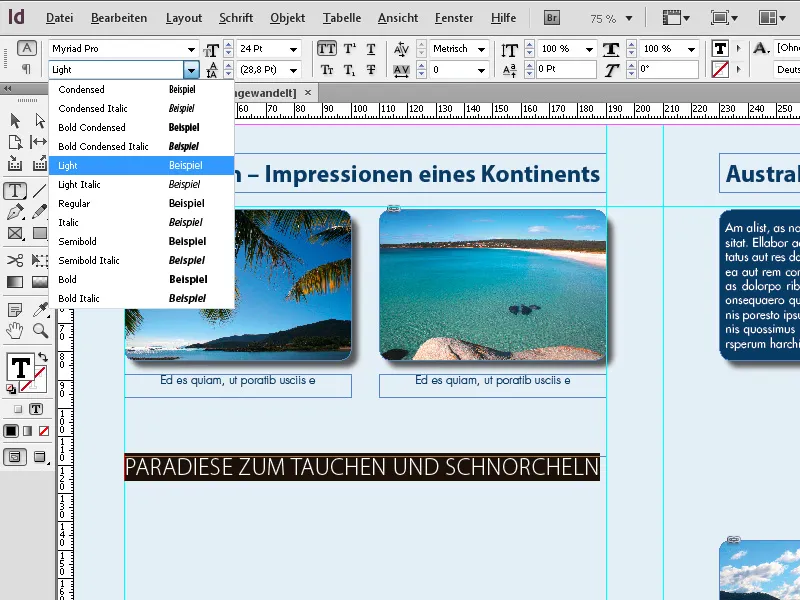
You can also edit the text frame with the Selection tool, then switch to the Text tool by using the Shortcut T and holding down the T key. Now you are in text editing mode and can apply text formatting after selecting text. Upon releasing the T key, you will return to the Selection tool.
If you hold the mouse button a little longer when clicking on the Text tool in the Toolbar, the Text on Path tool will also appear.
You can select it with a mouse click – or with the shortcut Shift+T. This allows you to position text along a previously created path.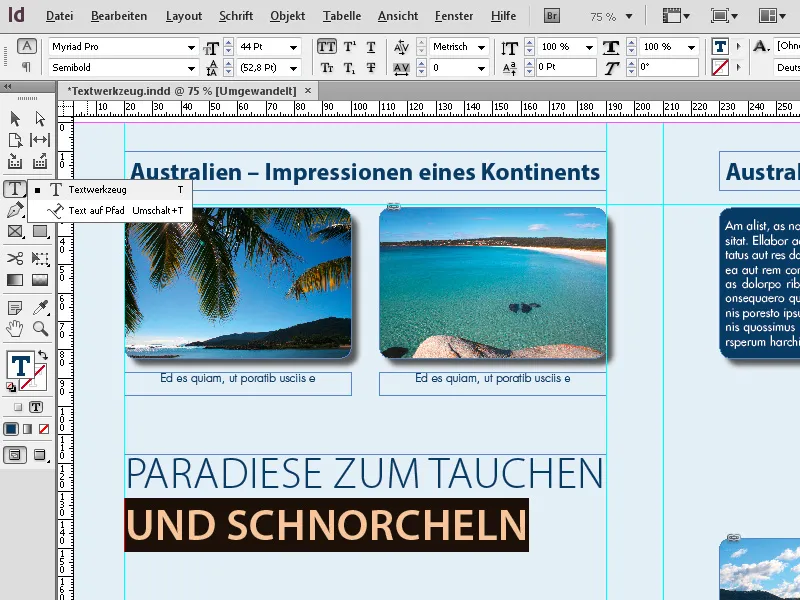
First, create a path with the Pen tool (P). Then select the Text on Path tool and click on the path you just created. Now you can enter text that aligns with it.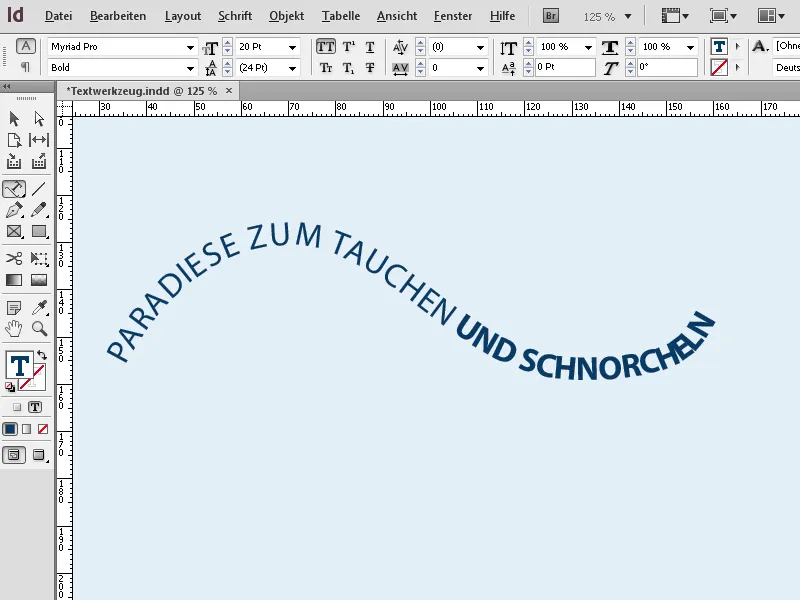
The text can then be aligned and formatted like any other text. You can also call up the options for the selected path text through the Context menu, …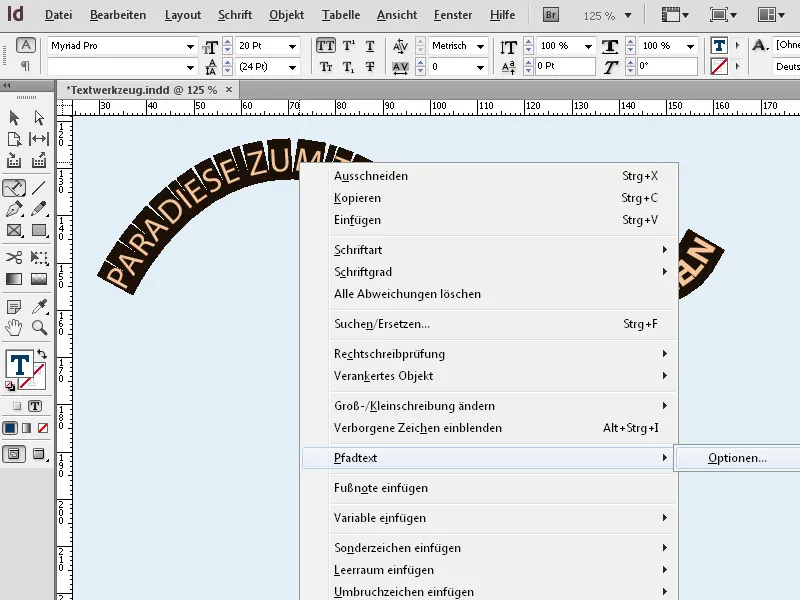
Tip 1: Text Tool (T): For Frames and Paragraphs
The text tool is the foundation for every text in your layout.
1. Creating text within frames:
- Use the text tool to create a frame to define the text area.
- Tip: Hold the Alt key to create a frame with exact proportions.
2. Automatically place large texts:
- Import long texts via File → Place (Ctrl+D). The text will automatically flow into your frame.
- Tip: Hold the Shift key to automatically create additional pages with frames when the text is too long.
3. Typographic control:
- Use the Properties panel (Ctrl+F7) to adjust font, size, and line spacing.
- Tip: Experiment with Paragraph styles to maintain consistent layouts.
Tip 2: Text on Path Tool: For Creative Designs
With this tool, you can place text along shapes, lines, or circles.
1. Create a path and place text:
- Draw a line or shape (e.g., with the Pen or Ellipse tool).
- Select the Text on Path tool and click on the path to place the text.
2. Align and adjust text:
- Alignment: In the Text → Text on Path → Options menu, you can align the text at the top, middle, or bottom of the path.
- Effects: Experiment with the “Reverse” option to set text on the inside of circles.
3. Creative text effects:
- Use the Direct Selection tool to edit anchor points of the path and dynamically reshape the text.
- Tip: Combine text on paths with Gradient fills to make the effect even more appealing.
Tip 3: Combining Both Tools
- Combine both techniques to harmoniously blend paragraphs and creative text elements in a layout.
- Pro Tip: Convert text on paths to outlines (Text → Convert to Outlines) to create exceptional designs.
With these features, you can not only structure texts clearly, but also creatively showcase them!


