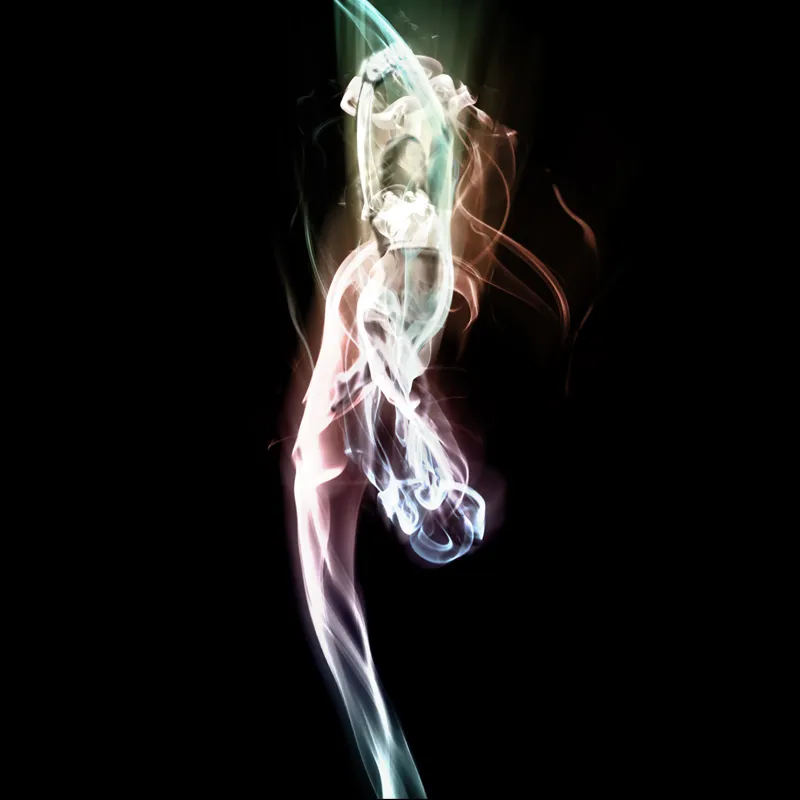
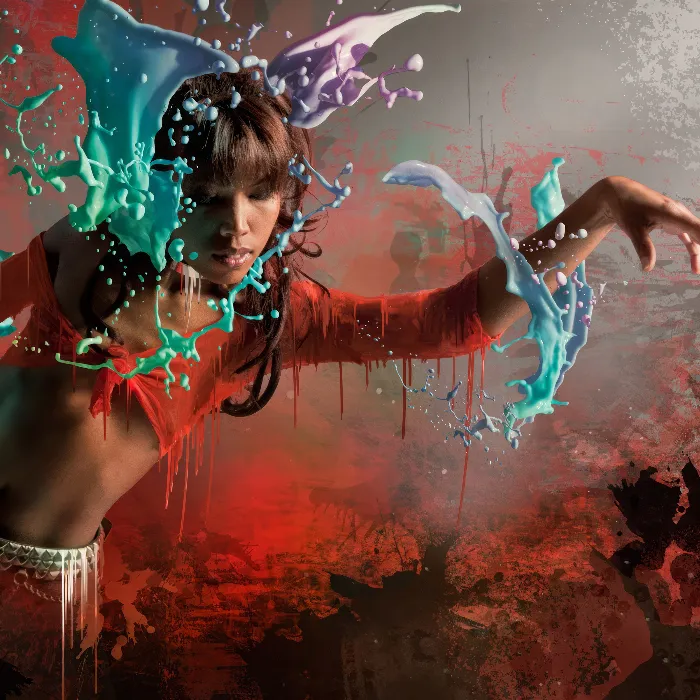
A smoke dancer is a fascinating technique that combines the elegance of dance movements with the dynamic shapes of smoke. This effect adds a mystical and artistic touch to your designs, ideal for posters, digital art or creative projects. With Photoshop , you can easily create the smoke dancer effect by combining brushes, layer masks and smoke textures. In this tutorial, I'll show you step by step how to create an impressive smoke dancer that blends the movements of the dance into smoke. Let's get started and get your designs moving!
With the smoke dancer, I try to envelop a figure in a column of smoke. This effect is visually very appealing, but can be realized with relatively simple means.
First of all, I need a smoky source photo for my work. This is created in a new working file with approximate dimensions of approx. 1700 pixels in height and 1200 pixels in width.
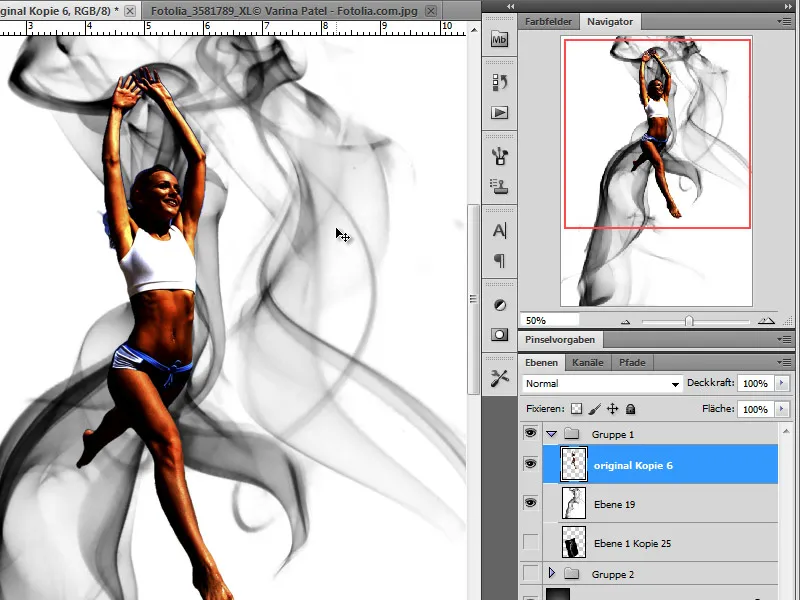
The initial photo is a smoke picture and a figure that will later dance through the smoke:
Step 1 - The background
To make our smoke really stand out, I first create a black background layer.
Step 2 - Adding smoke - blending
Now it's time to add the first smoke to our work. I first duplicate my original smoke photo and reduce its size using the Edit>Transform function in Adobe Photoshop.
I also invert the colors using the Invert function: Ctrl+I to turn white-black into black-white.
However, to hide the black edges of the photo so that only the smoke remains visible, I change the layer mode to Dodge Linear.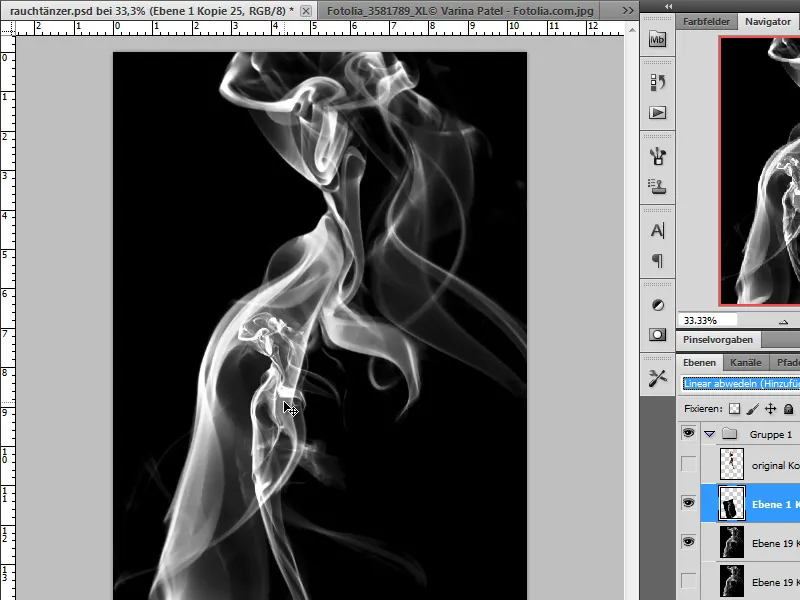
Step 3 - Position the smoke dancer, desaturate
In the next step, I now position my figure above the smoke so that I can better assess the ratio of smoke to figure. If necessary, I scale the figure appropriately.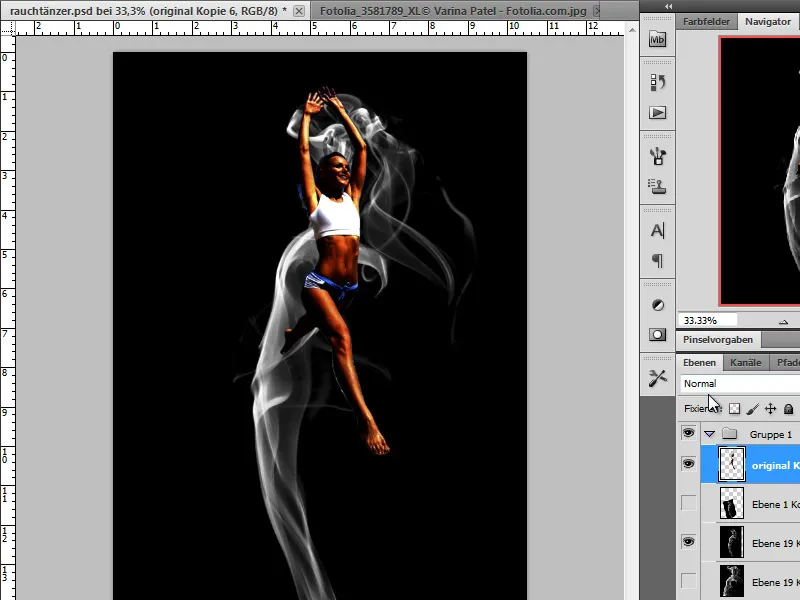
Once I'm happy with the position, I can now turn my attention to editing.
Overall, our dancer is still too colorful and I will change this by first reducing the saturation completely. I do this by moving the saturation slider completely to the left via the Image>Corrections>Hue/Saturation menu.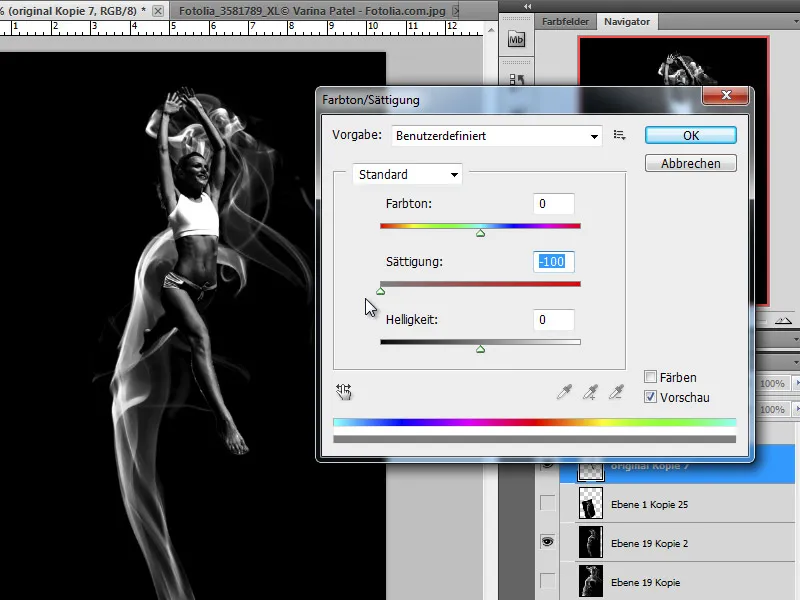
Alternatively, I can also select the menu item Black and white and desaturate each color channel separately.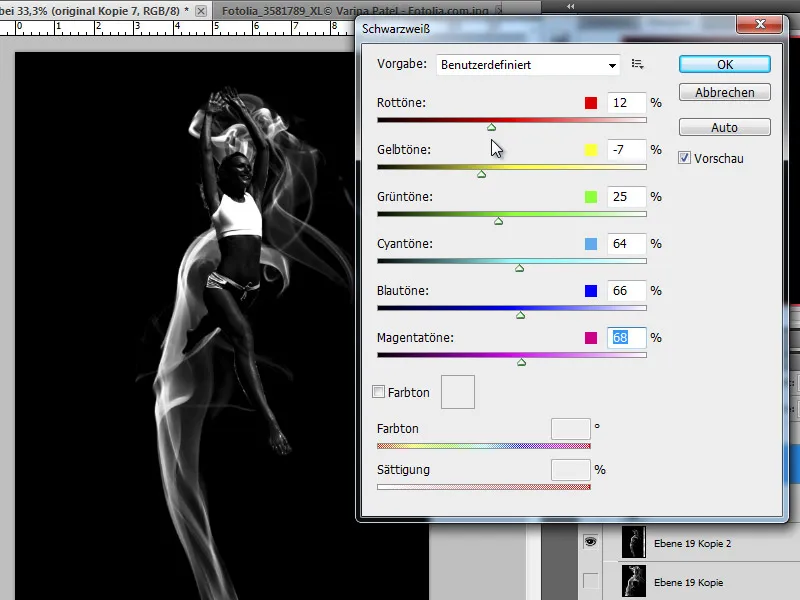
Step 4 - Create a copy of the smoke dancer - blur
Our smoke dancer now appears very dark in the picture. This is an intentional effect, as it only acts as a contour generator. I create a copy of the layer I have just created using Ctrl+J and will now blur the copy using a blur filter.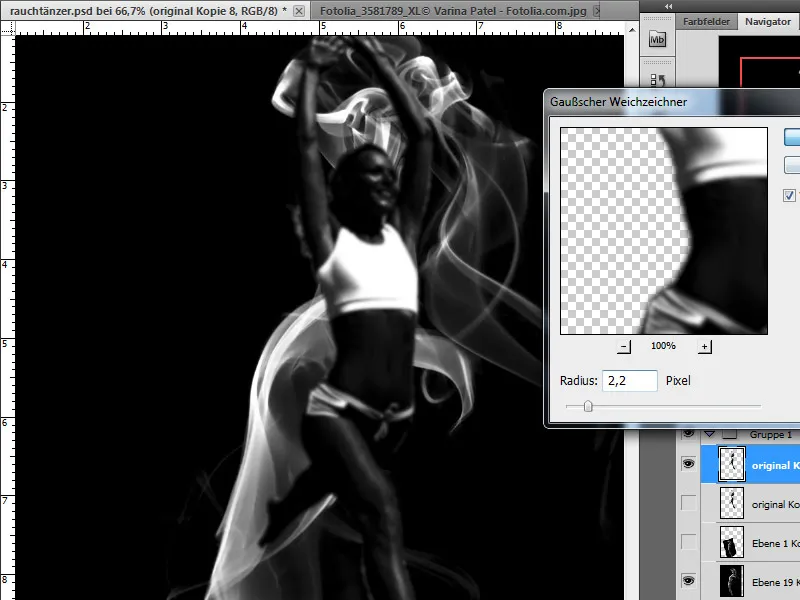
A repetitive step:
Step 5 - Wrap in smoke
We will now wrap our figure in smoke. To do this, we first need numerous copies of our smoke source layer, which we create one by one. Of course, we save our starting layer beforehand so that we can create a copy of it if necessary.
So I first create a copy of the smoke layer and reduce it as required using Edit>Transform. I move this copy to the desired position in the image.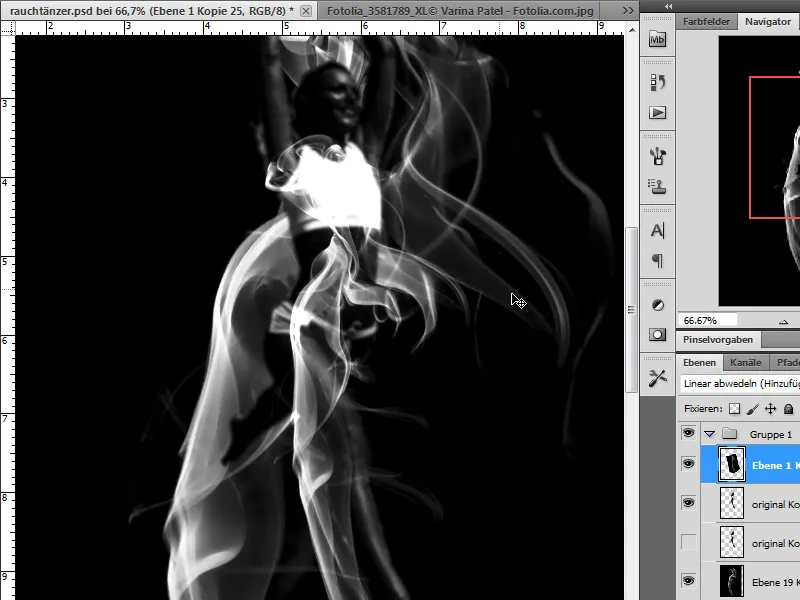
There are other options available to me that I will use. These include, of course, the option to adjust the image to the shape using the Warp tool. I can use this function for this section or for the entire image.
In my case, I now need a selection with which I can choose the part of the smoke column that I want to warp.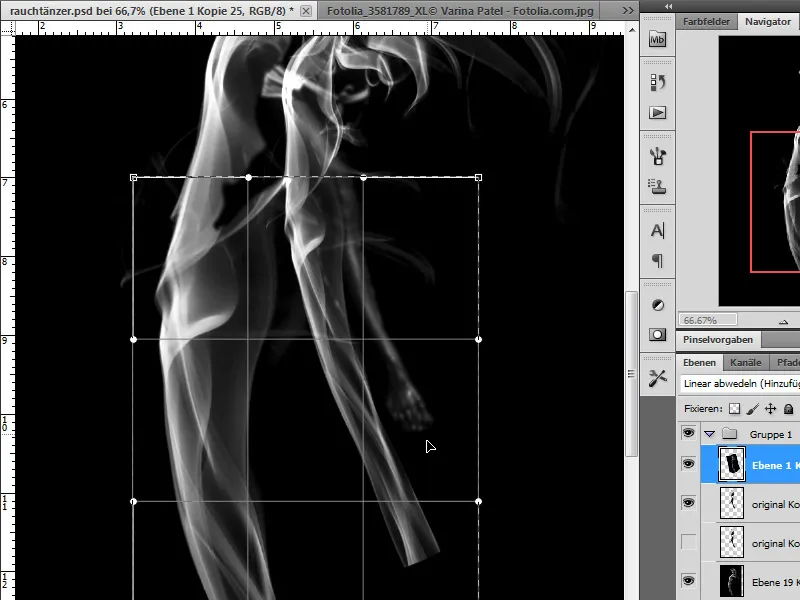
Now I can use this active selection to select the warp tool and adjust this section to my figure. I try to adapt the smoke to the shape of the body so that it wraps around the leg.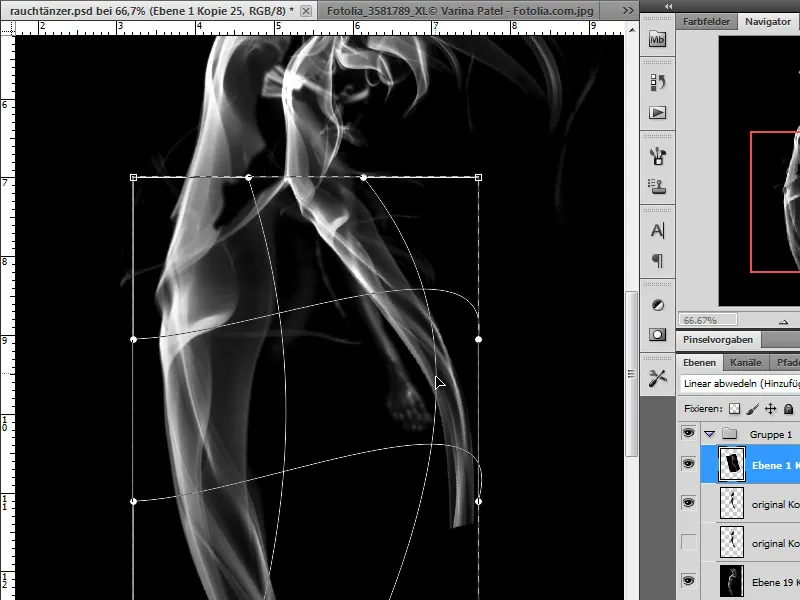
I can also select, copy and blend sub-areas. Both a layer mask and the eraser with a soft brush tip can be used for this.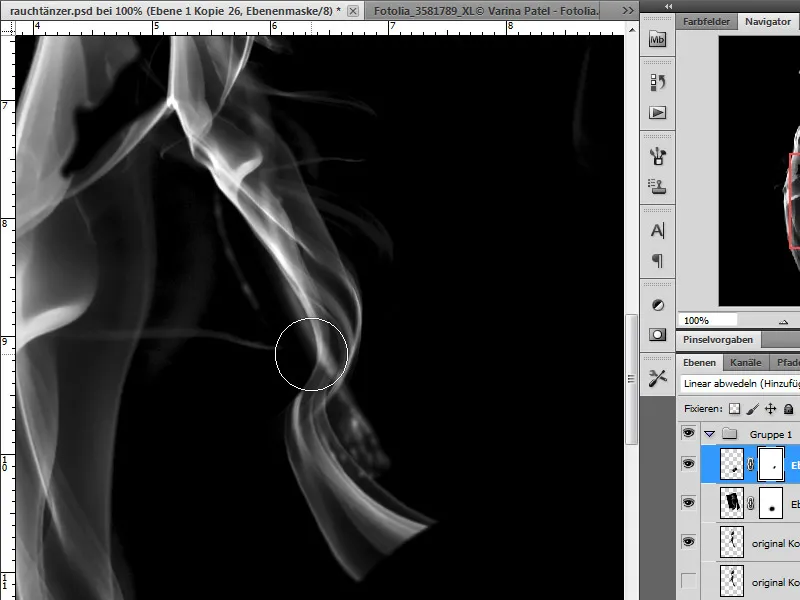
I can edit the smoke added in this way in a variety of ways. In addition to additional transformation options such as tilting and rotating, I also have other layer setting options at my disposal. I can also blend the smoke over the layers using the Lighten or Multiply negative layer modes or influence the effect of the blending using an opacity control.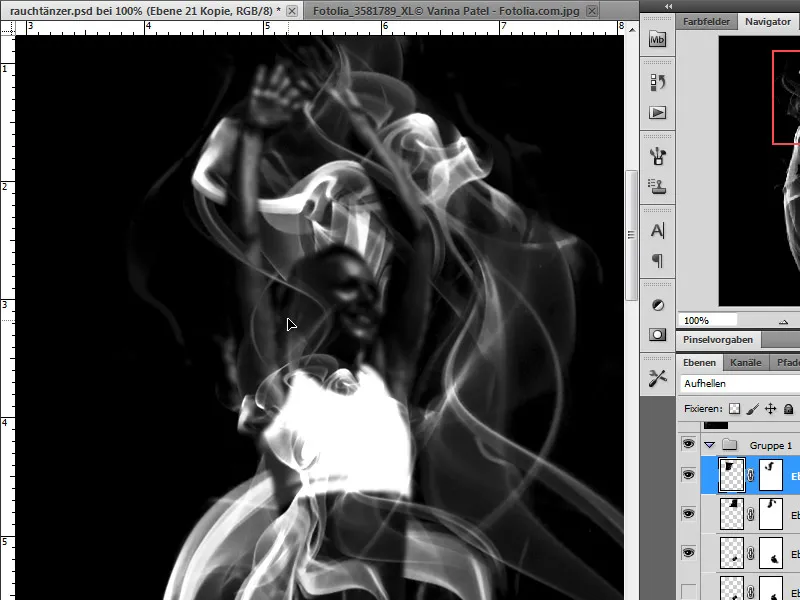
Step 6 - Coloring the smoke
White smoke on a dark background does not always meet our expectations. However, we have options to change this. For example, I have placed a gradient adjustment layer over a smoke layer. This also gives me more control over the numerous smoke layers, which become increasingly difficult to distinguish depending on how many there are.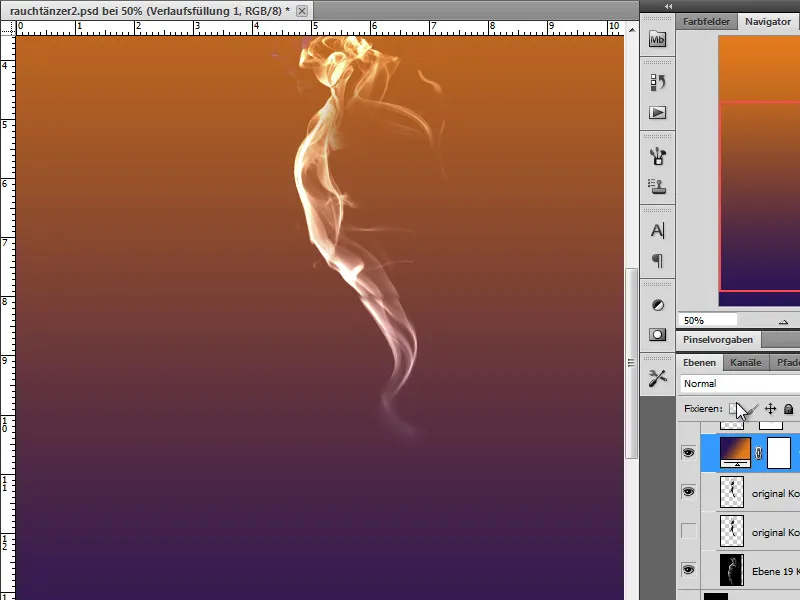
I can either use a clipping mask and change the layer mode to apply changes to the coloring only to the layer directly below or to all layers below.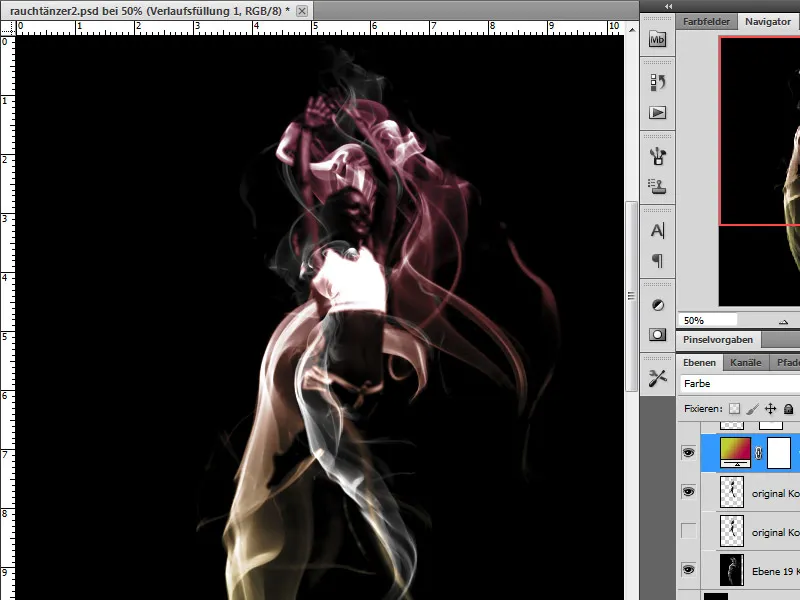
Step 7 - Editing the figure
I create a copy of my smoke dancer. I can also apply layer effects such as flattened edges to my figure to round off and emphasize the contours.
I now invert the layer copy using Ctrl+I and I get a white figure.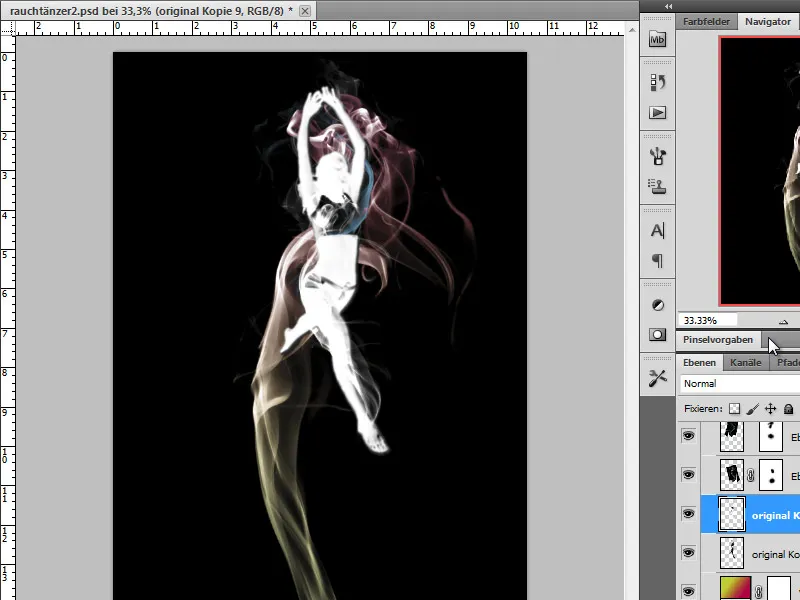
I will now blur this figure to create more dynamics. To do this, I select the motion blur filter. If I have created a layer effect, I deactivate it for this blurred layer.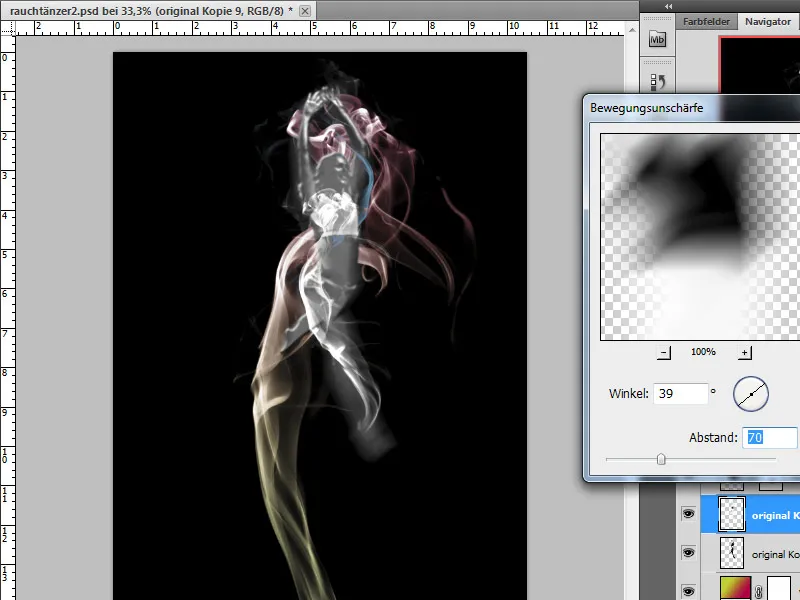
Another editing option is to emphasize the outline of the dancer. Again, there are various editing options available to me for this. First of all, however, I want to emphasize the edges and use a filter from the filter gallery, the painting filter>Emphasize edges on a copy of the original black and white layer.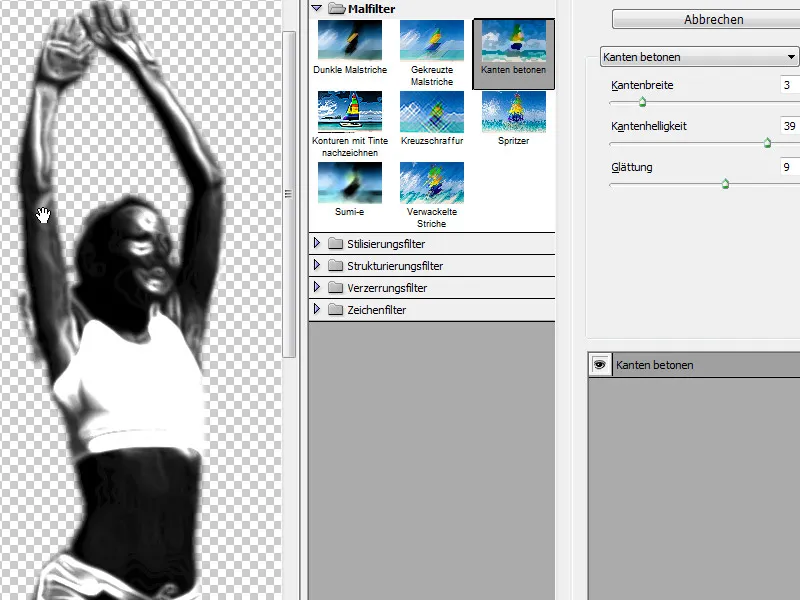
I also have tools at my disposal that I can use to trace specific parts of the image. I use the painting tools to emphasize certain areas again. I select a white foreground color and a small brush with reduced opacity and draw some details of the dancer on a new layer.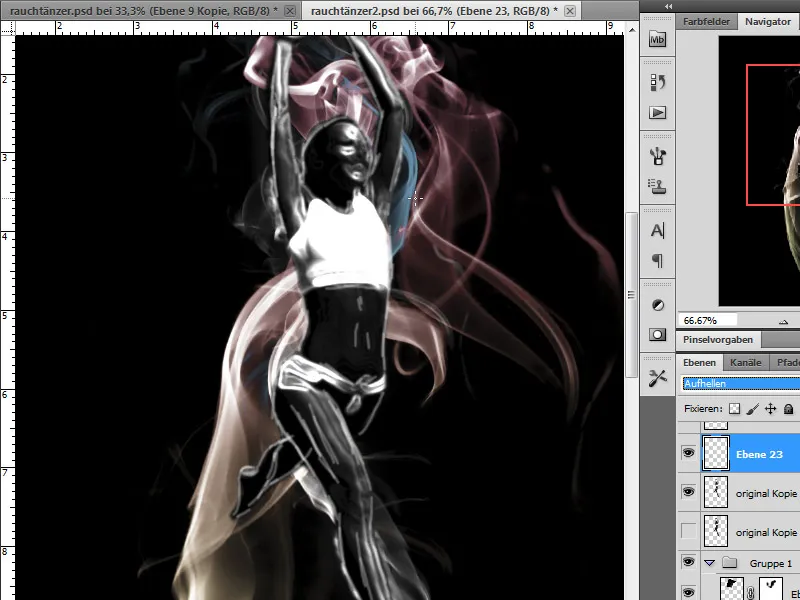
I switch the traced layer to Lighten mode and add some blurring with a blur filter.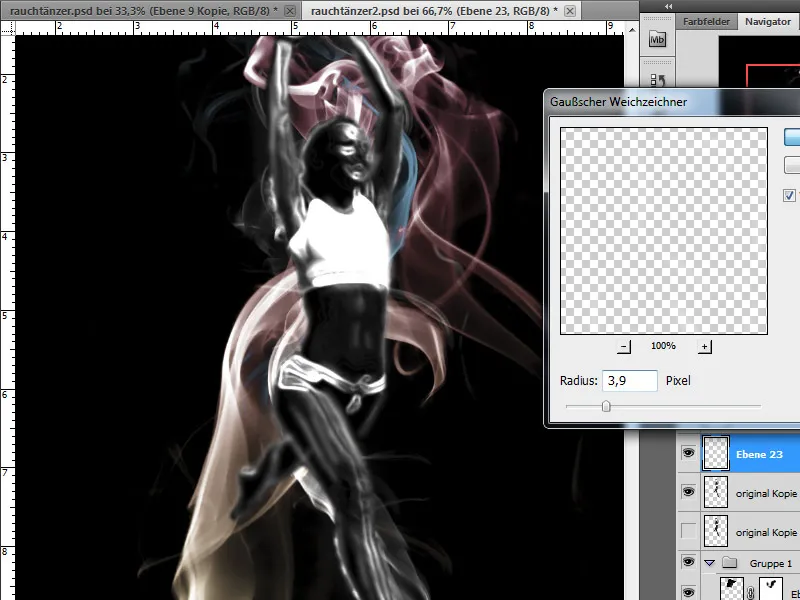
A glow outwards layer style supports the luminous effect of the contour. I select a smoke-like color from the grey area. I set the opacity to 75 percent, trapping to 6% and the size to 7 px.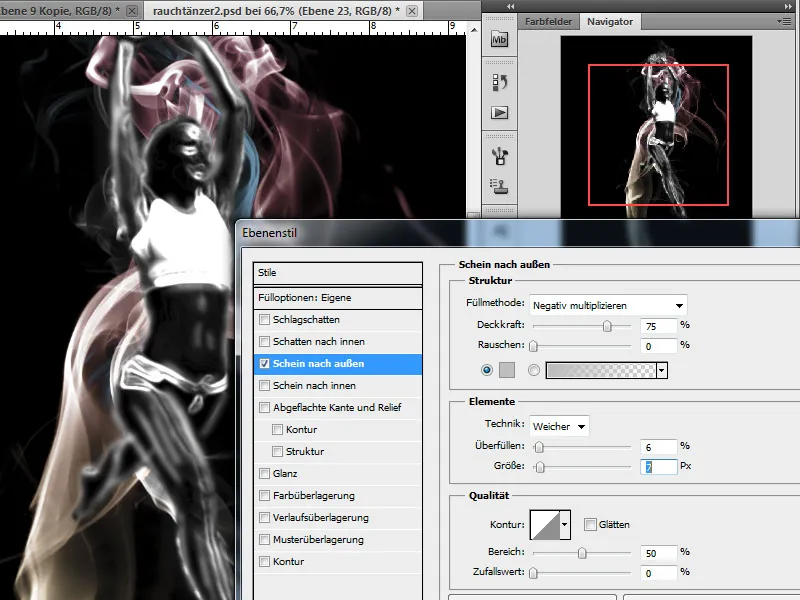
Step 8 - inserting smoke to cover - coloring
Now our work is almost complete, because we need to add some smoke to cover the figure. I'll also color it in using a gradient adjustment layer. These steps have already been described in step 5.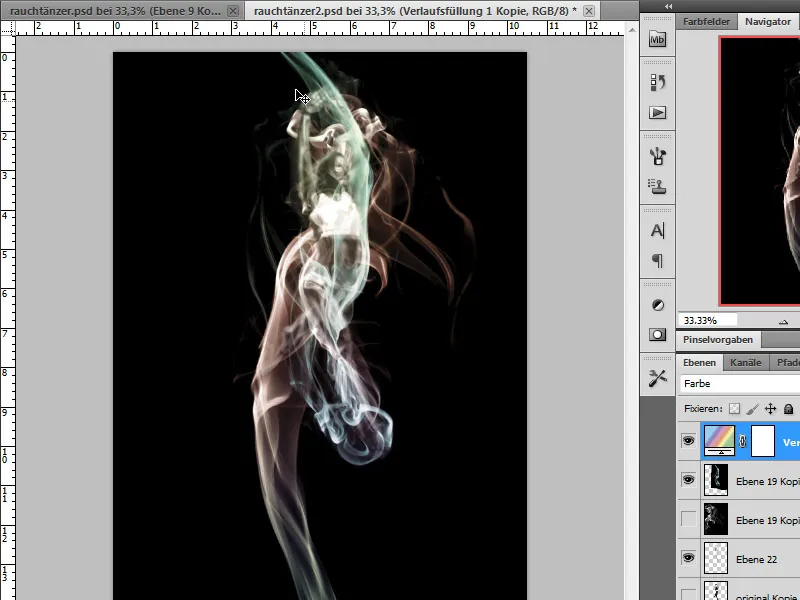
Step 9 - Adding the glow effect
For the glow effect, we use a copy of the inverted layer with light smoke on a dark background. I can first use the menu item Image>Corrections>Invert to create a reddish-brown copy.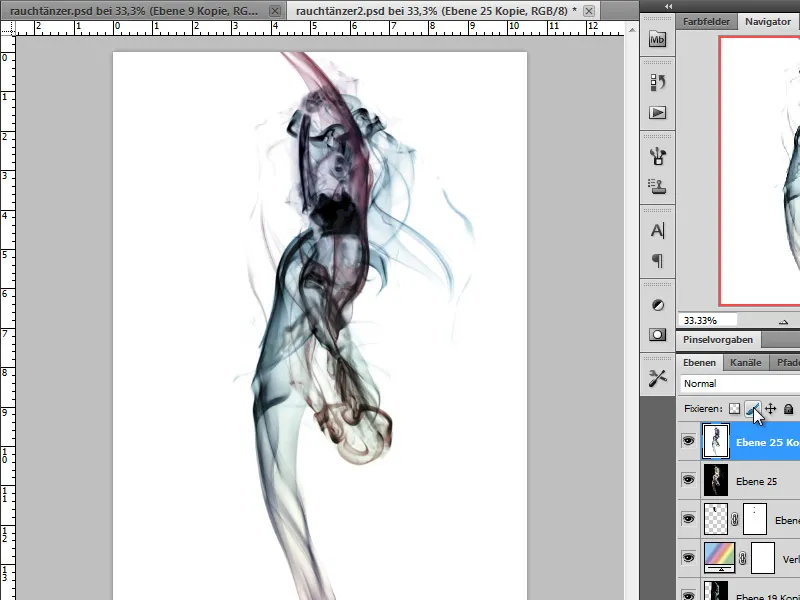
I now color this copy using the Hue/Saturation correction mode.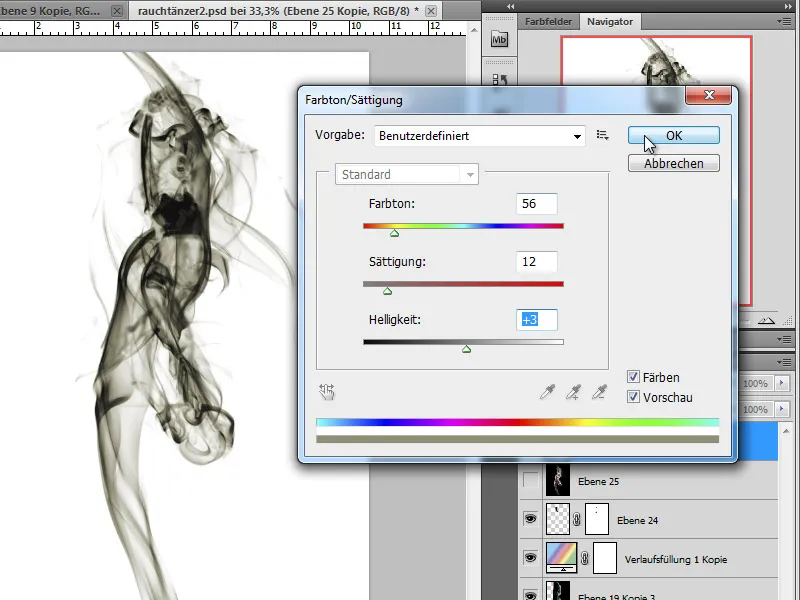
The subsequent change in the layer mode to the Subdivide setting now gives us a glowing effect. I use a layer mask to mask out some of the areas that are over-illuminated as a result.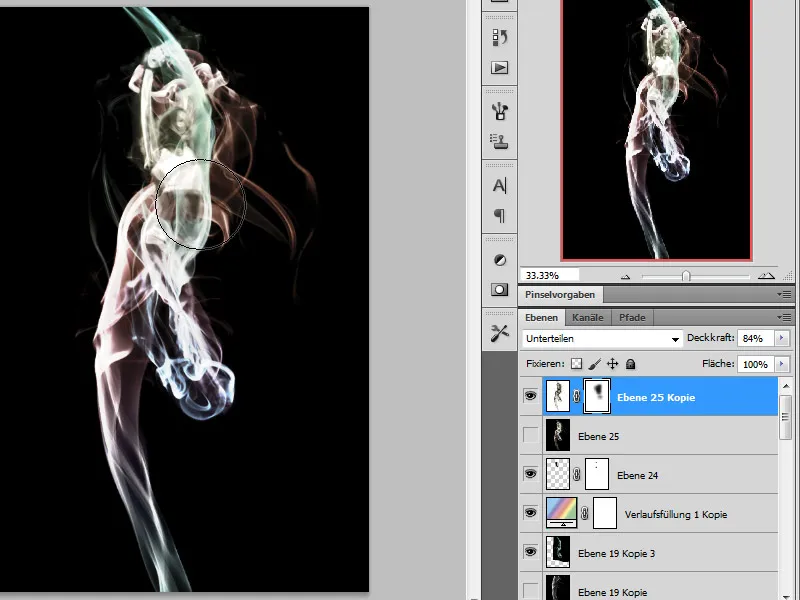
I would now like to add a ray effect to the background to simulate the glowing effect or the radiation of lights. To do this, I apply the radial blur to another copy of my smoke source layer.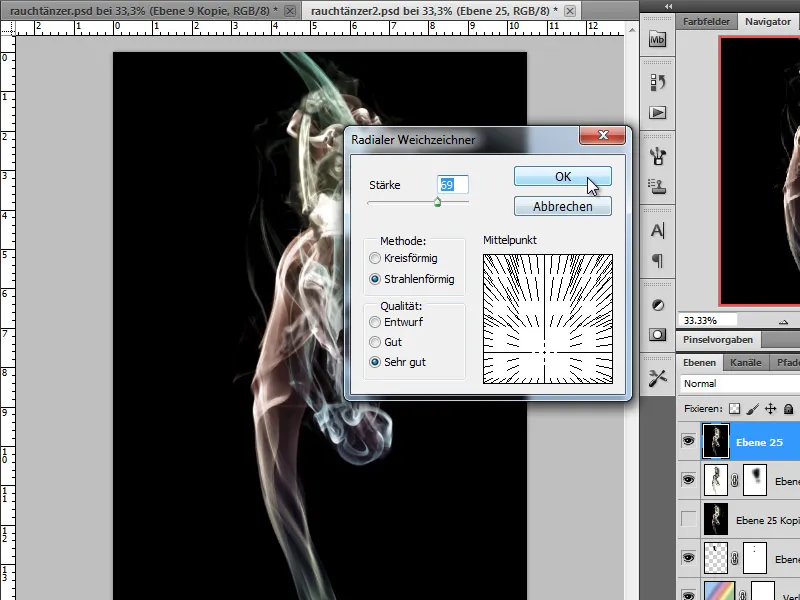
I place the resulting layer as far down as possible in my layer stack and set the layer mode to Multiply negative.
Our work is now finished: