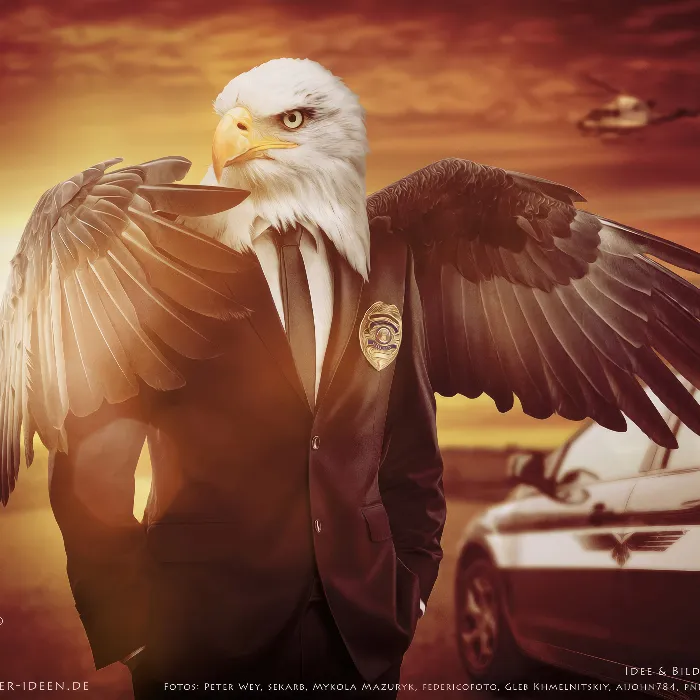
In Photoshop you have many options to make your images look like a comic book - some effects are rather artificial in style and it would look like the photo is from a printed comic book.
But we want to turn this effect around - what would it look like if the comic figure looked real - with unnatural proportions?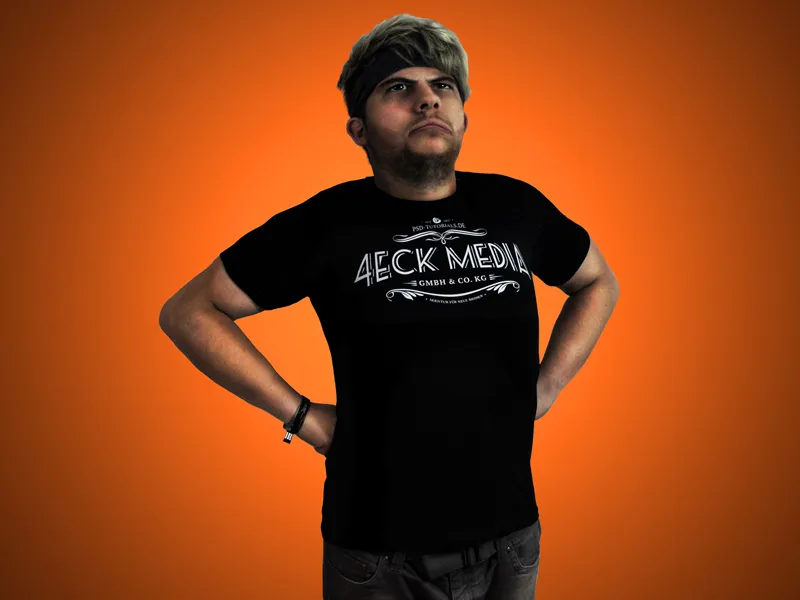
As a starting photo, I take a shot of me with the cool 4eck Media T-shirt in hero pose.
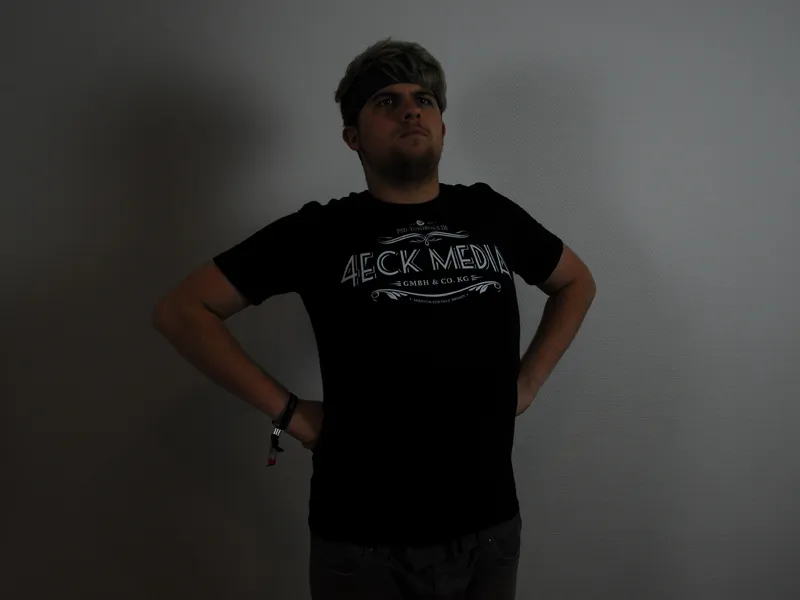
We load the photo into Photoshop and start cropping it.
I use the Pen tool (P ) and place the anchor points around my body.
We can also brighten the photo with gradation curves and tone corrections and do a little retouching.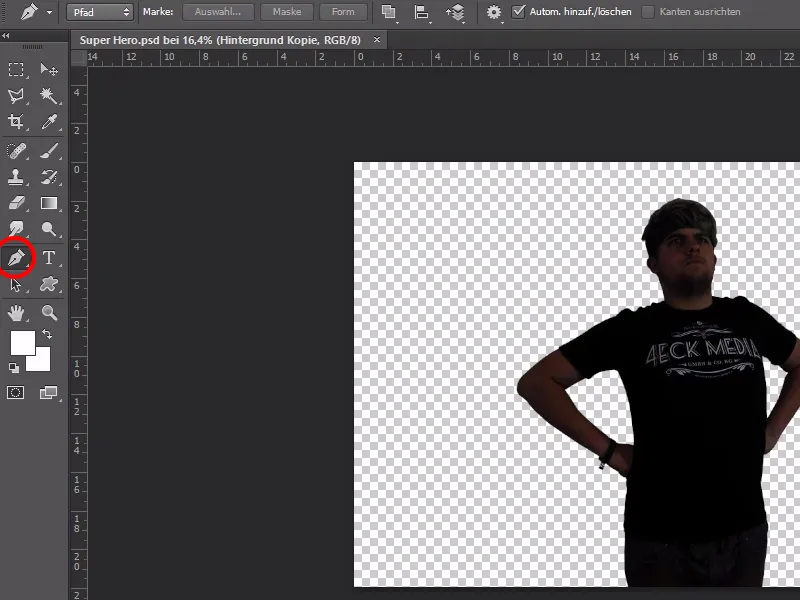
For the hair, I make everything a little rougher - I improve the edges later with the smudge finger tool and a scattered brush tip.
To do this, I simply "wipe" the strands of hair out of the photo.
This method is particularly suitable for shorter, soft hair.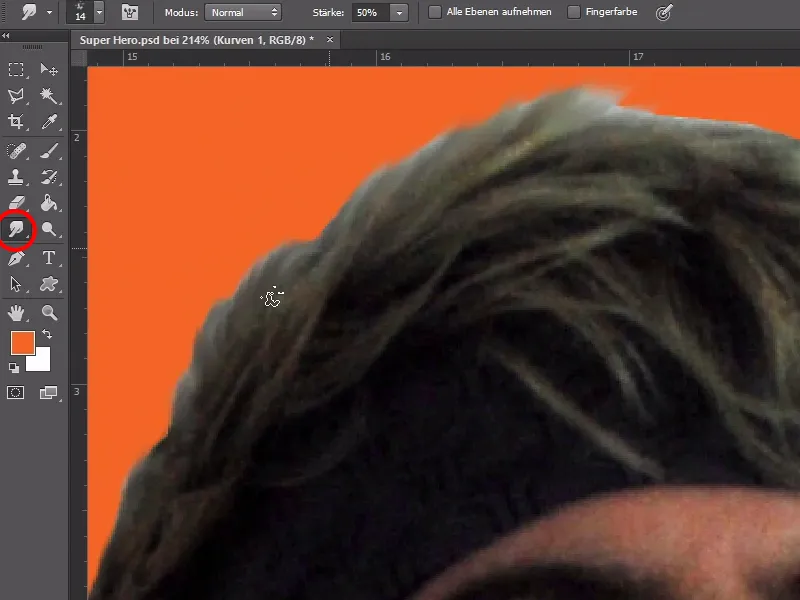
Now we can think about what we want to do with the photo.
In principle, everything works in the same way as with caricatures - striking, large areas are emphasized and enlarged and, in the reverse process, smaller corner points on the body are further reduced.
In this example, we want to enlarge the head first and bring out the hero's facial expression more.
The body becomes much more muscular overall and unattractive shapes are improved.
However, before we start distorting, we divide the body into its individual parts.
So we copy out all the body parts and paste them into separate layers so that we can work on them later without any problems.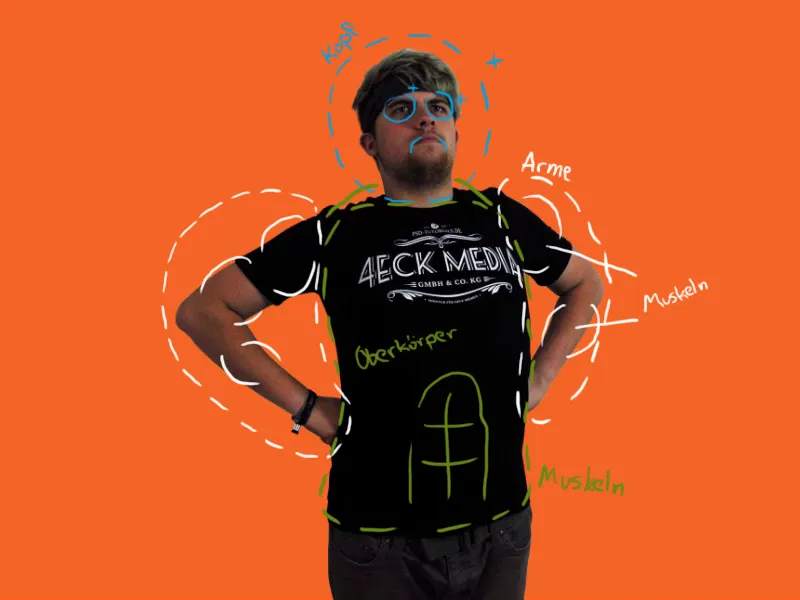
The head is the most important part and speaks more than 1000 volumes.
That's why we simply enlarge the head and put it back in its original position.
To be on the safe side, we duplicate this layer - it will help us later to conceal unwanted distortions.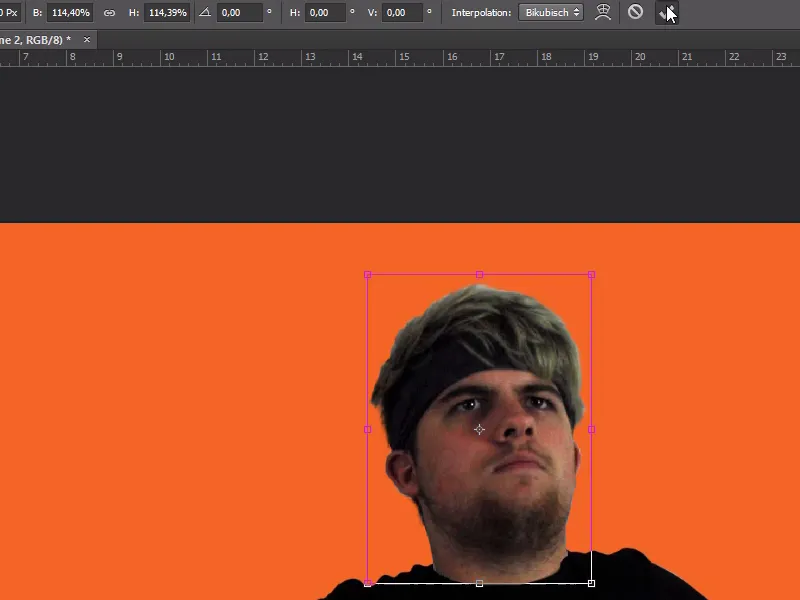
Under Filter>Liquefy... we can now liquefy the face to our liking.
There are several practical tools here that make it easier for us to make changes.
The most important ones for this case are the drag tool (W), the shrink tool (S) to reduce the size and the blow up tool (B) to enlarge it. We can also adjust the brush size and intensity.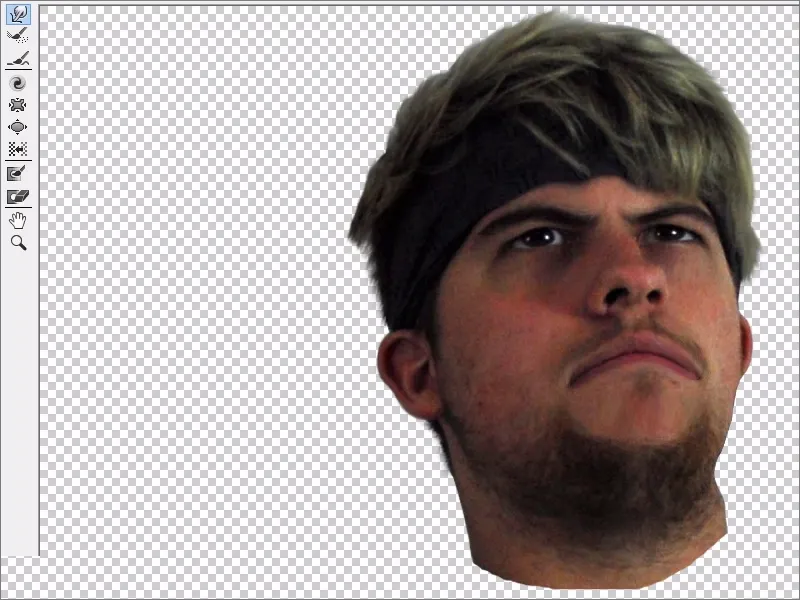
Using a mask, we can better integrate the head onto the body and also avoid unwanted shapes on the face by making the backup visible under the image.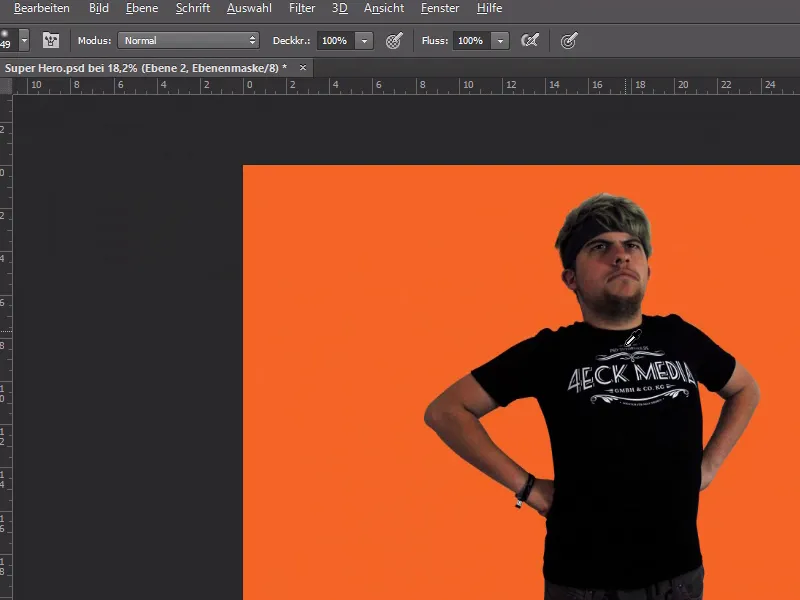
It's time for some muscles! Using the same process as for the face, we can also emphasize the muscles - or create them where there are none ;-)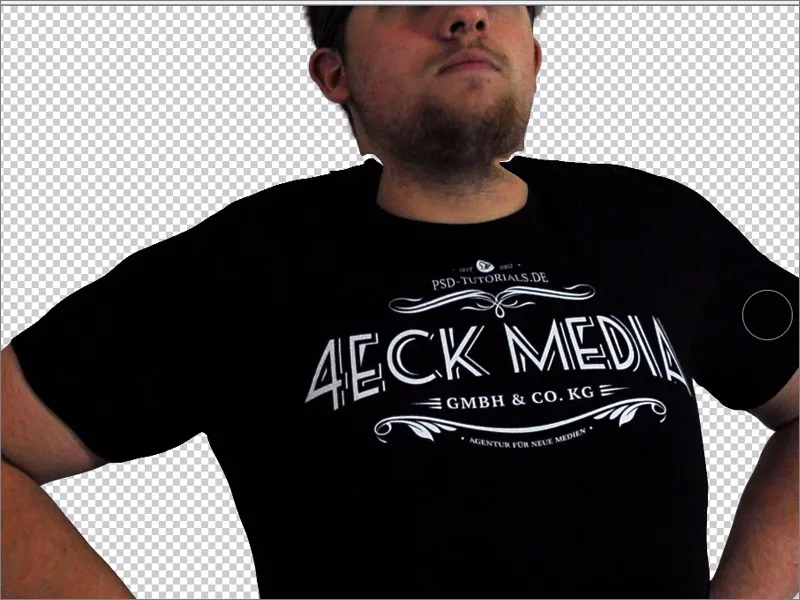
That completes the transformation of the body! However, the whole thing doesn't look convincing yet - for this we still need the Dodge&Burn effect.
All we have to do is create a new layer on top of all of them, fill it with 50% gray and change the mode to copy one into the other.
Photoshop has the Dodge and Burn tool, which we can use to intensify the light and shadows. We use the brush to emphasize the dark and light areas of the body and paint on the 50% grey layer.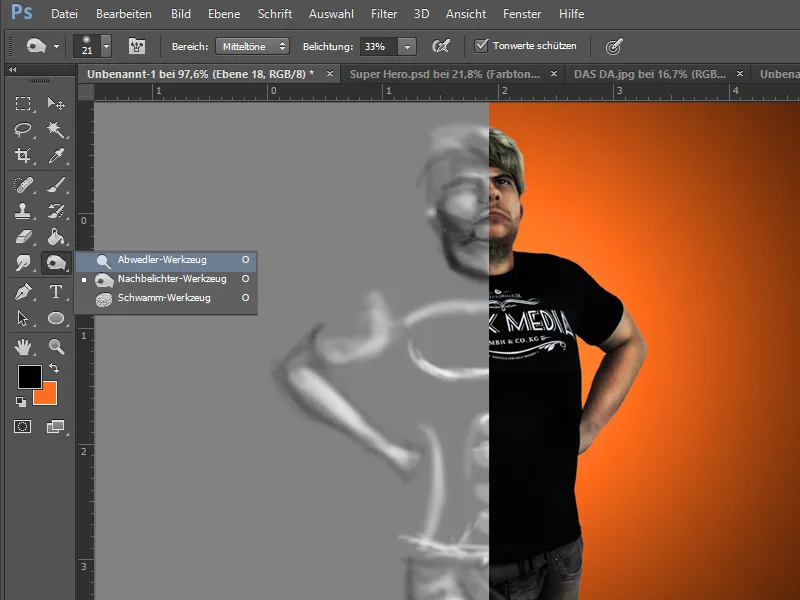
If we are happy with the result, we can now take care of the background.
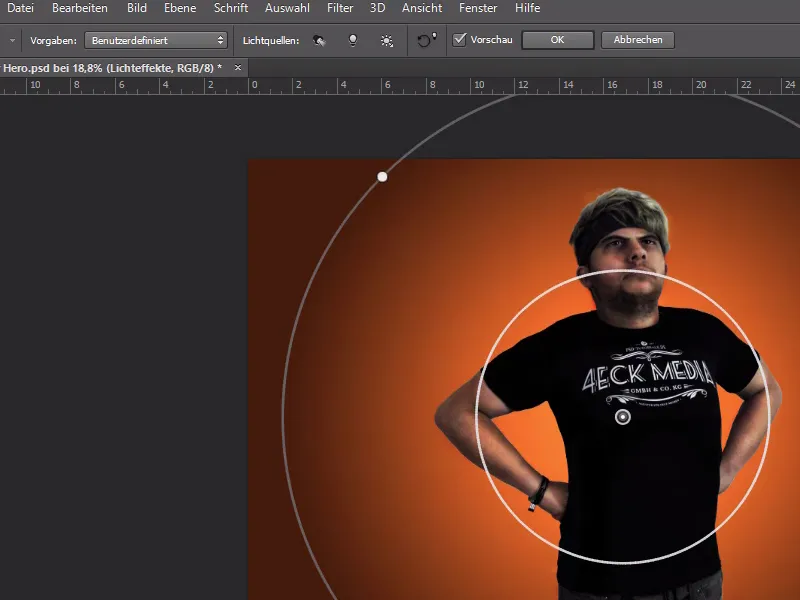
I decide to use the orange from the company logo and can make the background more interesting using Filter>Render filter>Lighting effects....
Finally, I'll fine-tune it and increase the saturation a little and sharpen some details.
Done!