In this guide, you will learn how to easily record your Zoom meetings. Whether it's for webinars, trainings, or meetings - recording helps you capture important information for later use. Let's go through the various steps together to optimize the recording.
Main Insights
Recording a Zoom meeting is essential if you want to preserve content. It is important to set up the audio and video settings correctly to ensure a complete recording. You also need to have the right settings within the Zoom app.
Step-by-Step Guide
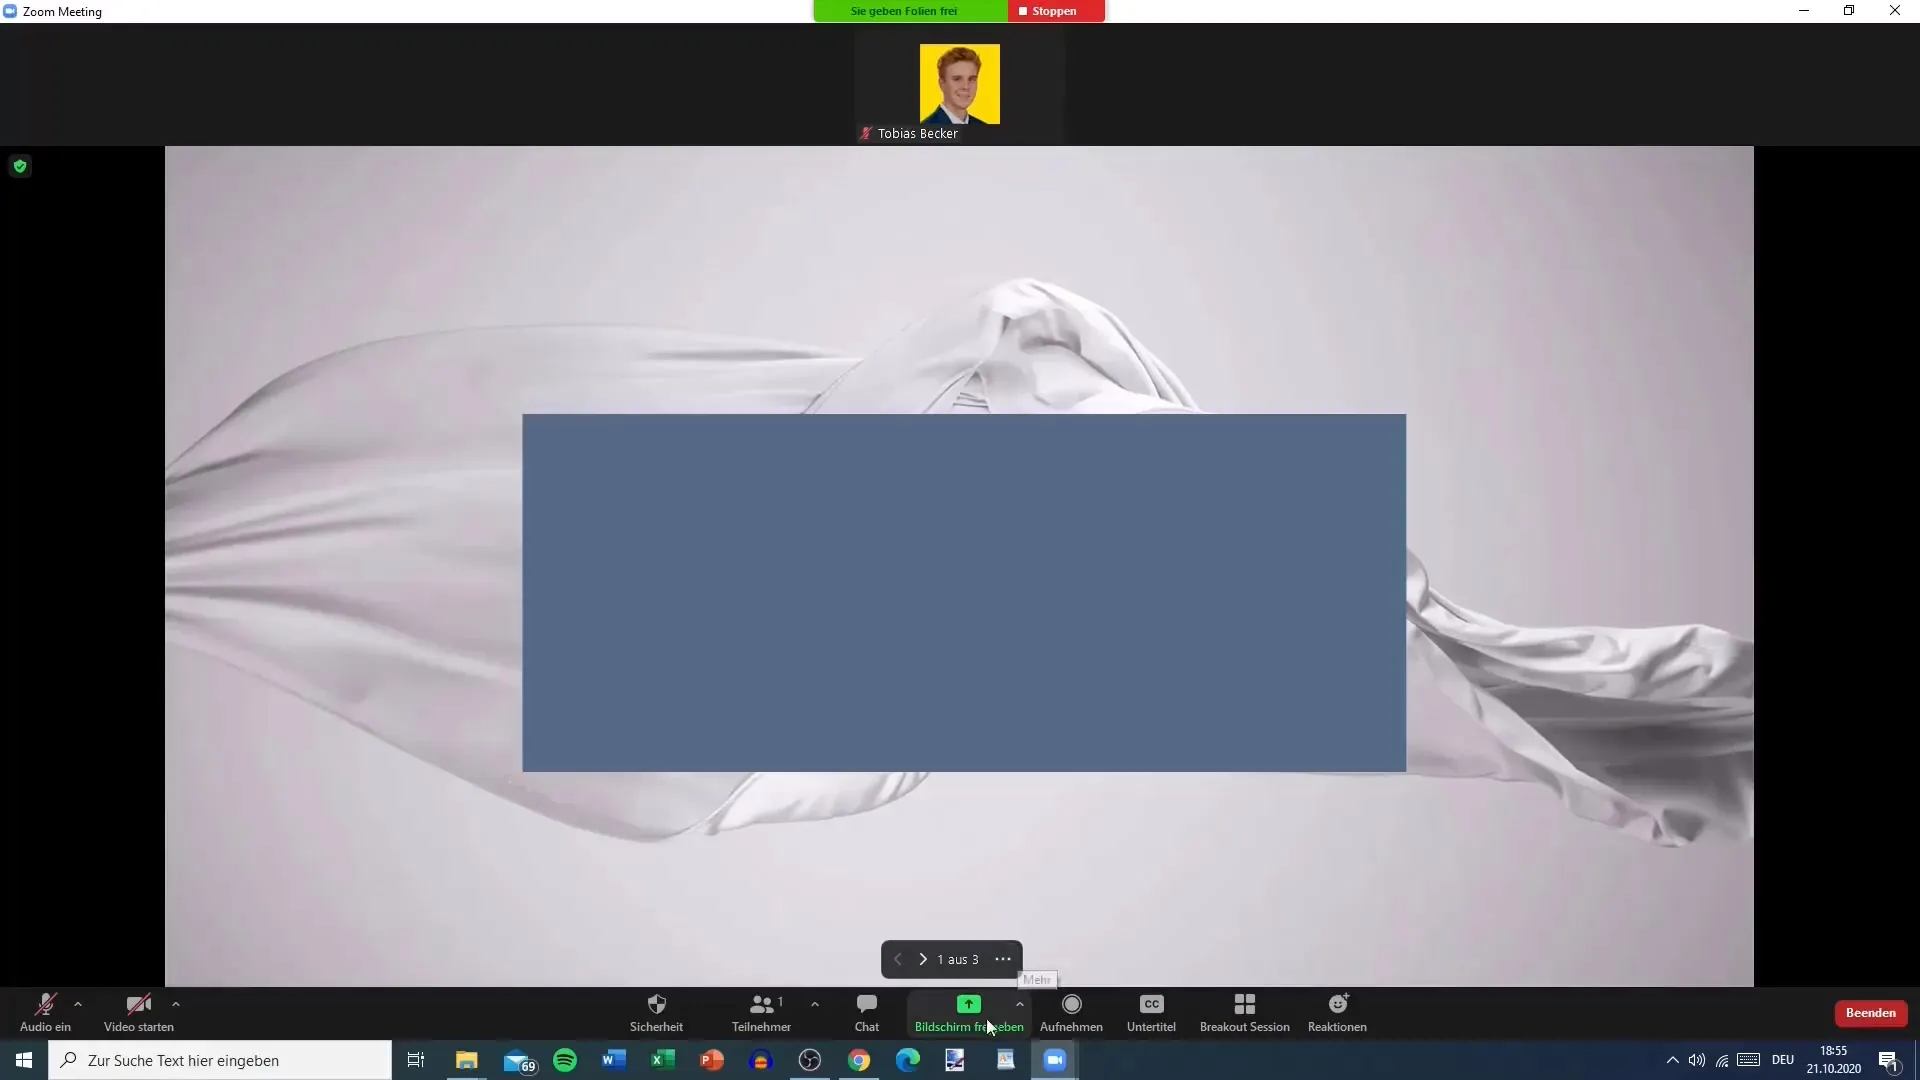
At the beginning of the meeting, you should ensure all participants are ready and have their cameras activated. You can also share your screen to present your content optimally.
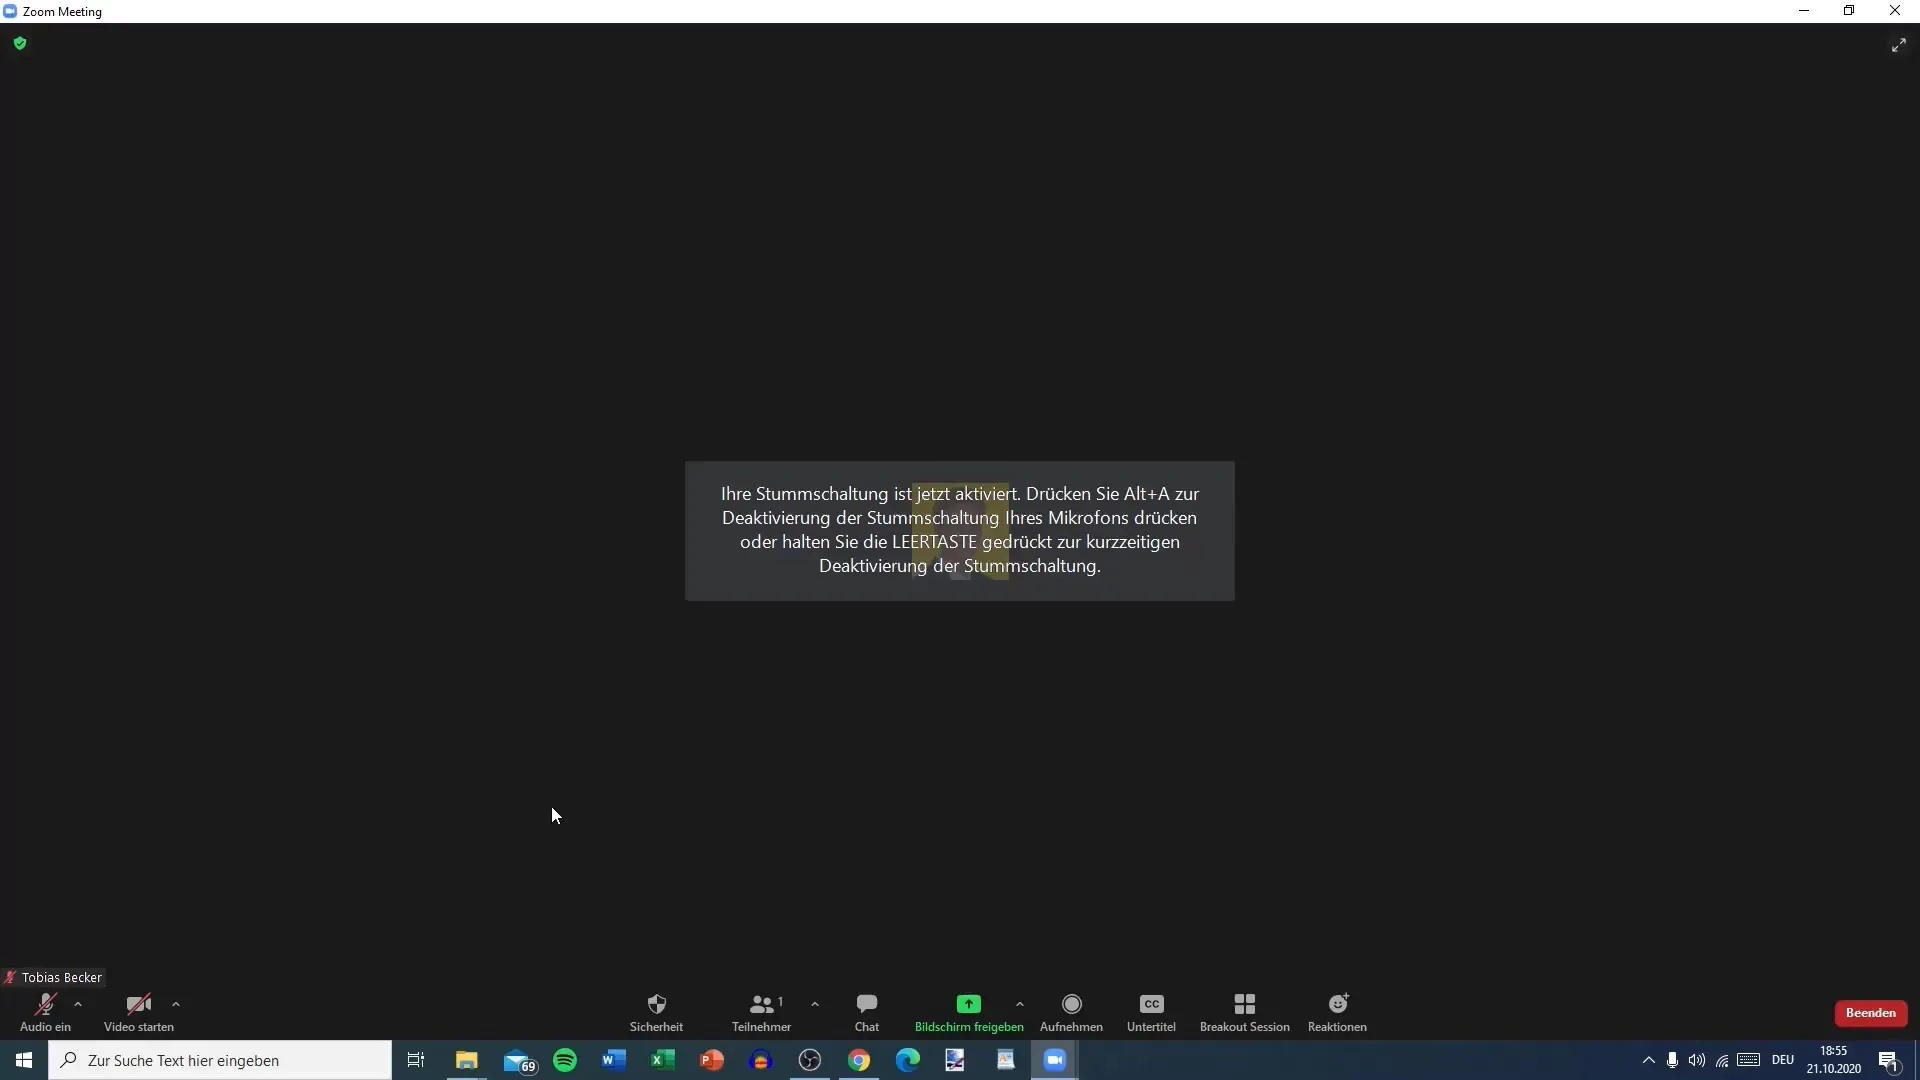
To start the recording, use the "Record" button located next to the "Share Screen" tab. Here, you have the option to record the entire meeting, including all presentations and interactions.
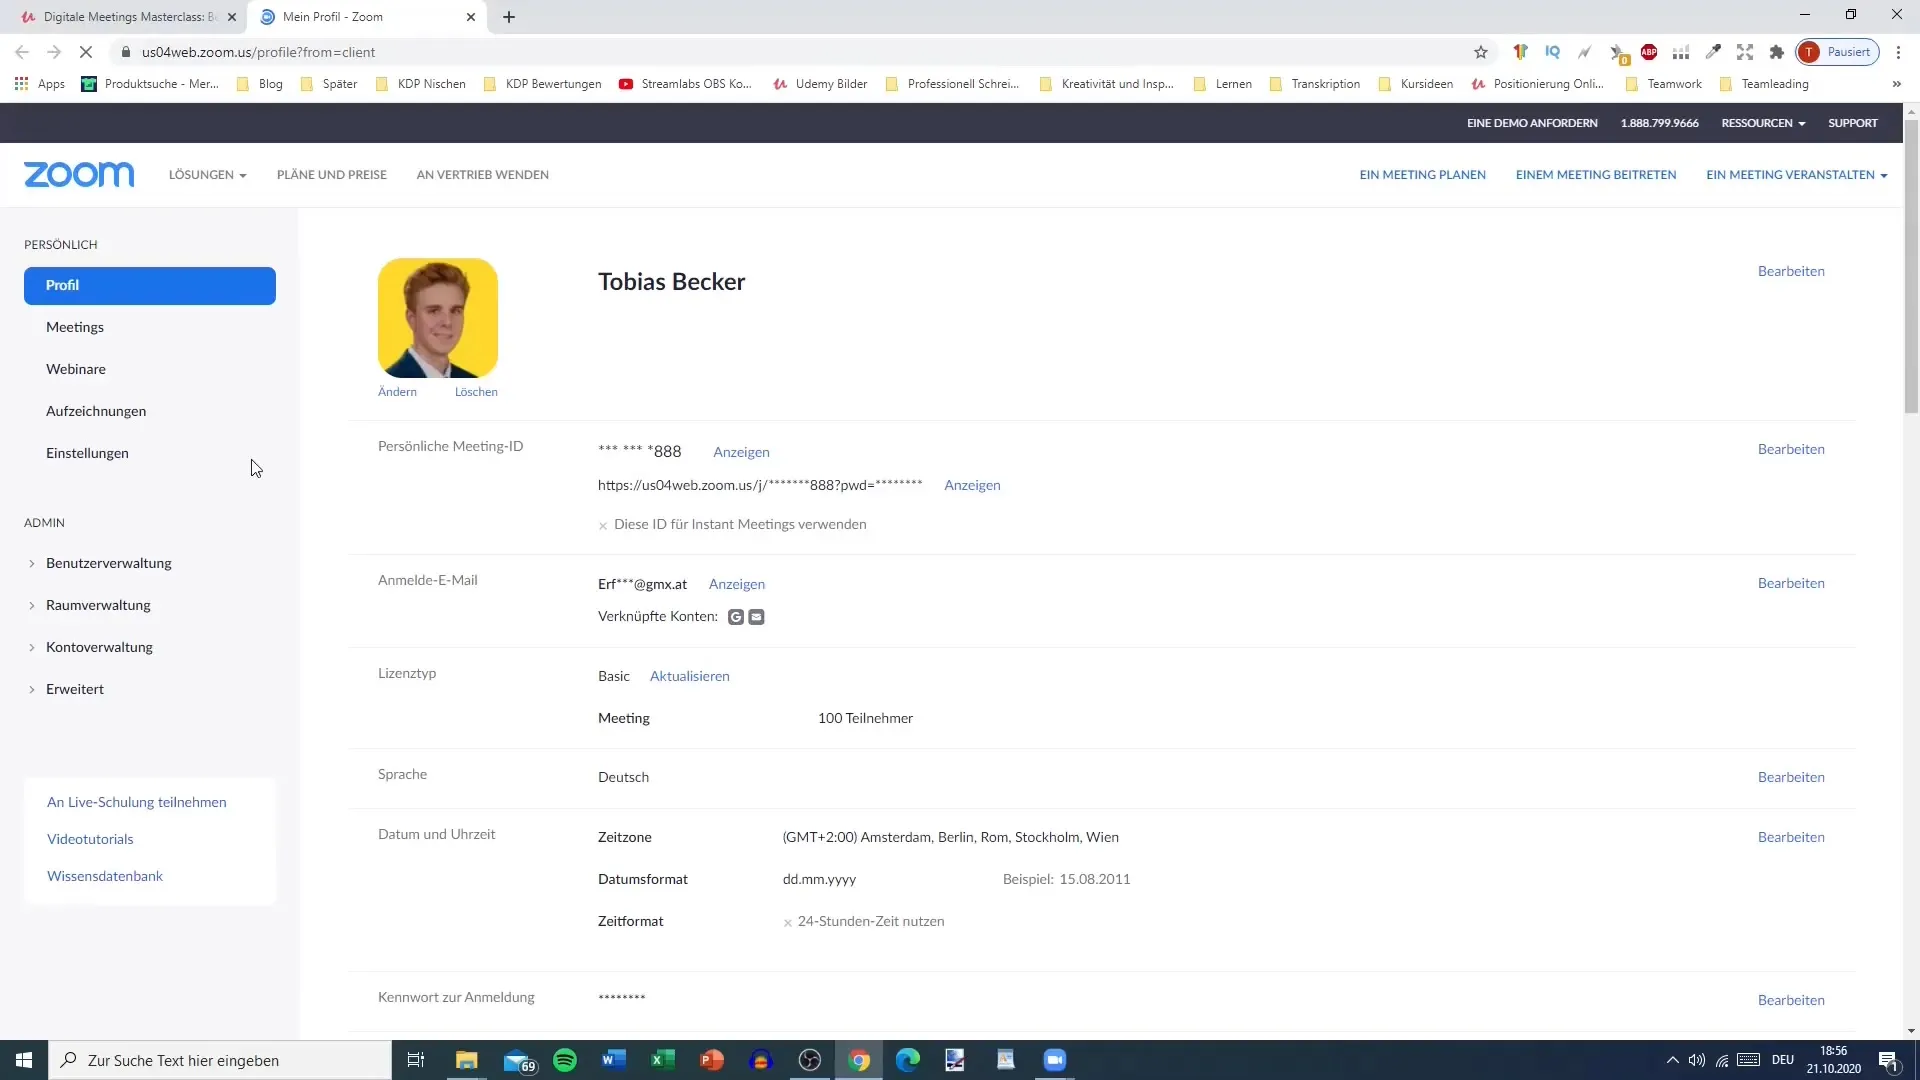
It is important that all necessary settings have been configured before the recording. Go to your profile on the Zoom website. There, under the "Settings" tab, you will find all the relevant options needed for a successful recording.
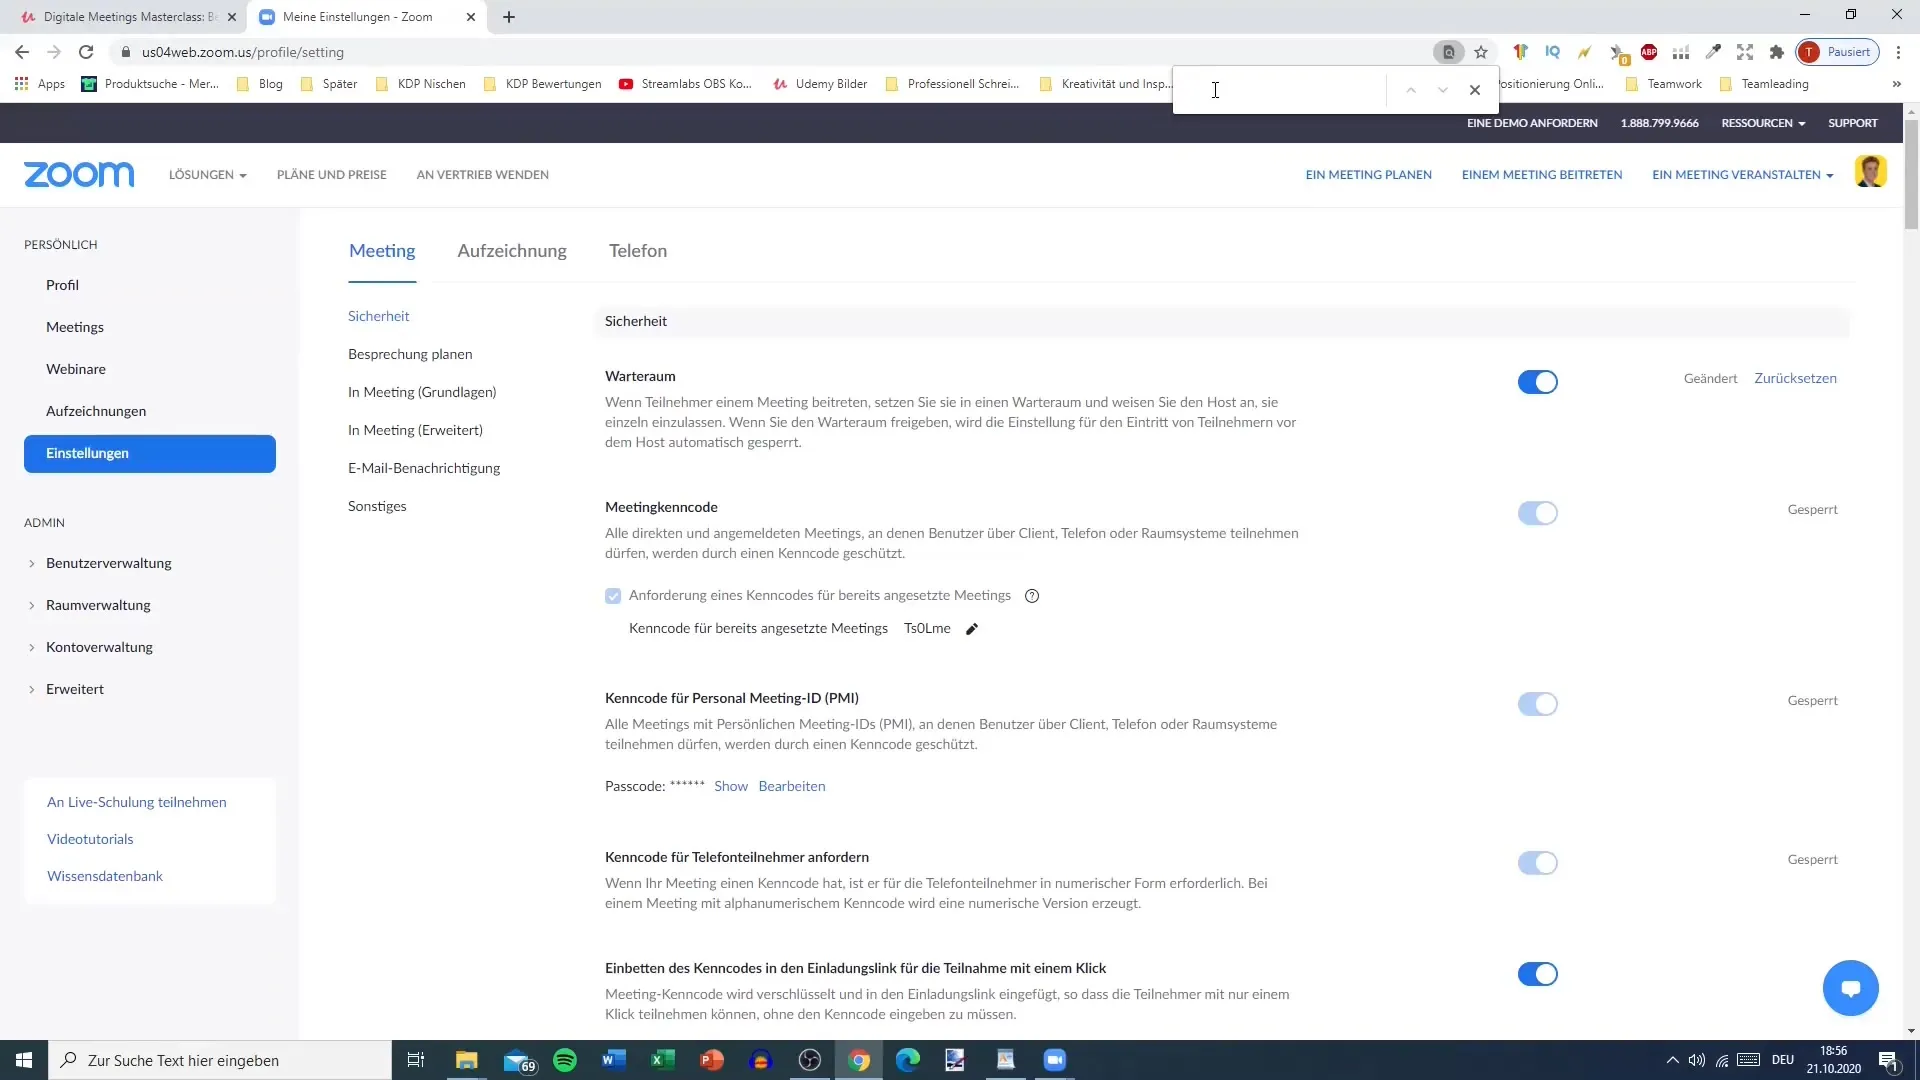
To navigate through the settings more quickly, you can use the search function. Press Control + F and enter, for example, "subtitles" to quickly access the corresponding options. Ensure all required features are enabled.
When you start your presentation, you can activate the recording. The shortcut for this is "Alt + R". Make sure to unmute yourself so you can be heard during the presentation.
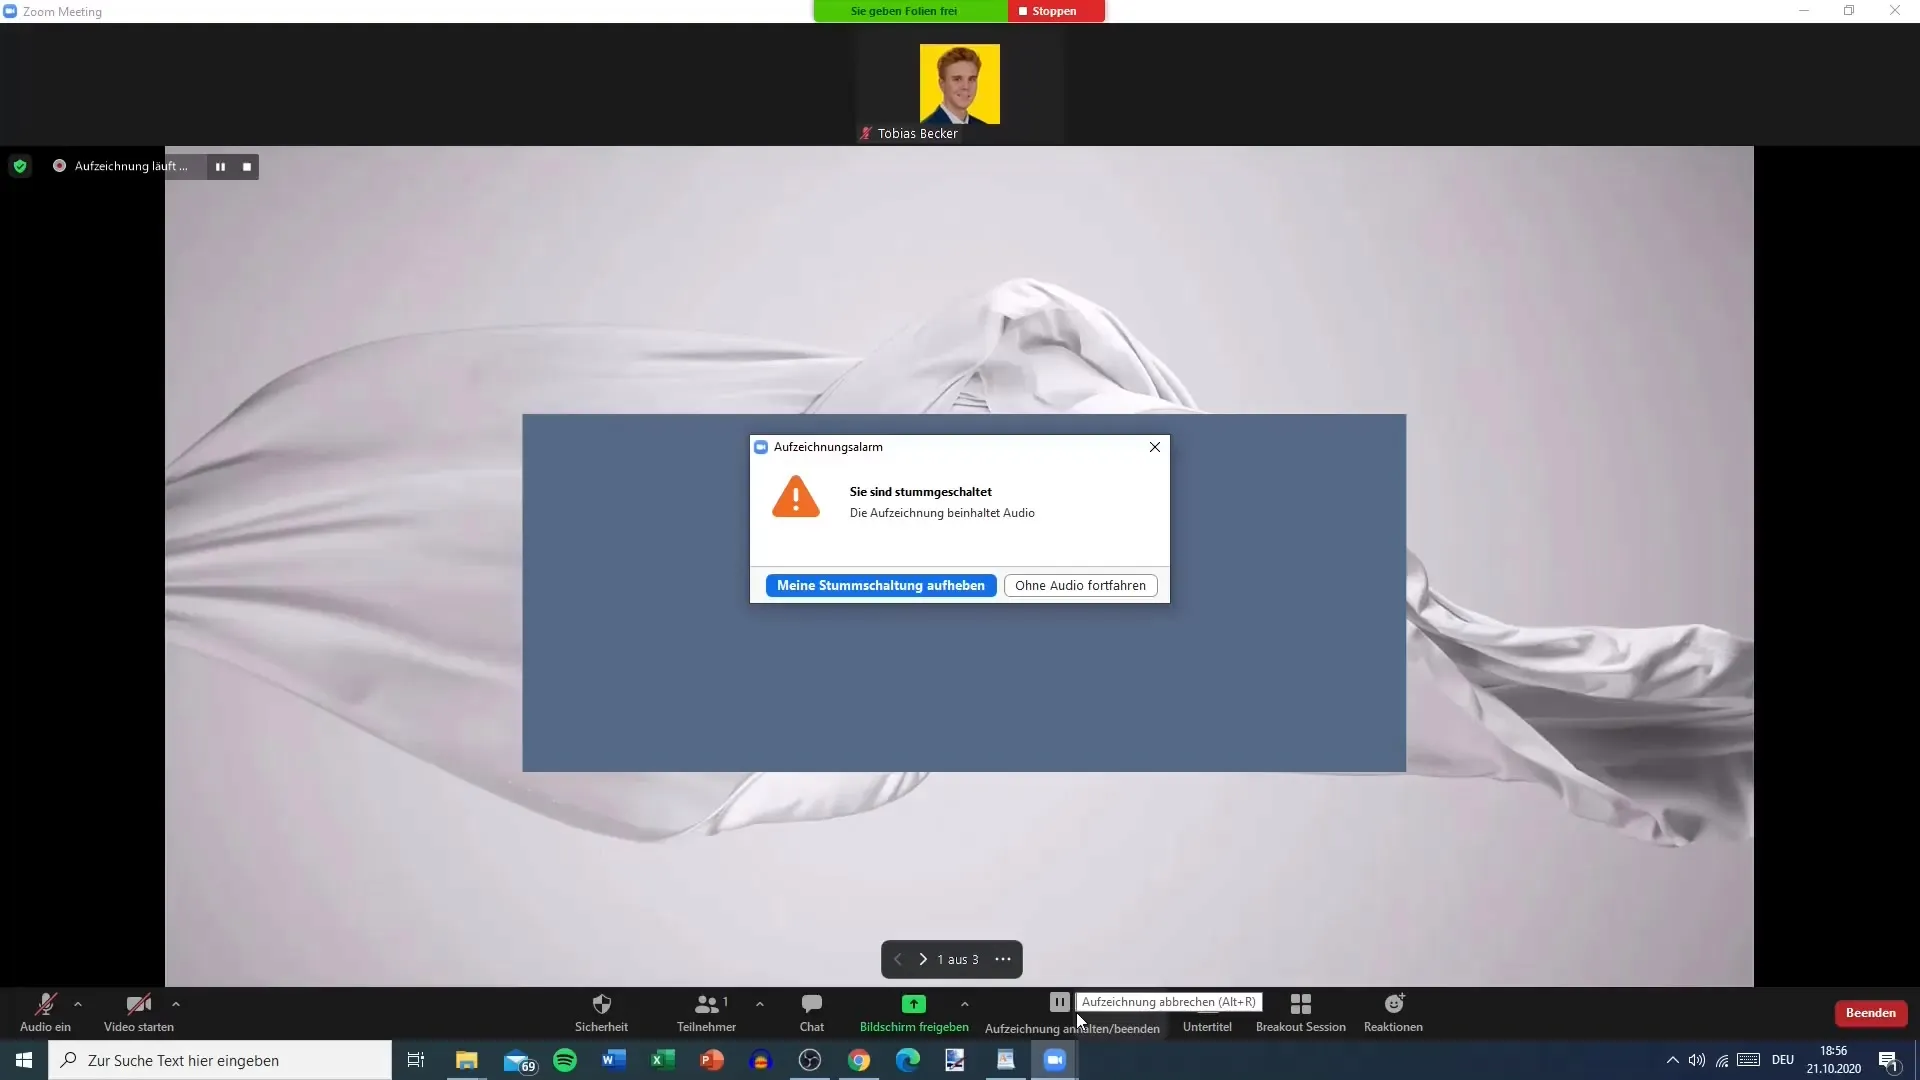
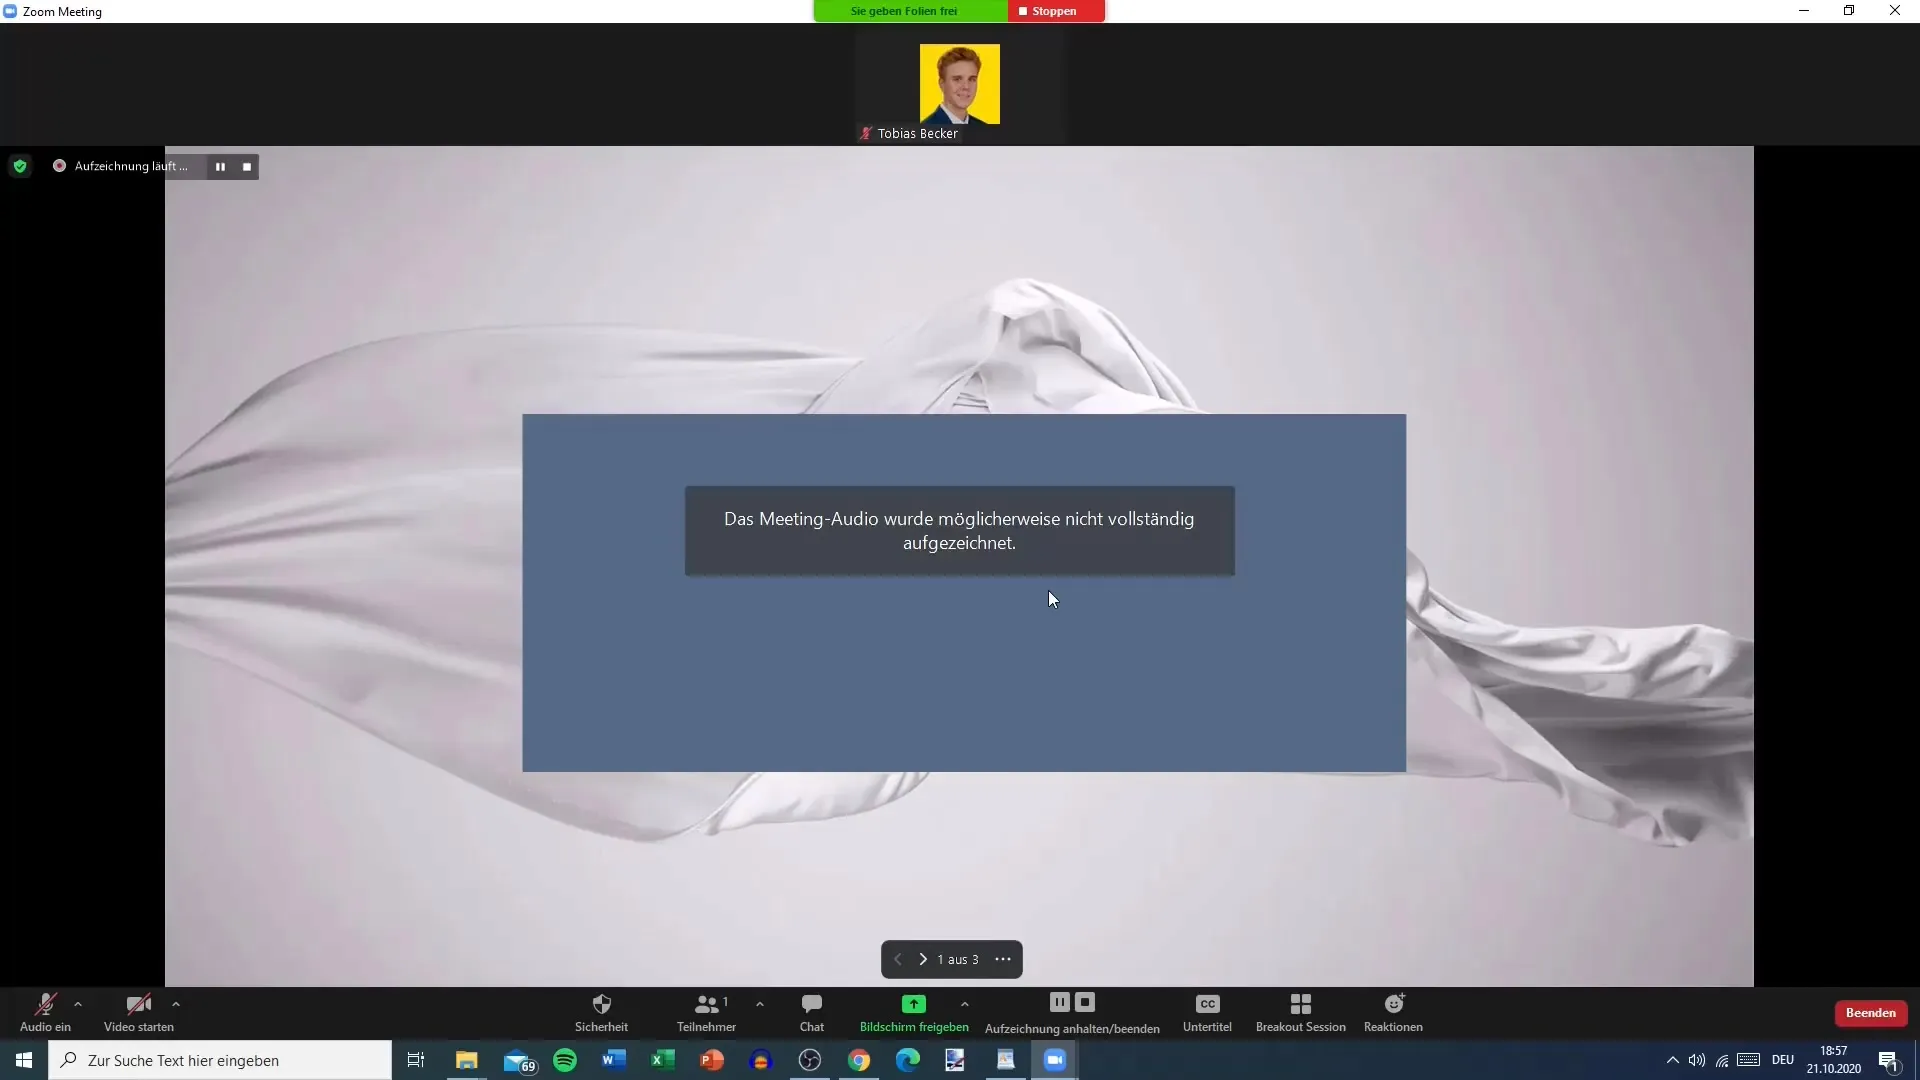
If you have muted the meeting, the recording will run without audio, which is not ideal. Ensure to check the audio settings before starting the recording.
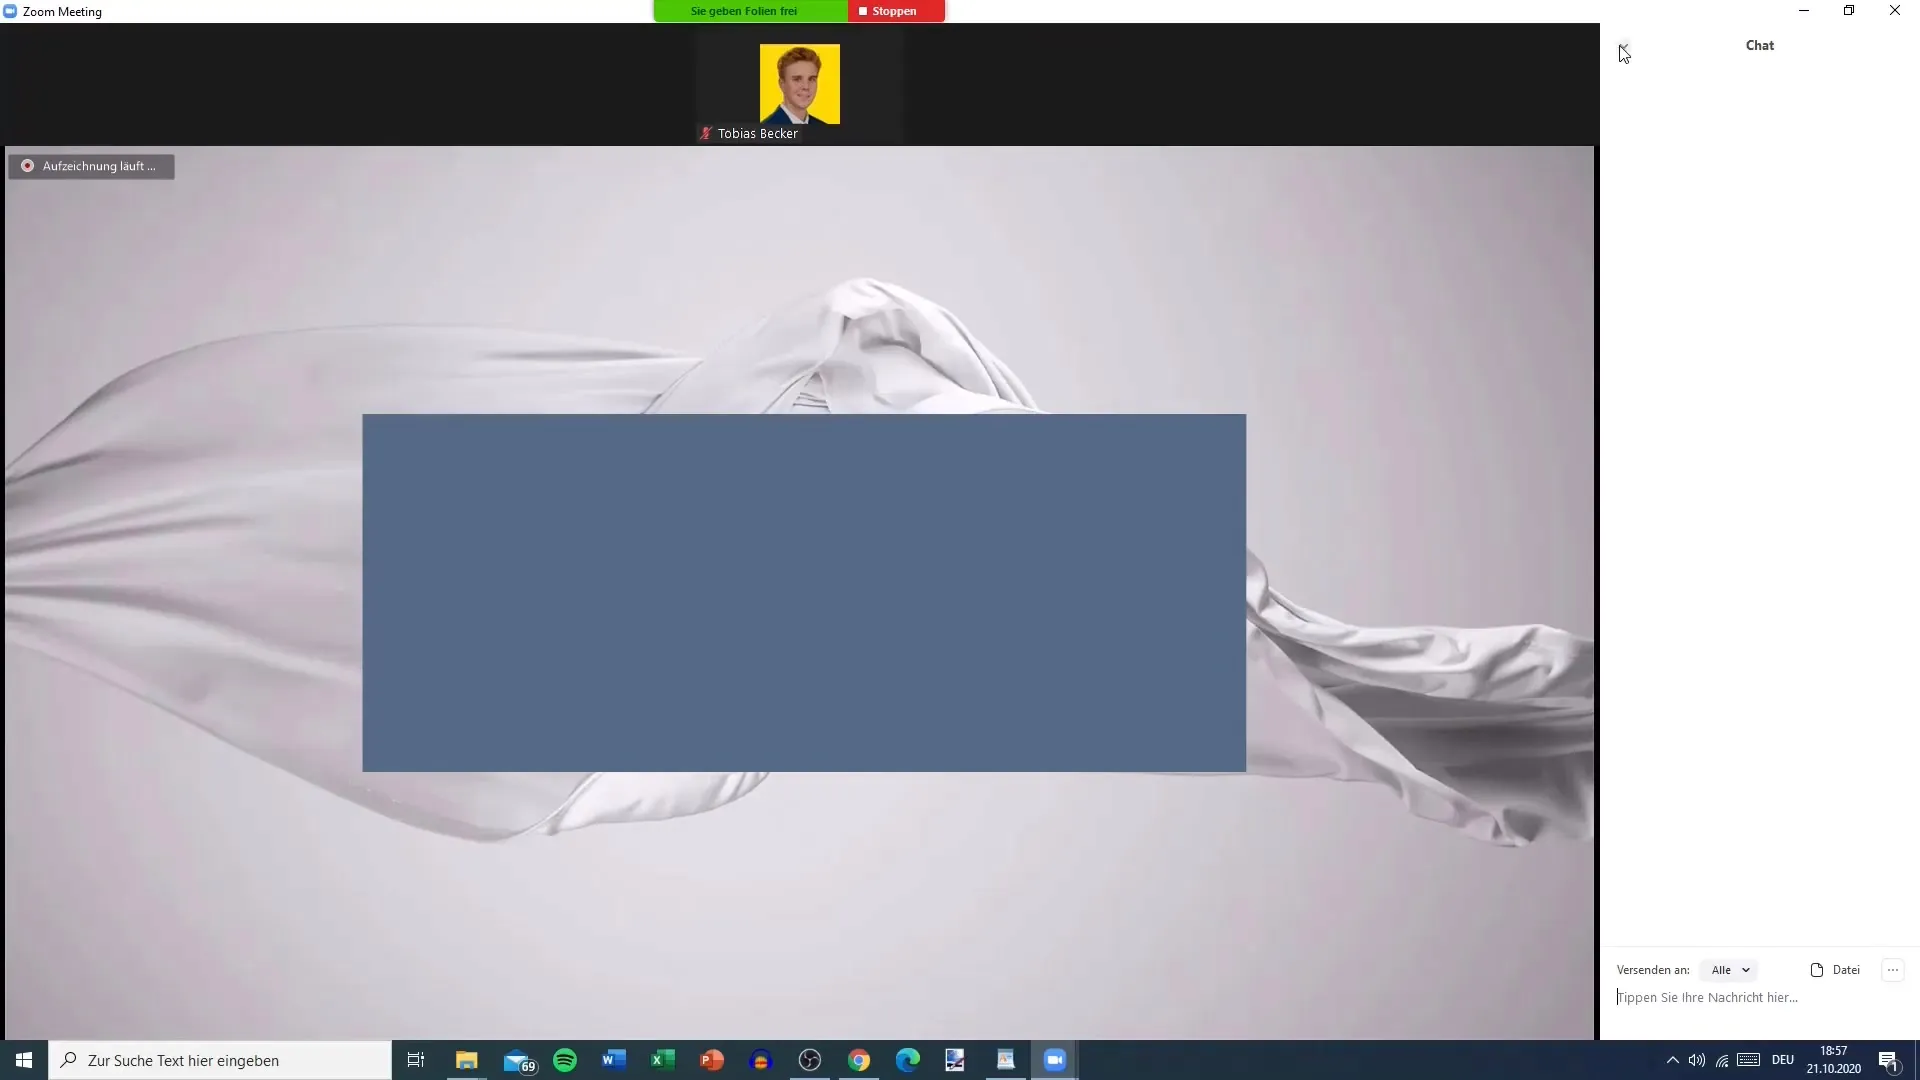
If you need to take a break during the presentation, you can do so at any time by using "Alt + P". This will pause the recording, and you can resume it later.
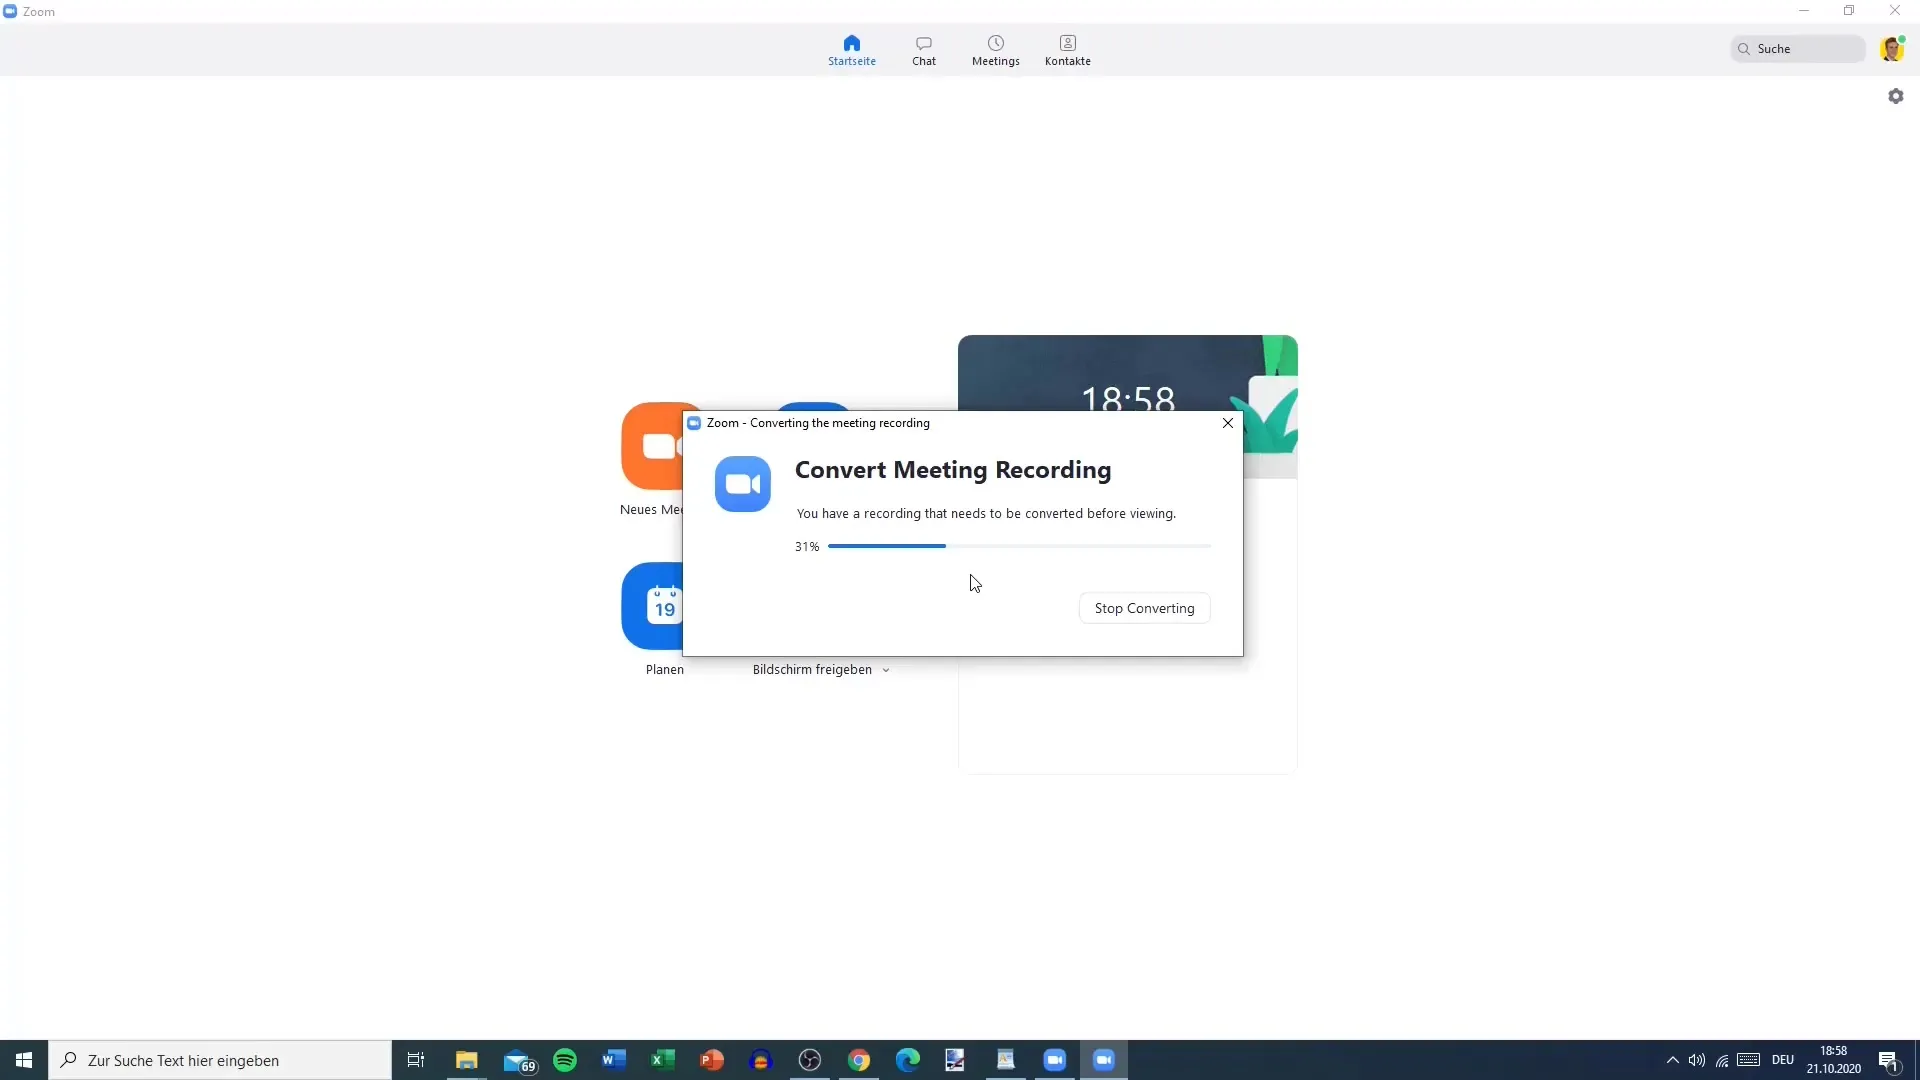
To end the recording, simply click on the red square. Your recording will then be automatically converted to an MP4 format - it is important not to close Zoom immediately, as the conversion may take some time.
After ending the recording, you will be asked where to save the files. It is advisable to do this on the desktop for easy access to the files.
The recording consists of multiple files: a video file, an audio file, and a playback file. You can use these files separately for further editing in your editing software.
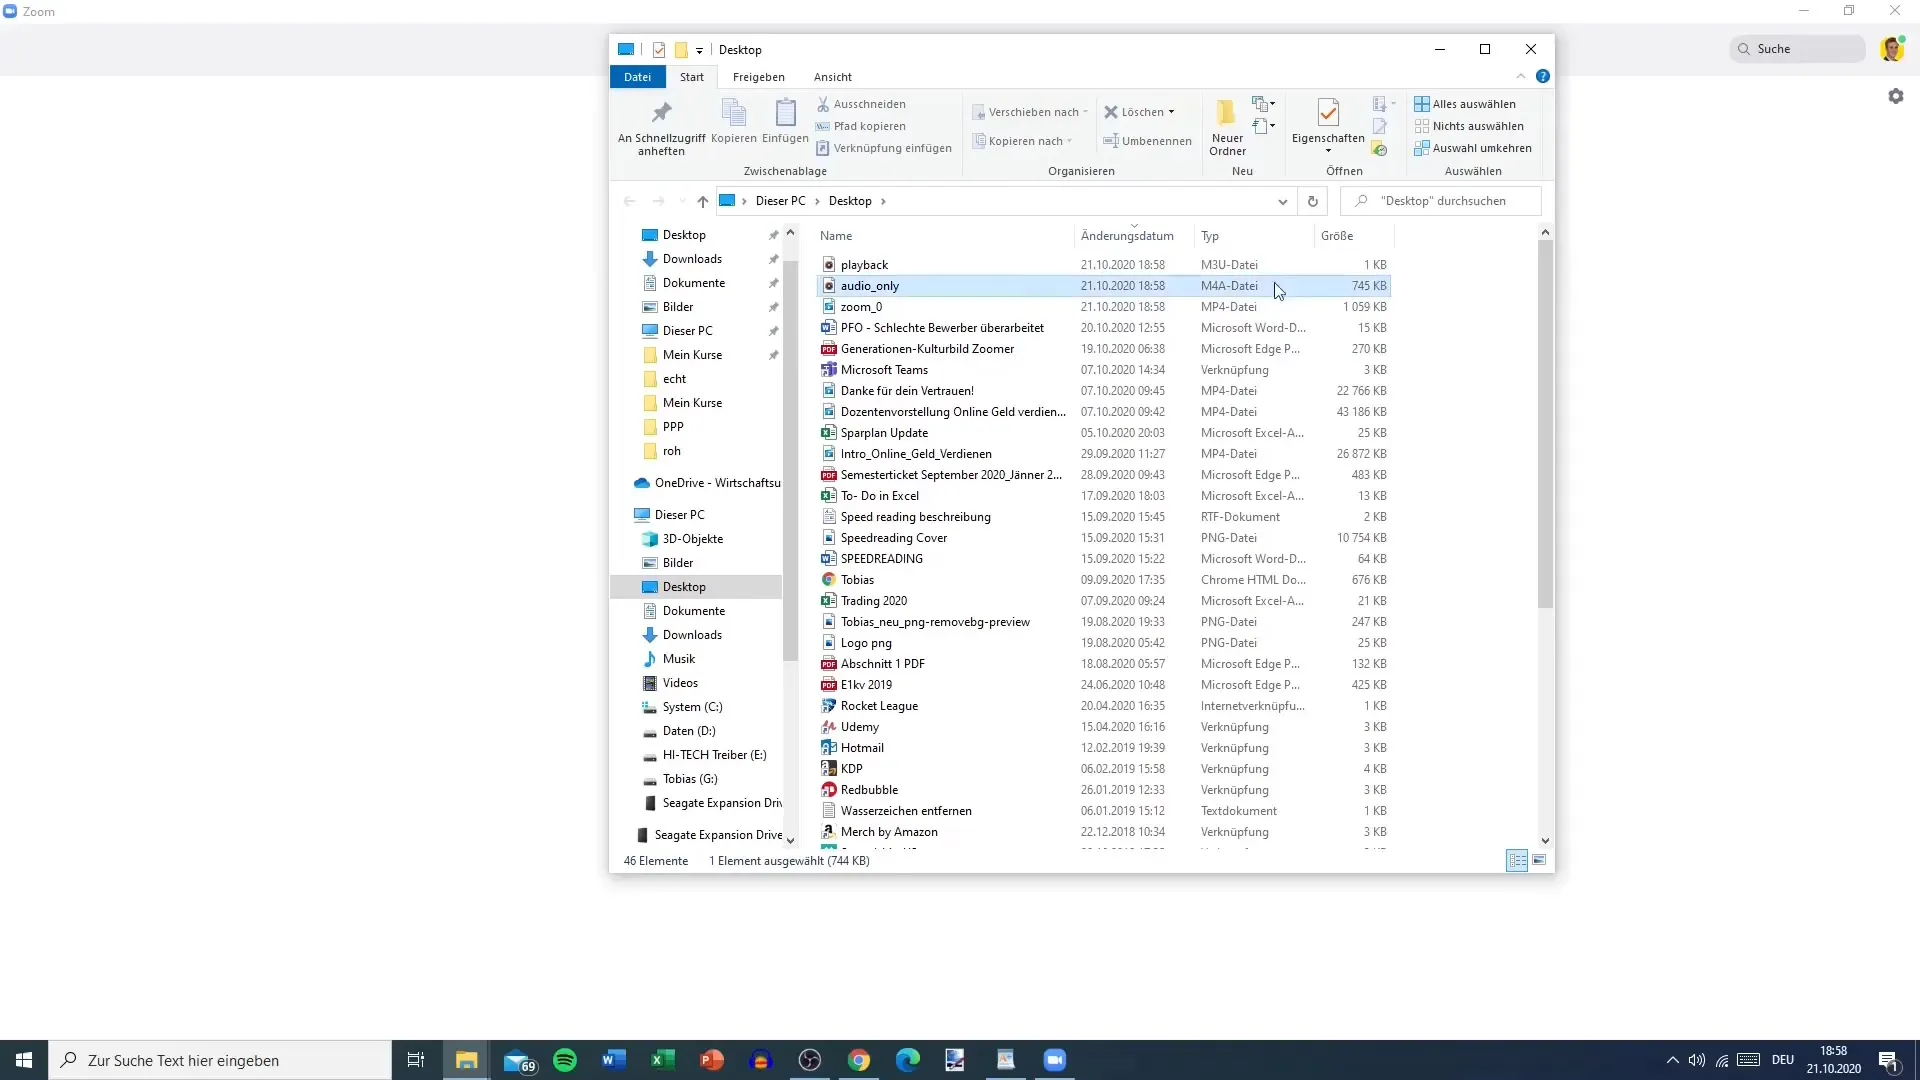
The video file contains the entire meeting, including the screen display and participant views. If only one participant has activated their camera, the background will automatically be displayed in black. This ensures that the presentation remains focused.

If you wish to use additional features such as breakout rooms or whiteboards afterwards, you can also enable those. Don't forget to turn on your camera if you want to use these features.

Summary
In this guide, you have learned how to record Zoom meetings. From the basic settings to conducting the recording and saving the files - you are now able to easily capture your meetings.
Frequently Asked Questions
How do I start the recording in Zoom?You start the recording by clicking the "Record" button next to the "Share Screen" tab.
How do I save the recording?After finishing the recording, you will be asked where the files should be saved.
What should I do if I want to pause during the recording?You can pause the recording with "Alt + P" and resume later.
Where can I find the saved files?The files are saved in the location you choose during the conversion, e.g. on the desktop.
How can I ensure that my audio is being recorded?Make sure to unmute yourself before starting the recording.


