In this tutorial, you will learn how to effectively use the Whiteboard in Zoom. The Whiteboard provides an interactive platform to visualize ideas, take notes, and collaborate in meetings. Whether you are a teacher, trainer, or a team leader, these features will help you make your presentations more lively and memorable. Let's explore the features of the Whiteboard together and find out how you can use it optimally.
Key Insights
- The Whiteboard in Zoom allows drawing, writing, and annotating in real-time.
- Participants can actively edit the Whiteboard or only the host has editing rights.
- You can save the Whiteboard contents and export them in various formats.
- There are different tools like pens, shapes, and erasers to customize your notes.
Step-by-Step Guide
Step 1: Choosing the Whiteboard
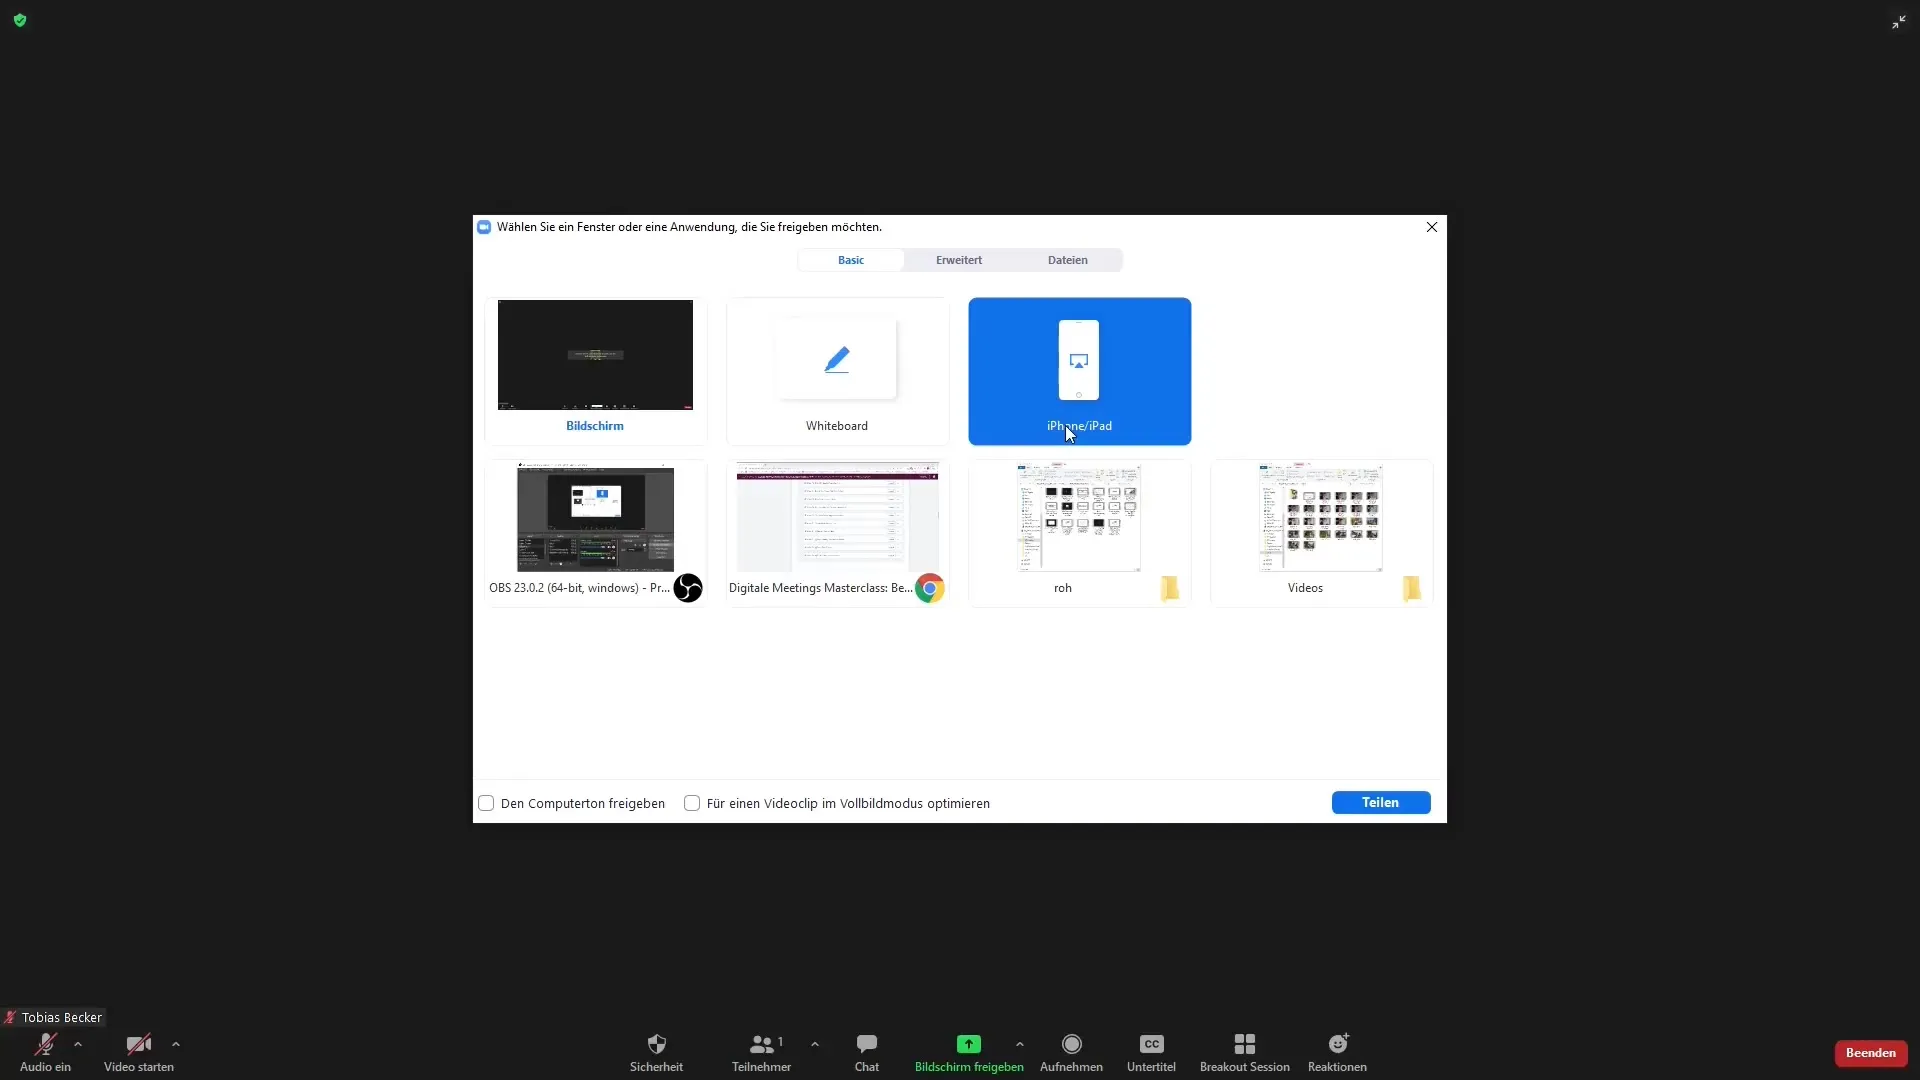
To use the Whiteboard, open the screen sharing area during a Zoom meeting. Select the "Whiteboard" option there and click "Share". You will immediately see the Whiteboard, which is visible to all participants.
Step 2: Drawing and Adding Text
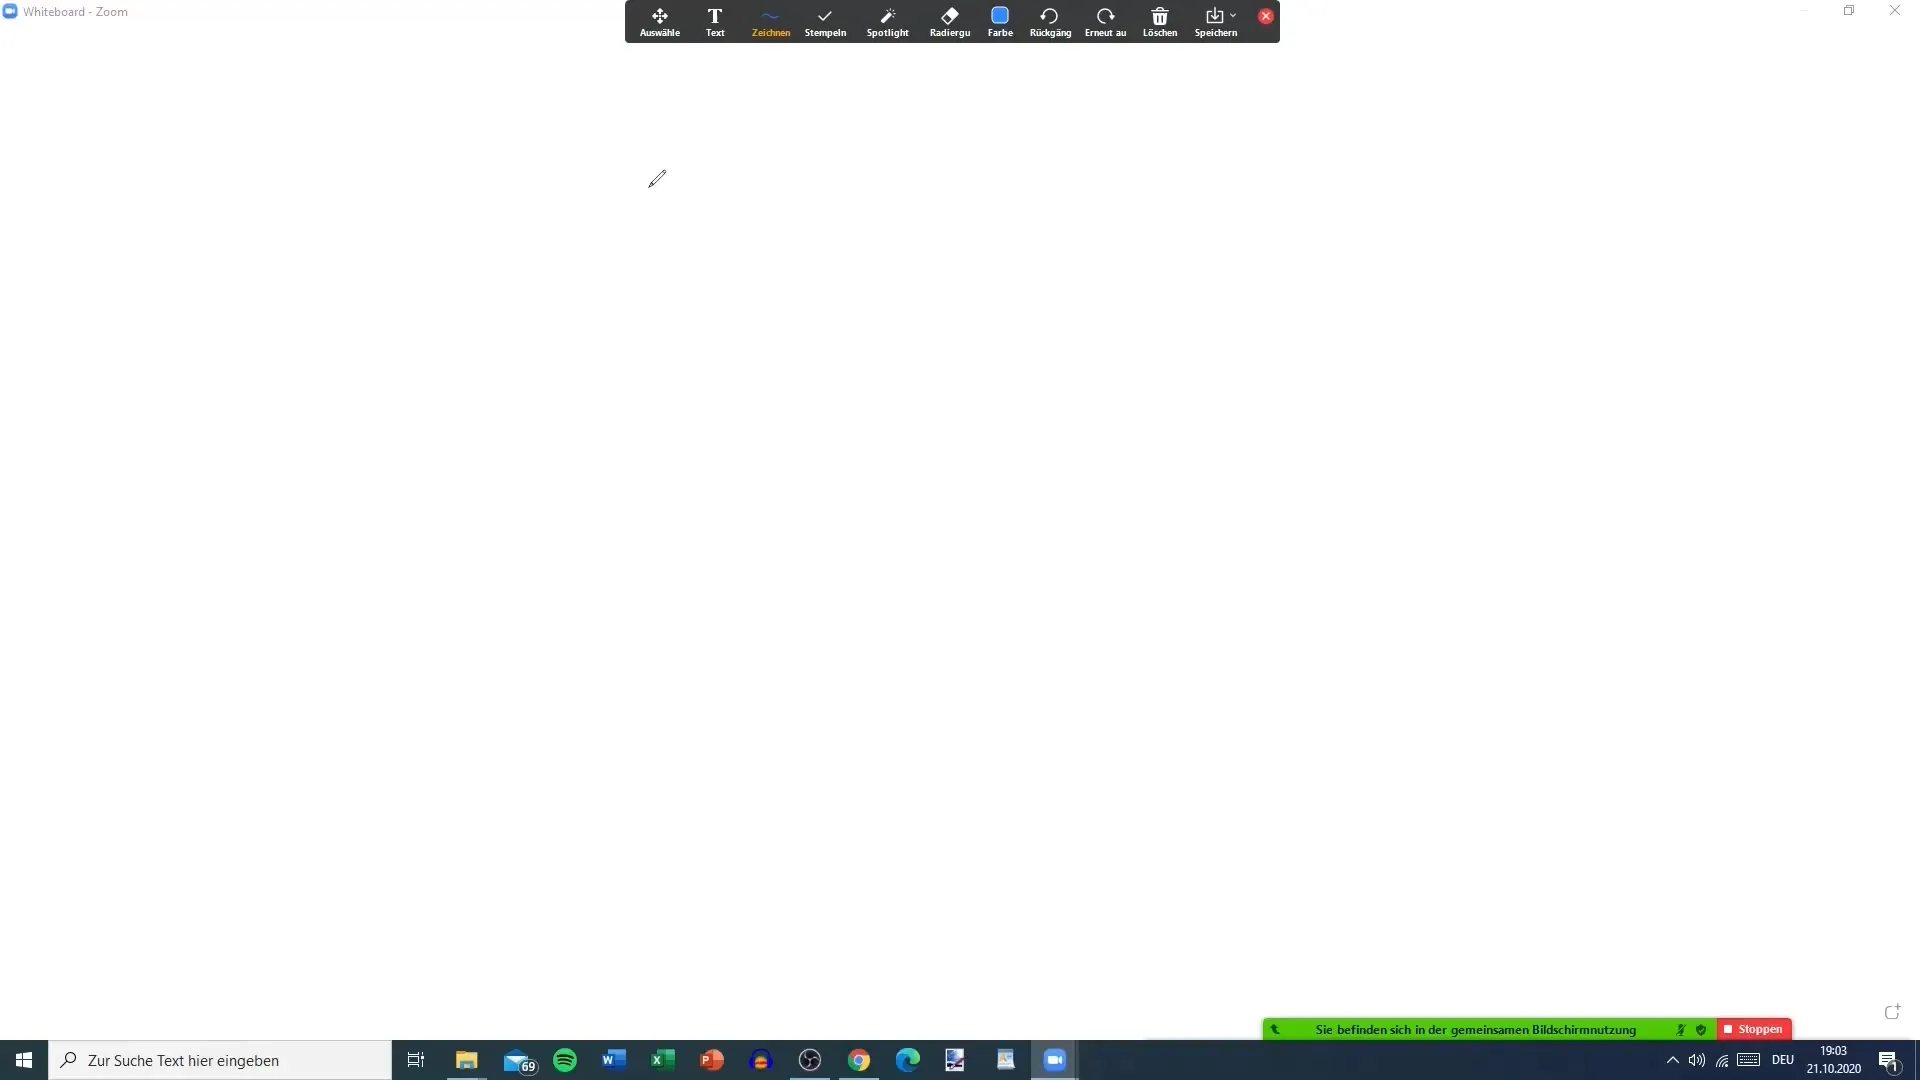
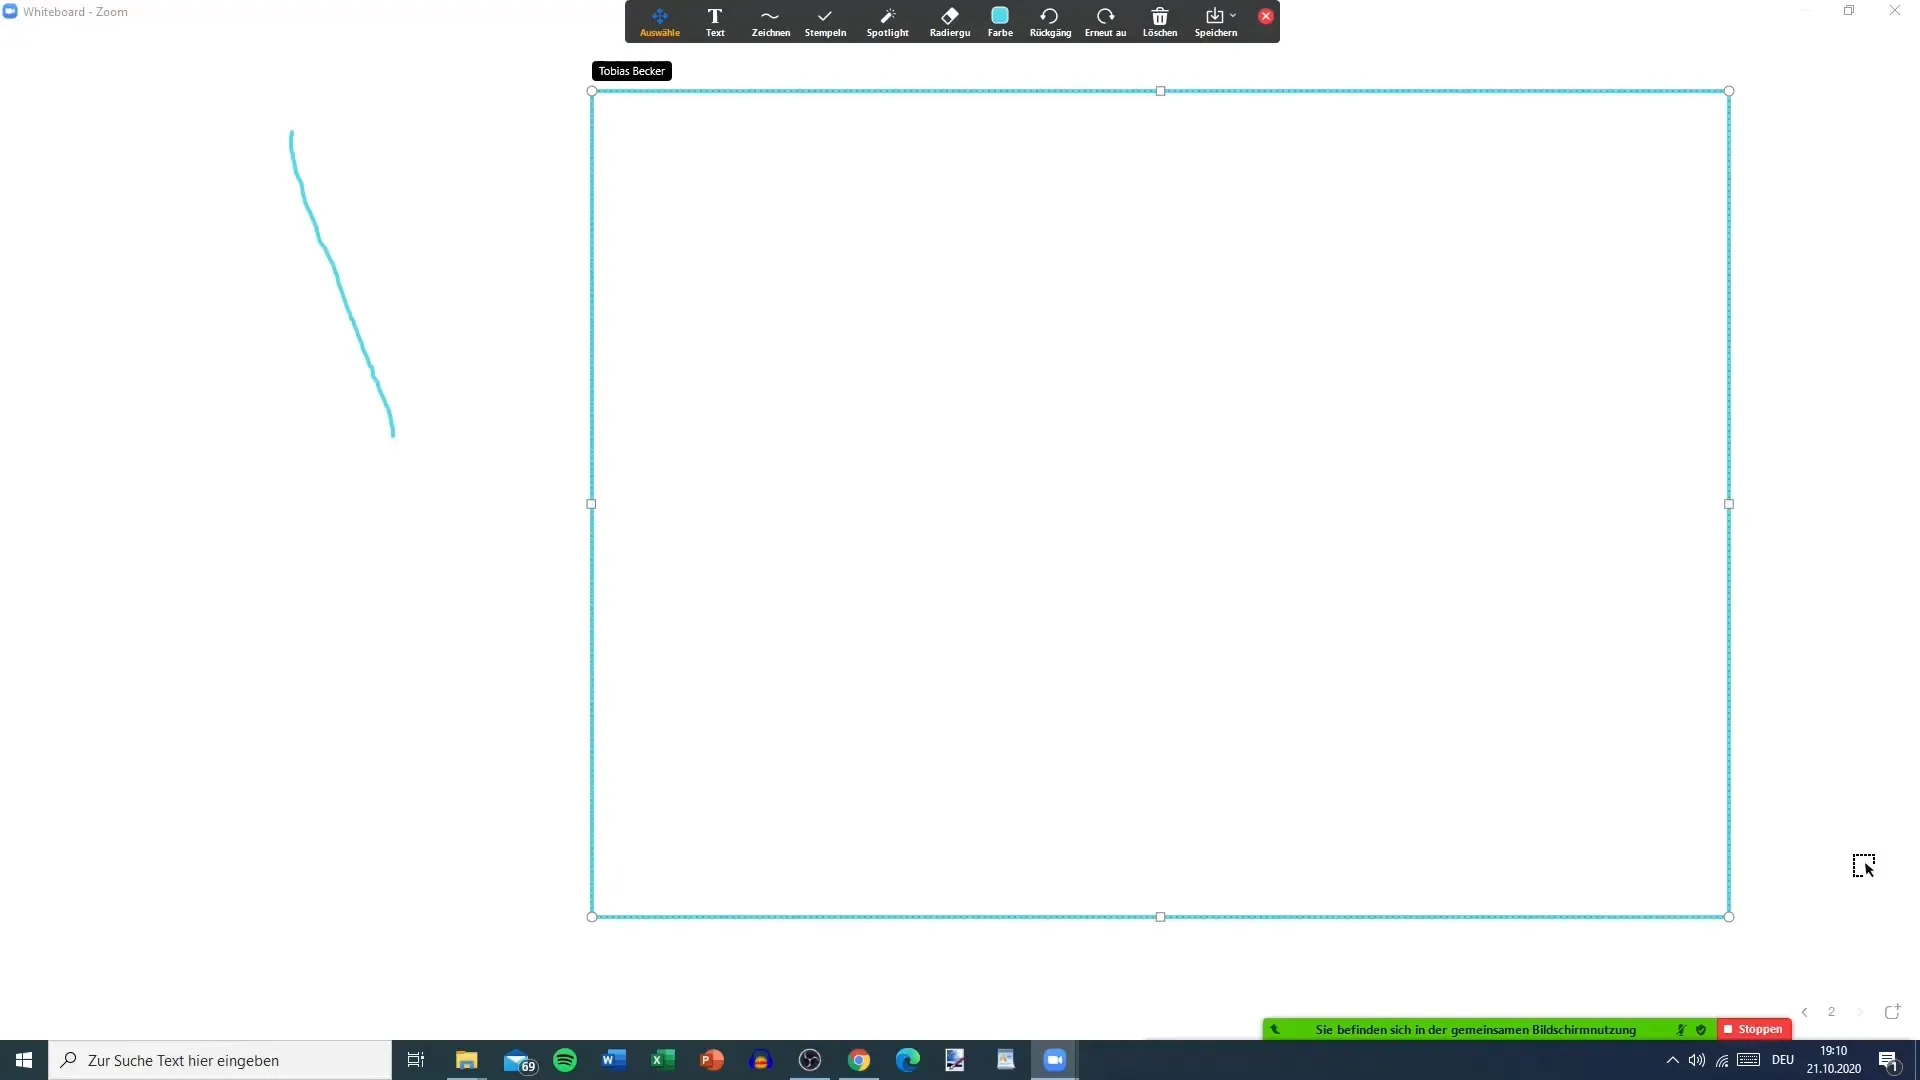
Now you can start drawing on the Whiteboard or adding text. In the top toolbar, you will find various drawing tools, including pens, text, and shapes. Choose the desired function and start creating your content.
Step 3: Selecting Tools
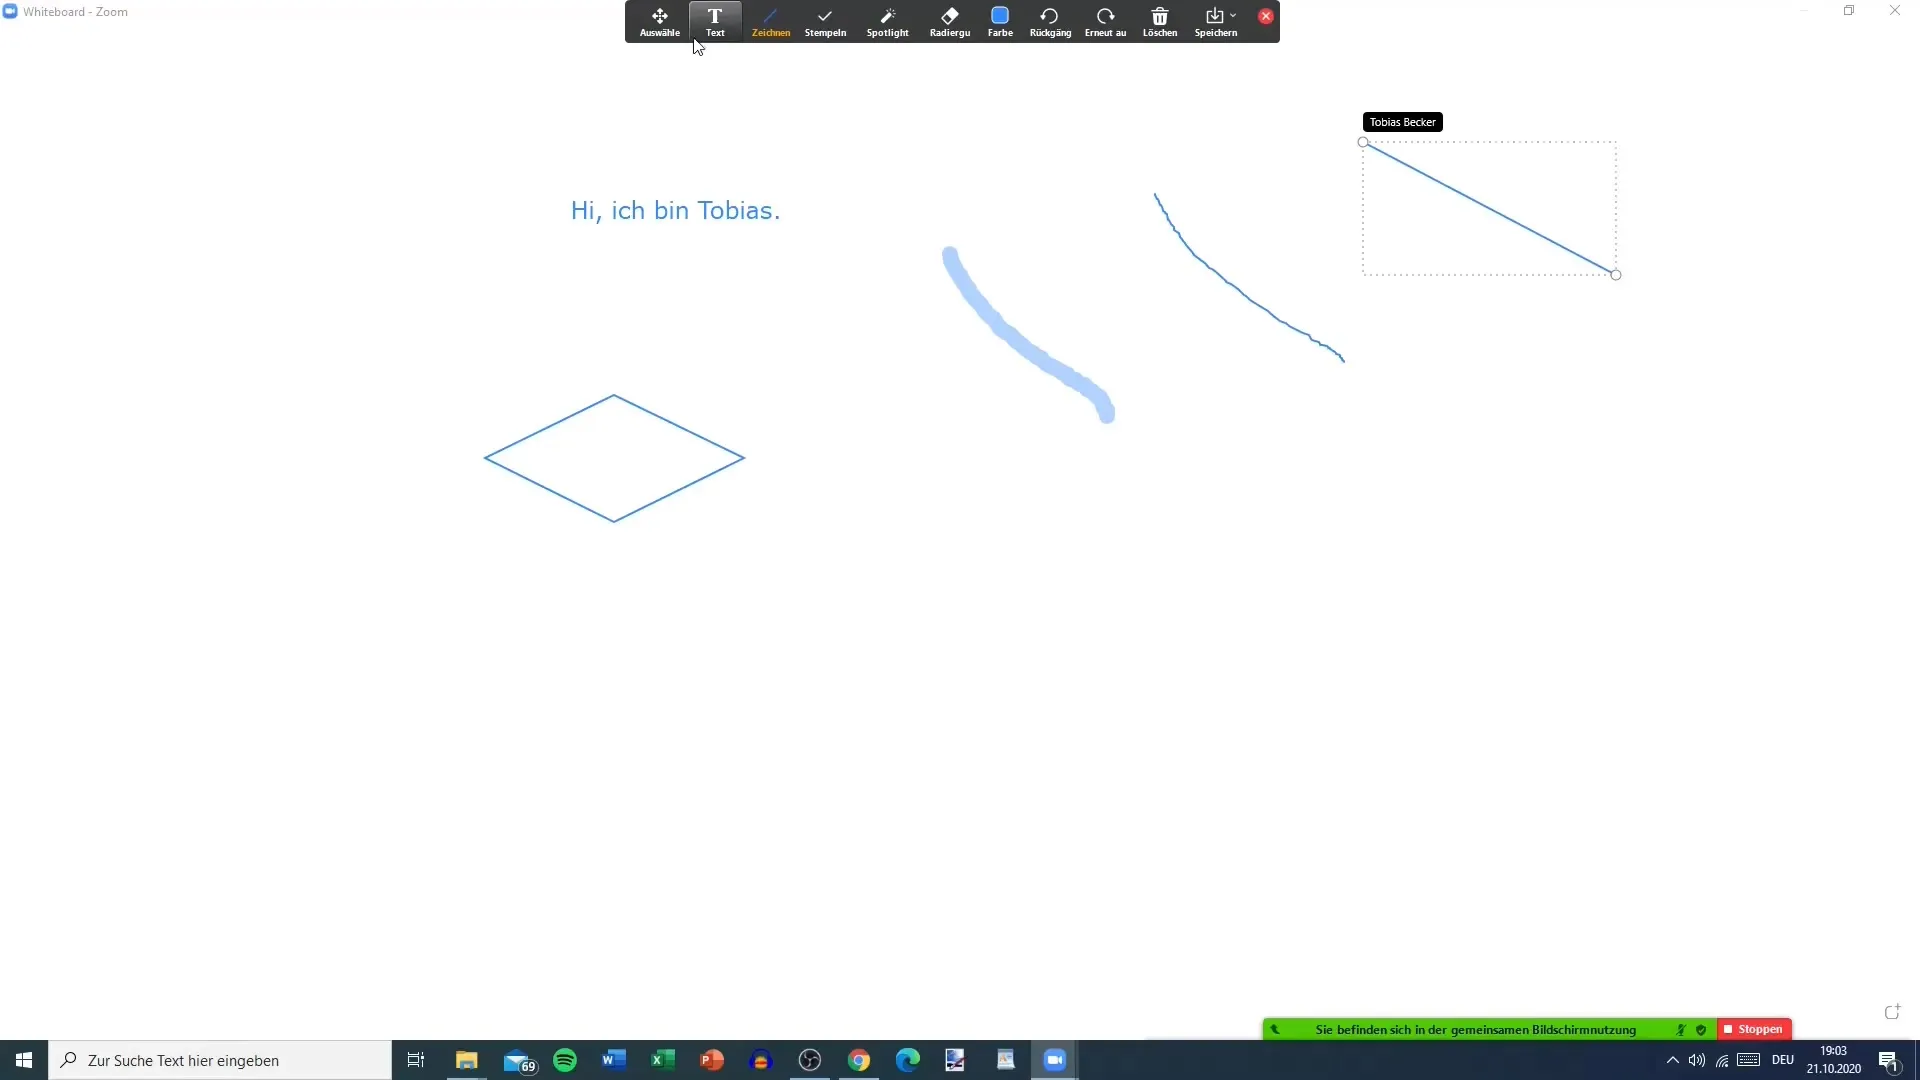
The Whiteboard offers a variety of tools. You can use thin or thick lines and draw different shapes like rectangles and arrows. Try out the options to determine which ones best suit your needs.
Step 4: Customizing Color and Font
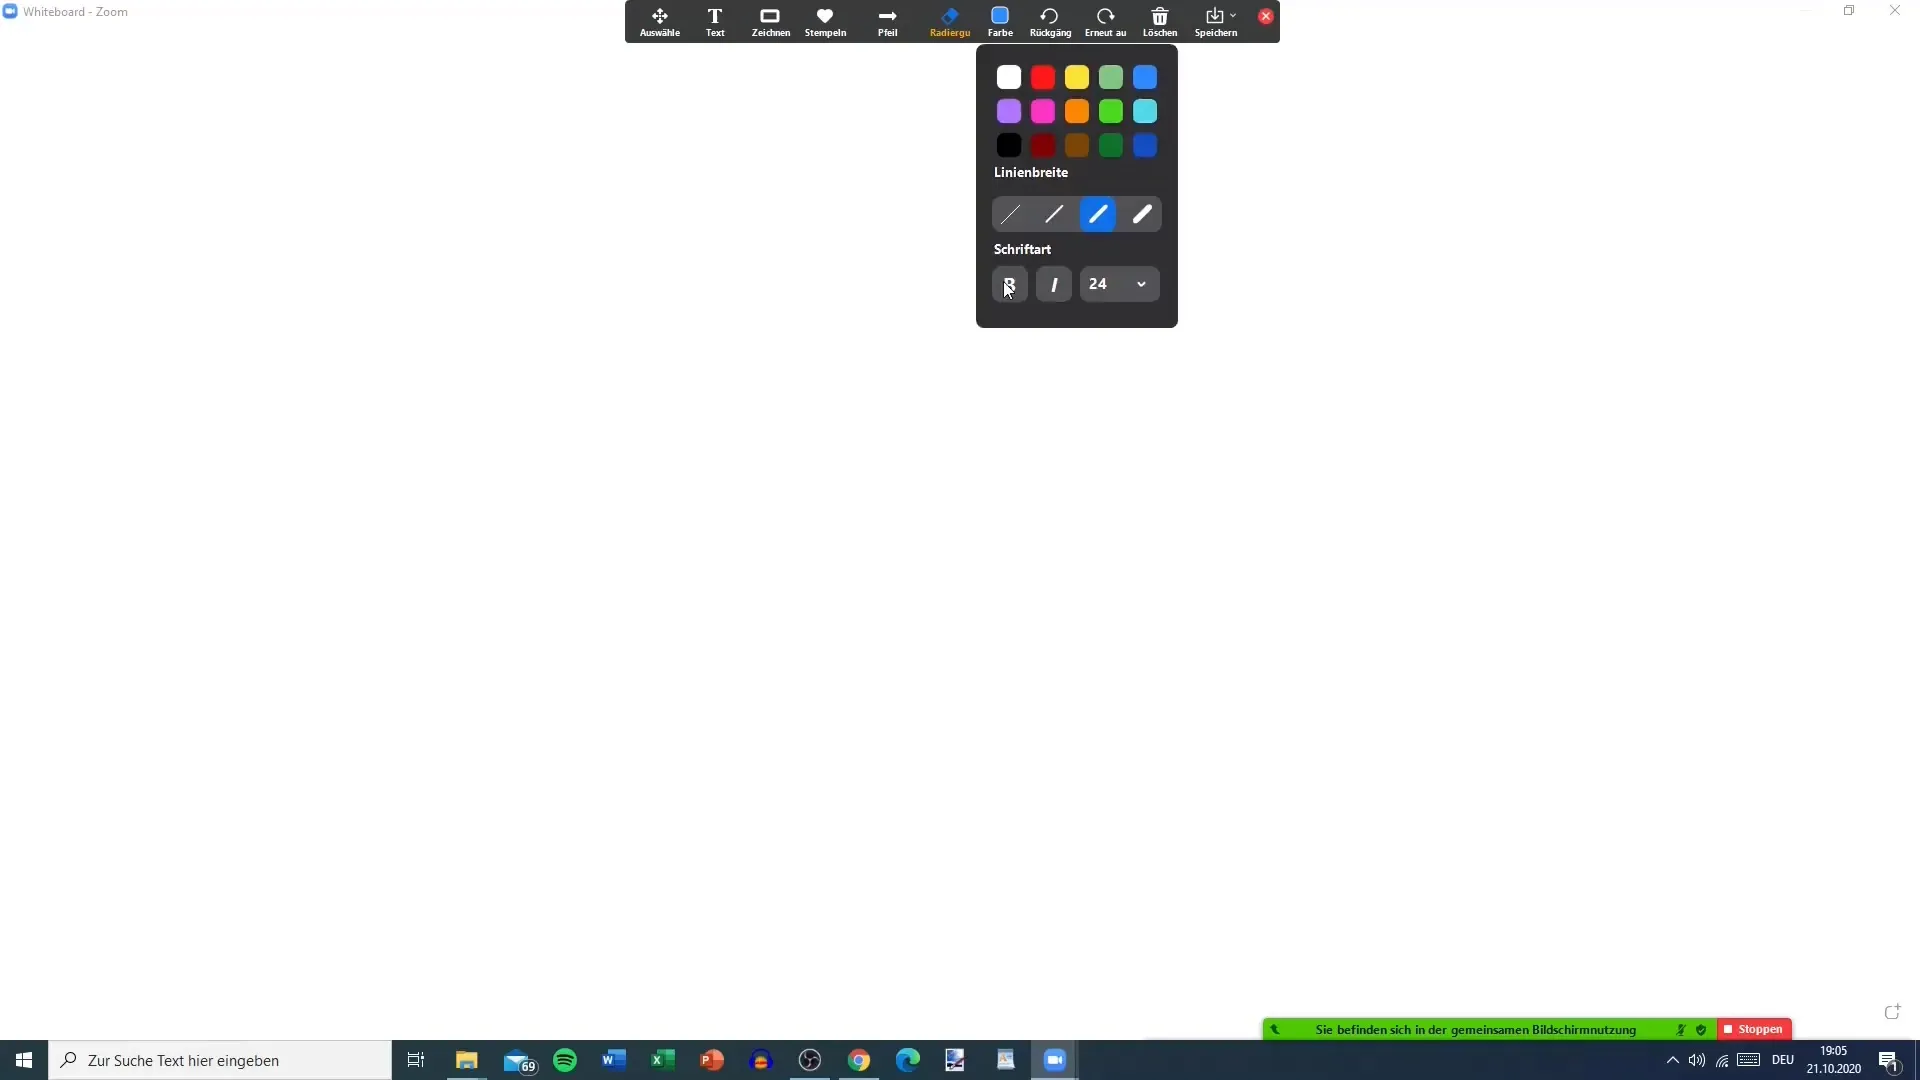
If you want to add colors and fonts to your Whiteboard, you can also use these options. Choose the color and adjust the font - be creative. You can also highlight the text in the desired color.
Step 5: Using the Eraser
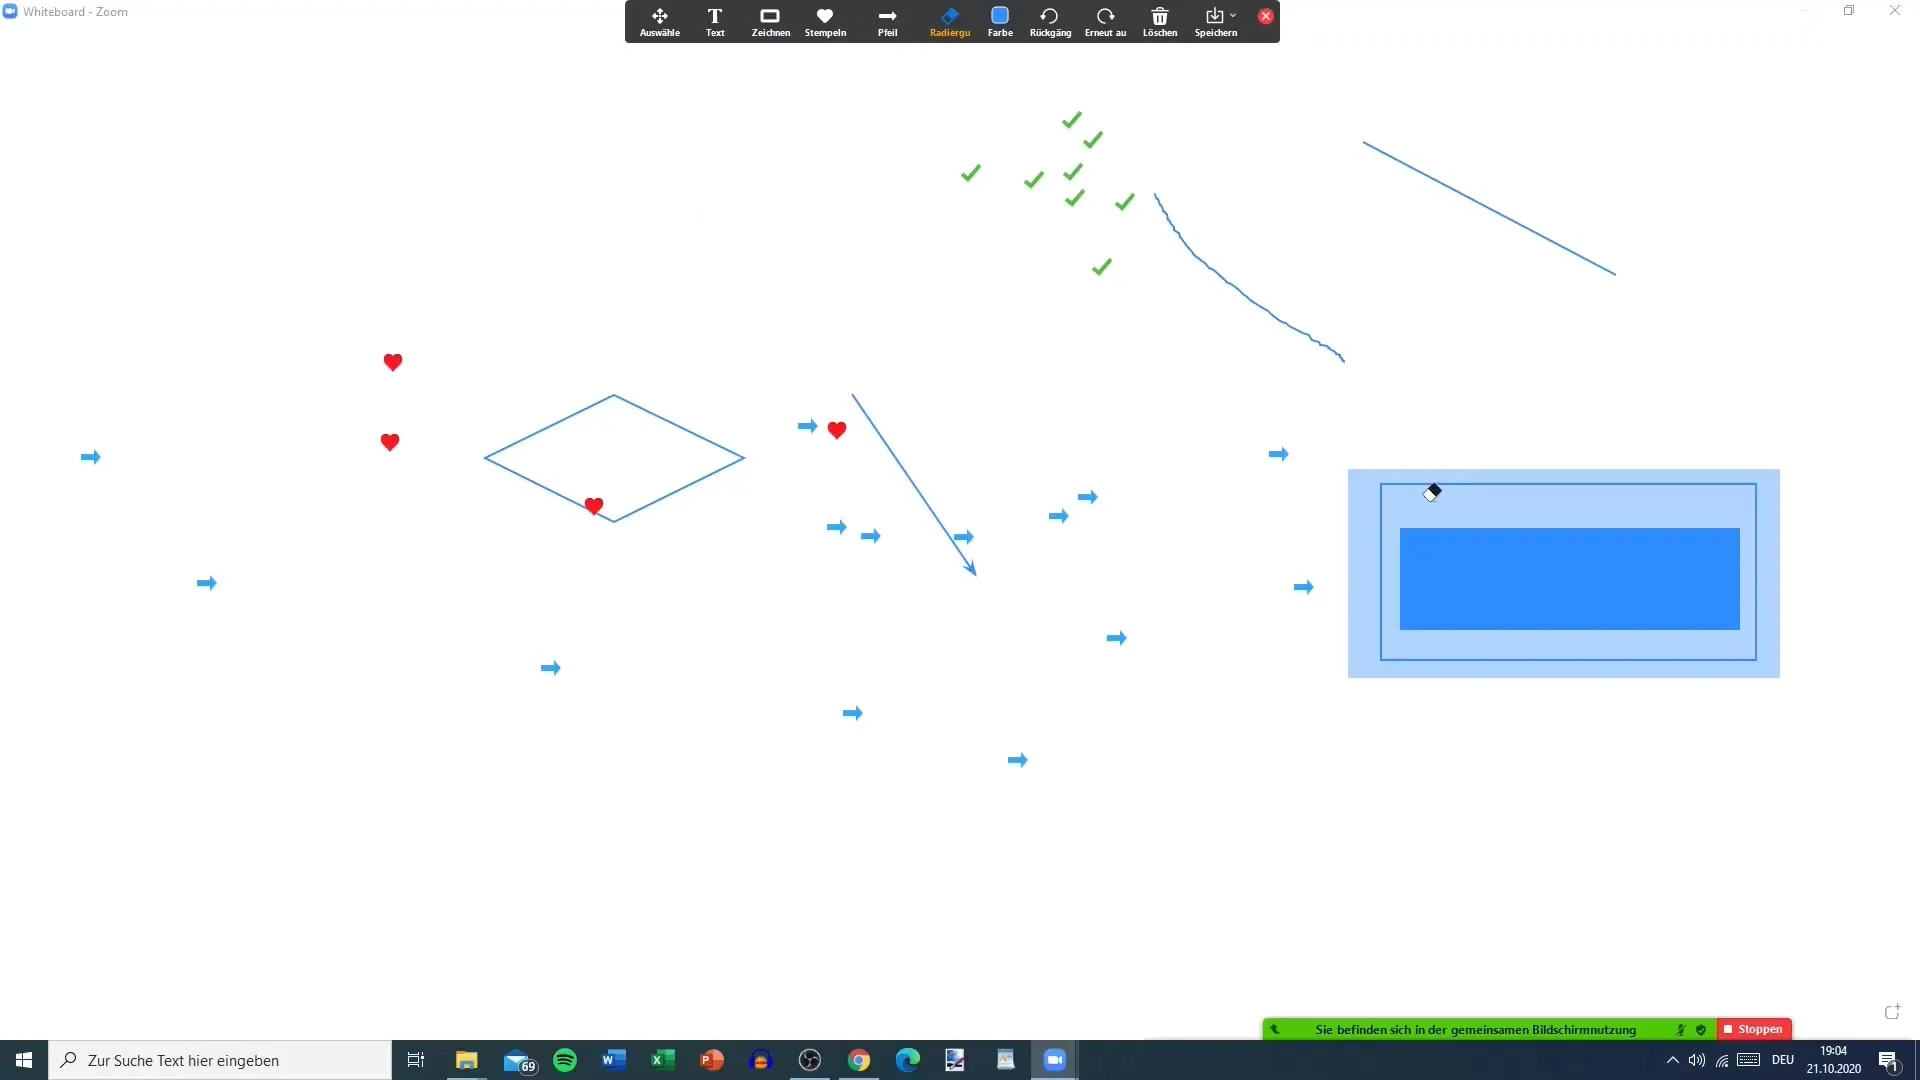
To correct mistakes or erase content, you can use the eraser. Simply hover over the unwanted objects, and they will disappear. The eraser is a quick and effective tool to keep the Whiteboard clean.
Step 6: Undo and Redo
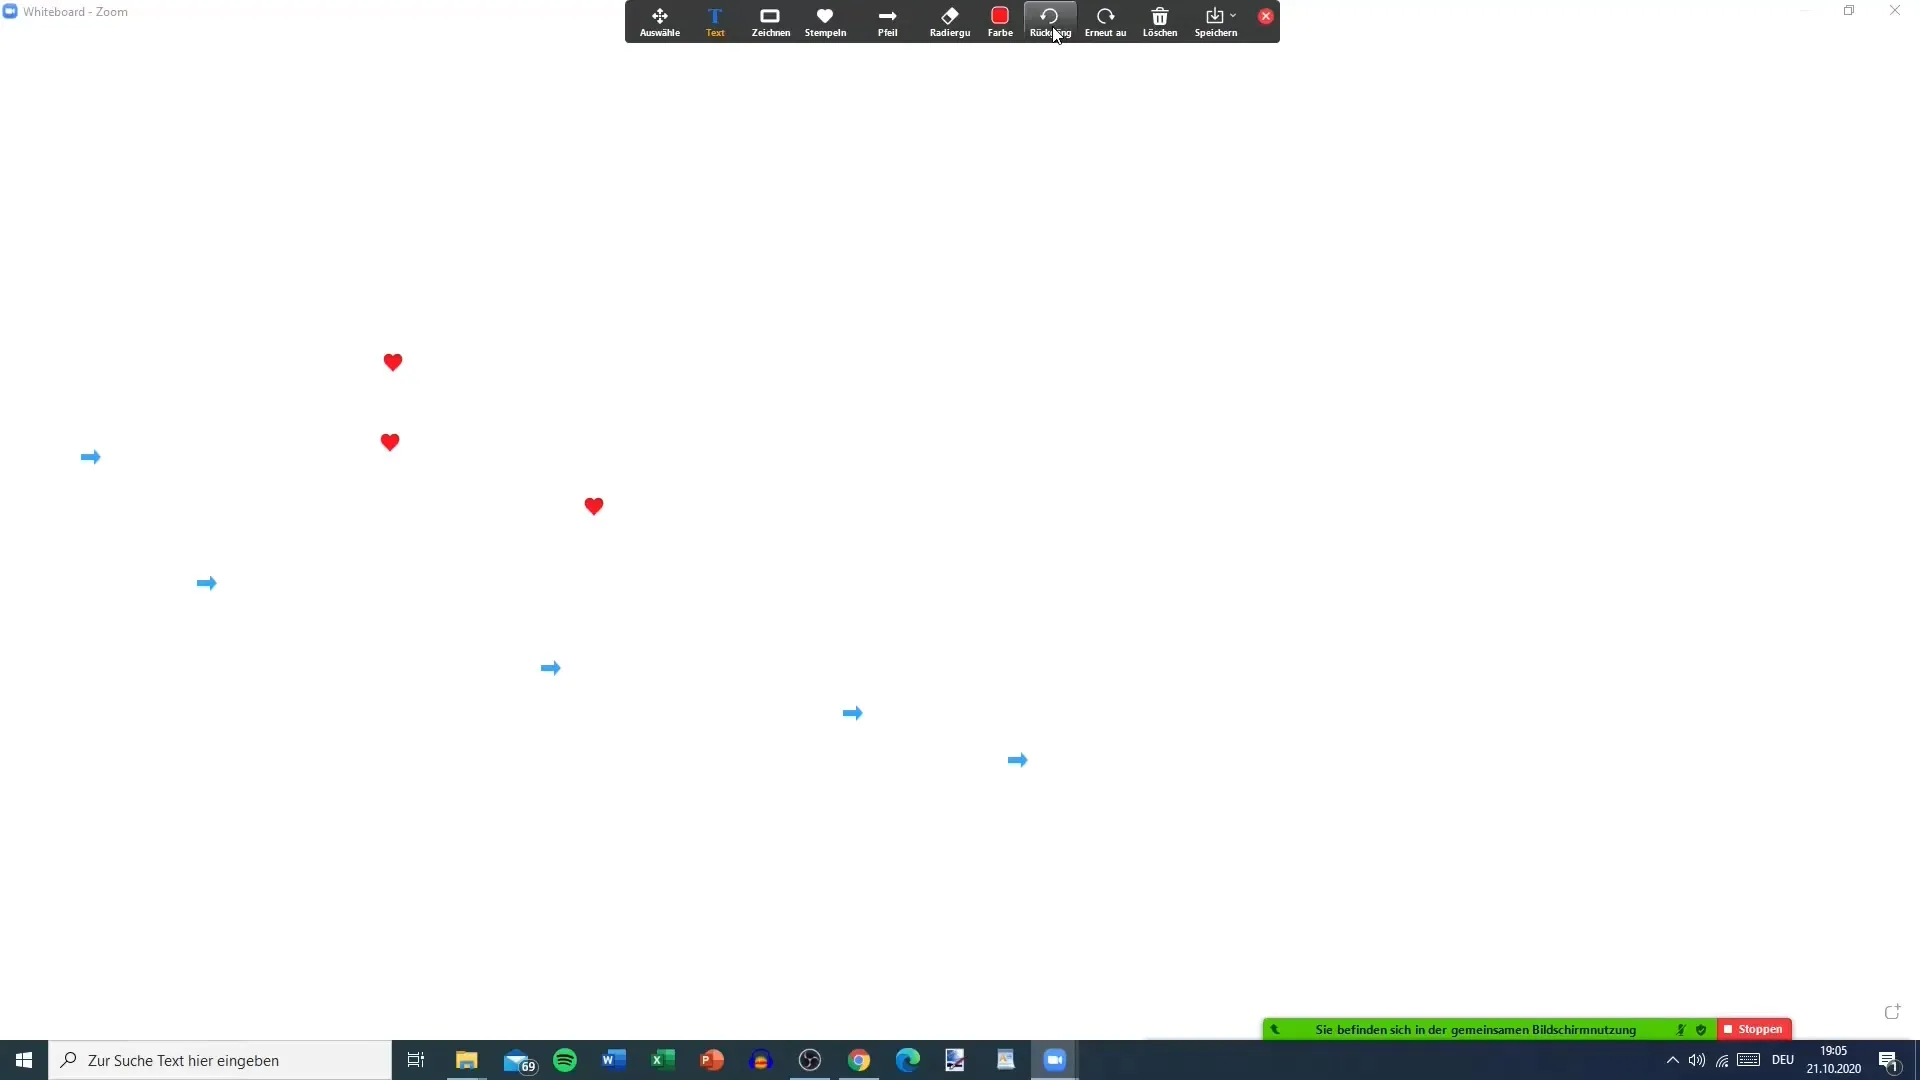
Made a mistake? Then you can use the undo function. Click "Undo" to reverse your last action, or "Redo" to redo it. These functions help you manage your changes easily.
Step 7: Saving Your Work
Once you are satisfied with the Whiteboard, you can save your work. Click "Save" to download the contents as a PNG file. The Whiteboard will be saved in your downloads, and you can easily find it later.

Step 8: Managing Participant Rights
If you are working with multiple people, you can set editing permissions. Go to the sharing options and choose whether participants can edit the Whiteboard or not. This is especially important to avoid unwanted entries.
Step 9: Making Participants Visible
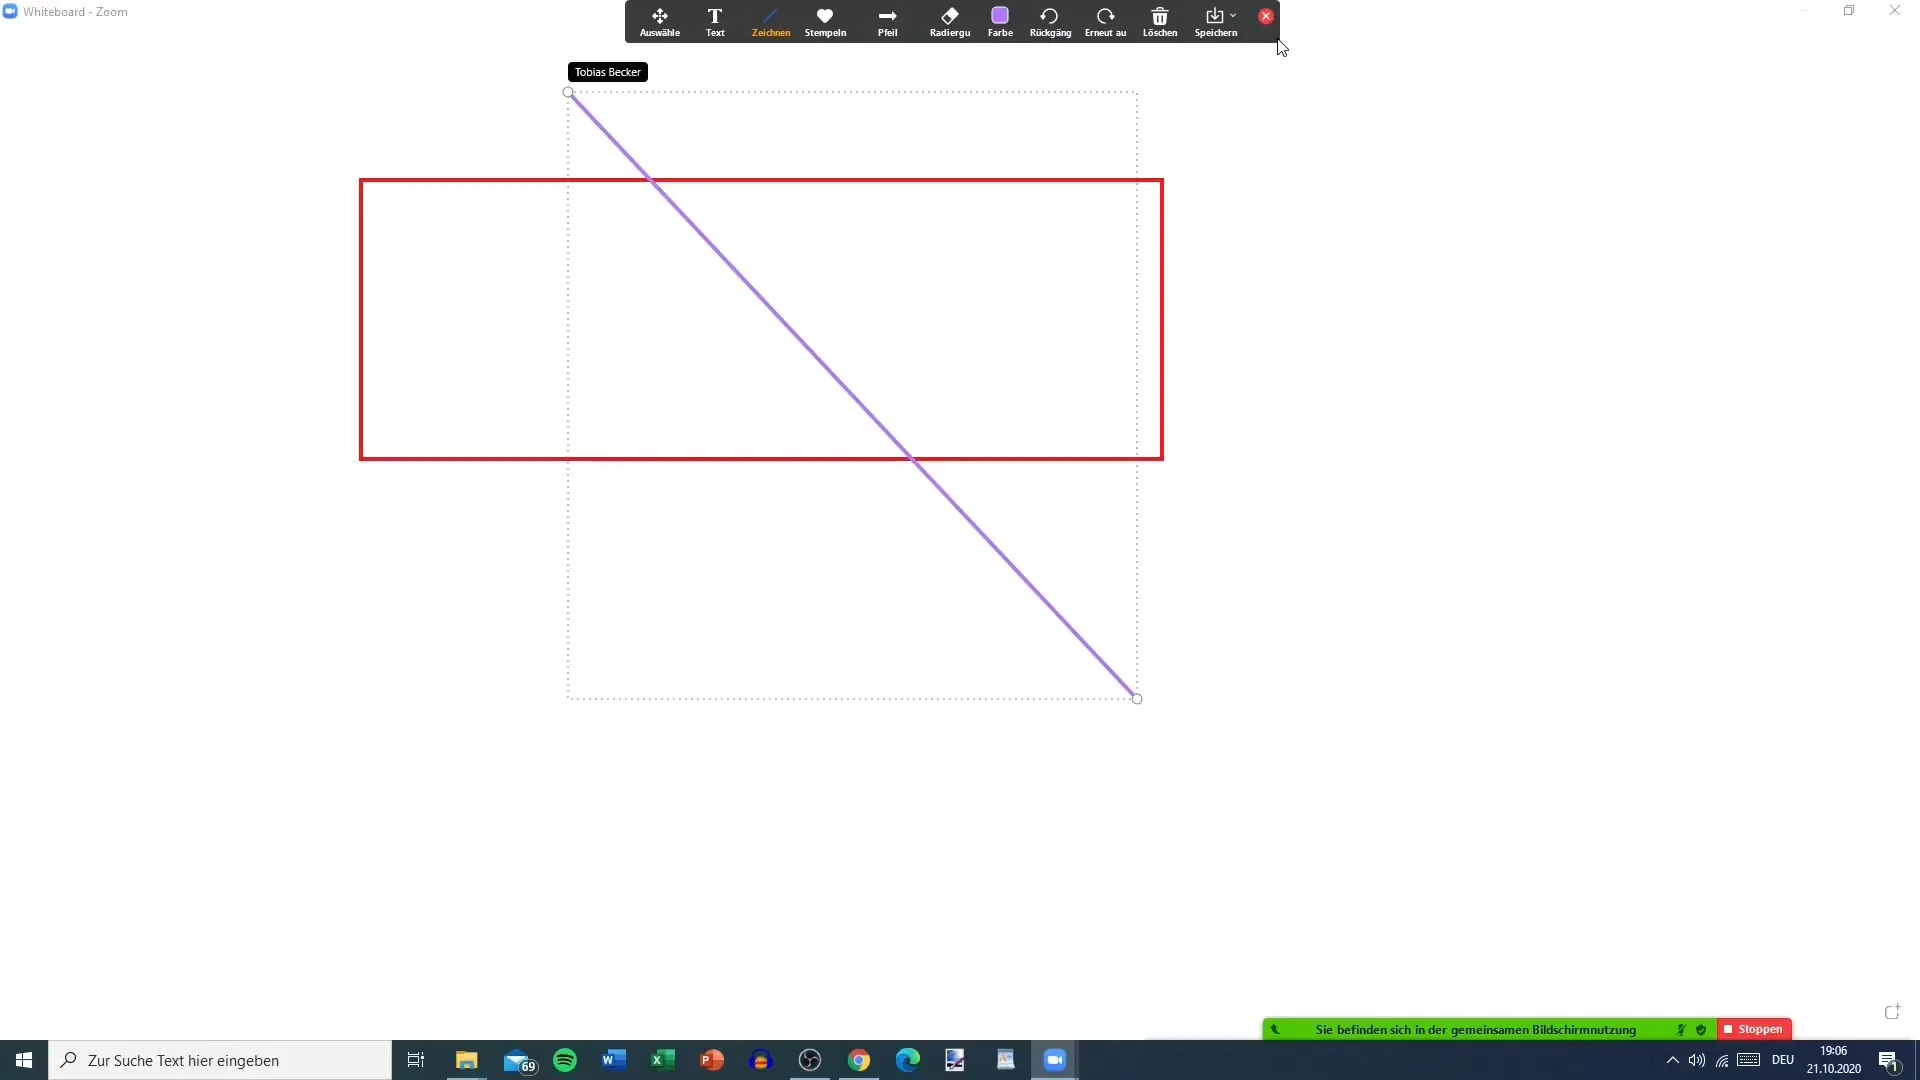
In group settings, you can set it up so that the names of the participants are displayed. This way, you can easily track who made what changes to the whiteboard. This feature is helpful in educational situations to make each individual's contribution visible.
Step 10: Disabling annotations
If you wish to disable participants from editing the whiteboard during the presentation, you can do so easily. Choose the option "Disable annotations." This will prevent unauthorized changes while you present your points.
Step 11: Enabling subtitles
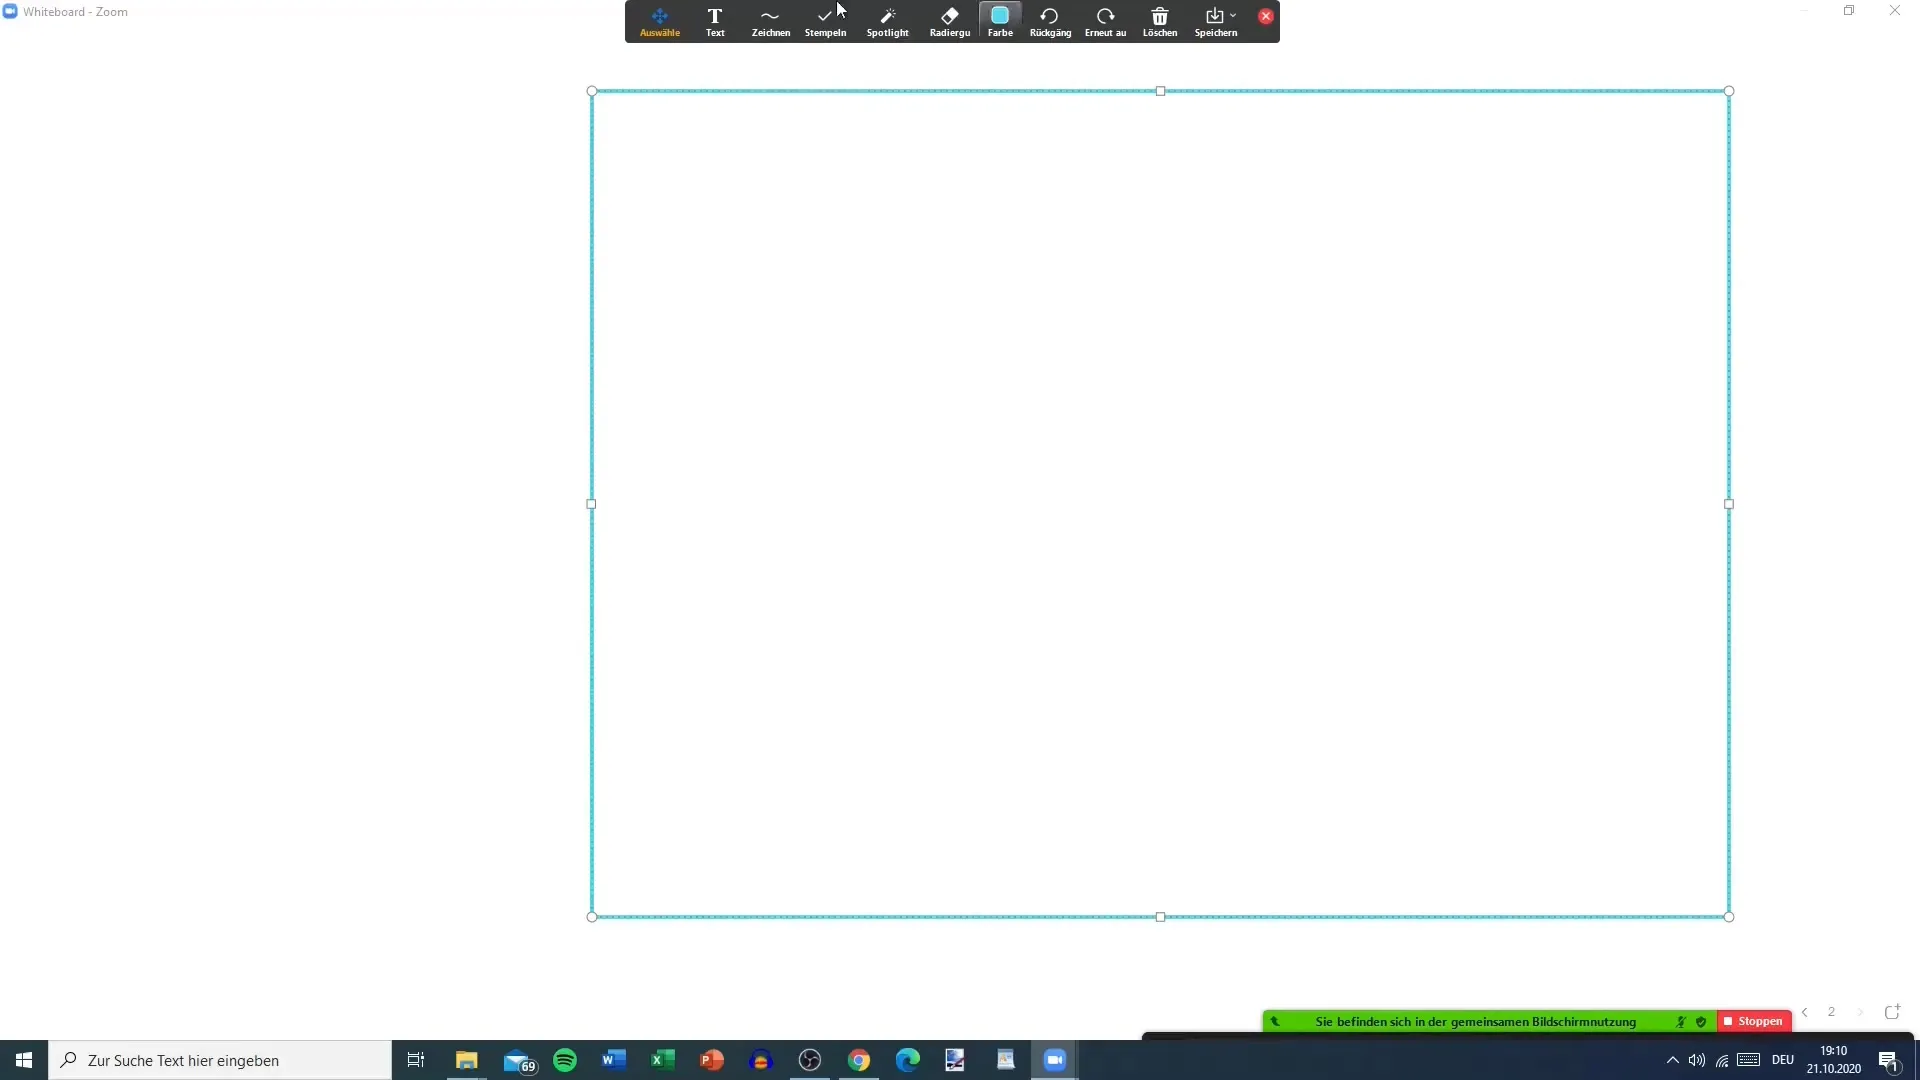
Optionally, you can enable subtitles to enhance the whiteboard experience. These are particularly useful when you are speaking and desire clear communication. You can turn this function on or off as needed.
Step 12: Conclusion and Outlook
After ending your session, remember to save the whiteboard and export your content. In the next tutorial, you will learn how to effectively utilize breakout rooms in Zoom. Stay tuned for more exciting features!
Summary
In this tutorial, you have learned about the whiteboard in Zoom and how to make optimal use of the tool to make your meetings more interactive and productive. You have learned how to draw, add text, adjust colors, and manage permissions for participants. Additionally, you have learned important functions such as saving content and managing the visibility of names. We hope that with this information, you can use the whiteboard in your future meetings!
Frequently Asked Questions
How can I open the whiteboard in Zoom?In a Zoom meeting, go to screen sharing and select "Whiteboard."
Can every participant edit the whiteboard?It depends on the permissions set. The host can decide whether participants can draw or not.
In what format can I save my whiteboard?You can save the whiteboard as a PNG image, and a PDF option is also available.
What can I do if I made a mistake while drawing?Use the "Undo" function to undo your last action.
Do other participants see my name on the whiteboard?Yes, your name is displayed when you make changes, unless you deactivate this option.


