Virtual backgrounds are a great way to give your video call a professional or personal touch. They allow you to hide your physical background and instead display an image or graphic. In this tutorial, I will show you how to use virtual backgrounds in Zoom and what you should pay attention to.
Key insights
- Virtual backgrounds require suitable lighting and ideally a green screen.
- You can choose different backgrounds or add your own images.
- Microsoft Teams offers better features for virtual backgrounds compared to Zoom.
Step-by-step guide
Step 1: Enable Audio and Video
Before working with virtual backgrounds, make sure your audio and video are enabled. Click on the microphone and video camera buttons. If they are highlighted in green, you are ready.

Step 2: Access Virtual Background Menu
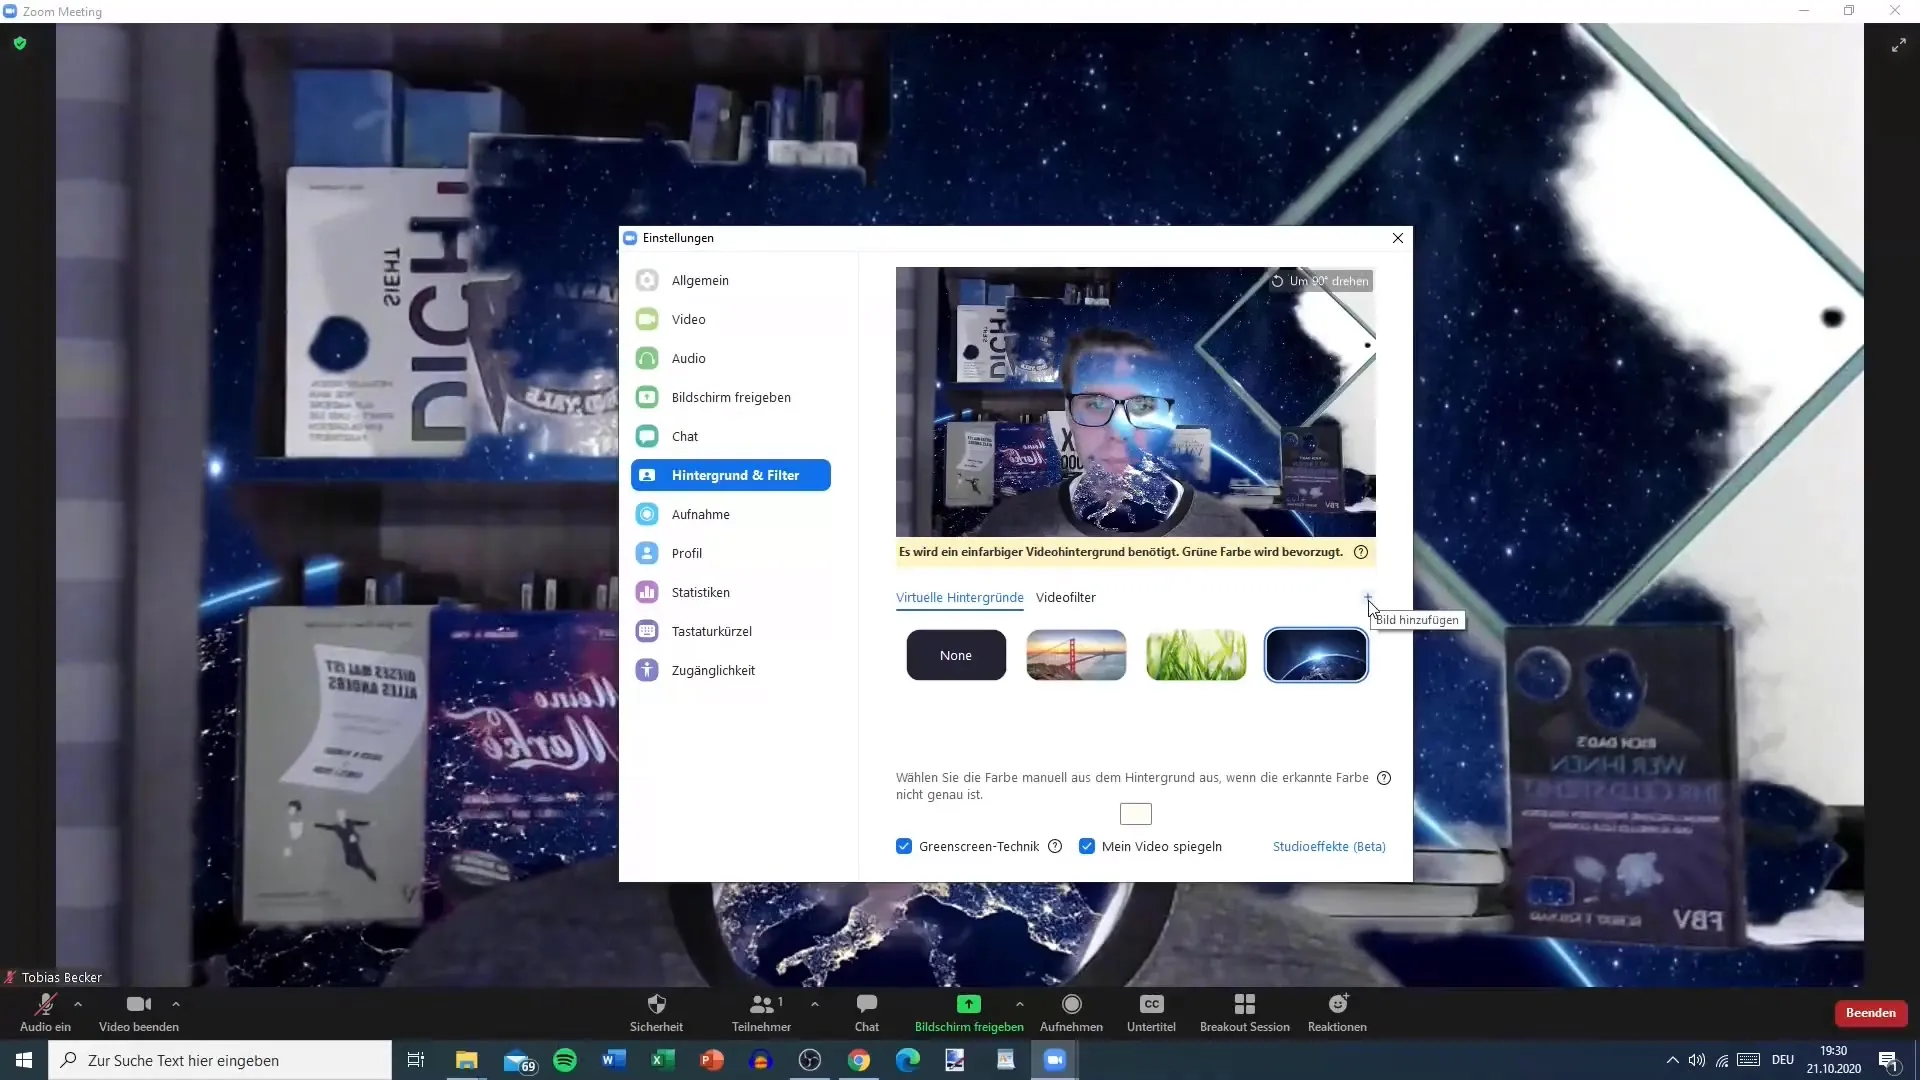
To choose virtual backgrounds, go into the Zoom meeting and click on the small arrow next to "Start Video". Here you will have the option to open the settings for virtual background.

Step 3: Select Background
In the settings window, you will see various pre-installed virtual backgrounds. You can browse through the options and choose a background that you like.

Step 4: Understand Background Functions
It is important to note that the quality of virtual backgrounds depends greatly on your environment. Better results can be achieved with a green screen. In poor lighting or without a green screen, the background may appear unclear and you will be less satisfied.
Step 5: Add Your Own Images
You also have the option to use your own images as backgrounds. Click on "Add Image" and search your computer for a suitable image. This can range from a simple photo to professional presentations.

Step 6: Make Further Adjustments
After choosing or adding your background, you can adjust additional options such as mirroring the image or rotating your background by 90 degrees to achieve the desired effect.
Step 7: Use Video Filters
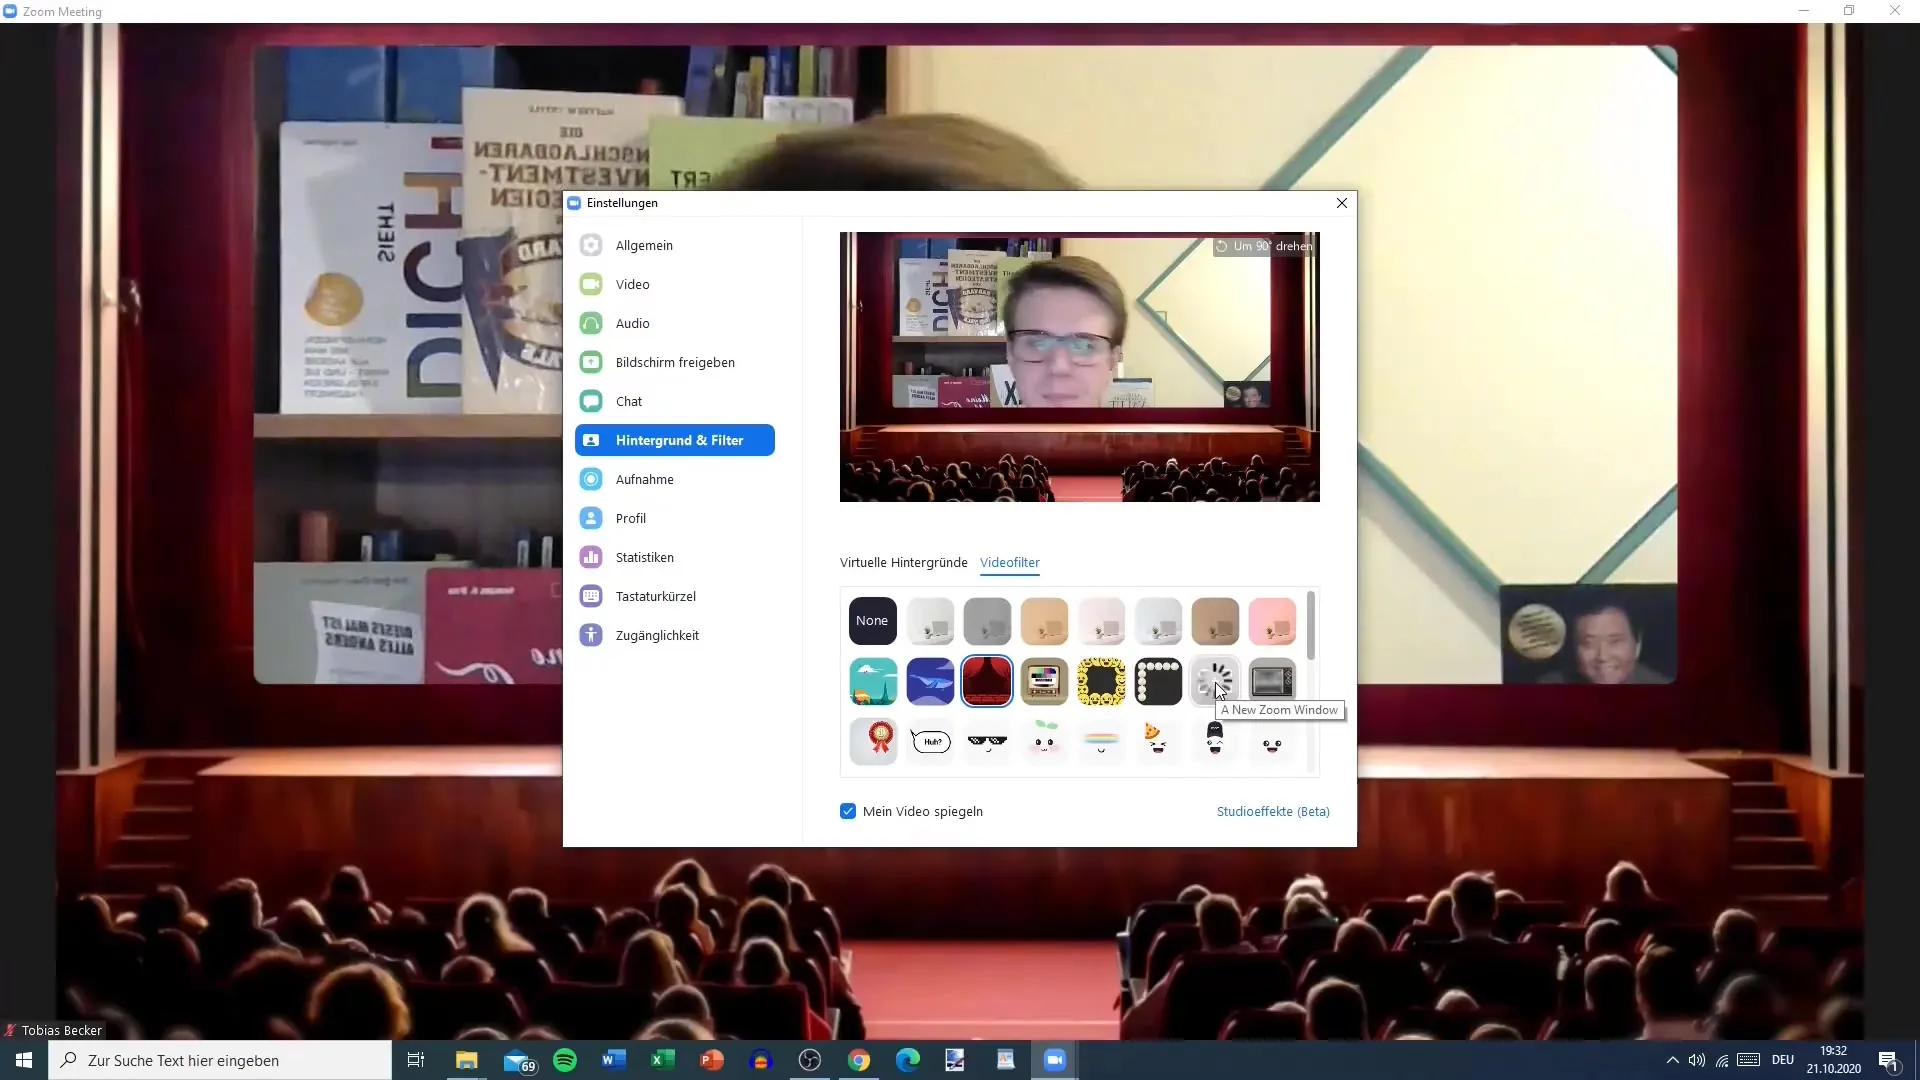
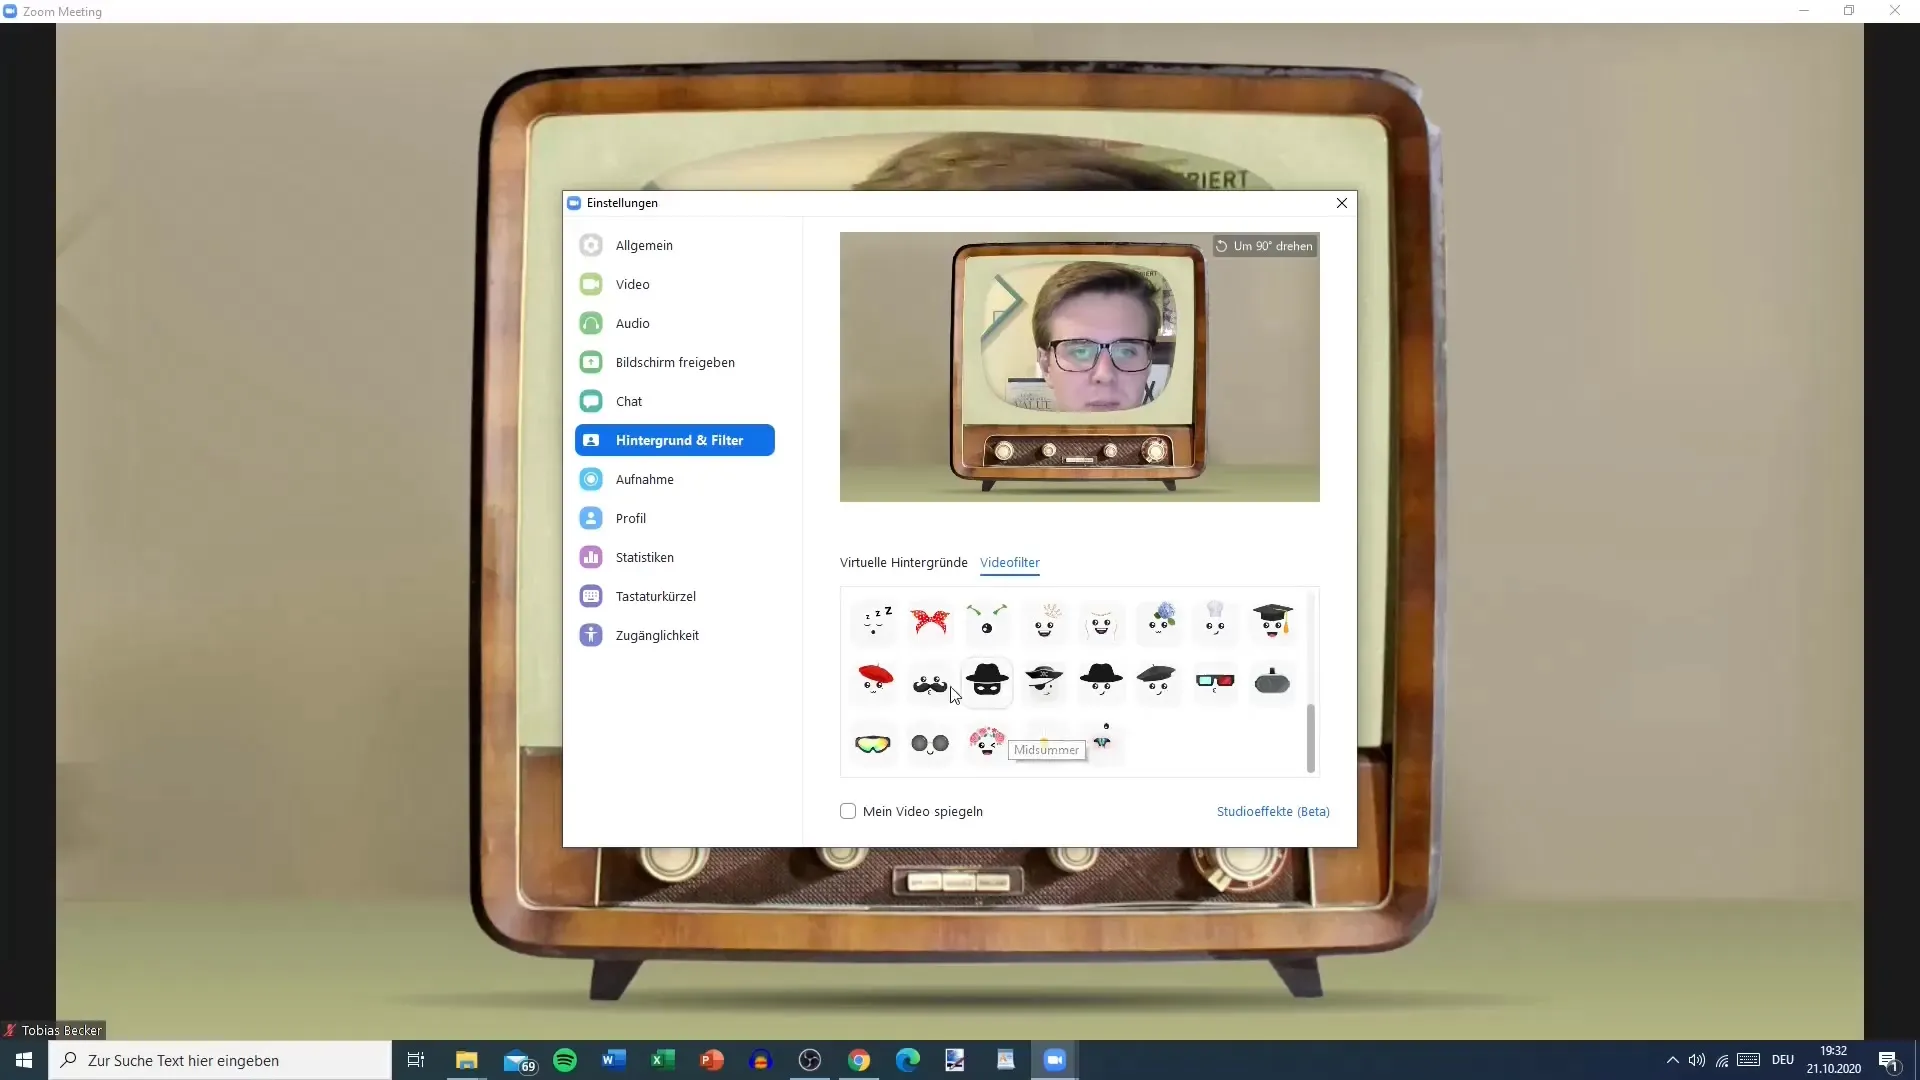
Zoom also offers the option to use video filters. Here you can get creative and add a fun touch to your video. You can choose filters like classic effects or thematic backgrounds.
Step 8: Download Camera Tool
For enhanced use, you can download Zoom's Camera Tool, which provides additional features and filters. This may take some time, but it's worth it to improve the presentation of your videos.

Step 9: Explore Options in Other Tools
If you place a high value on virtual backgrounds, it may be worthwhile to try out other platforms like Microsoft Teams or Skype. These platforms may offer better options, especially if you do not have a green screen.

Step 10: Feedback and Questions
If you have any questions or uncertainties, do not hesitate to post in the Questions and Answers section. I am ready to address your concerns.
Summary
In this guide, you have learned how to use virtual backgrounds in Zoom, what requirements are important, and what tips can help you make the most of your video calls.
Frequently Asked Questions
How do I choose a virtual background in Zoom?Click on the small arrow next to "Start video" and select the desired background in the settings window.
Do I need a greenscreen for perfect results?Yes, a greenscreen enables clearer and more professional virtual backgrounds.
Can I use my own images as a background?Yes, you can add your own images by clicking on "Add image".
Are there better alternatives to Zoom for virtual backgrounds?Microsoft Teams generally offers better features for virtual backgrounds than Zoom.
Why is the installation of some functions slow?The installation may take longer as additional tools and software need to be downloaded.


