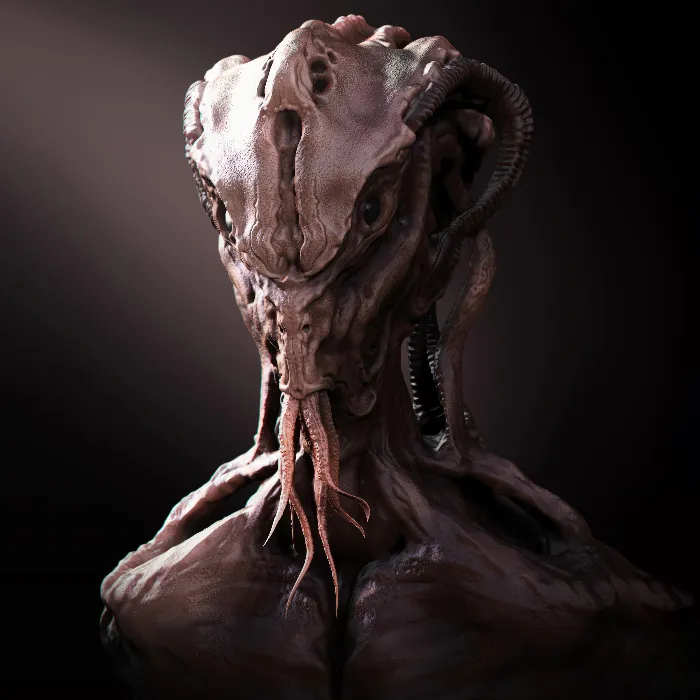
ZBrush is a powerful tool that allows you to bring your creative ideas to life using various basic objects known as Primitives. In this tutorial, you will learn how to utilize these Primitives to start effectively and quickly. The parametric basic objects not only provide you with a solid foundation but also allow for a variety of adjustments and deformations to shape your models according to your vision.
Main Insights
- Primitives are parametric basic objects that serve as the foundation for your models.
- Through initialization and deformation, you can transform simple objects into complex designs.
- You can edit Primitives in ZBrush along different axes to create realistic shapes.
Step-by-Step Guide
1. Opening ZBrush and Configuring Basic Settings
Begin by opening ZBrush and configuring your workspace. Ensure all interface elements are visible to not miss any functionalities during the modeling process.
2. Creating a Parametric Basic Object
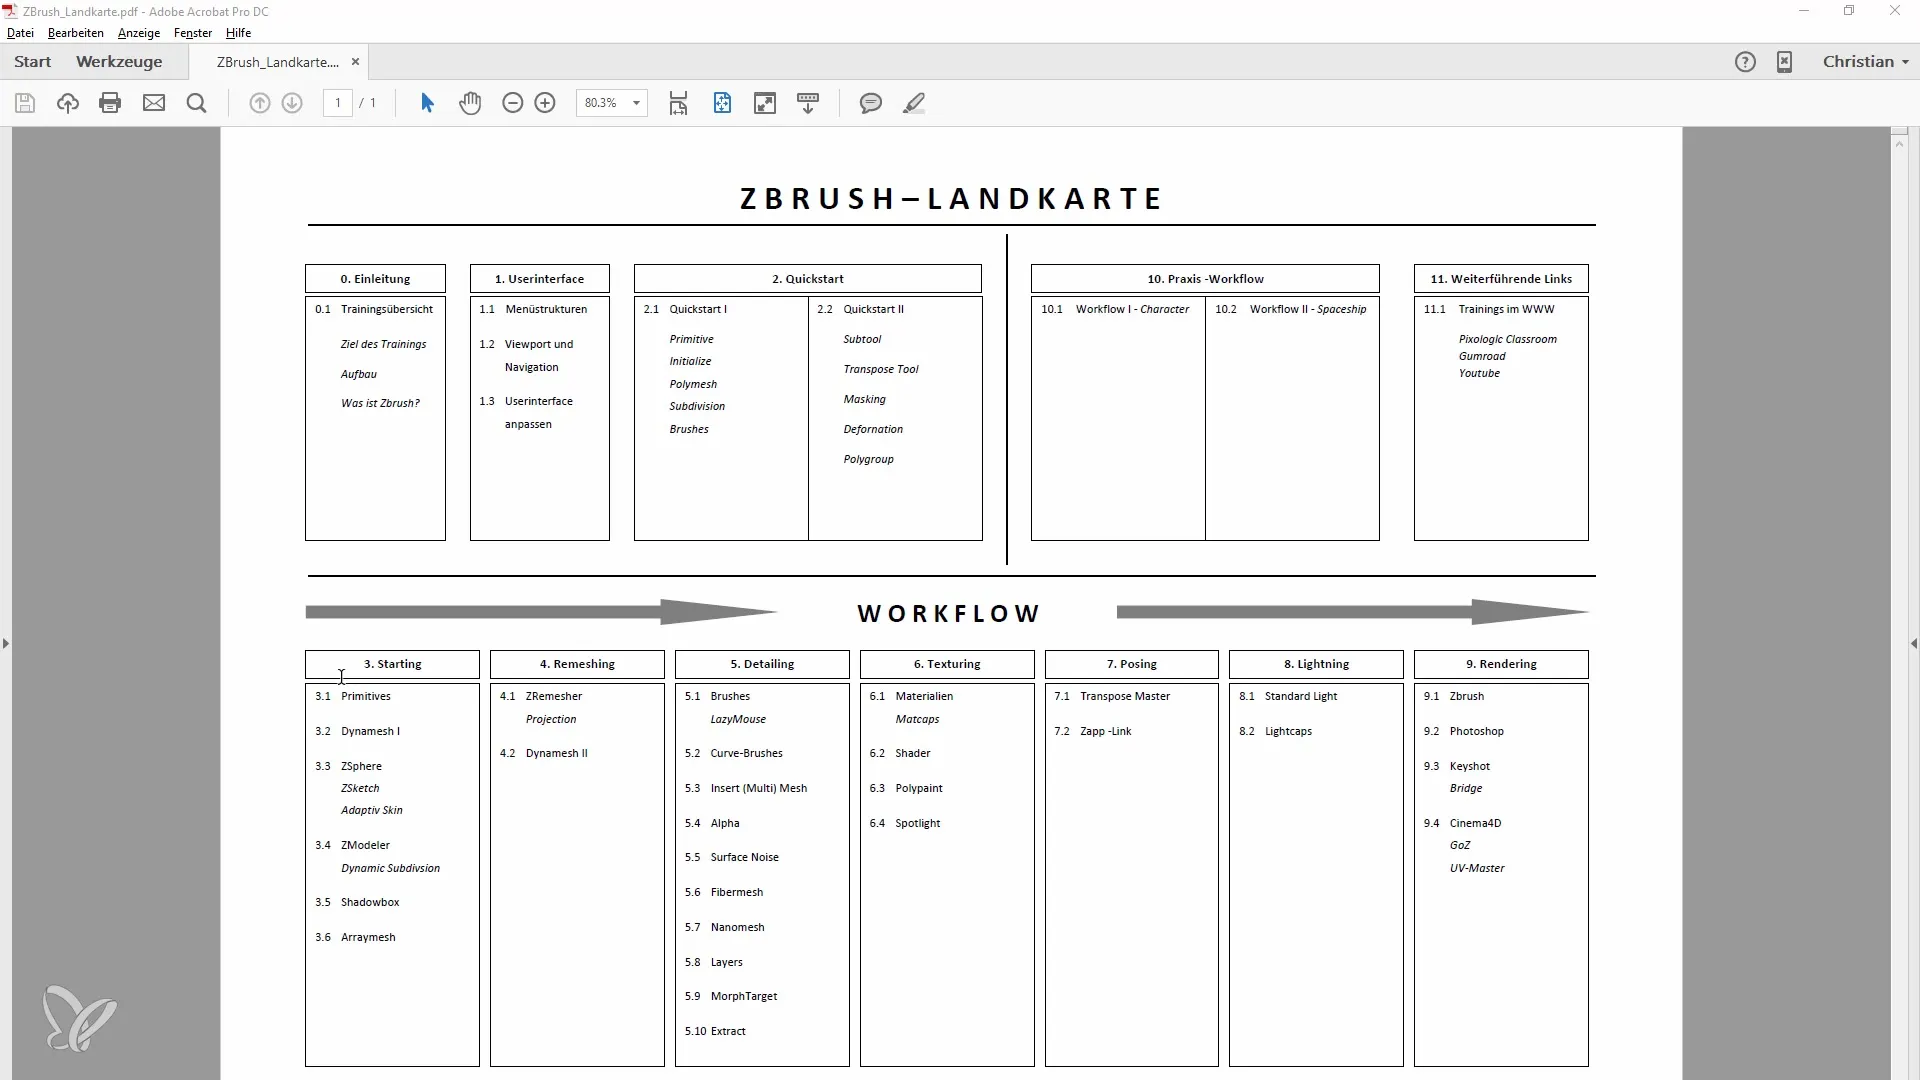
To start, drag a "3D Pillar" (arrow) onto your workspace. Click the "Edit" button to make the object editable.
3. Initializing the Object
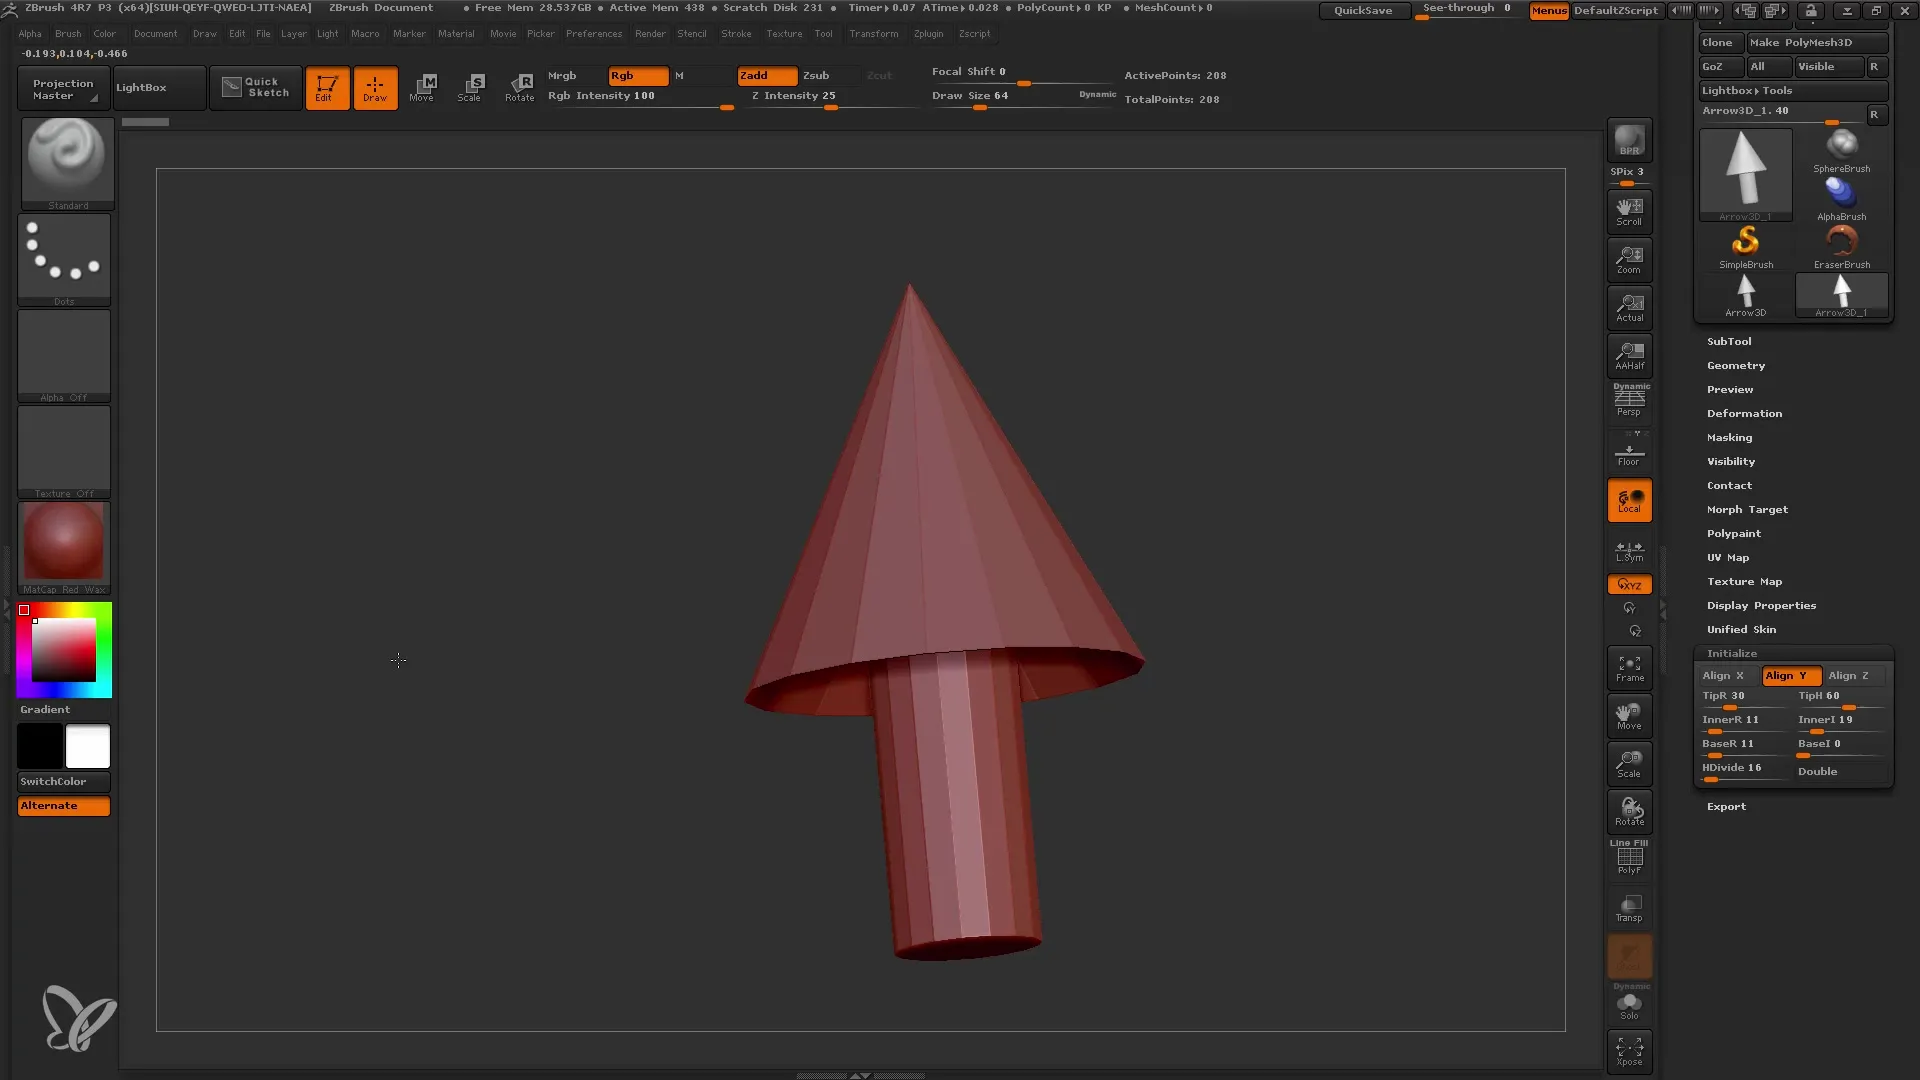
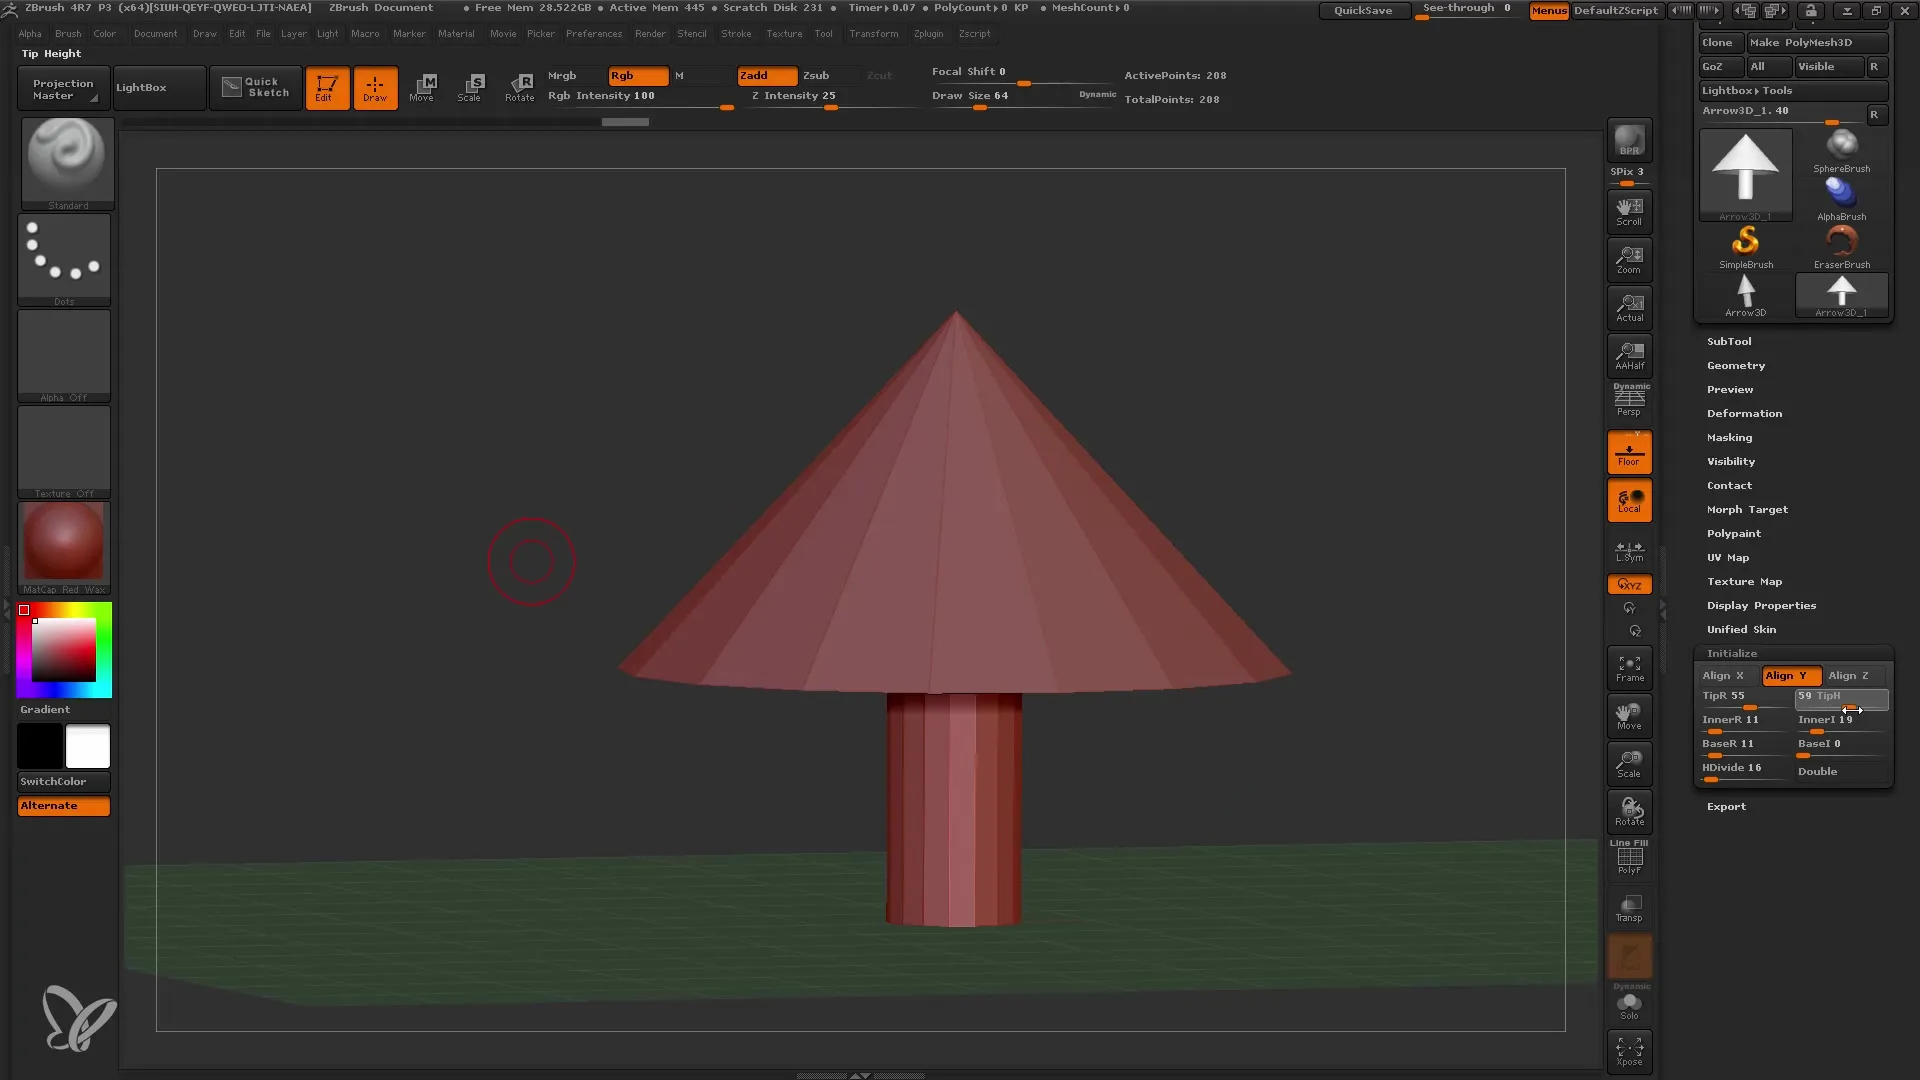
Go to the initialization menu where you can adjust all basic parameters of the object such as width and height. For example, I will adjust the radius of the arrow.
4. Customizing the Basic Shapes
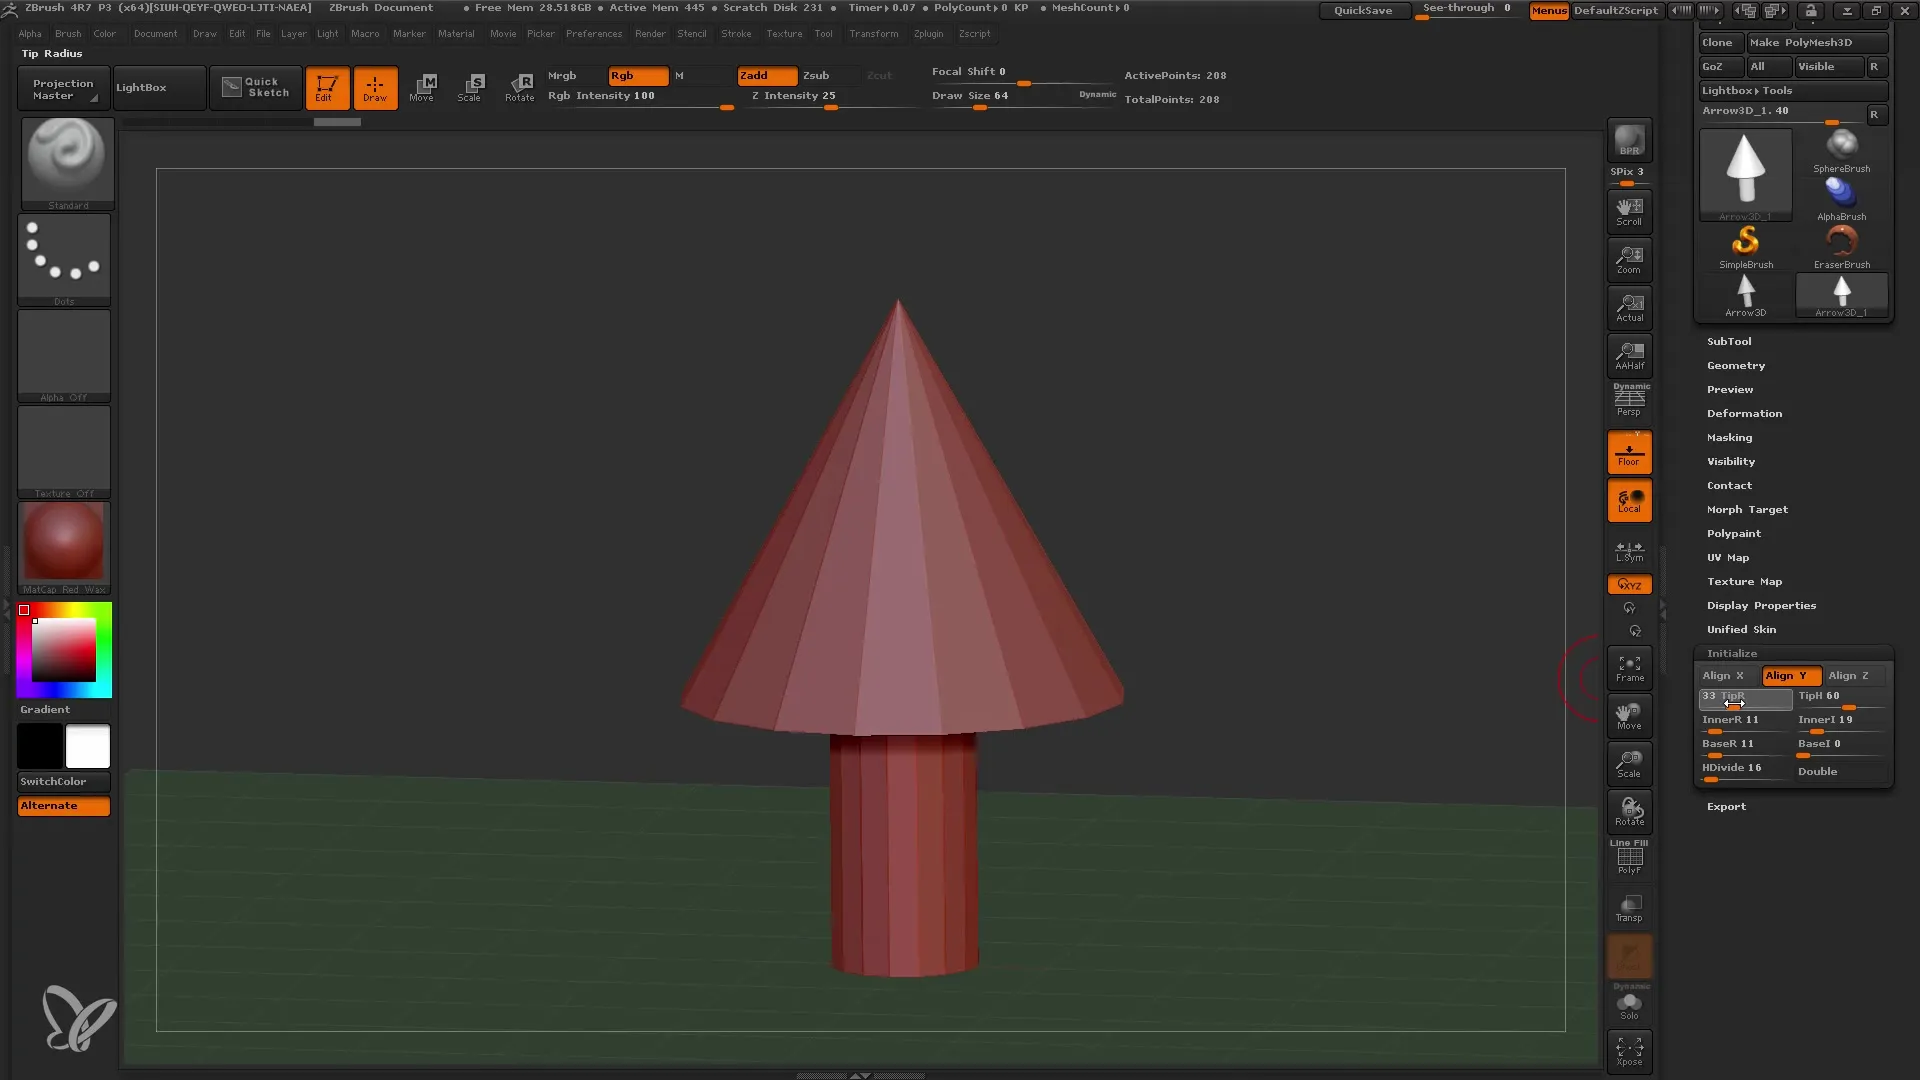
To shape the arrow, you can define and adjust the x, y, and z axes. Display the ground to make the changes visible and modify the vertical alignment of the object.
5. Fine-Tuning and Adding Additional Details
Change the values for radius and height simultaneously to make the arrow a more realistic model. This requires some experimentation, so do not hesitate to try different values.
6. Activating Polyframes
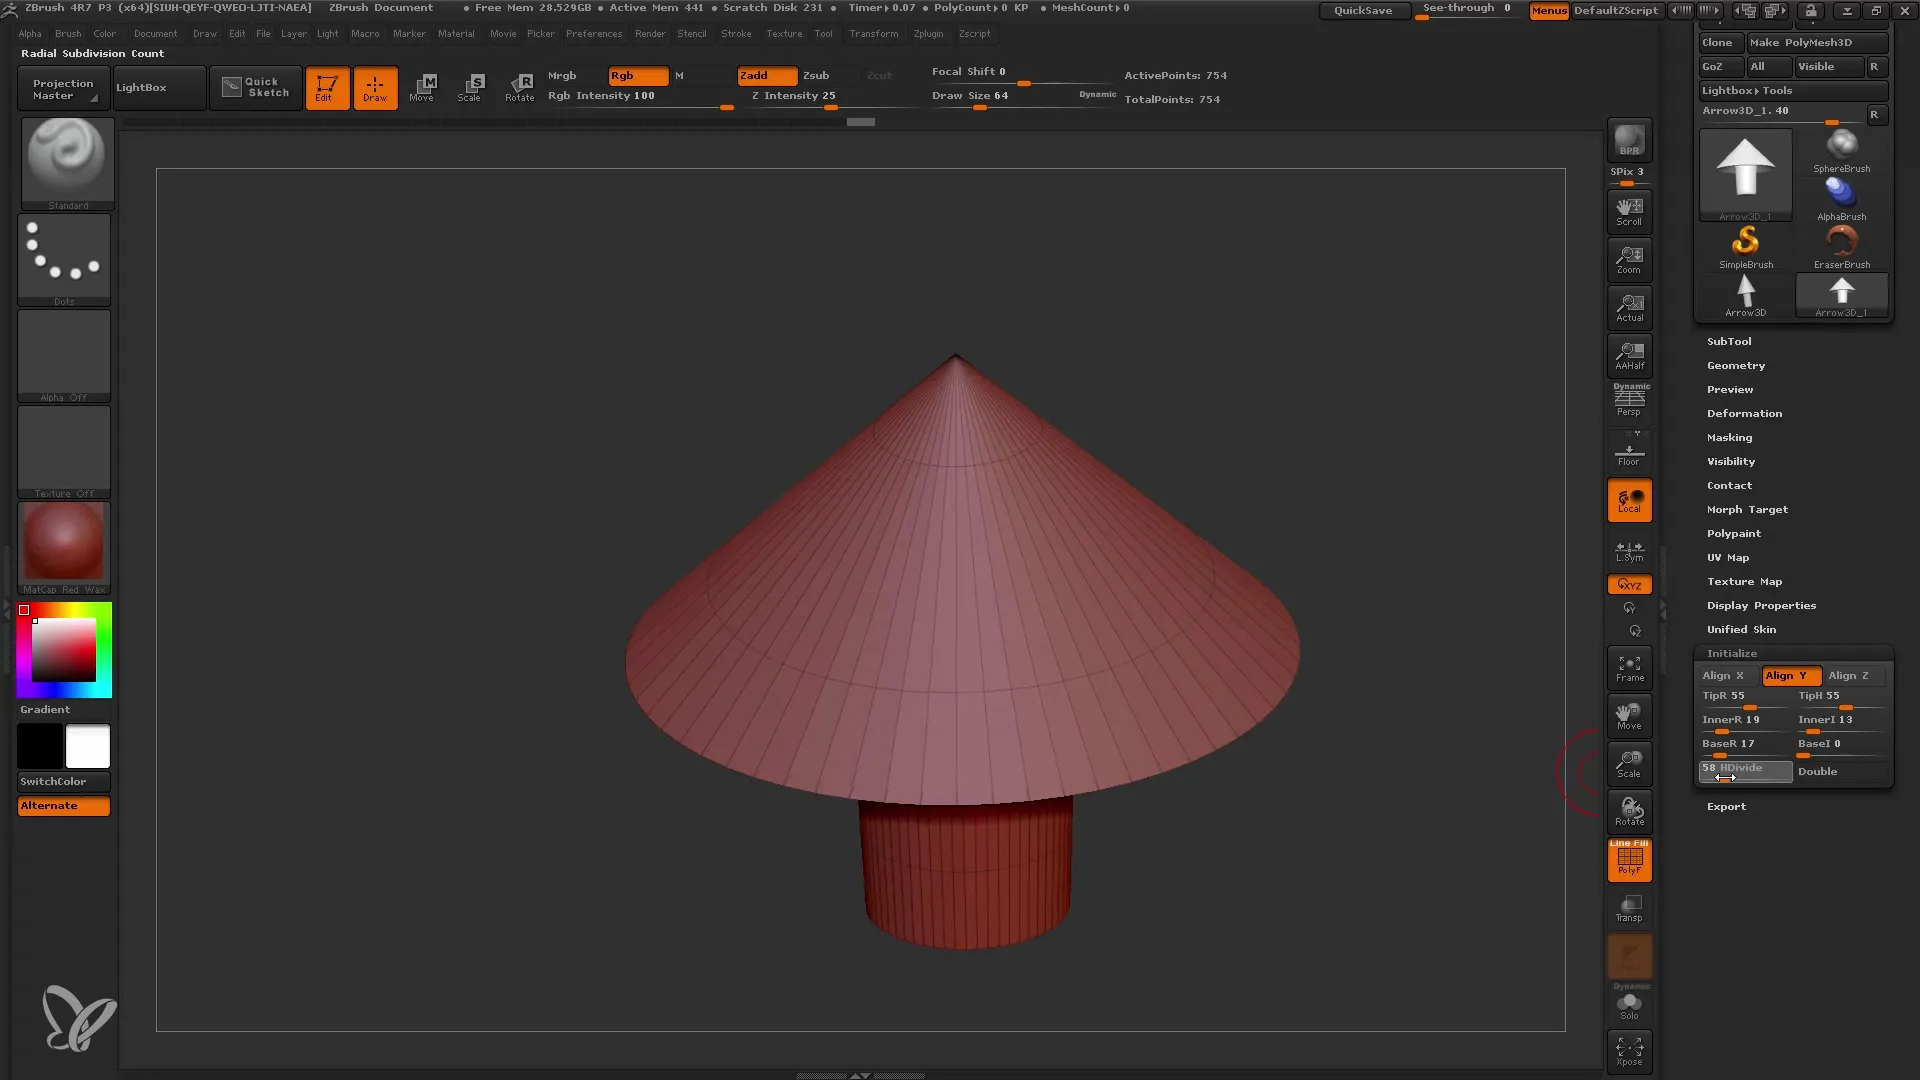
Activate the Polyframes to better visualize the structure of your model. This helps to check the subdivision of the model and adjust it if necessary.
7. Creating a Mushroom
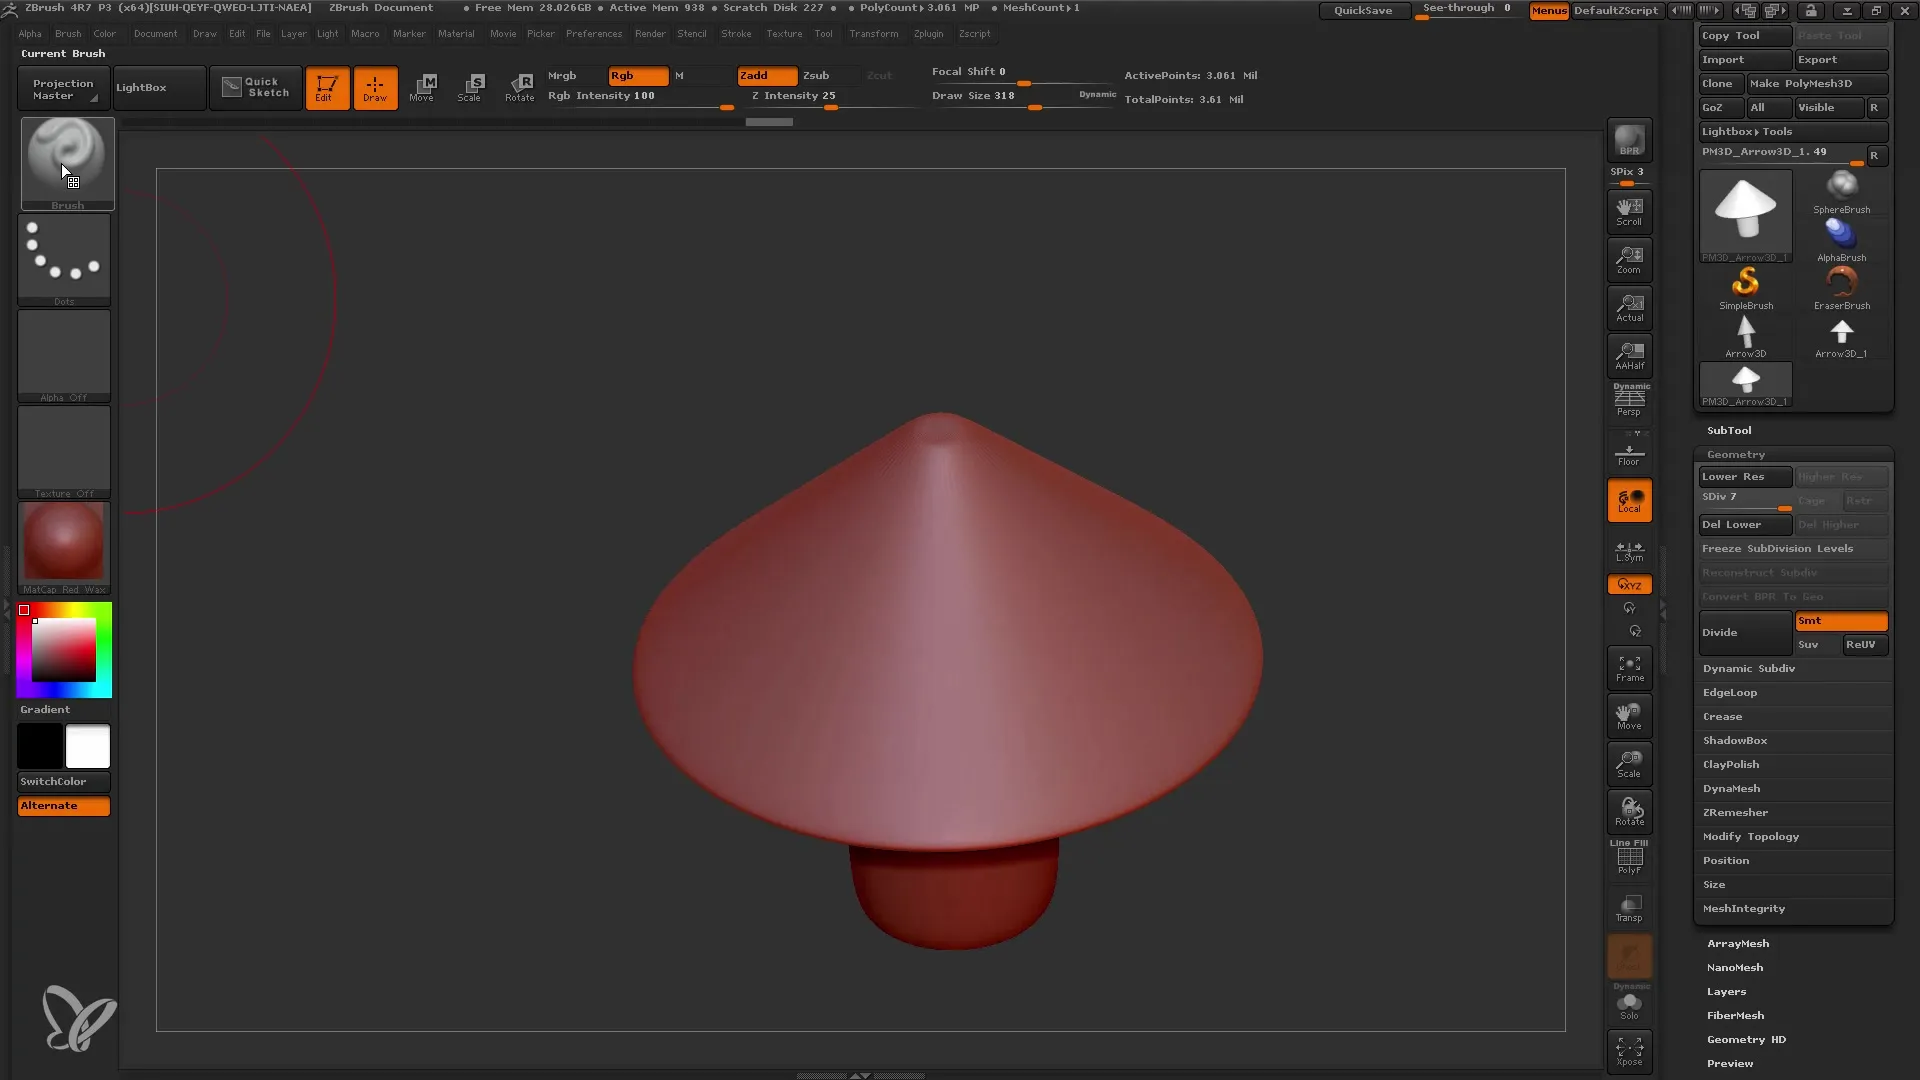
You can now transform the arrow into a mushroom. Utilize the available polygons and add details through deformations.
8. Using Brushes for Modeling
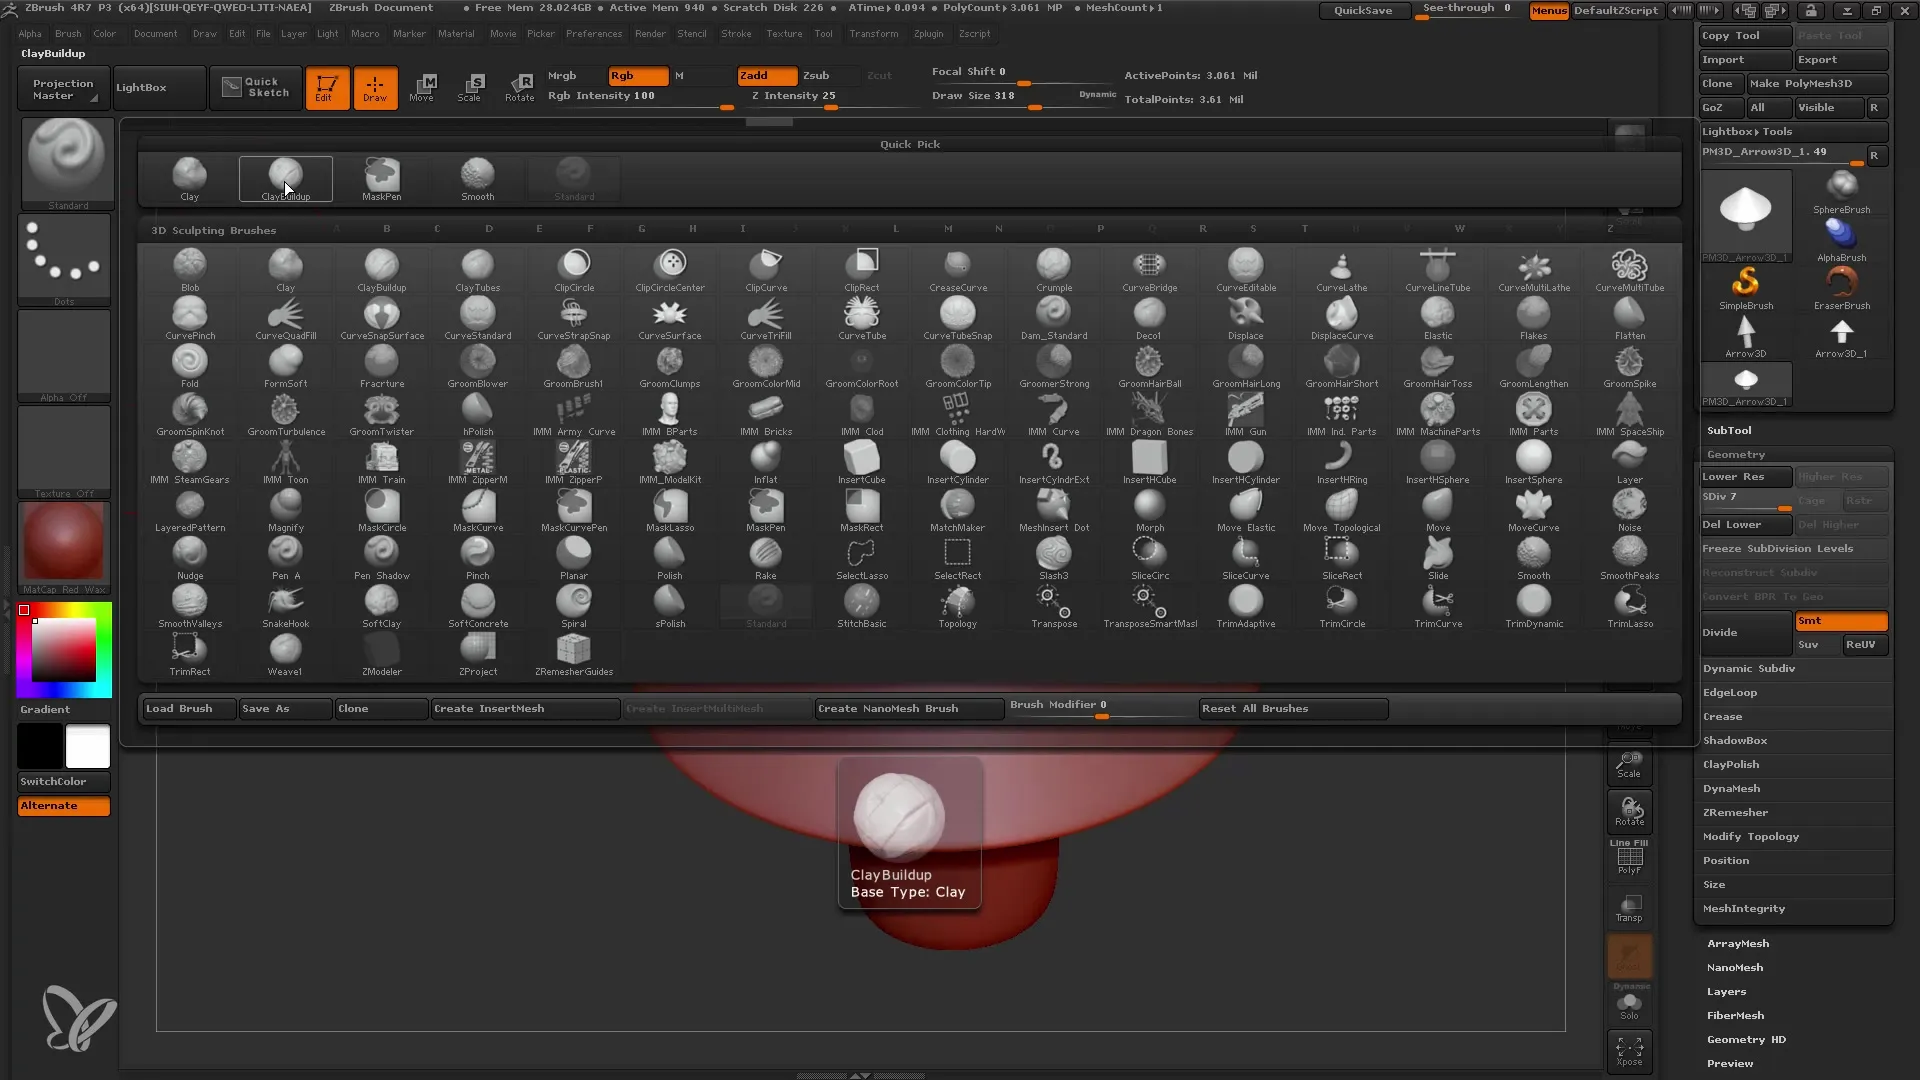
Use the Clay Brush to create a realistic surface on the mushroom. Remember to change the brush size to generate finer details.
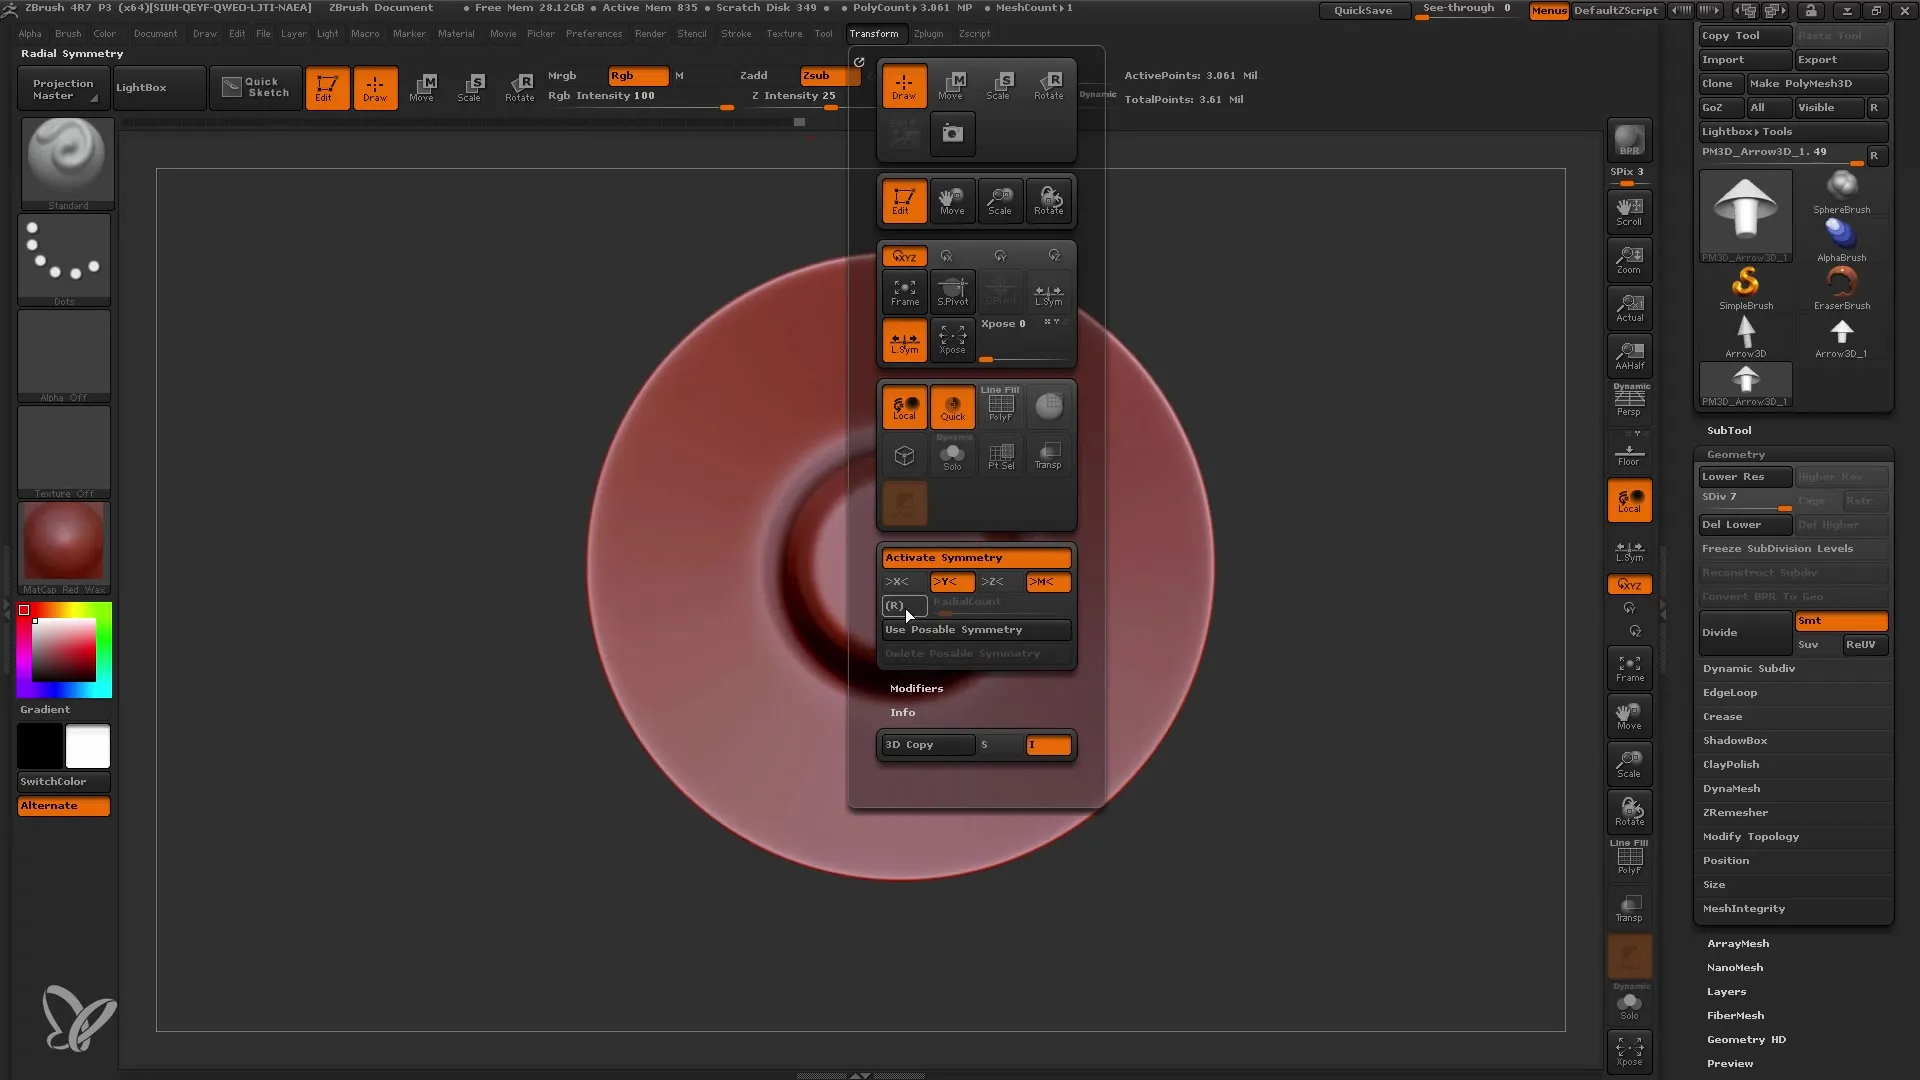
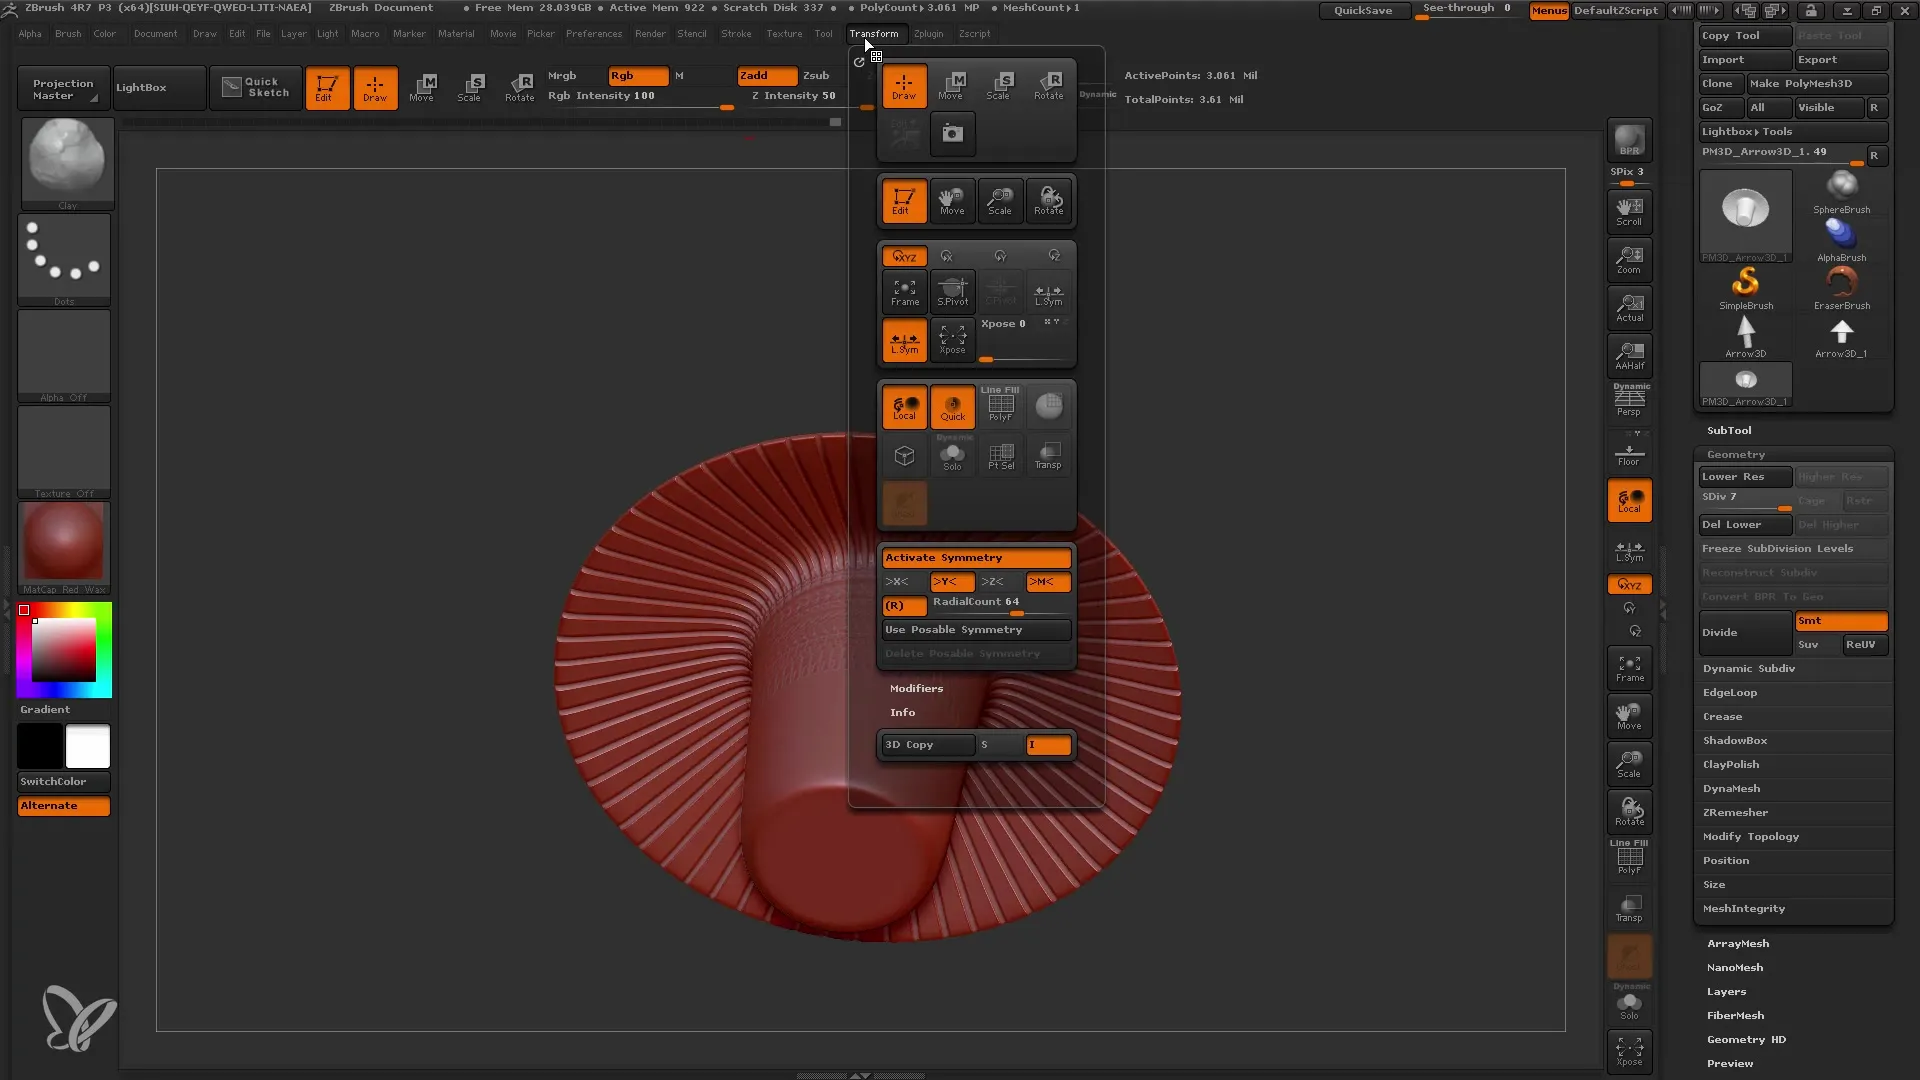
9. Applying Symmetry
Enable symmetry options to simplify the editing process. This allows you to work on the model from both sides simultaneously and achieve a more consistent shape.
10. Continuing with the Cylinder
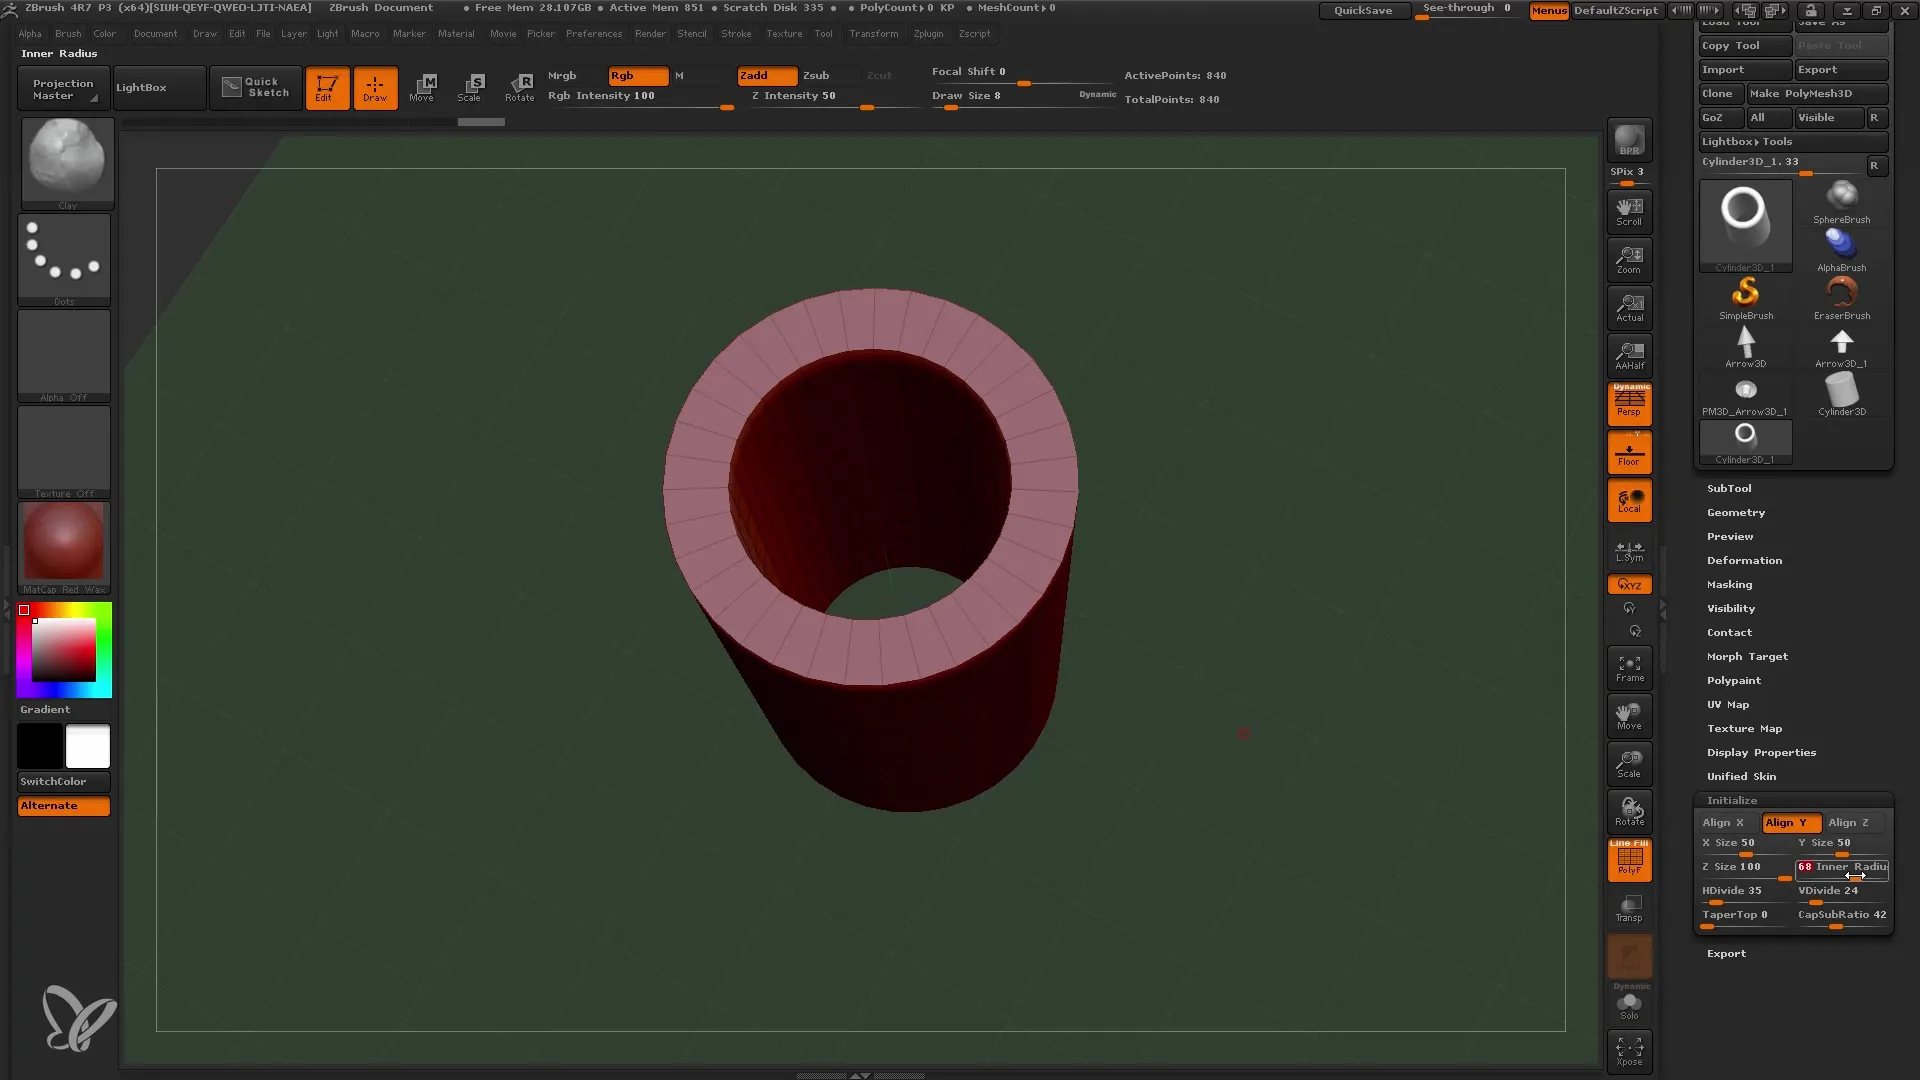
Start with a cylinder as a new primitive object. Initialize the object again and adjust the dimensions to create a tube.
11. Deforming the Cylinder
Change the inner radius of the cylinder to turn the shape into a tube. Experiment with heights and widths to find the ideal form.
12. Further editing of the polymesh
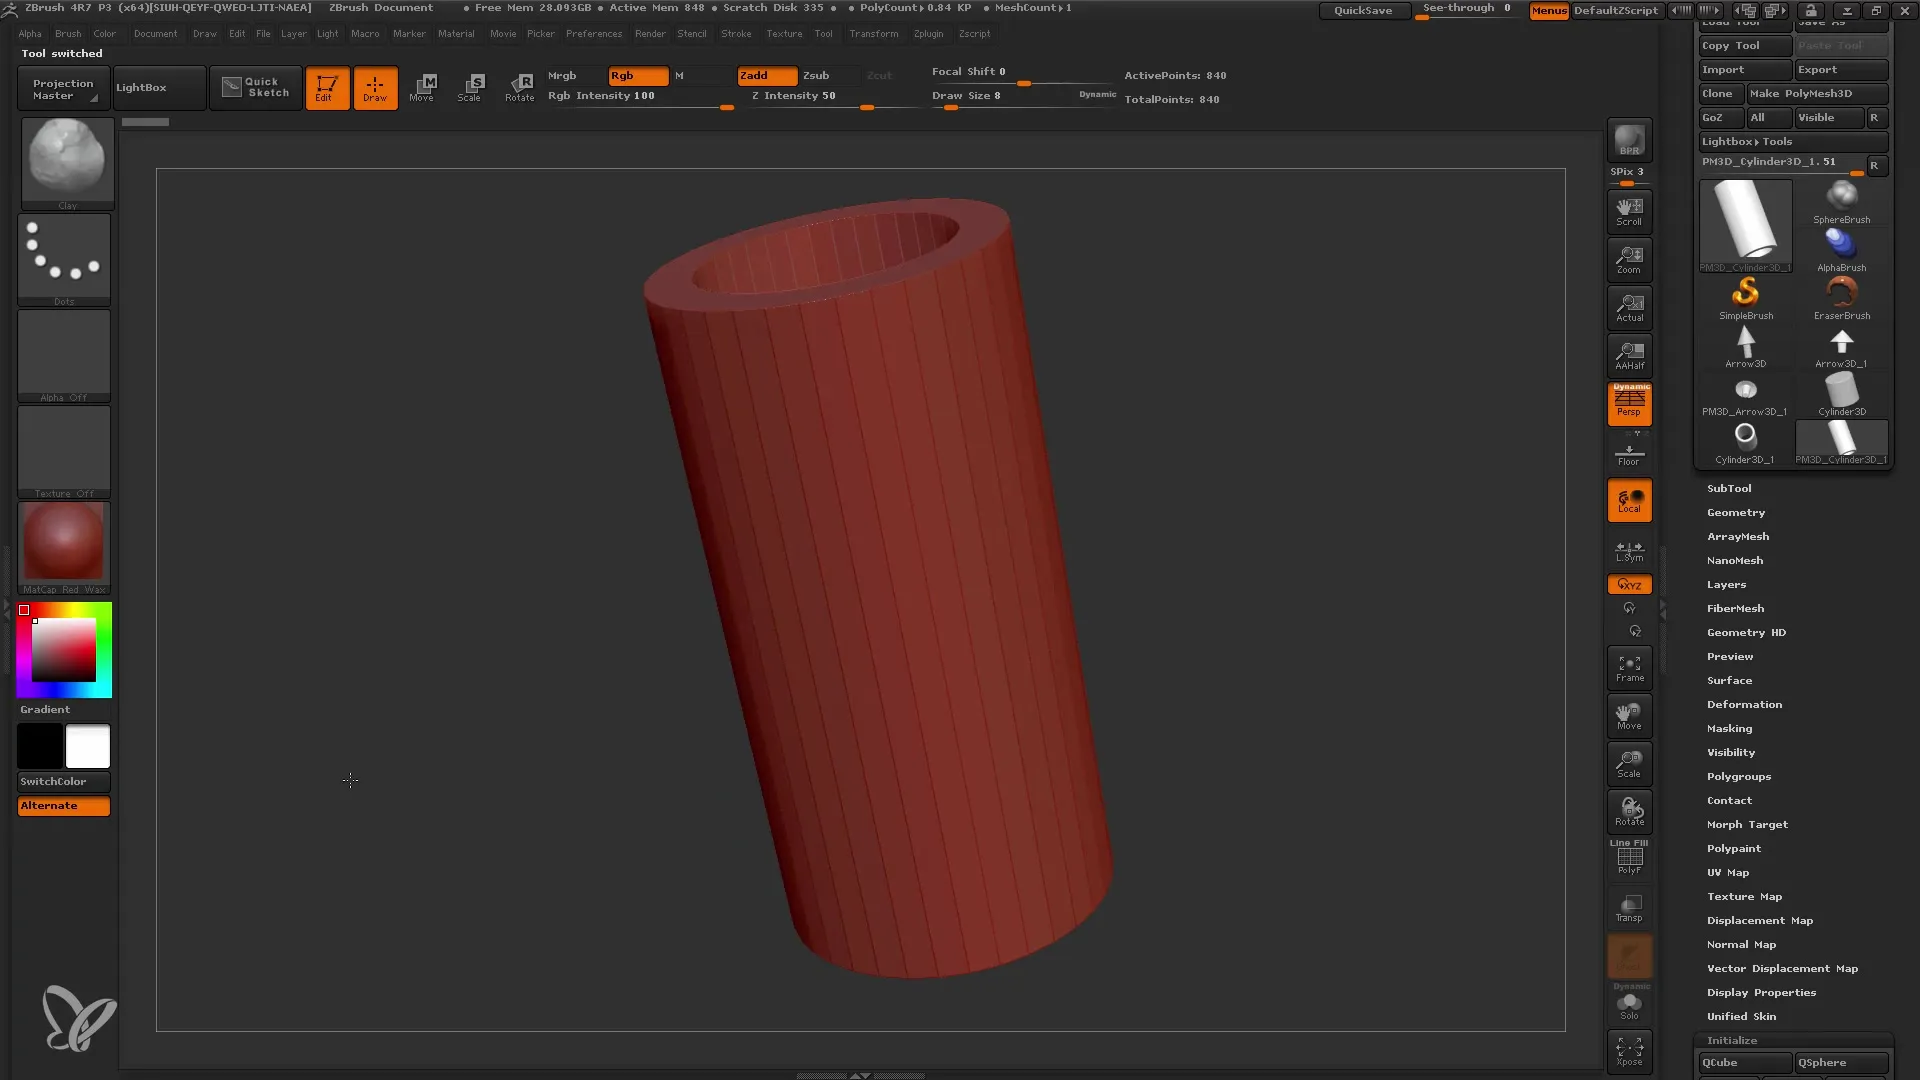
Convert the base object into a polymesh to be able to make more detailed deformations and adjustments.
13. Applying deformations
Use ZBrush's deformation tools to give additional shape to your object. This can be done through bending, twisting, or scaling.
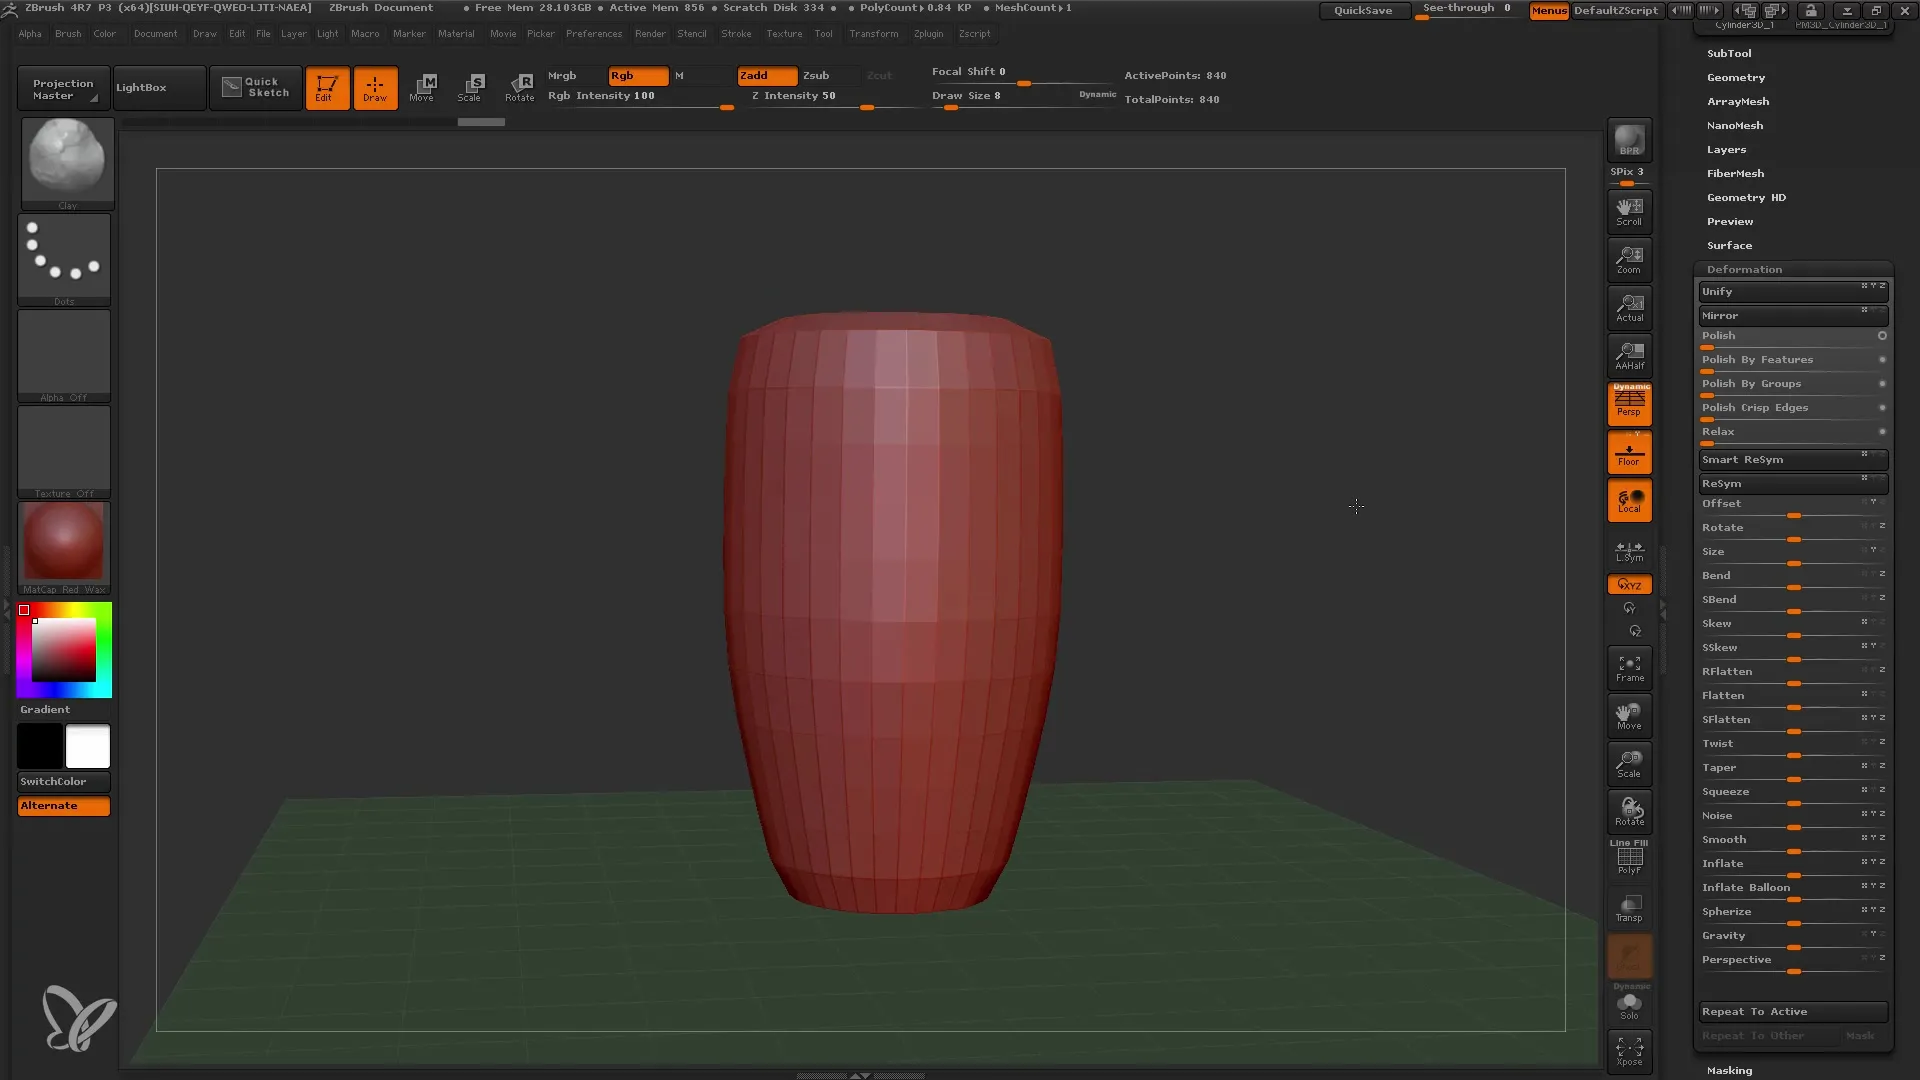
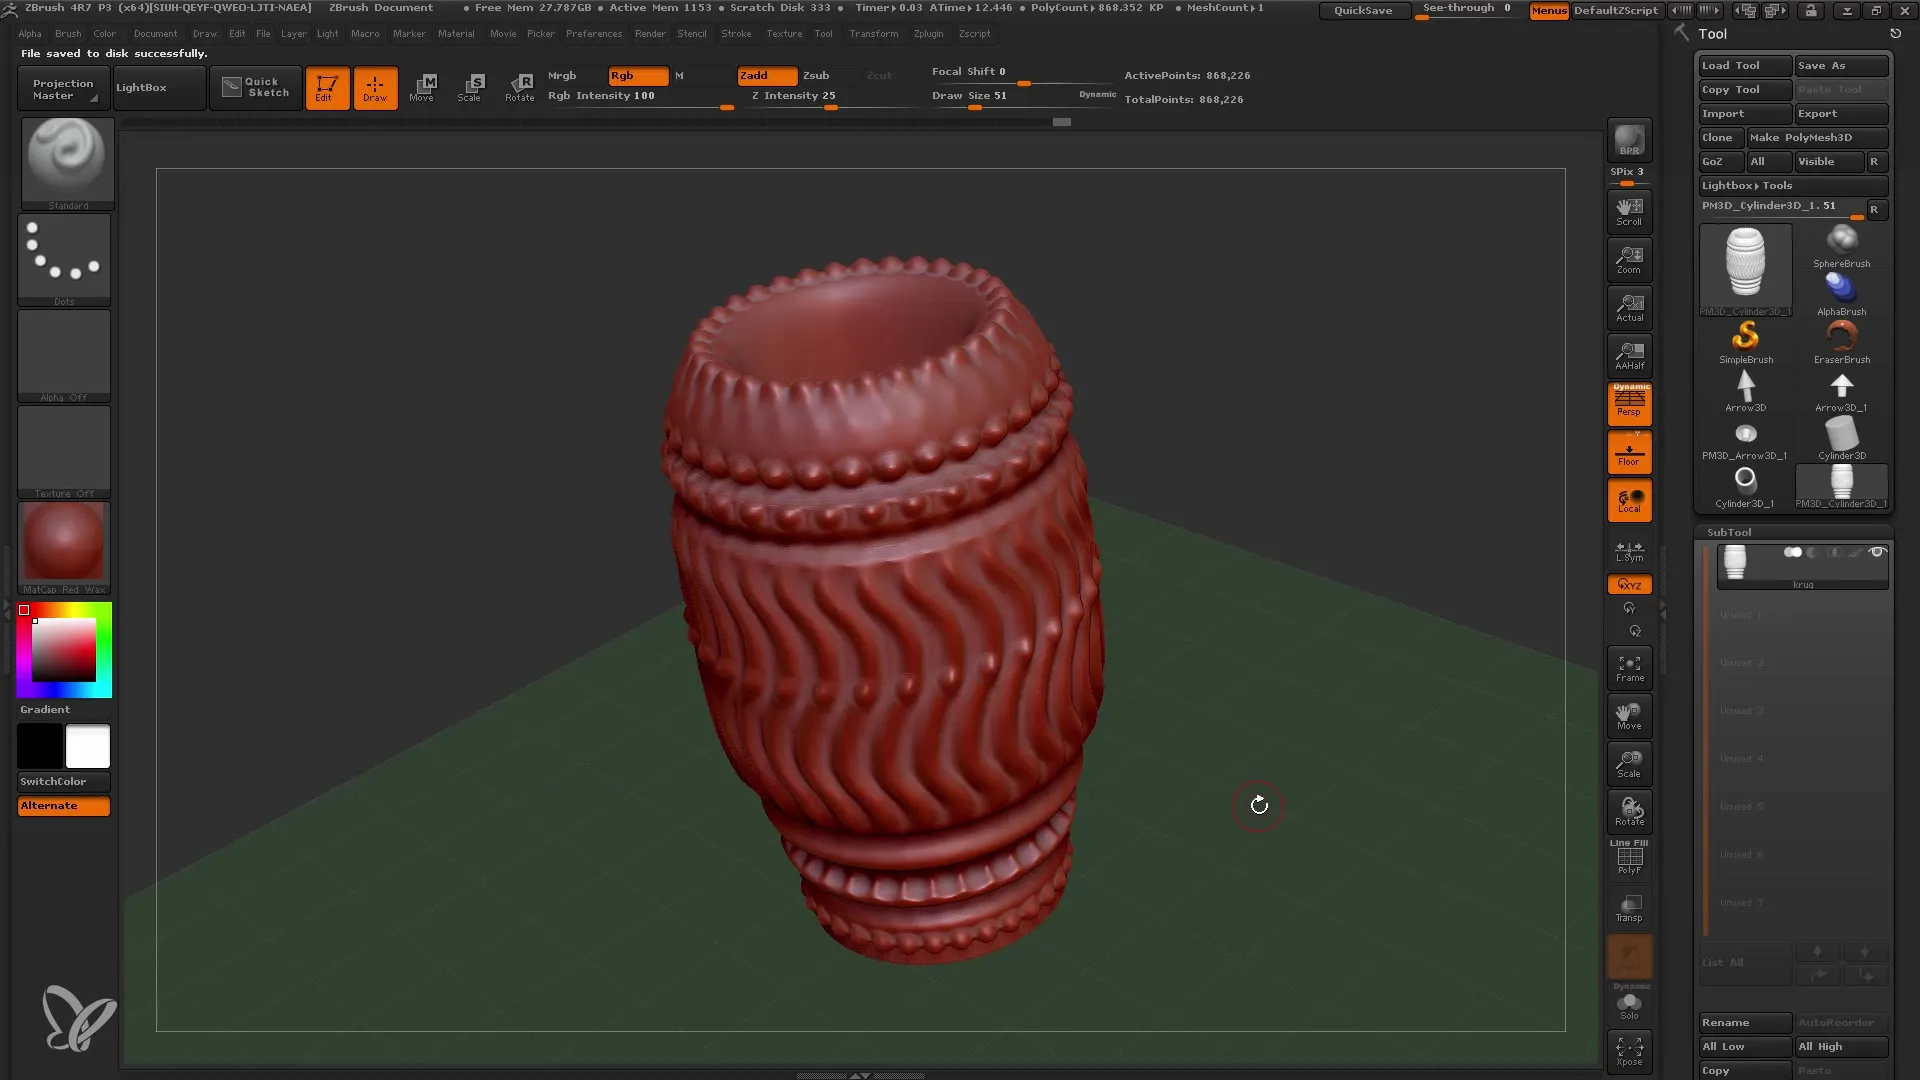
14. Creating a vase or cup
Apply the same process for creating an object such as a vase. Here you can experiment with different deformations in the style of a vase and customize them.
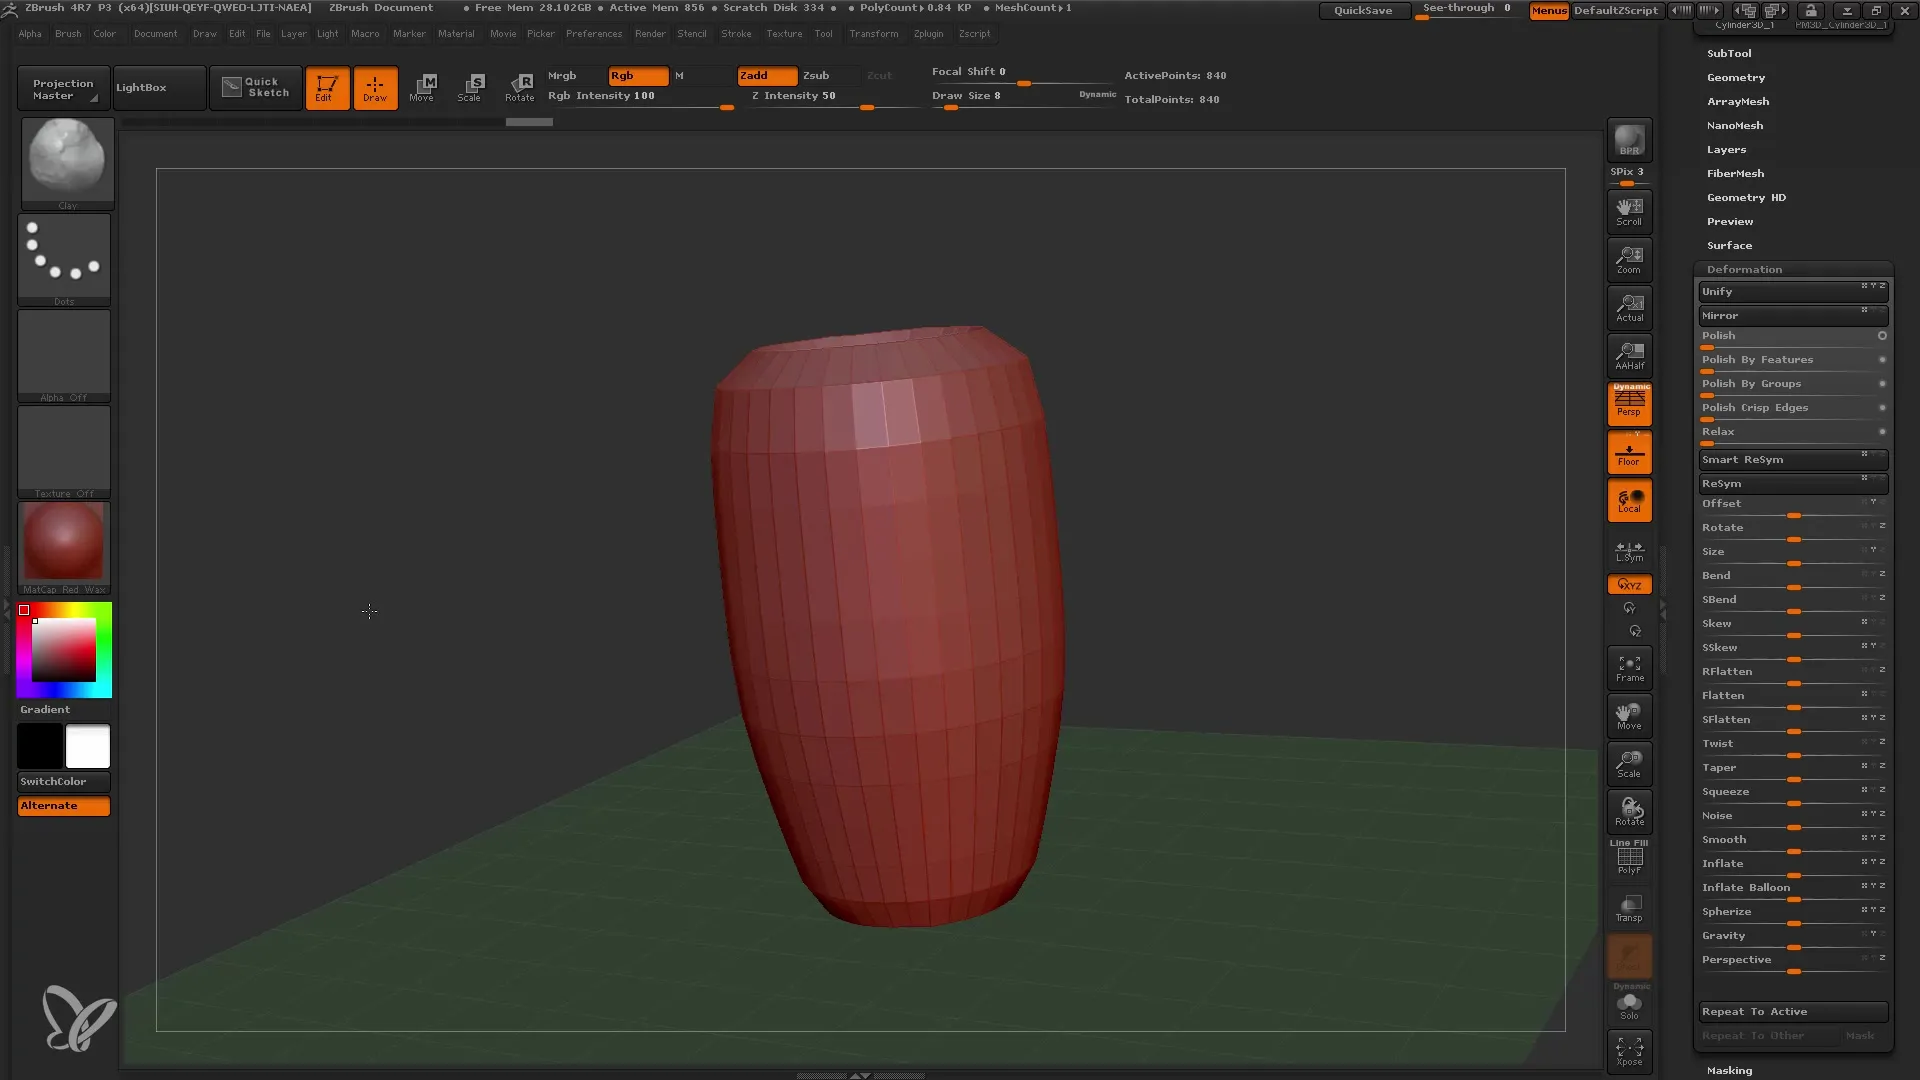
15. Connecting subtools and objects
To give your model a base, work with subtools to add additional elements like a base. This can be done by adding a 3D sphere.
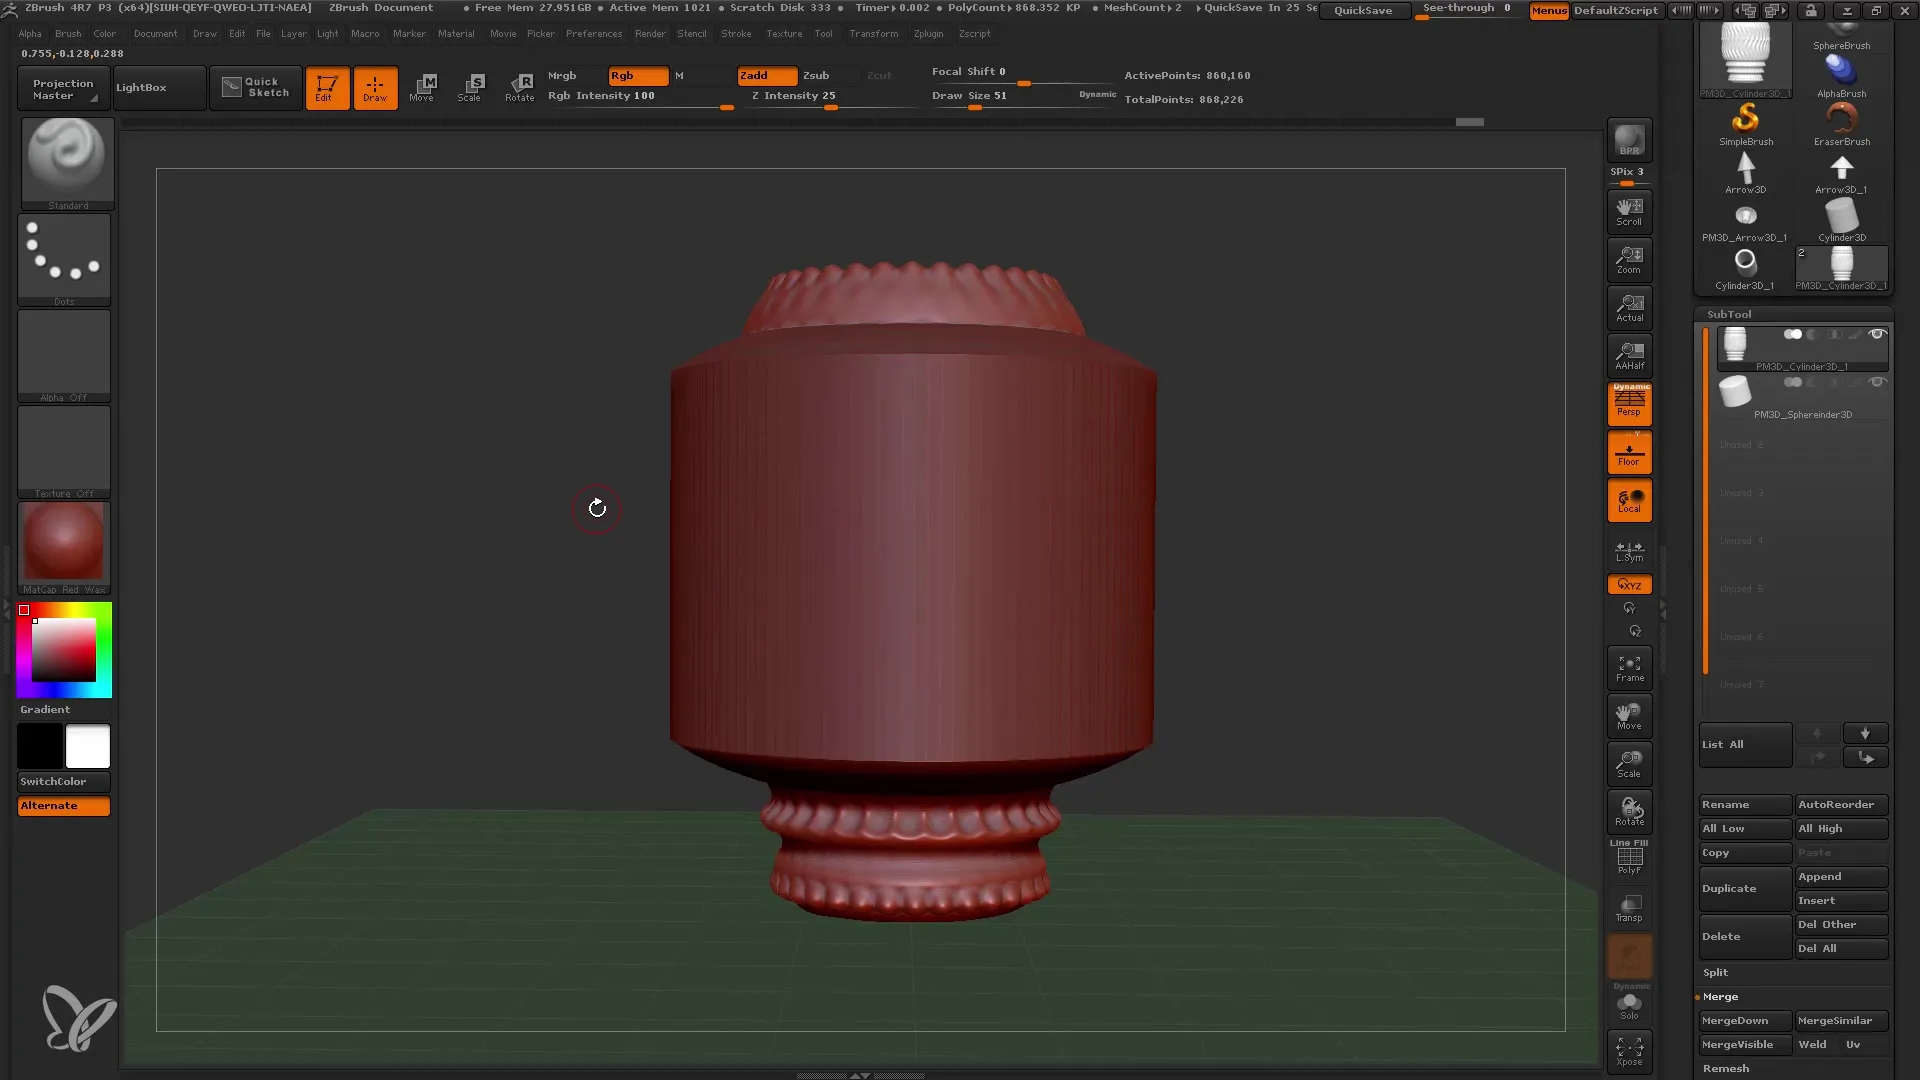
16. Merging objects
For the final merging of objects, you can use the Merge function. This will save your model as a single subtool. Make sure both objects are activated before applying this option.
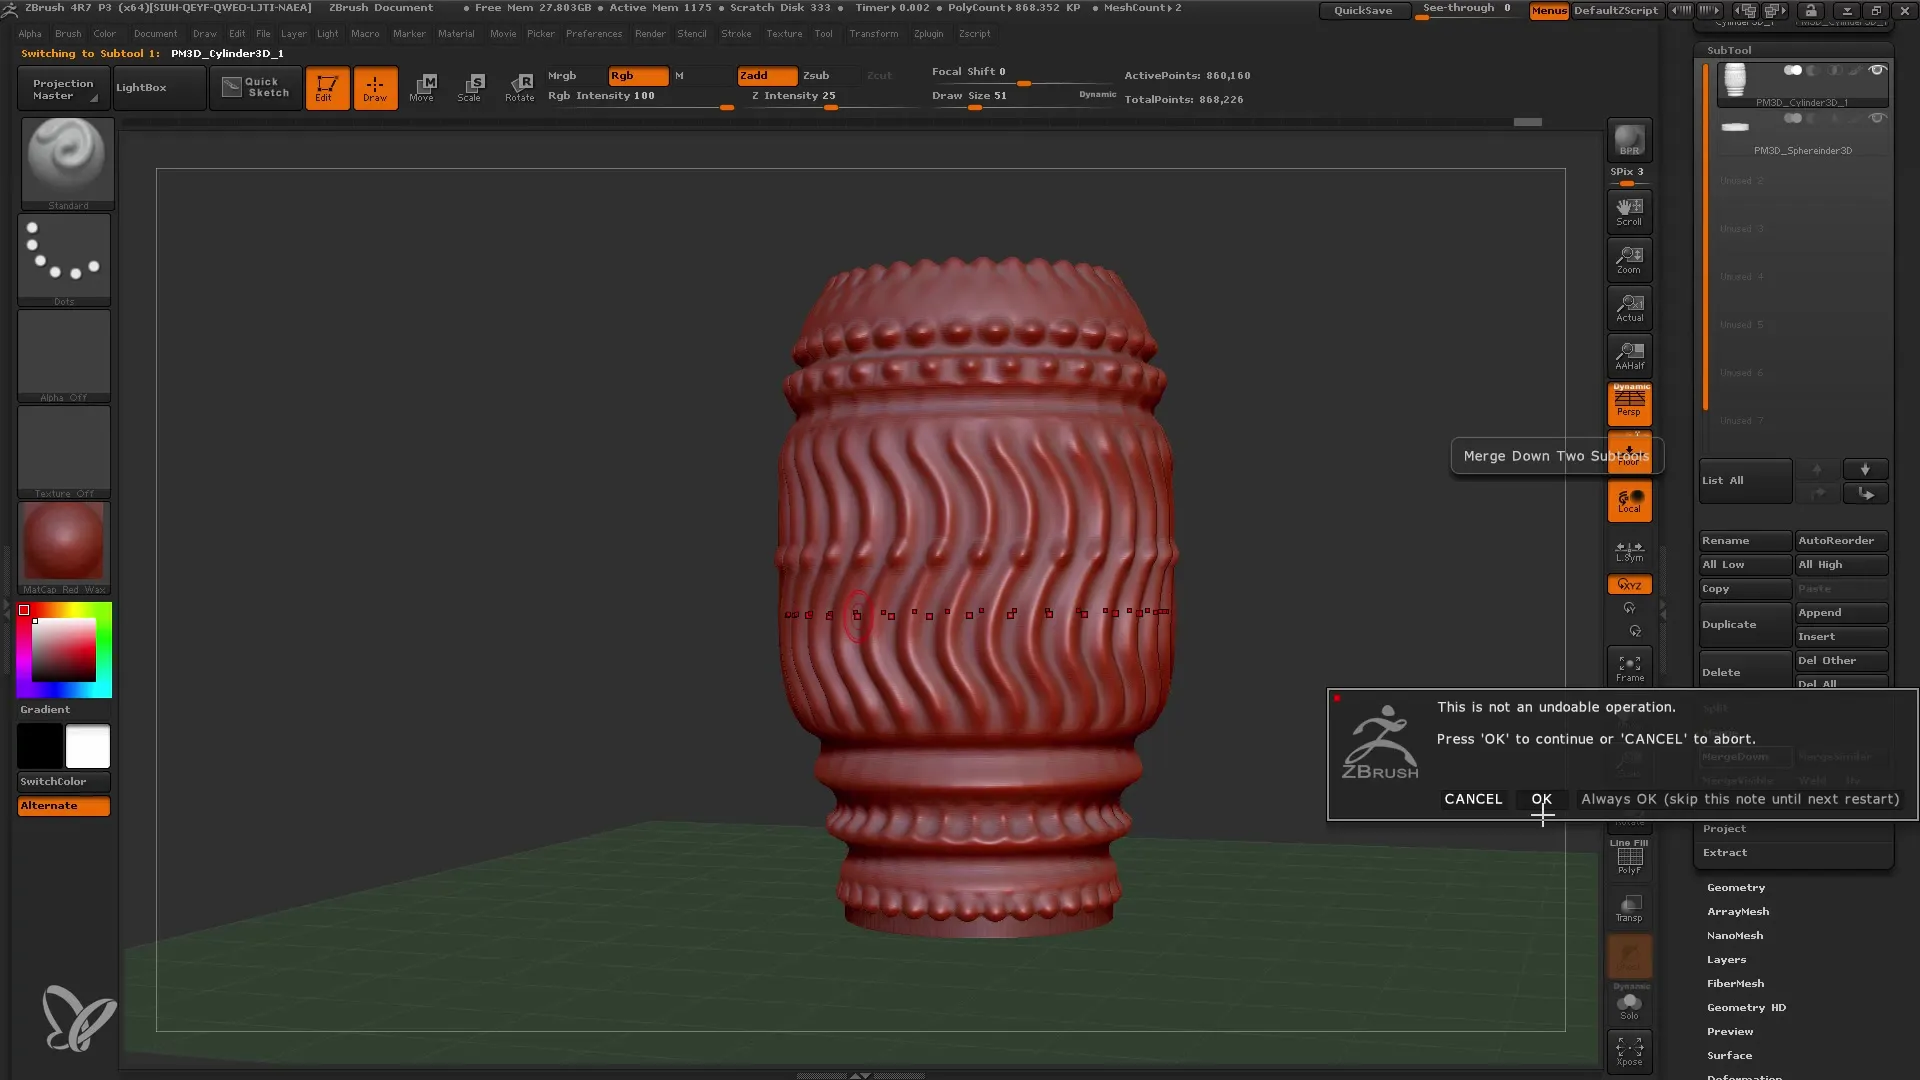
17. Saving your model
Finally, save your project using the "File" function and select "Save As" or "Load Tool" for later use.
Summary
In summary, in this tutorial you learned how to work with ZBrush's parametric base objects. From explaining the functions to creating a model and saving your work, all steps were straightforward and intuitive. Remember that experimenting is the key to achieving the best results.
Frequently Asked Questions
What are Primitives in ZBrush?Primitives are parametric base objects used as a foundation for 3D models.
How can I manipulate a Primitive?By clicking on "Edit," you can prepare a Primitive for editing.
What can I do with the deformation tools?The deformation tools allow you to adjust and refine the shape of your base object.
How do I save my project in ZBrush?Go to "File" and select "Save As" or use "Load Tool" to save your model.
How do I activate symmetry options?Transform your model and activate symmetry options in the menu of the Transform tools.
