The Dynamesh function in ZBrush is a valuable tool that helps you work with a clean and uniform mesh from the start. In this tutorial, I will show you step by step how you can effectively use the Dynamesh function to design your 3D models and try out different shapes. This technique is particularly useful for beginners as it provides flexibility and freedom in your modeling process.
Main Insights
- The Dynamesh function allows you to dynamically change the geometry of your model without losing the topology.
- You can work with different brushes to shape and refine your models as desired.
- A good workflow with Dynamesh includes choosing the right resolution level at the beginning and gradually adding details.
Step-by-Step Guide
Step 1: Project Start and Activating Dynamesh
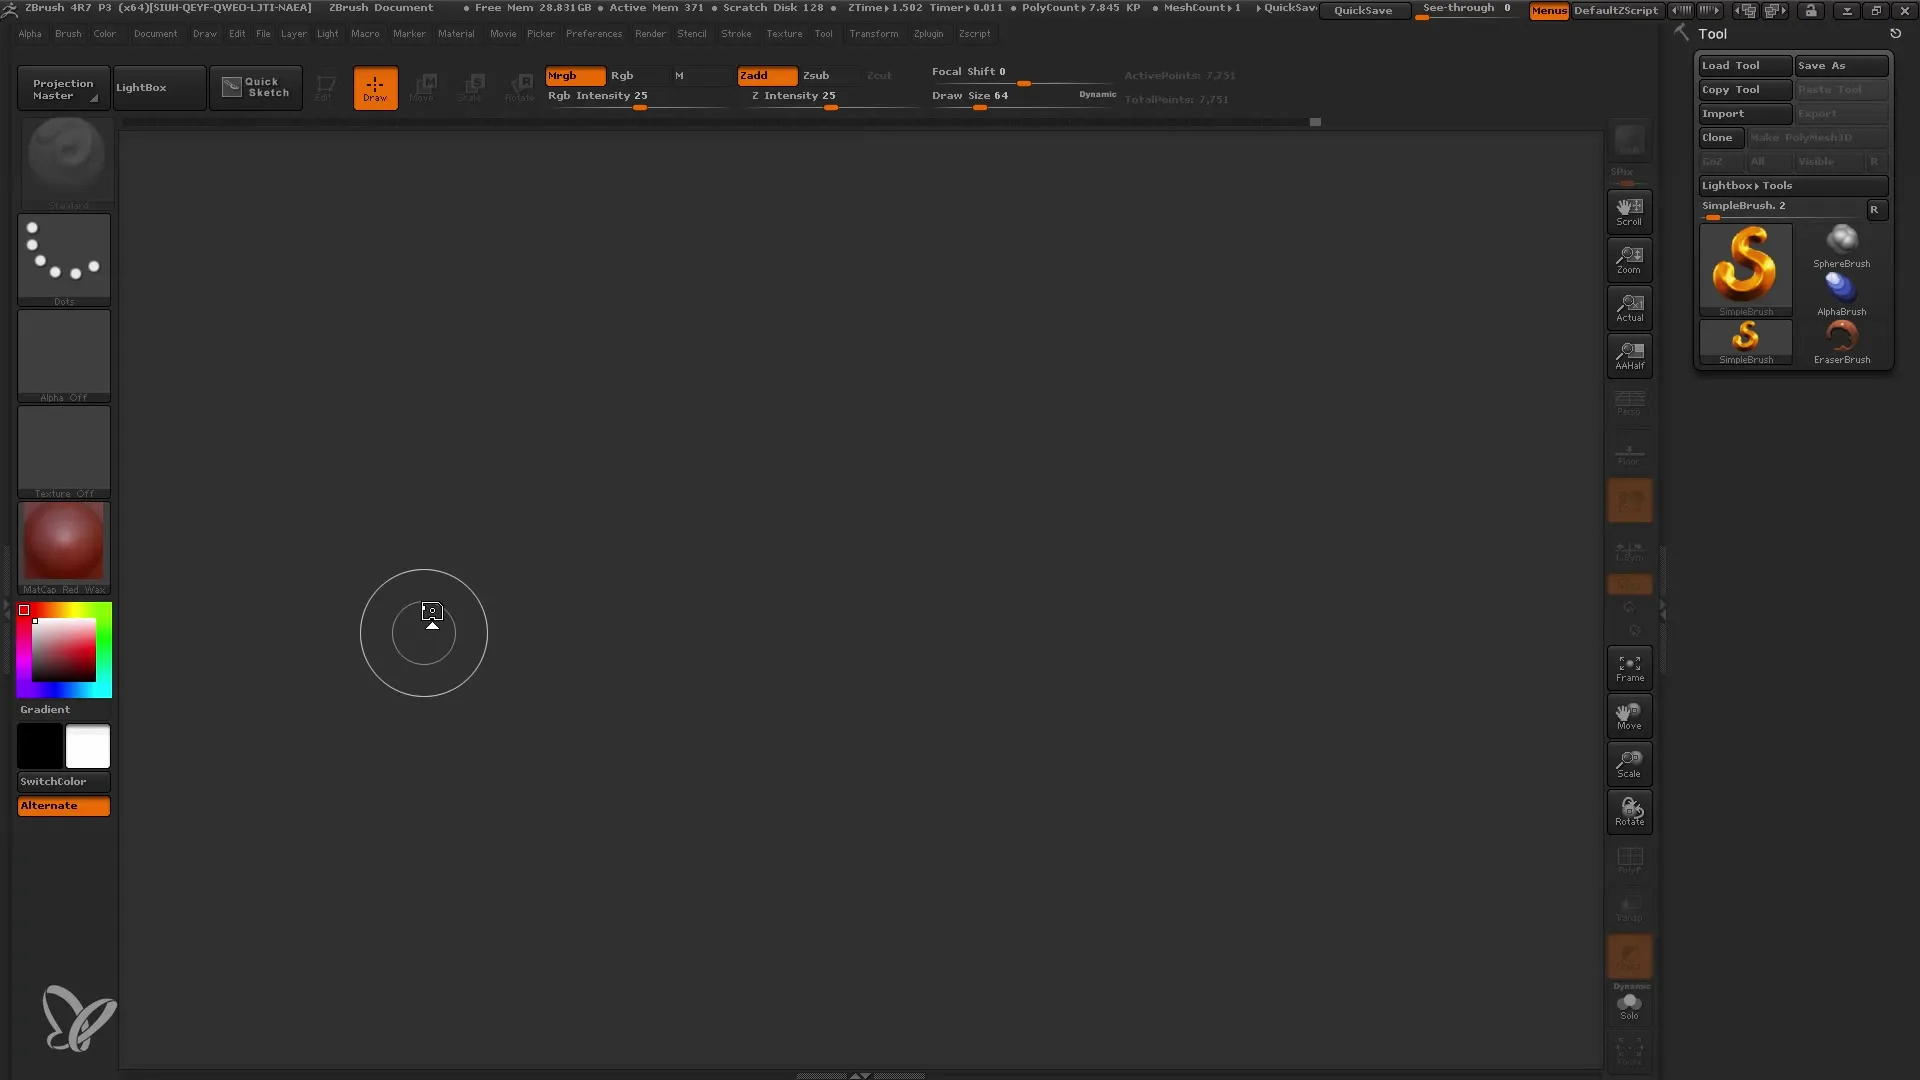
Start with a new project in ZBrush. I recommend starting with a sphere. Go into Edit Mode and turn the sphere into a Polymesh. This is important because Polymeshes are the foundation for working with Dynamesh. Now that you are in Edit Mode, you can start shaping the sphere with the Move Brush.
Step 2: Using the Move Brush
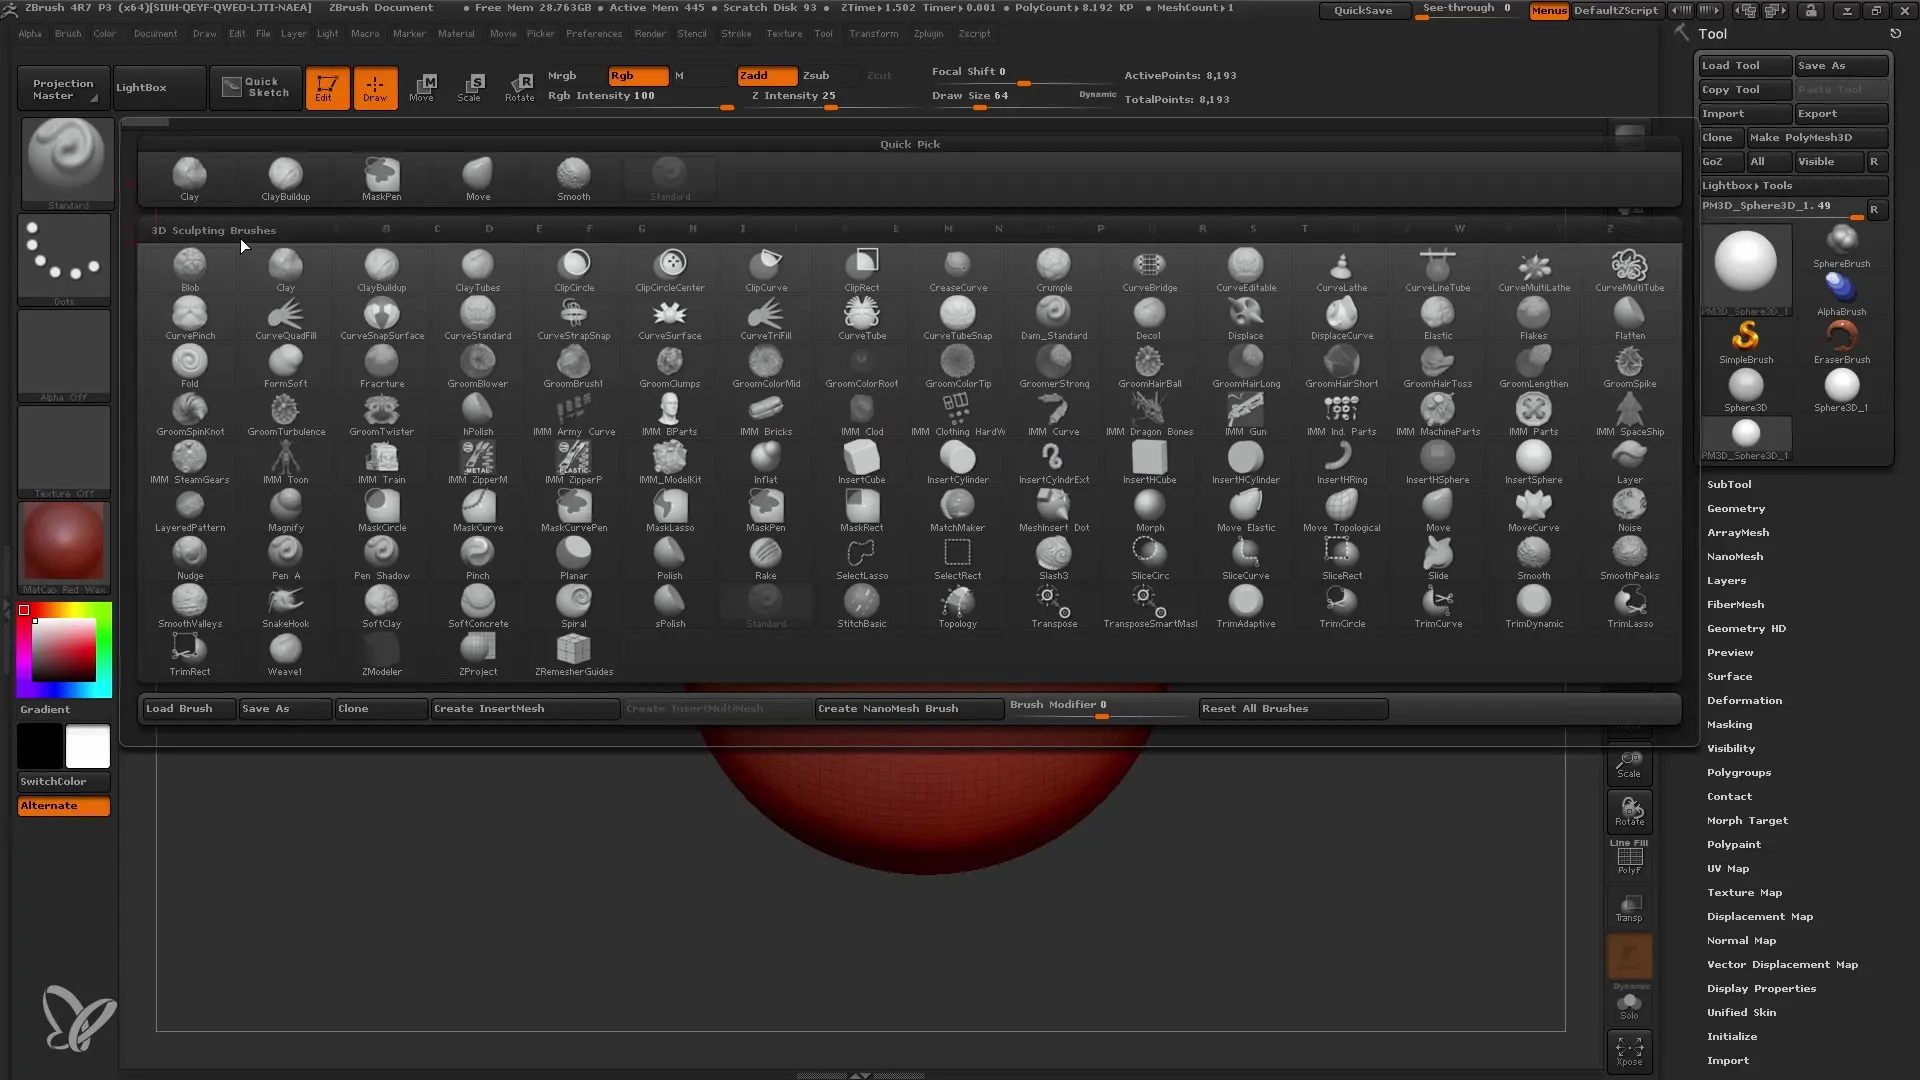
To shape the sphere according to your vision, choose the Move Brush from the Quickpick menu. Press the M key on your keyboard to quickly access this brush. Use a large brush size to efficiently edit the sphere.
Step 3: Activating Symmetry
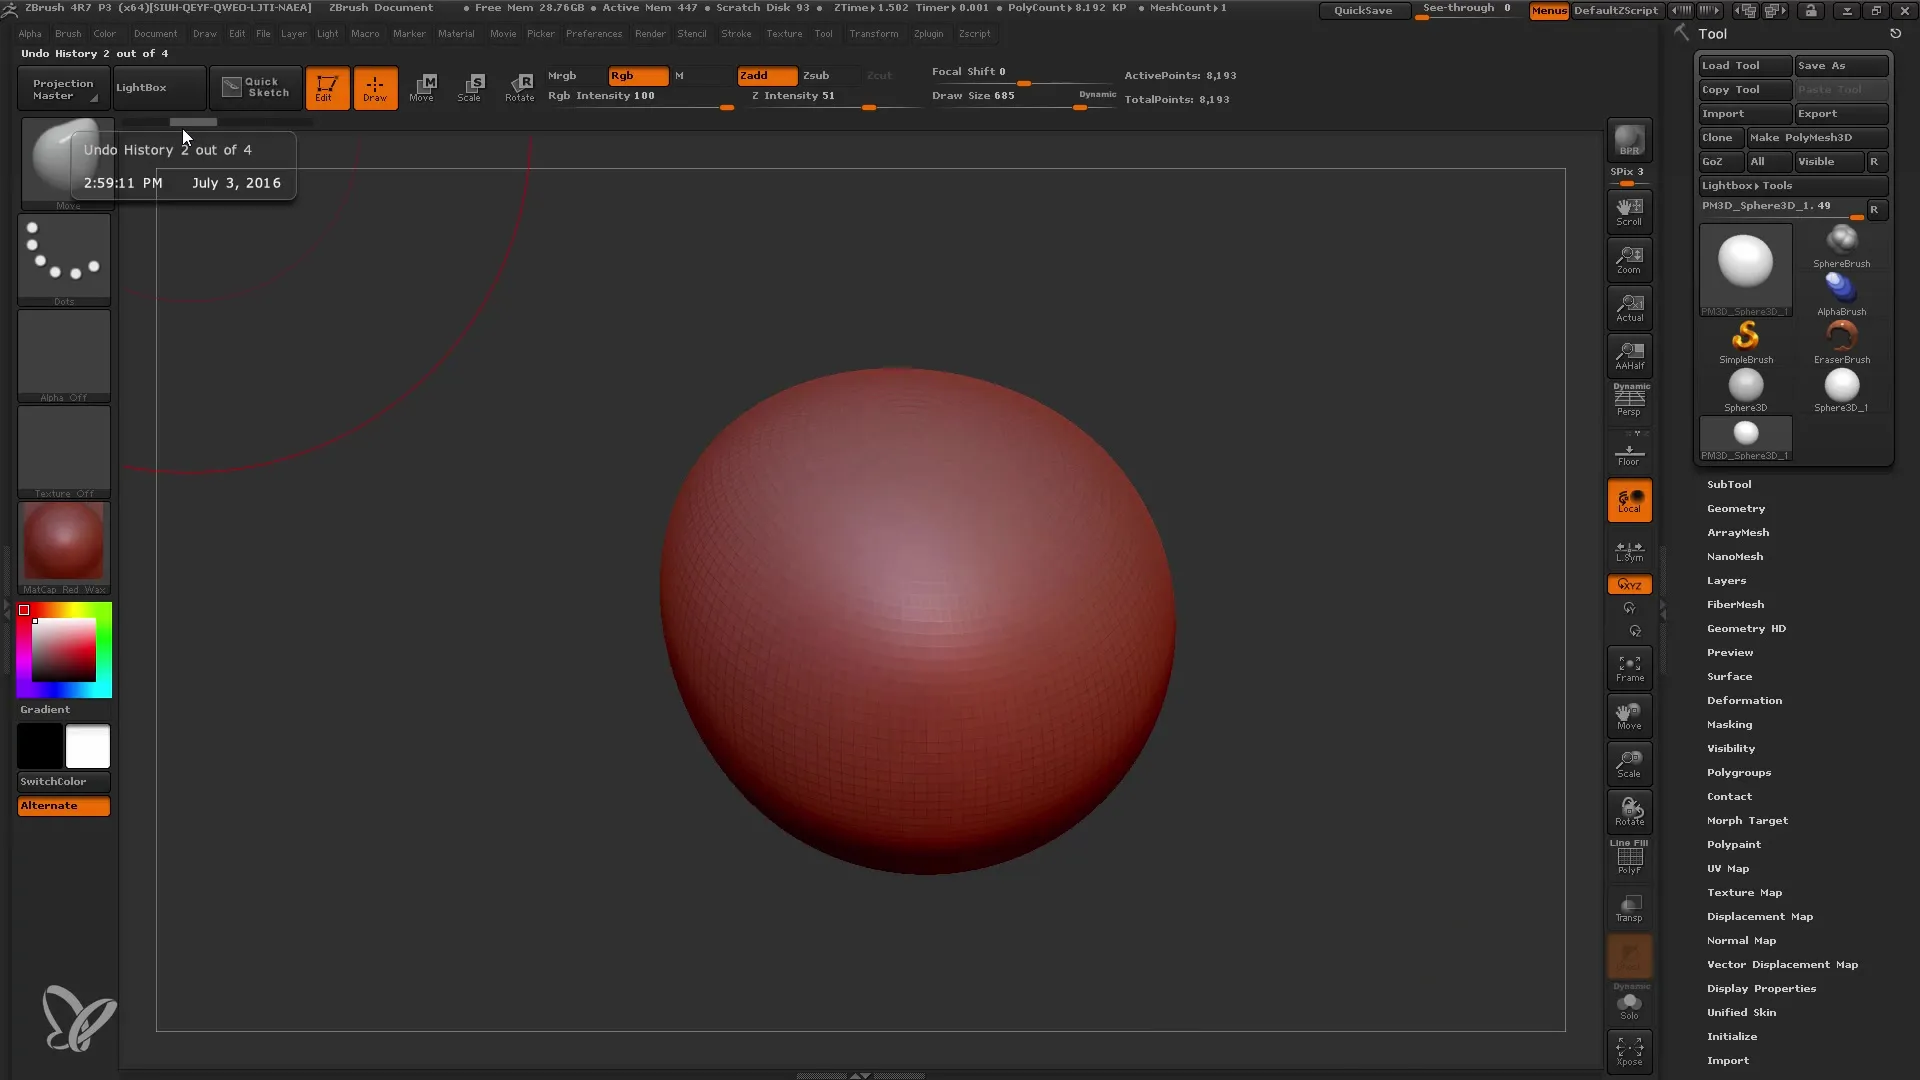
For the best results, activate symmetry. Under the Transform tag, you will find symmetry settings that allow you to automatically mirror the changes you make on one side to the other side.
Step 4: Experimenting and Developing Shapes
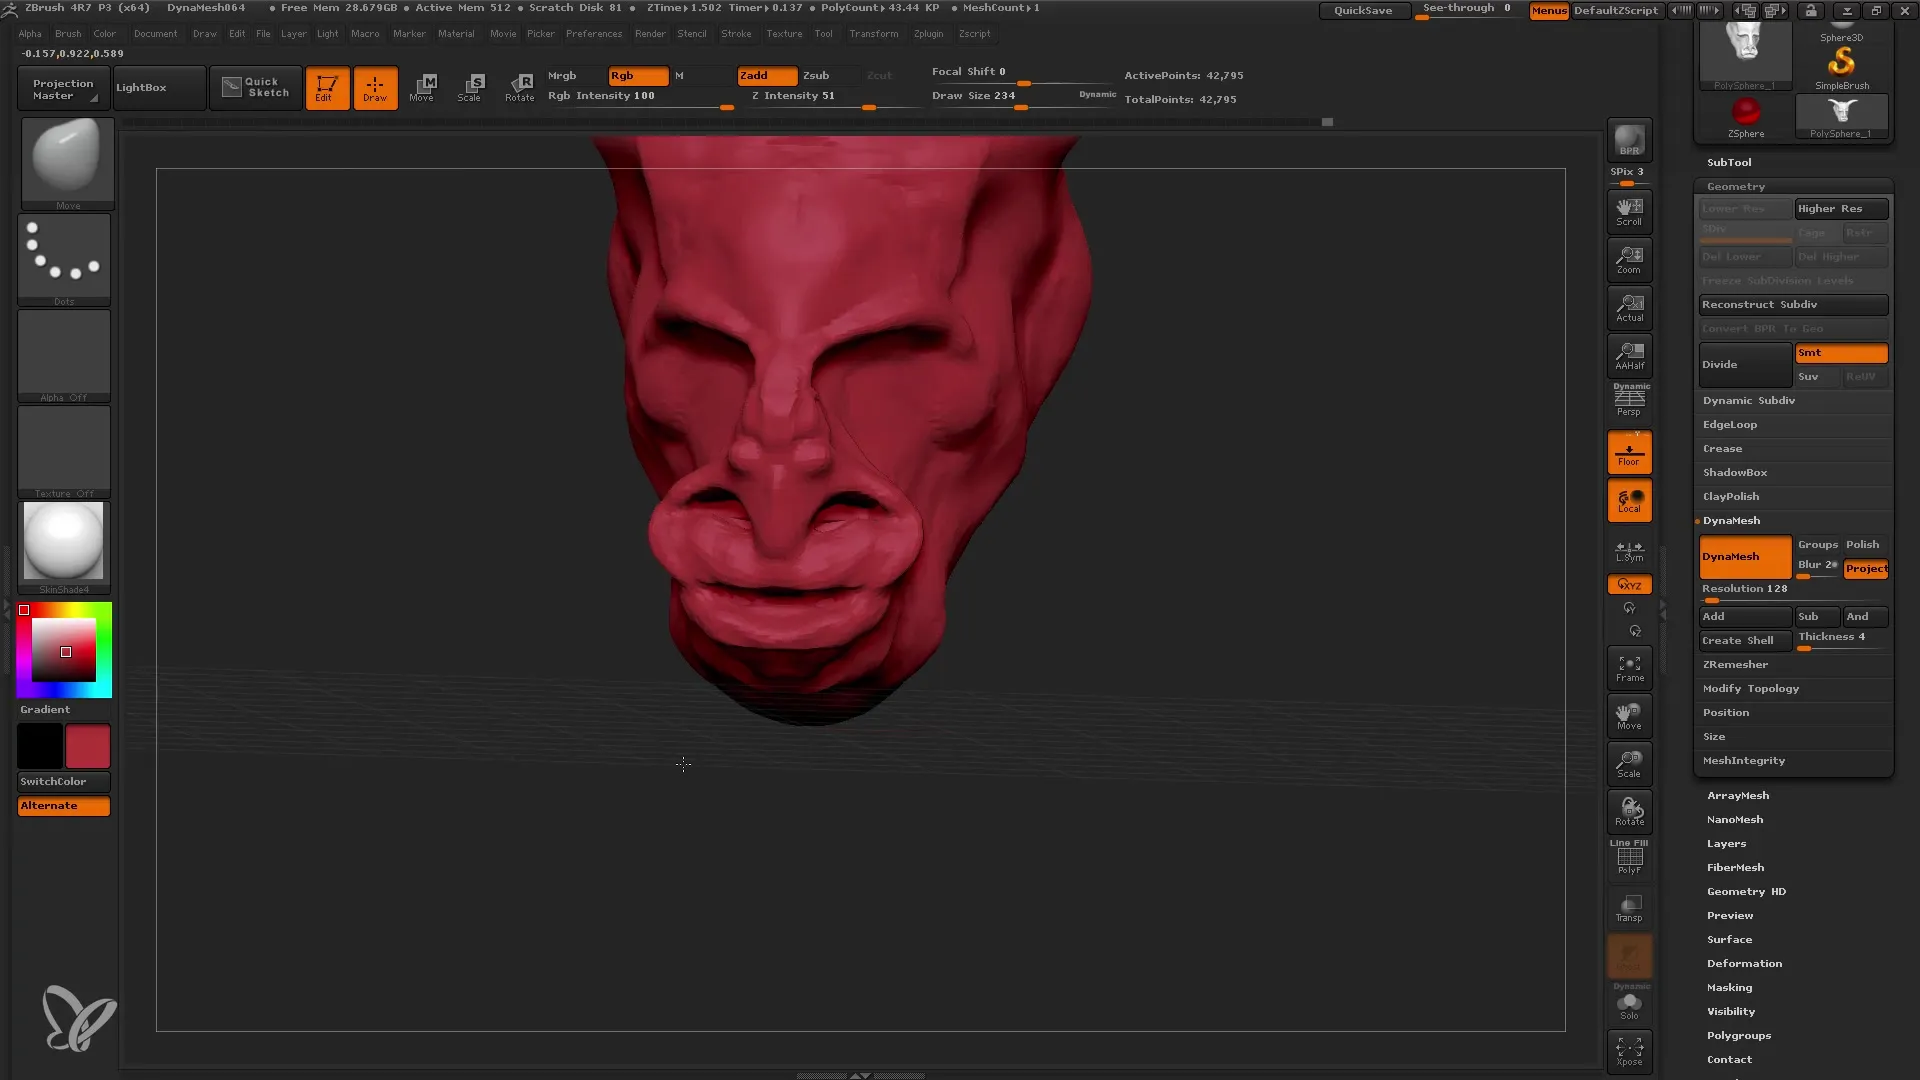
Now you can get creative! Manipulate the structure, shape the head, and experiment with different forms. In the initial phase, do not worry about the final details; just play around with the basic shapes.
Step 5: Checking Shape and Fine-Tuning
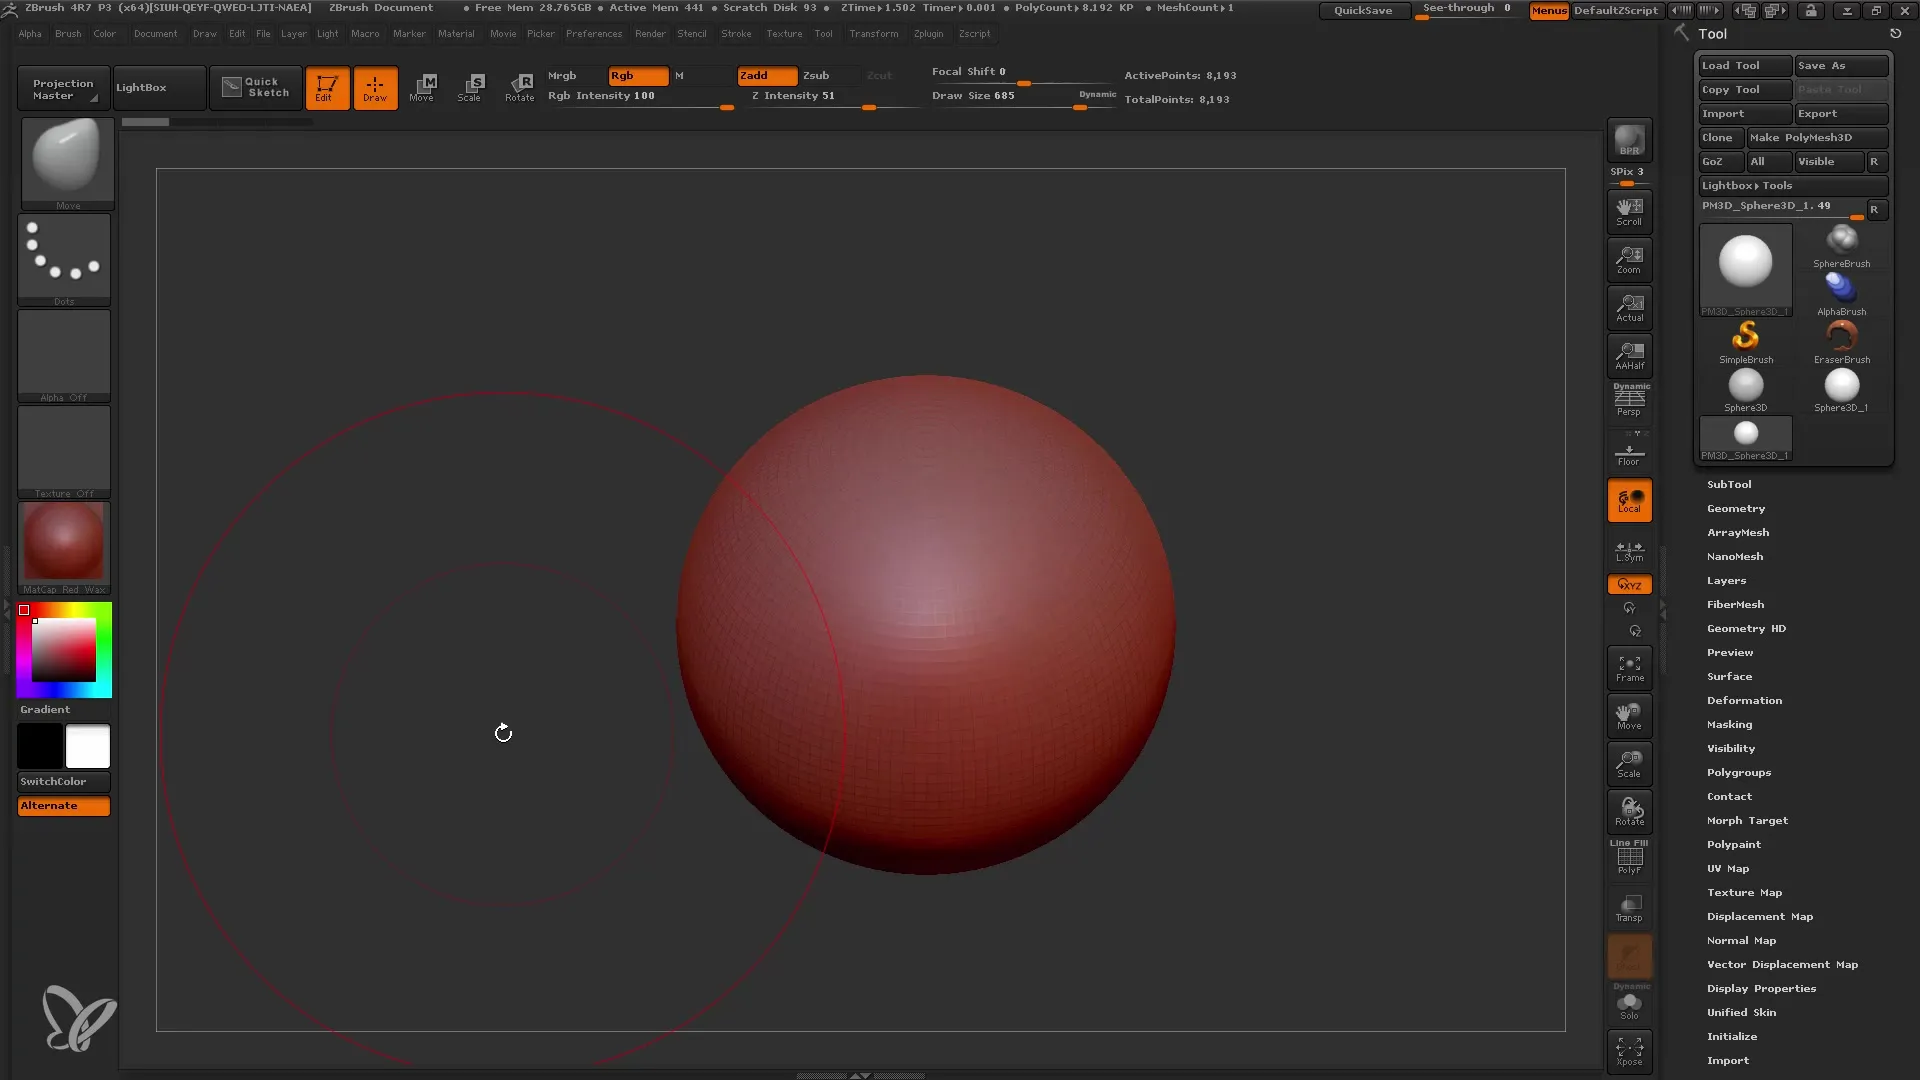
If you notice that the surface of your polygons does not look good anymore, simply take a step back to see the original shape. Dynamesh helps you avoid issues with distorted polygons. If necessary, go back to the base shape and let Dynamesh regenerate the geometry.
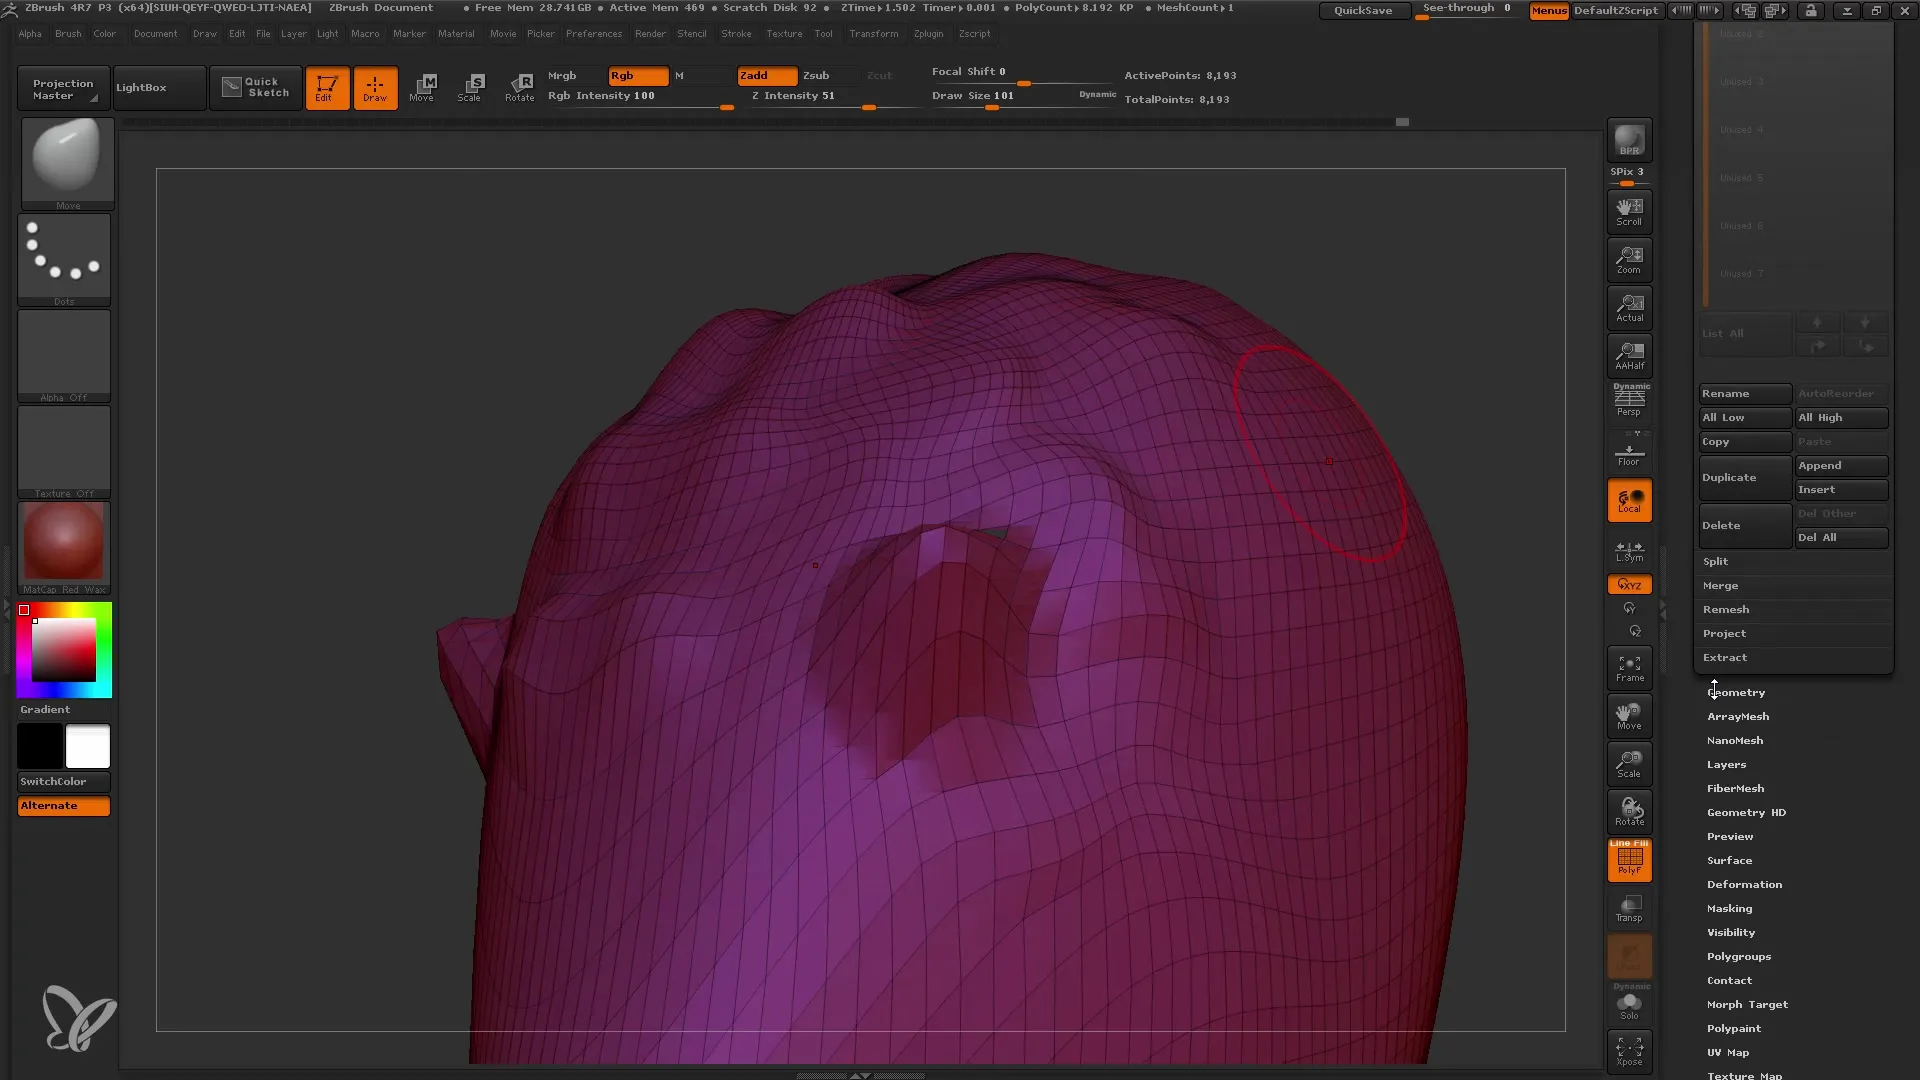
Step 6: Activating Dynamesh
To activate Dynamesh, go to the Geometry settings and click on Dynamesh. Make sure to set the right resolution; it's better to start with a lower resolution initially to maintain control.
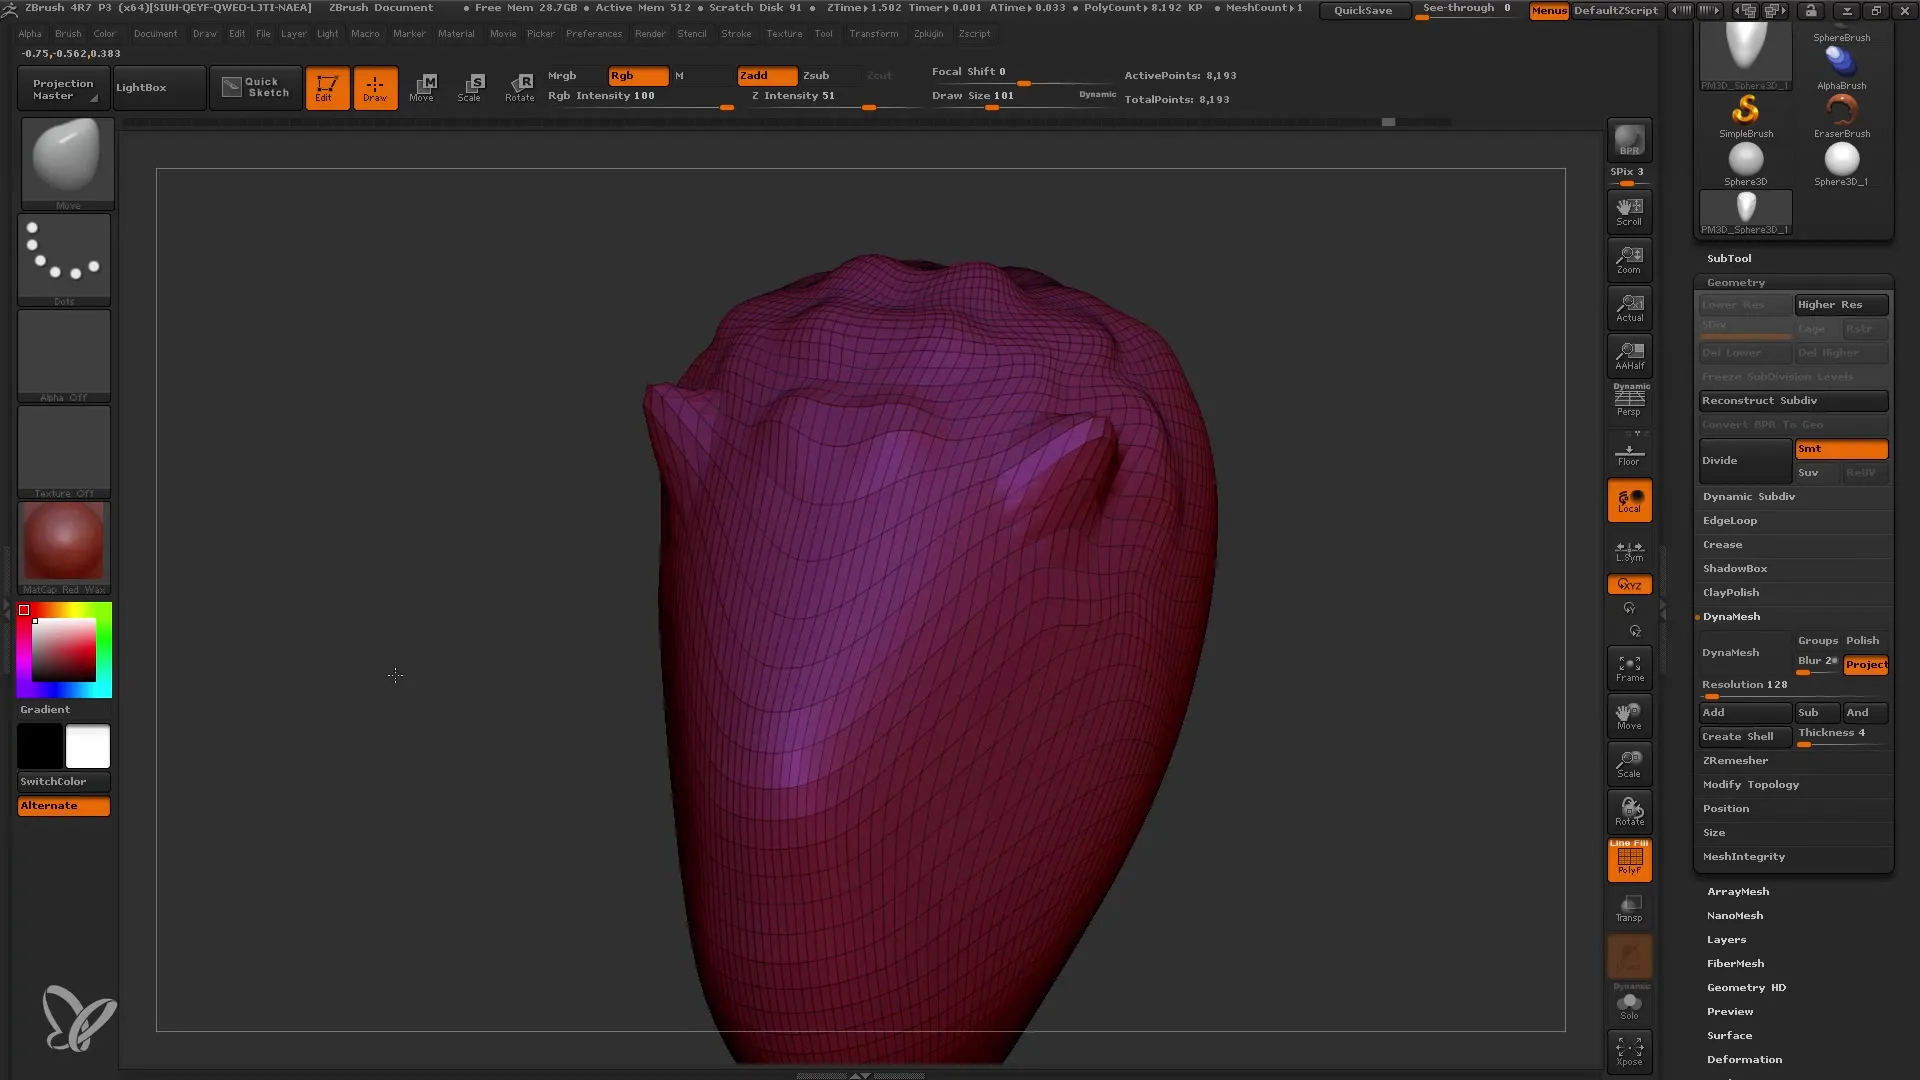
Step 7: Adjusting Resolution and Remeshing
As you progress with your model design, you can increase the resolution to add more details. Be careful not to add too much resolution too early, as it can make the operation more difficult.
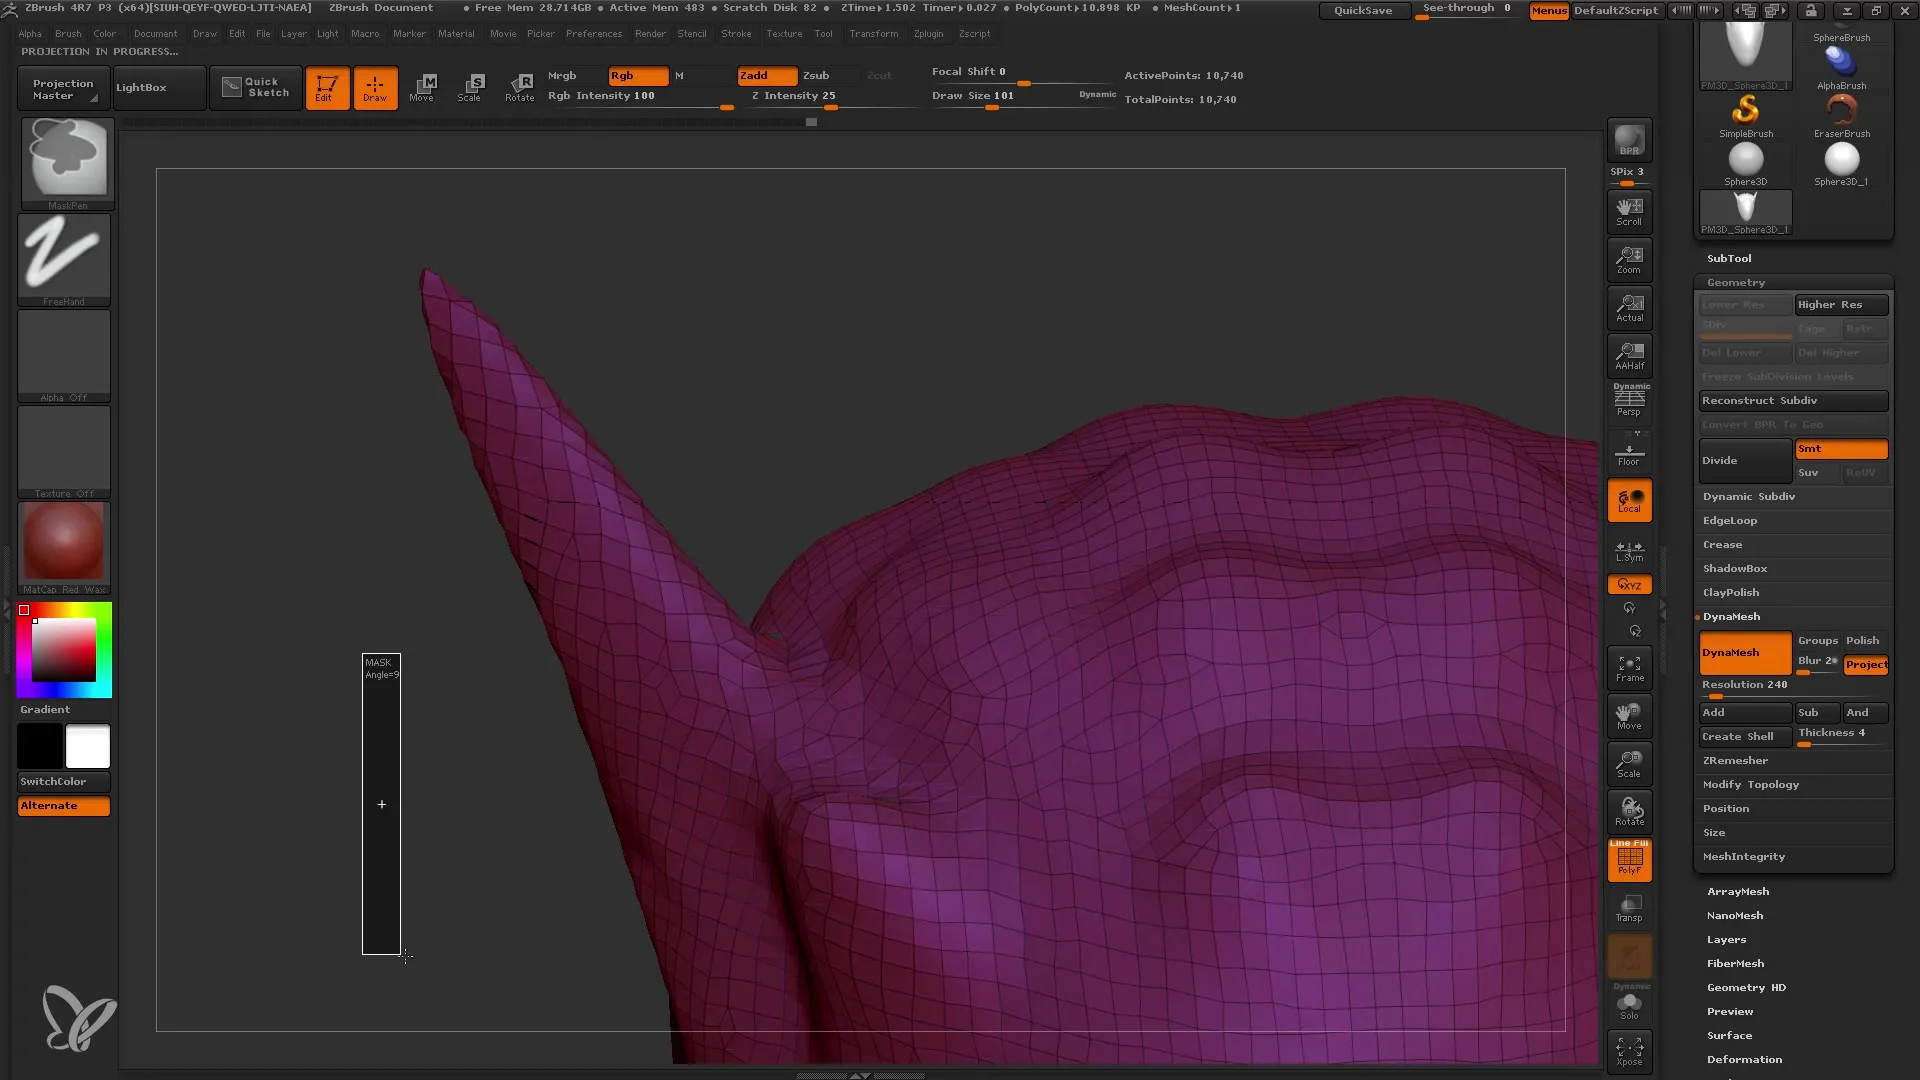
Step 8: Detailed Work and Refinement
Once you have created the basic shape, such as facial features or other characteristics, you can switch to more detailed brushes like the Clay Buildup. Experiment with different tool settings to achieve the desired look. If you notice any polygon distortion, simply reactivate the Dynamesh function.

Step 9: Refinement and Conclusion
Once all major shapes and details are in place, you can make final adjustments and ensure that your model looks harmonious. At this point, you can also start understanding the remeshing process, where you can bring the model back to an optimal polygon count ratio.
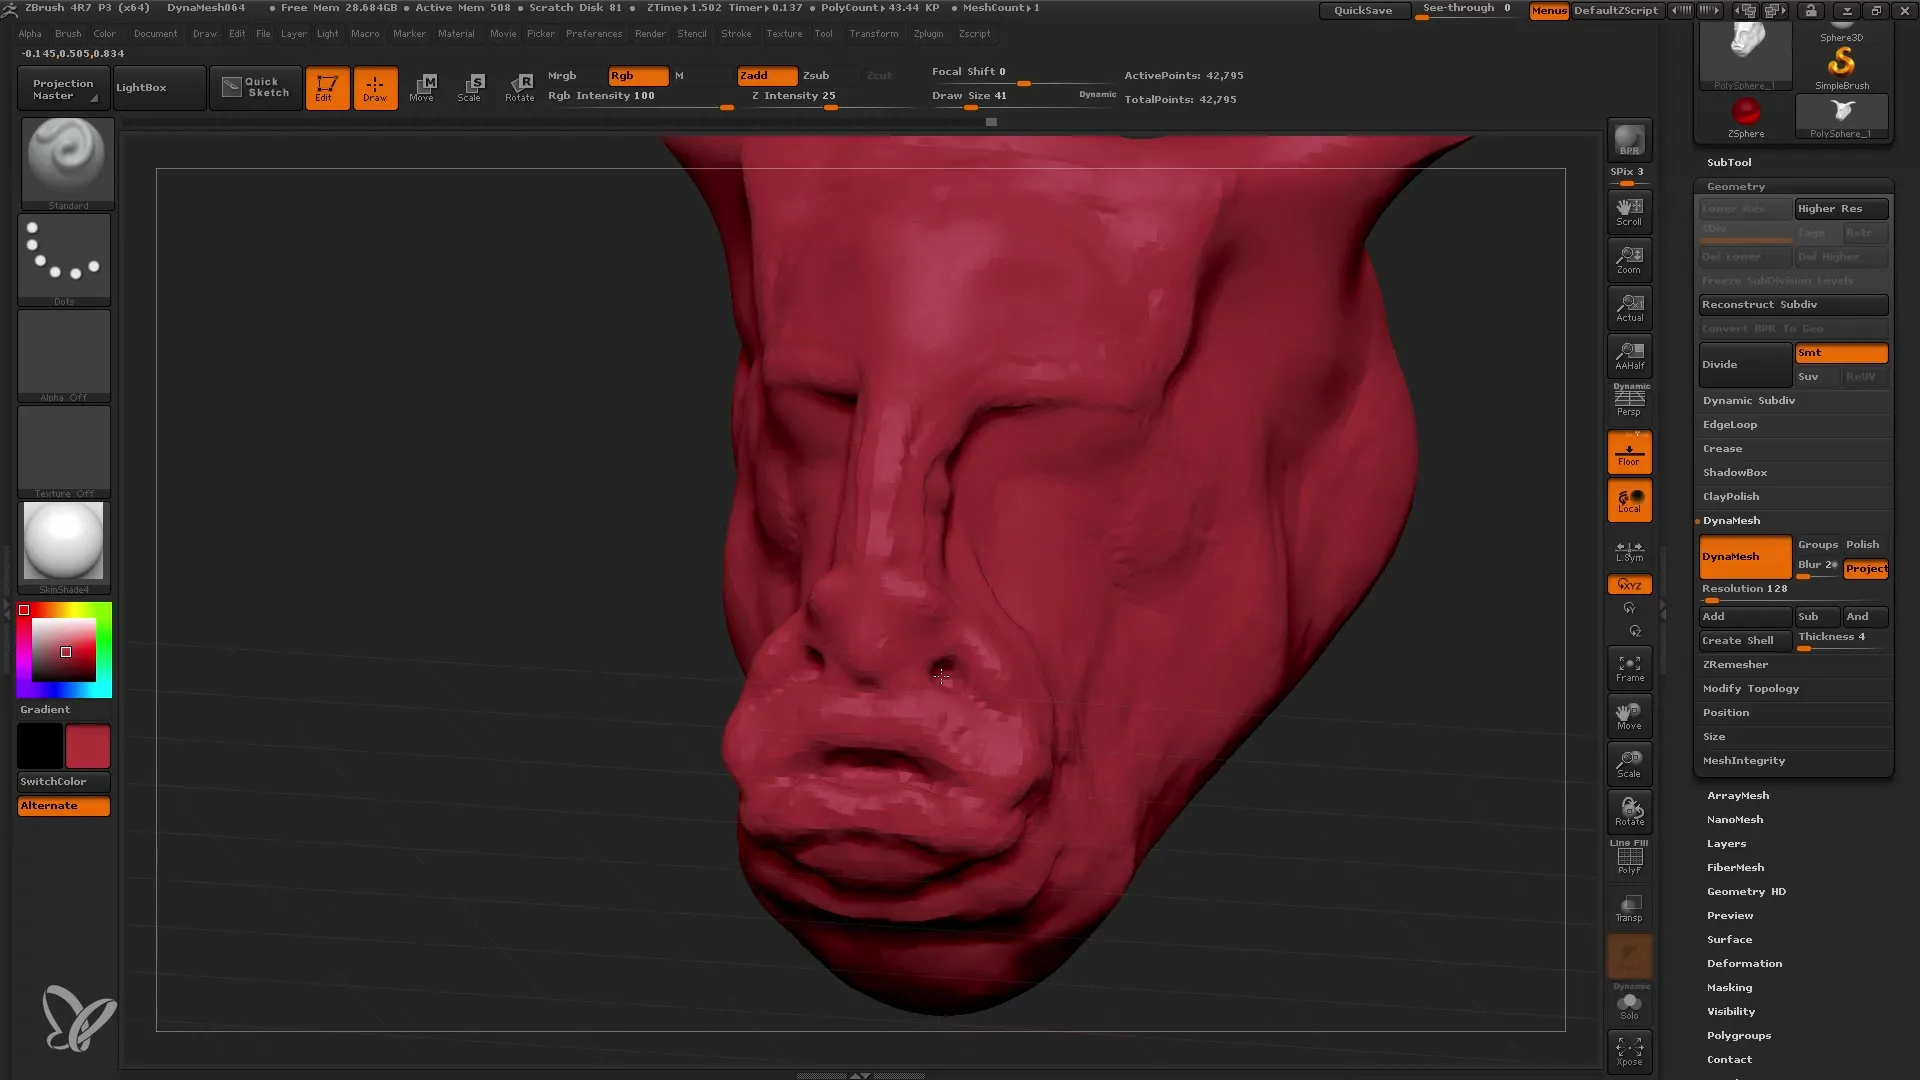
Step 10: Saving and Further Steps
Don't forget to save your work regularly! Use the quicksave function (key 9) to not lose your progress. When you are ready to work with your model, go to the detailing levels and save your work.
Summary
In this tutorial, you have learned how to use the Dynamesh function in ZBrush to create a clean and dynamic mesh. By experimenting with different brushes and testing symmetry, you can create unique 3D models. The application of Dynamesh makes it easier for you to access creative possibilities, as you can make real-time variations and adjustments.
Frequently Asked Questions
What is Dynamesh in ZBrush?Dynamesh is a tool in ZBrush that helps you dynamically change the geometry of your model by reimagining the topology.
How do I start with Dynamesh?Start with a polymesh, activate Dynamesh in the Geometry settings, and adjust the resolution.
Can I activate symmetry when using Dynamesh?Yes, you can activate symmetry to make changes on both sides of your model simultaneously.
What should I consider when choosing the resolution?Start with a lower resolution to gradually add details before moving on to higher values.
How do I save my progress in ZBrush?Use the quicksave function by pressing key 9 to quickly save a checkpoint of your work.


