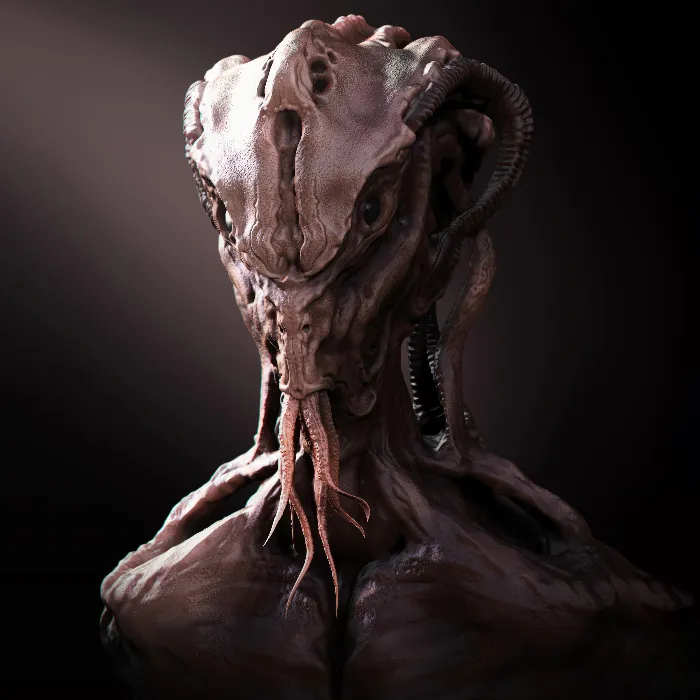
In this tutorial, I'll show you how to use the Shadowbox function in ZBrush to quickly and effectively create complex meshes. The Shadowbox is a powerful tool that helps you generate clean and precise shapes through masking and unmasking, which you can then further refine. Whether you are a beginner or have some experience in ZBrush, the technique of the Shadowbox will help elevate your designs to the next level.
Key Takeaways
- The Shadowbox allows for creating complex meshes in a short amount of time.
- Masking and unmasking are crucial for generating precise shapes.
- Radial symmetry can be used to create interesting designs.
- Alphas help define and import specific shapes.
Step-by-Step Guide
To effectively use the Shadowbox in ZBrush, follow these steps:
Step 1: Activate Shadowbox
Launch ZBrush and select any mesh. Then switch to Edit Mode and activate Shadowbox from the Geometry menu. You will notice that your mesh has become thicker and fitted into a box. This box is defined by three sides that offer different views of your model.
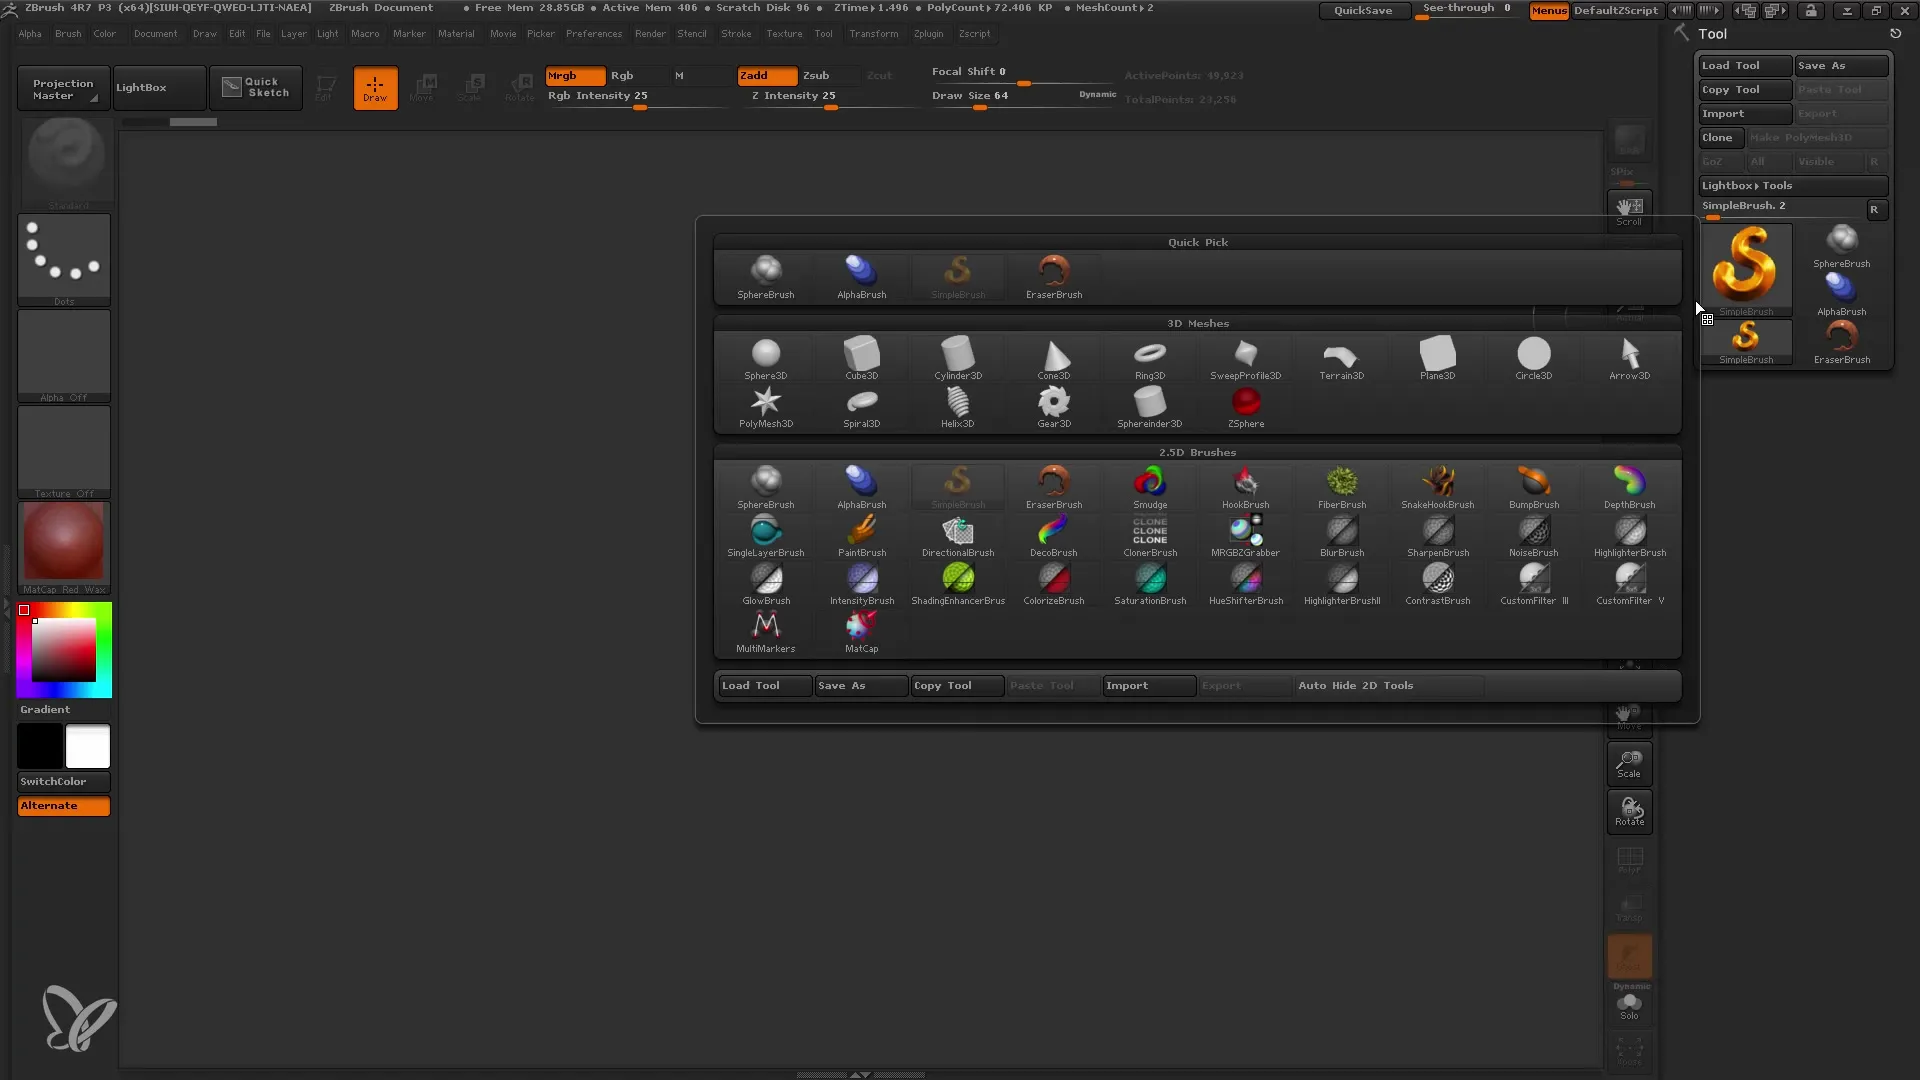
Step 2: Adjust Perspective
Turning off perspective is important to see correct views of your meshes. Turn off the perspective function so you can edit the Shadowbox in the right view.
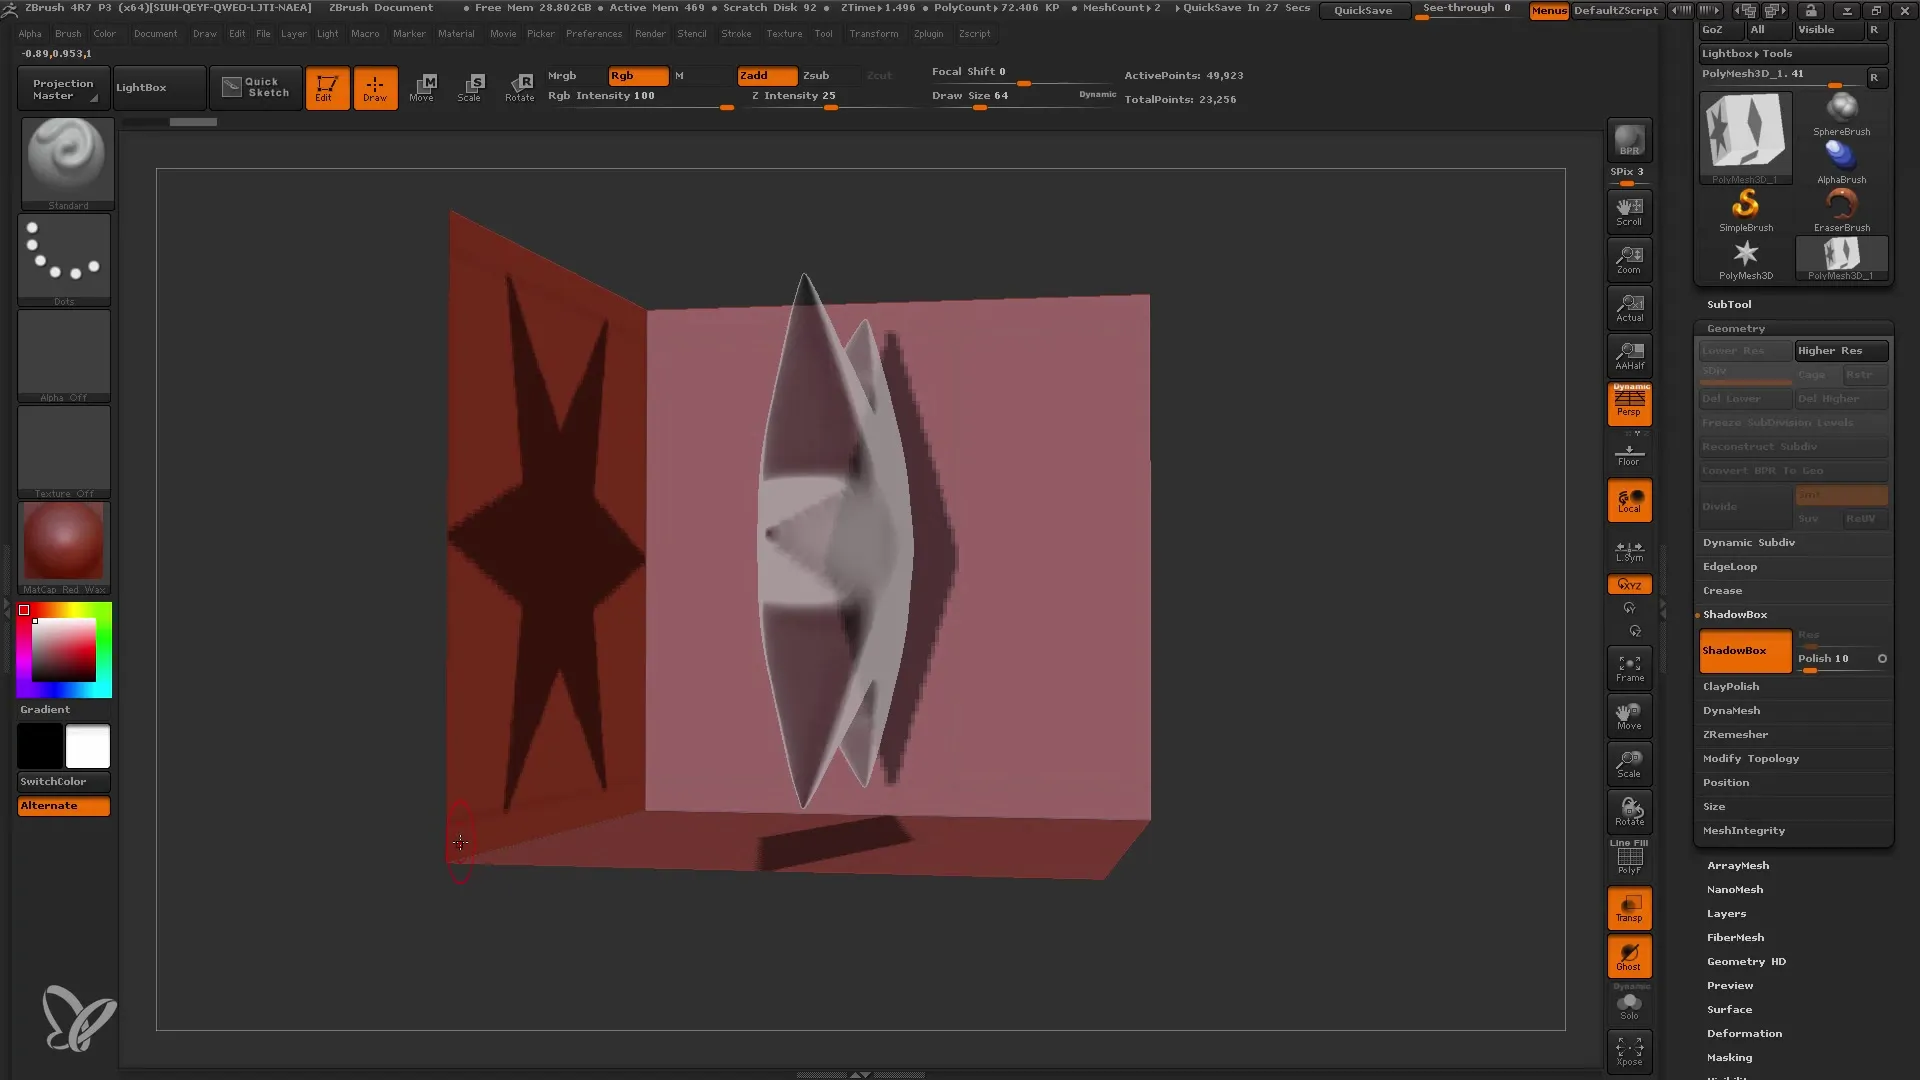
Step 3: Drawing in the Shadowbox
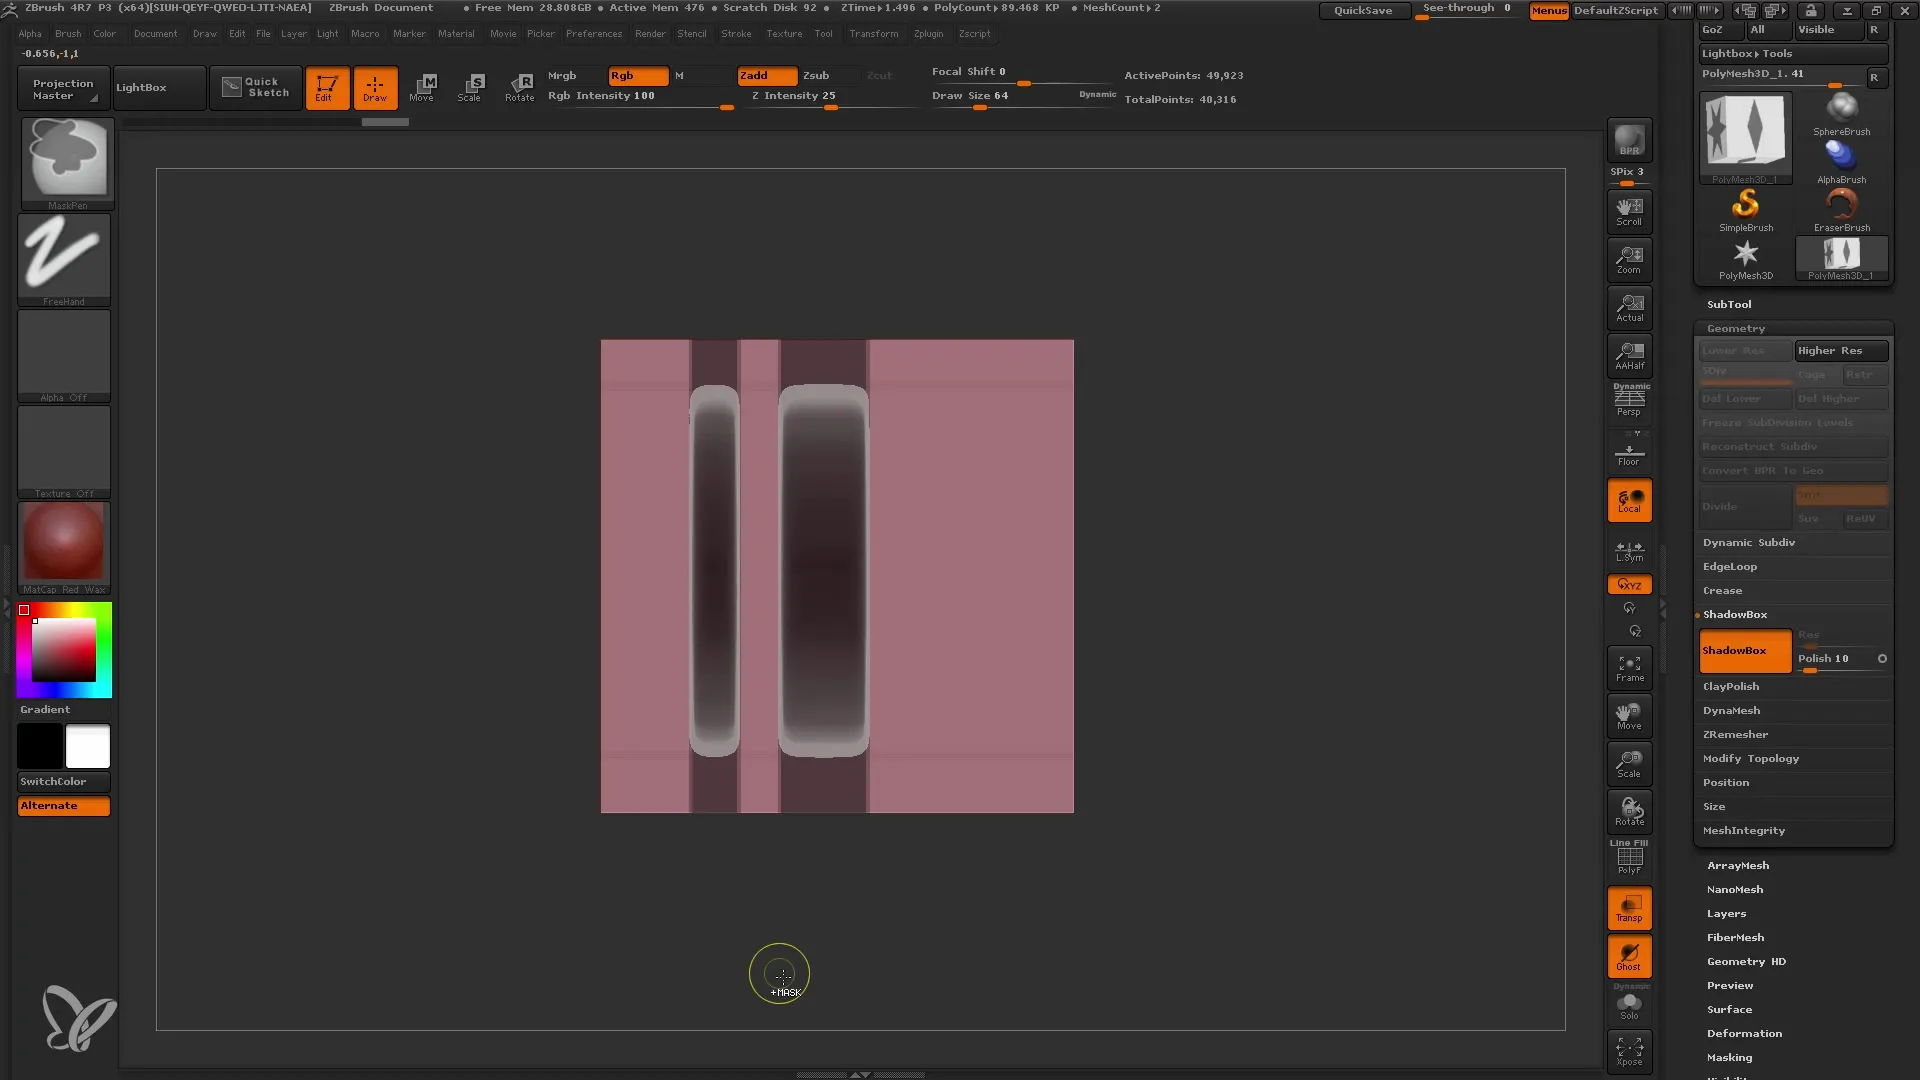
To draw in the Shadowbox, you need to unmask it first. Hold the Ctrl key to unmask the entire box. Now you can draw in the Shadowbox and easily use different views to better define your mesh.
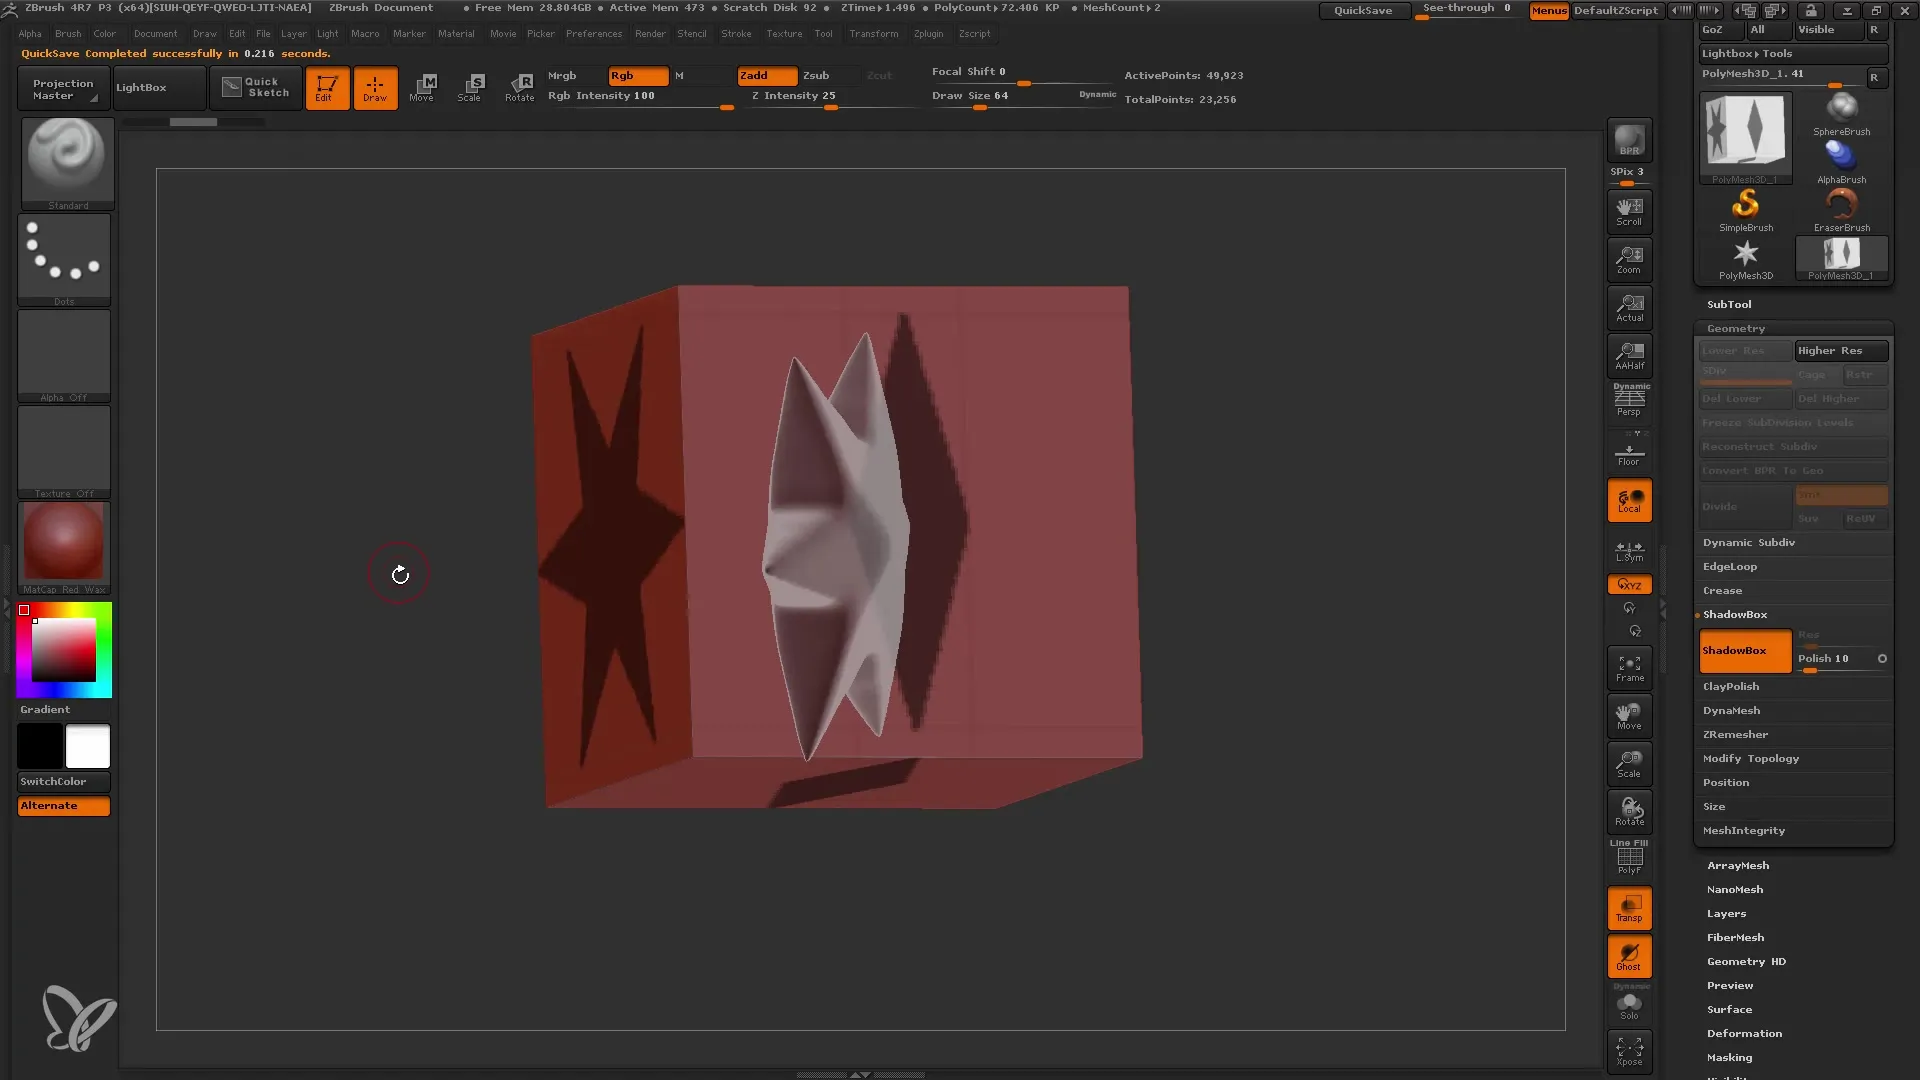
Step 4: Defining Shapes
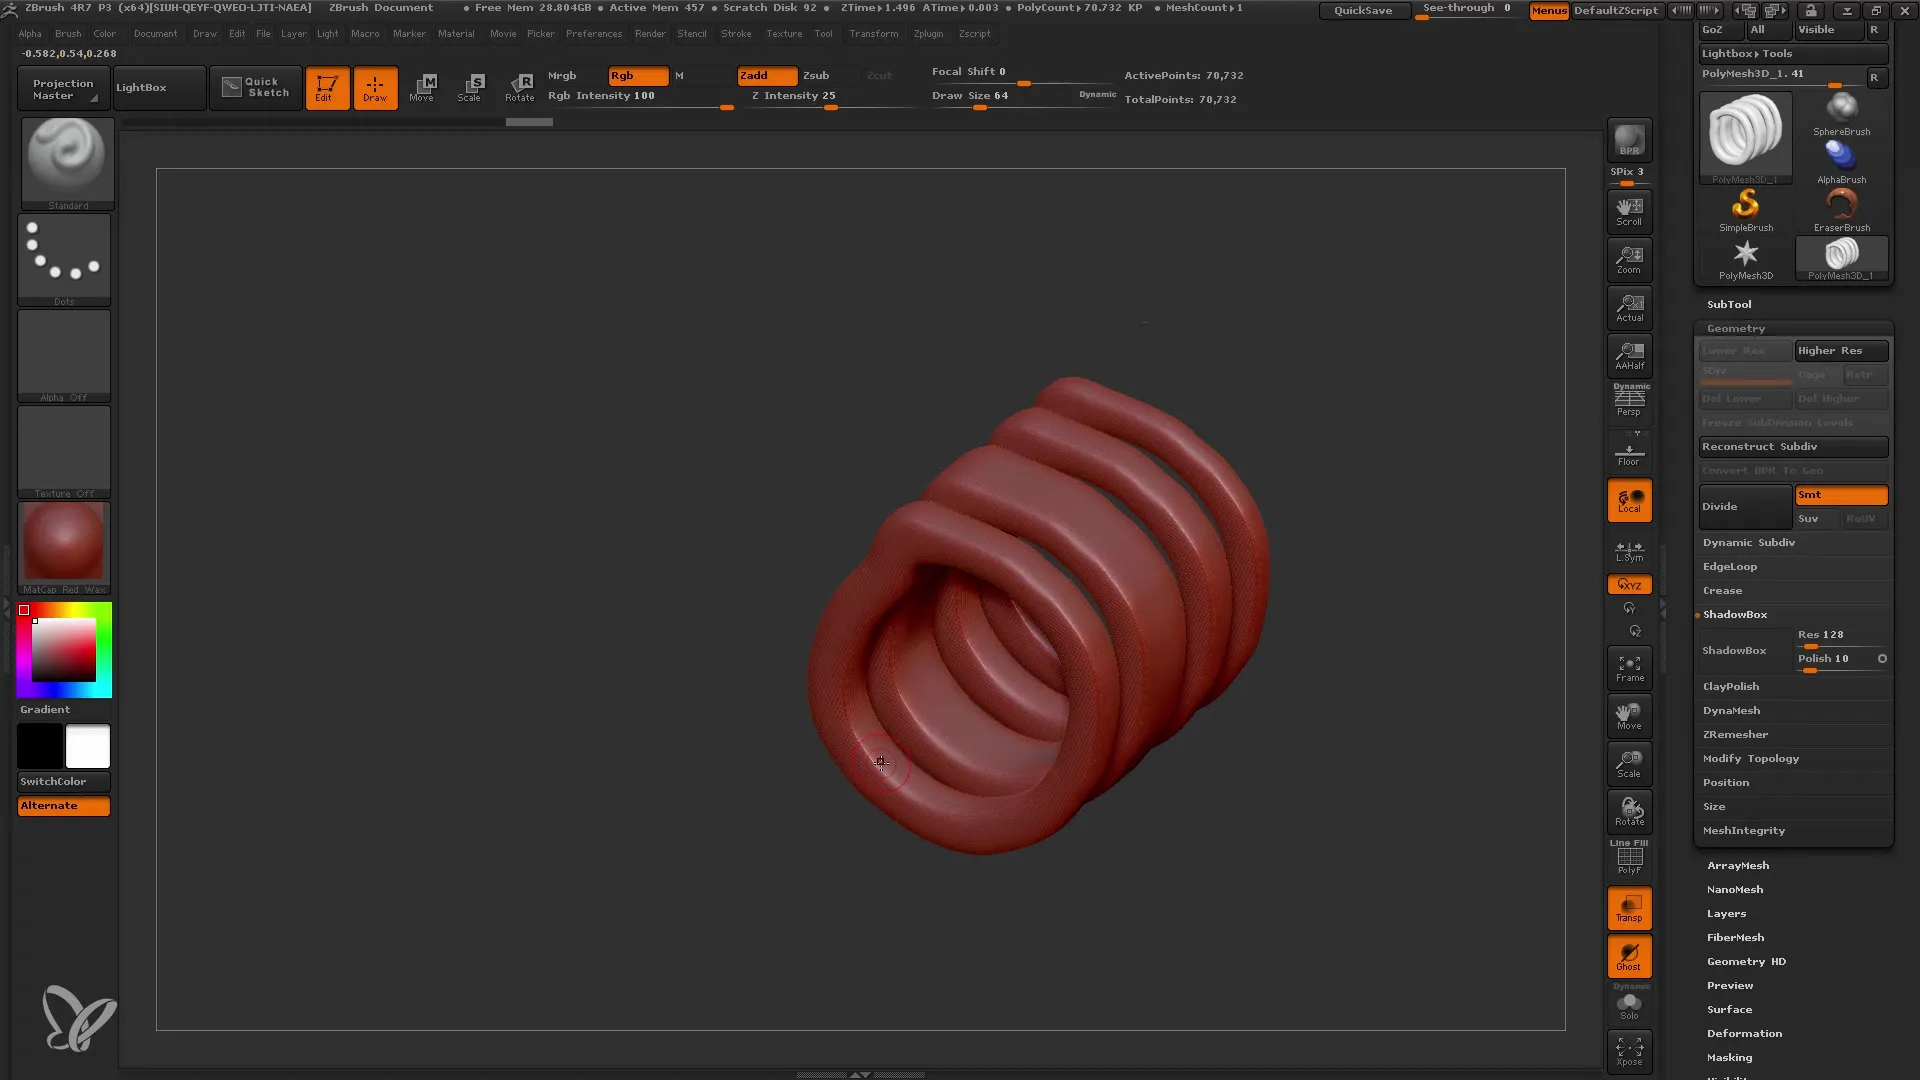
You can also create multiple rings or other shapes within the Shadowbox. Draw while holding the Ctrl key and define different views to get interesting geometries. This allows you to shape and optimize your mesh from multiple angles.
Step 5: Retaining Original Mesh
If you are not satisfied with the current design, turn off the Shadowbox and the original mesh will be preserved. Through adjustments and redrawing, you can continuously create new shapes.
Step 6: Utilize Freehand Tools
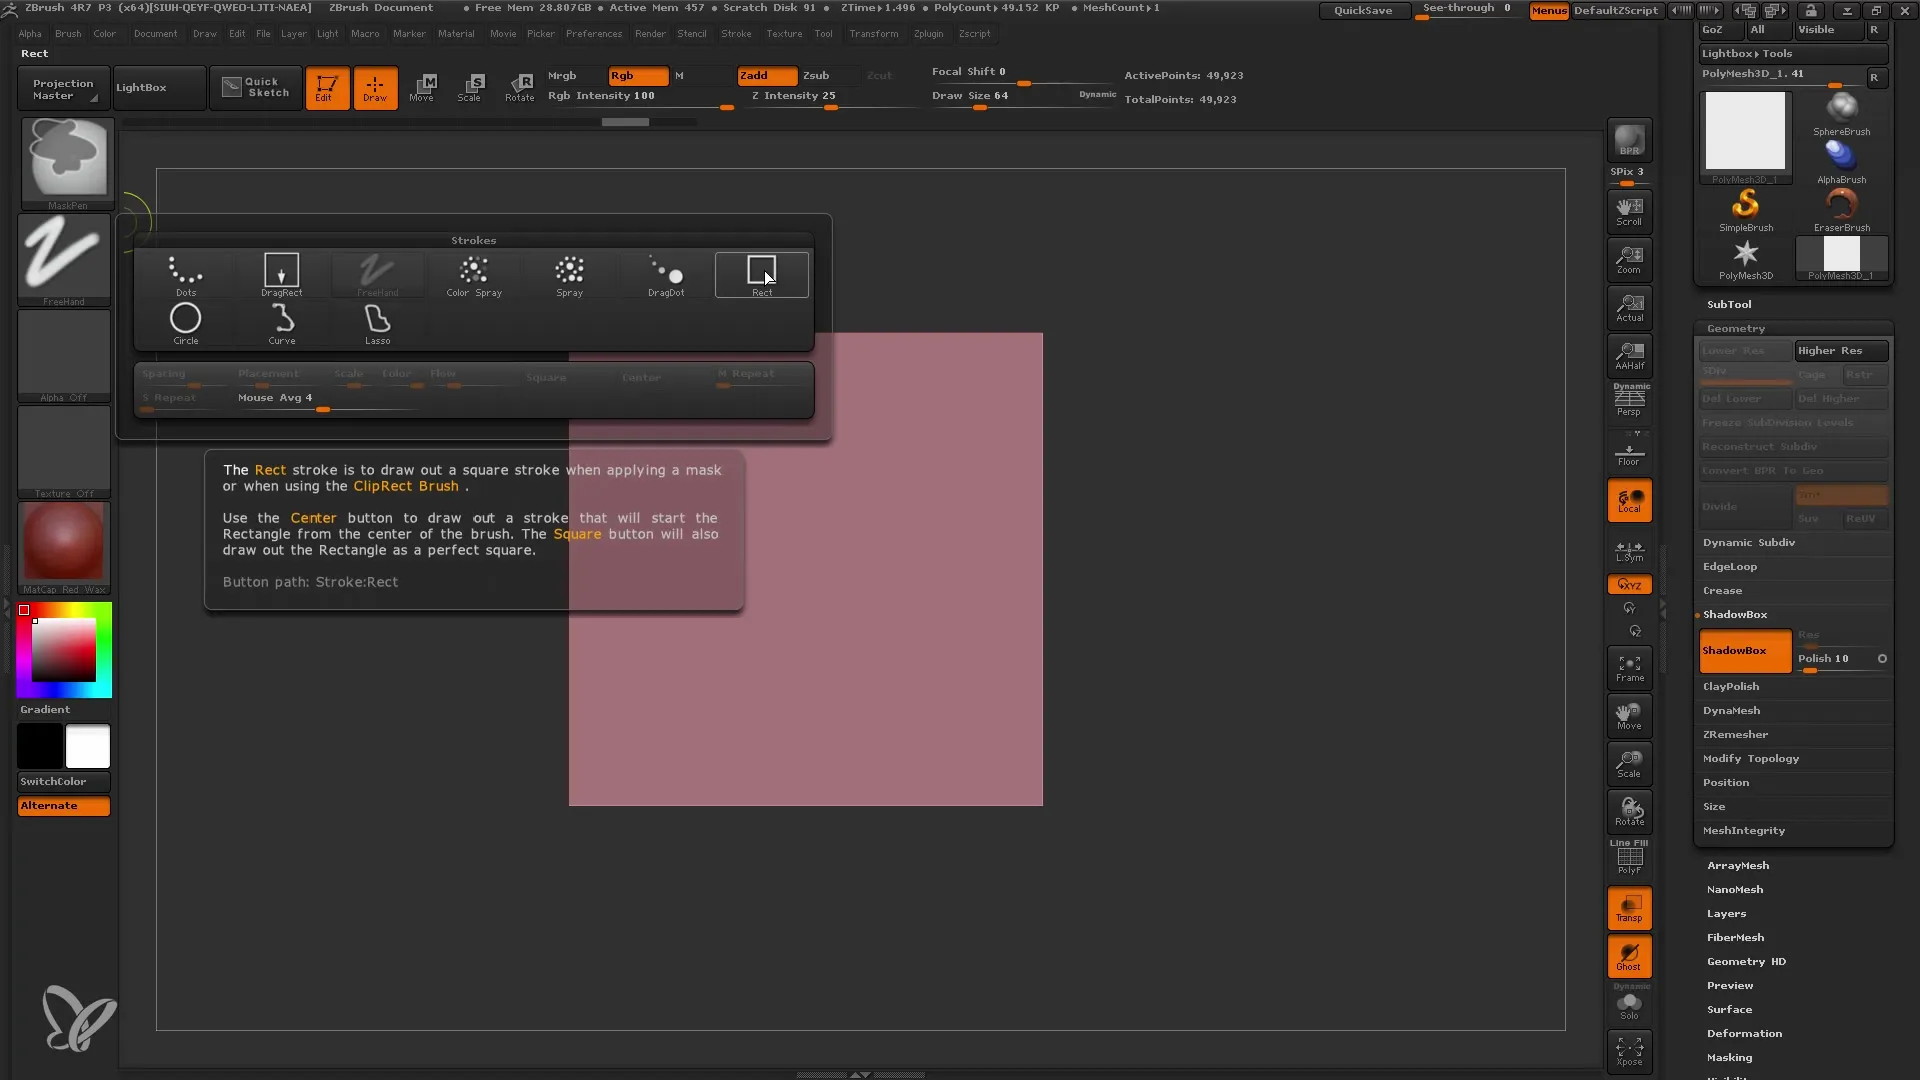
If you don't just want to make freehand drawings, you can also customize the drawing selection. Go to the rectangle option to create clean geometric shapes.
Step 7: Remove and Adjust Holes
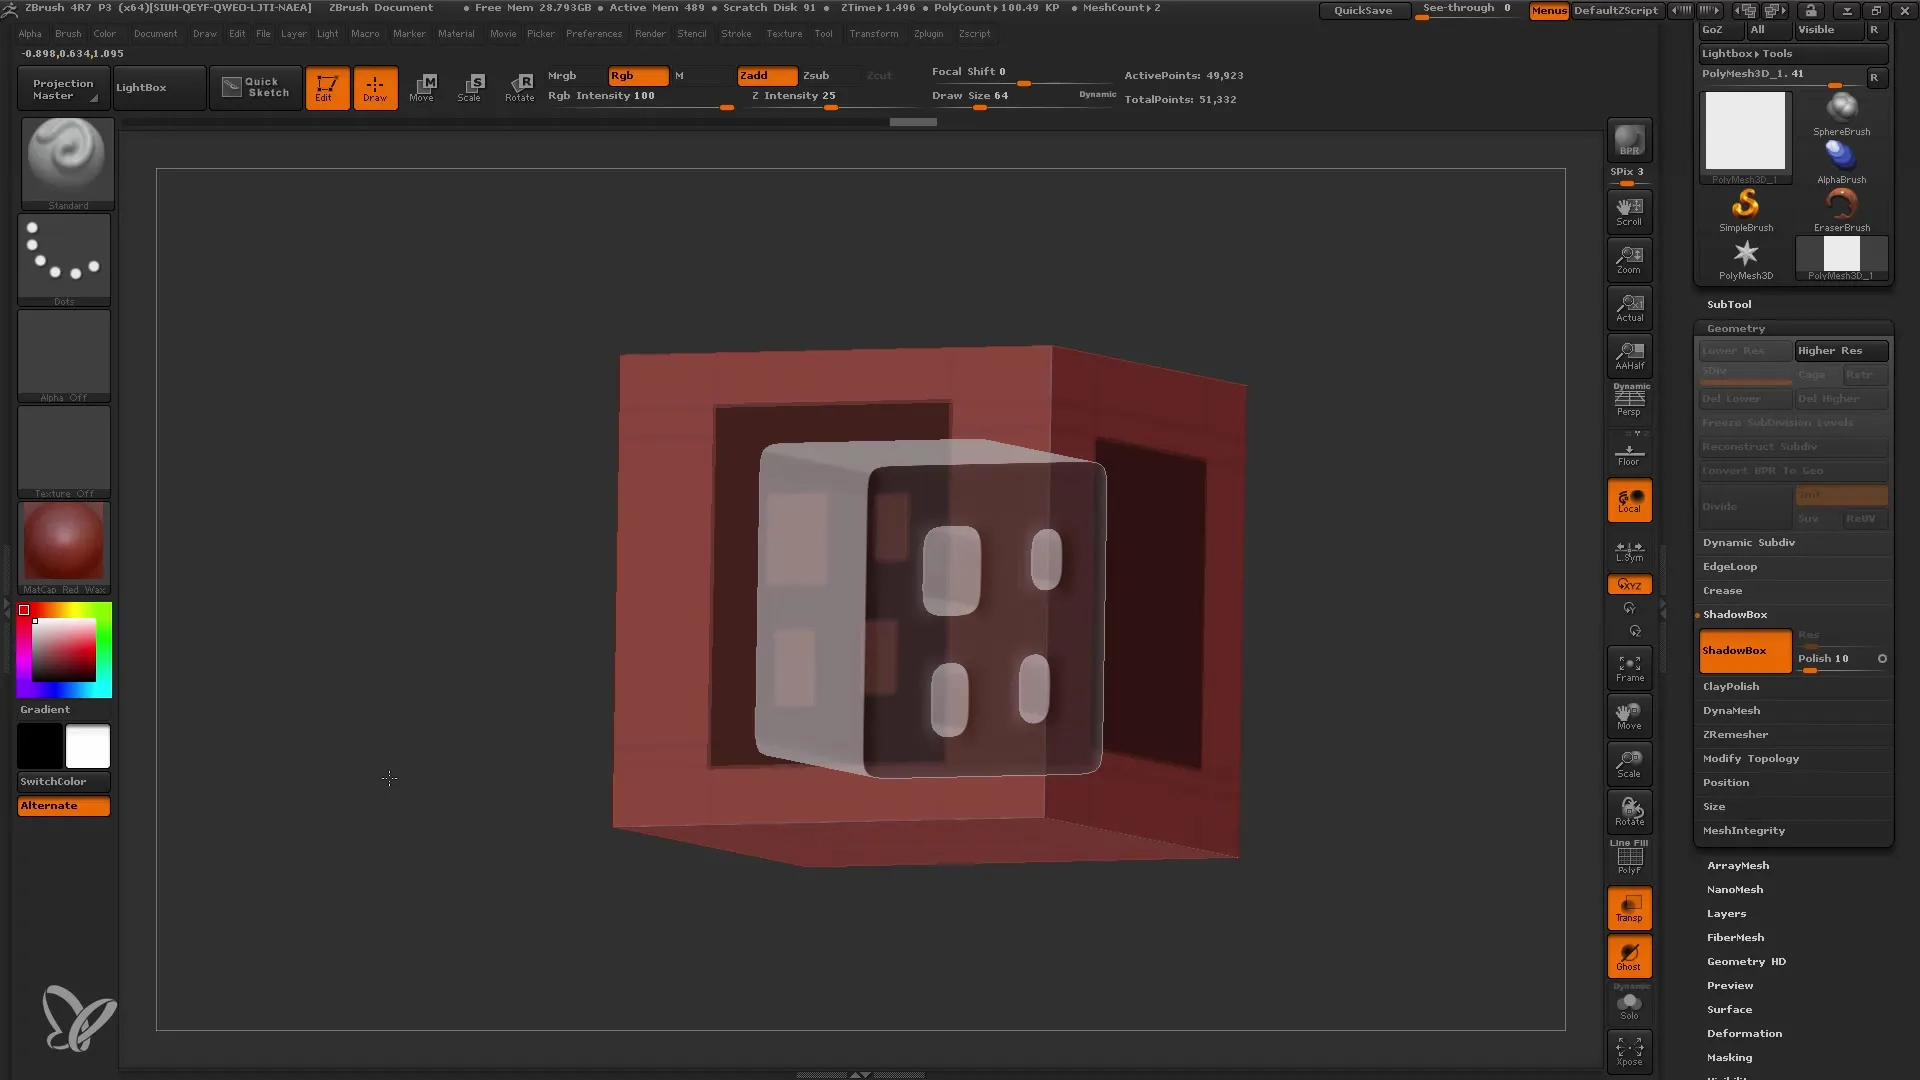
To mask holes, hold the Alt key while drawing your rectangle shapes. This way, you can quickly integrate holes or openings into your mesh, which is especially helpful when creating complex designs.
Step 8: Use Radial Symmetry
To achieve more dynamic designs, use radial symmetry. Hold the Ctrl key and create shapes that can resemble flowers or gears.
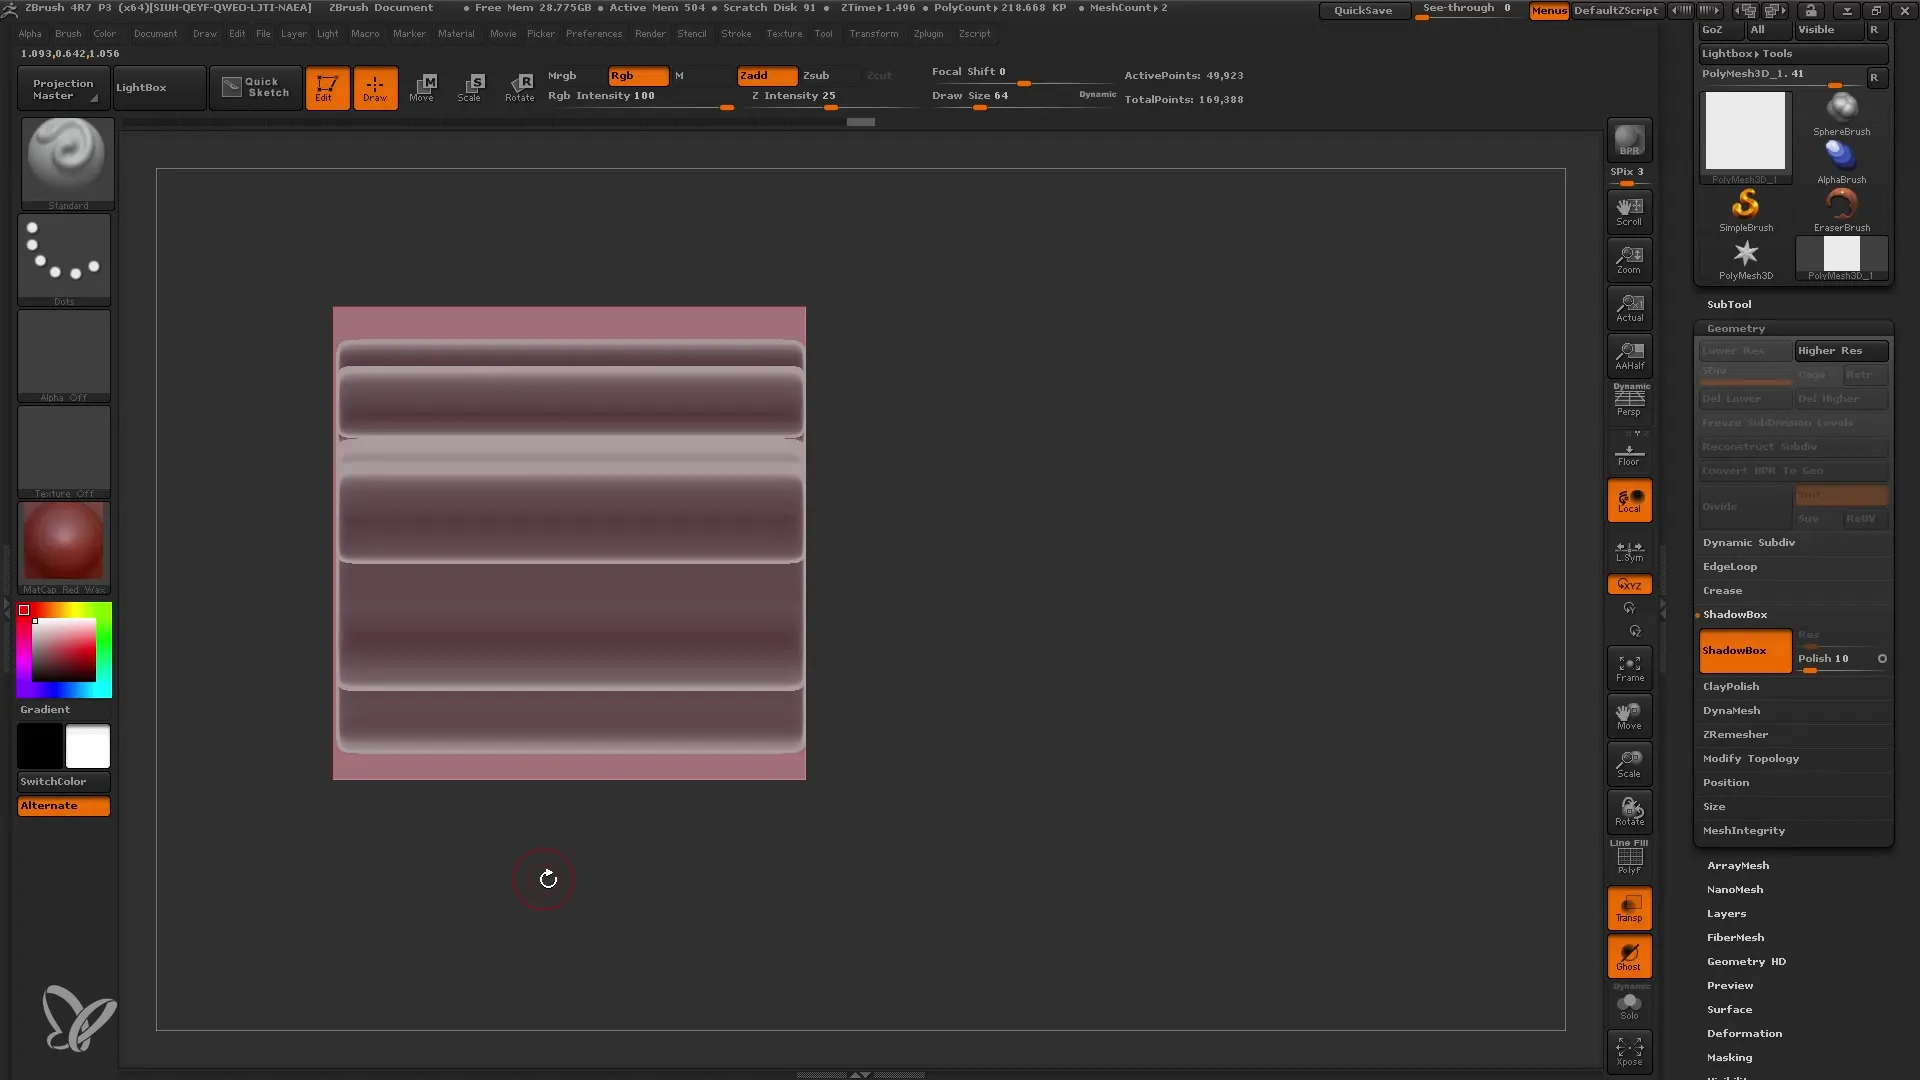
Step 9: Importing Shapes from Alphas
If you want to use specific shapes from external files, load their alphas into ZBrush. Select your masking brush and import your alpha to quickly create interesting designs. Make sure that white areas are active and black areas are inactive.
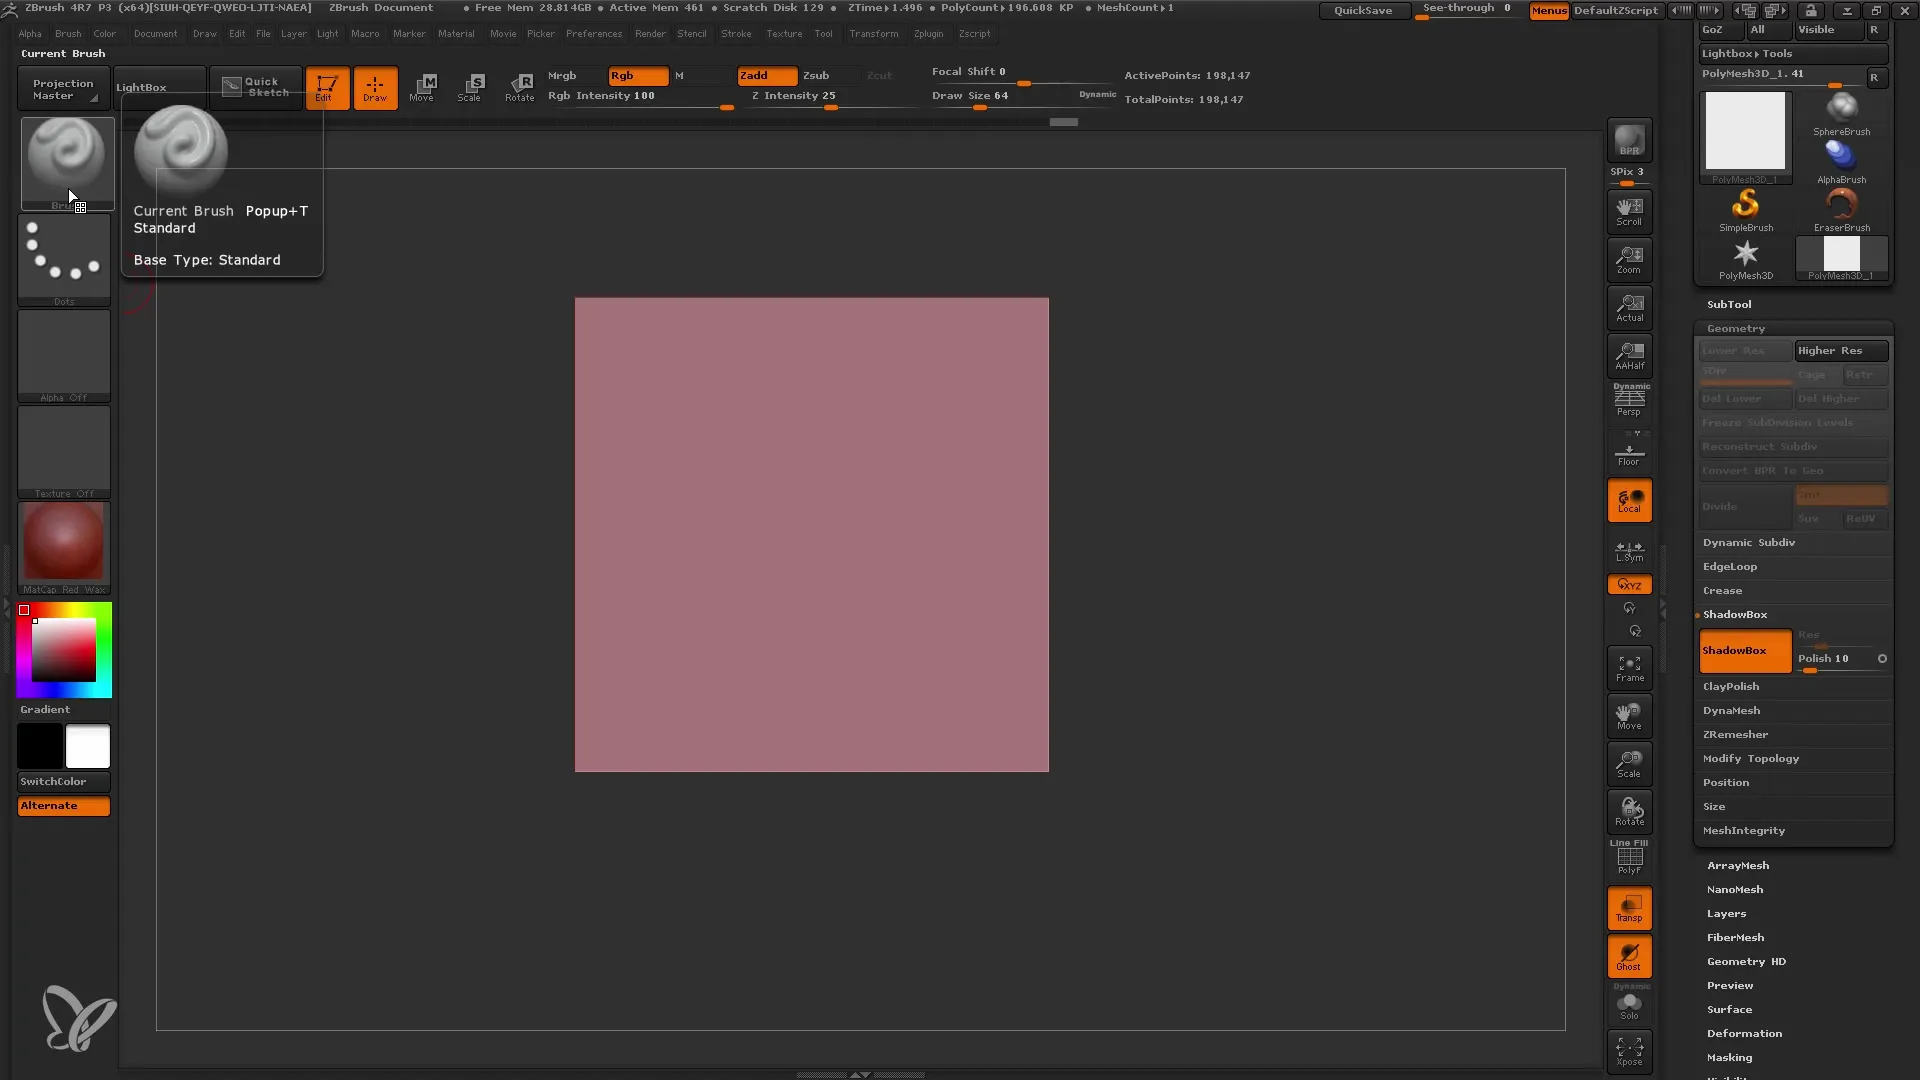
Step 10: Refinement of your model
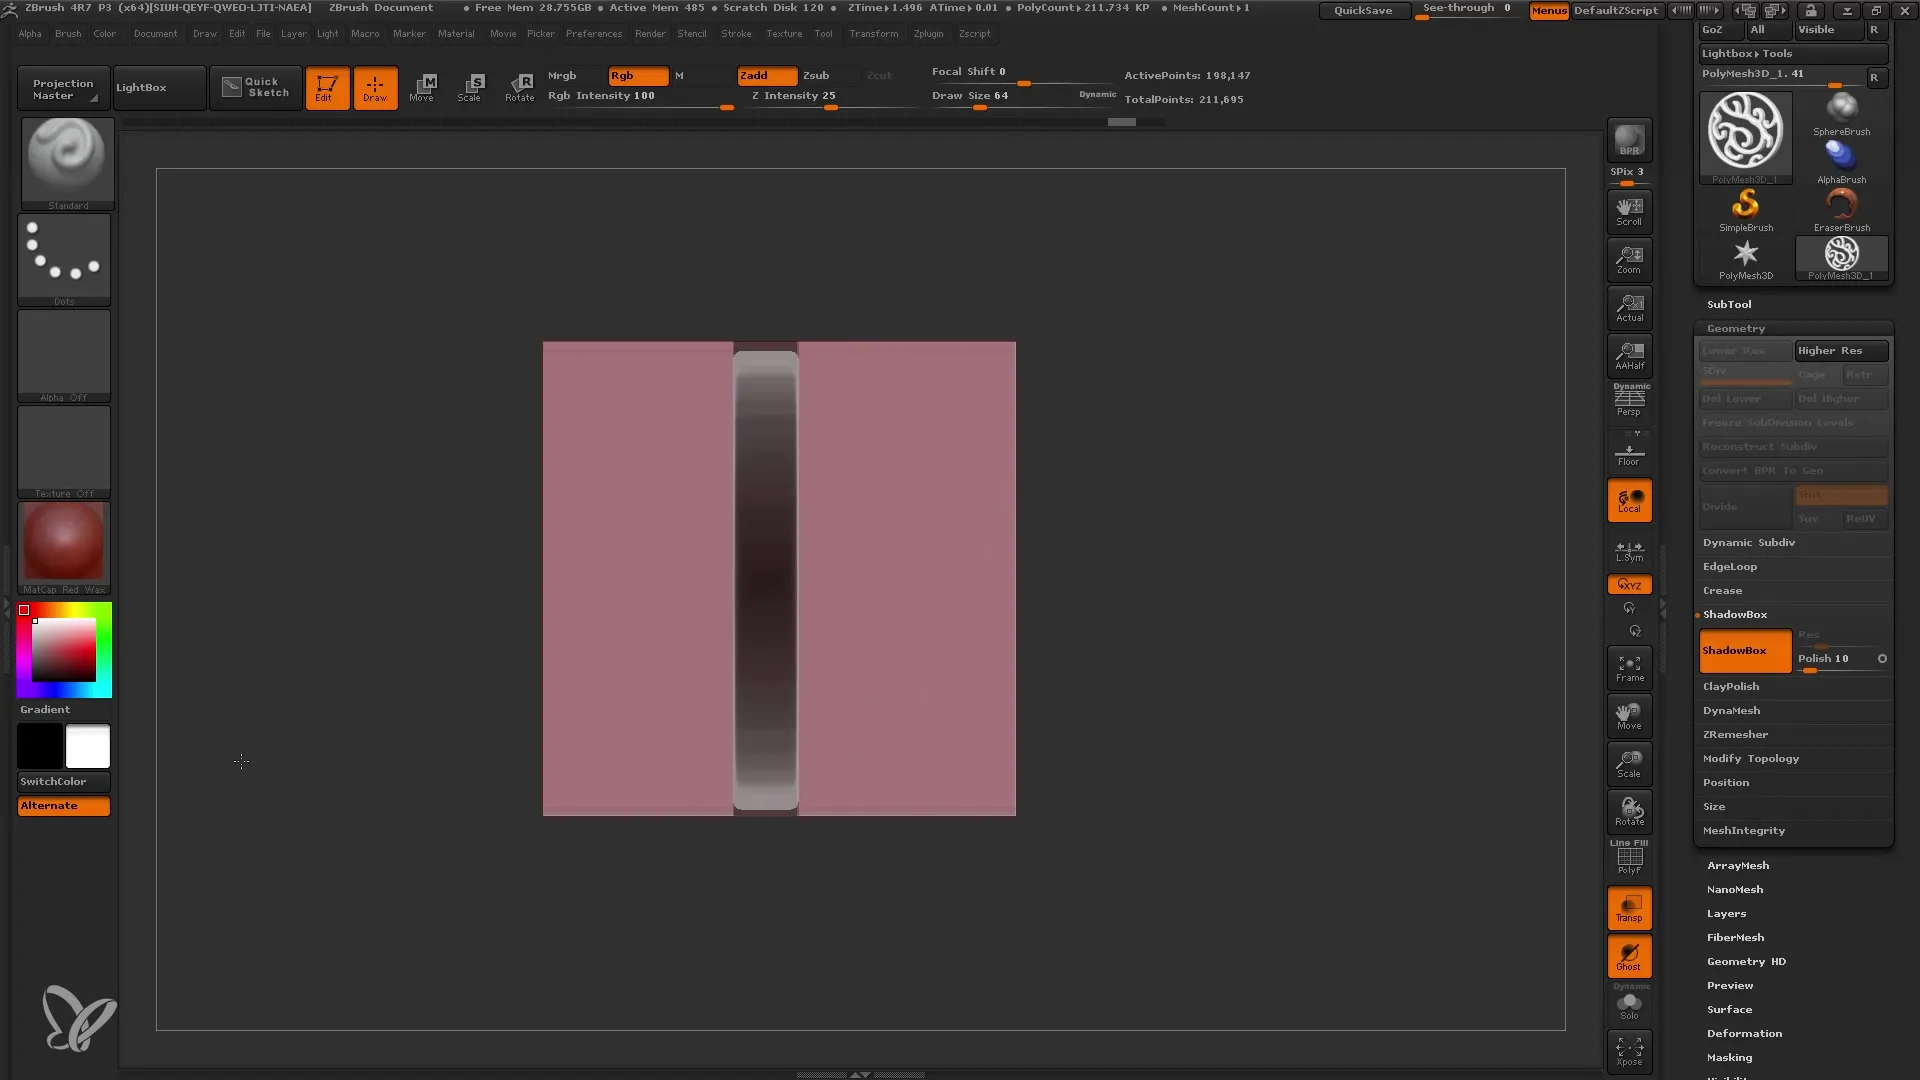
After creating your mesh with the Shadowbox, you can further refine it. If it's too thick, use the (De)Masking functions to adjust specific areas.
Summary
The Shadowbox is an incredibly useful tool that allows you to quickly create complex meshes and refine them through (De)Masking and Alphas. With some practice, you can significantly increase the efficiency of your designs and generate unique shapes.
Frequently Asked Questions
What is the Shadowbox in ZBrush?The Shadowbox is a tool in ZBrush that allows you to quickly create complex meshes by defining shapes through masking.
How can I start with the Shadowbox?You start by selecting any mesh, going into Edit Mode, and activating the Shadowbox under the Geometry menu.
Why should I turn off perspective?Turning off perspective helps keep the correct views of your meshes, which is important for precise work.
Can I import alphas into the Shadowbox?Yes, alphas can be imported to create specific shapes that can then be used in the Shadowbox.
How can I create holes in meshes?You can create holes by holding down the Alt key while drawing maskings in the desired shape.
