In this tutorial, you will learn the basics of the ArrayMesh function in ZBrush. This function allows you to duplicate and arrange any mesh in various ways. Whether you want to create a simple object or complex structures, ArrayMesh offers you versatile options to unleash your creativity and develop impressive designs. Let's dive into the different steps without further ado and find out how you can effectively use ArrayMesh.
Main Insights
- ArrayMesh is a powerful tool for arranging meshes in ZBrush.
- You can create varied patterns through offset, scale, and rotation.
- The function allows you to create both simple and complex designs by combining multiple stages.
Step-by-Step Guide
First Step: Create a Mesh and Activate ArrayMesh
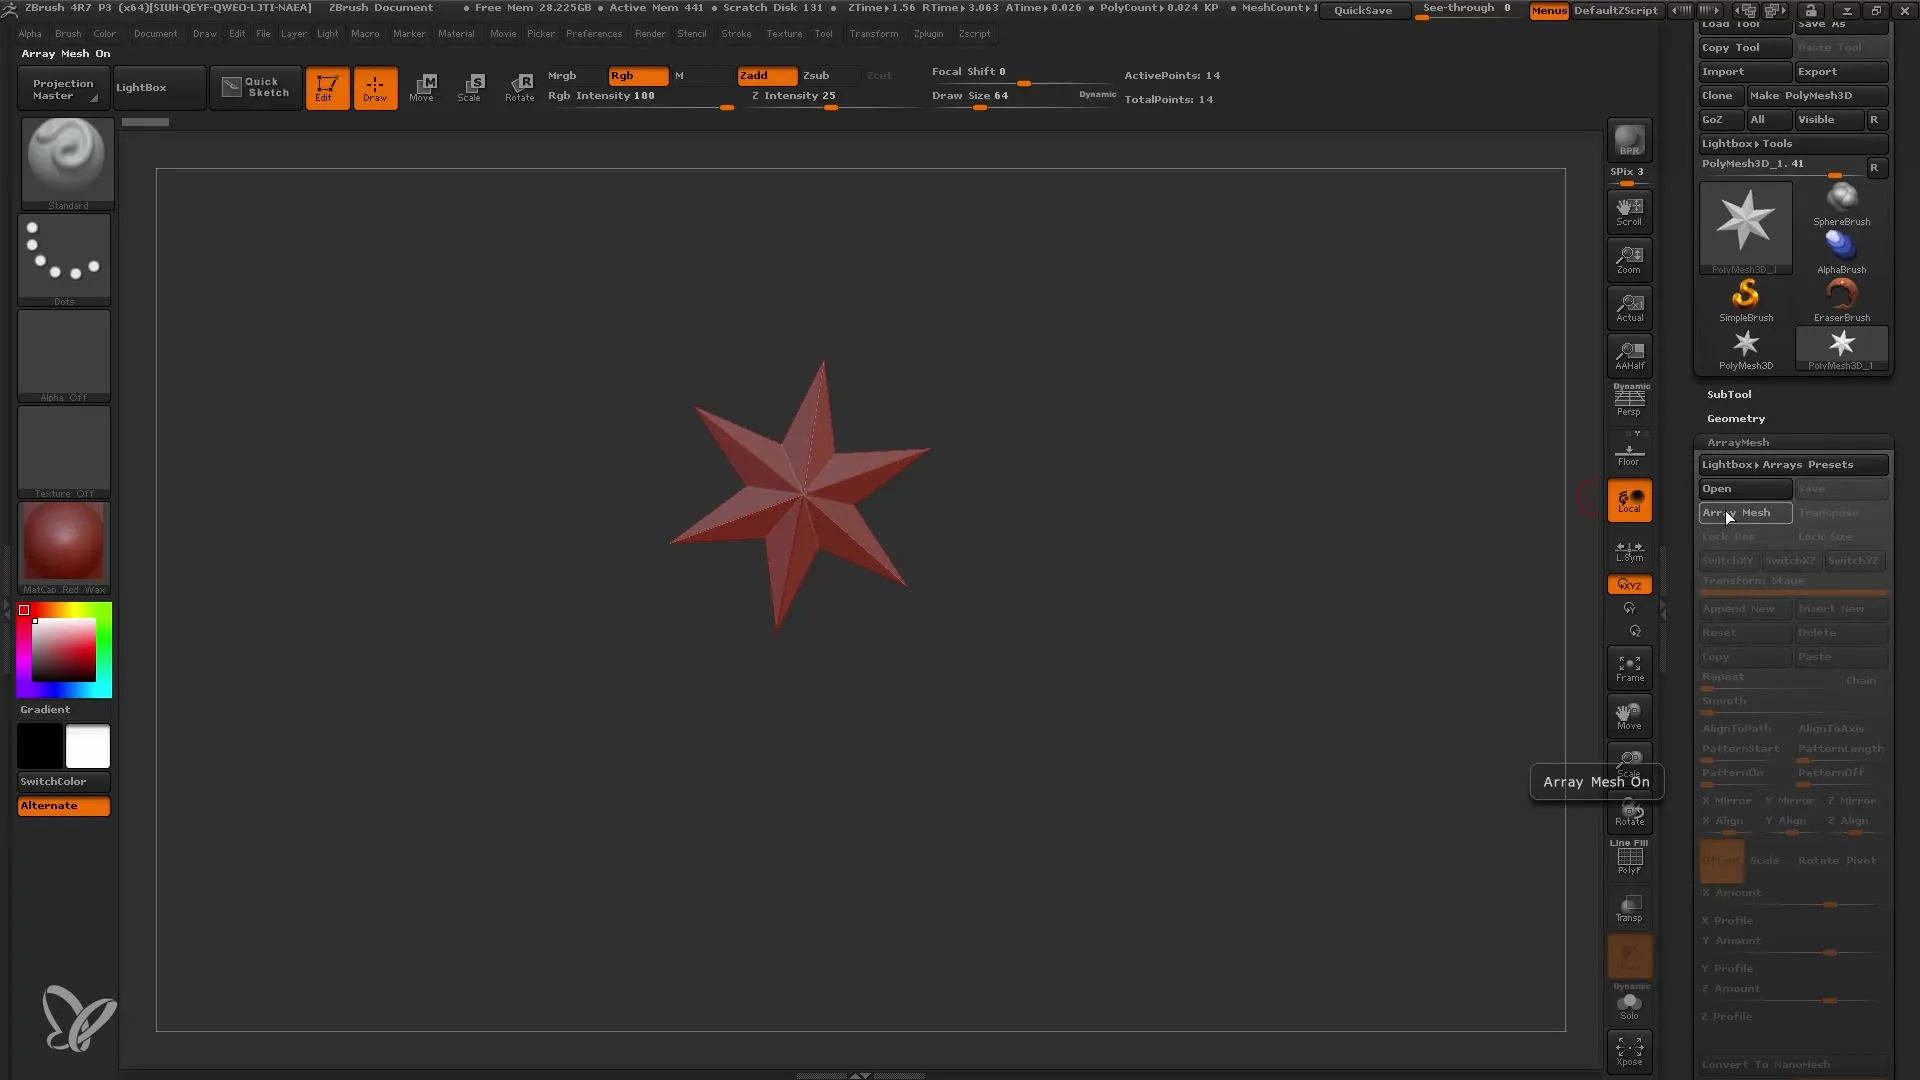
Start with any mesh you want to duplicate. In our example, we are using a star as it is clearly visible when arranged in an array. Make sure you are in Edit Mode.
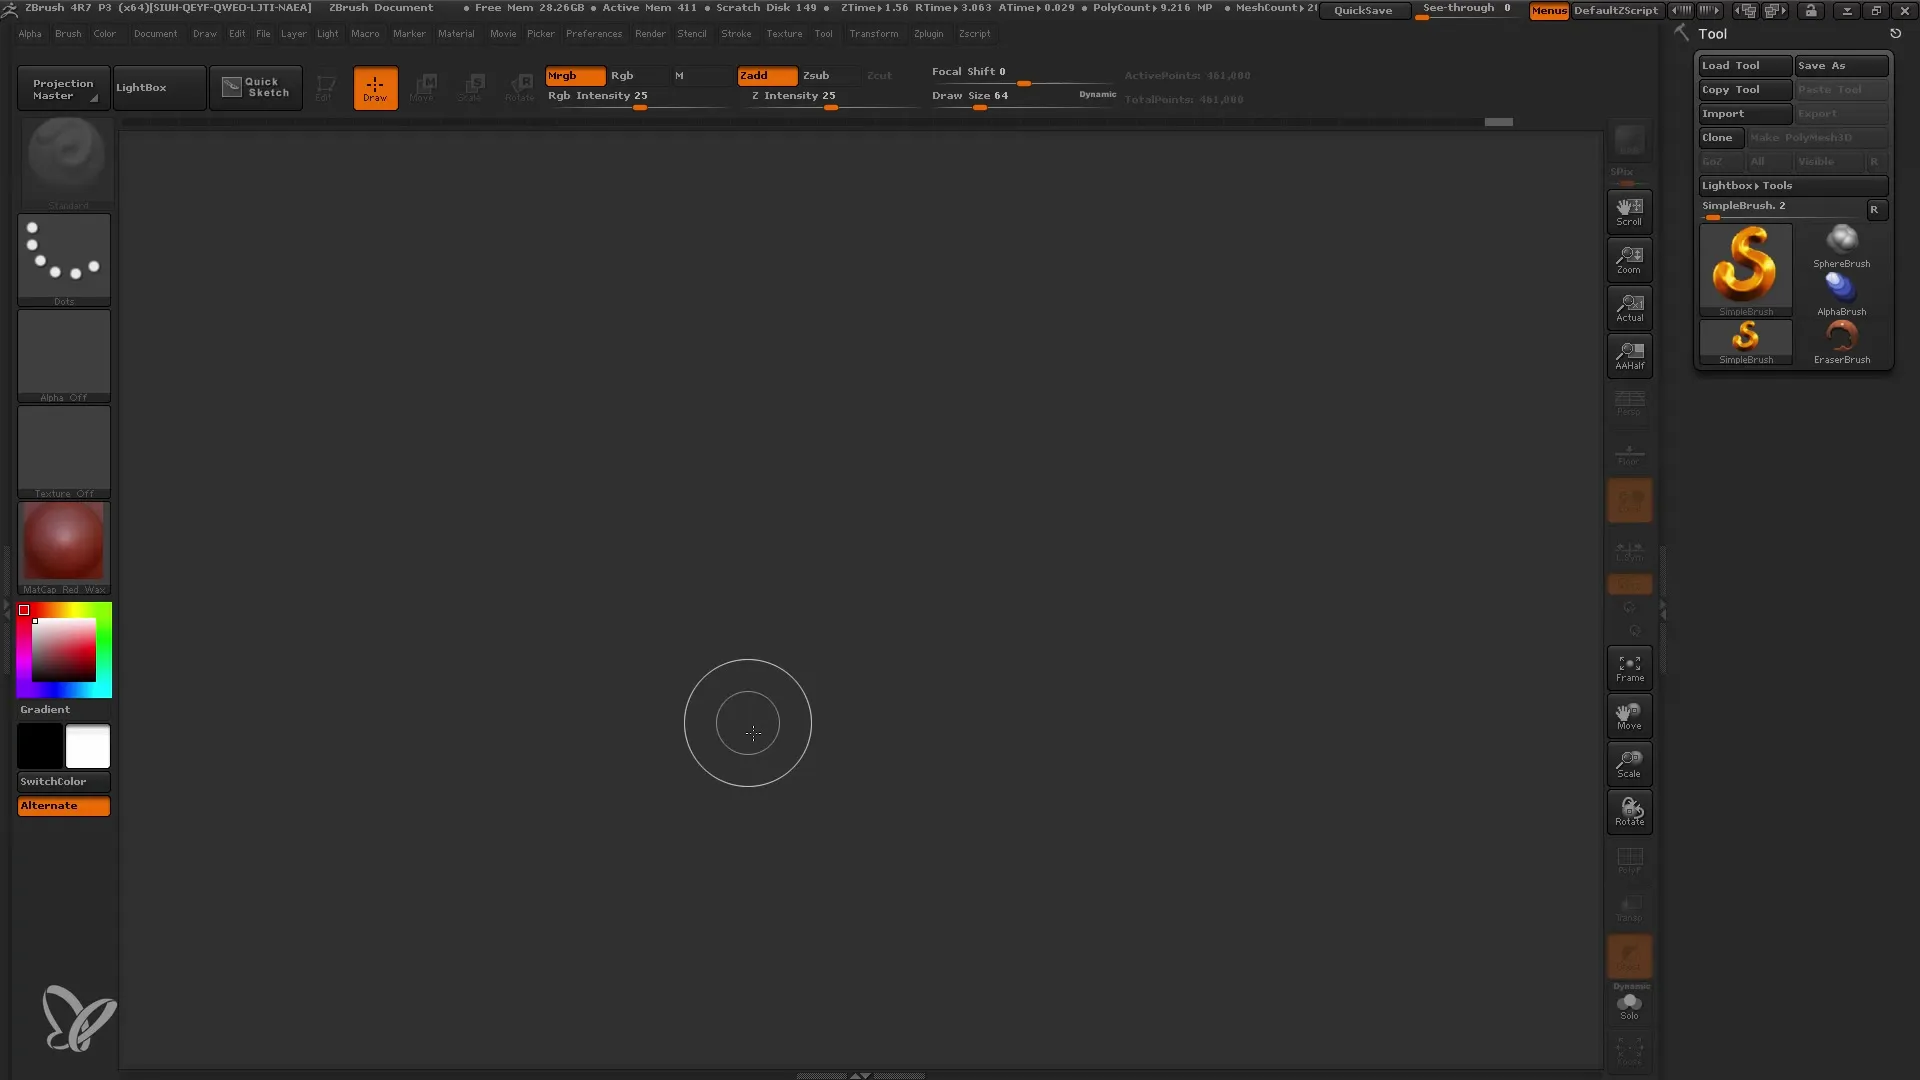
Navigate to ArrayMesh in the Tool Palette and activate the function. Initially, nothing may appear visible, but don't worry, as you will have access to a variety of options to help you customize your mesh.
Second Step: Create the First Array
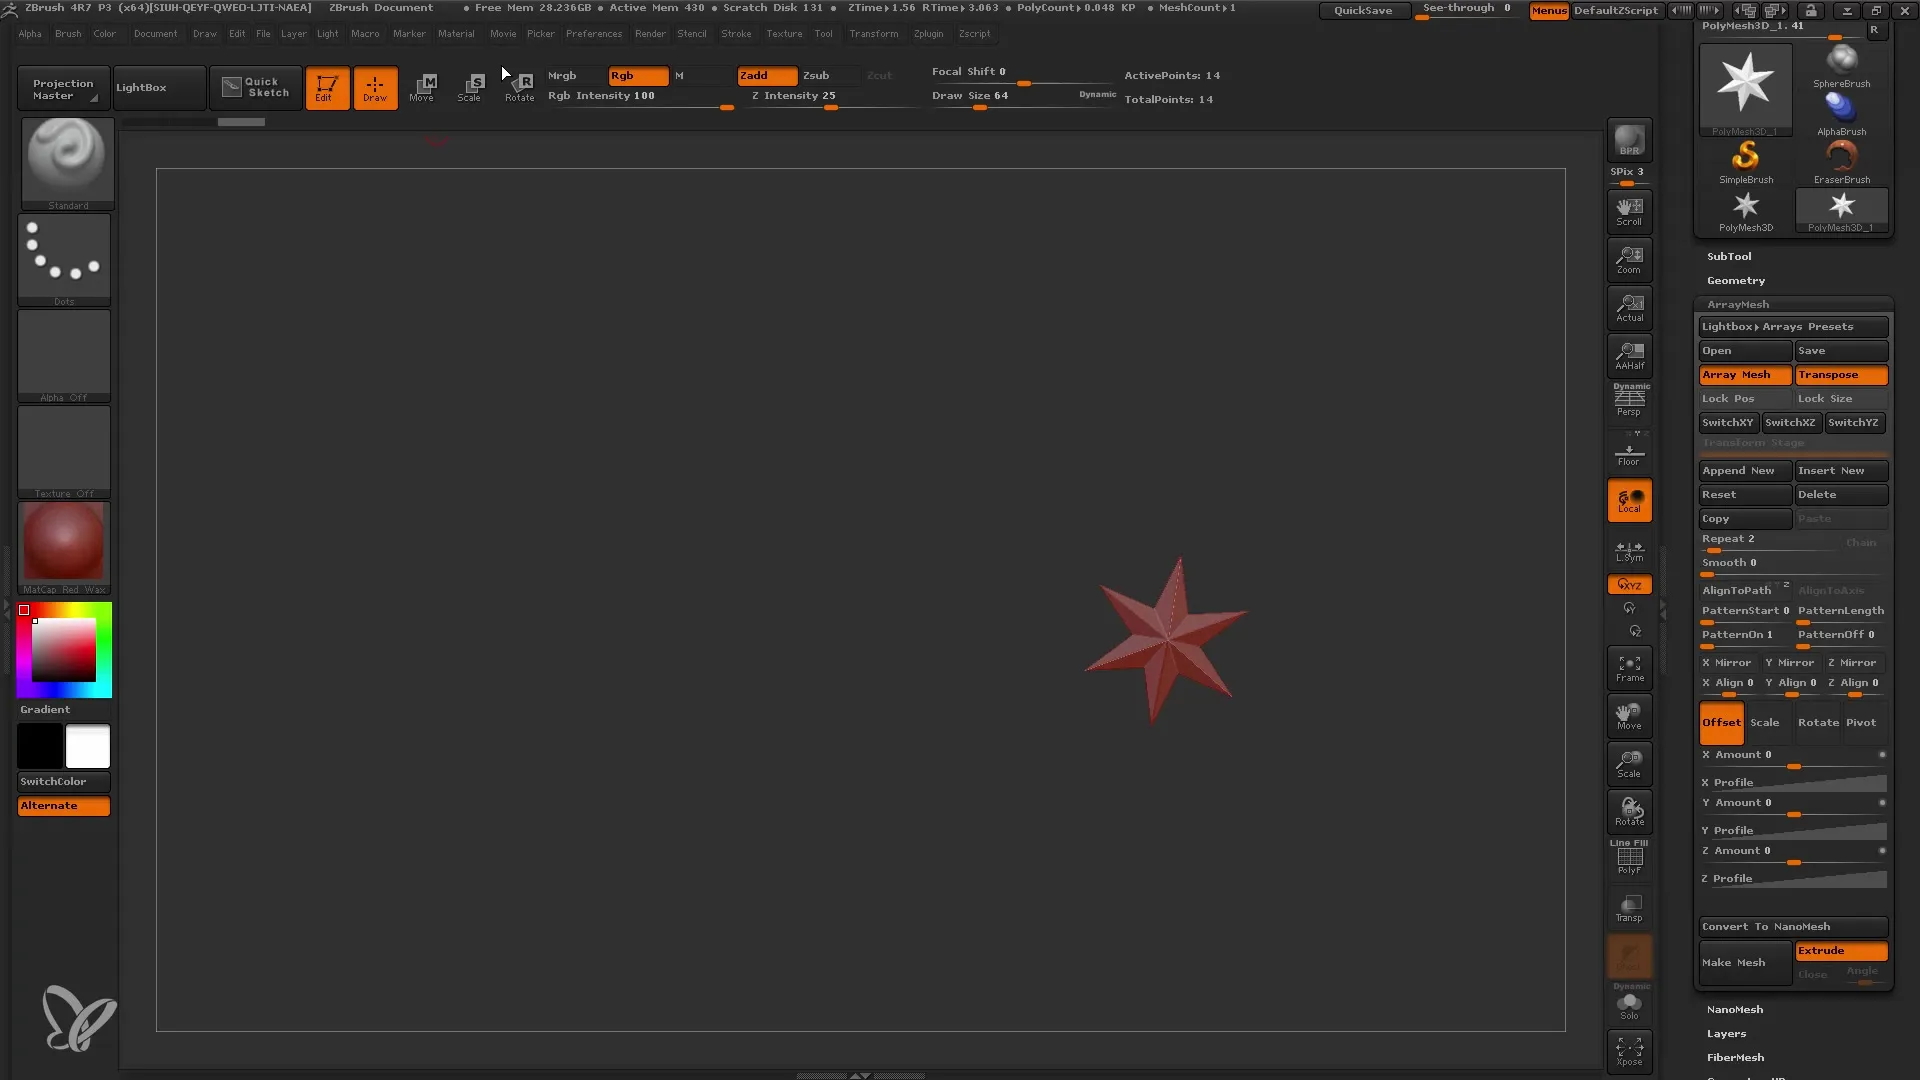
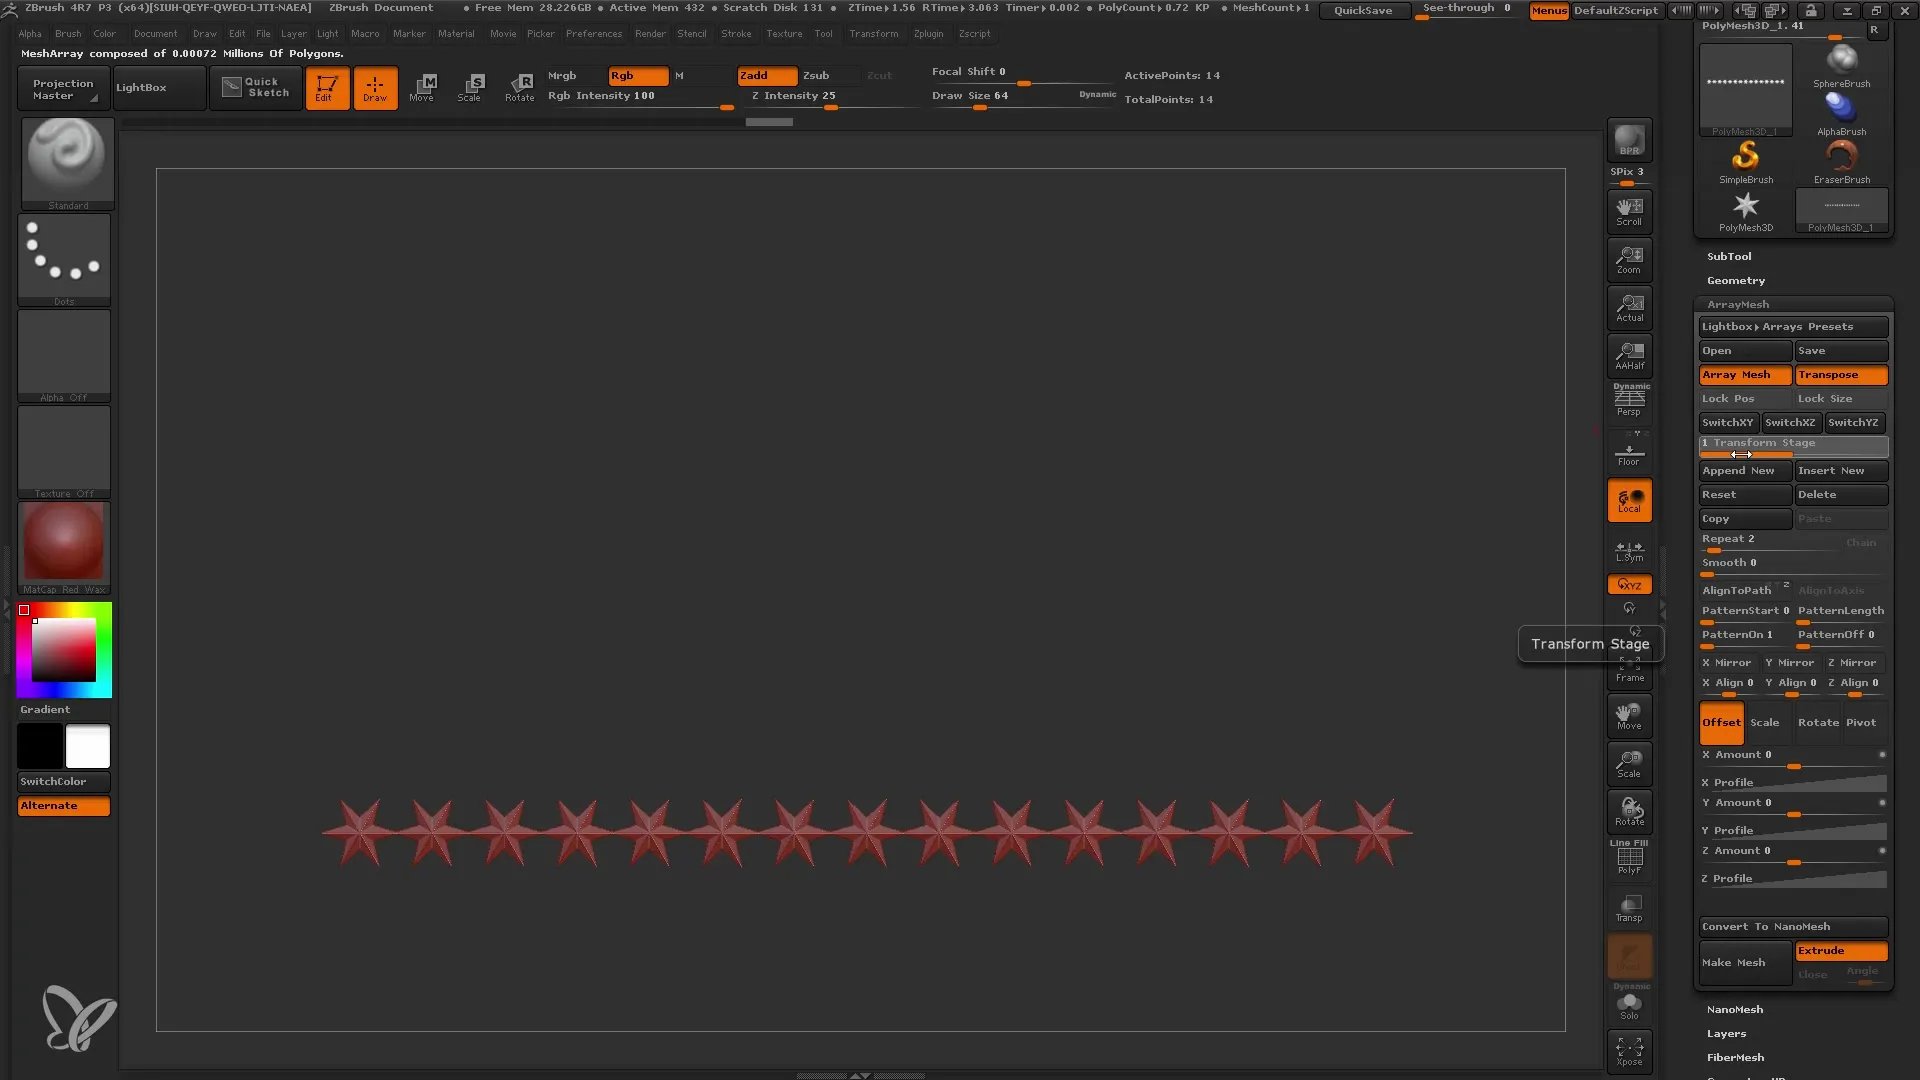
To arrange your star horizontally, activate Transpose Mode. With the Transpose Tool, you can easily position your mesh. Select the Move mode in the Transpose Tool and drag your star to the side while holding the Shift key to ensure a straight line.
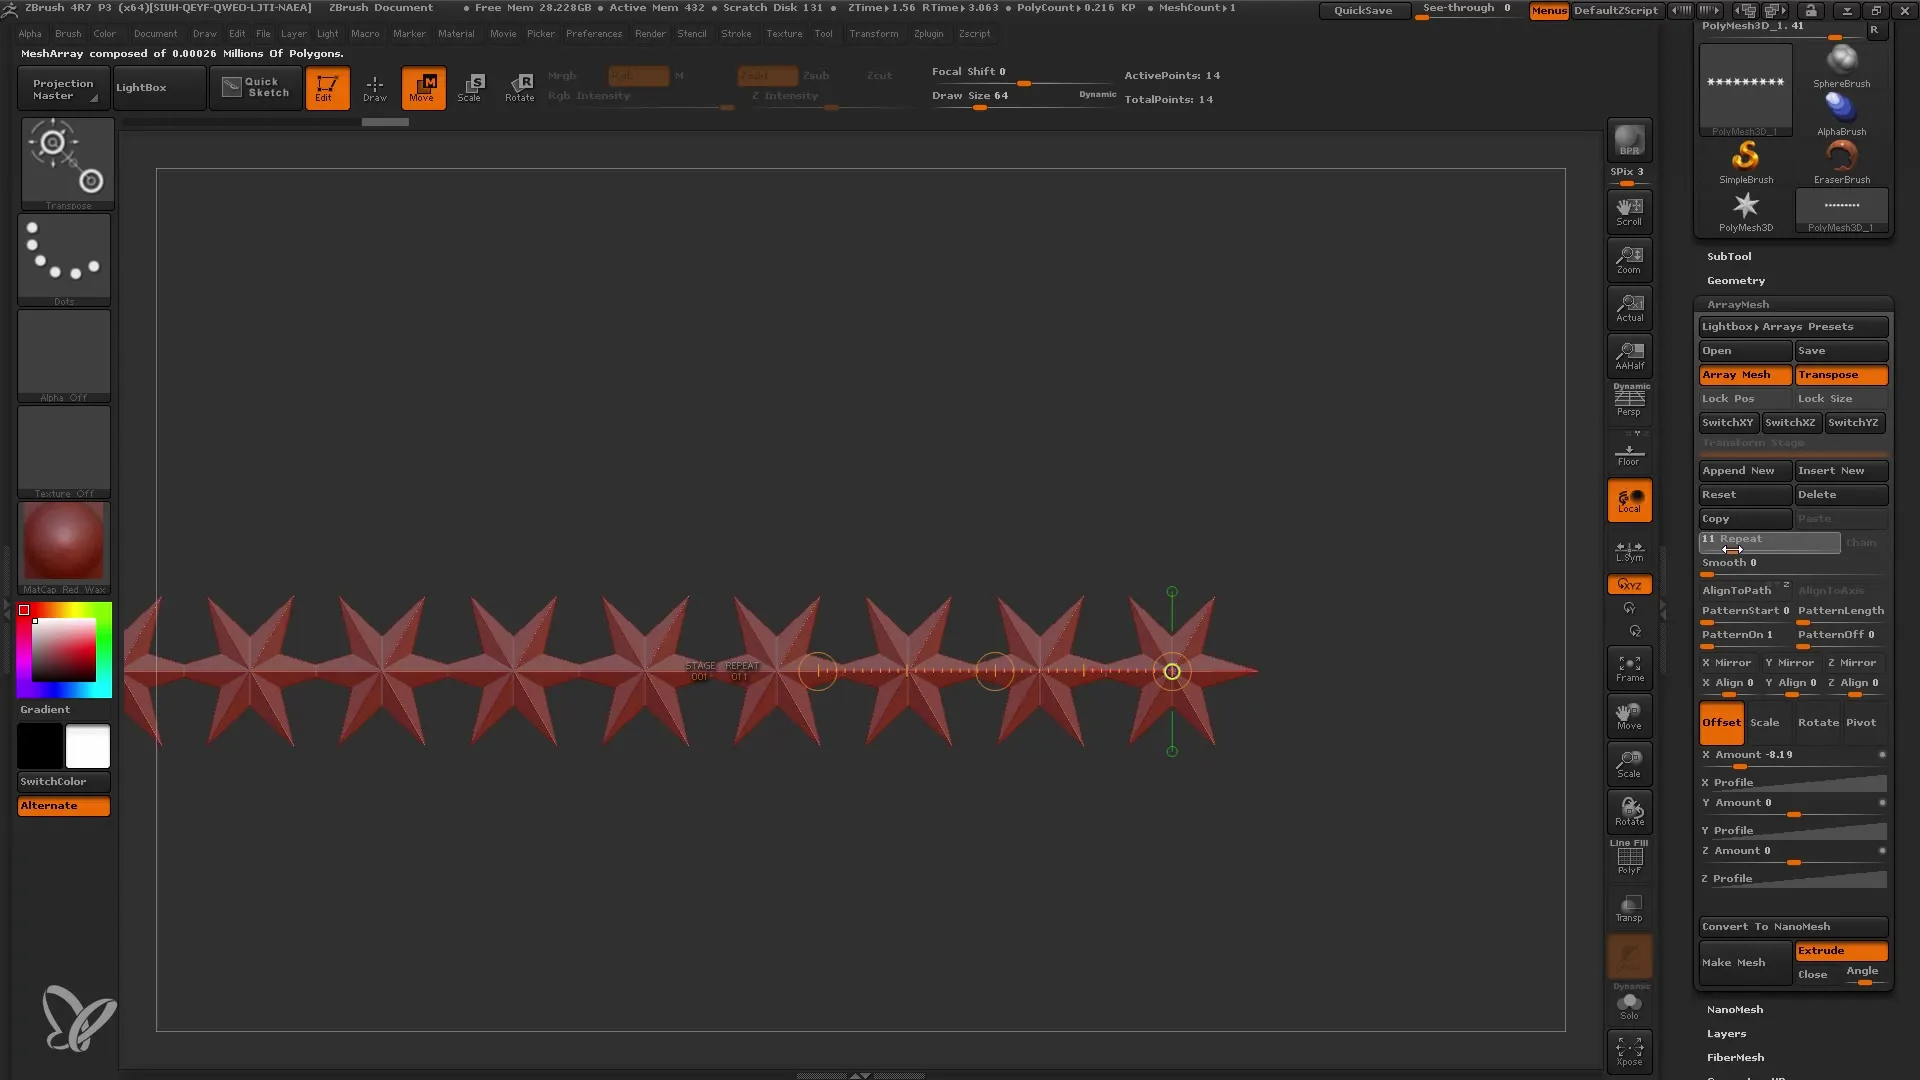
The goal is to arrange about 12 stars side by side. You can quickly adjust the number of stars by increasing the Repeat value. For example, set it to 10 and confirm with the Enter key.
Third Step: Adjust the Offset
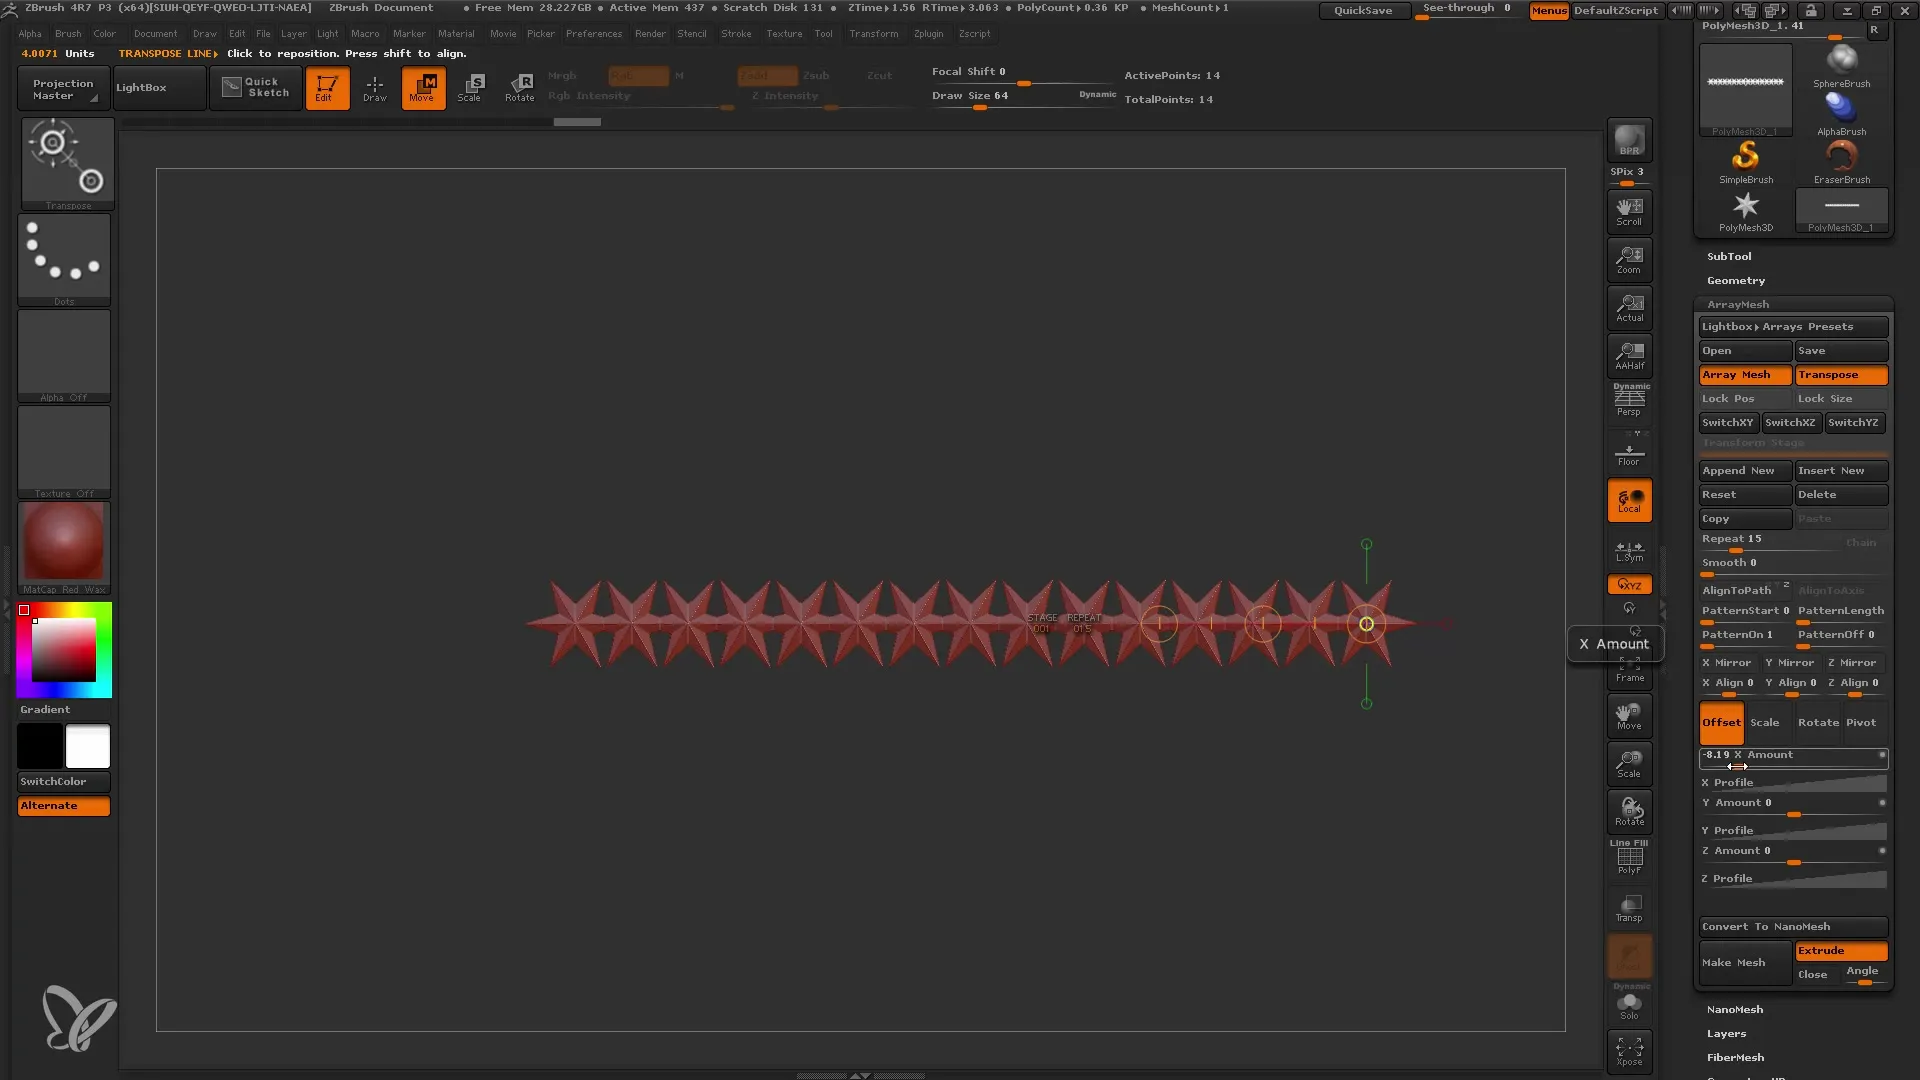
Once you have set the number of stars, you can adjust the offset. The offset is the displacement of the original mesh and is set in the X direction. You can vary the existing value to evenly distribute the stars.
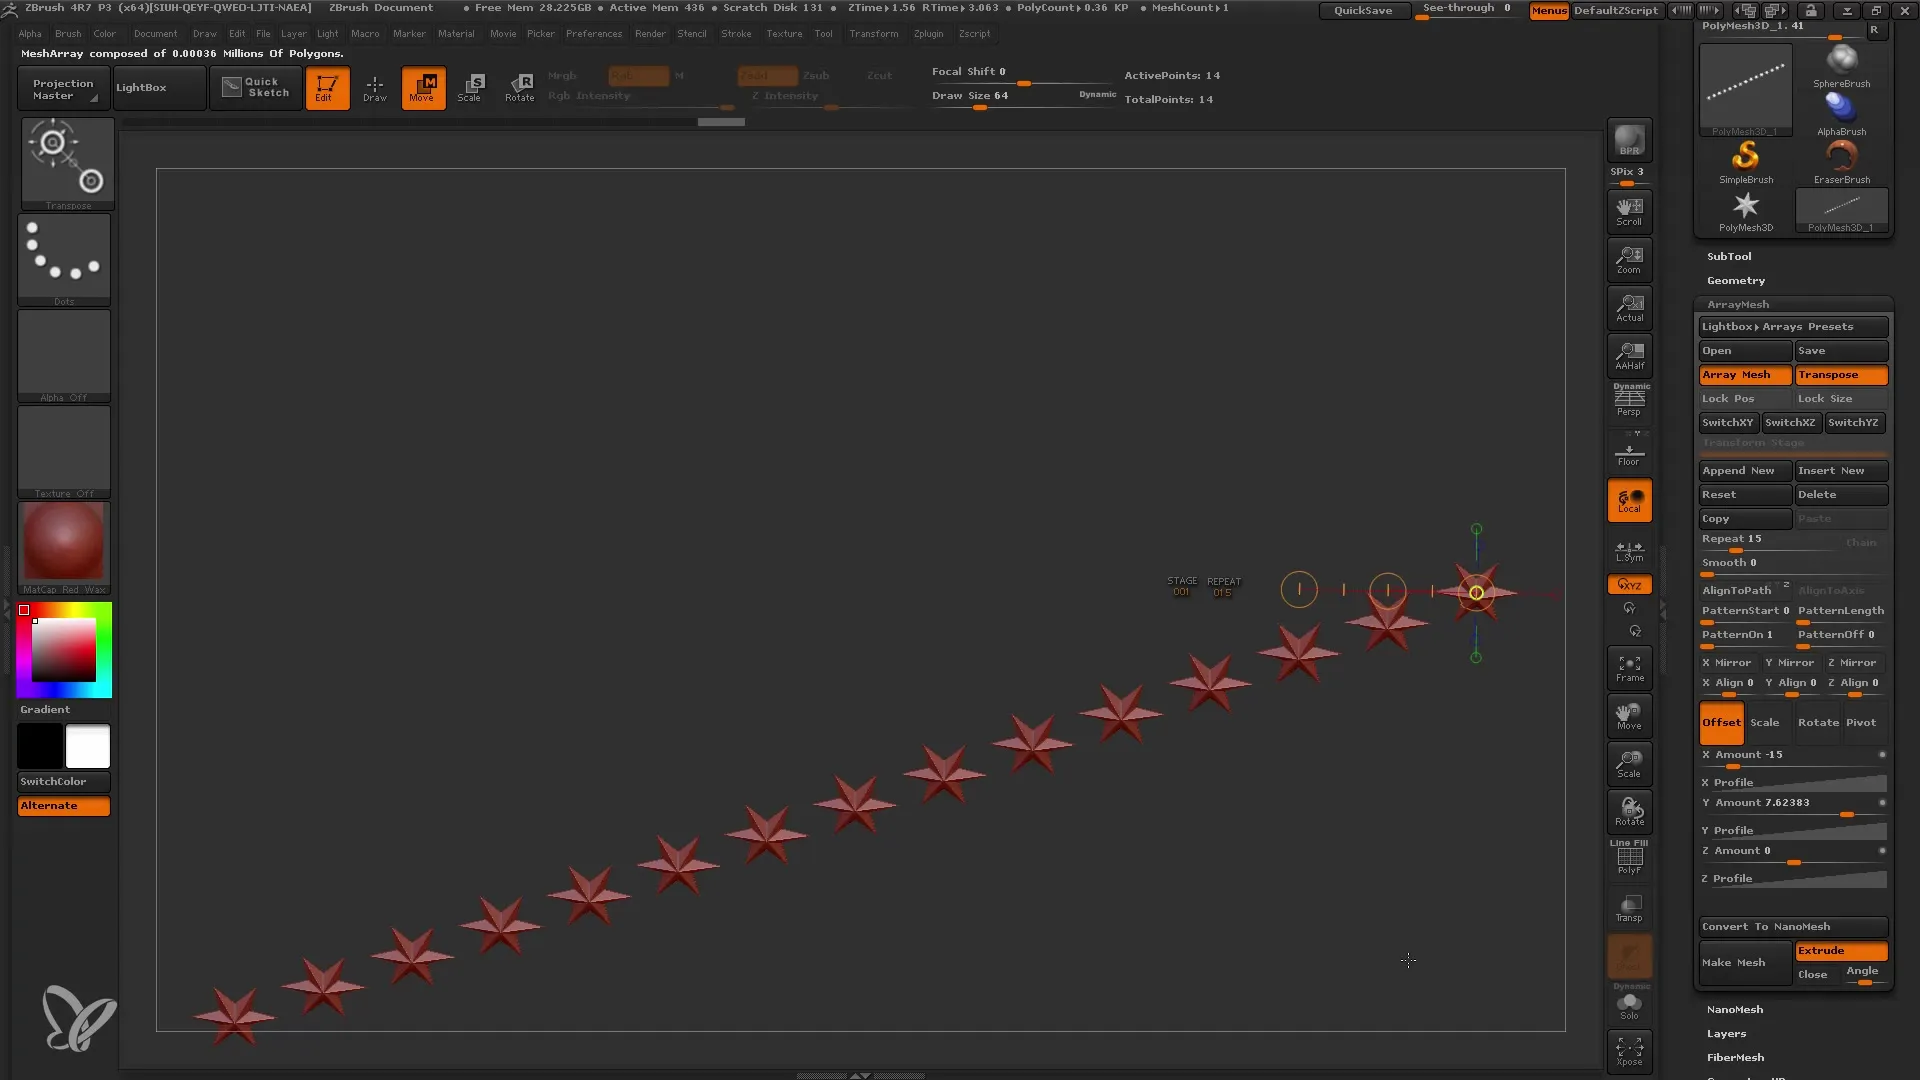
If you wish, you can also set the offset in the Y direction to achieve a more interesting arrangement. Remember that the values in both X and Y are flexible and can be entered manually.
Fourth Step: Adjust the Mesh Scale
Another interesting function is scaling the mesh. You can adjust the size from one star to the next by evenly increasing the scale values for X, Y, and Z. This creates interesting visual effects in your array.
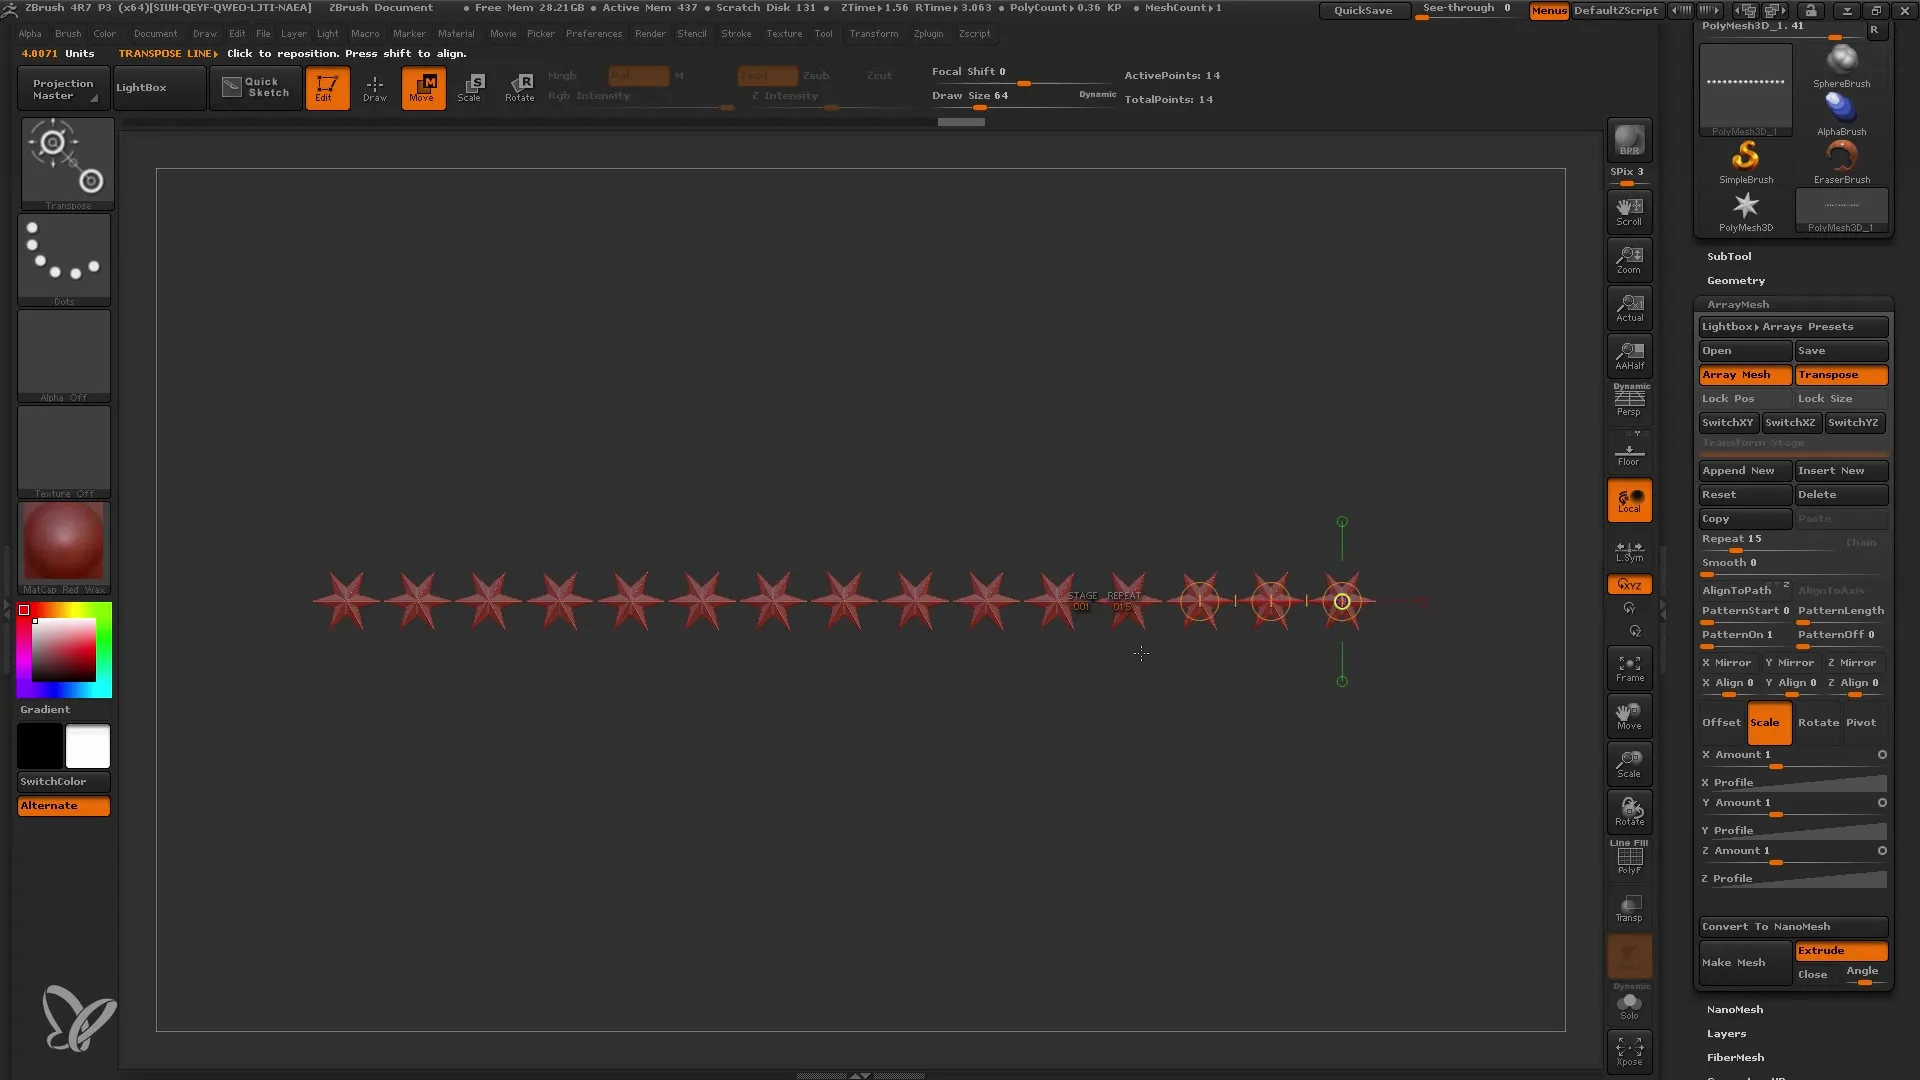
For example, input a doubling (2) for all three axes to give each star a dynamic size. This adds more depth and variety to the overall image.
Fifth Step: Add Rotation
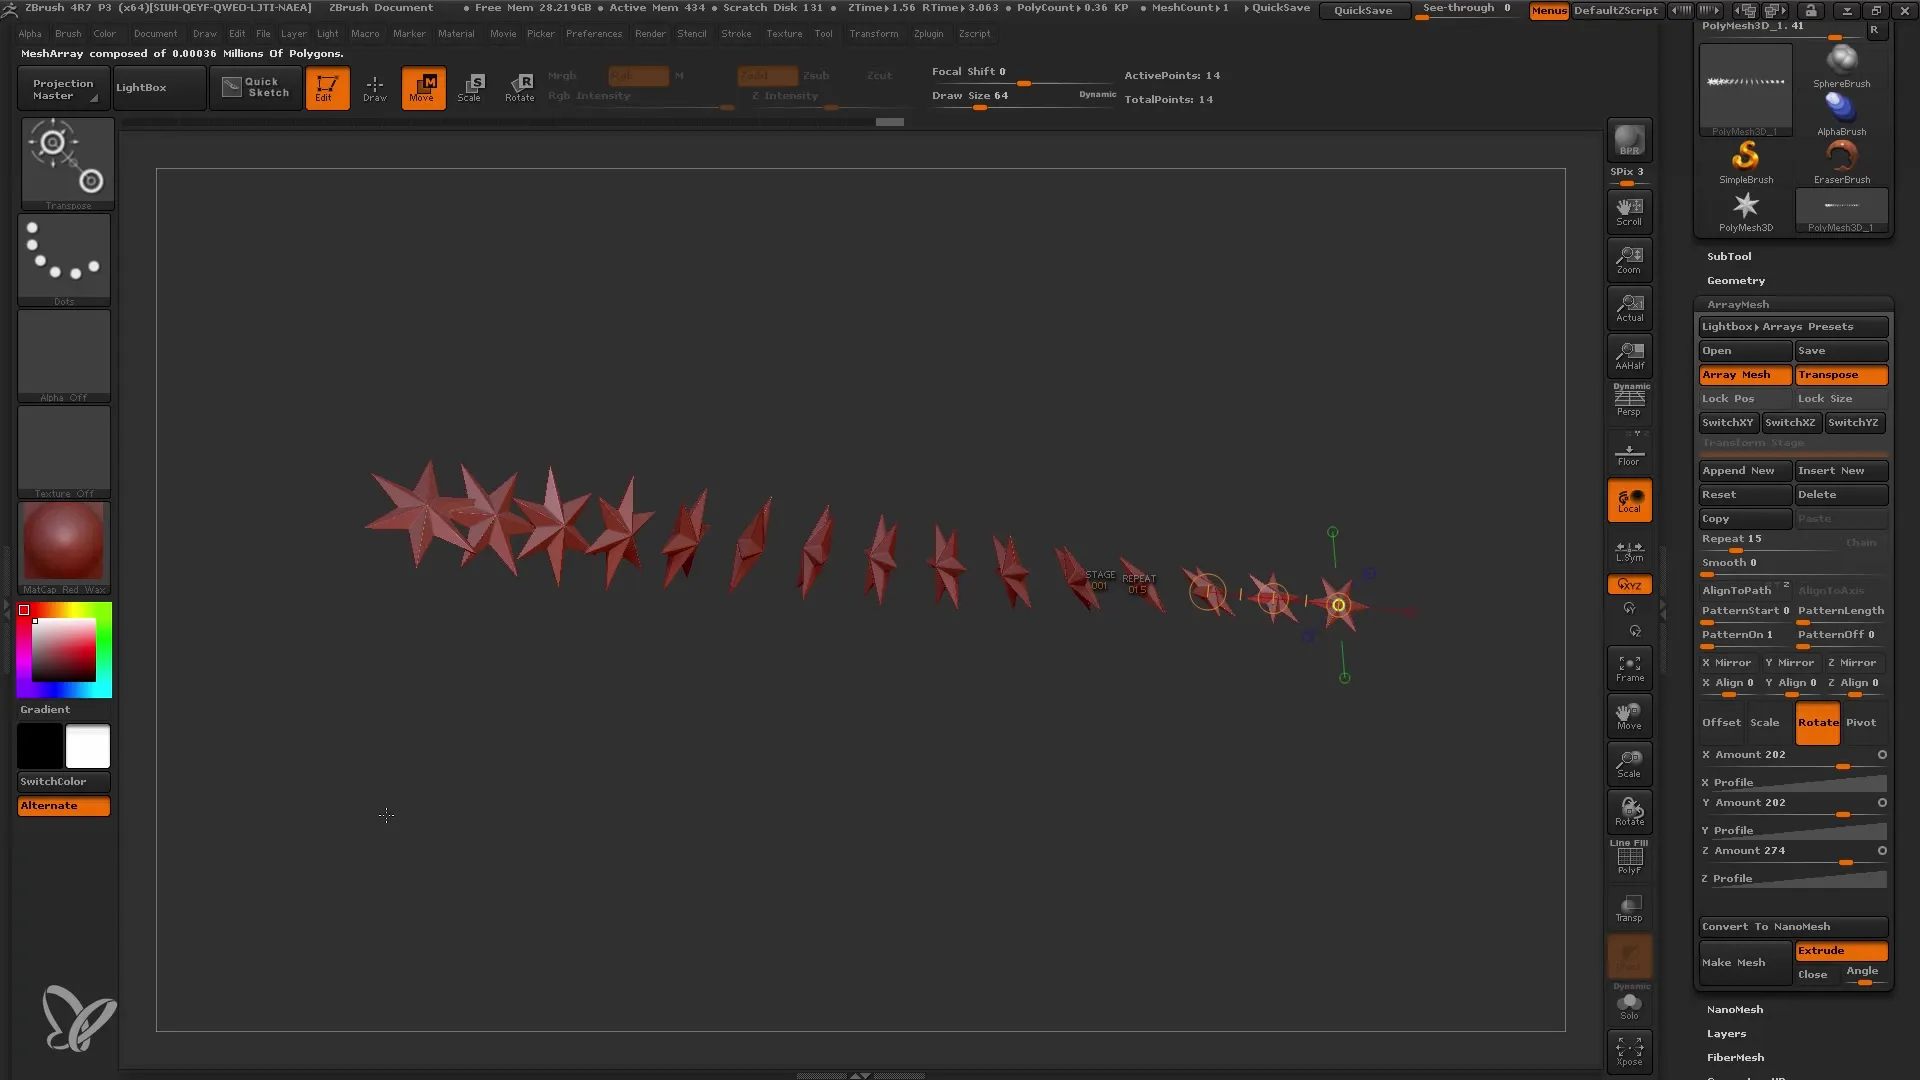
Now it's time to add a bit of dynamism to your design. Activate rotation in X, Y, and Z and play with the values to rotate the stars in different directions. This gives your array an interesting abstraction and randomness.
Sixth Step: Add More Stages
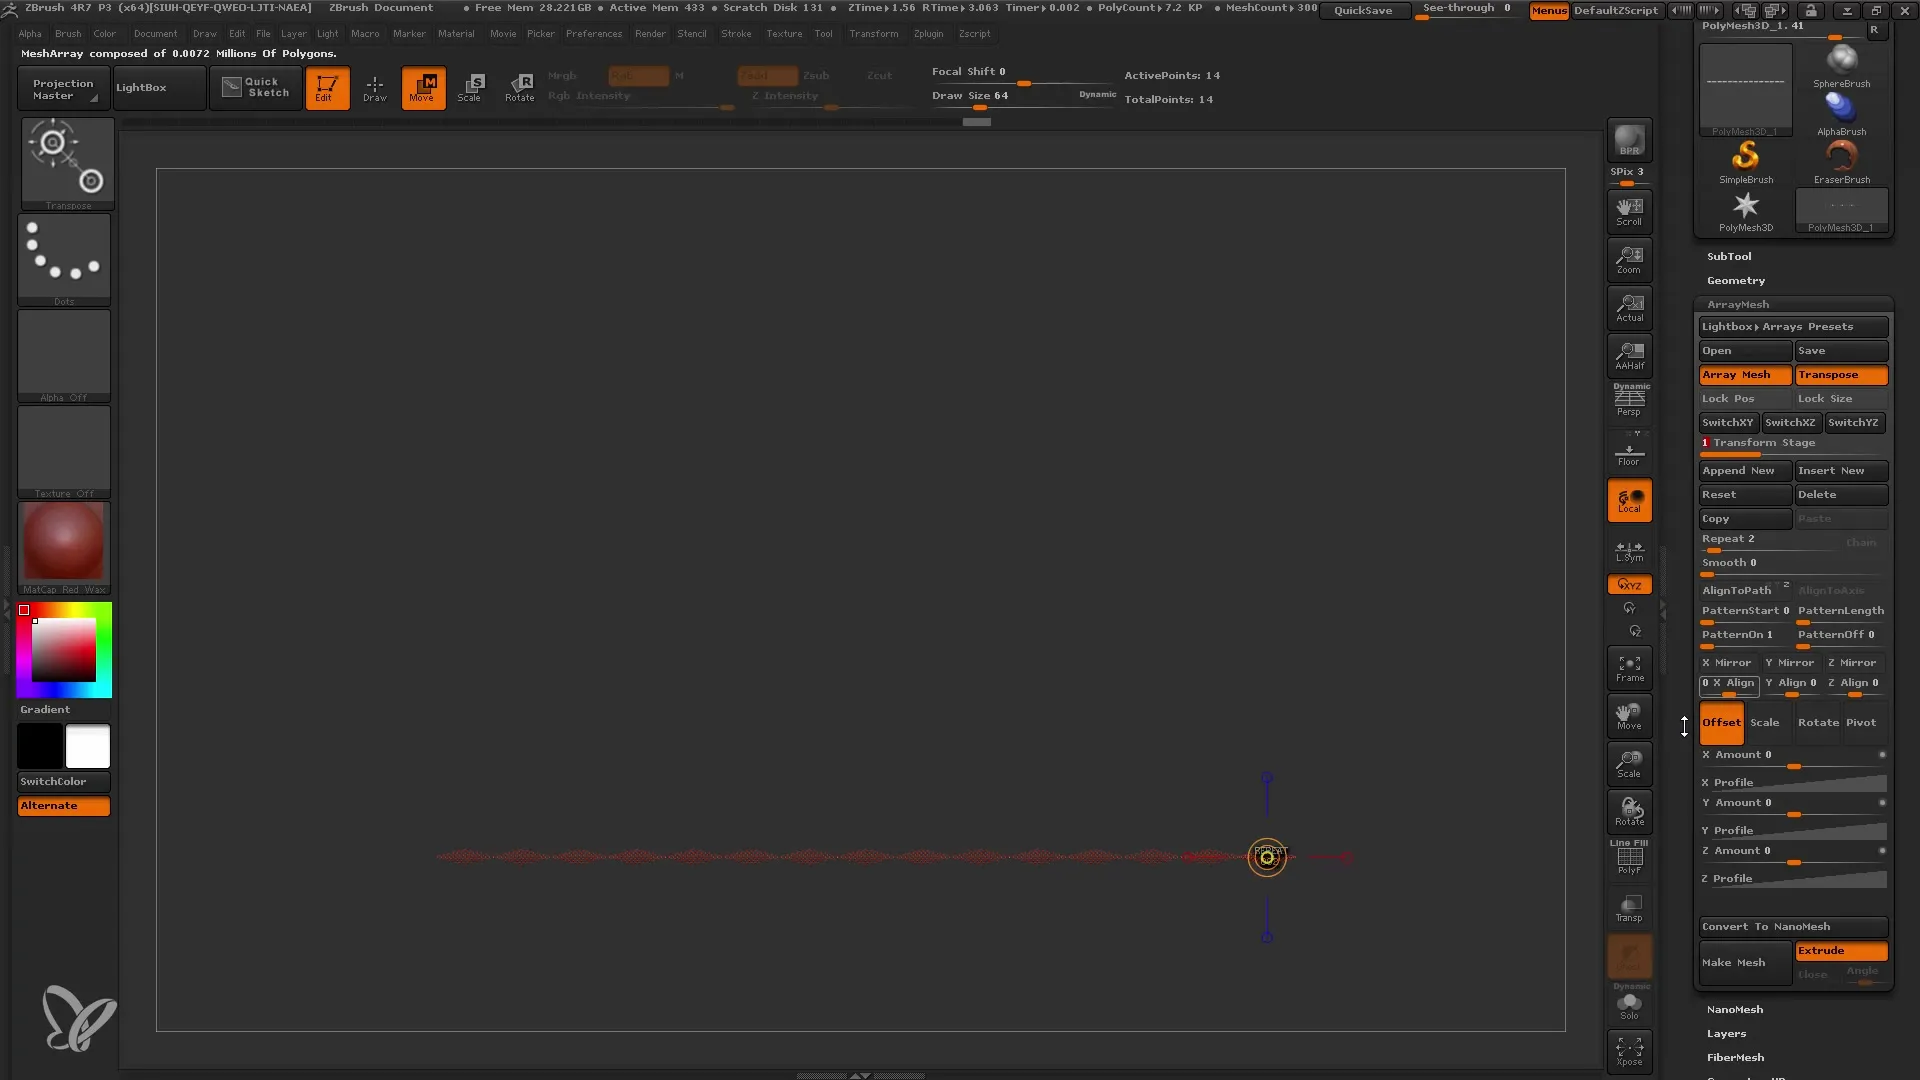
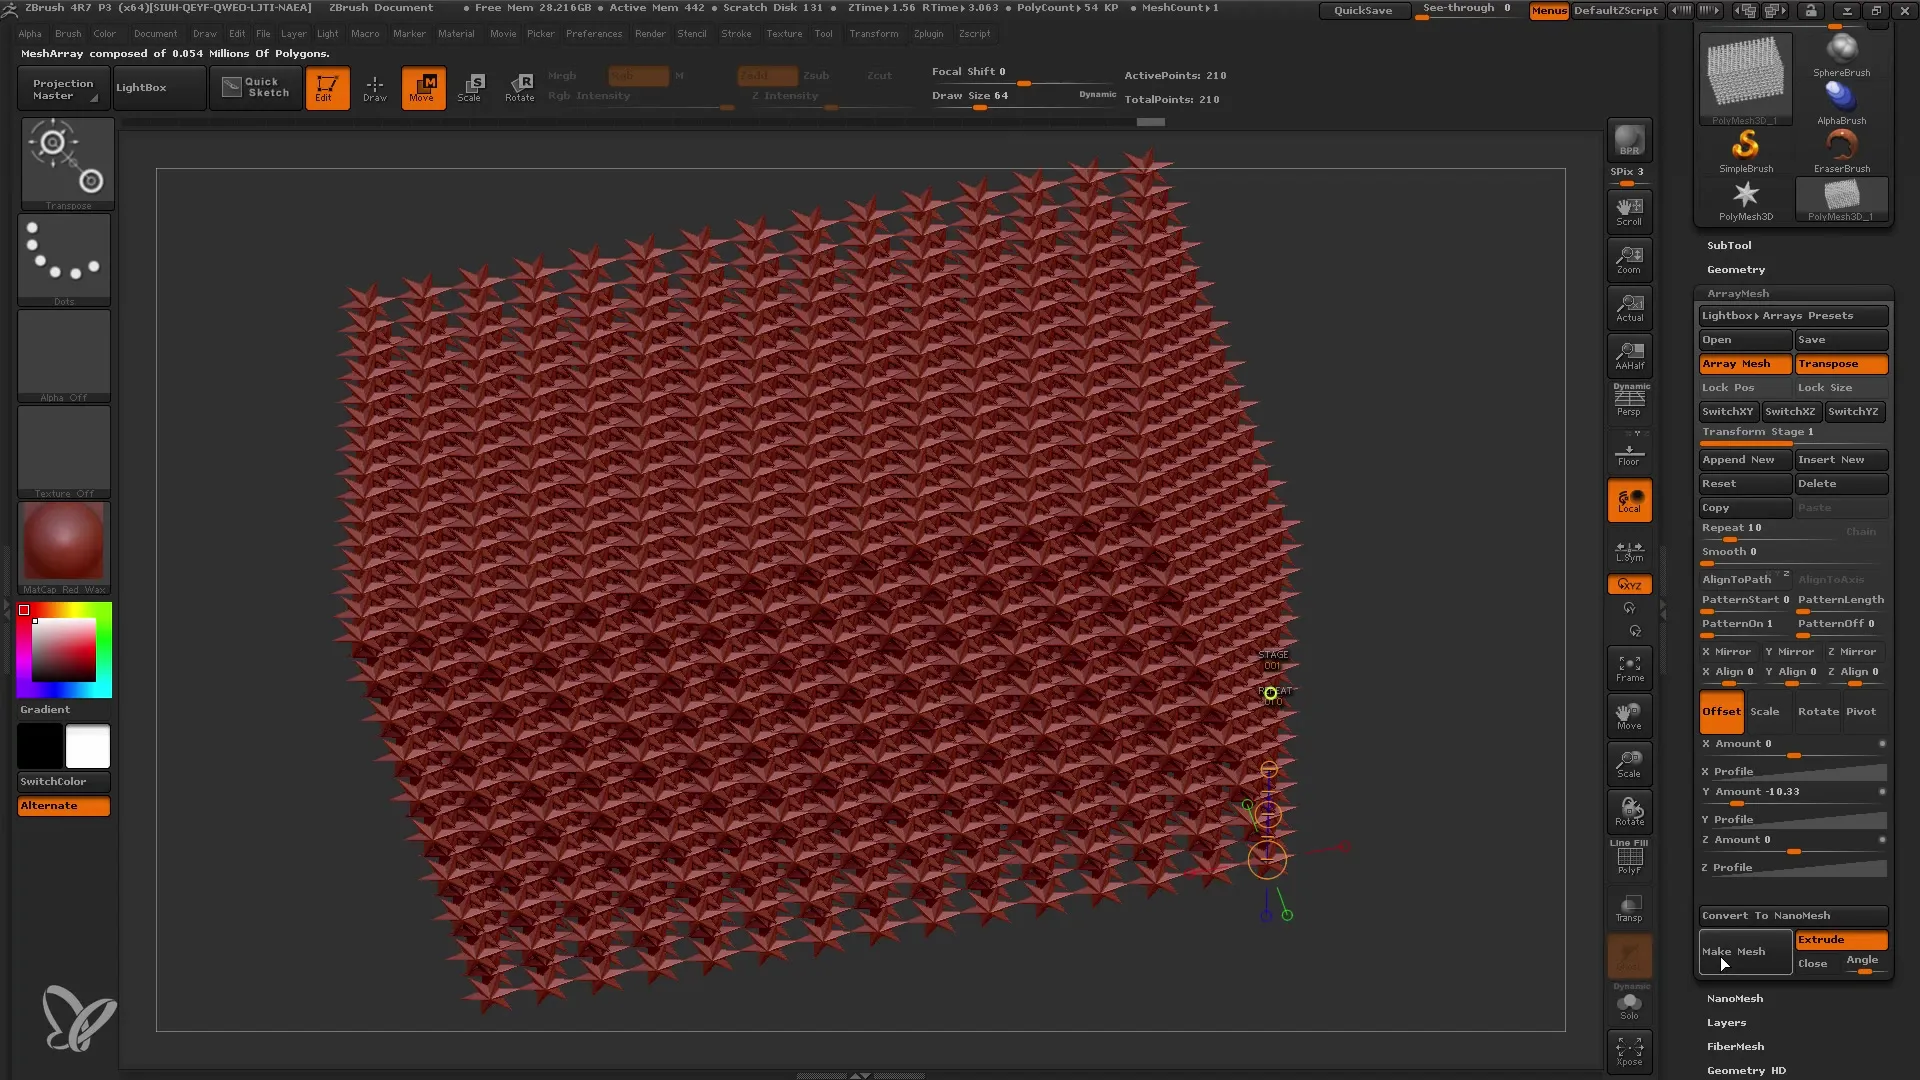
To create multiple rows or layers of your array, you need to add a new transformation stage. Switch to the second stage and repeat the above steps for a second row of stars. This allows you to generate interesting surface patterns.
With the ability to generate multiple stages, you can create complex structures with many layers that work together harmoniously.
Seventh Step: Convert Array to Mesh
Once you are satisfied with your ArrayMesh, you need to convert it into a regular mesh. Click on "Make Mesh" to combine all your stages and transform them into a unified object. This makes it easier to further edit and refine your design.
Last Step: Adjust Overall Structure and Details
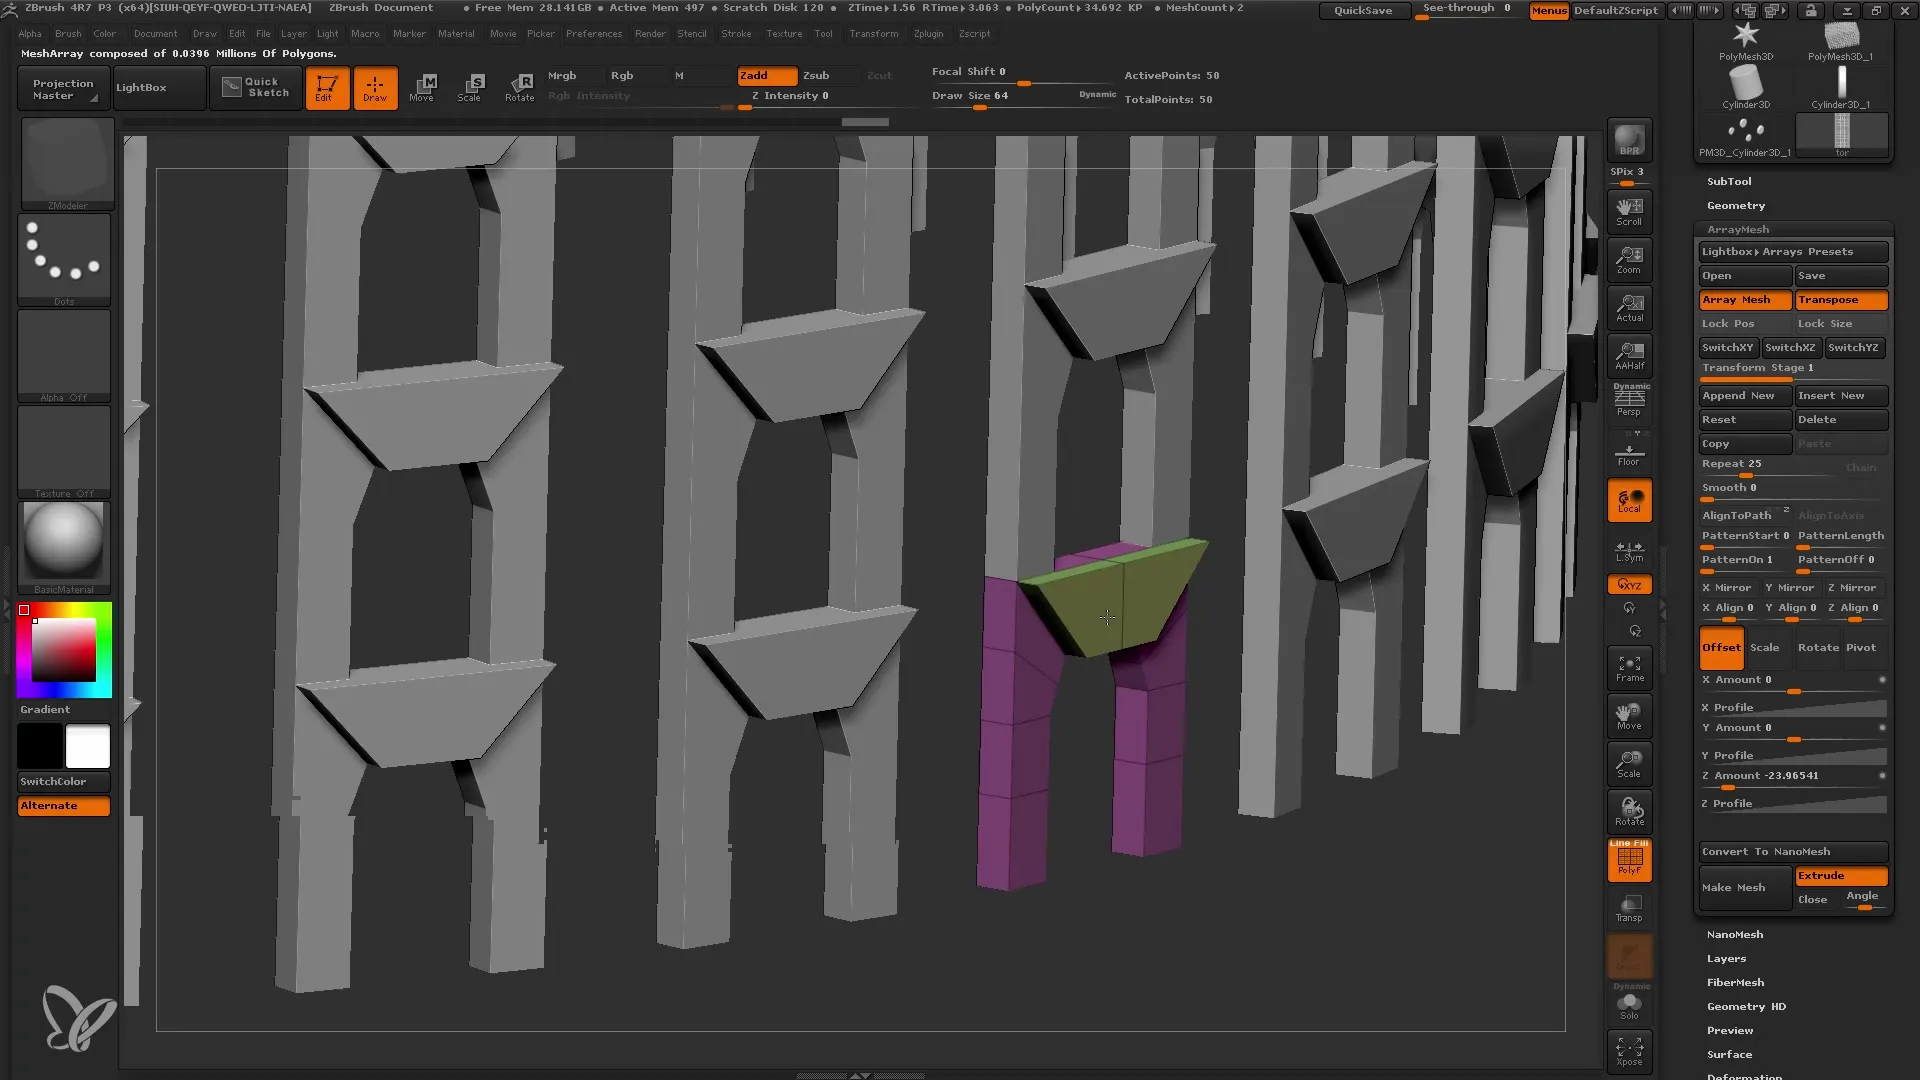
Now that you have a large array mesh, you can start working on the details. Use the various tools in ZBrush to further personalize your design and add desired details.
Summary
In summary, using ArrayMesh in ZBrush gives you the freedom to experiment with different arrangements, scales, and rotations of meshes. By being able to create multiple stages and combine everything into a single mesh, you are able to develop impressive designs that can be both simple and complex.
Frequently Asked Questions
How do I activate the ArrayMesh function?Go to the Tool Palette and click on ArrayMesh to activate the function.
Can I adjust the number of repeated meshes?Yes, you can set the number of repetitions in the array using the Repeat number.
How can I adjust offsets in multiple directions?Use the Offset settings to make shifts in X, Y, or Z directions.
How to convert an ArrayMesh into a regular mesh?Simply click on "Make Mesh" to transform the array into a regular mesh.
Can I apply rotating effects to my mesh?Yes, rotation can be adjusted in the X, Y, and Z directions to achieve dynamic effects.


