In this tutorial, I will show you how to achieve impressive results with the MatchMaker Brush in ZBrush. The MatchMaker Brush is a special tool that allows you to transfer and adjust shapes and details between two subtools. This is particularly useful when you want to design clothing, armor, or other elements requiring precise adjustments. Let's get started without further ado and see how you can make the most of this brush.
Key Takeaways:
- The MatchMaker Brush adjusts the details of one subtool to another.
- Using Shadowbox allows you to easily create emblems and patterns.
- By scaling and placing correctly, you can achieve perfect results.
Step-by-Step Guide
1. Selection and Preparation of Your Figure
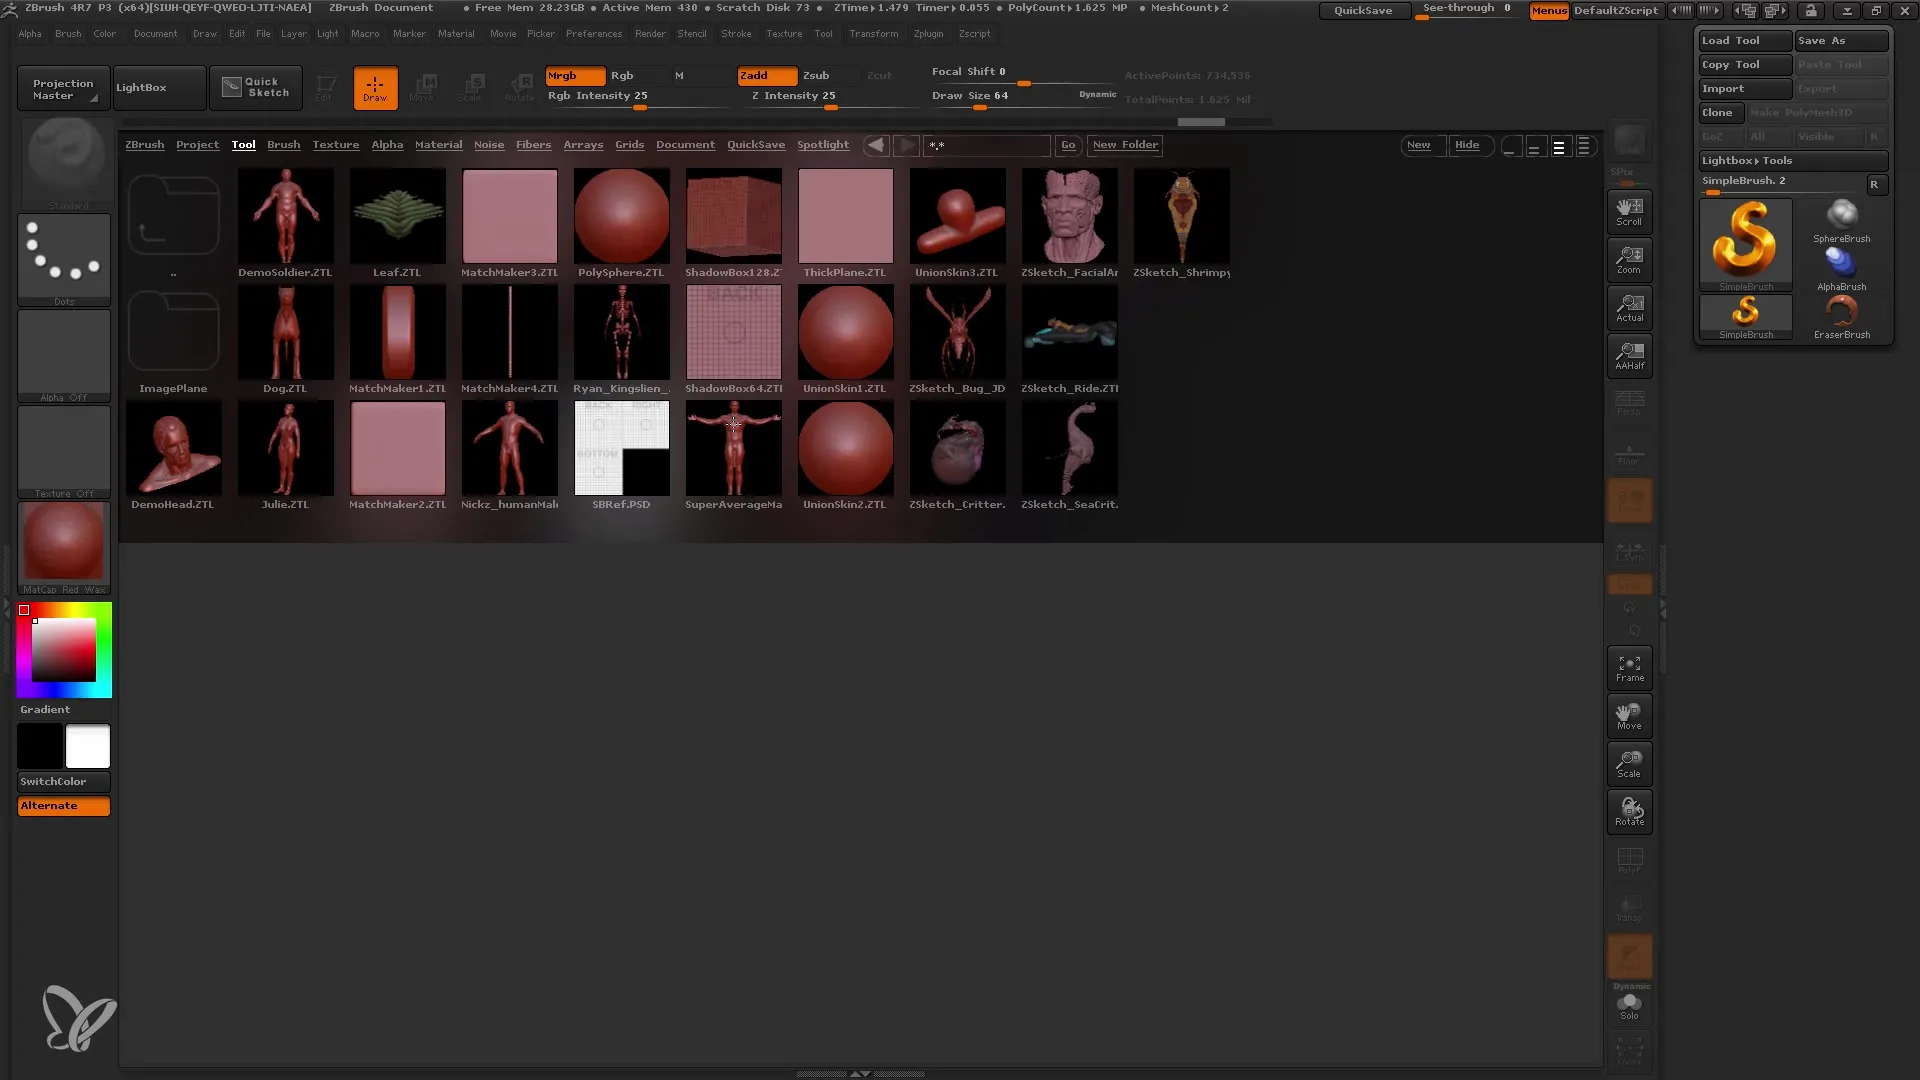
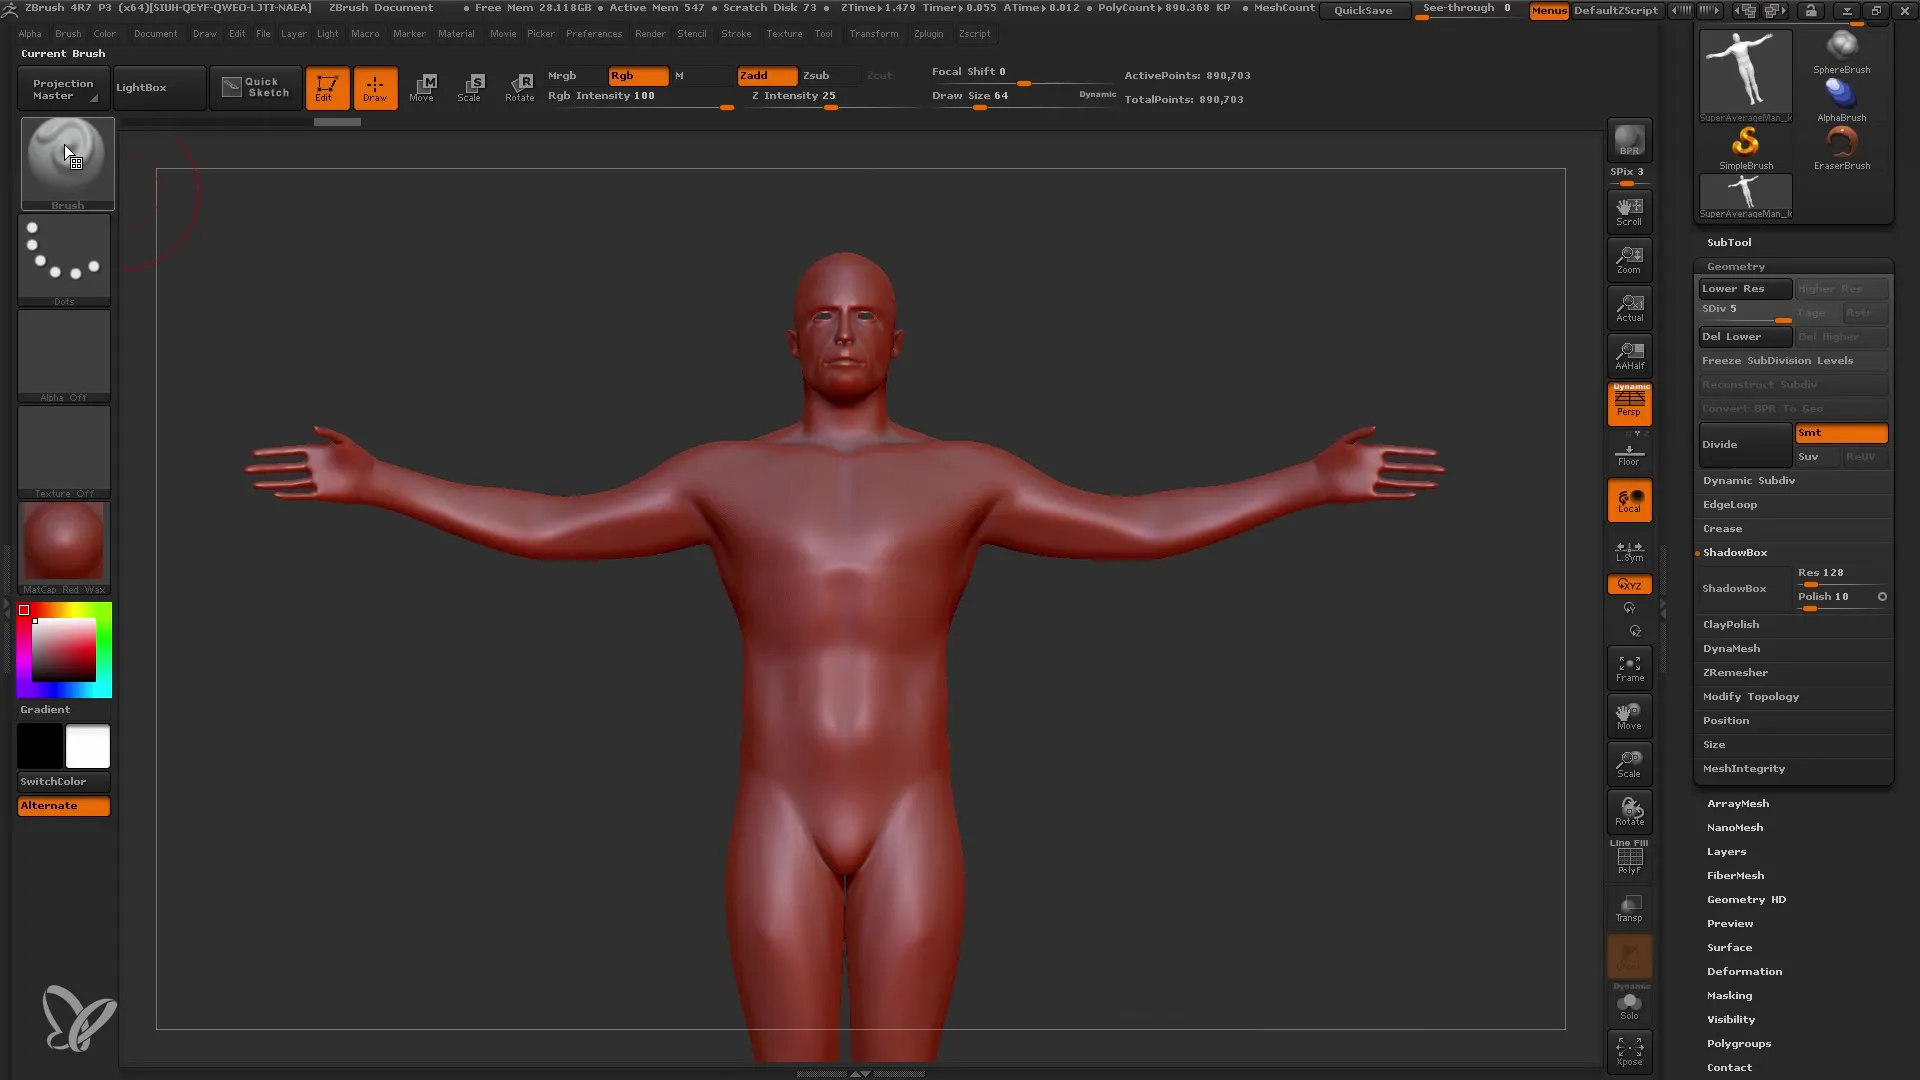
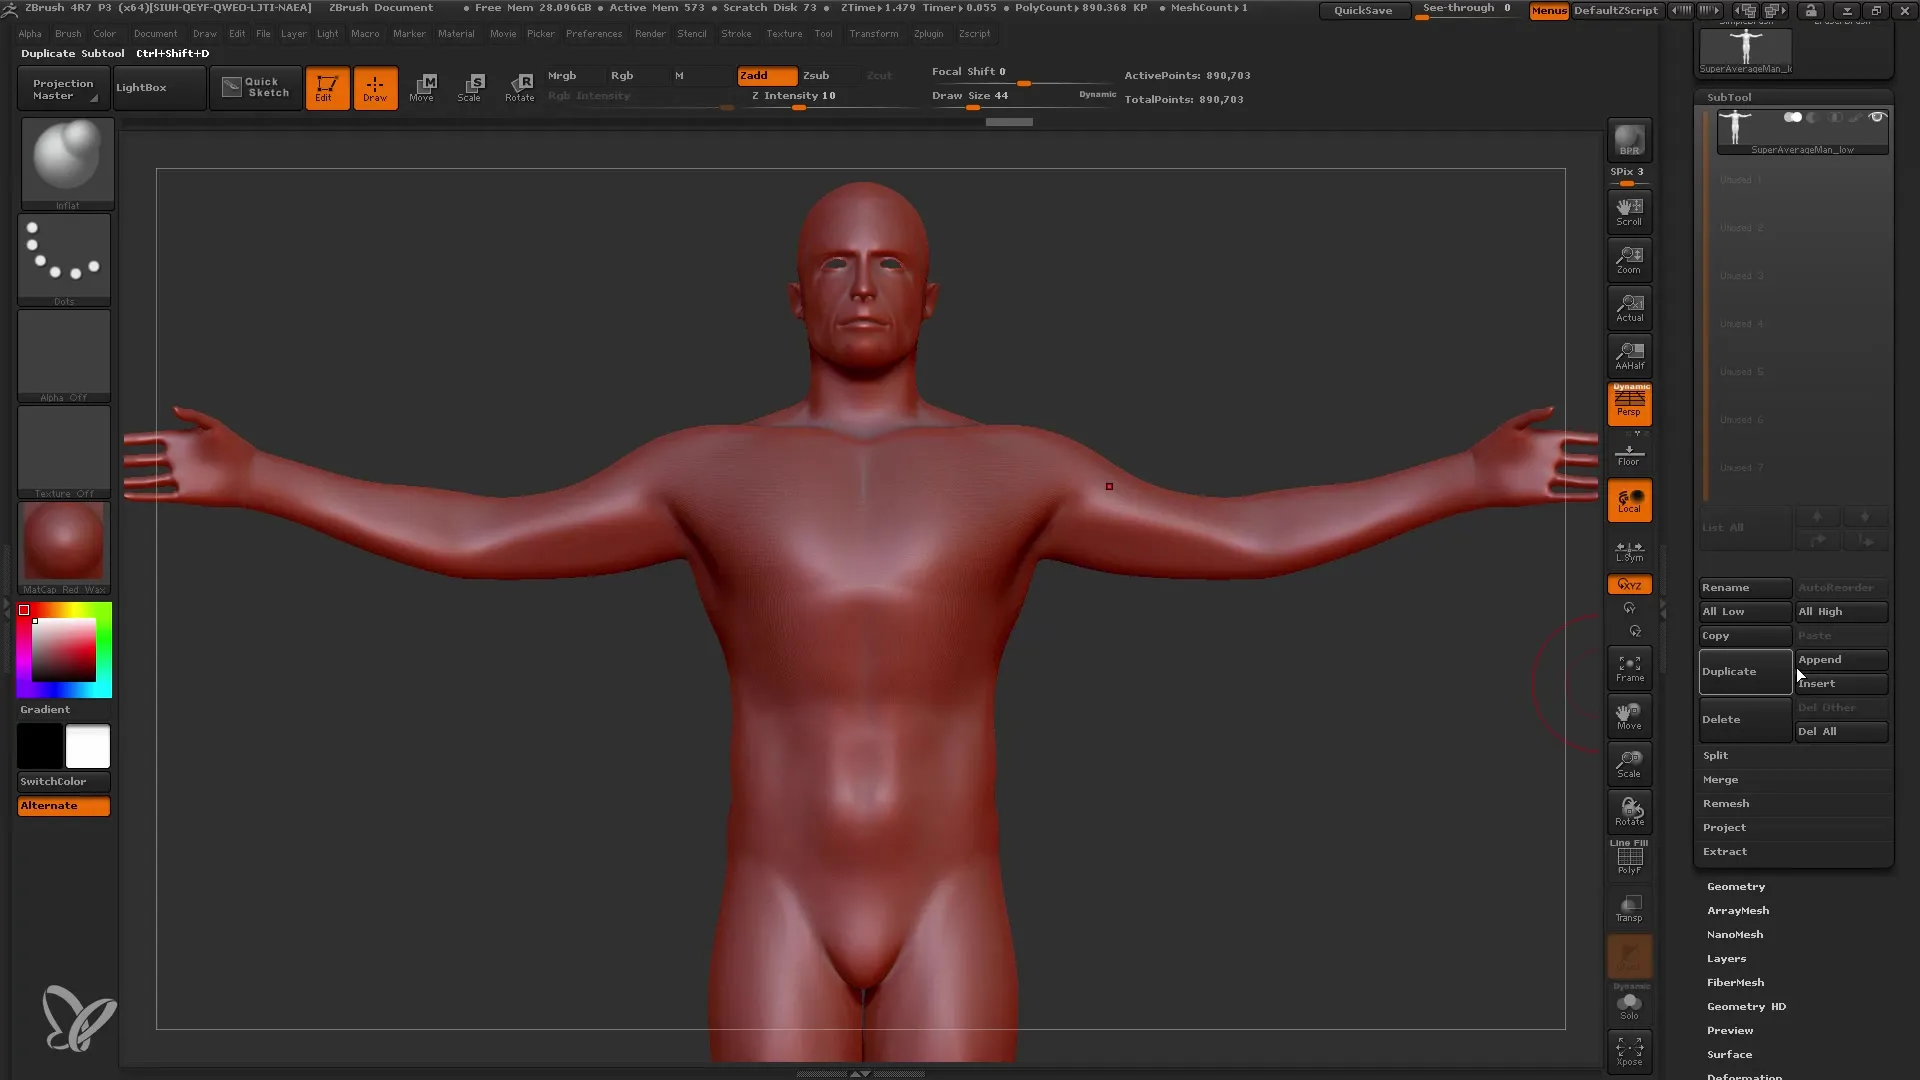
Start by choosing a subtool you want to work on. I recommend selecting the "Superhero" tool from the Lightbox. Double click on it and drag it onto the workspace. Then enter Edit mode and add multiple subdivisions under "Geometry" to reach about 900,000 polygons.
2. Accessing the MatchMaker Brush
You can find the MatchMaker Brush under the brush options. It is used to project the shape of one mesh onto another, allowing you to make detailed adjustments.
3. Preparing the Subtool for Details
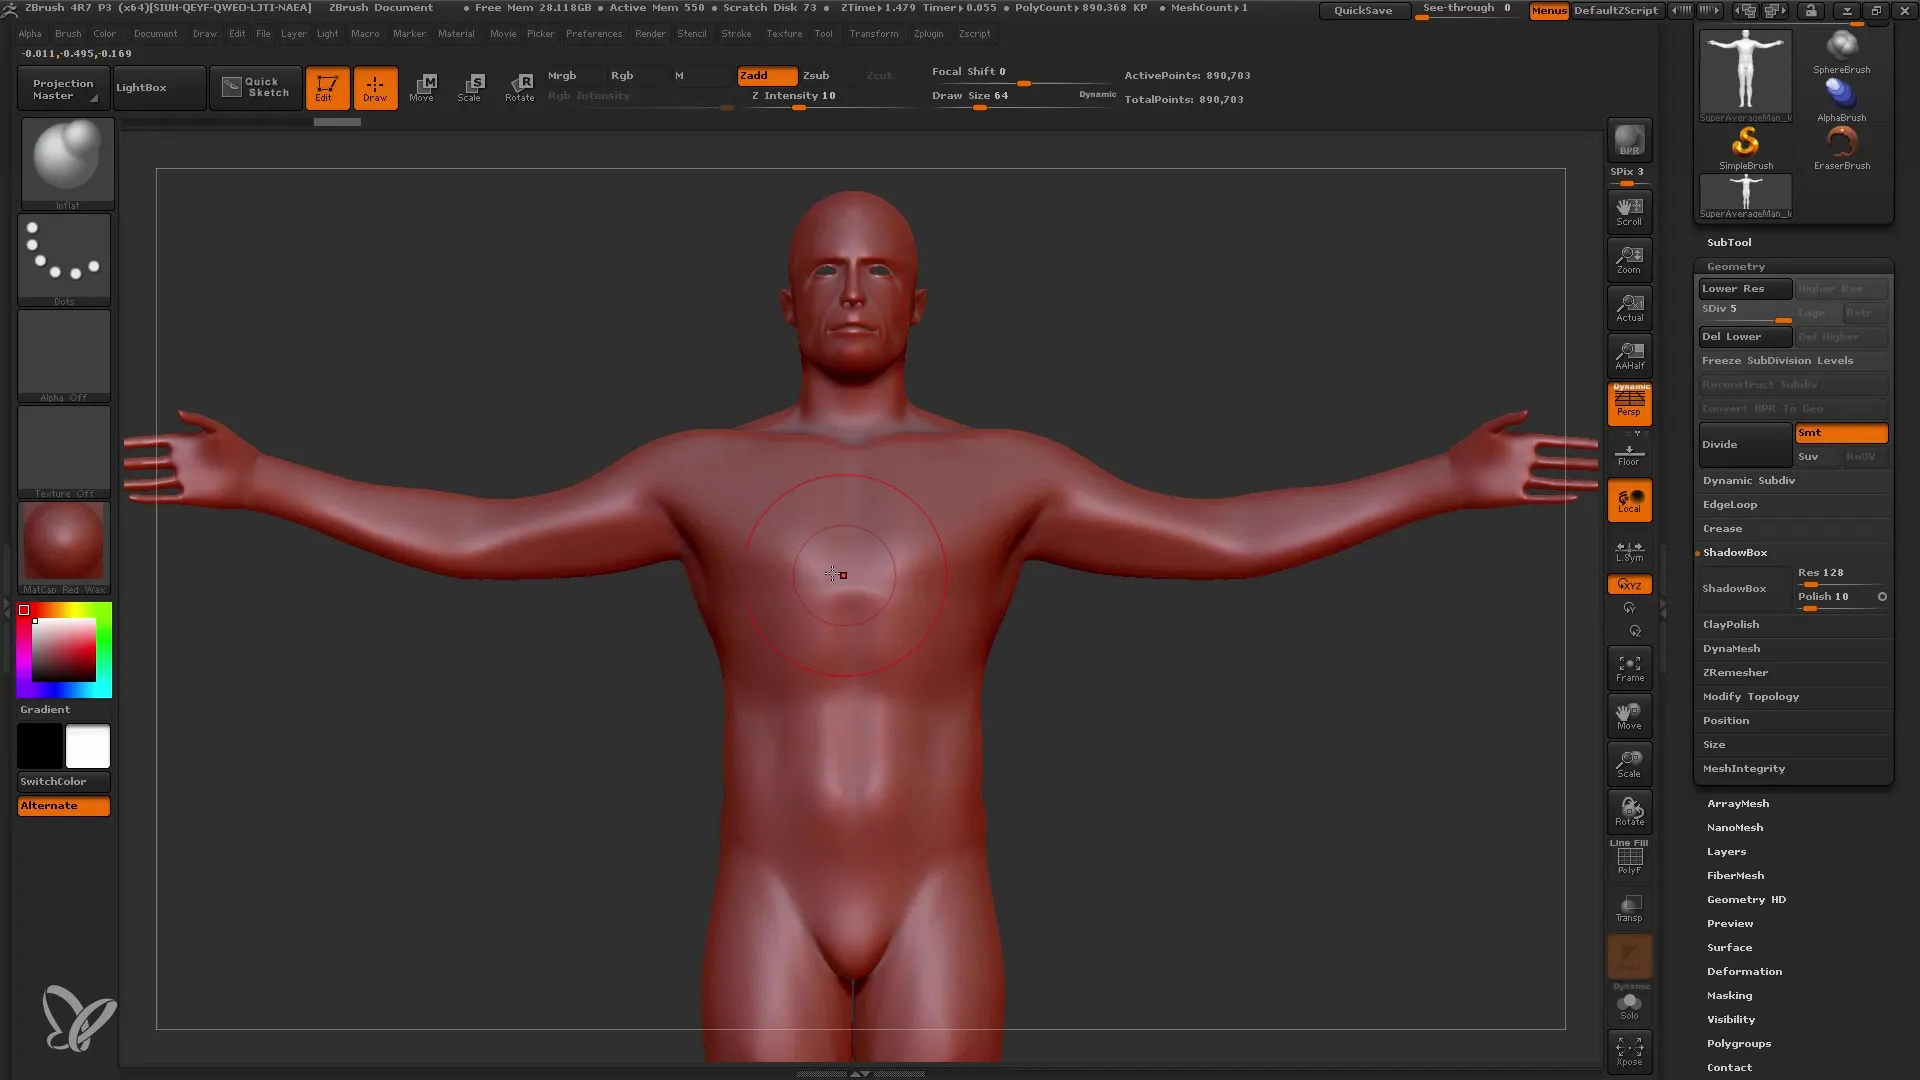
Before working with the MatchMaker Brush, you should adjust the figure. It is important to first make the figure symmetrical. Use the Inflate brush (press "B" and then "I") to inflate some areas of the figure and add additional details.
4. Creating an Emblem with Shadowbox
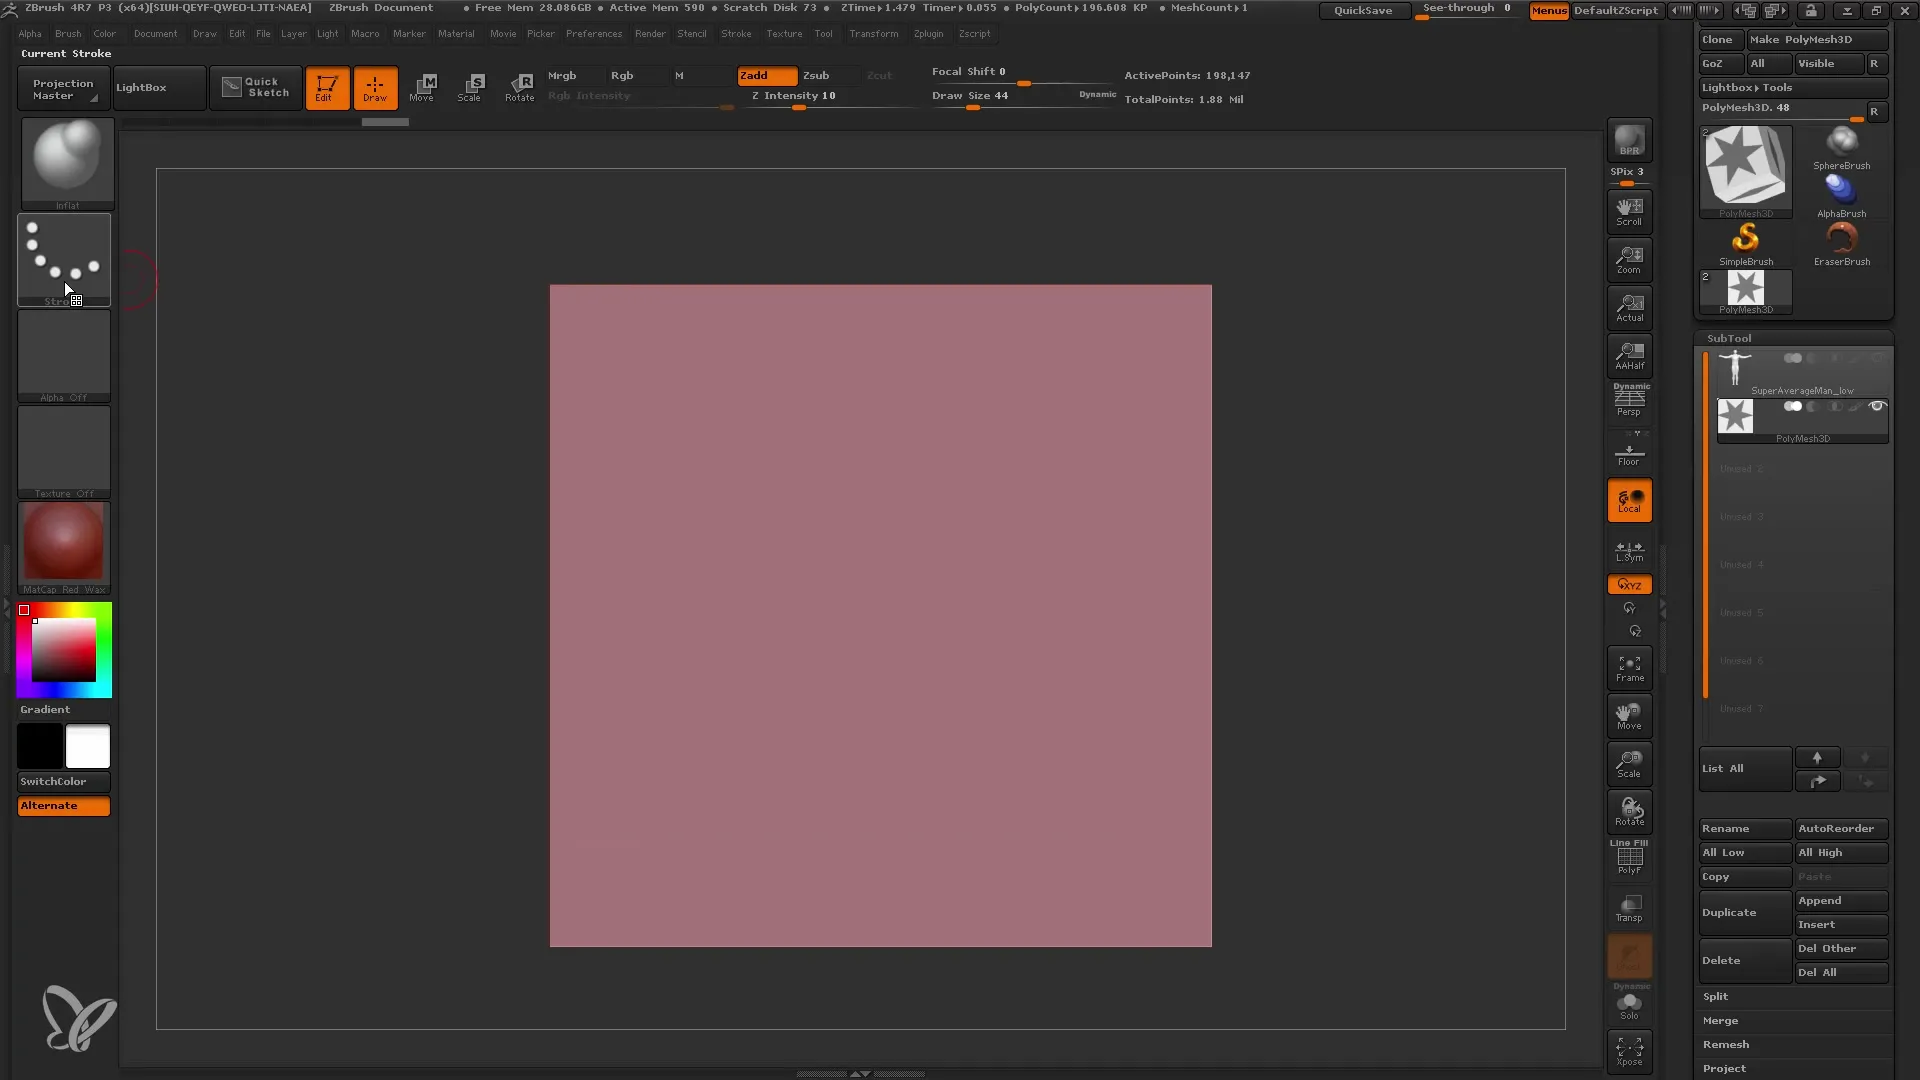
To place a nice emblem on your superhero's chest, use Shadowbox. Create a new subtool and add the star you want to use as an emblem. Set the resolution in the Shadowbox to 256 to get enough details.
5. Drawing into the Shadowbox
Now comes the creative part: draw the emblem into the Shadowbox. Use the Masking brush to create the shape. If you want a sharp edge, you can add an alpha value to the mask to change the contours.
6. Adjusting Shapes and Details
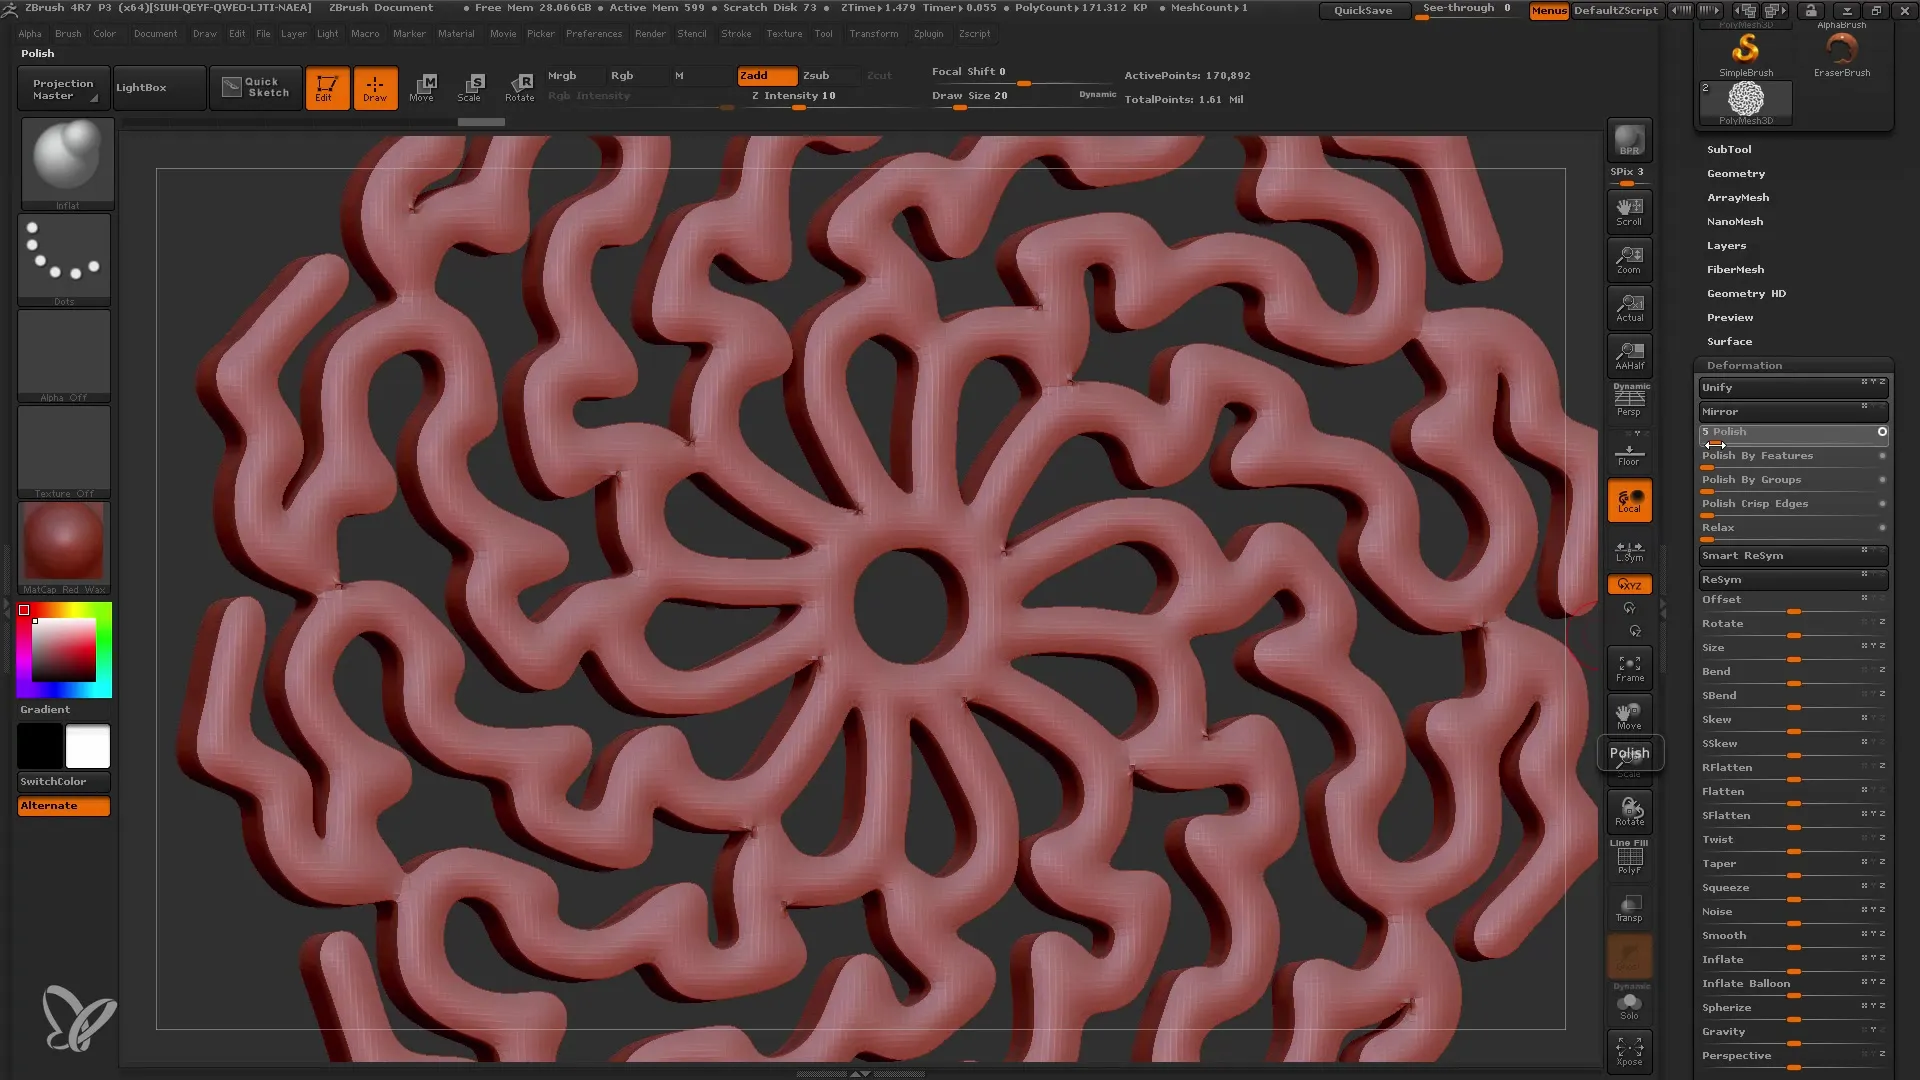
Once your emblem is ready, go to the Deformation menu and apply "Polish" to get a smoother surface. You can further increase the subdivisions for better detail accuracy.
7. Placing the Emblem on the Chest
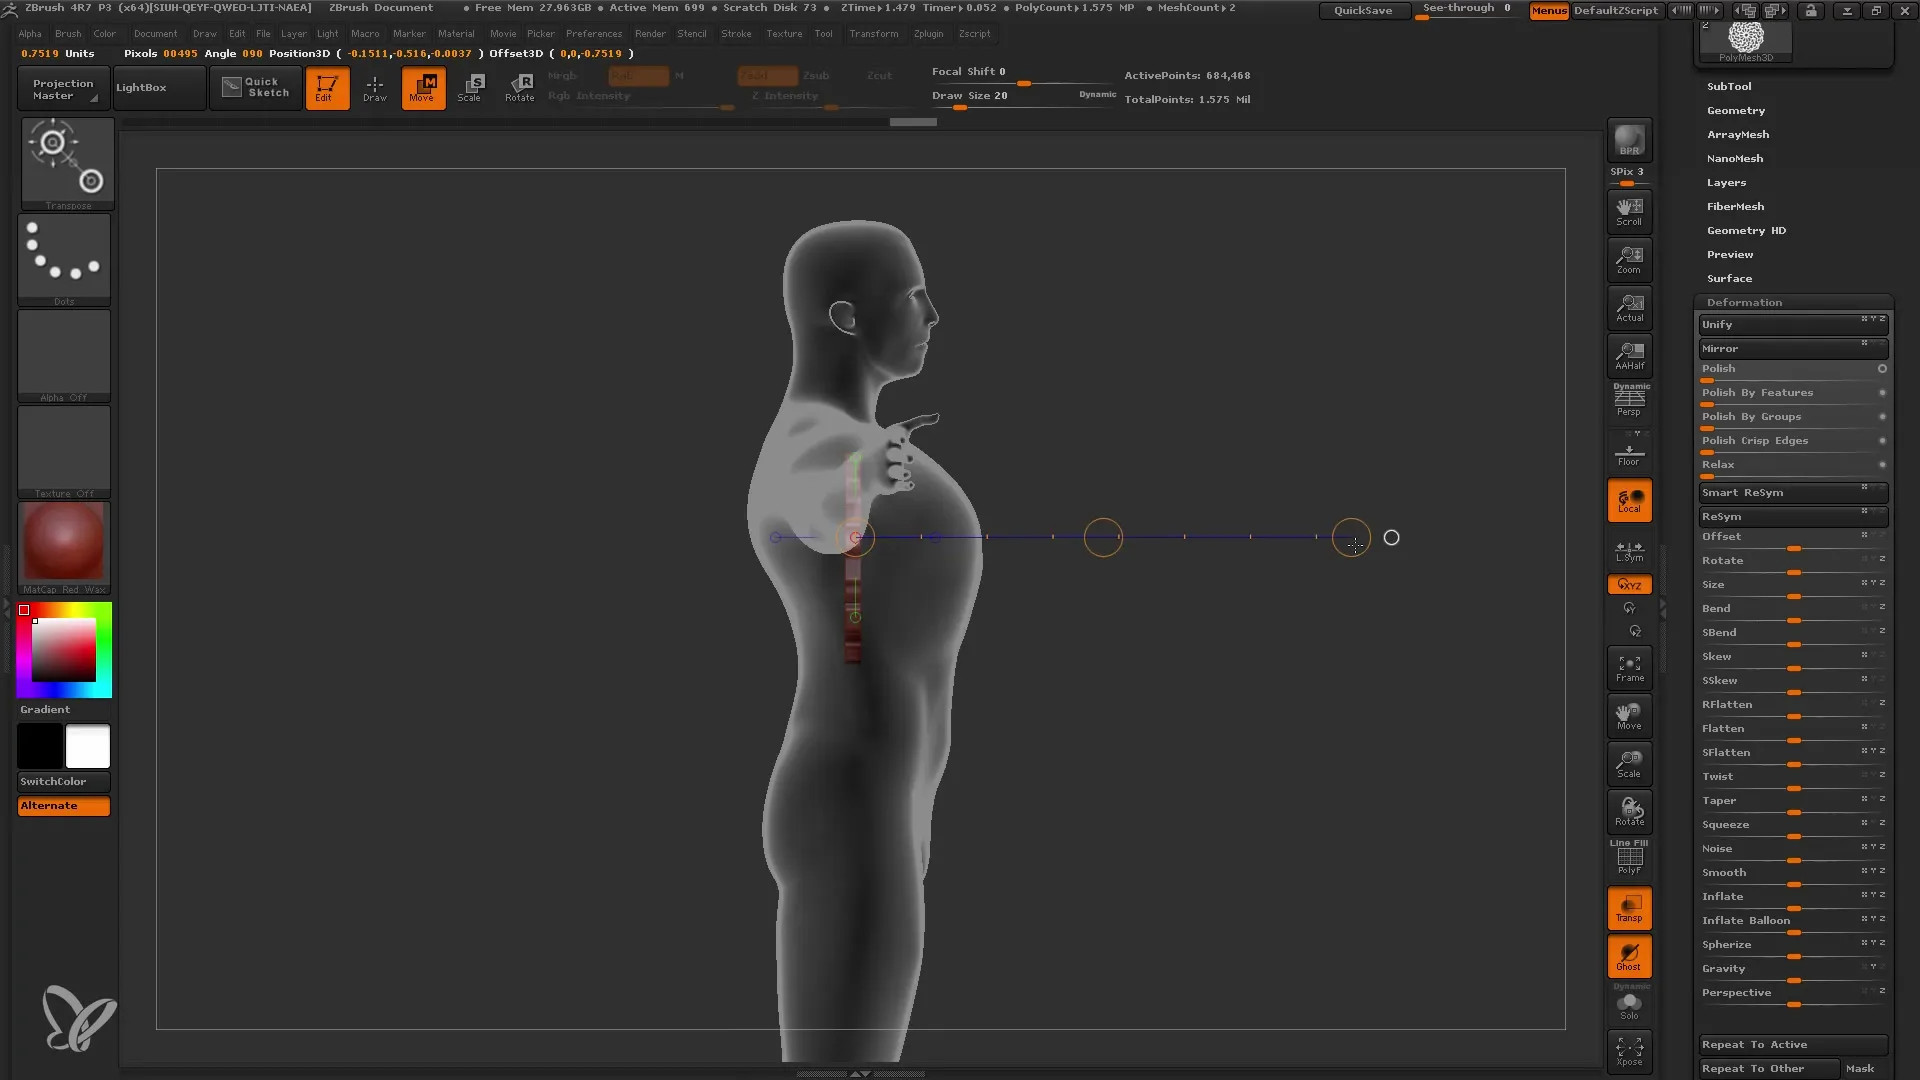
Switch back to your superhero and place the emblem where desired on the chest. Make sure the size of the emblem is not too large for correct projection. Use the "Deformation" settings for adjustment.
8. Projecting with the MatchMaker Brush
Activate the MatchMaker Brush and project the emblem onto the hero's chest. Drag from the center of the subtool outwards to achieve a harmonious shape. Make sure everything looks evenly good.
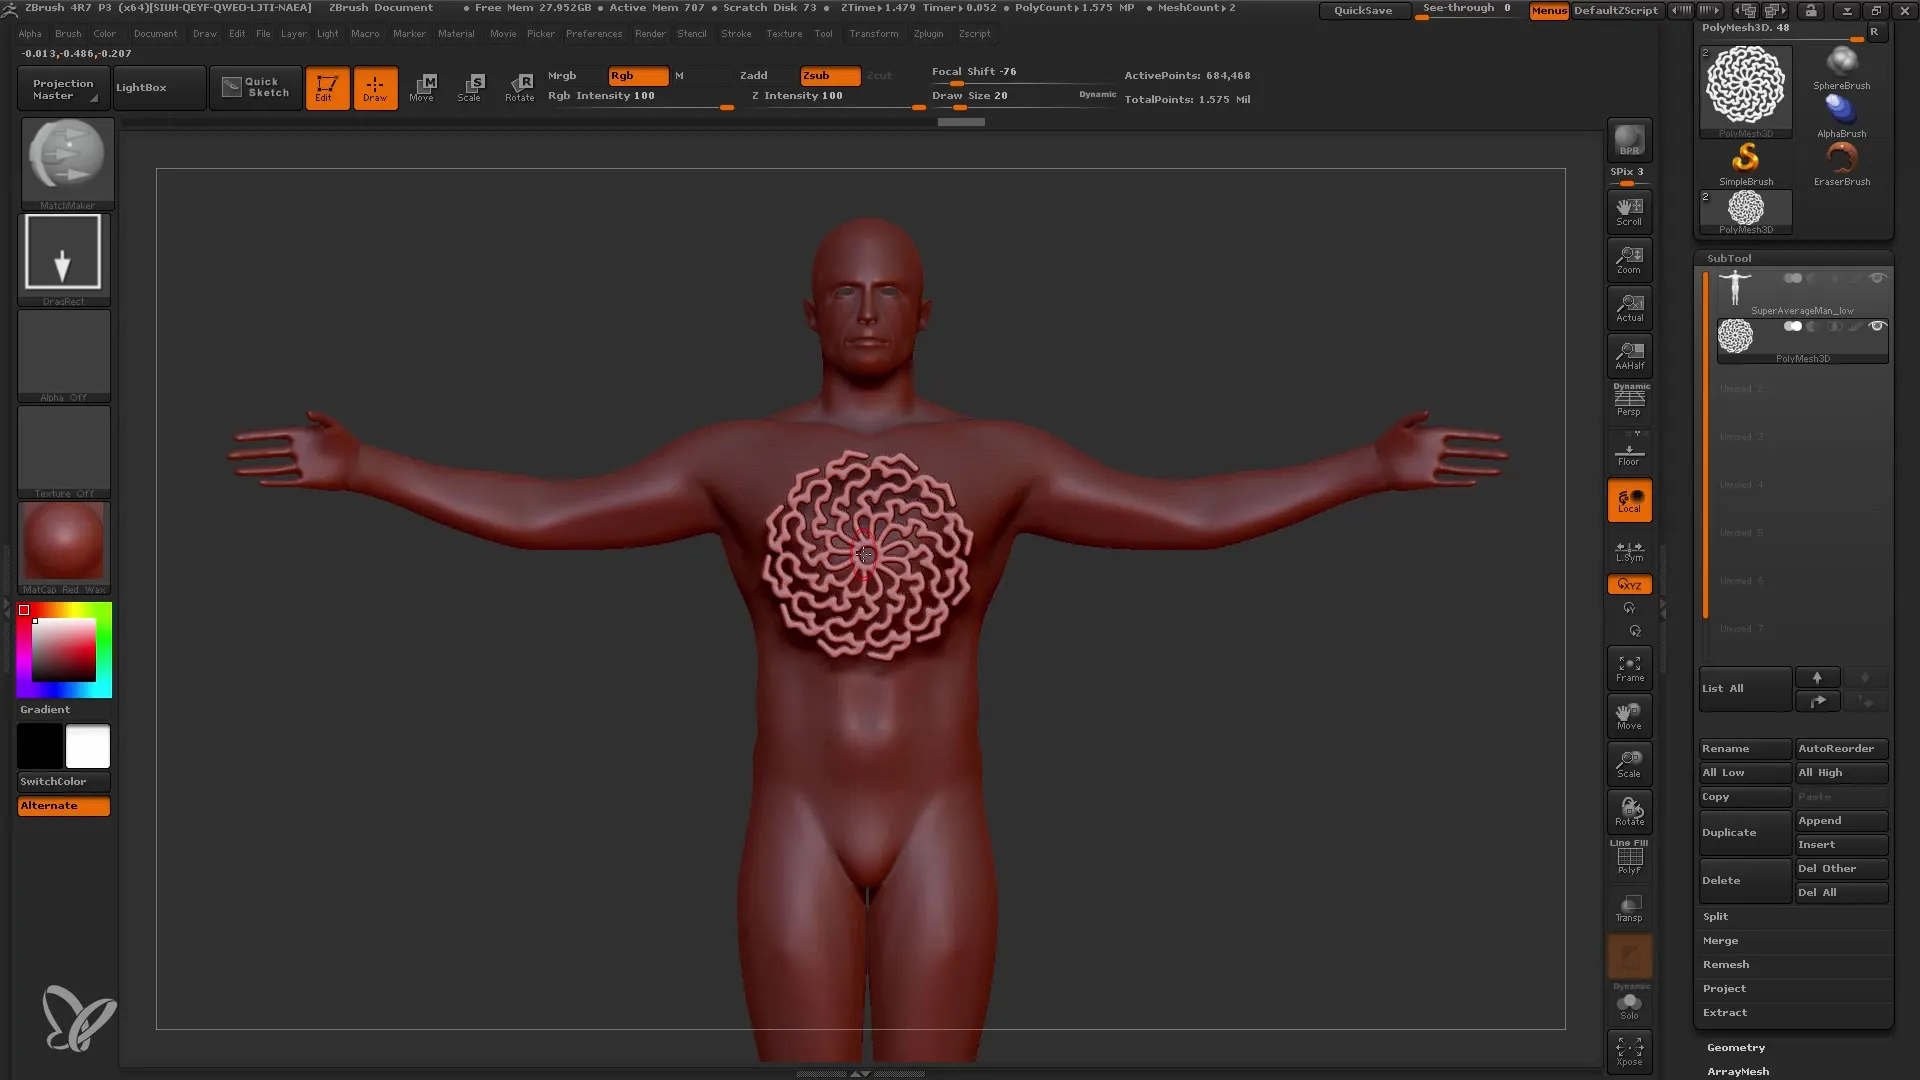
9. Fine-Tuning the Placement
After projecting the emblem, use the Move brush to adjust the emblem to fit exactly. Hold down the Shift key to move the subtool precisely.
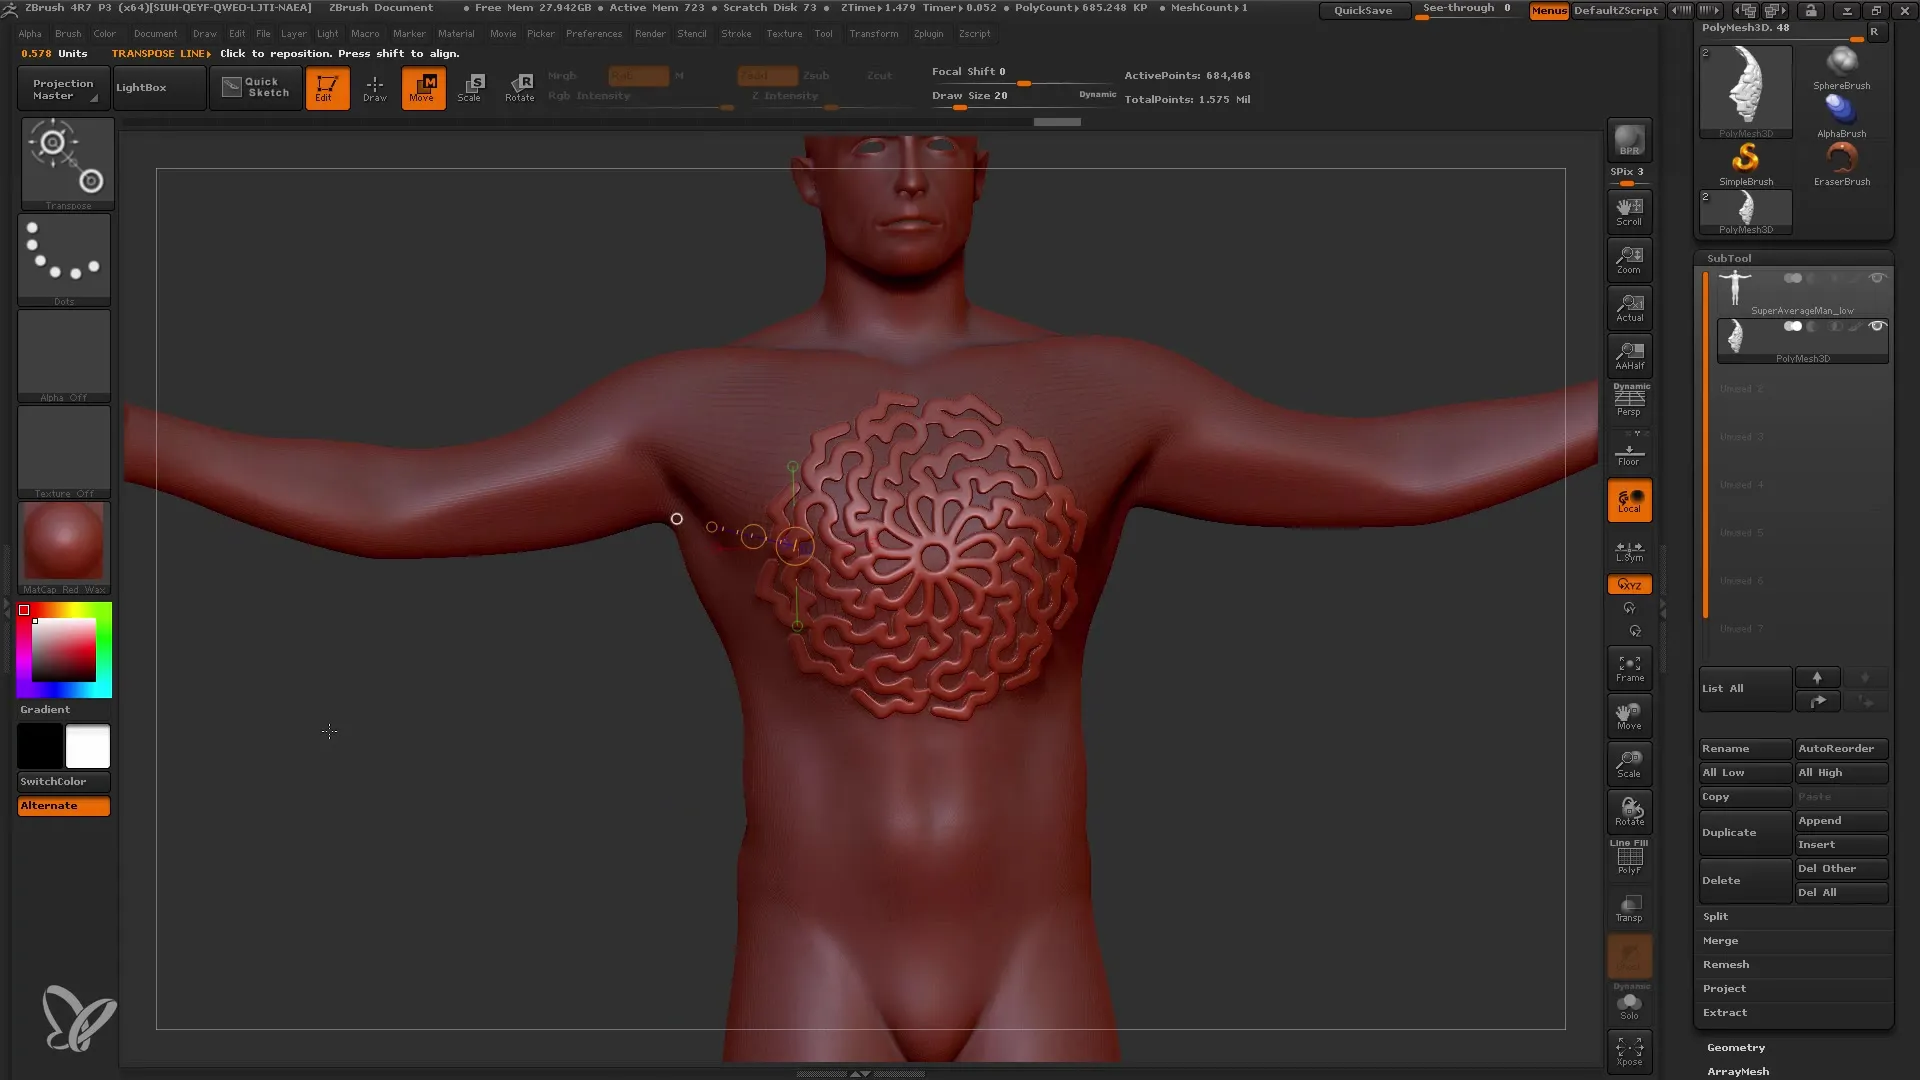
10. Viewing and adjusting results
Finally, you should take a close look at the result. Make sure it looks uniform everywhere and adheres perfectly to the superhero's chest. If necessary, you can continue to make adjustments to achieve the best possible outcome.
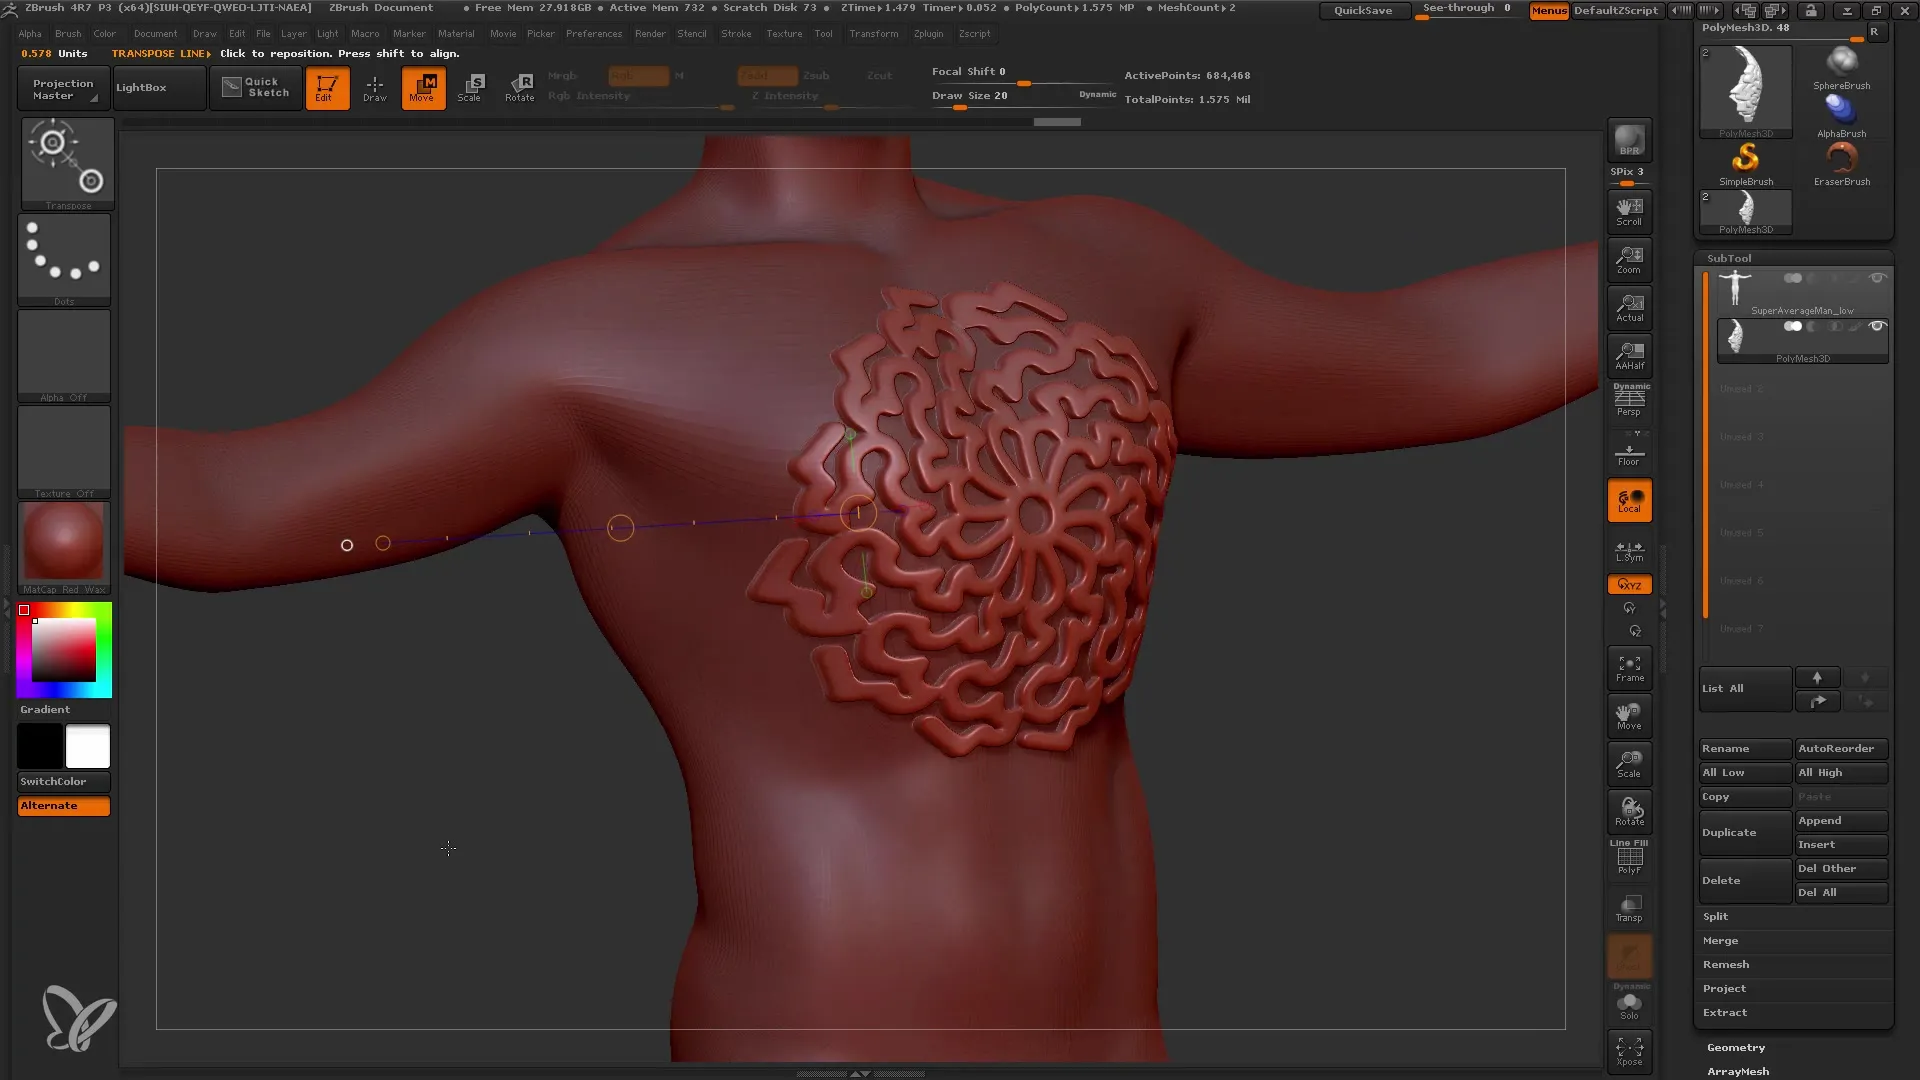
Summary
In the tutorial, you learned how to use the MatchMaker Brush to project details from one subtool to another in ZBrush. You also learned how to create and customize an emblem using the Shadowbox. With the right techniques, you can achieve impressive results in ZBrush!
Frequently Asked Questions
What is the MatchMaker Brush?The MatchMaker Brush is a tool in ZBrush that projects the shape of one mesh onto another to adjust details.
How do I use the Shadowbox?The Shadowbox allows you to create and edit complex shapes and patterns directly in ZBrush.
Can I adjust details precisely with the MatchMaker Brush?Yes, the MatchMaker Brush allows you to make precise adjustments as long as the basic shapes are well positioned.
What is the optimal size for the projected Subtool?The projected Subtool should not be larger than the target Subtool to be applied correctly and without distortion.
