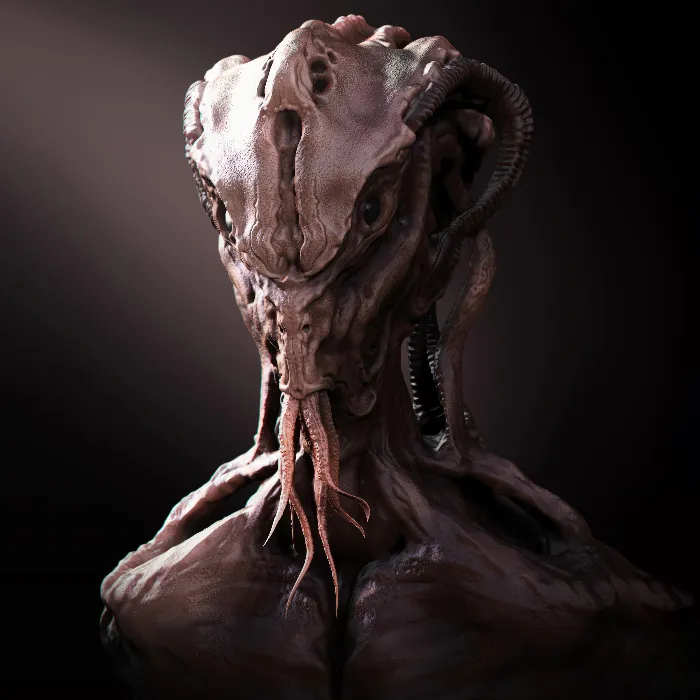
ZBrush is an advanced 3D modeling tool that allows artists and designers to create complex and detailed models. In this tutorial, we focus on the Curve Brushes, which help you generate various meshes along defined paths. The Curve Mode offers a variety of settings, allowing you to unleash your creativity. This tutorial is intended for beginners and will help you understand the basic functions and applications of Curve Brushes in ZBrush.
Key Takeaways
- Curve Brushes in ZBrush allow drawing meshes along paths.
- It is important that the mesh being used has no subdivision levels to achieve the best results.
- The different Curve Brushes, such as Curvetube and Curve TR Fill, offer additional functionalities for creating complex geometries.
- Mastering the settings and options of the Curve Tools is essential to have full control over the created mesh.
Step-by-Step Guide
1. Create and Prepare Mesh
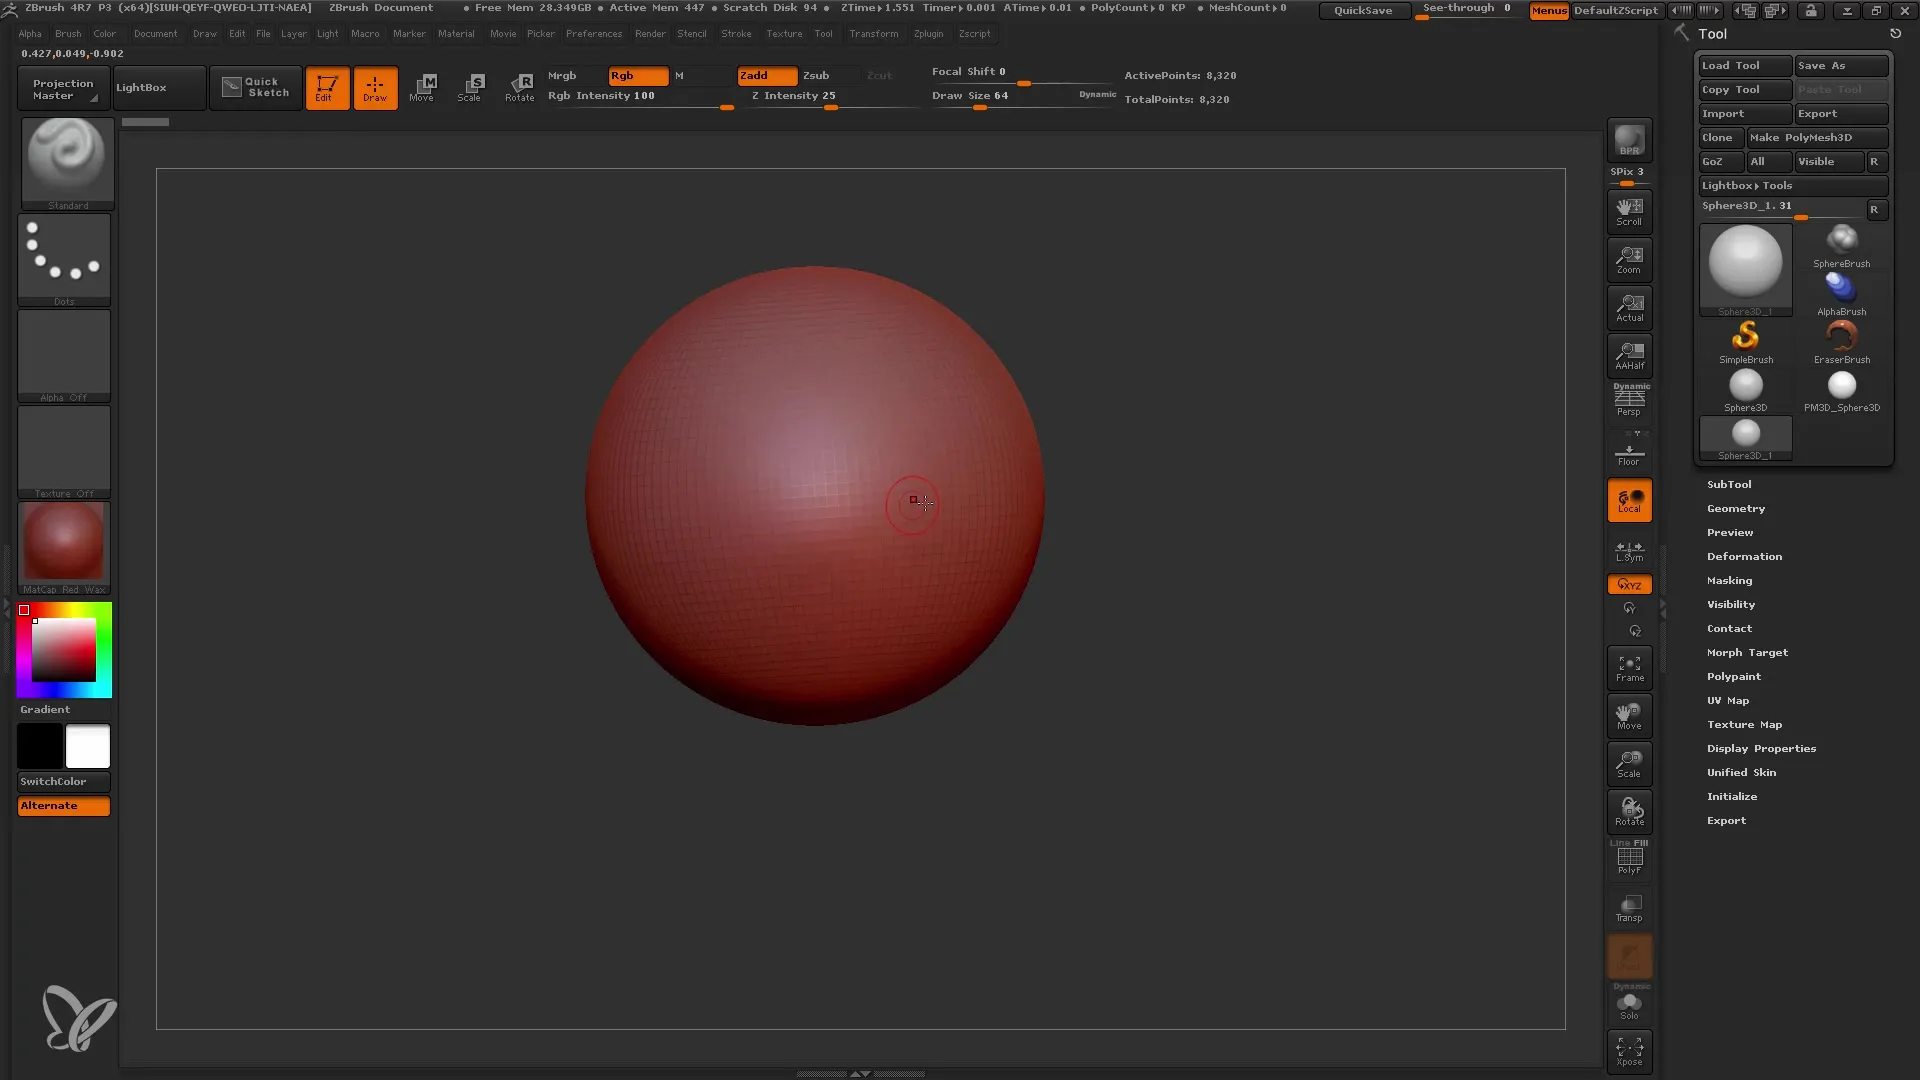
To effectively use the Curve Brushes, start by creating a mesh. In this example, you will use a sphere. Make the sphere "editable" and ensure that it is a polymesh. The option for subdivision levels should not be activated, as the Curve Brushes only reliably work with low polygon arrangements.
2. Access the Curve Brushes
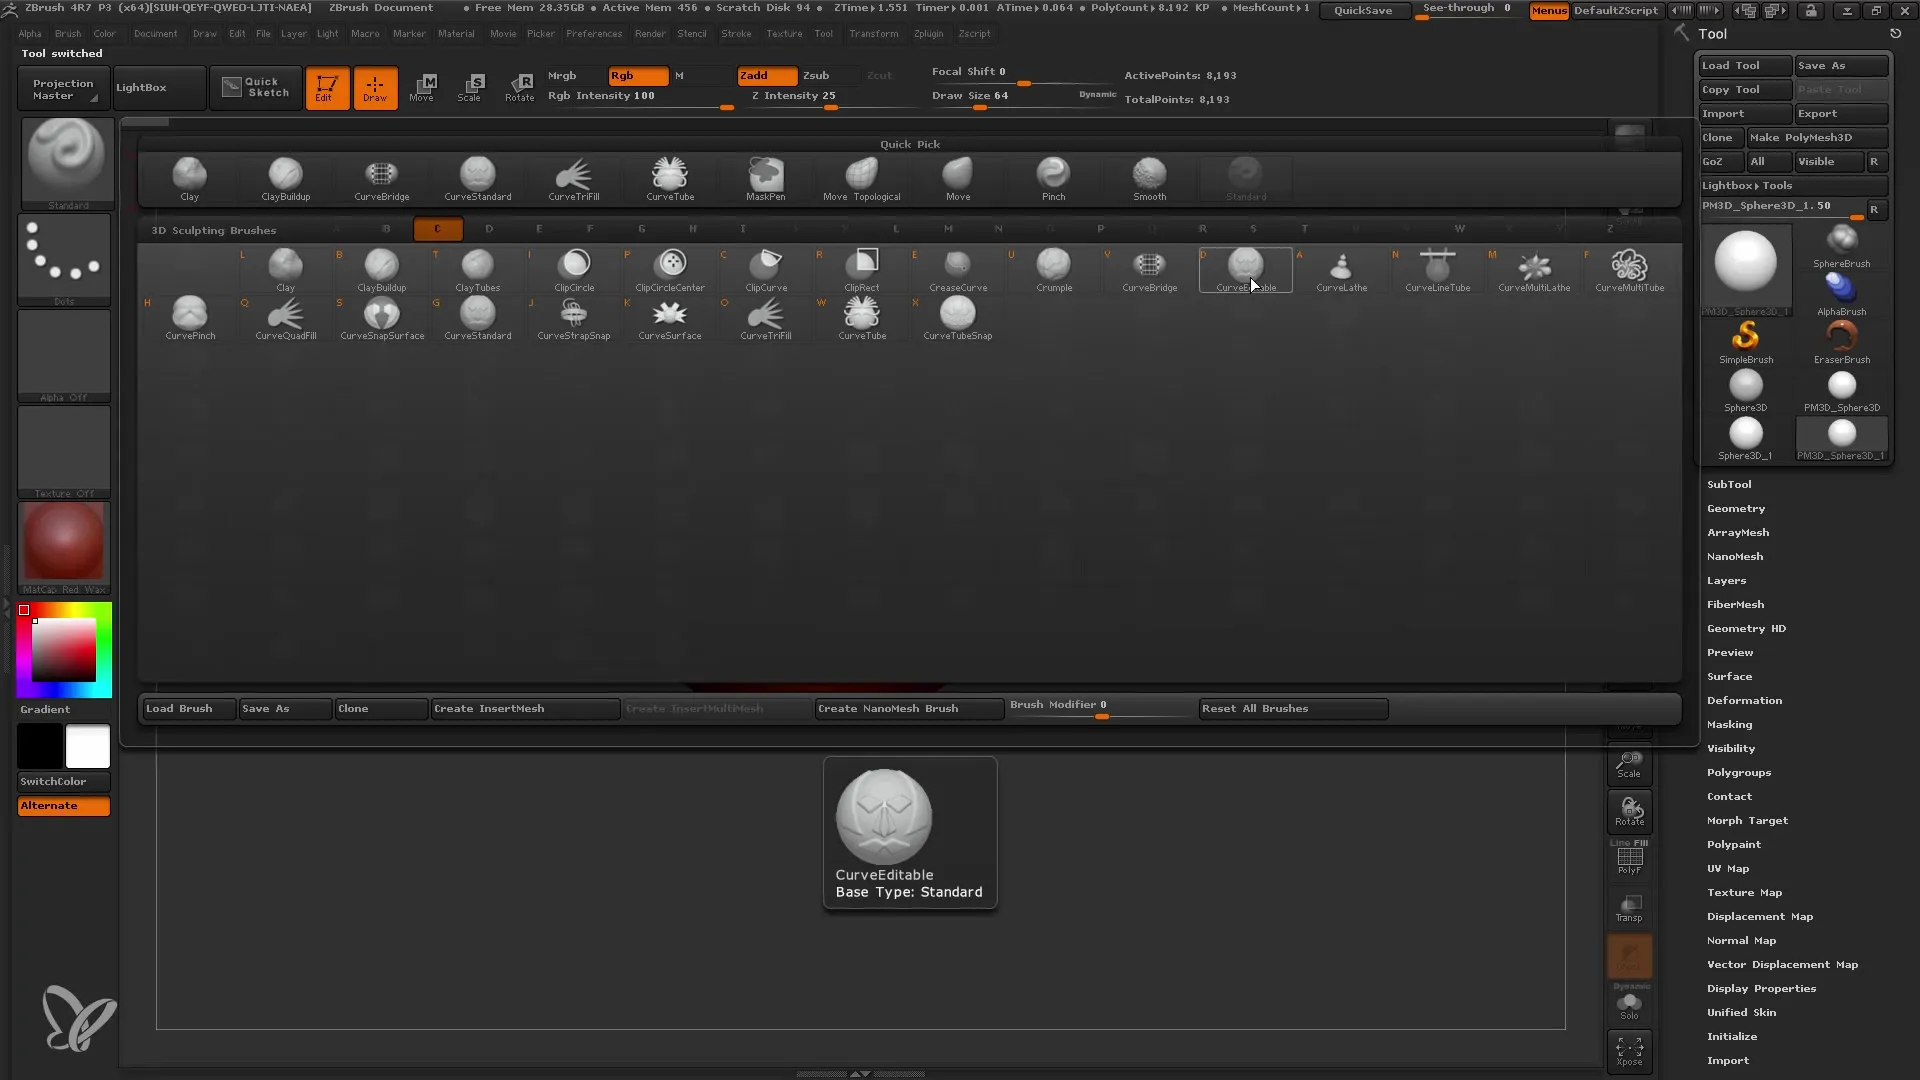
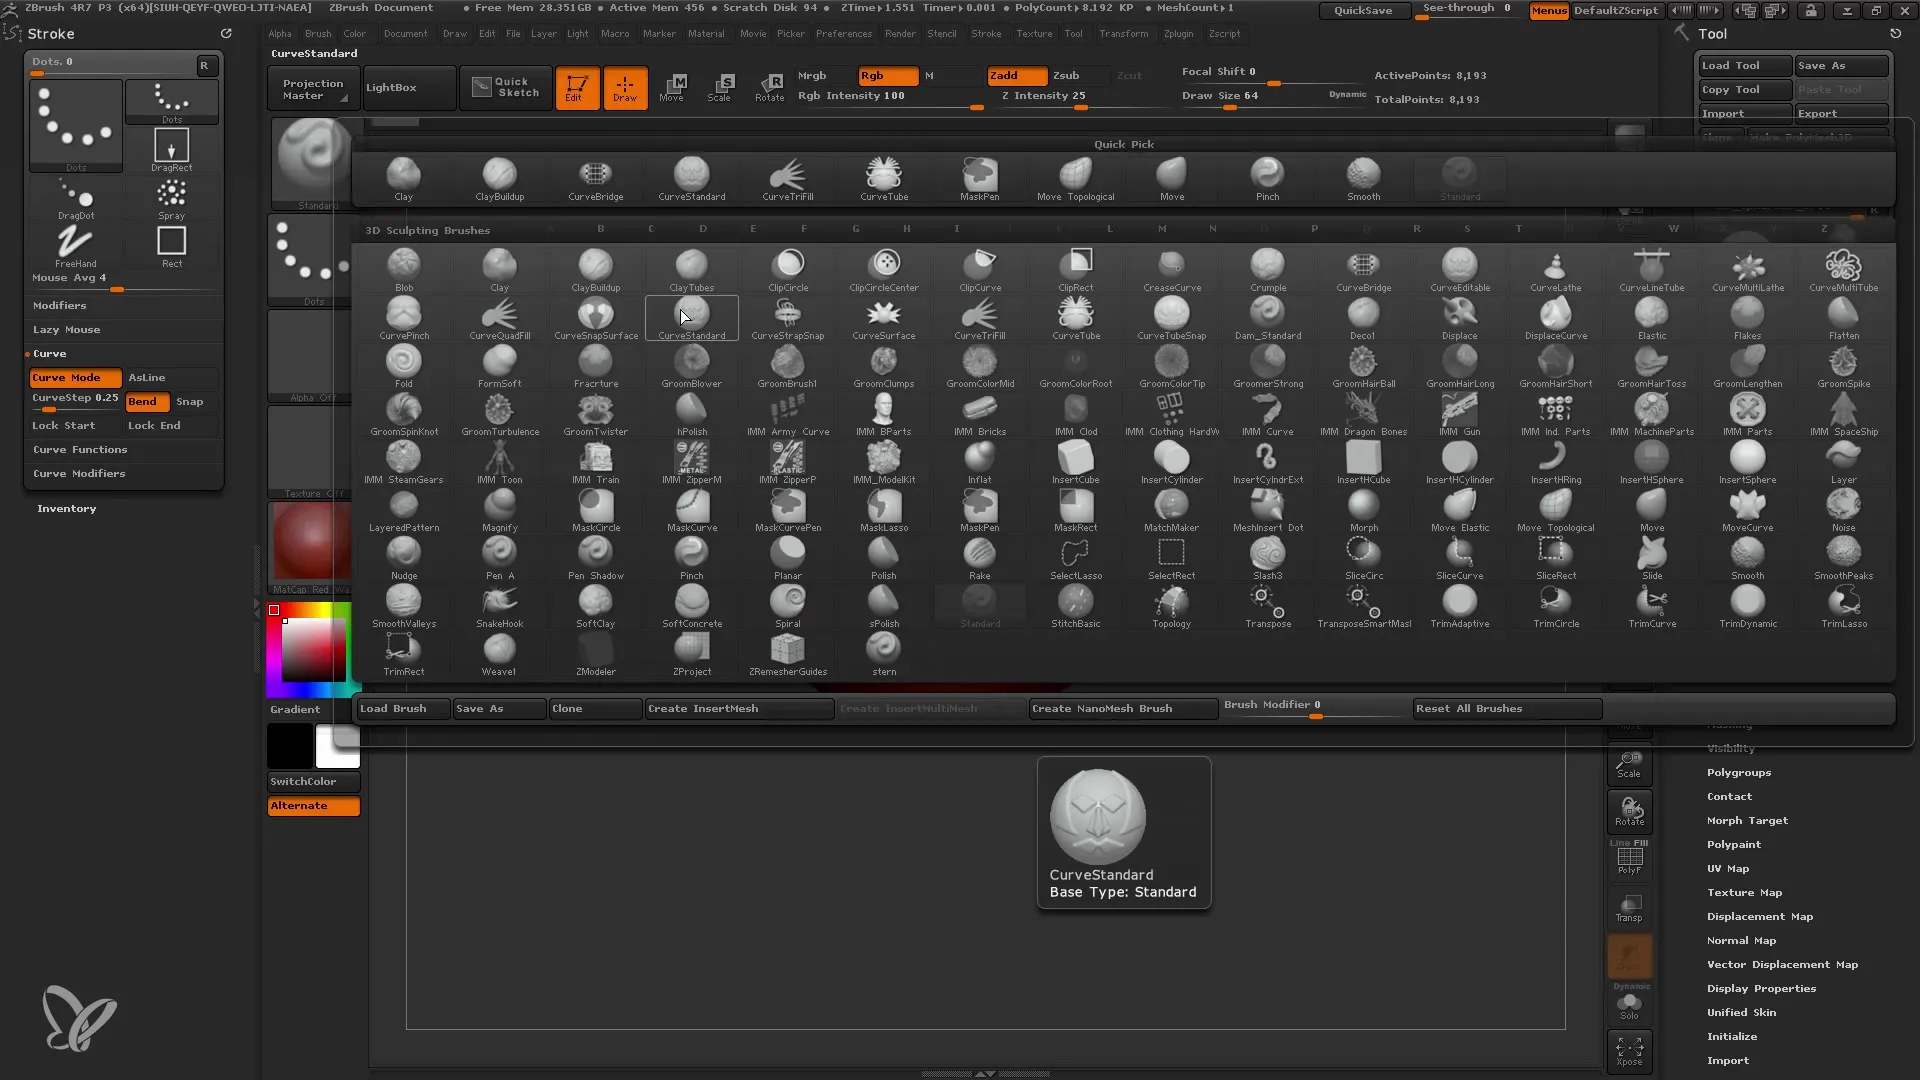
Now that your mesh is prepared, you can load the Curve Brushes. Press the "C" key to display the full selection of Curve Brushes. You will see a variety of brushes, including Standard Curve, Curvetube, and others.
3. Choose a Curve Brush
To draw a curve, for example, select the Standard Curve. With this brush, you can draw a path by simply clicking and dragging with the mouse. Make sure your brush size is large enough to make the lines visible.
4. Draw a Curve
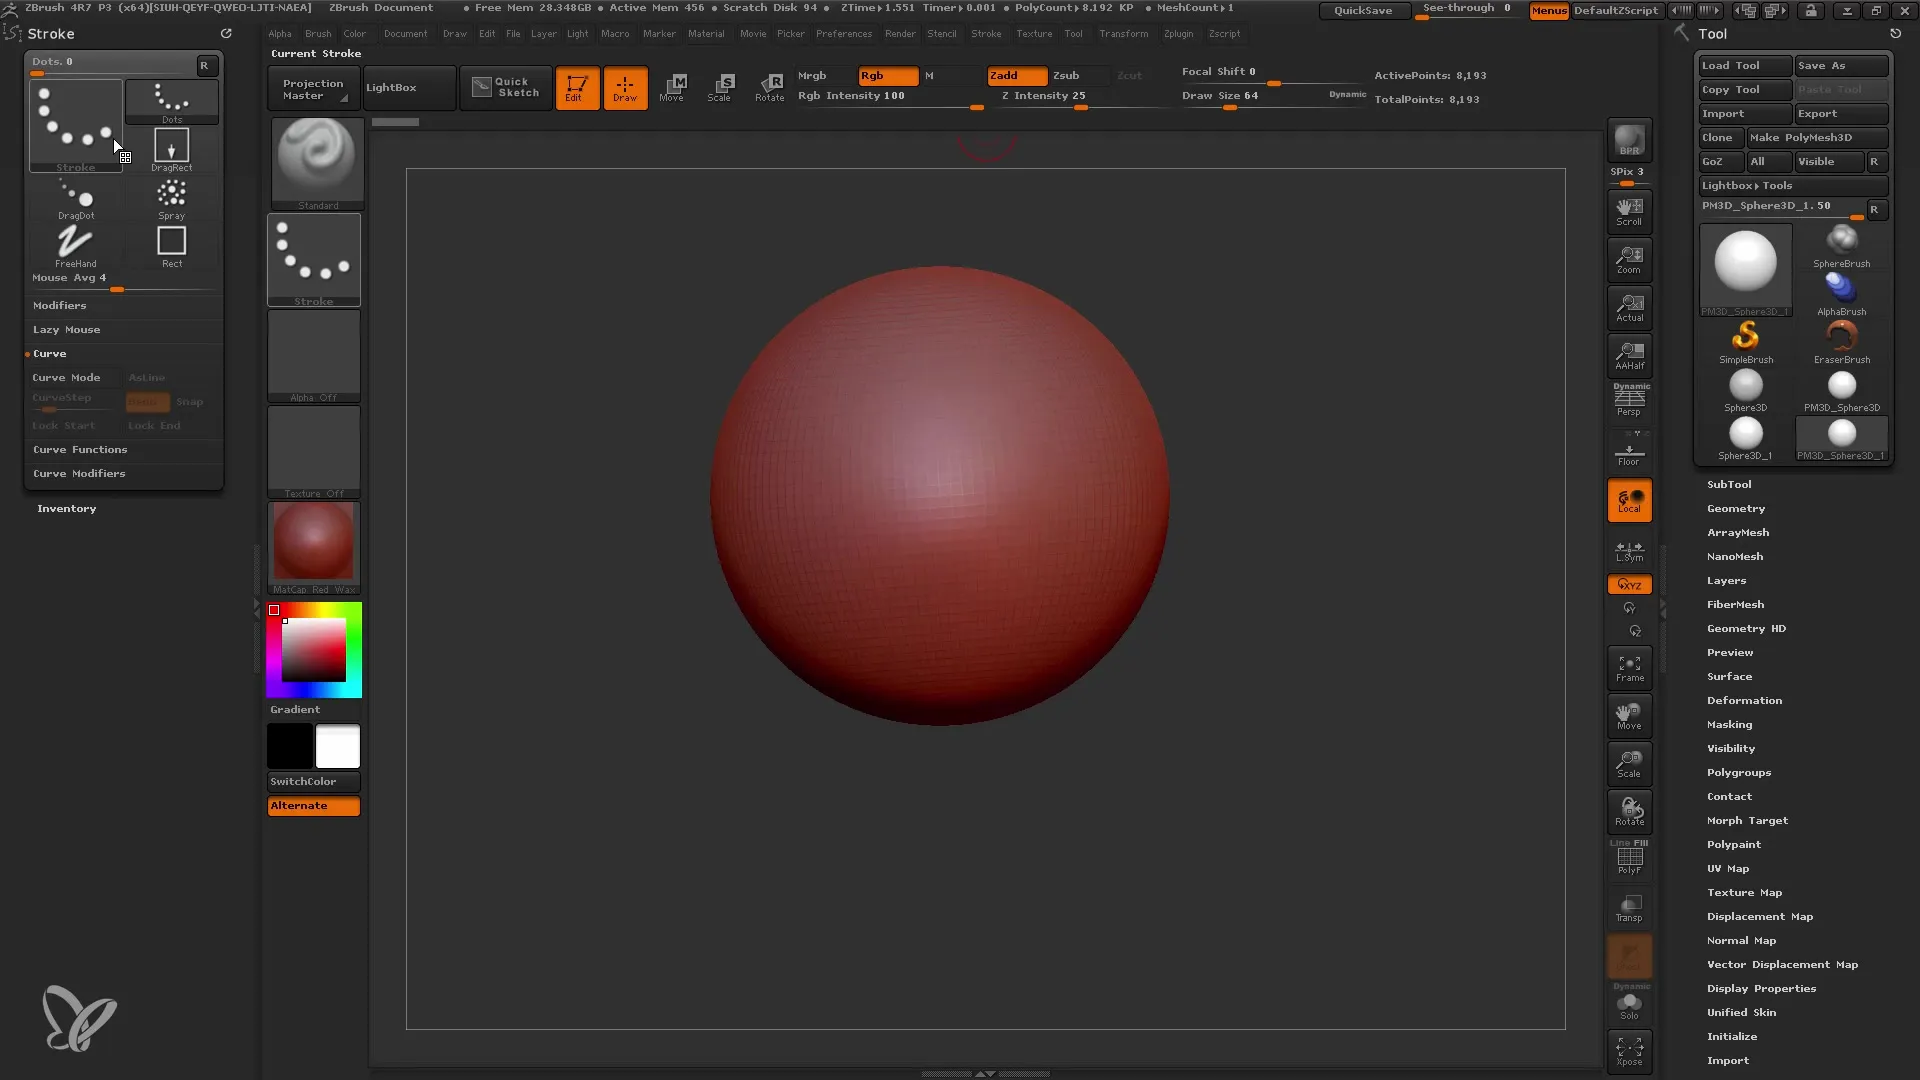
Click to set the starting point of your curve and then drag to define the line. You will see that your drawn line becomes visible along the path. Once you have drawn the desired path, you can continue working on it.
5. Adjust Curves
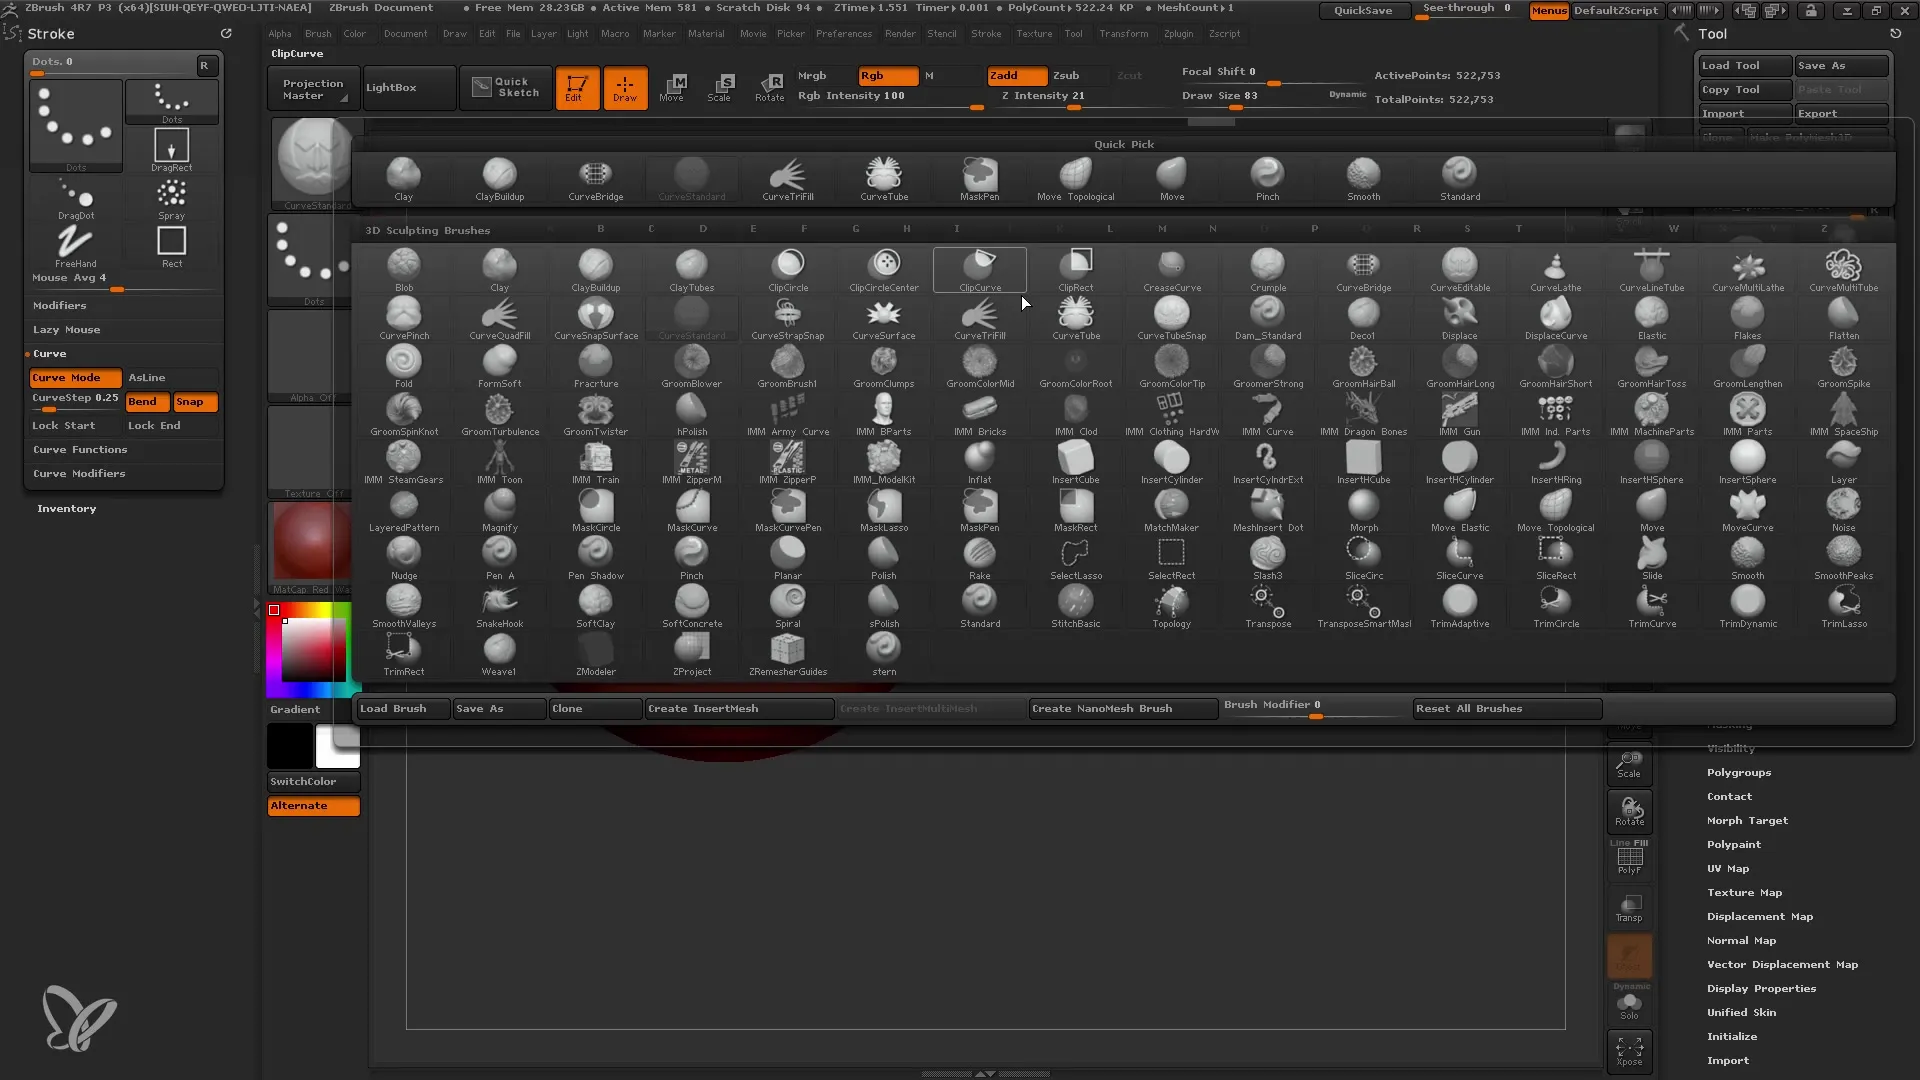
Curvetube is ideal for creating tubes. You can drag the tube along your curve, setting the start point and end point. Move the points to change and adjust the shape.
6. Adjusting Size
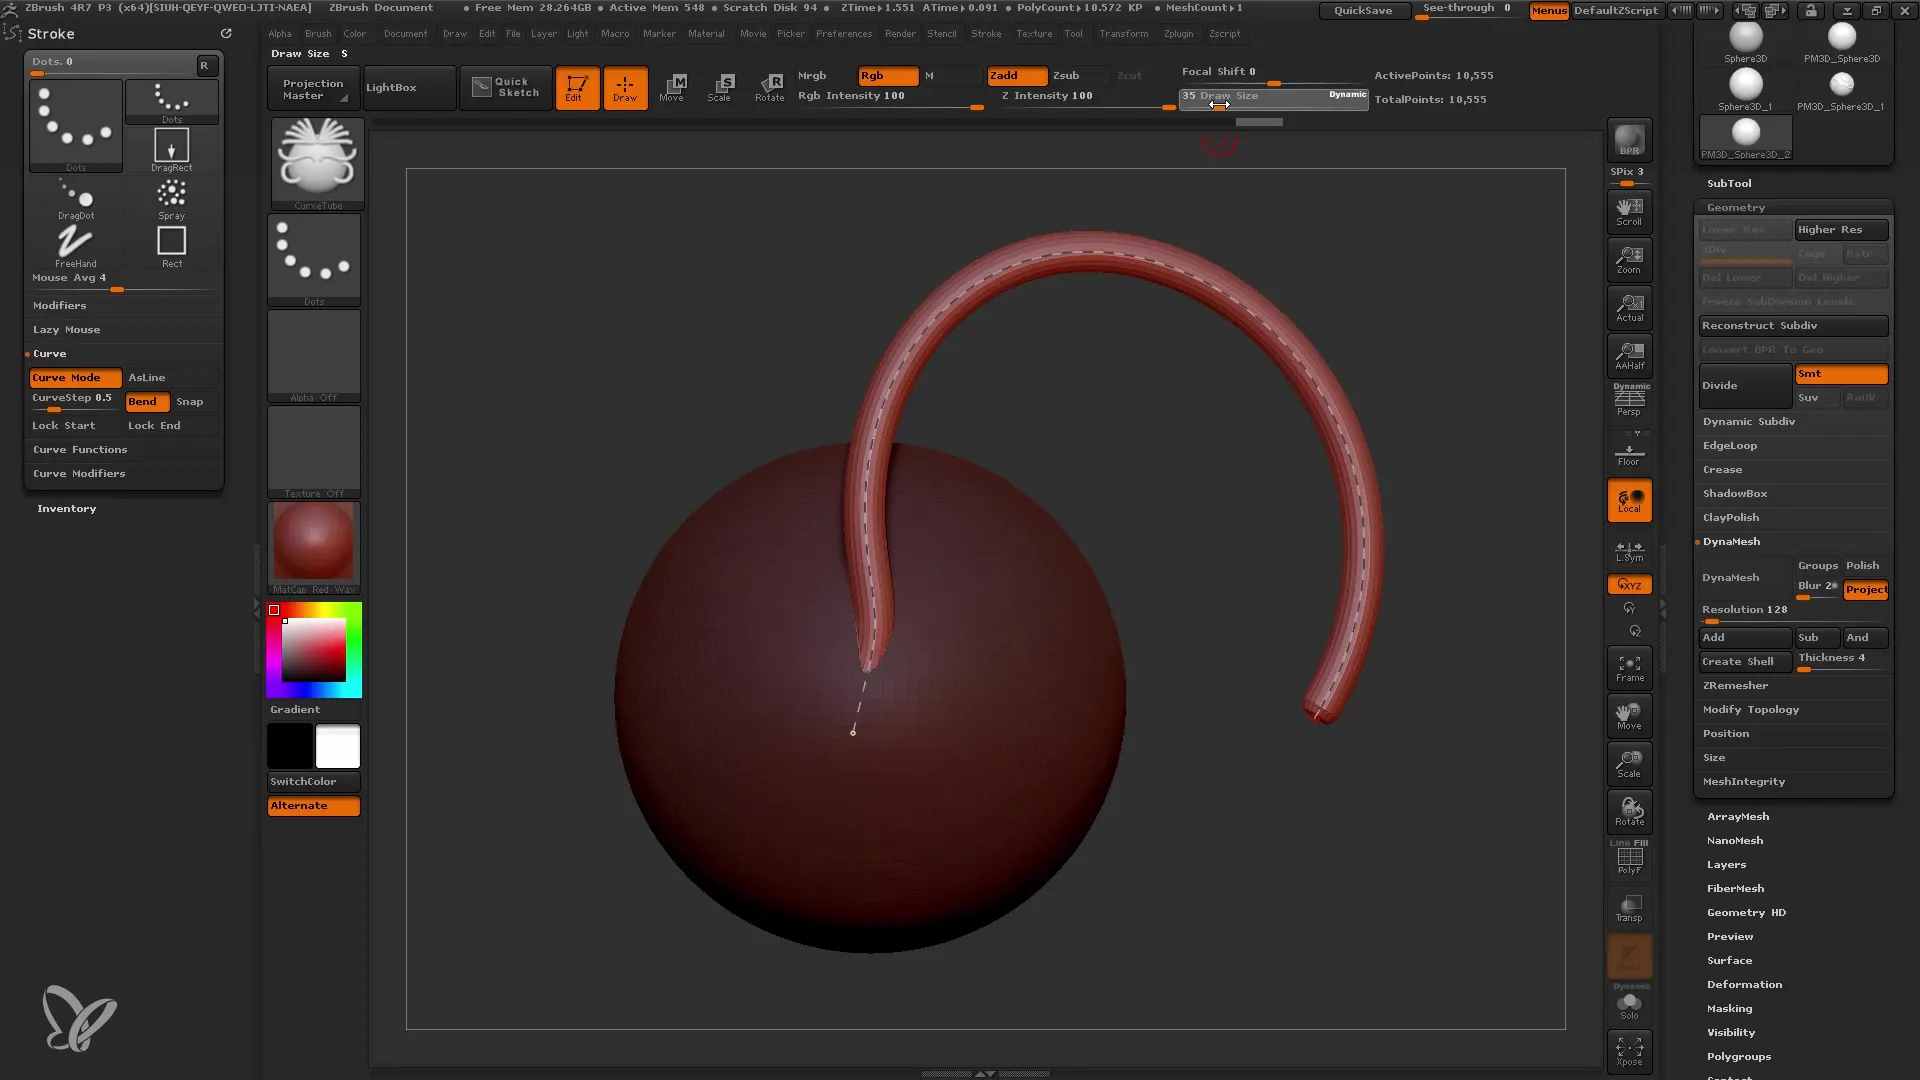
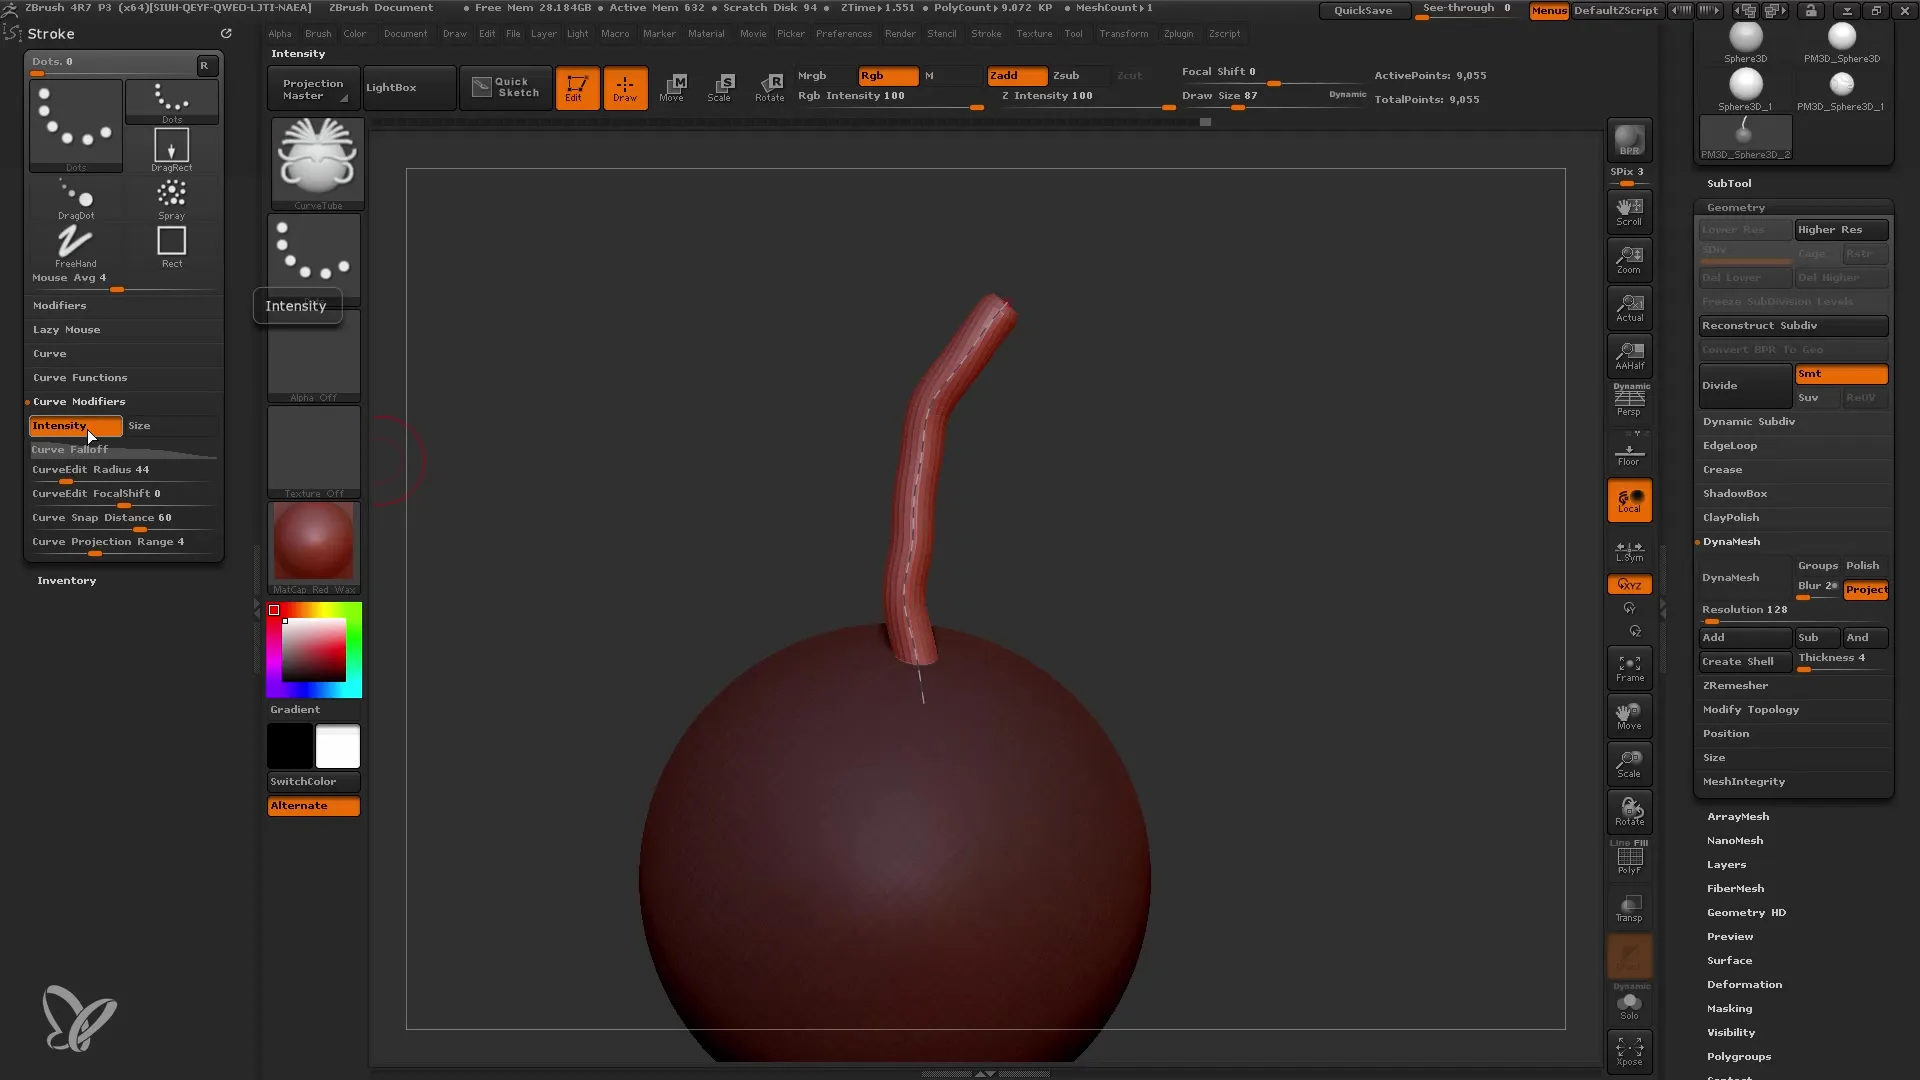
The size of your tube is influenced by the Draw Size. This means you can change the thickness of the tube by adjusting the size of your brush tip. Experiment to see how the geometry changes based on whether you choose smaller or larger sizes.
7. Using Curve Functions
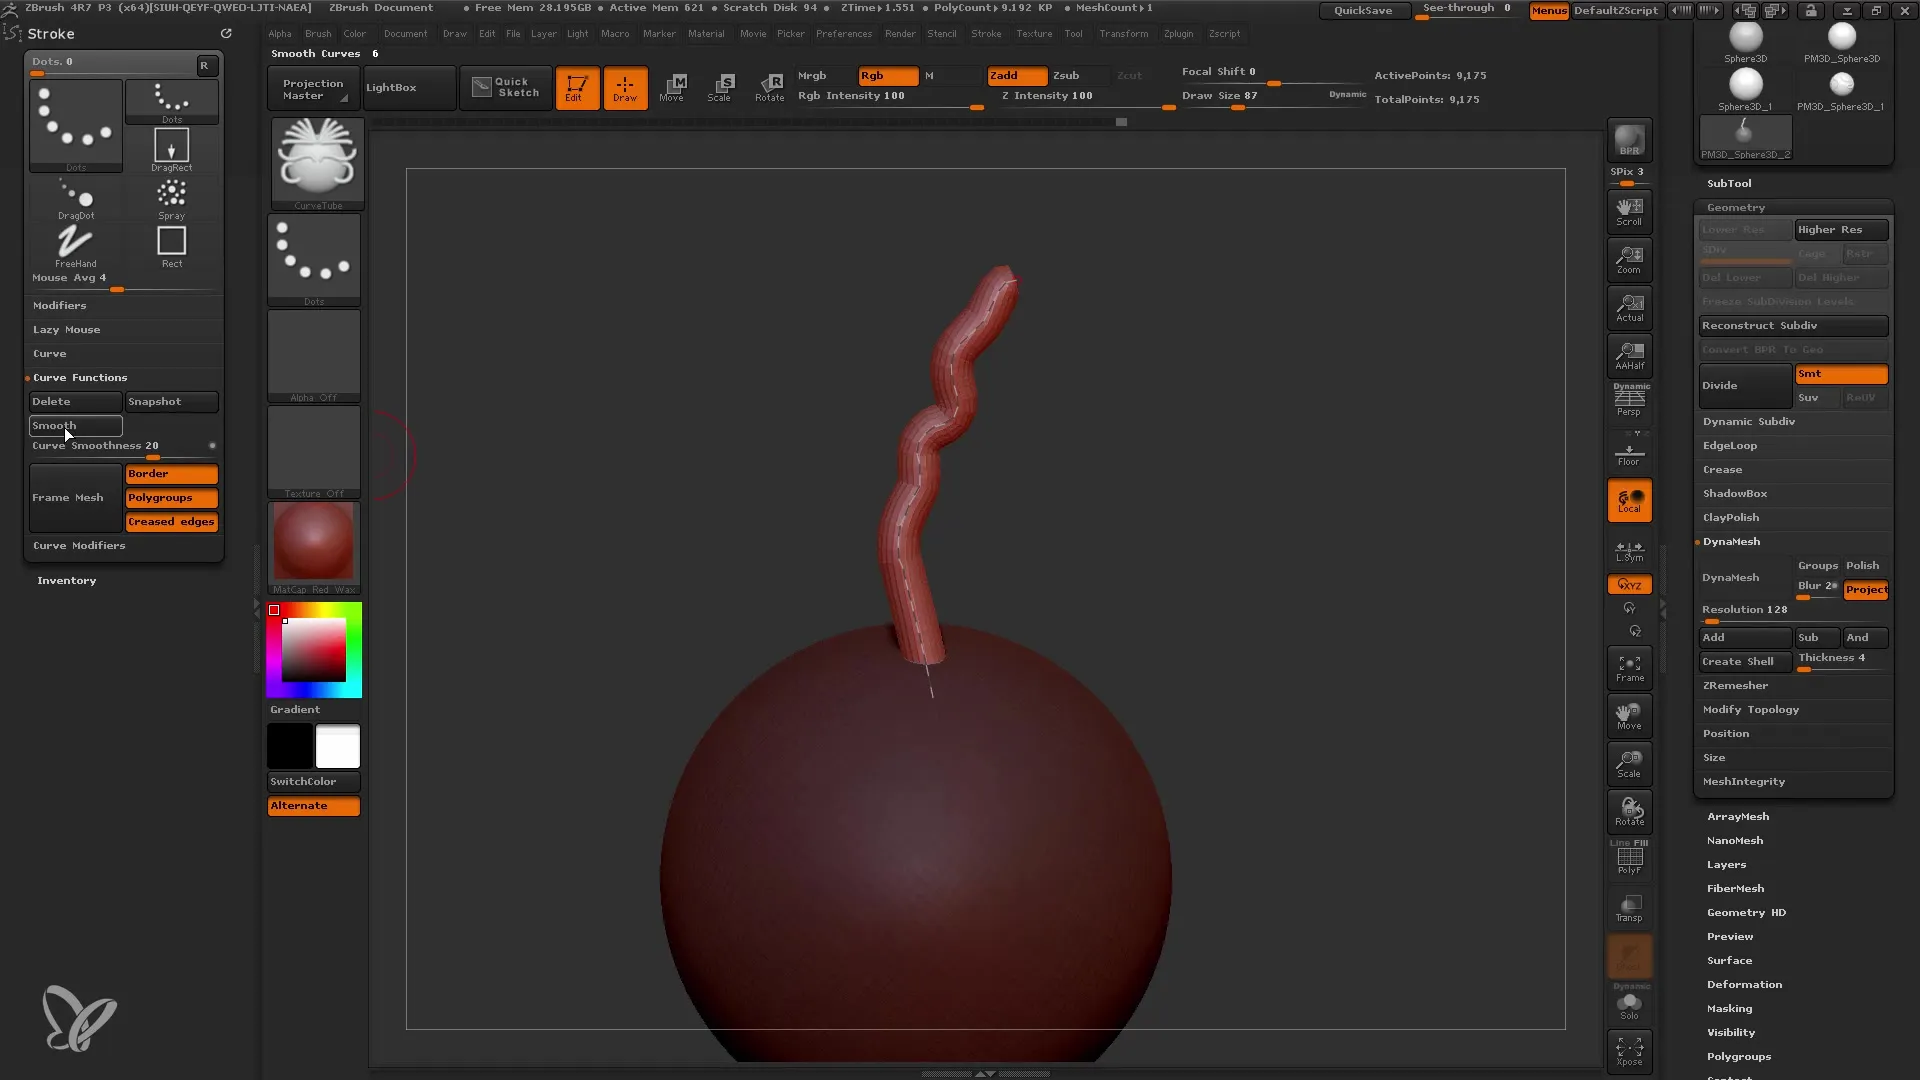
The Curve Settings offer you the ability to smooth or manipulate your drawn curve. You can use the Smooth function to fix minor irregularities in your line or use the "6" key to get a uniform line.
8. Using the Falloff
An interesting feature is the Fallof, which allows you to dynamically control the intensity or size of your curve. By changing the Falloff settings, you can create more complex shapes and transitions.
9. Creating Subtools
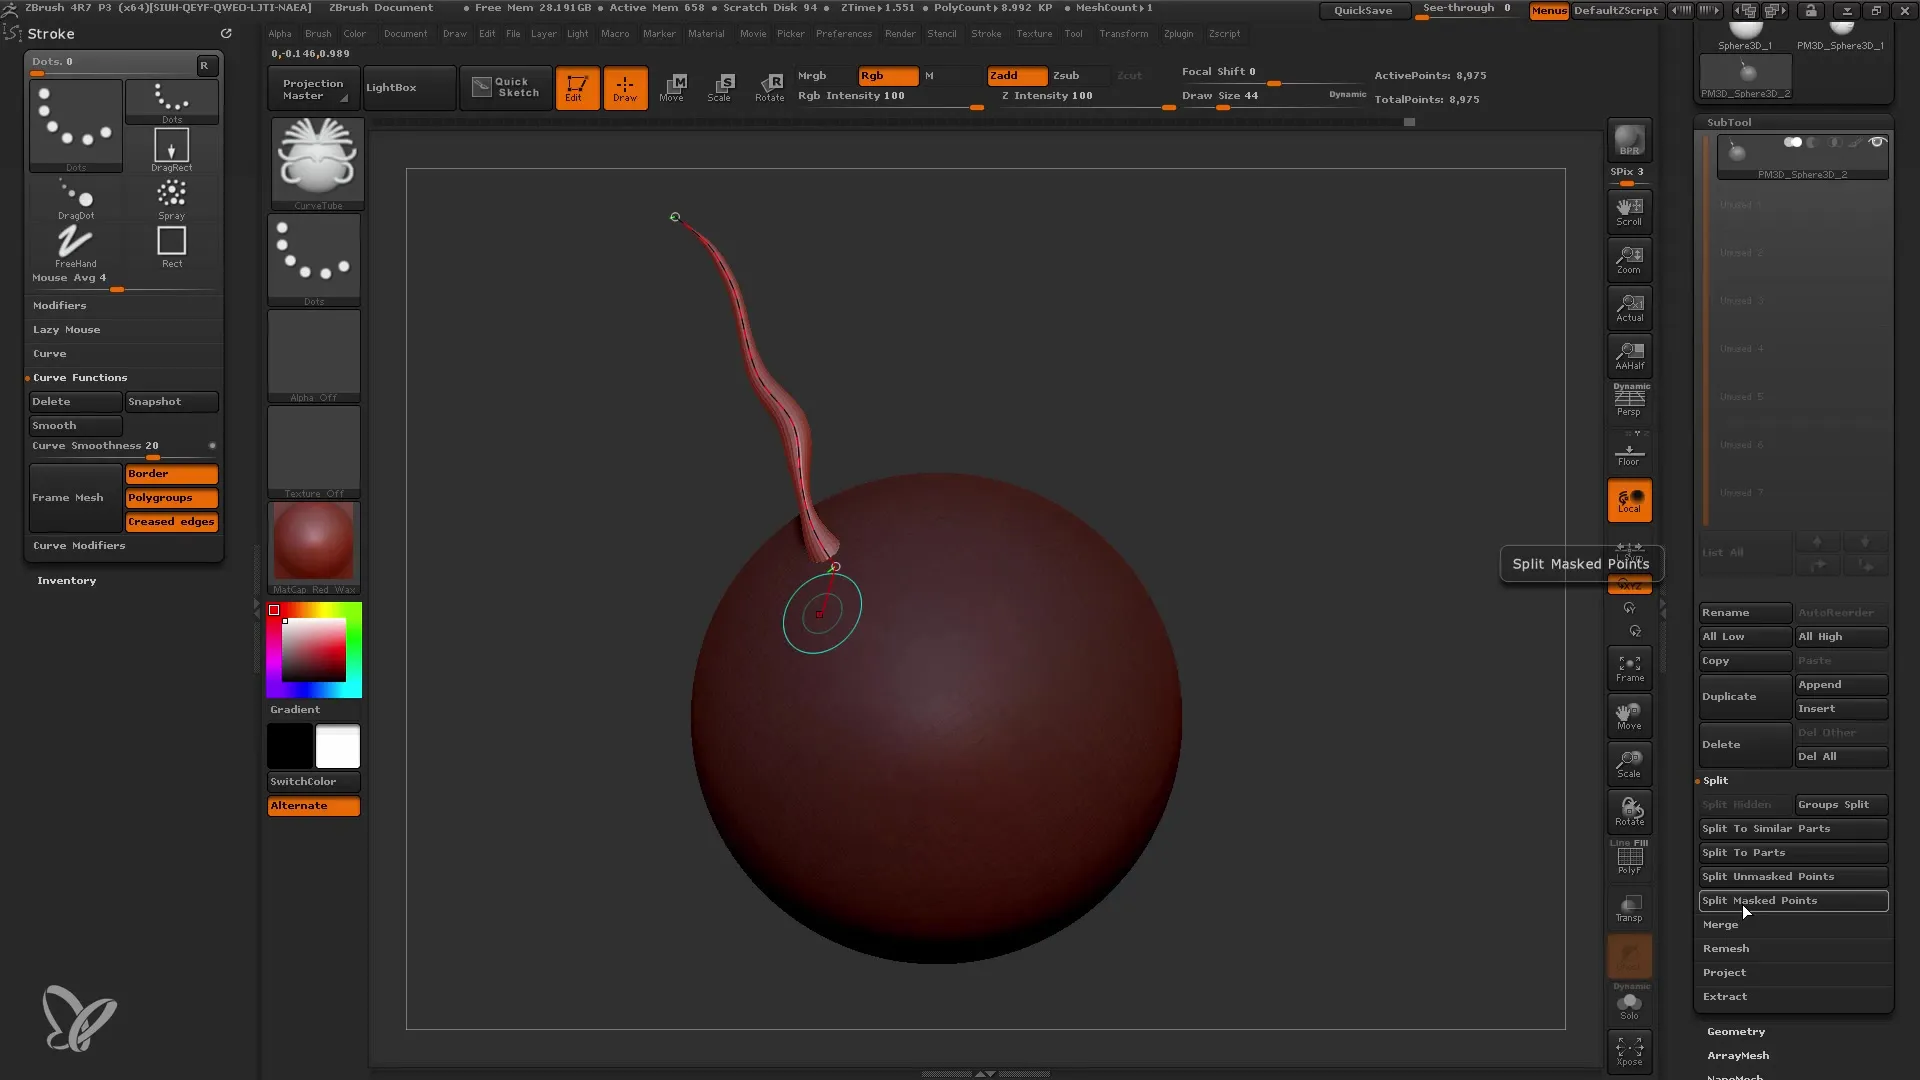
If you want to convert your curve into a mesh, you can use the mask to separate your new geometry from the original mesh. Use the Split command to separate the masked points from the unmasked ones. This will create a new subtool that you can edit separately.
10. Adjustments and Fine-Tuning
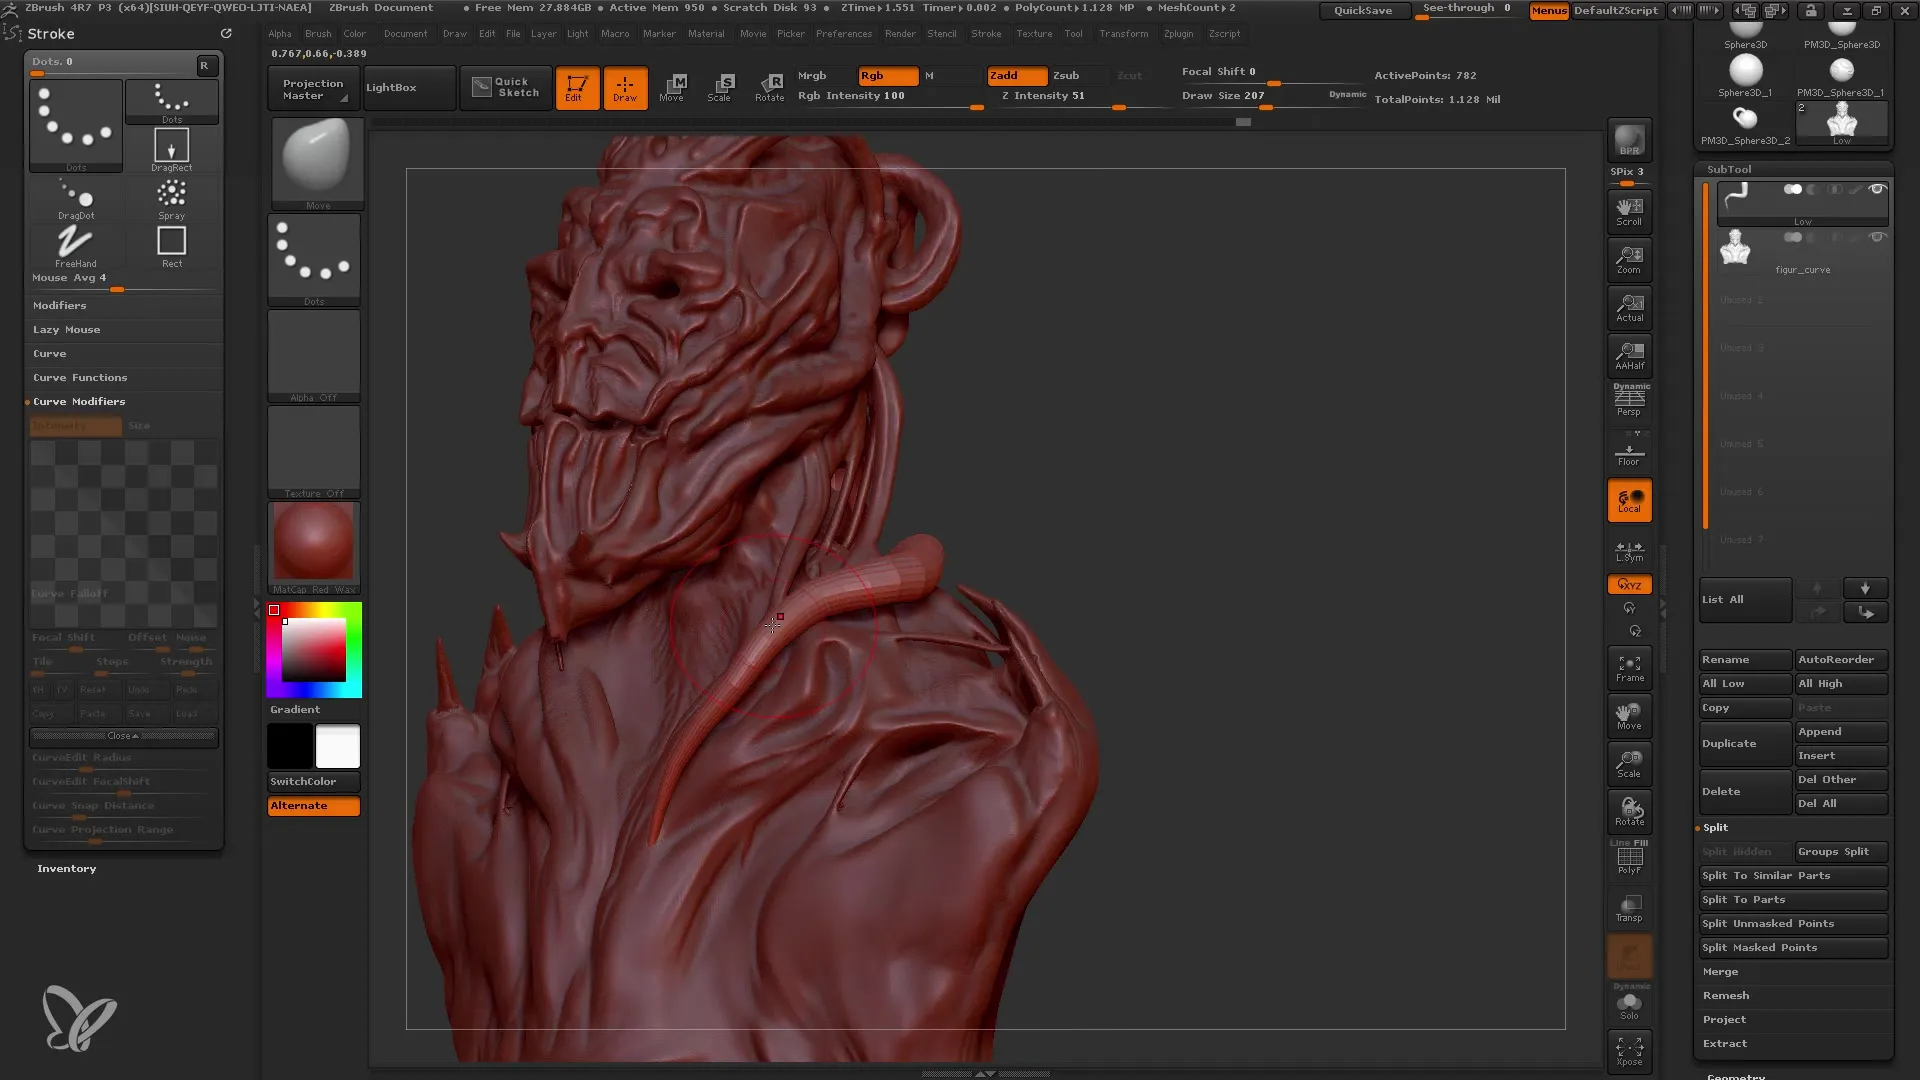
If you want to further edit your tube or mesh, you can adjust it using different brushes without losing the original shape. You can use the Move function to make precise adjustments.
11. Using Curve TR Fill
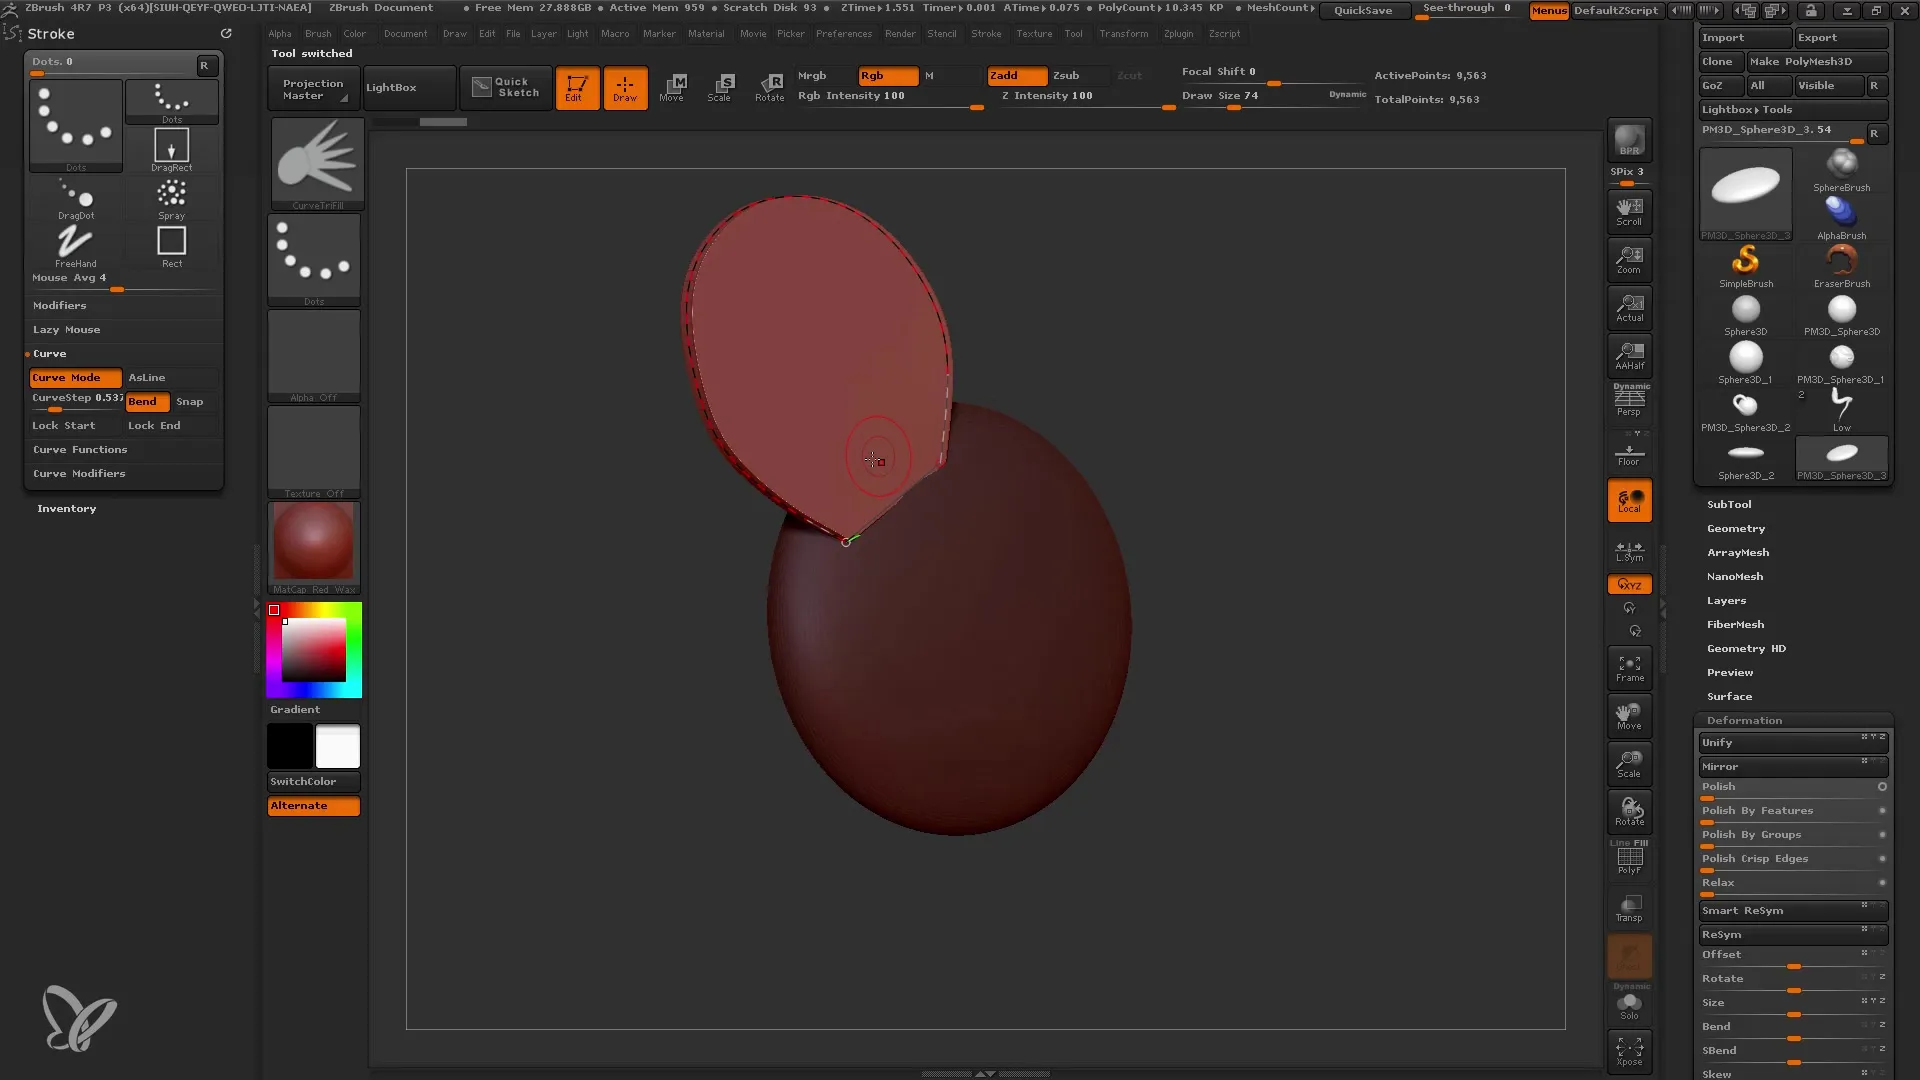
Finally, you can create meshes directly while drawing a curve using the Curve TR Fill Brush. This is especially useful when creating shape cuts such as petals or more specific objects like barrels or tentacles.
Summary
In this tutorial, you have learned the basics of ZBrush Curve Brushes, starting from creating a suitable mesh to using different Curve Tools to generate complex shapes. You have also learned how to use these tools to improve your modeling results.
Frequently Asked Questions
How do I create a mesh in ZBrush?To create a mesh, select a primitive and make it editable.
Why can't I use subdivision levels?Subdivisions should not be active as Curve Brushes only work with flat polygon arrangements.
How can I change the size of my curve?The size can be adjusted by the Draw Size value in the brush controls.
Can I save my curve as a mesh later?Yes, you can mask the curve and create a subtool using the Split function.
What features do the Curve Functions in ZBrush offer?The Curve Functions allow you to utilize options like smoothing, falloff, and dynamic adjustments.
