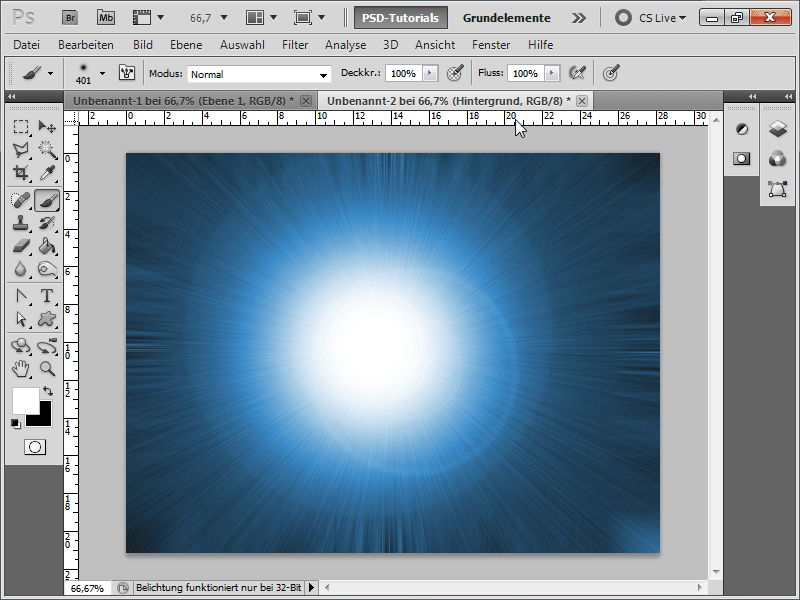
A text shine effect gives your design an impressive luminosity and attracts attention to it. Whether for posters, social media graphics, or digital art - this effect is versatile and easy to create. In this tutorial, you will learn step by step how to create a glowing text shine effect in Adobe Photoshop using layer styles, gradients, and lighting effects. Illuminate your text with just a few clicks and make your design shine!
Step 1:
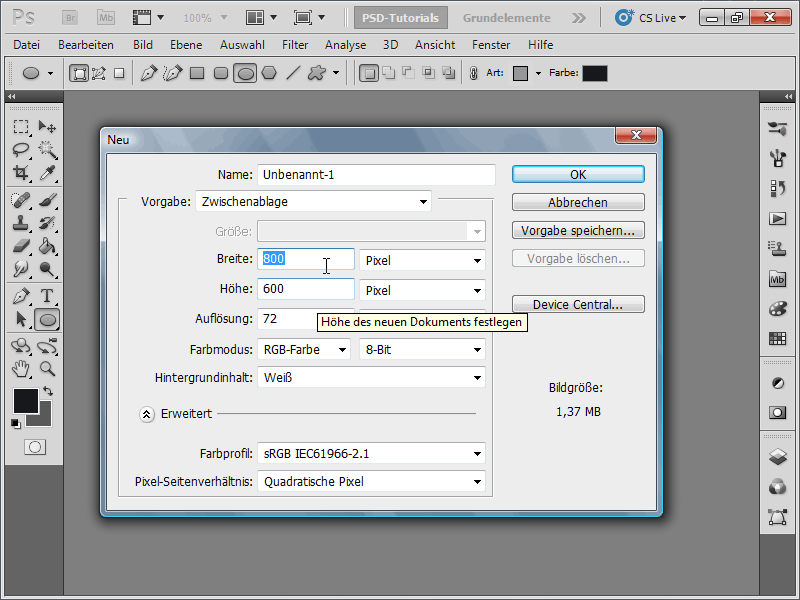
I create a document with the size of 800x600 pixels, although the size is actually unimportant.
Step 2:
Next, I color the background black and insert text in white color.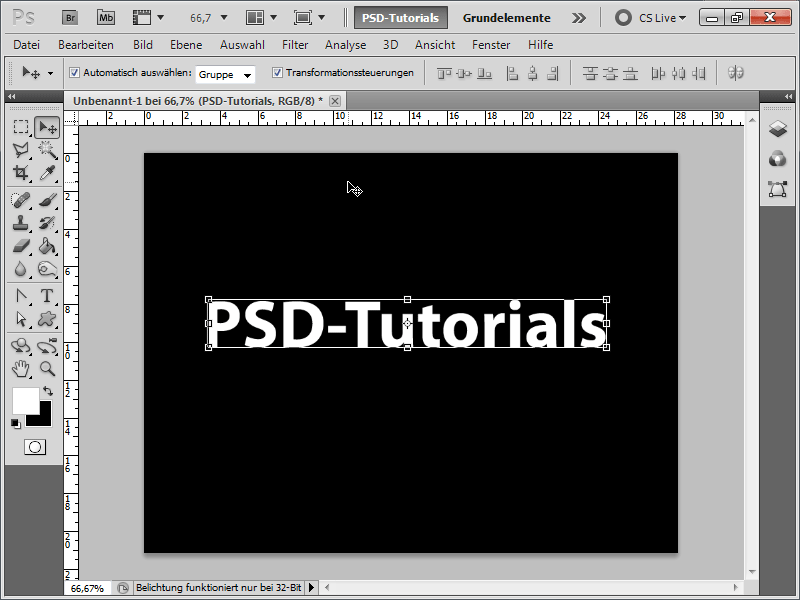
Step 3:
Using F7, I open my Layers Panel, duplicate my text layer with Ctrl+J, and temporarily hide the copy. I merge the other text layer with the background layer using Ctrl+E.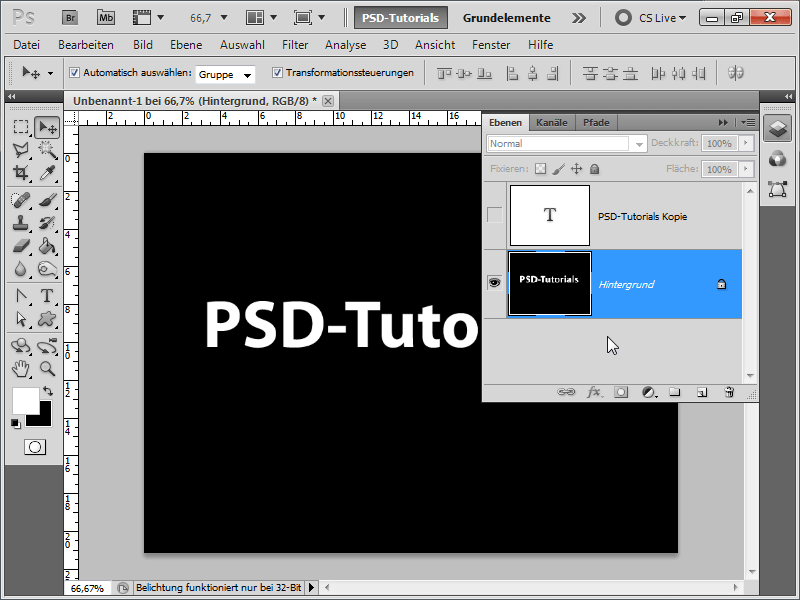
Step 4:
Now into the Filter Menu, where I select Distort Filters and then Polar Coordinates with the settings Polar->Rectangular.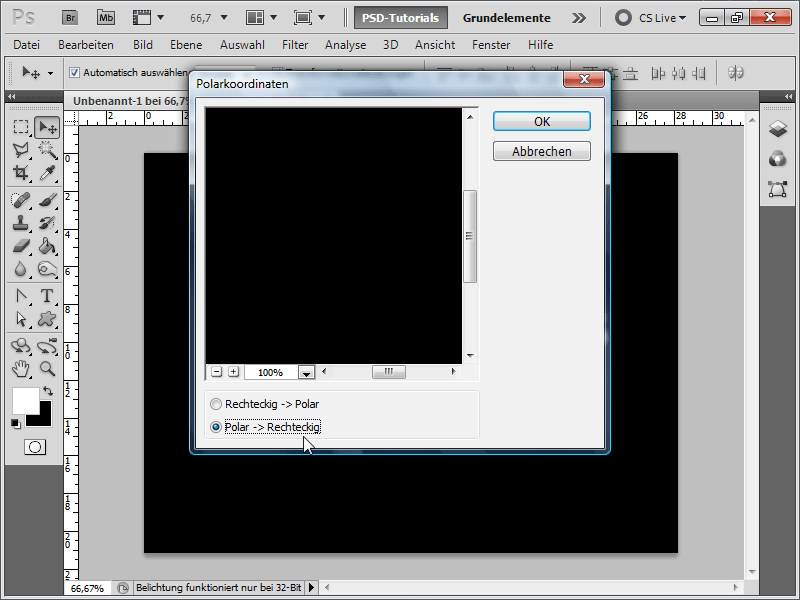
Step 5:
Now I need to select Menu>Image>Image Rotation>90° CW.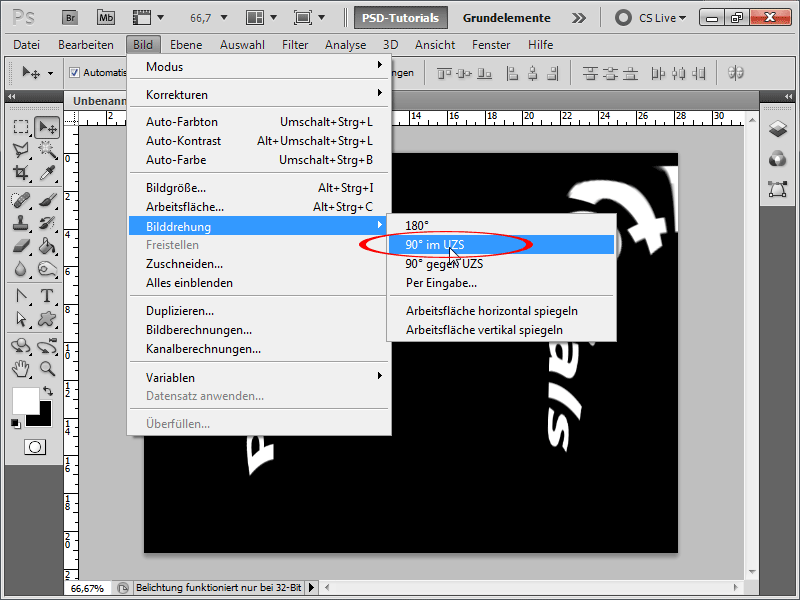
Step 6:
Next, under the Stylize Filters, apply the Wind Filter and choose the Wind method with the direction From the Left. Then press Ctrl+F to reapply the last effect. Now Ctrl+Shift+F to change the effect direction to Right. Finally, reapply the filter with Ctrl+F.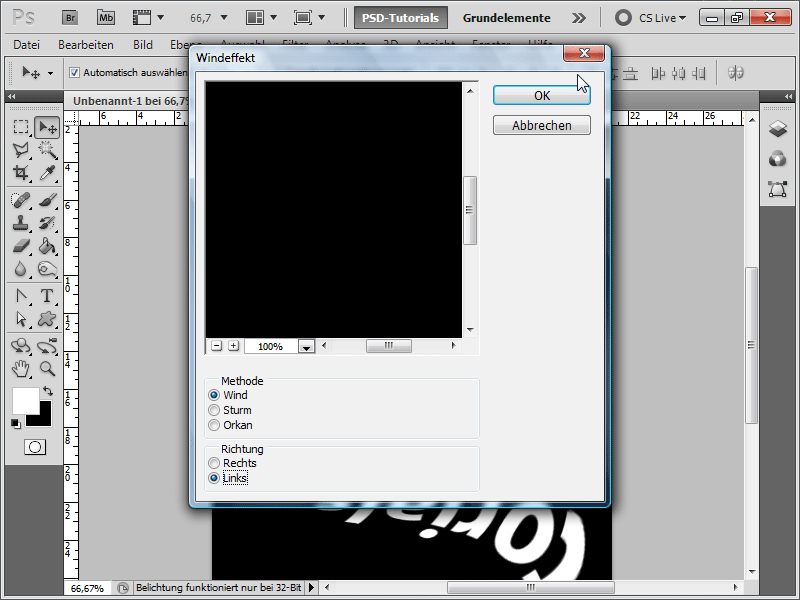
Step 7:
Now I revert the image back to its original form.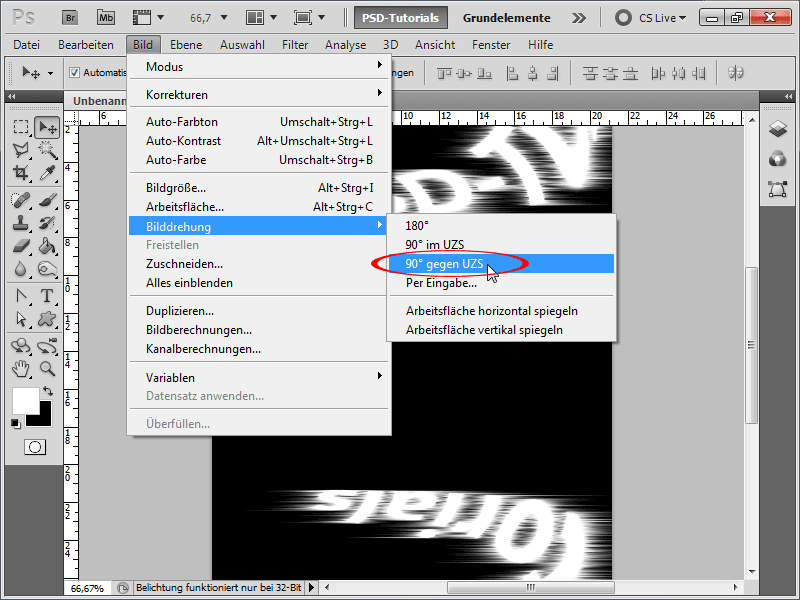
Step 8:
Next, I call up the Polar Coordinates again, this time with the settings Rectangular->Polar.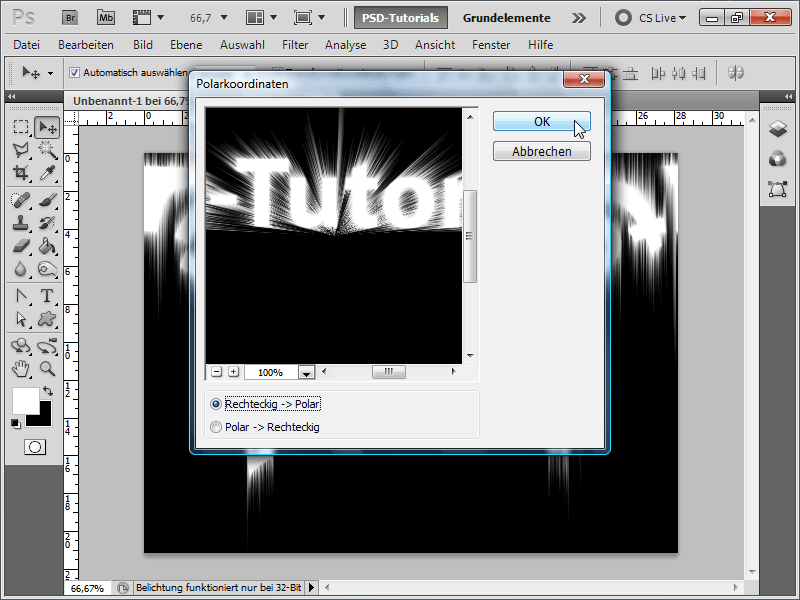
Step 9:
Then, under Menu>Filter>Blur Filters>Radial Blur, apply the filter with the following settings: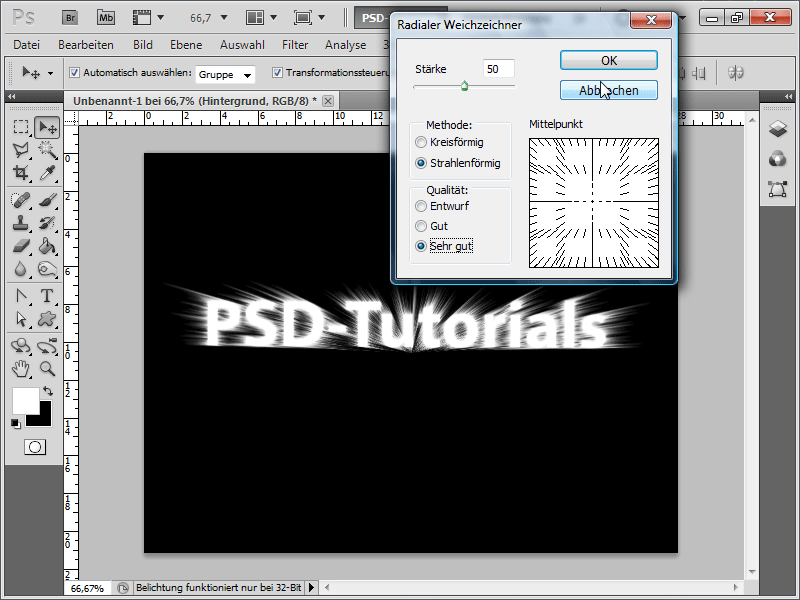
Step 10:
Now quickly duplicate the background layer with Ctrl+J.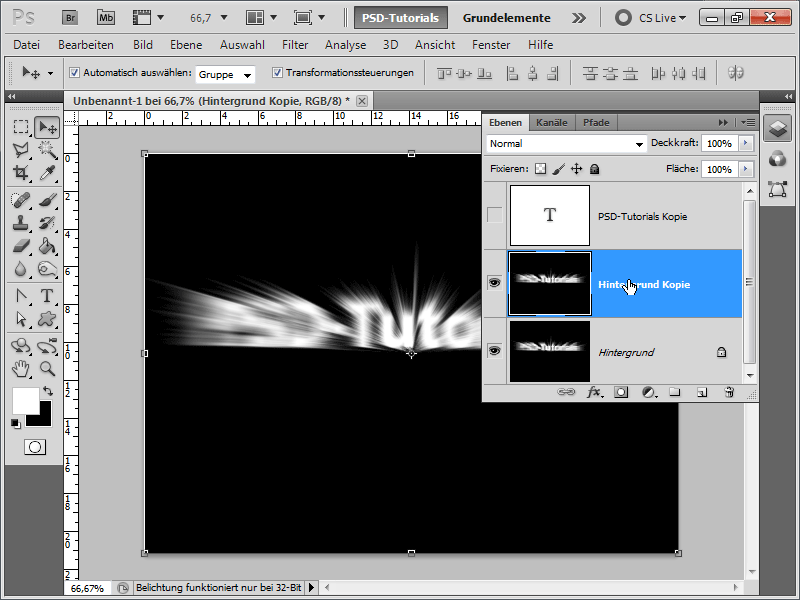
Step 11:
Then I rotate the new layer completely by 180 degrees with Ctrl+T and set the fill method to Negate Multiply. After that, I move the top layer slightly down using the Move Tool, to prevent black gaps between the two effect layers.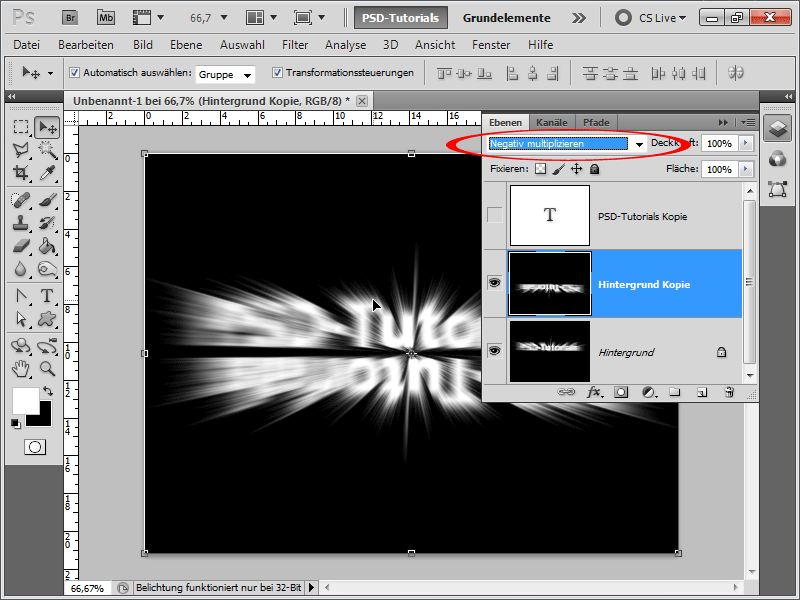
Step 12:
Now I change the text color to black and activate the fill option Outer Glow with the following settings: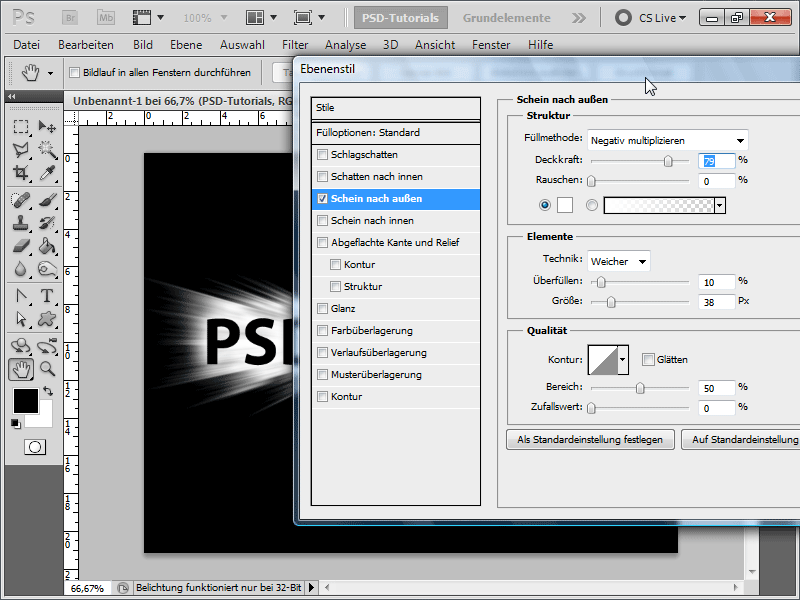
Step 13:
Next, I create a Hue/Saturation Adjustment Layer to add some color.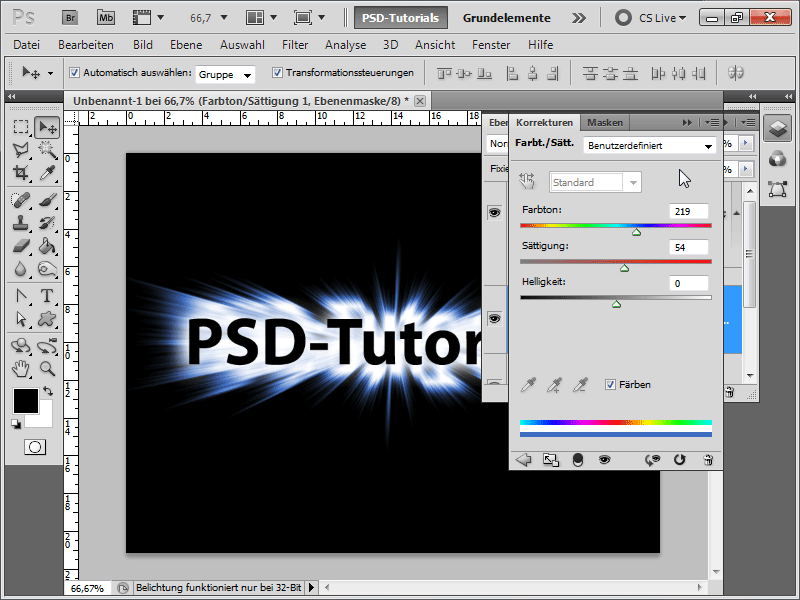
Step 14:
If I want to enhance the effect further, I can create a new layer with the following properties using Ctrl+Shift+N: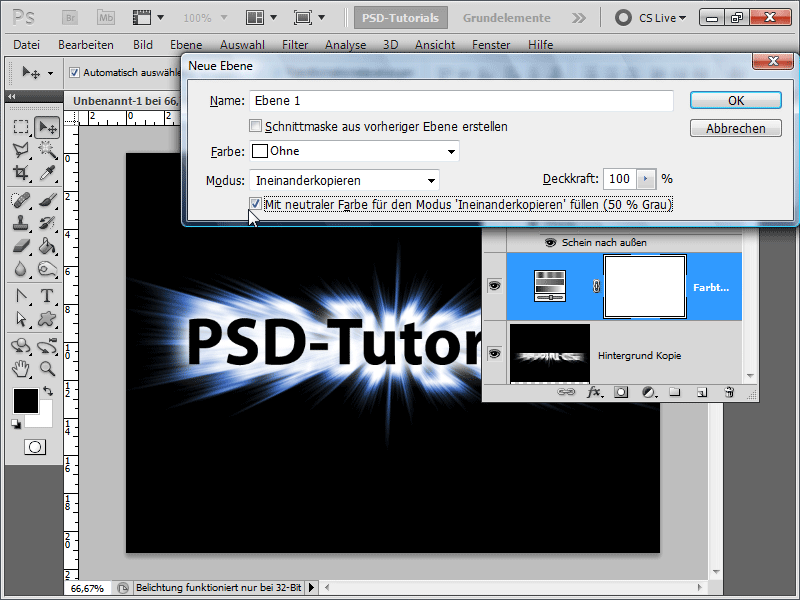
Step 15:
This way, I have the option to non-destructively brighten certain elements with a white, soft, large Brush and undo it at any time.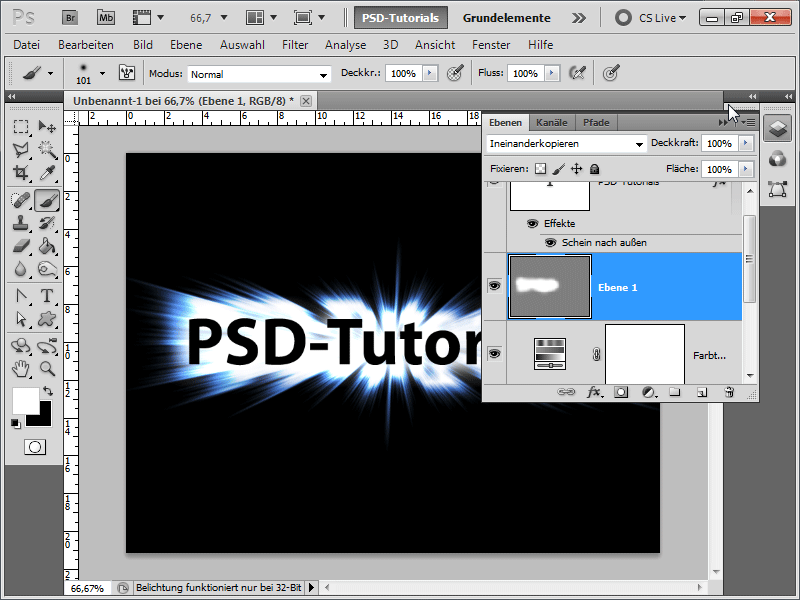
Step 16:
In my opinion, the result is something to be proud of.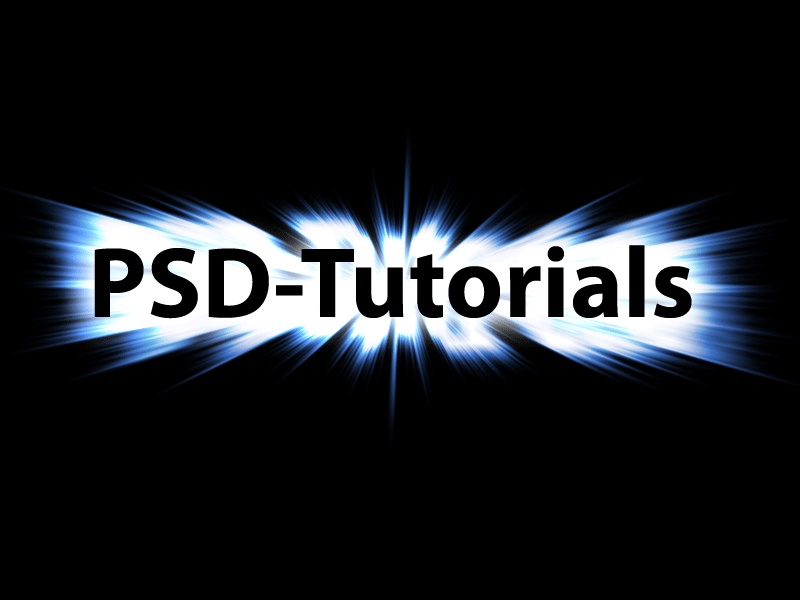
Step 17:
The effect gets even better if you don't set such a high height for the document at the beginning and then rotate not only the copied background layer by 180 degrees, but also mirror it horizontally afterwards. You can also pull the text even higher.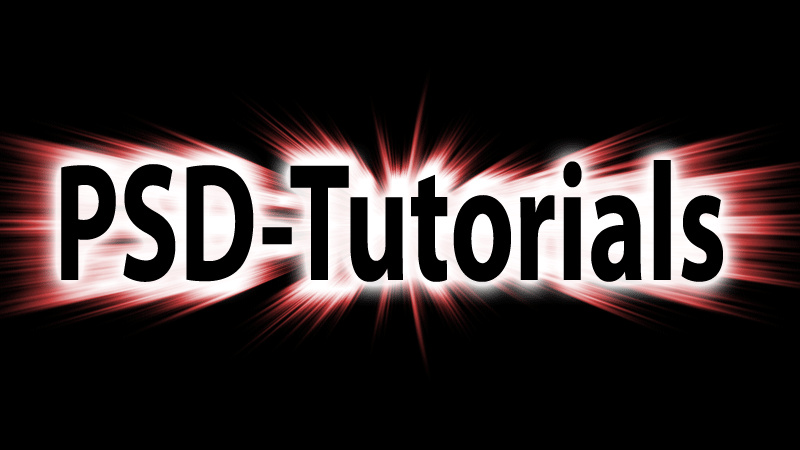
Step 18:
I want to briefly show what you can do with the radial blur tool. For this, I create a new document in 800x600 pixels and color the background black. Now I go to Menu>Filter>Noise> Add Noise and make these settings: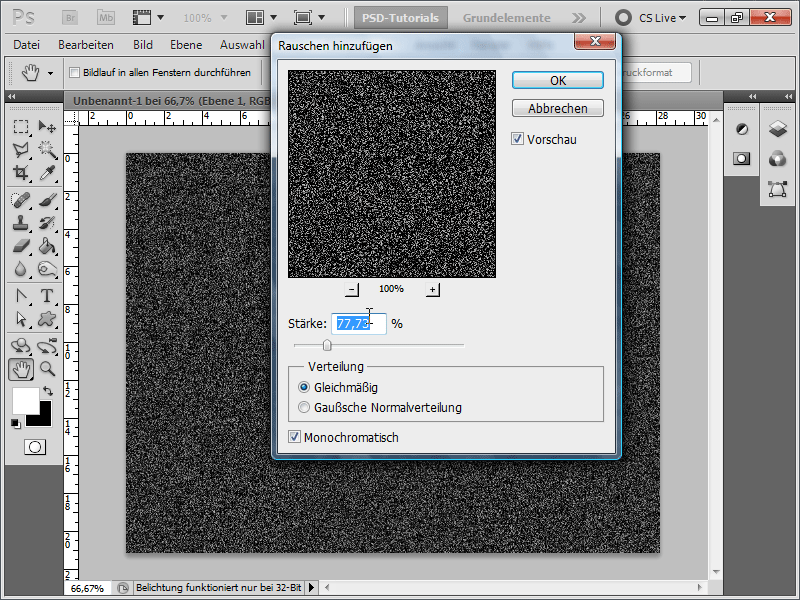
Step 19:
Next, I paint a very soft and large brush once or twice with white paint right in the center.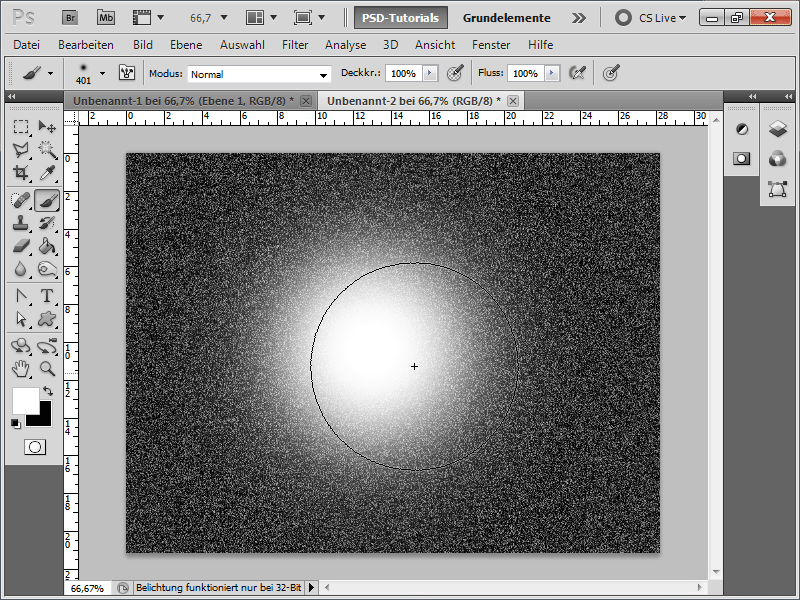
Step 20:
And when I now apply the radial blur tool with maximum settings again, this effect is the result (I also added a hue/saturation adjustment layer and inserted a vignette in the center afterwards).