In this guide, you will learn the basics of Fibermesh in ZBrush, a powerful tool for creating hair and plants. Fibermesh allows you to create complex and realistic structures from fibers that you can use in your 3D models. We will go through the steps to effectively use Fibermesh and make various adjustments to achieve the best results.
Key Takeaways
- Fibermesh is ideal for creating hair and plants.
- There are many ready-made presets in the Lightbox to help you get started.
- Rendering is crucial for the quality of fiber display.
- Adjustments such as length, width, and gravity significantly influence the appearance of your Fibermesh elements.
- Using masks helps you place the Fibermesh fibers in specific areas of your models.
Step-by-Step Guide
1. Basics of Using Fibermesh
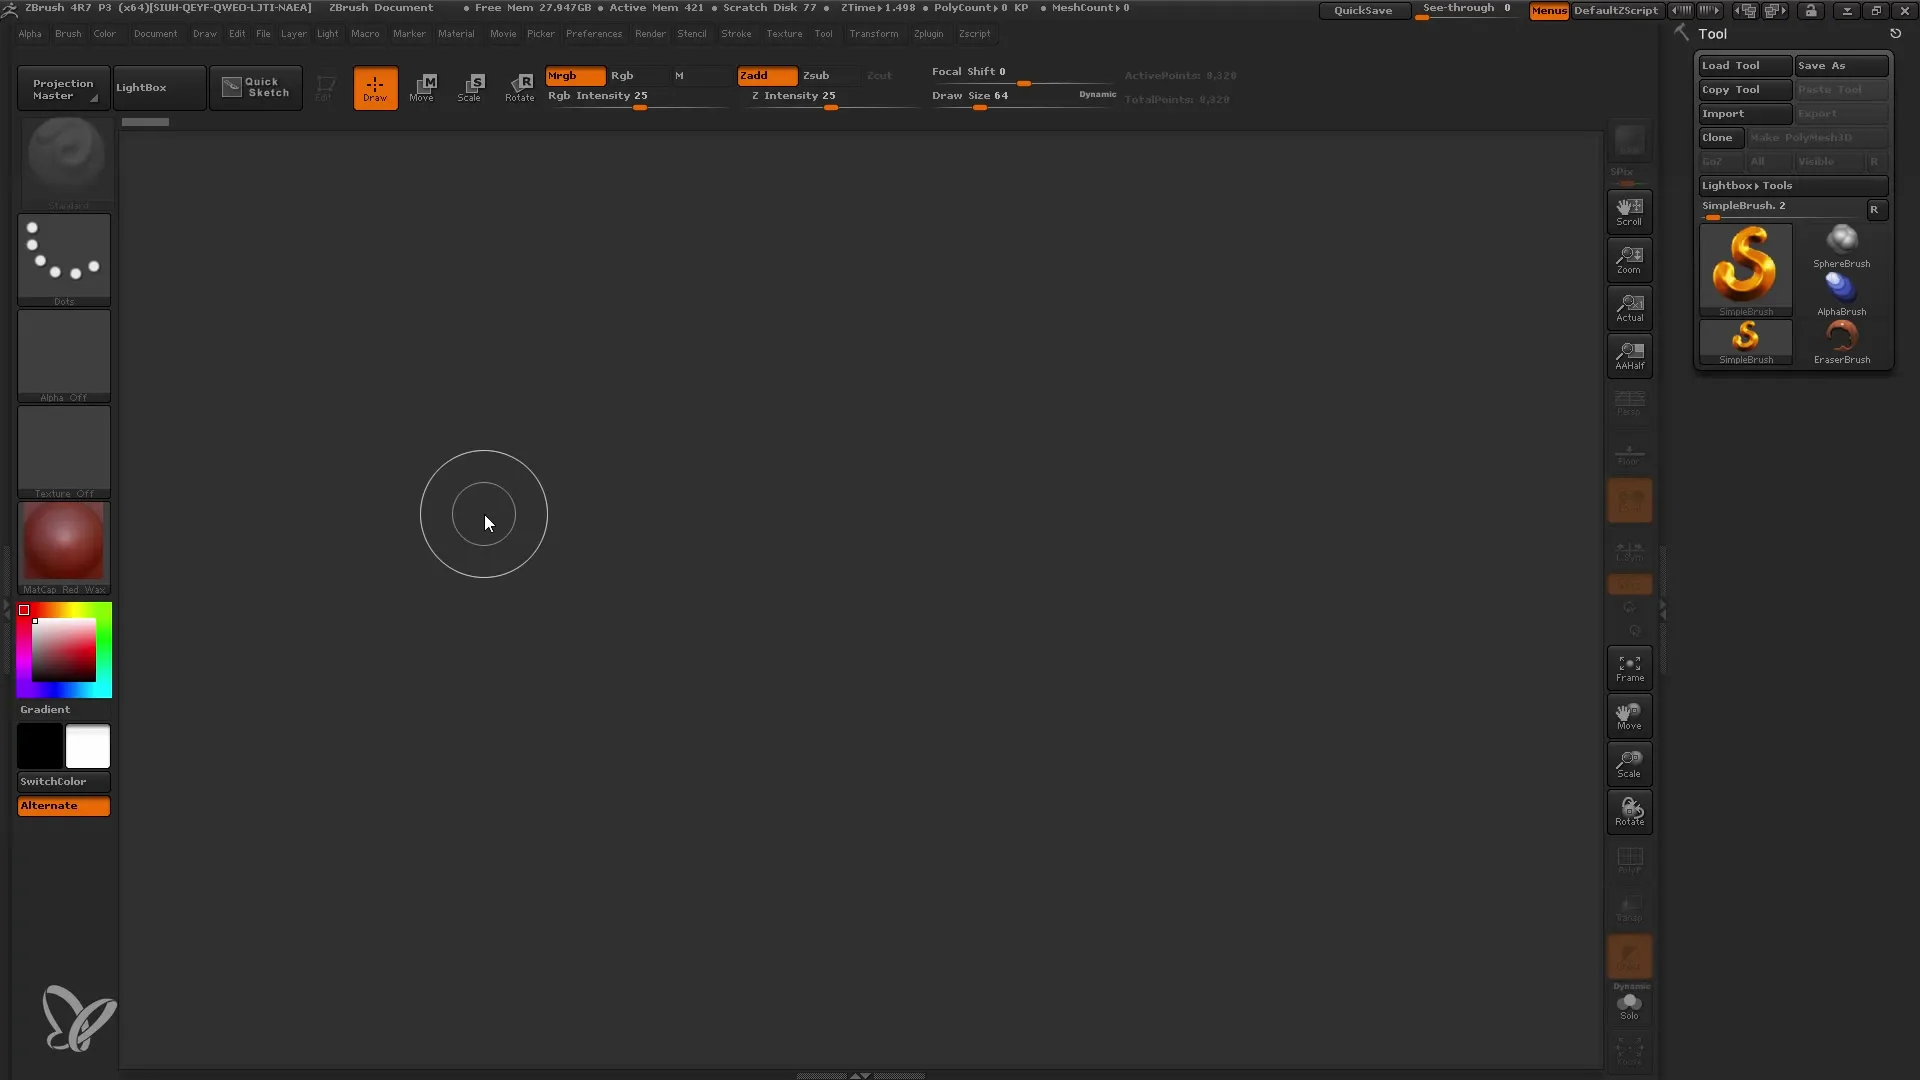
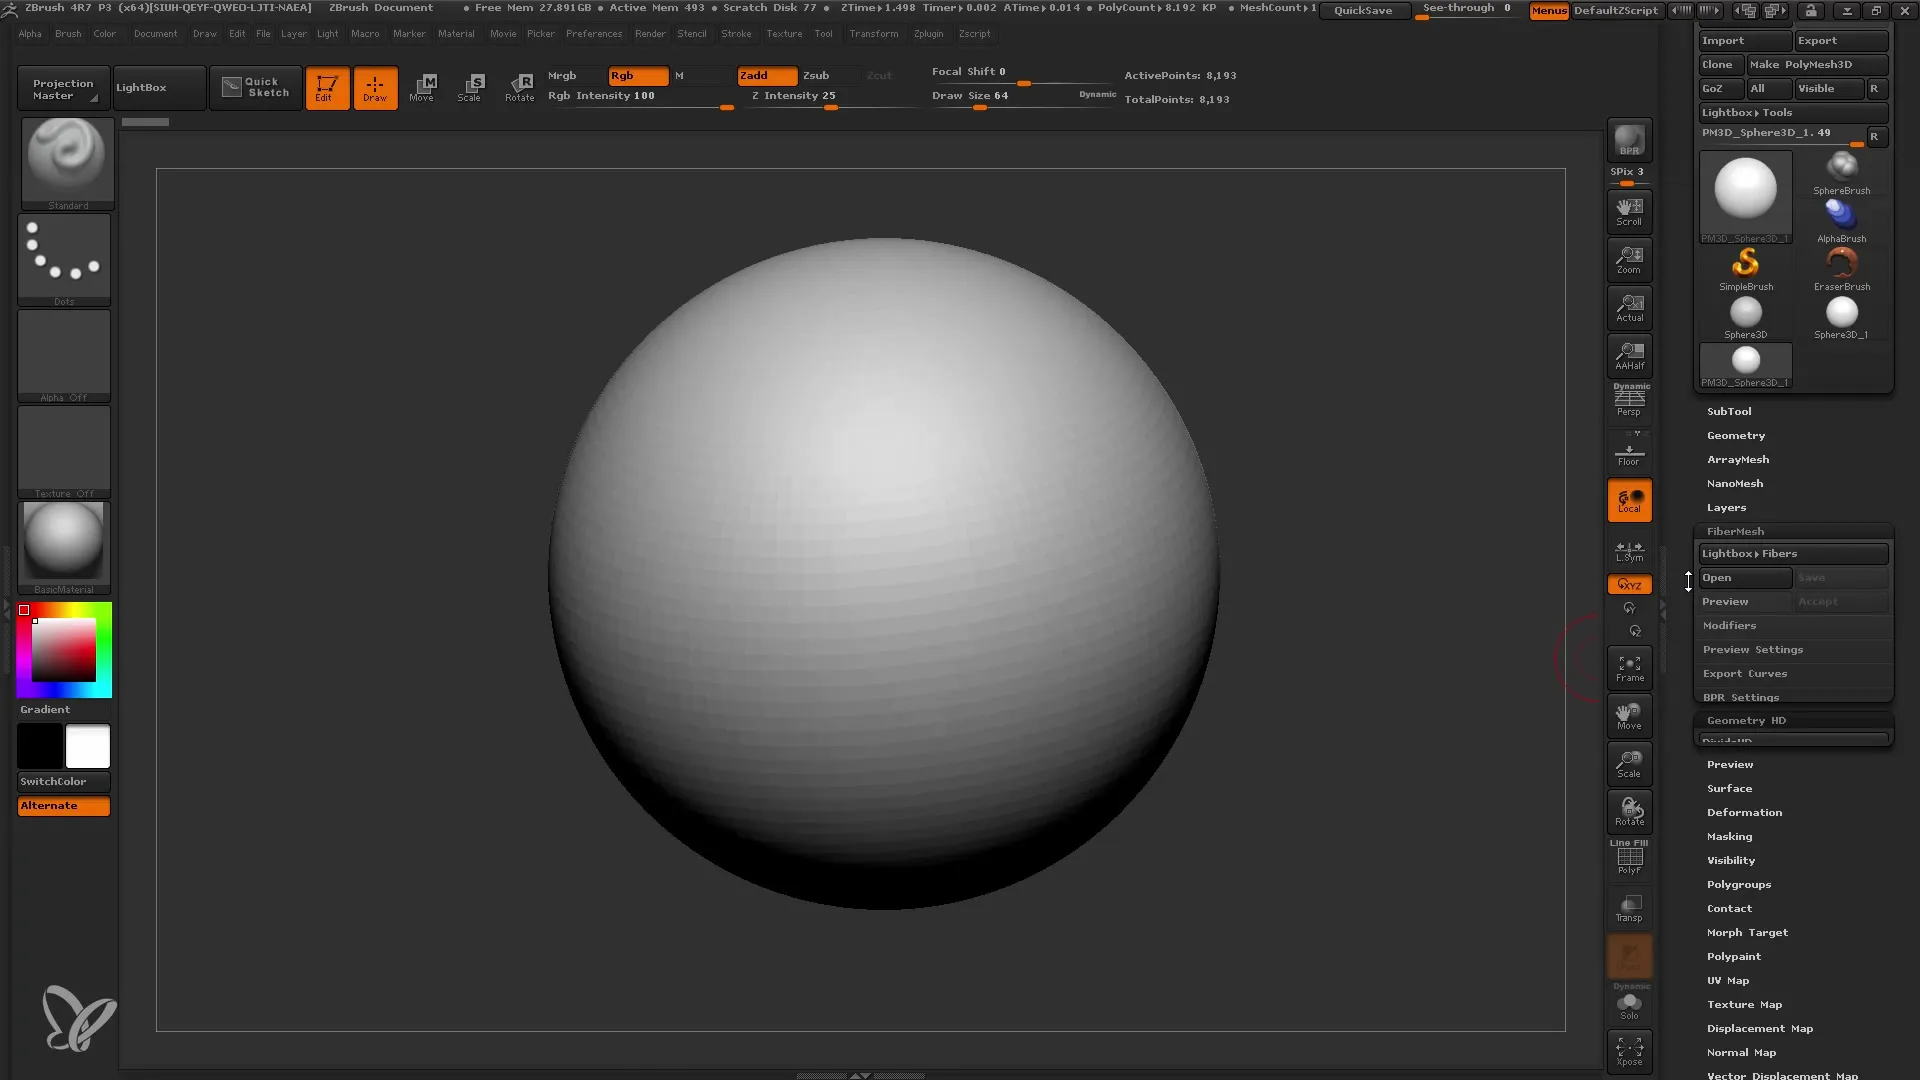
Start with a simple mesh. Open ZBrush and load a standard mesh, such as a sphere. Put it in Edit Mode and make sure the sphere is a polymesh. To make the material more appealing, open the material library and select the Basic Material.
2. Accessing the Fibermesh Area
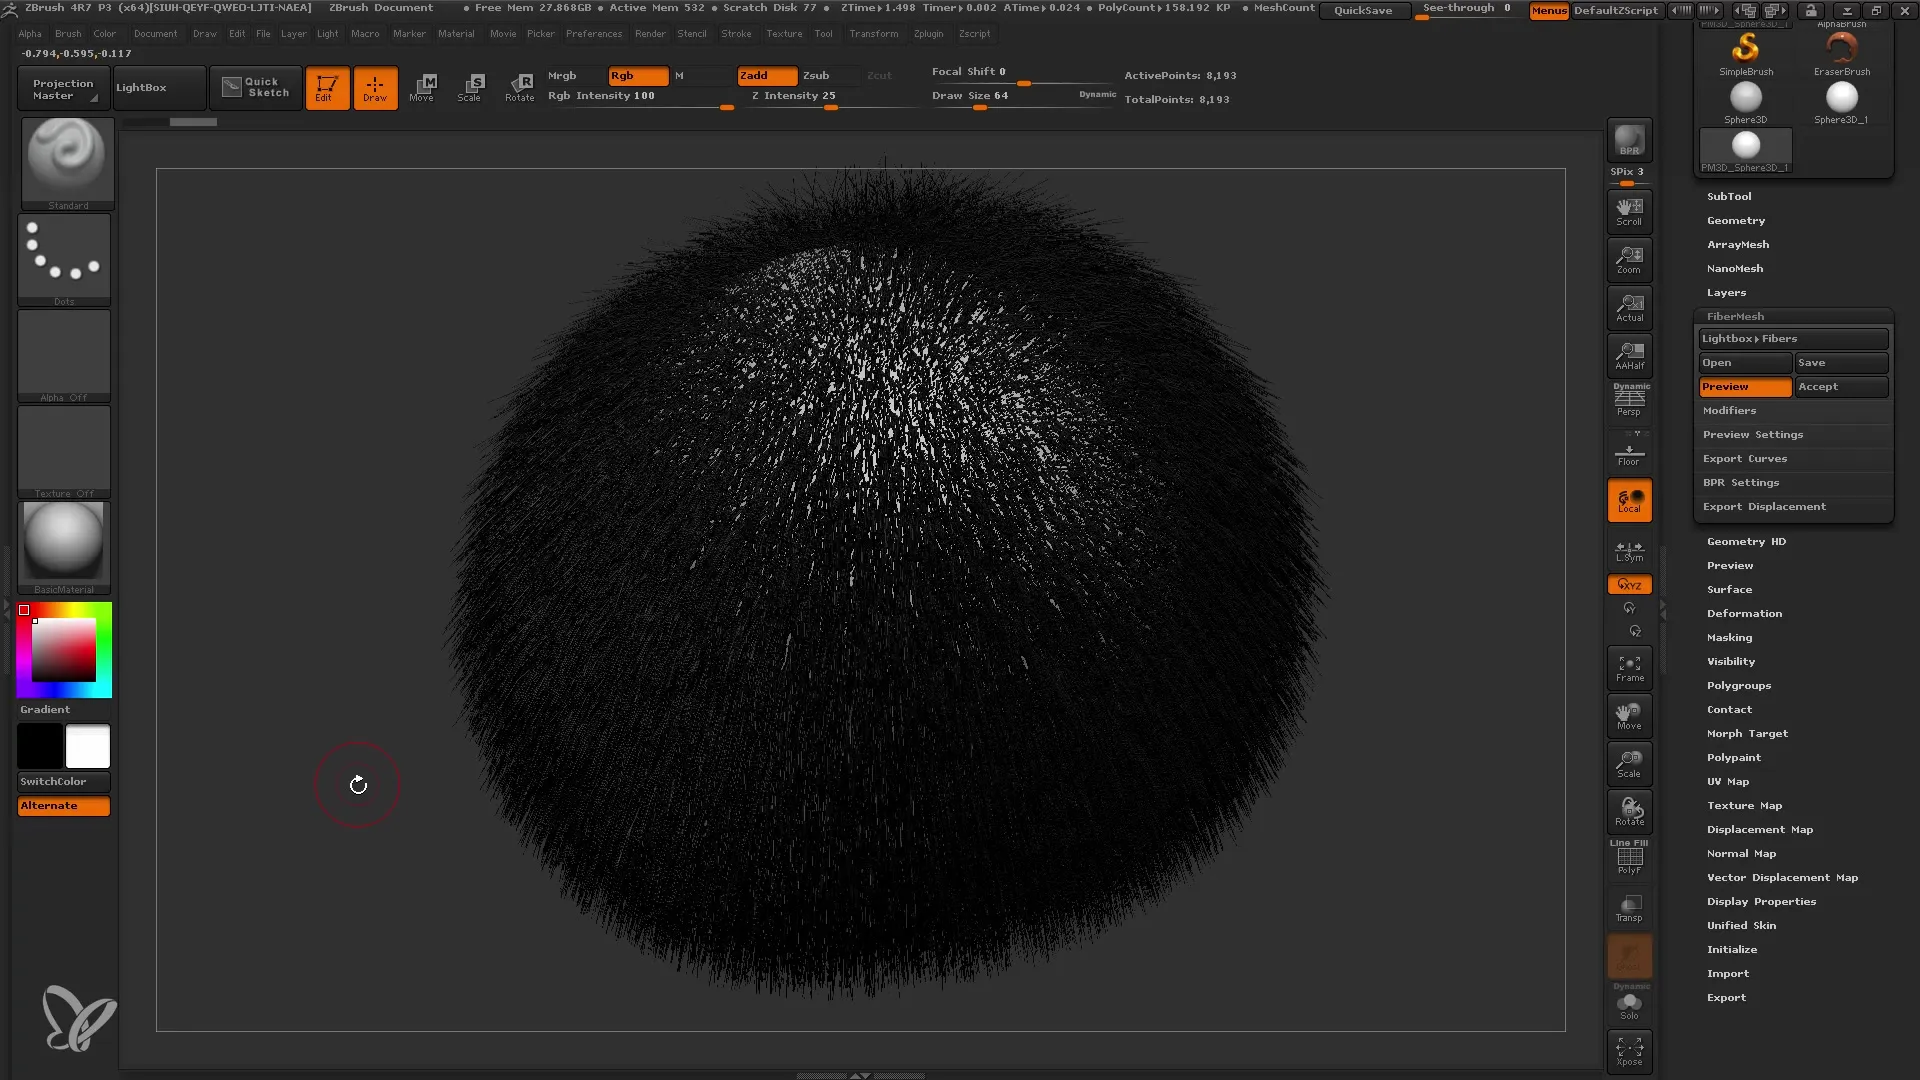
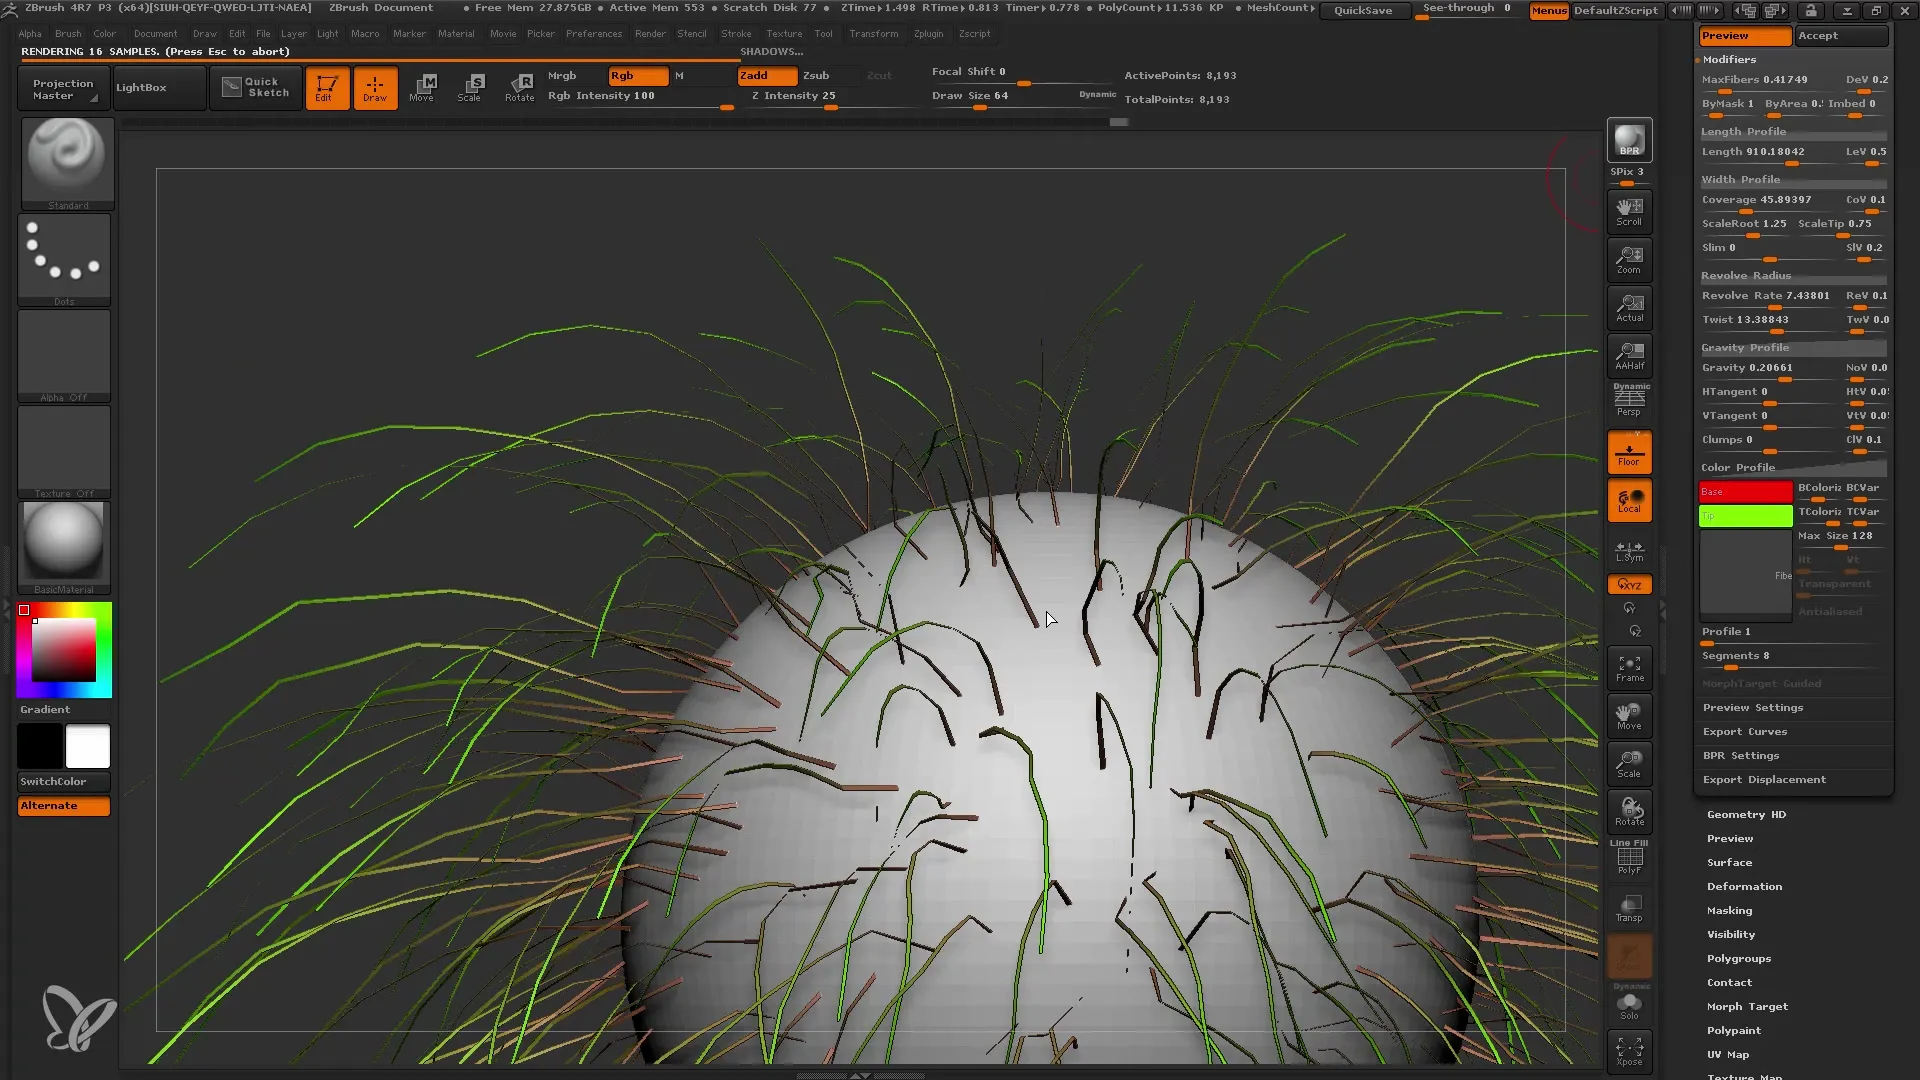
Navigate to the Fibermesh area in ZBrush. Here you can access the various presets available to you. Choose the "Preview" preset to get an initial idea of what your Fibermesh fibers could look like.
3. Applying Rendering
Rendering is an essential step to see the true quality of your Fibermesh fibers. Press the BPR button to display the fibers in better quality. This allows you to assess the structure and appearance of the hair more effectively.
4. Adjusting Parameters to Taste
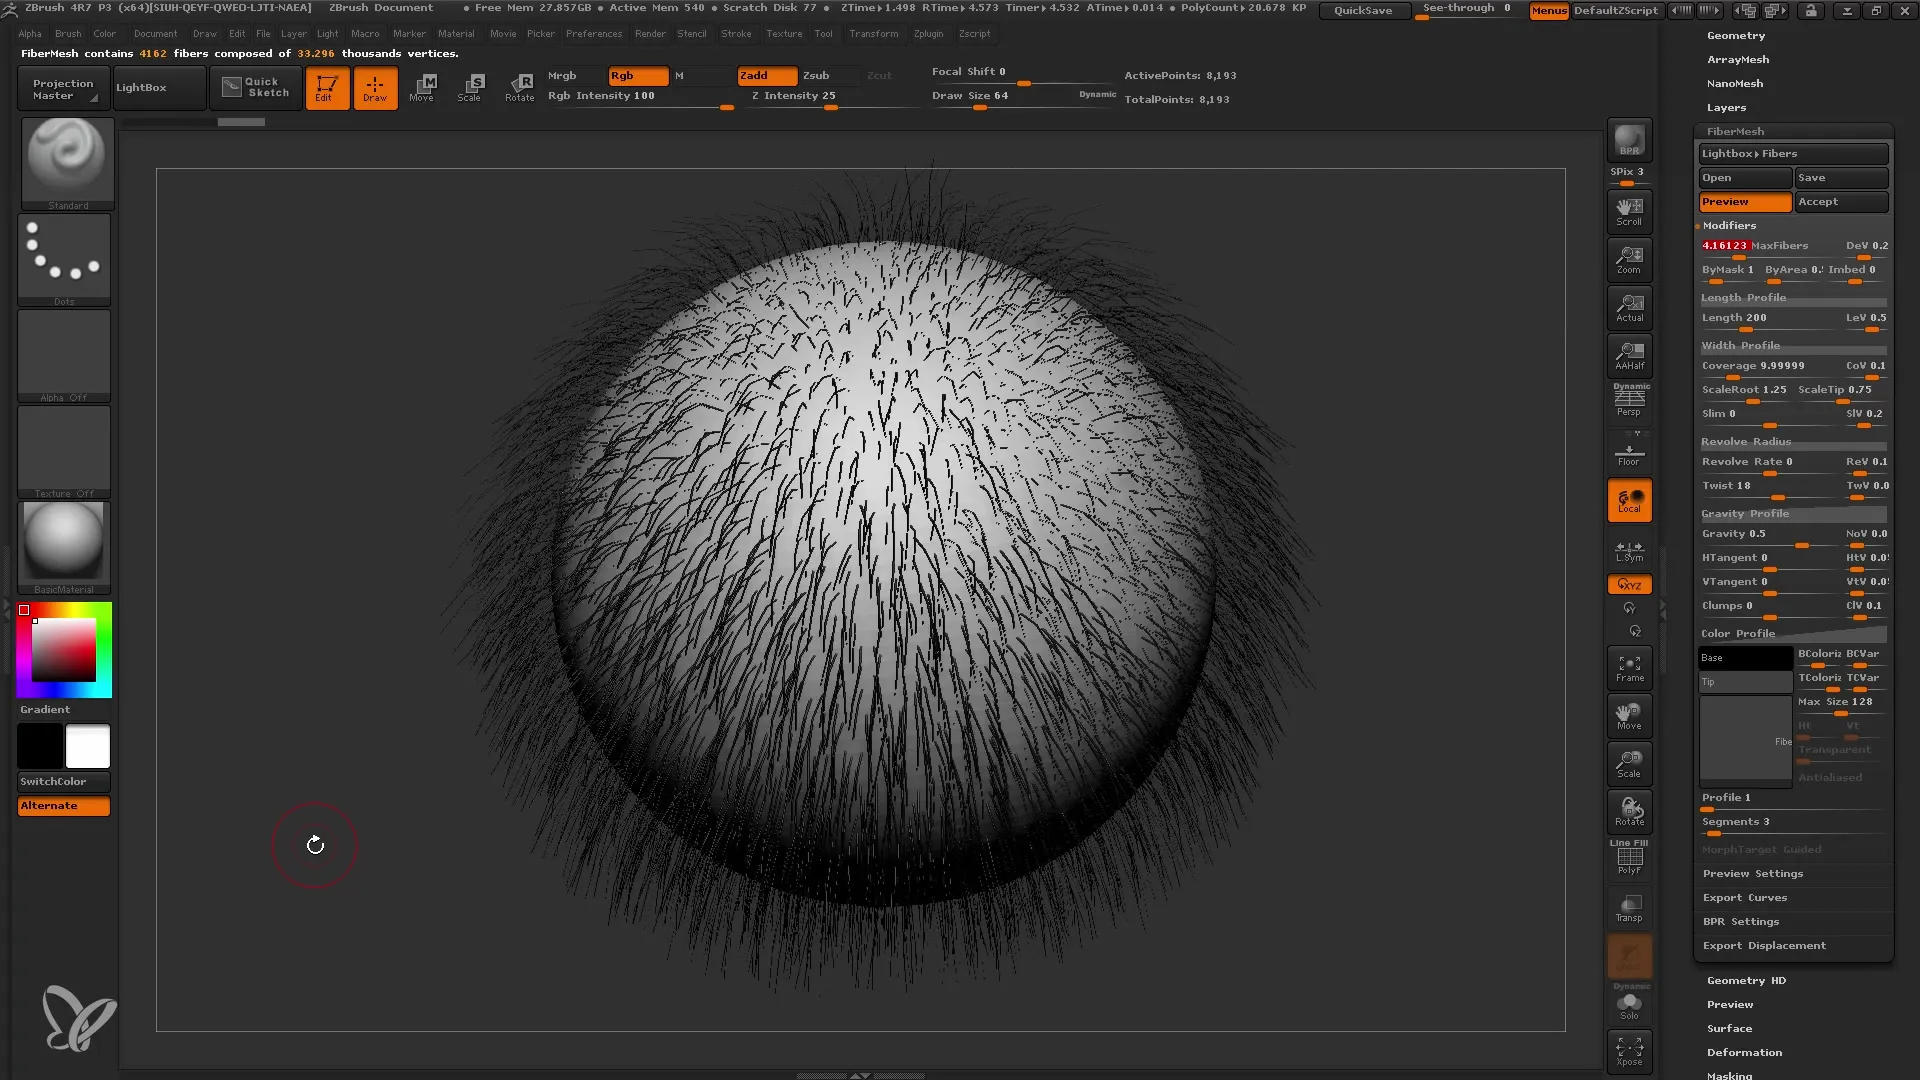
To optimize the appearance of your hair fiber, you can adjust various parameters, including the maximum number of fibers using the Max Fibers slider. This can significantly reduce the calculation time during rendering.
5. Adjusting the Length of the Fibers
To adjust the length of the fibers, go to the Length Profile. Here you can increase or decrease the length of the fibers to create either long hair or stubble-like hairs.
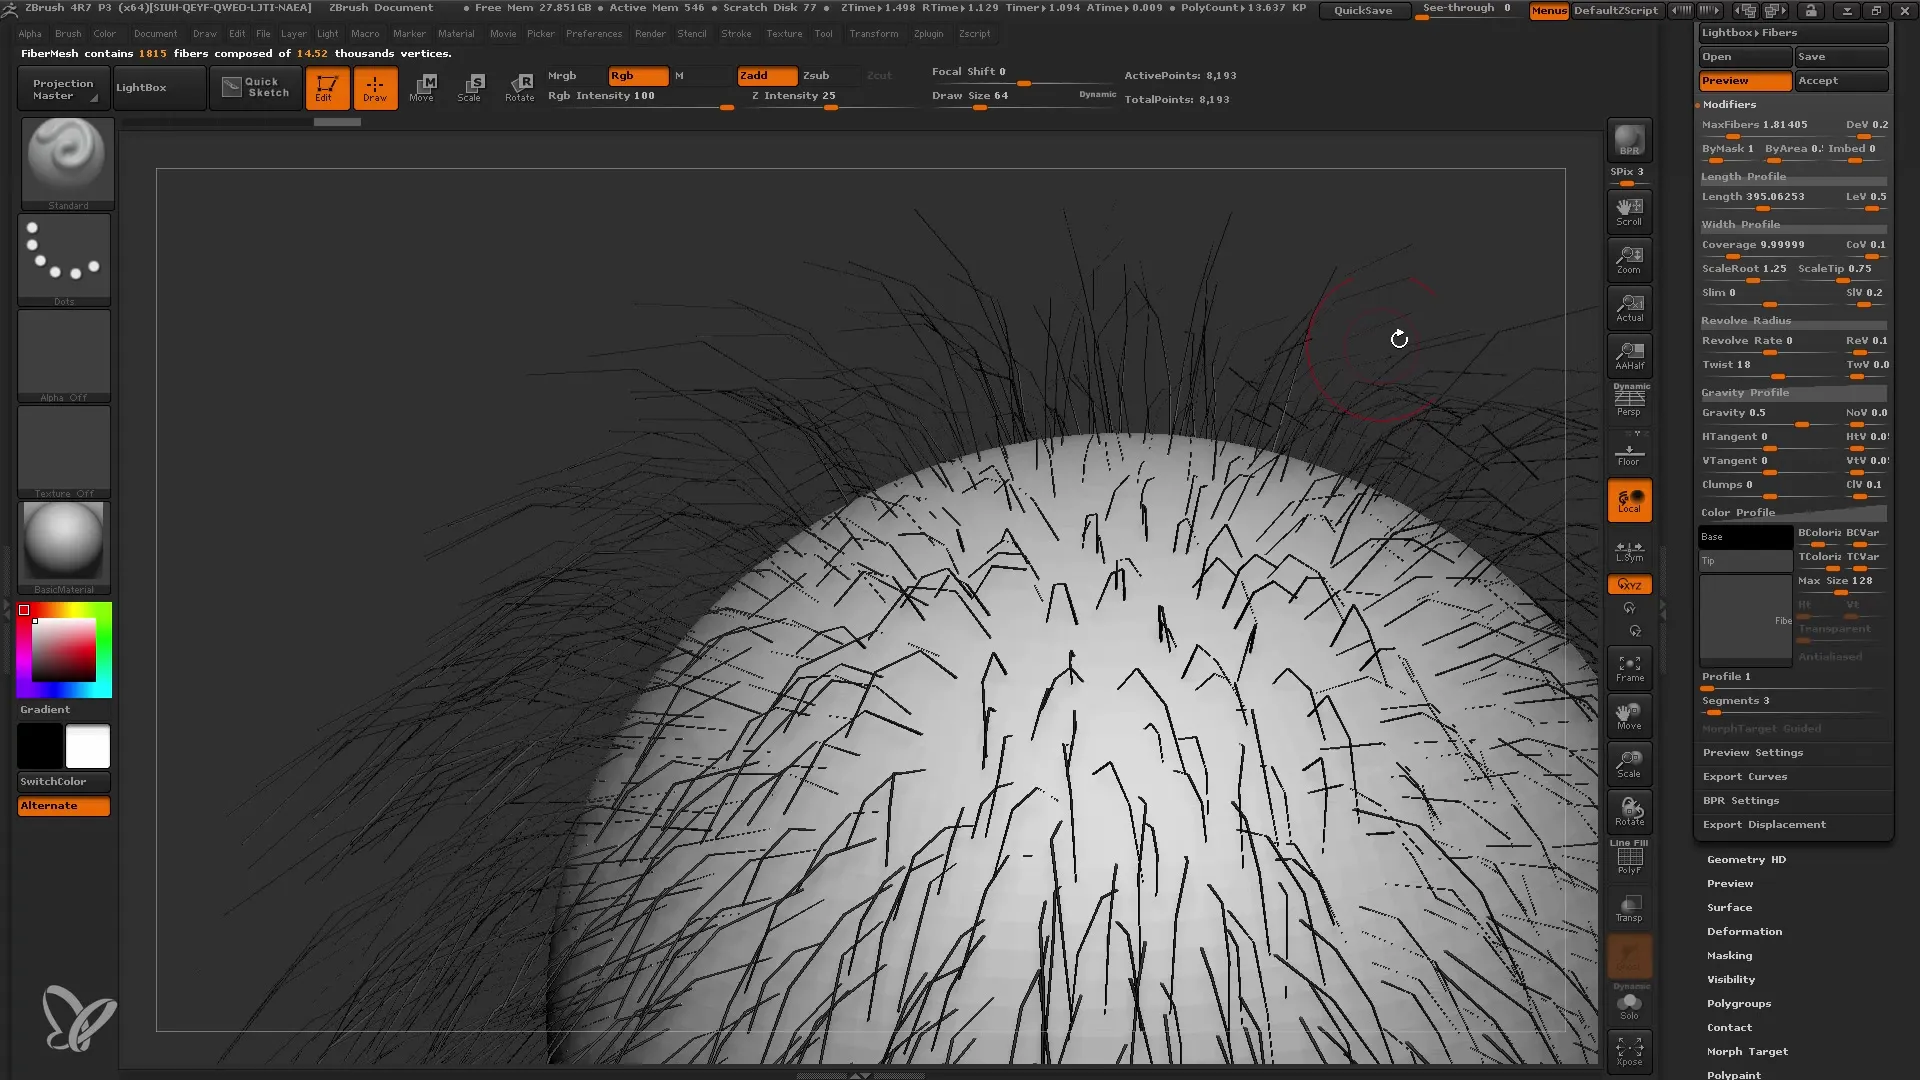
6. Adjusting the Width of the Fibers
The width of the fibers can also be altered. You can make the fibers wider or narrower to achieve specific styles that are ideal for your model. This can be done directly through the Width Profile.
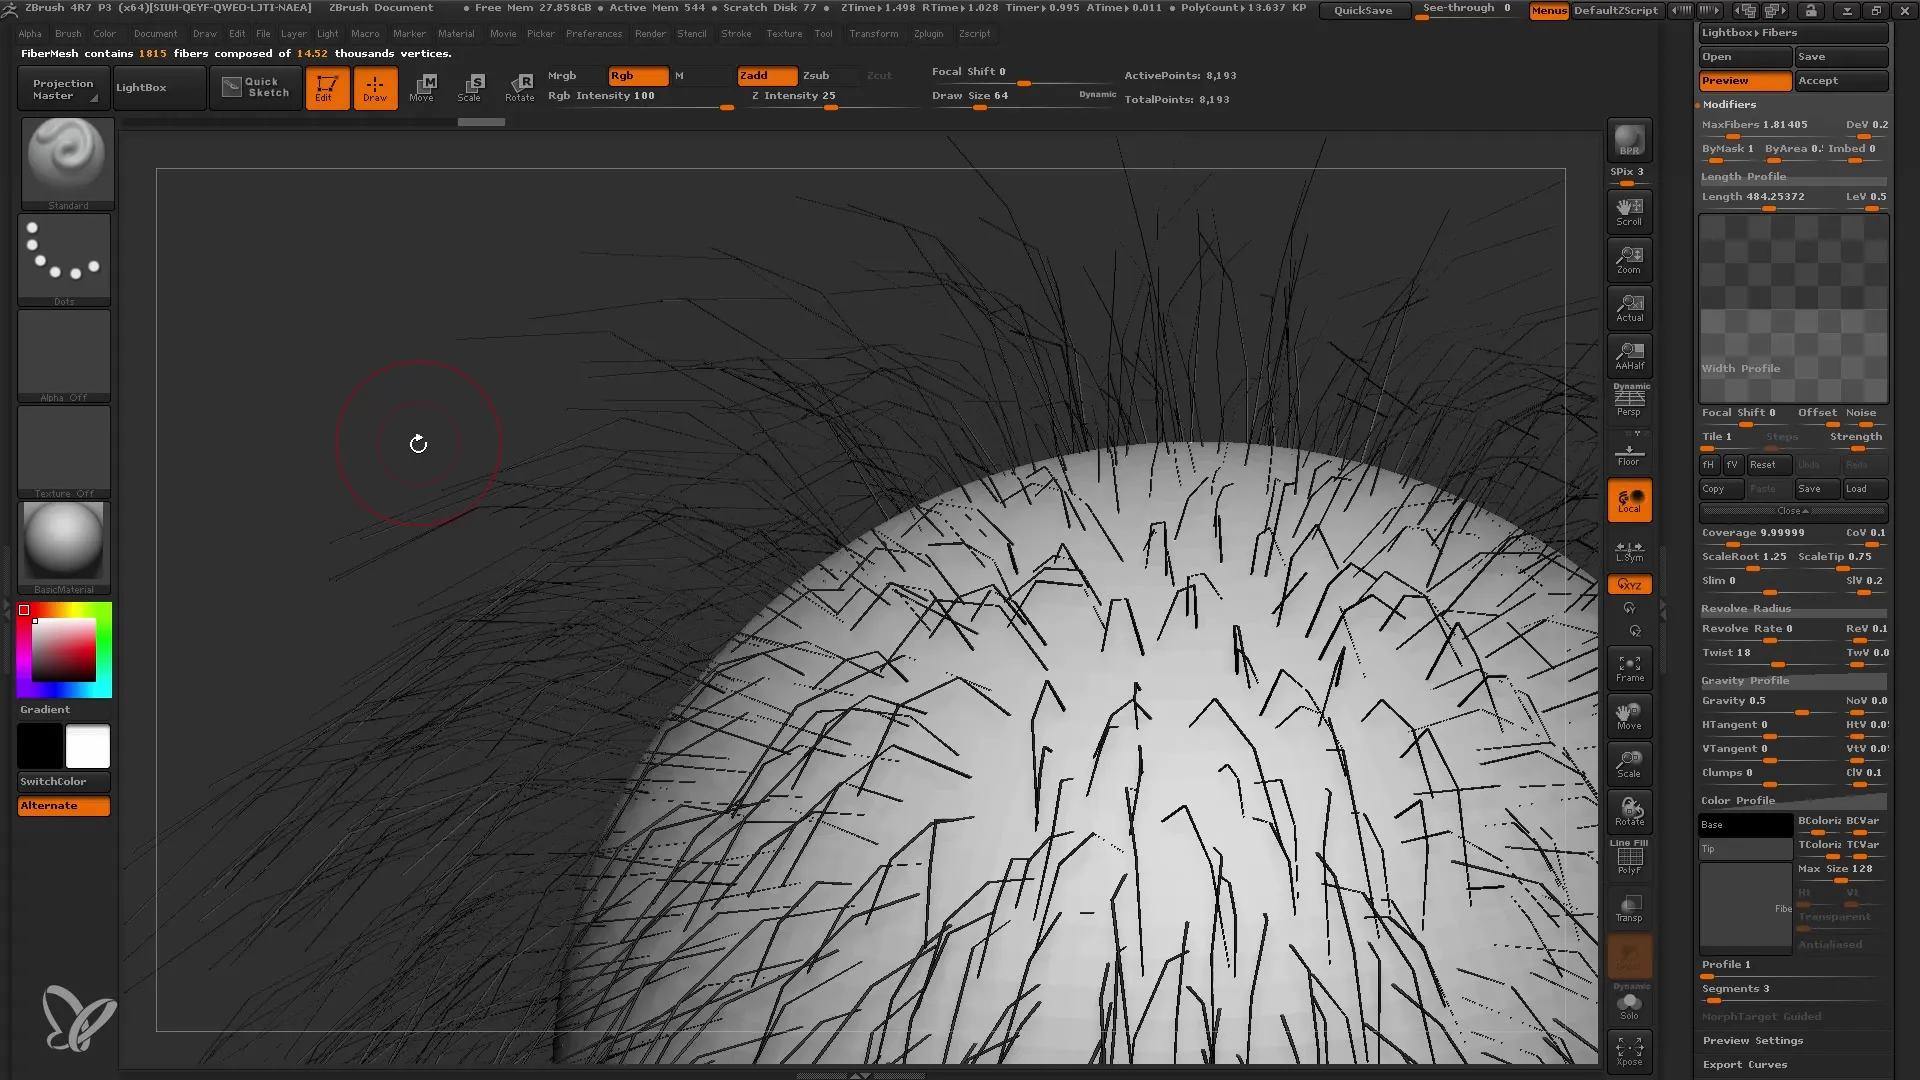
7. Rotational and Bending Behavior of Fibers
The Fibermesh fibers can also be adjusted in their shape. Use the Revolve parameter to rotate and bend the fibers. This allows you to simulate various hair textures, such as curly or straight hair.
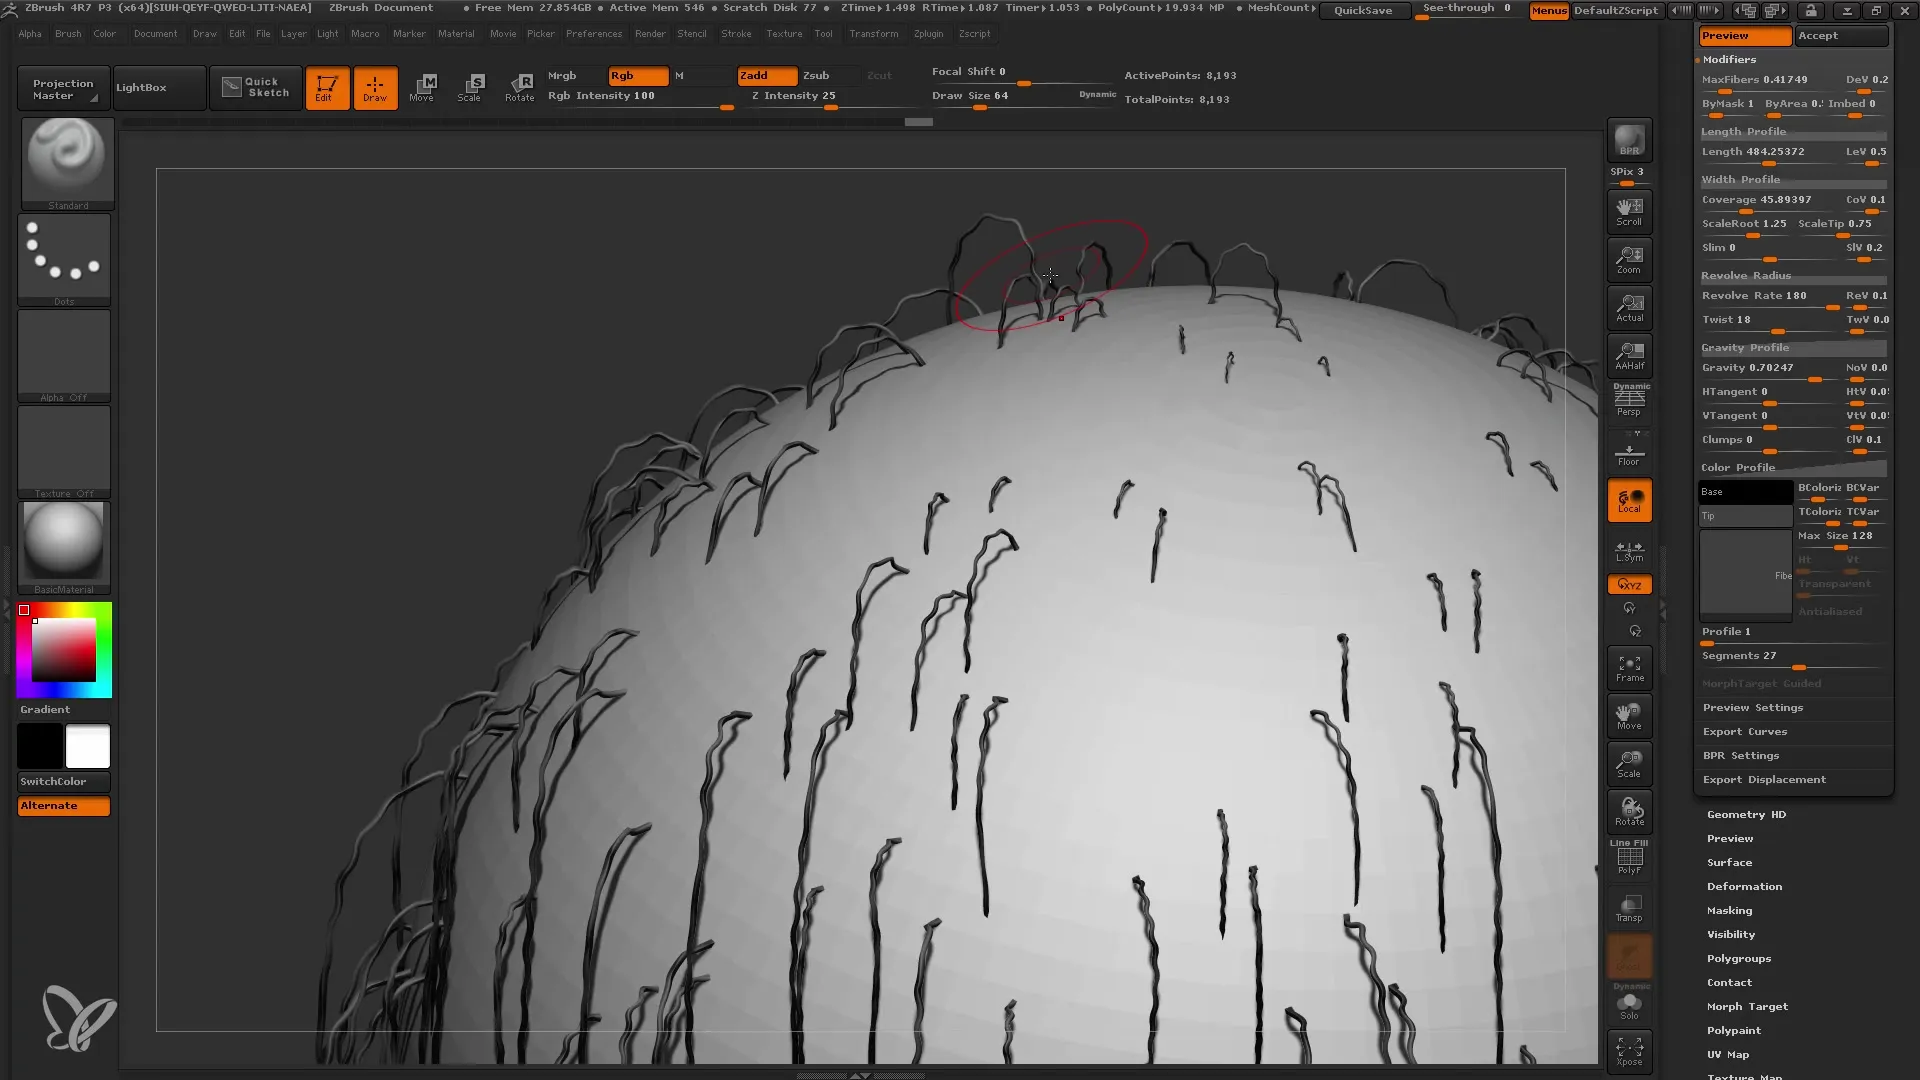
8. Adjusting the Gravity of the Fibers
Be sure to adjust the gravity in ZBrush correctly. This determines in which direction the fibers "pull". Experiment to find the right direction, especially if your model is asymmetrical or has long hair.
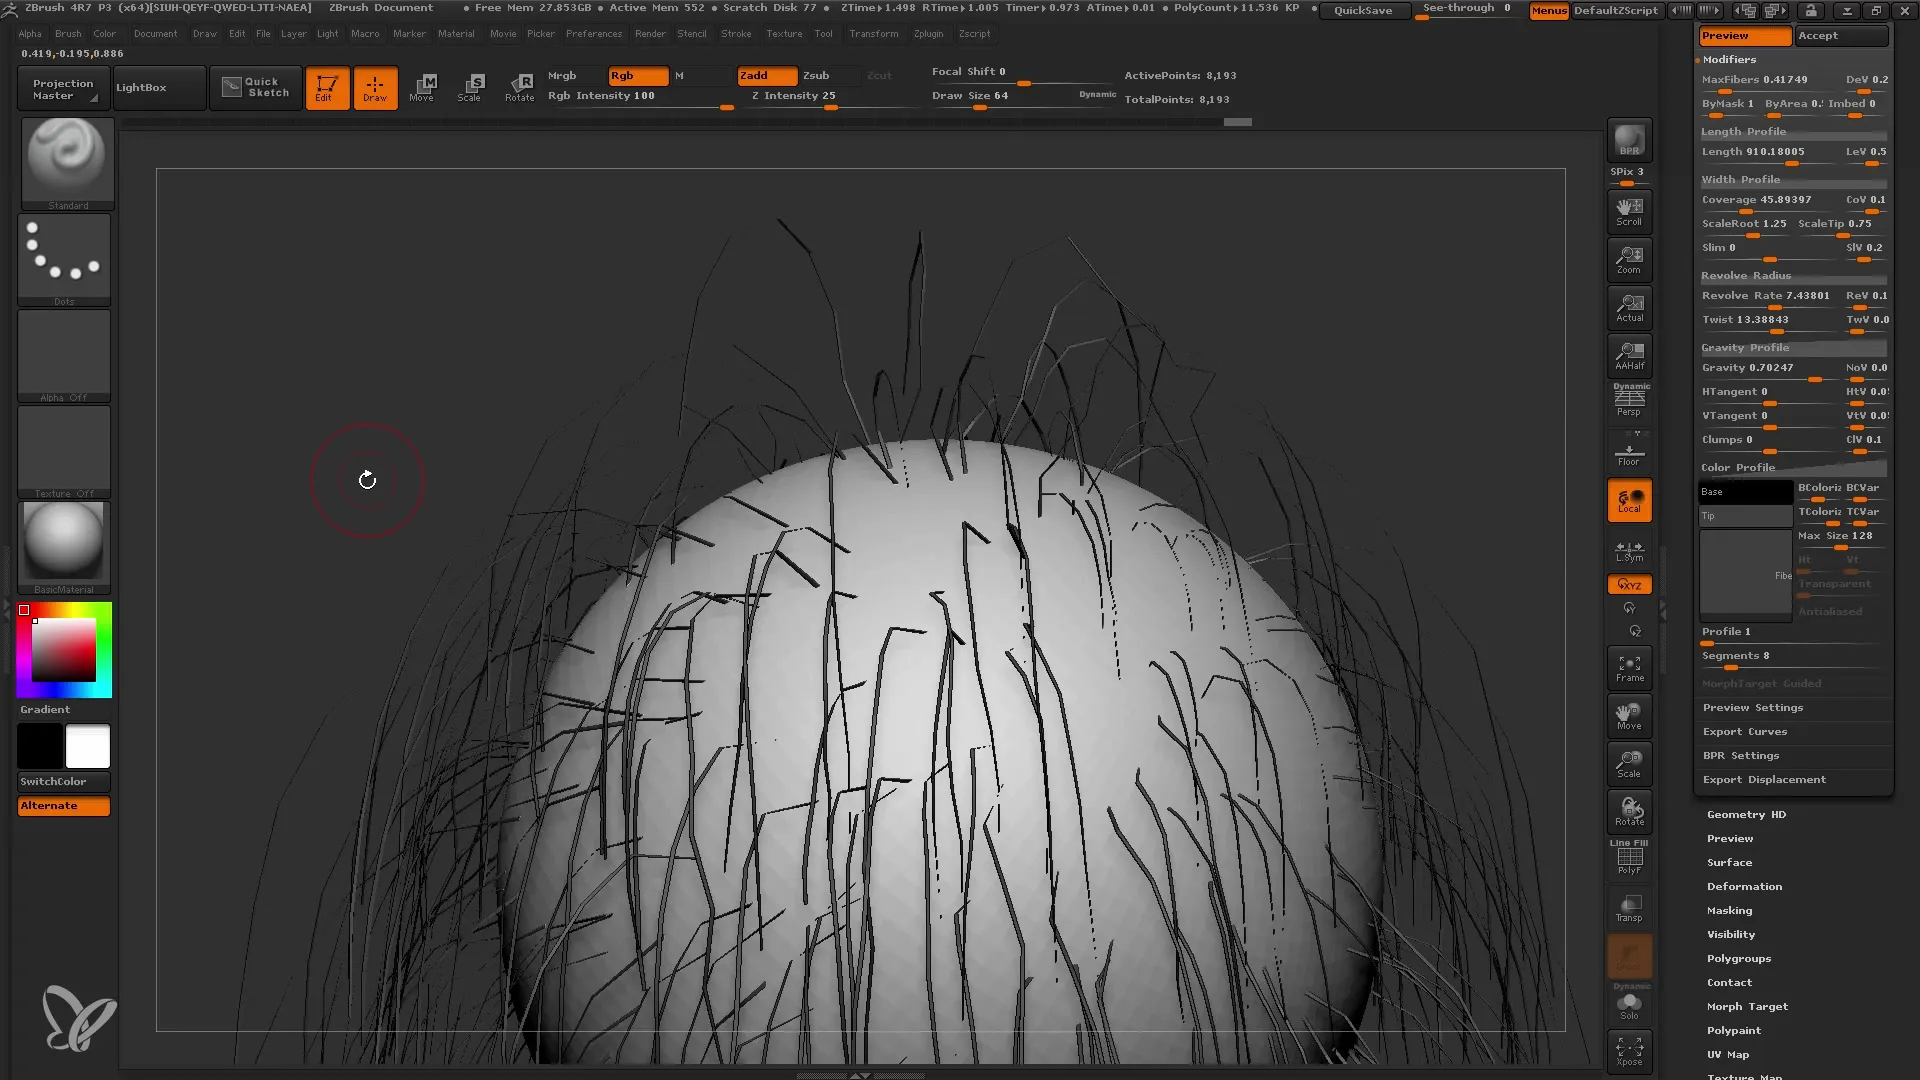
9. Color and Texture Adjustments
The color of the fibers can be changed by adjusting the color gradient for the base color and the tip color. This allows you to generate realistic hair colors by combining different shades.
10. Masking the Models
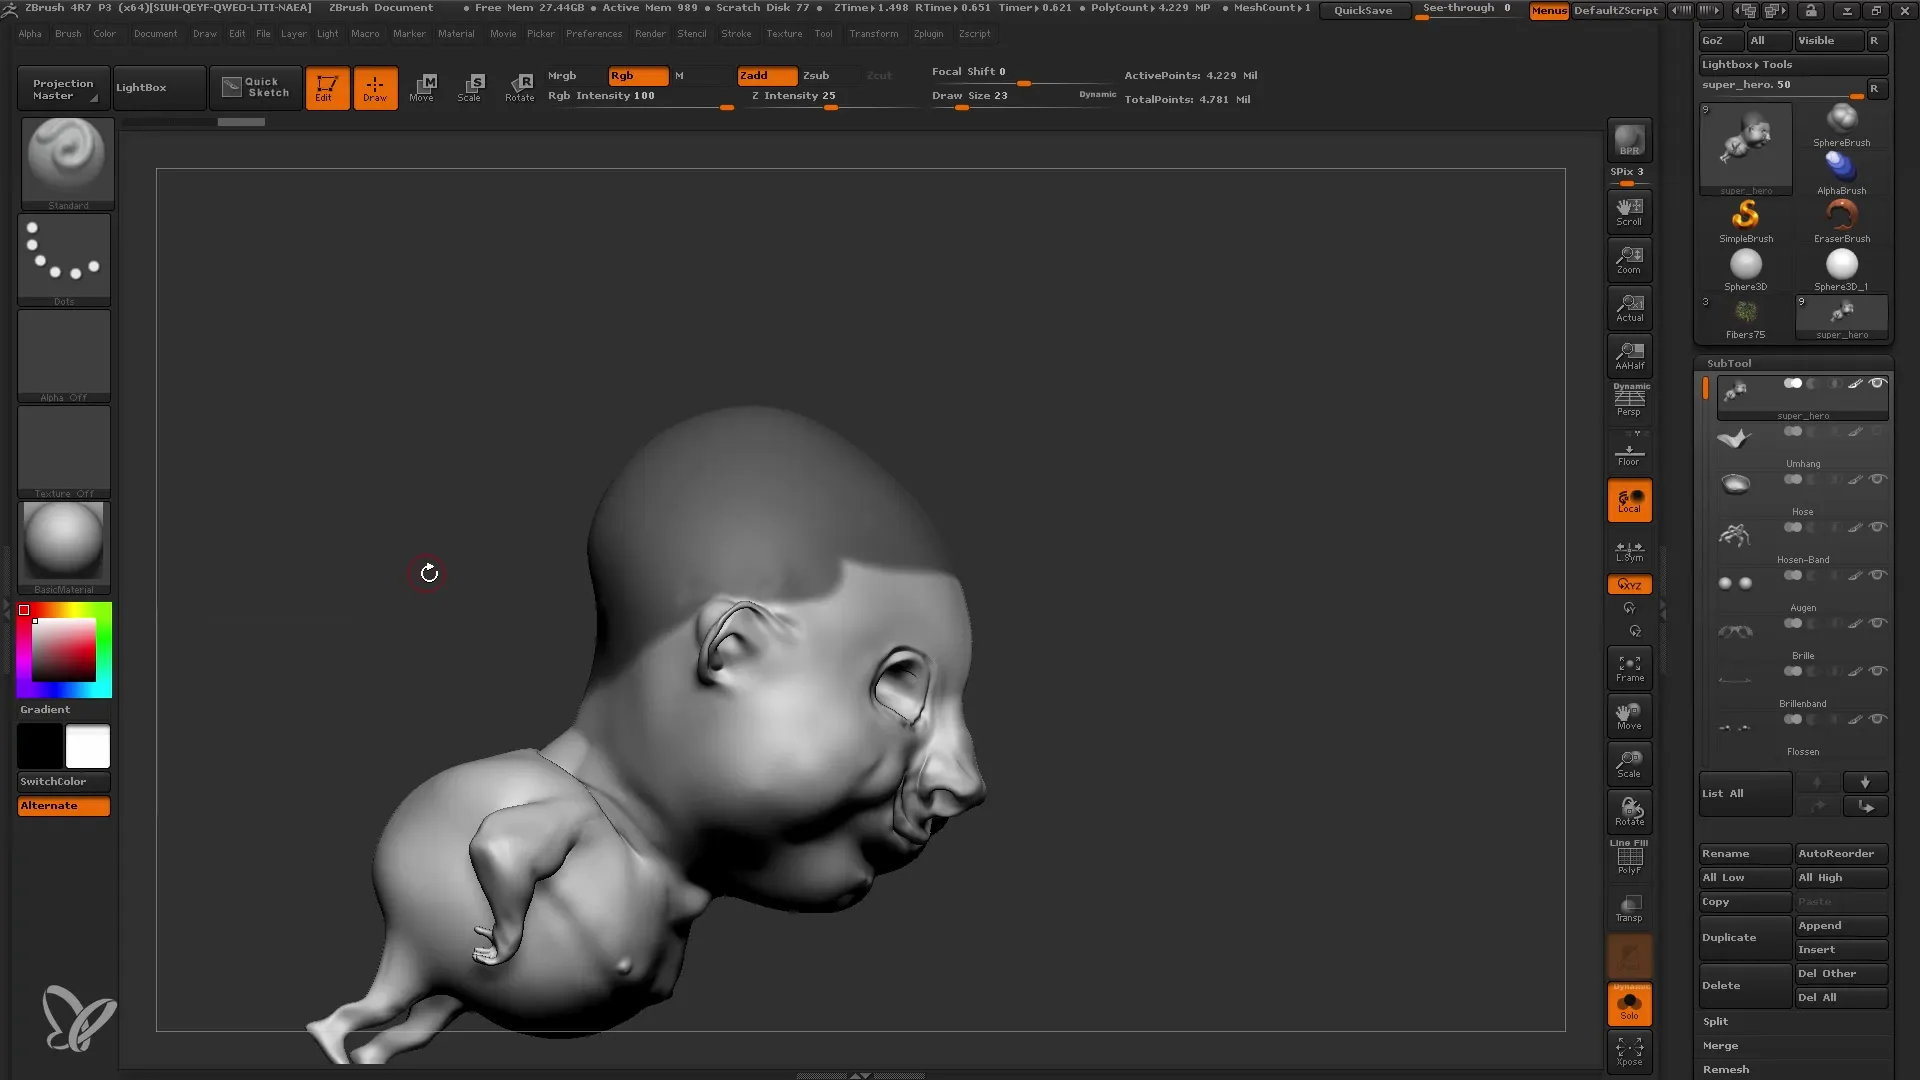
To determine where the Fibermesh fibers should be placed, use the masking function. You can specify where the hair or plants should appear on your mesh by marking and deselecting areas.
11. Selecting a Specific Fibermesh Preset
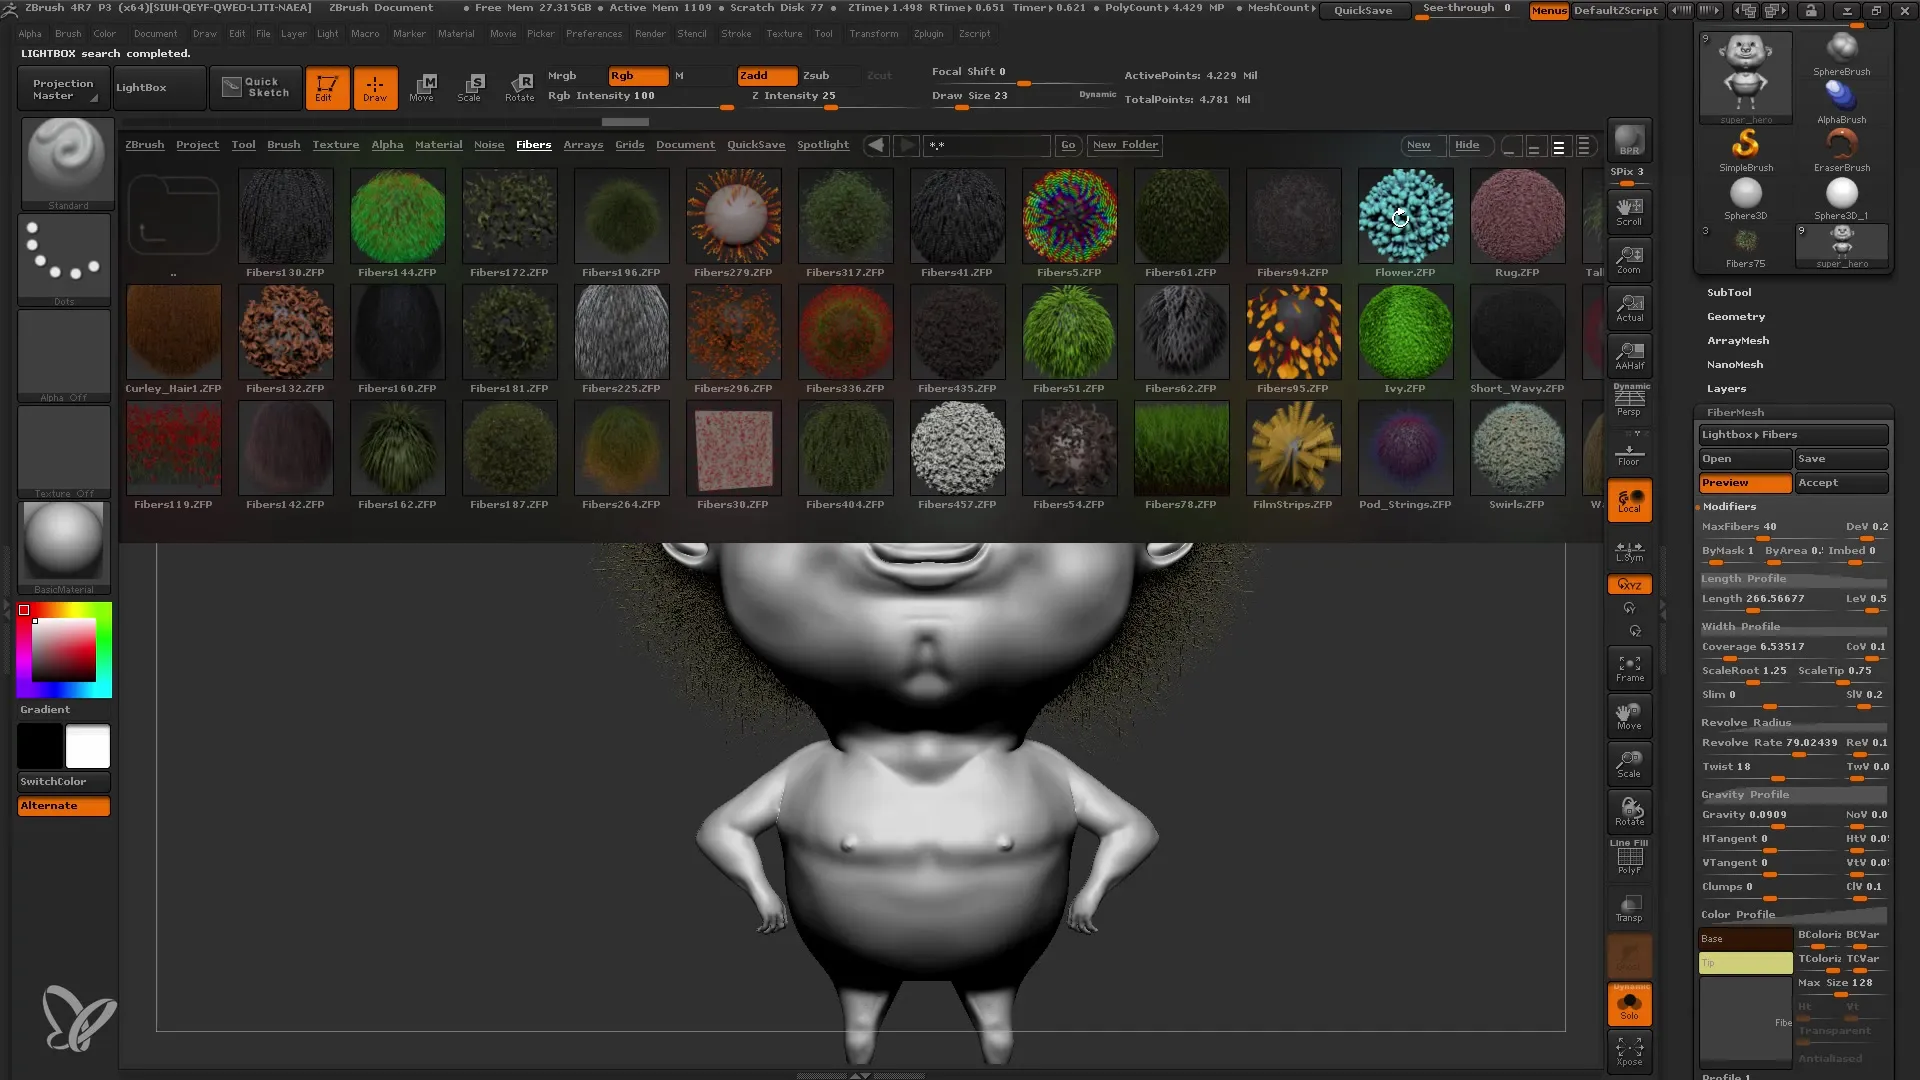
Go back to the lightbox to browse through various pre-defined Fibermesh presets. You can try out different hair and plant options and decide which is best suited for your project.
12. Finalizing and Accepting the Fibermesh
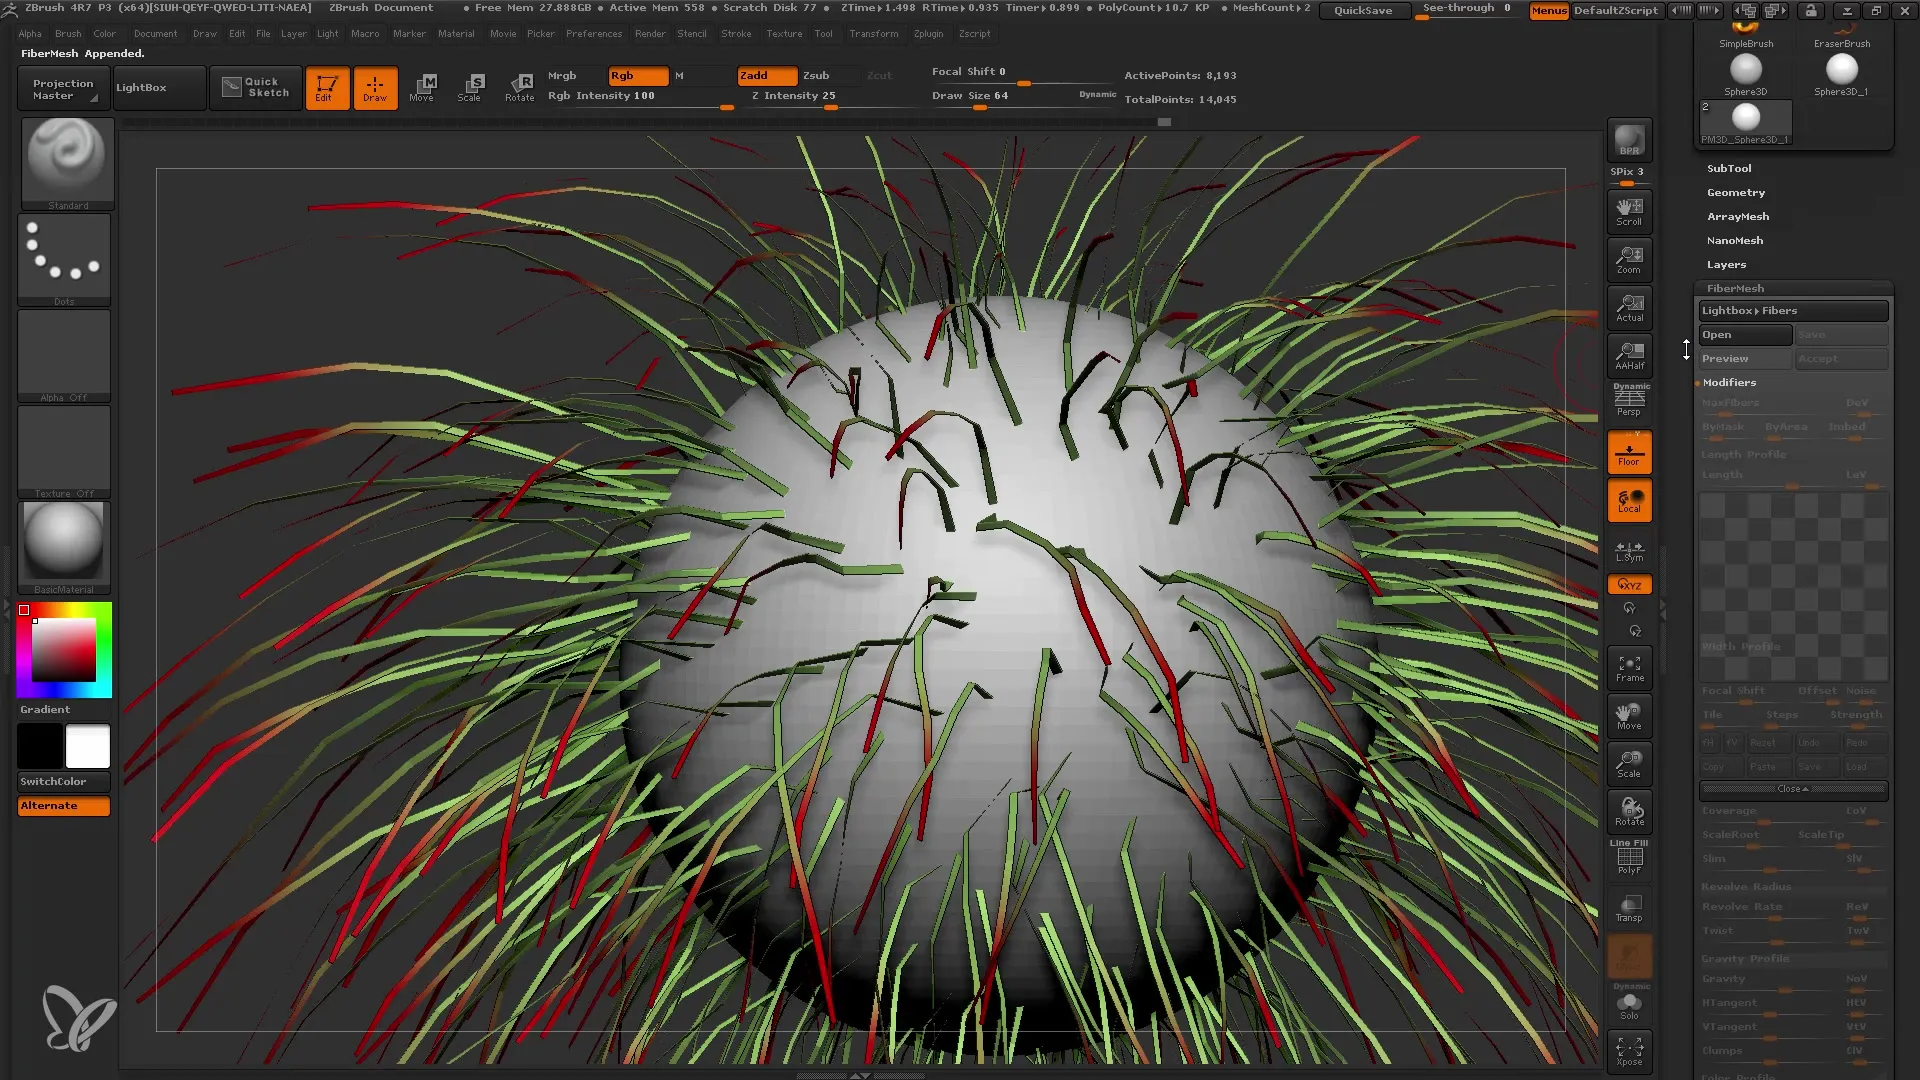
Once you are satisfied with the appearance of your Fibermesh, go to the subtool and apply your changes to integrate the Fibermesh fibers into the model. Click on "Accept" to convert the Fibermesh into an editable layer.
13. Refining the Hair
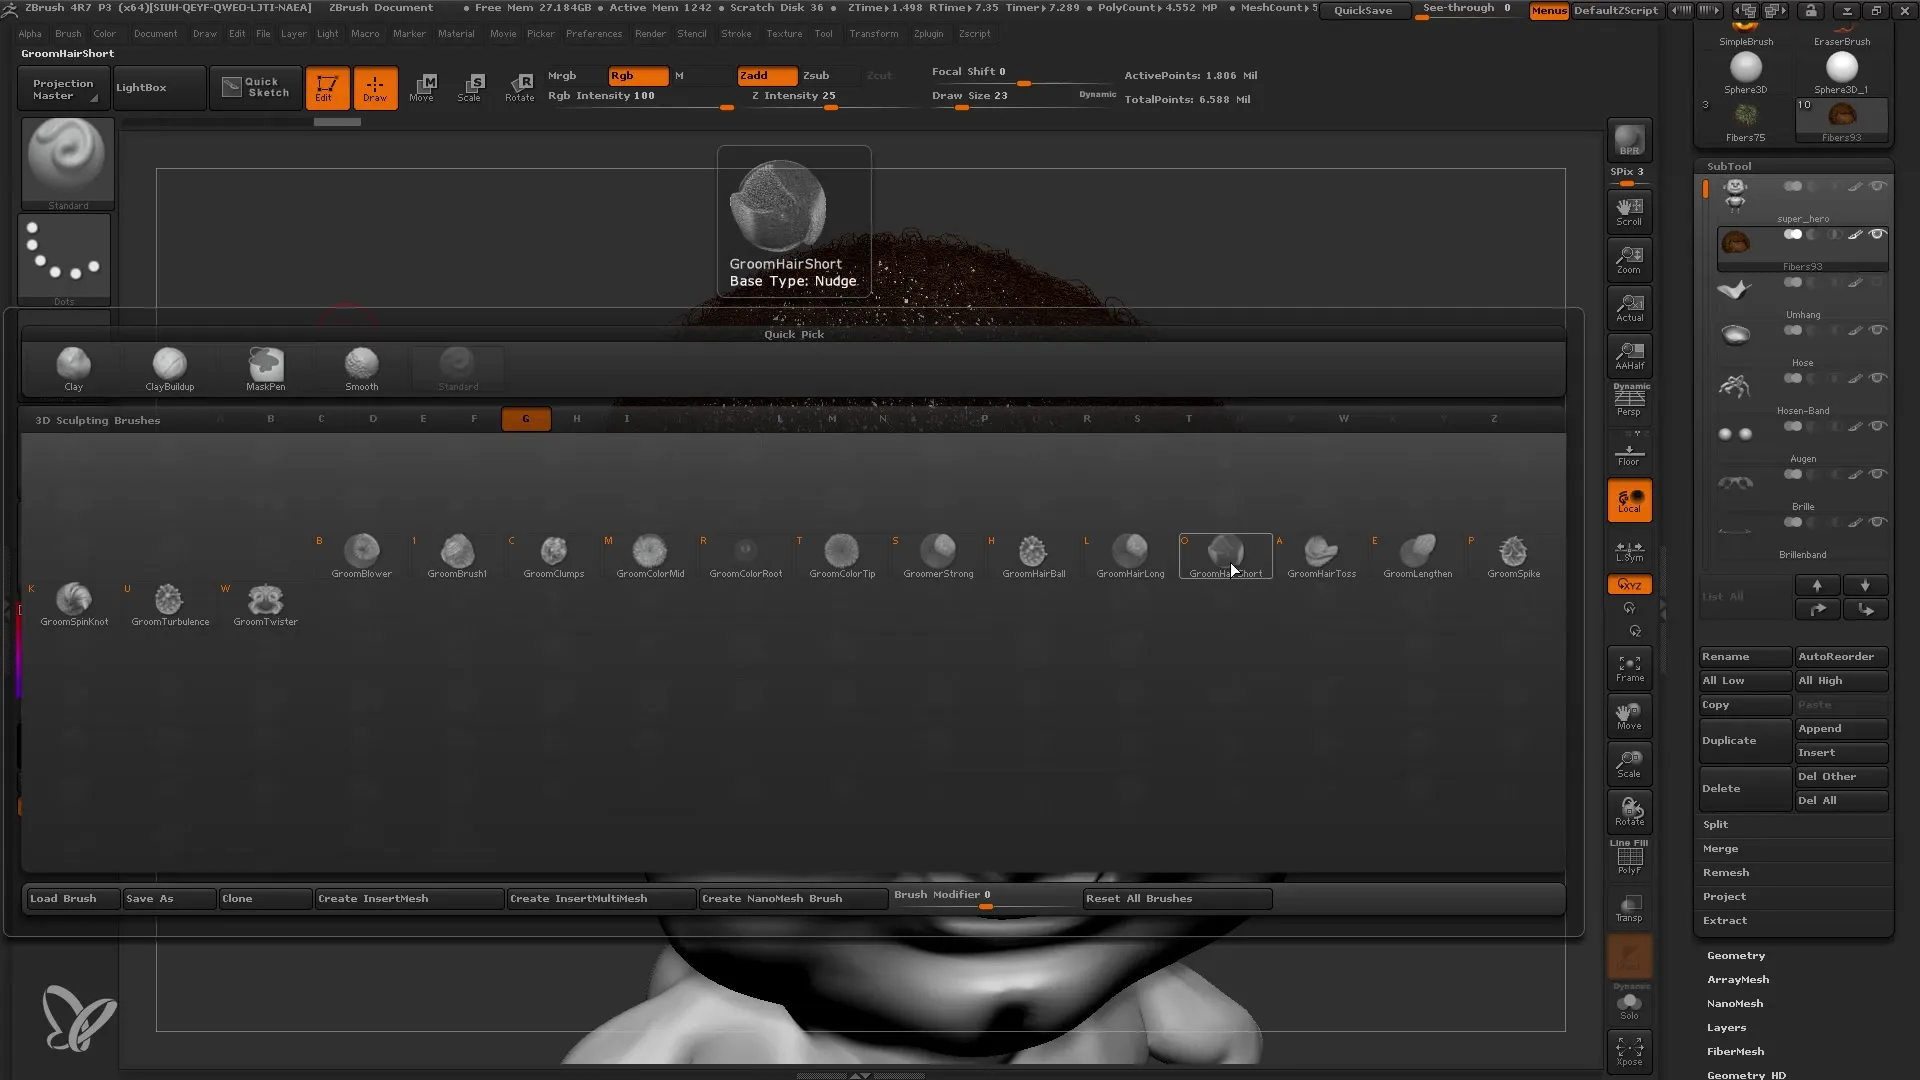
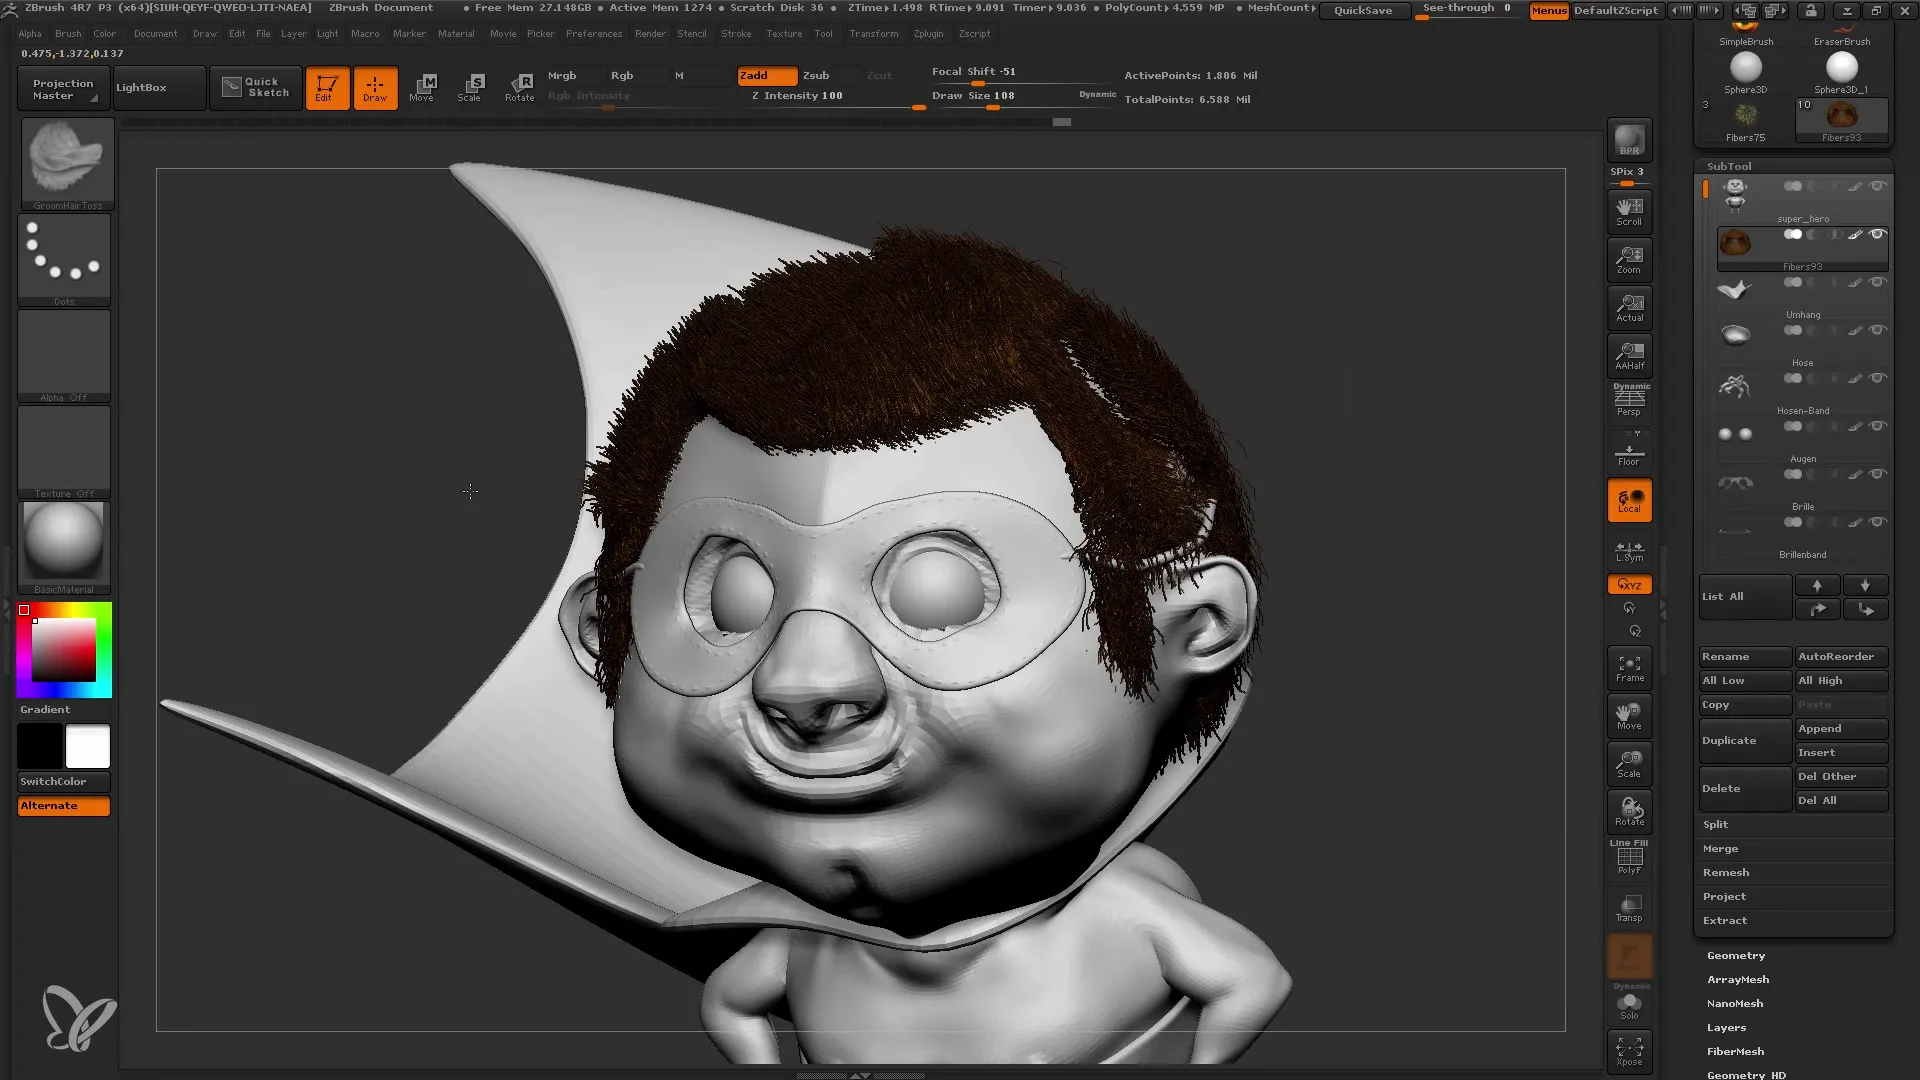
Now you can continue working with the brush tools. You can use the groom brushes to further refine the hair, placing it in the desired position and adding liveliness.
14. Hair Editing Details
Be attentive to hair adjustments. Consider carefully whether the hairs are all the same length or not. If you desire precise editing, you can use different masks to ensure everything looks good.
Summary
In this guide, you have learned the basics of Fibermesh in ZBrush, including all the steps for customization and possible applications. Understanding how Fibermesh works will help you elevate your models to a new level by easily creating detailed hair and plants.
Frequently Asked Questions
How can I adjust the number of Fibermesh fibers?You can adjust the maximum number of fibers under the Max Fibers slider in the Fibermesh section.
How can I make my hair fibers thicker?You can adjust the width of the fibers in the width profile to achieve the desired look.
What is the best way to adjust the color of the fibers?You should experiment with base and tip colors and use color gradients to create realistic color nuances.
Can I limit Fibermesh fibers to specific areas of my model?Yes, by using the masking function, you can determine where the fibers appear on your model.
What should I do if I am not satisfied with the appearance of the Fibermesh?You can always adjust parameters like length, width, and gravity or try out different Fibermesh presets.


