In this tutorial, you will learn about the fascinating Nanomesh feature in ZBrush, which was introduced for the first time with version R7. This feature allows you to integrate smaller meshes into existing poly-meshes and vary them in various ways. Whether you want to create detailed textures for clothing, natural elements like stones, or other structures, Nanomesh provides you with an intuitive and powerful method to enrich your models using polygons.
Key Insights
- Nanomesh allows you to place new meshes on any polygon of an existing mesh.
- By adjusting size, rotation angle, and other parameters, you can create individual variations.
- With Nanomesh, you can create more efficient and detailed models without unnecessarily increasing the total number of polygons.
Using ZBrush Nanomesh: Step-by-Step Guide
Step 1: Creating a Base Mesh
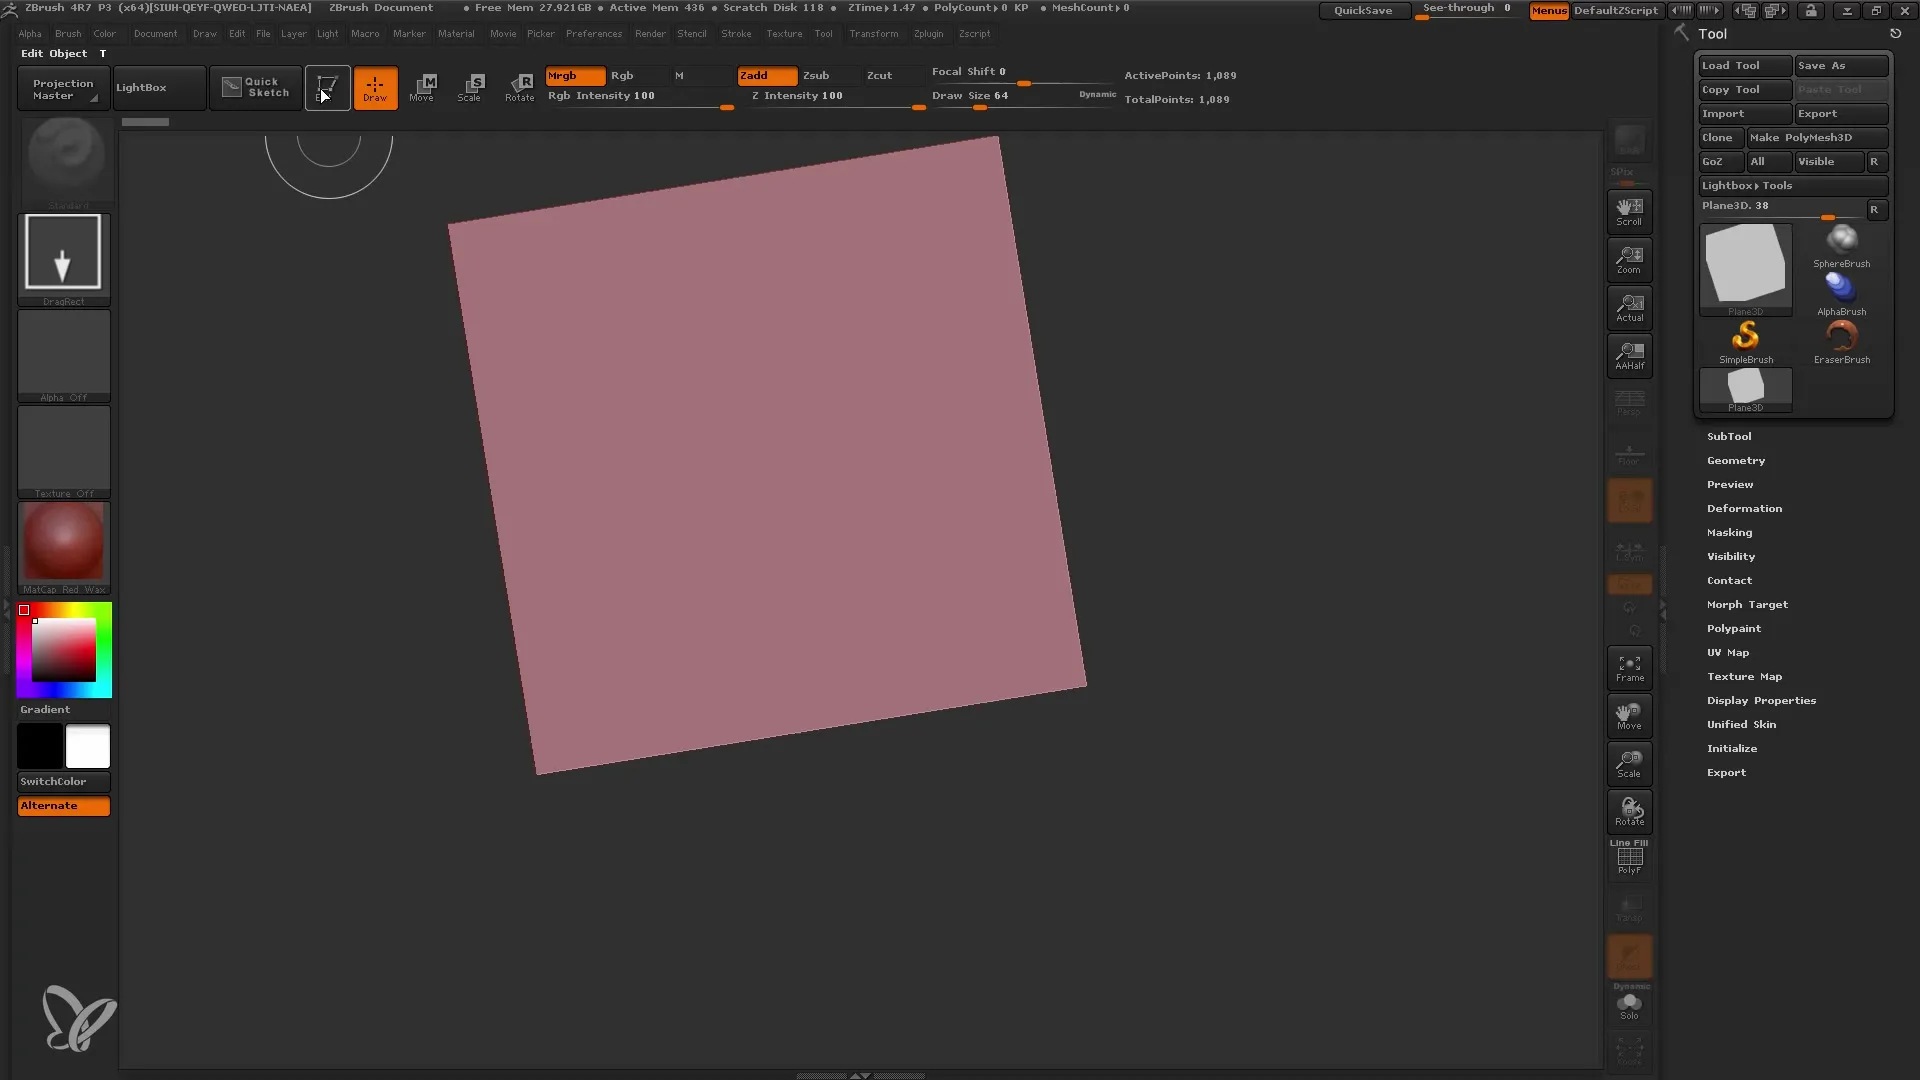
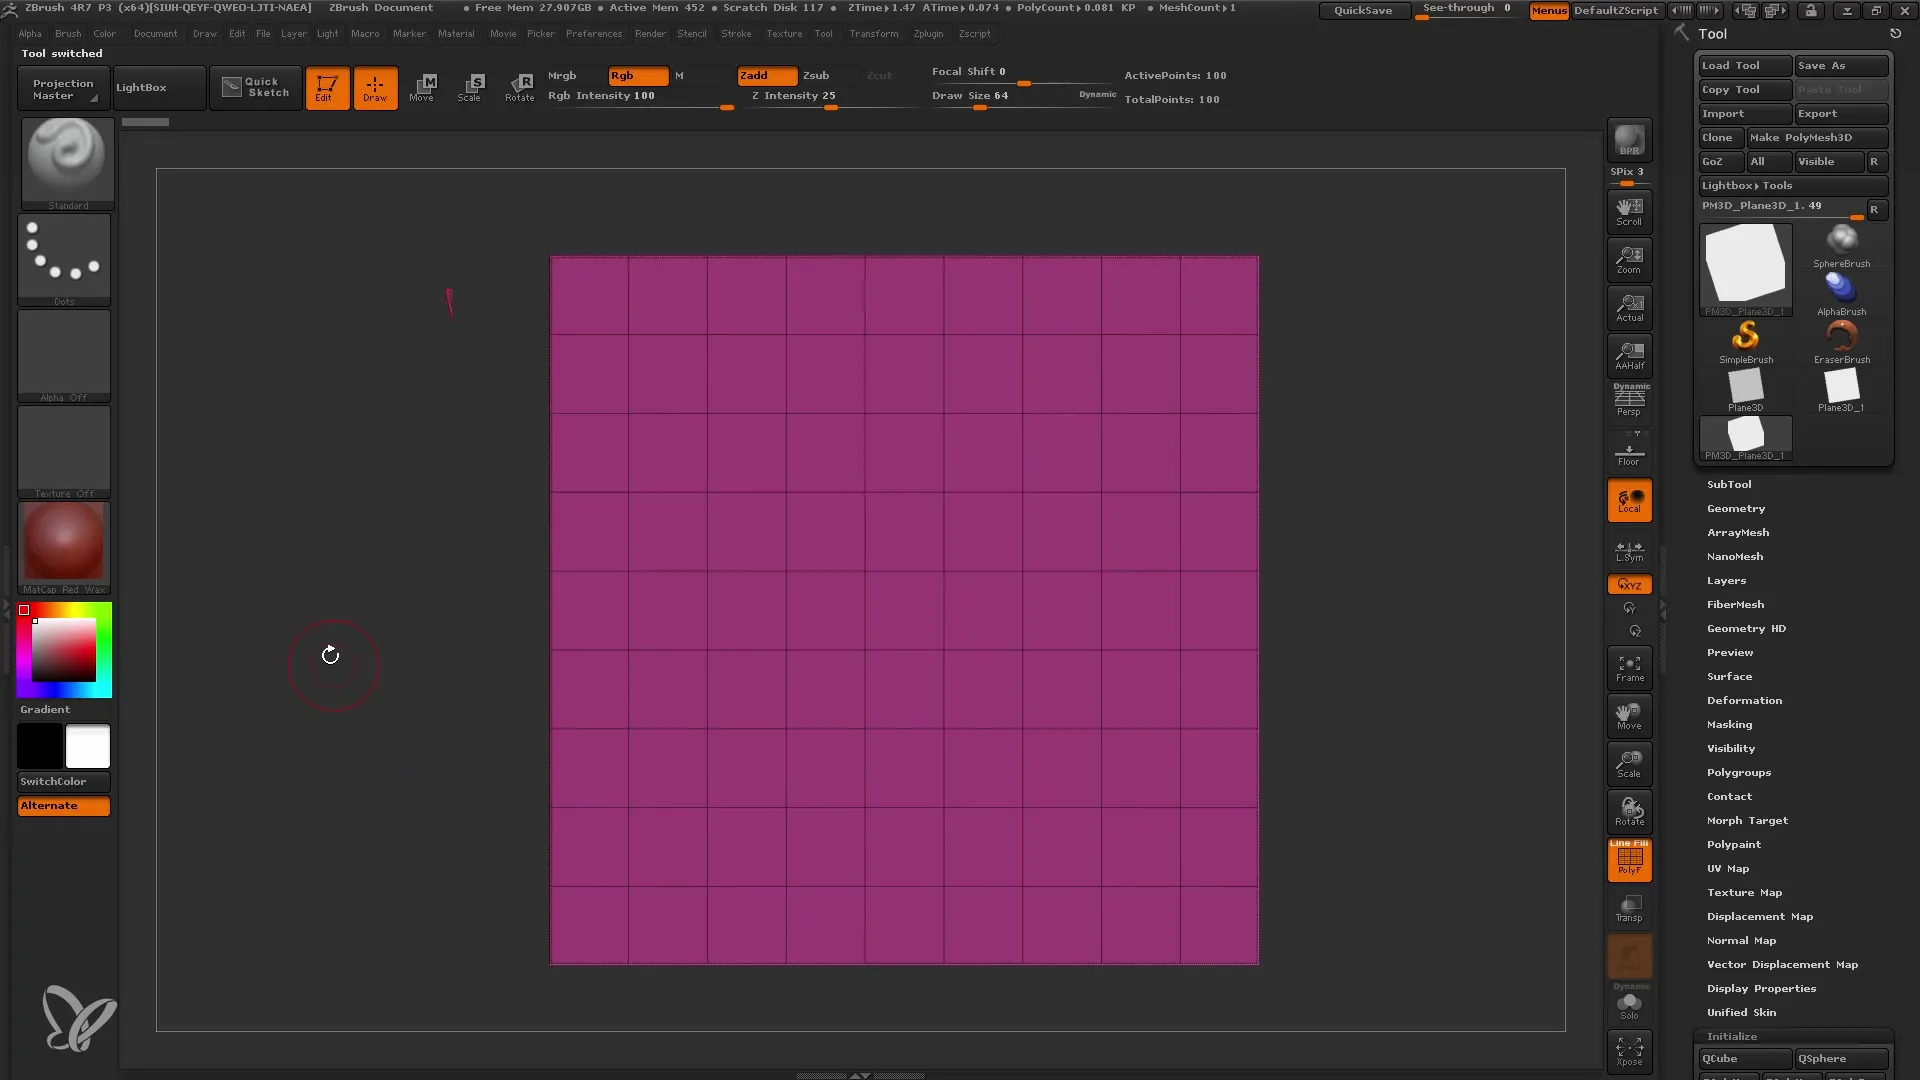
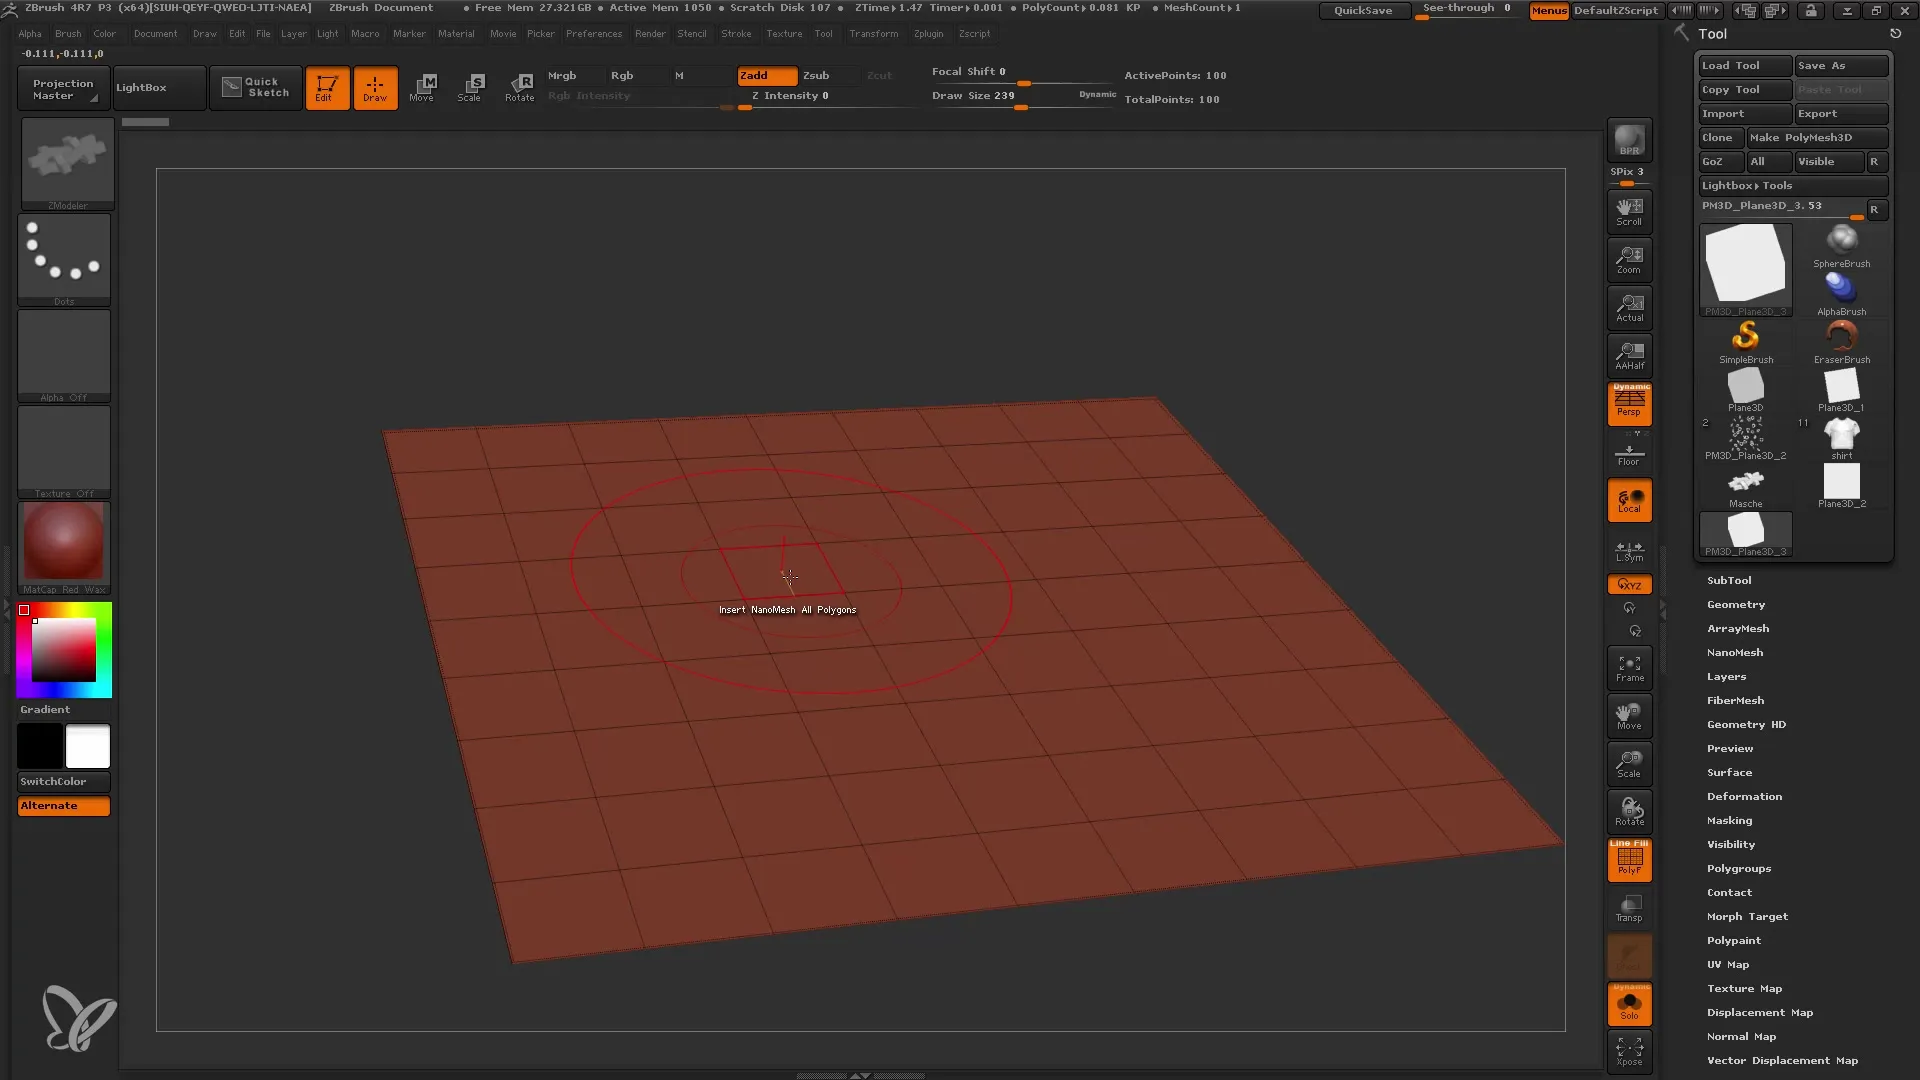
First, start ZBrush and draw a plane. It is helpful to work with a plane as it allows you to clearly see how Nanomesh functions. Draw the plane to a size of 10x10 to keep the number of polygons manageable and turn it into a poly-mesh.
Step 2: Accessing the Nanomesh Feature
To access the Nanomesh feature, open the C-Modeller. By default, the Poly mode is activated. Press the space bar and select "Insert Nanomesh." This allows you to start adding the Nanomesh.
Step 3: Selecting a Mesh
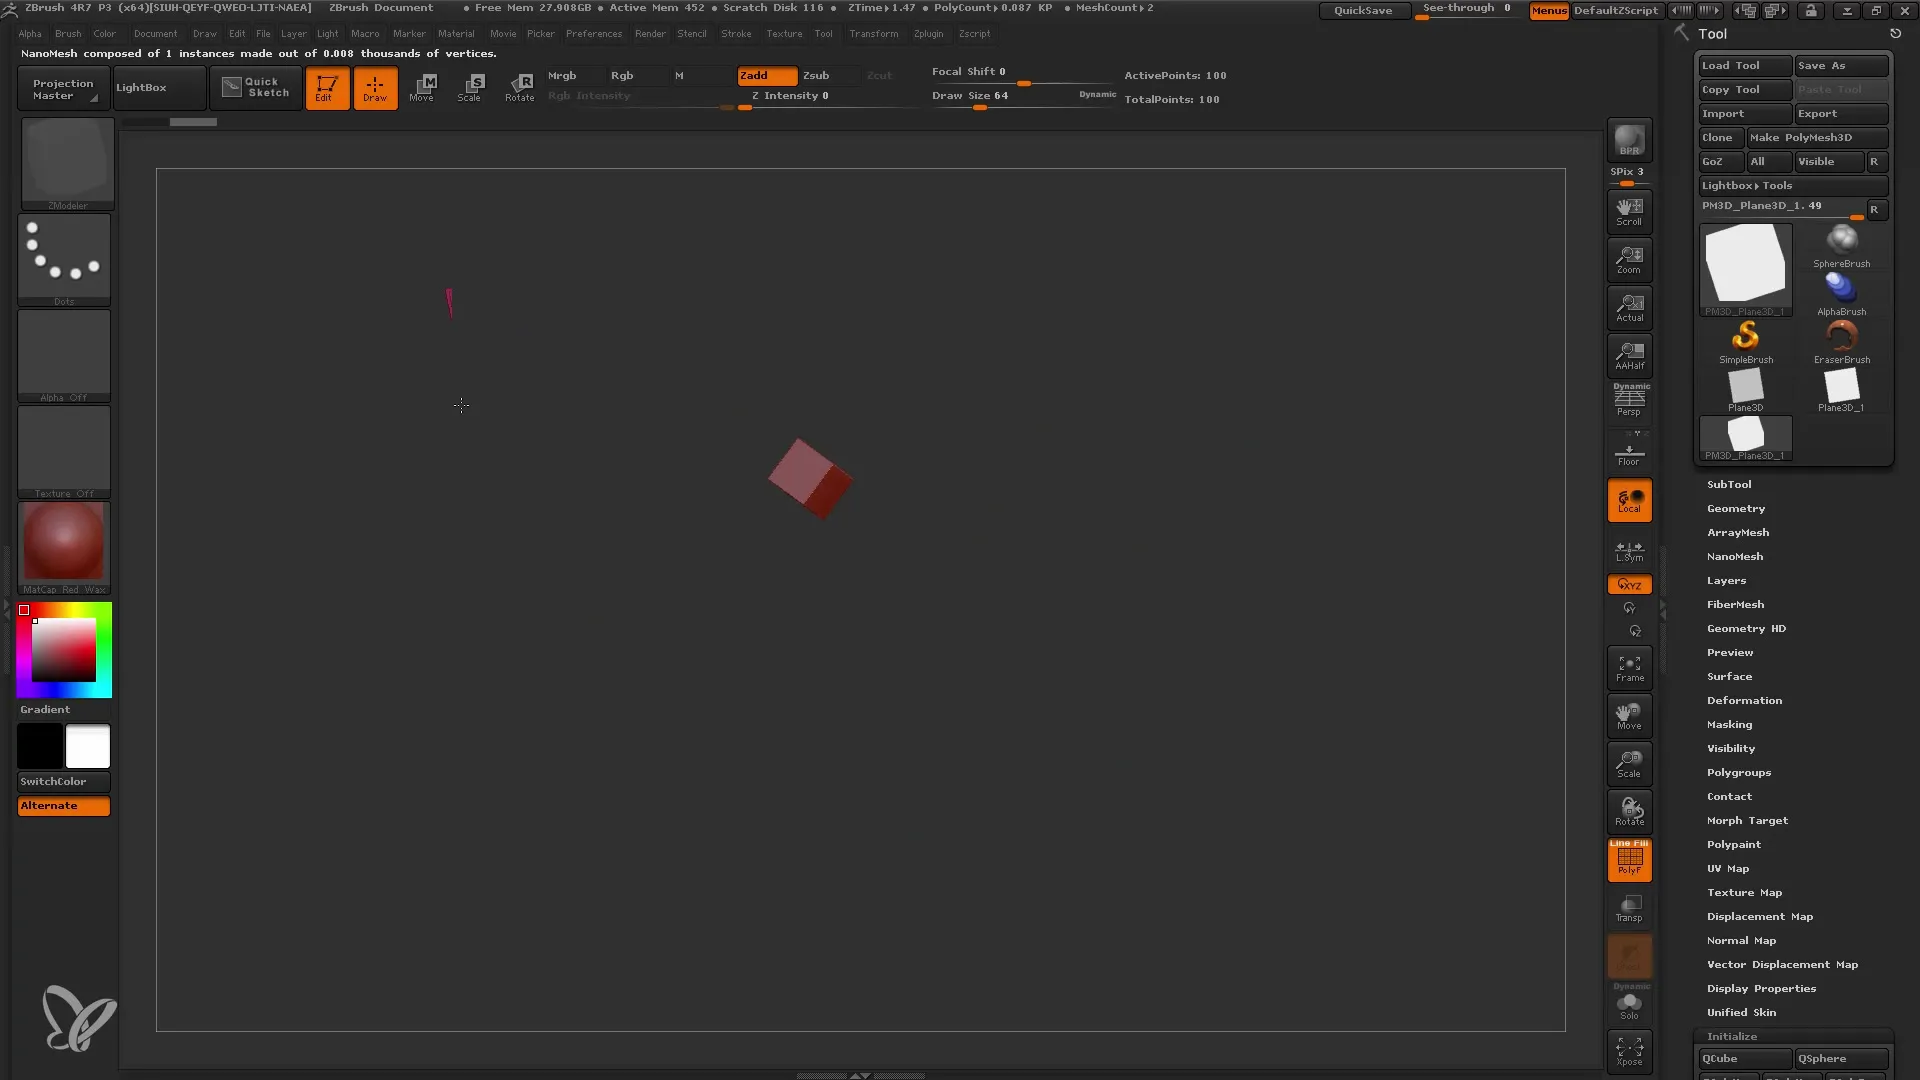
Now you can zoom into a polygon and place a mesh - such as a cube - on it. You also have the option to drag different meshes directly onto each polygon to achieve more variation.
Step 4: Adjusting the Nanomesh Settings
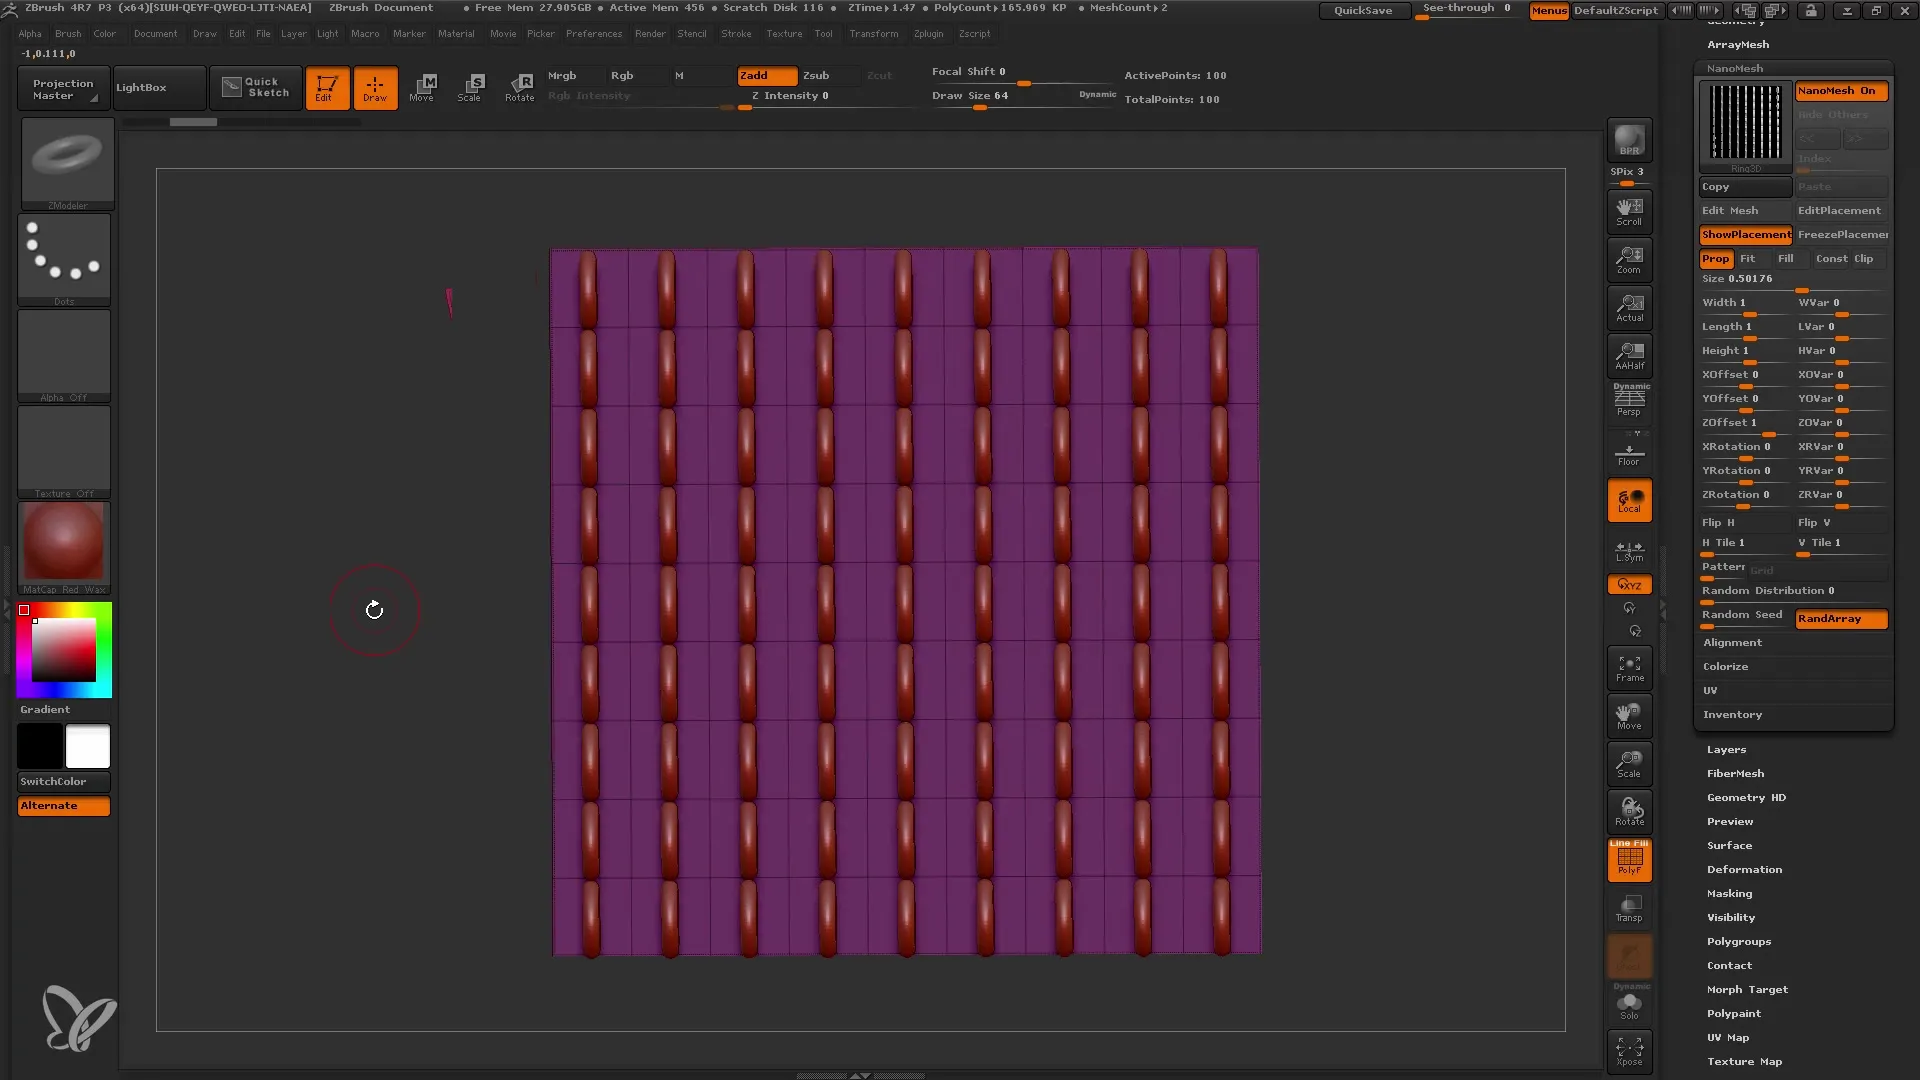
In the Tool menu, you will find a submenu for Nanomesh. Here you can adjust all settings, such as the size and rotation of the added elements. Set the size and rotation parameters to match your requirements.
Step 5: Arranging the Meshes
Using the "Show Placement" function, you can see where your Nanomesh elements are positioned. This helps you control the arrangement better and ensure everything looks good.
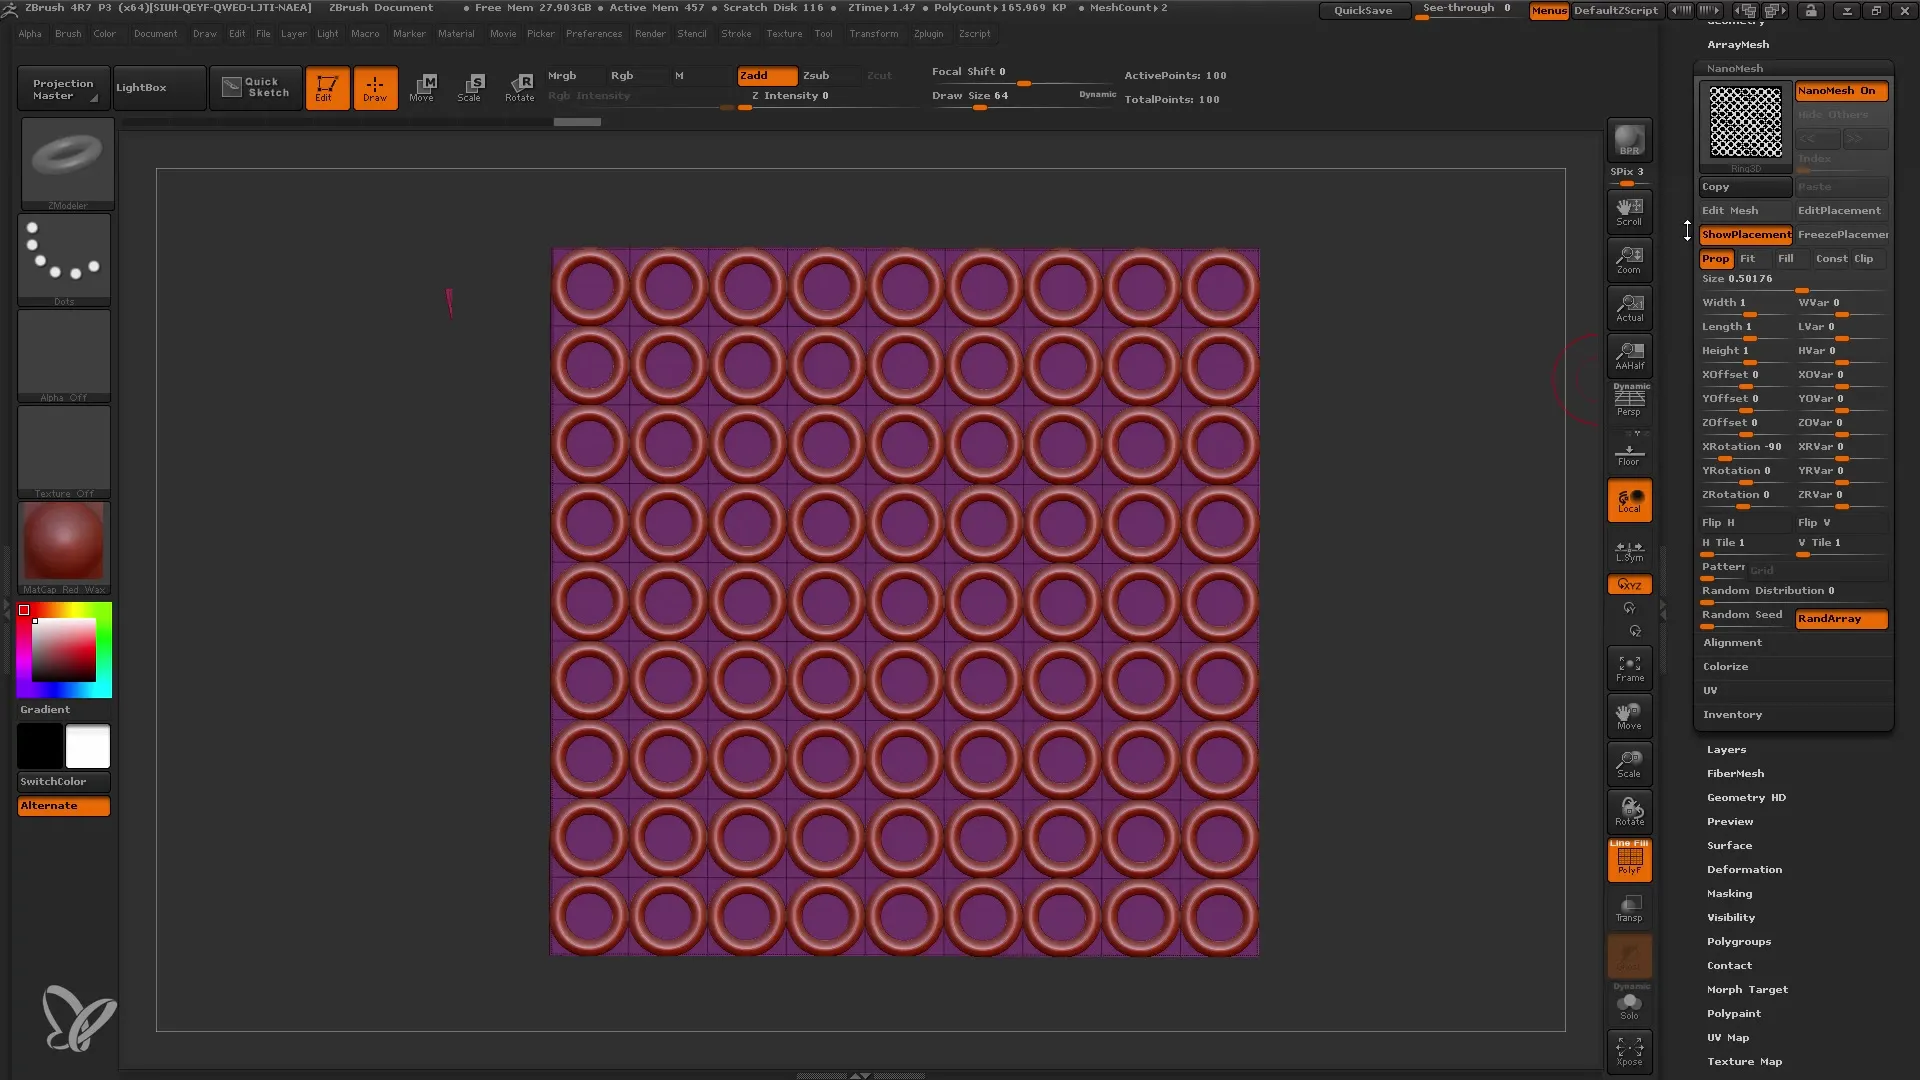
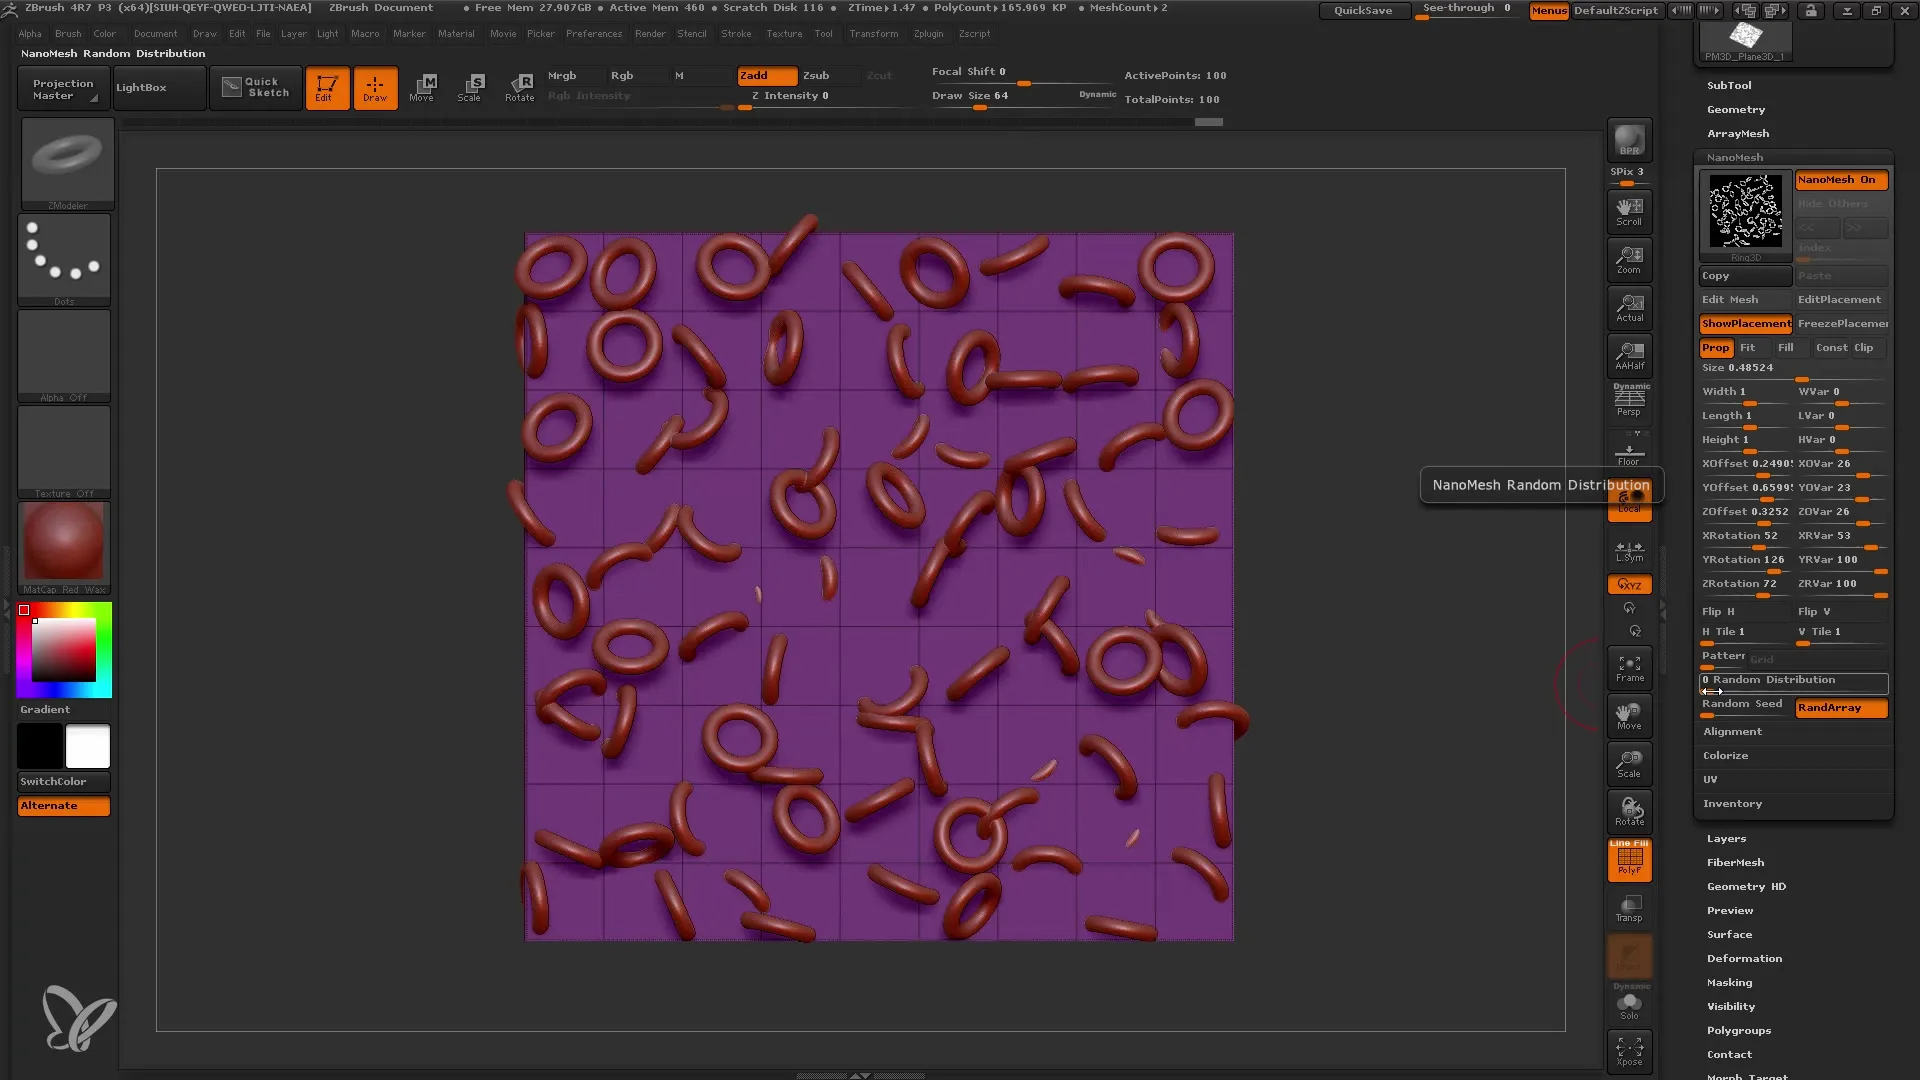
Step 6: Varying the Meshes
To make your models more interesting, you can adjust the offset values and enable random distribution. These functions make your models appear more lively as they no longer appear monotonous.
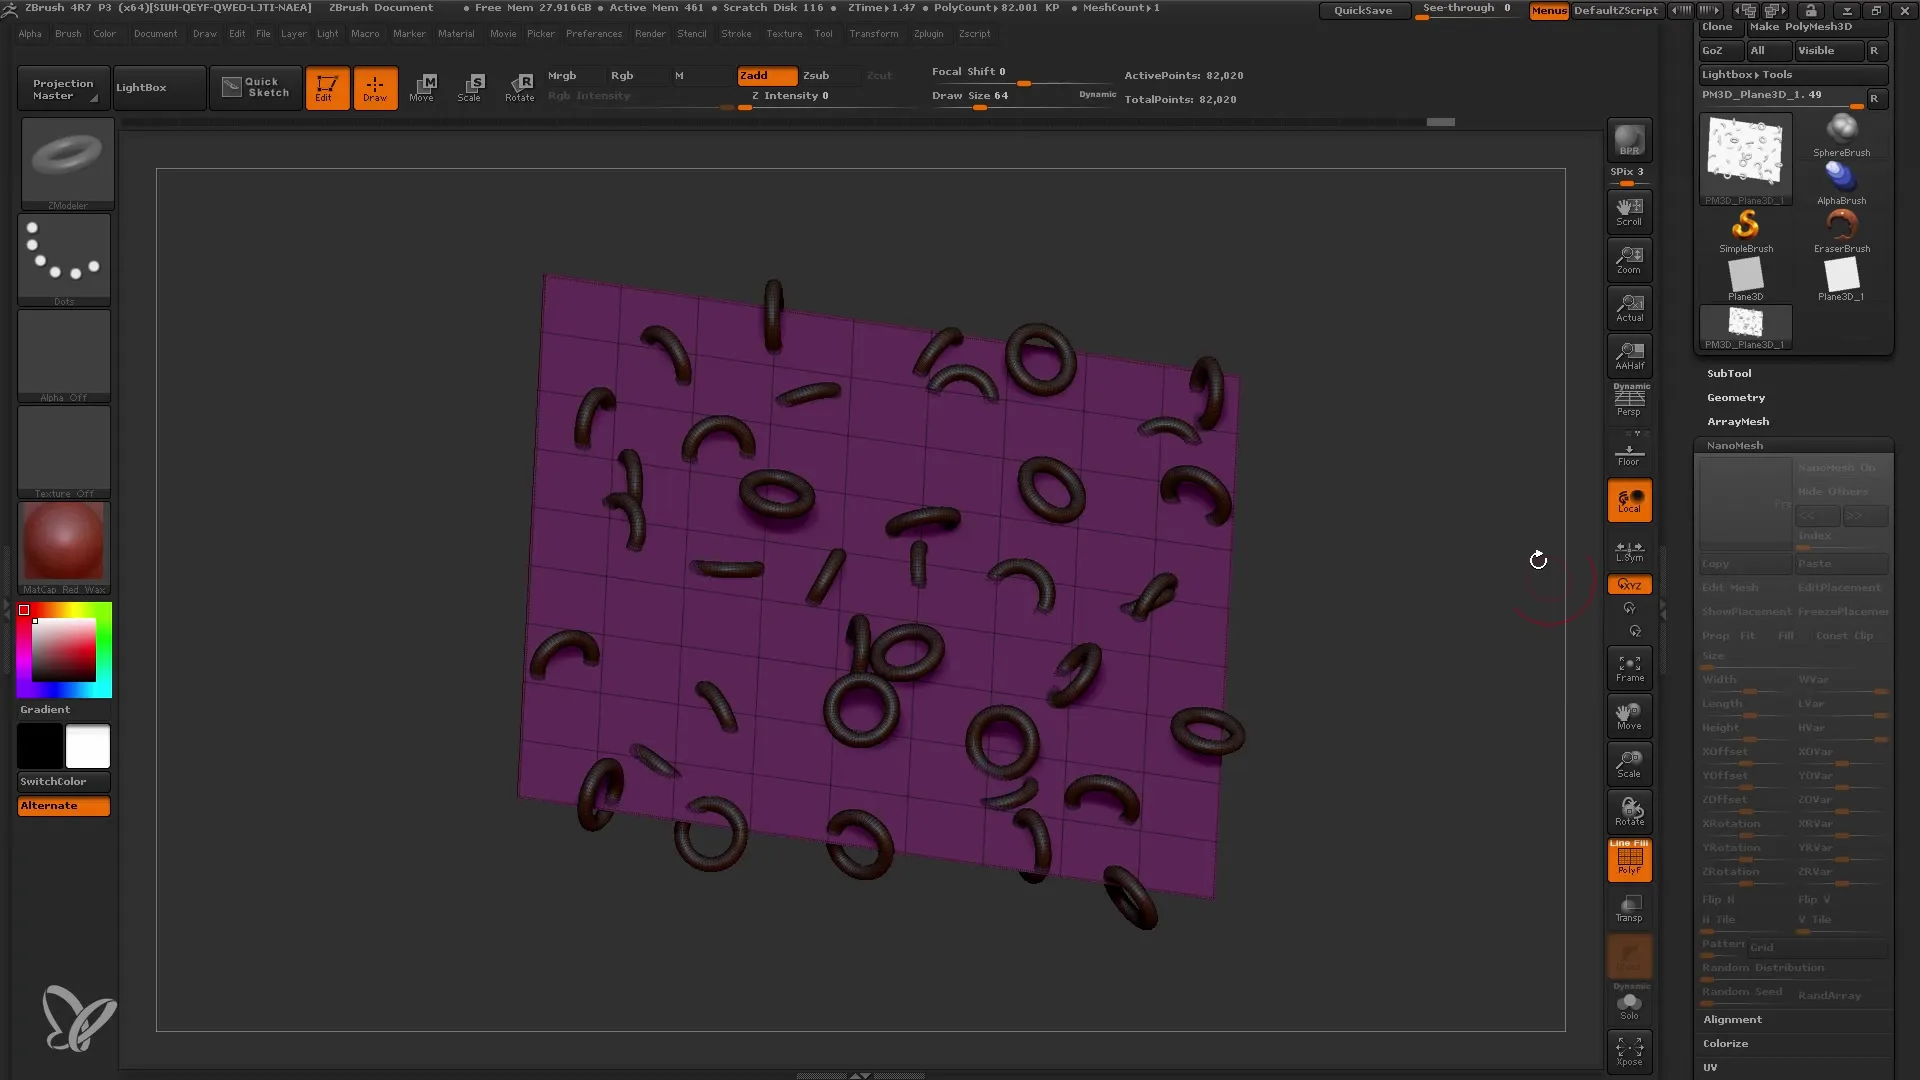
Step 7: Converting to a Fixed Mesh
If you are satisfied with the result and want to export the Nanomesh for further processing in another program (e.g., Cinema 4D), you can convert it to a fixed mesh. Go to the Inventory and select "One to Mesh." Your Nanomesh will now be converted into a normal PolyMesh.
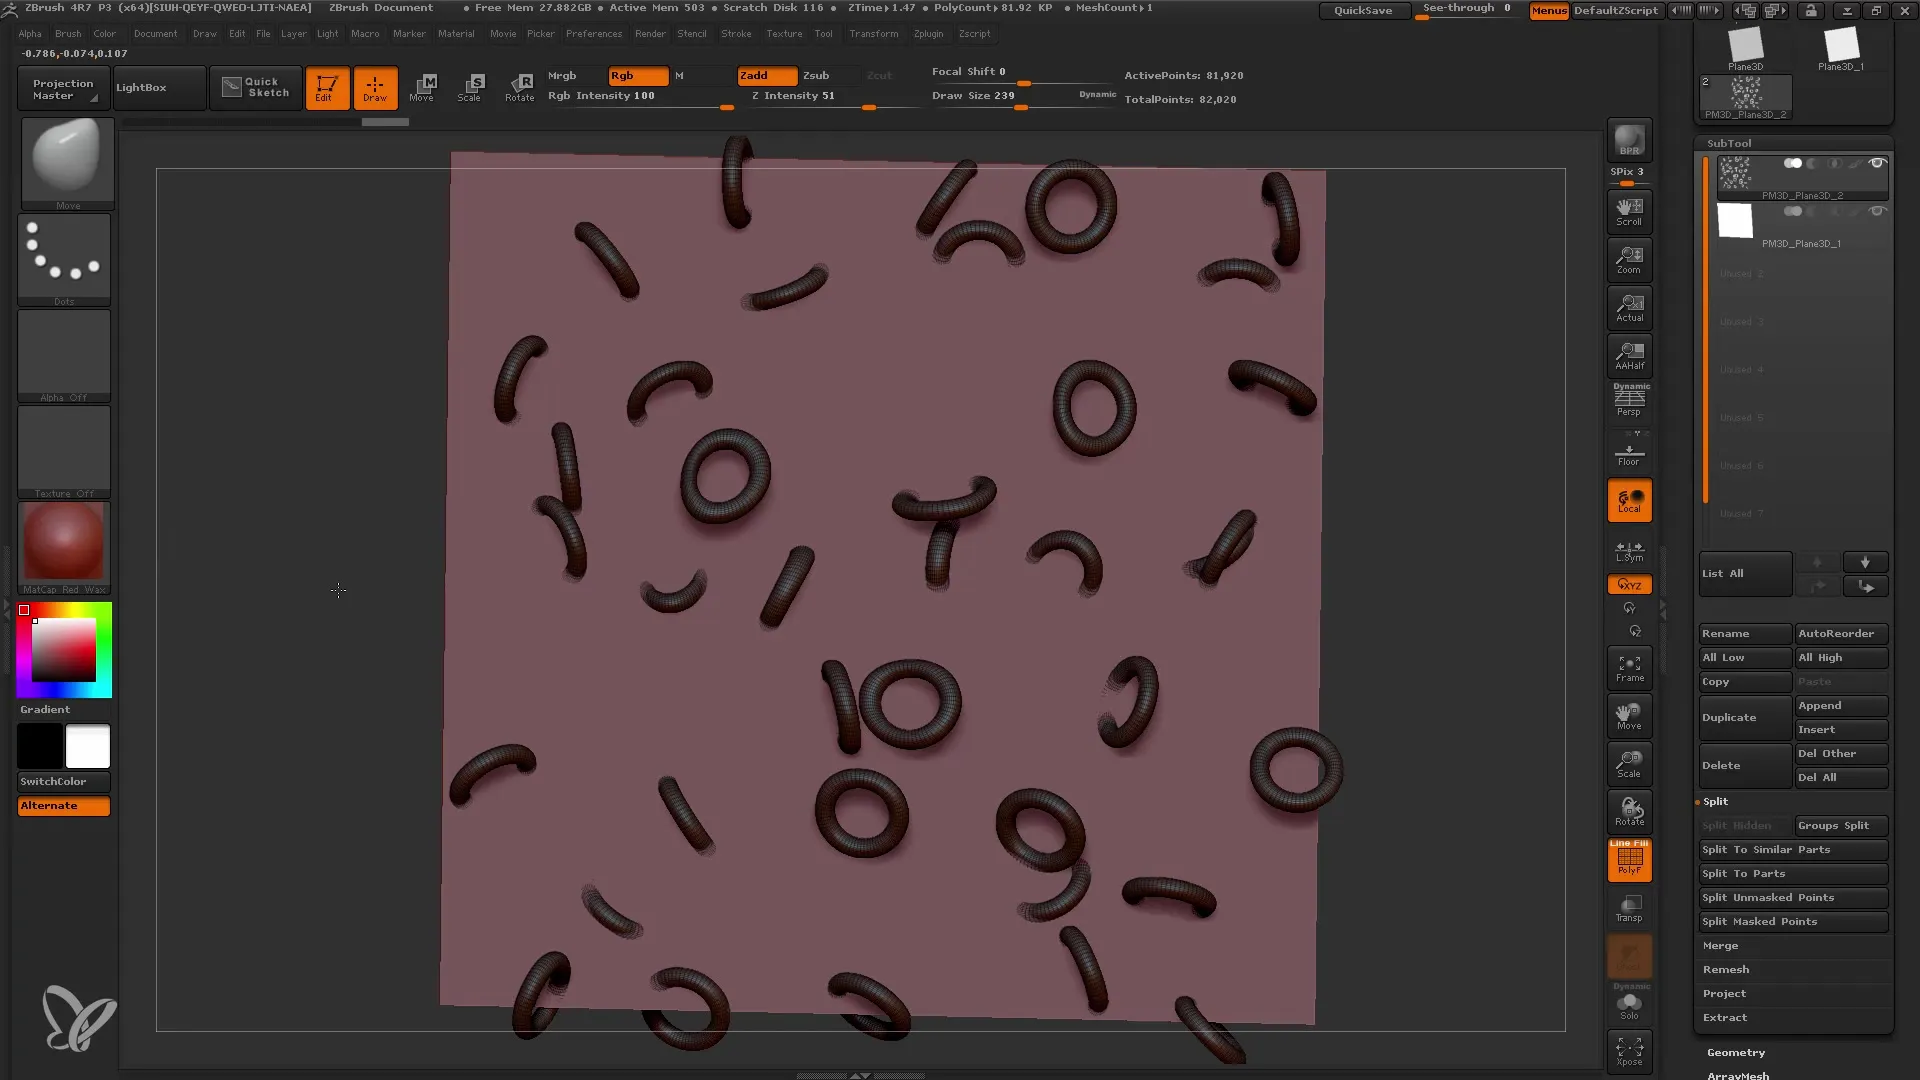
Step 8: Editing the New Mesh
Now you can continue editing the new mesh, consisting of your original plane and the added mesh elements. Extract areas or edit them with different brushes to further refine your artwork.
Step 9: Creating Complex Structures
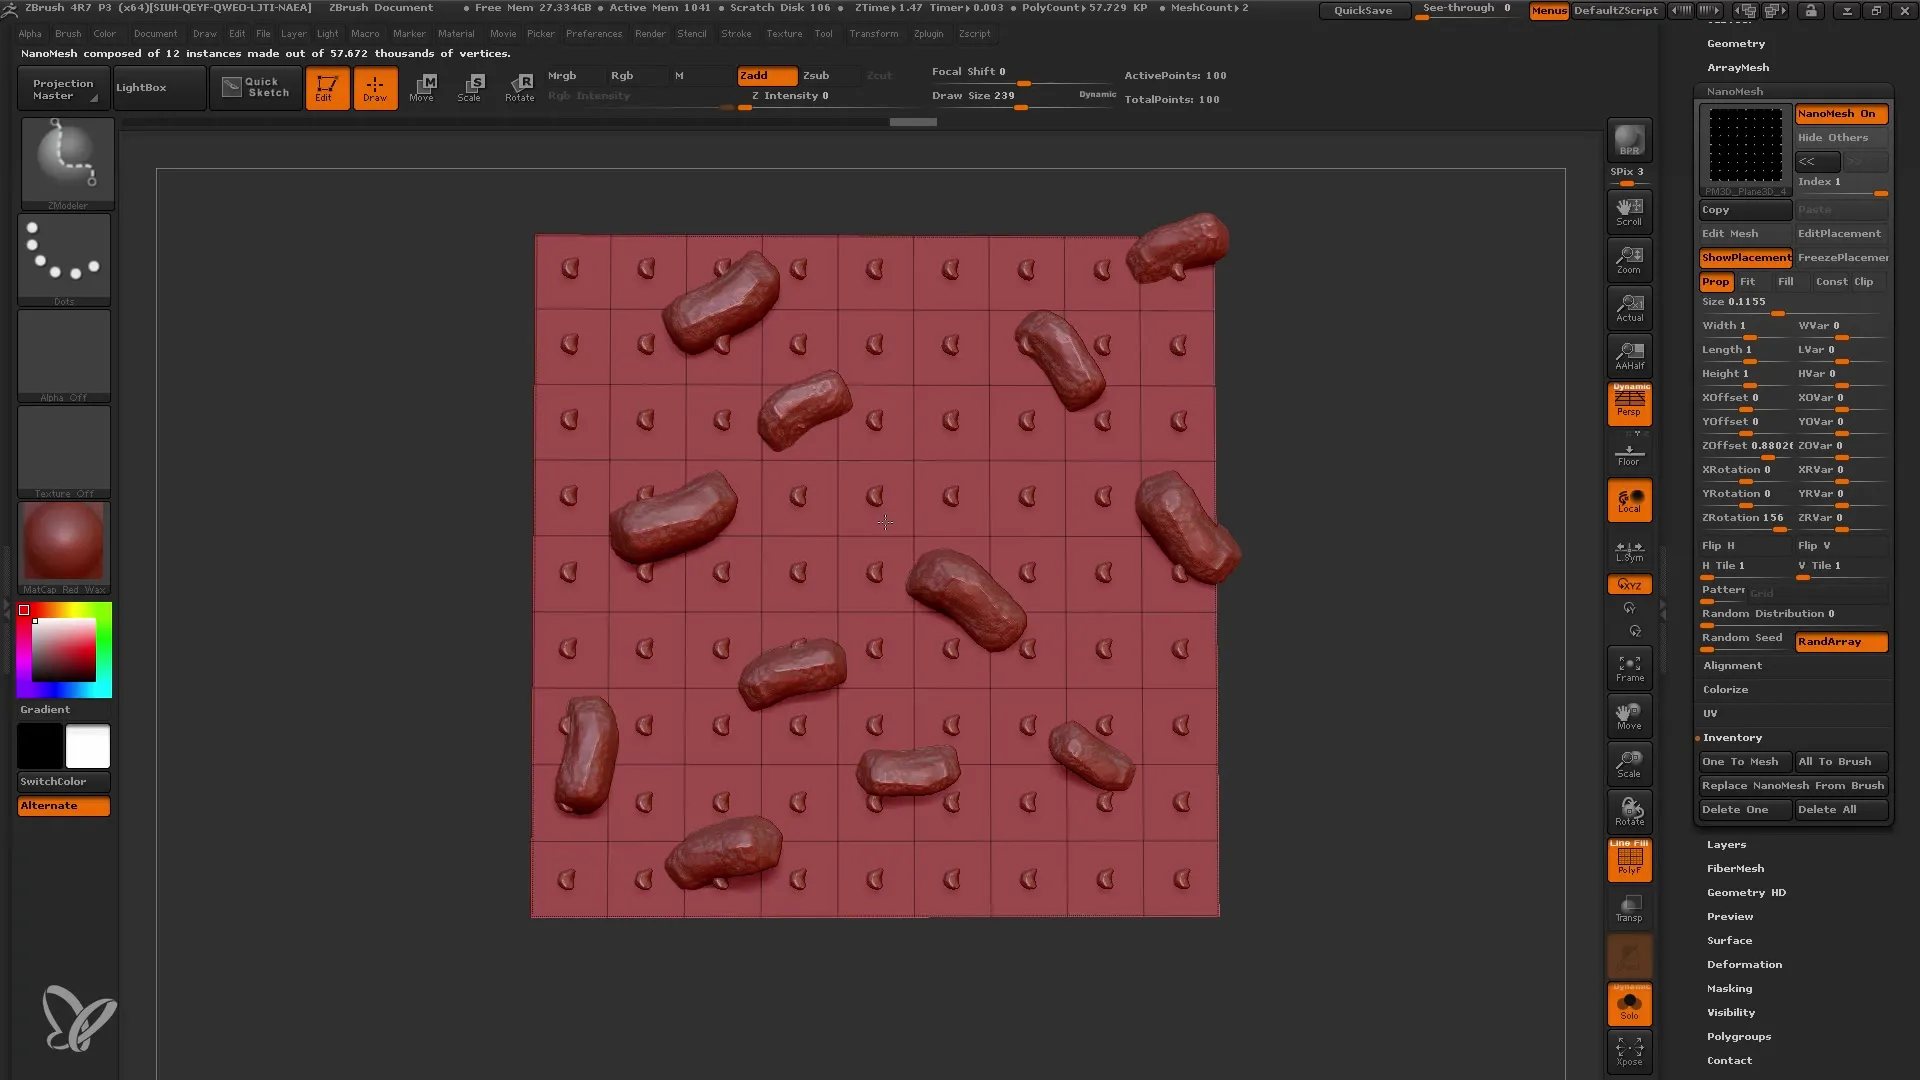
To further utilize the possibilities of Nanomesh, you can also use a variety of meshes to represent natural environments, such as stones on a floor. Prepare multiple different stones and follow the same process to insert them into your mesh.
Step 10: Combining different elements
When working with different stones, you should note that by holding down the Shift key, you can add multiple stones at the same time. This gives your model more character and ensures that the elements do not look the same.
Step 11: Control over the layers
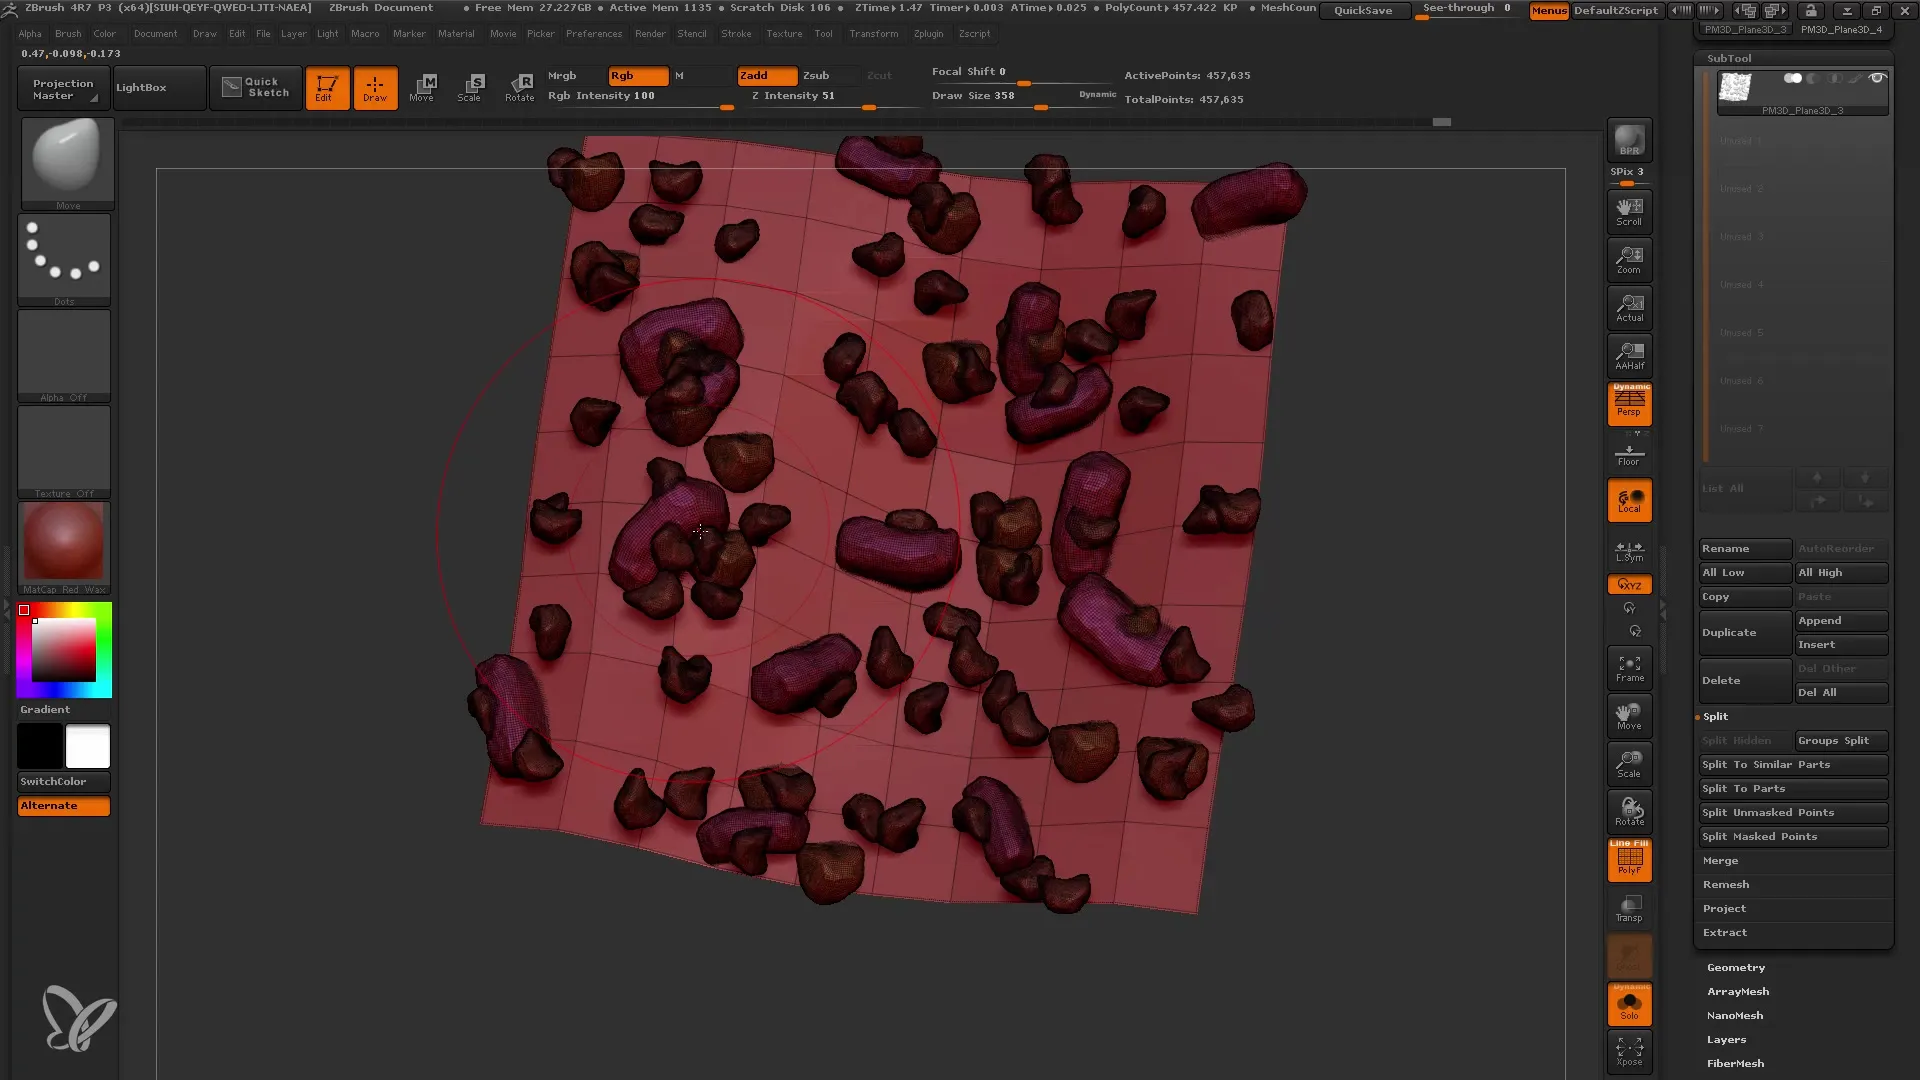
With the "Group Split" function, you can convert the different stones into separate subtools. This allows you to have better control over the individual elements, so you can further edit them individually.
Step 12: Final adjustments and export
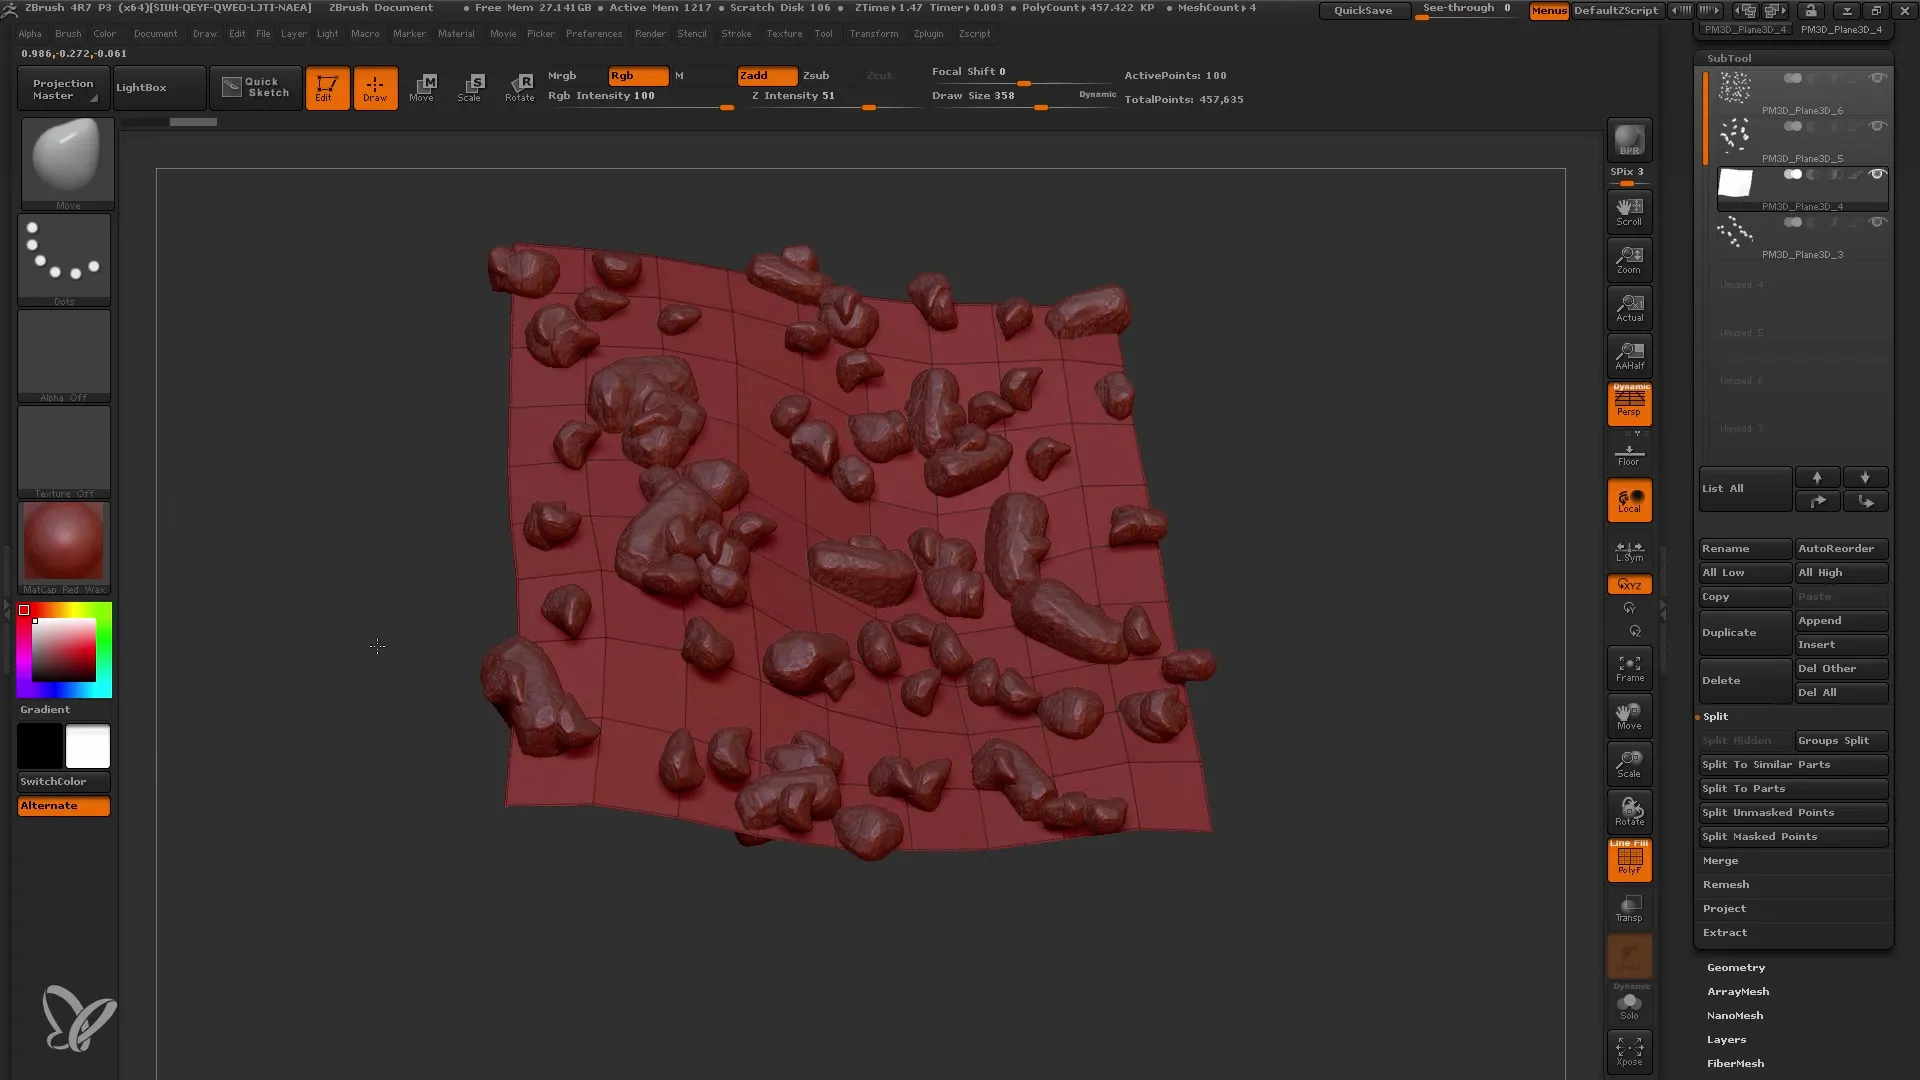
Once you are satisfied with editing your stones or other added mesh elements, you can export the entire model or render it to secure and present the final result.
Summary
In this tutorial, you have learned how to effectively use the Nanomesh function of ZBrush to add details to your models. You have seen how to insert different meshes, adjust their settings, and enrich the geometry of your model.
Frequently Asked Questions
What is Nanomesh in ZBrush?Nanomesh is a function in ZBrush that enables the placement of small meshes on individual polygons of an existing mesh.
Which version of ZBrush is needed for Nanomesh?Nanomesh was first introduced with ZBrush R7.
Can I export Nanomesh?Yes, after converting it into a fixed mesh, you can export it to other programs.
What types of elements can be added with Nanomesh?You can add different meshes, such as rings, stones, or other templates, to create details in your models.
Is it necessary to increase the number of polygons to use Nanomesh?Not necessarily, as Nanomesh can efficiently improve the geometry with a limited number of polygons.


