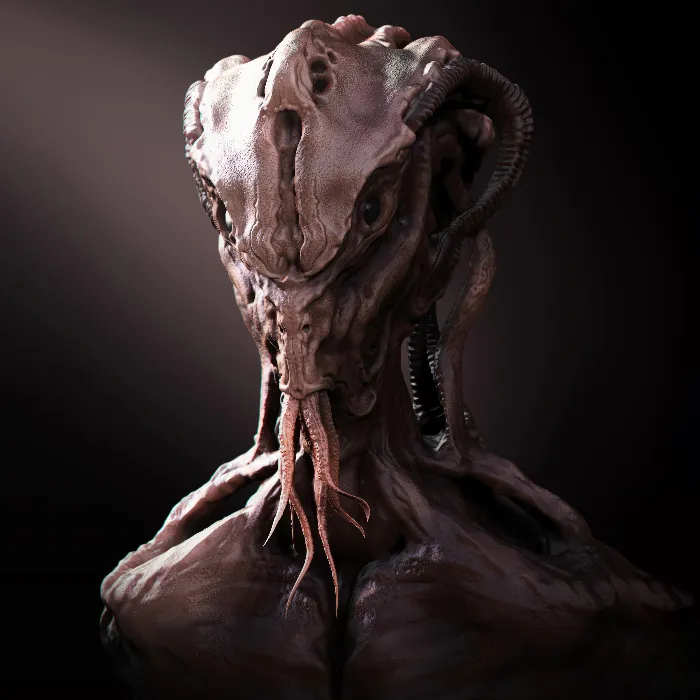
ZBrush is a powerful tool for digital sculpting that allows you to create complex models with intricate details. One of the key methods for working non-destructively is the so-called Layers. In combination with the Morph Target function, you can precisely control and adjust the details of your models without altering the original geometry. This guide will show you how to effectively utilize these functions.
Key Takeaways
With layers in ZBrush, you can add various details and effects in separate layers and adjust or delete them as desired. The Morph Target function allows you to save specific changes in your mesh and selectively undo them. By combining these two functions, you can optimize your workflows and ensure both creative freedom and control over your model.
Step-by-Step Guide
Basics of Layers
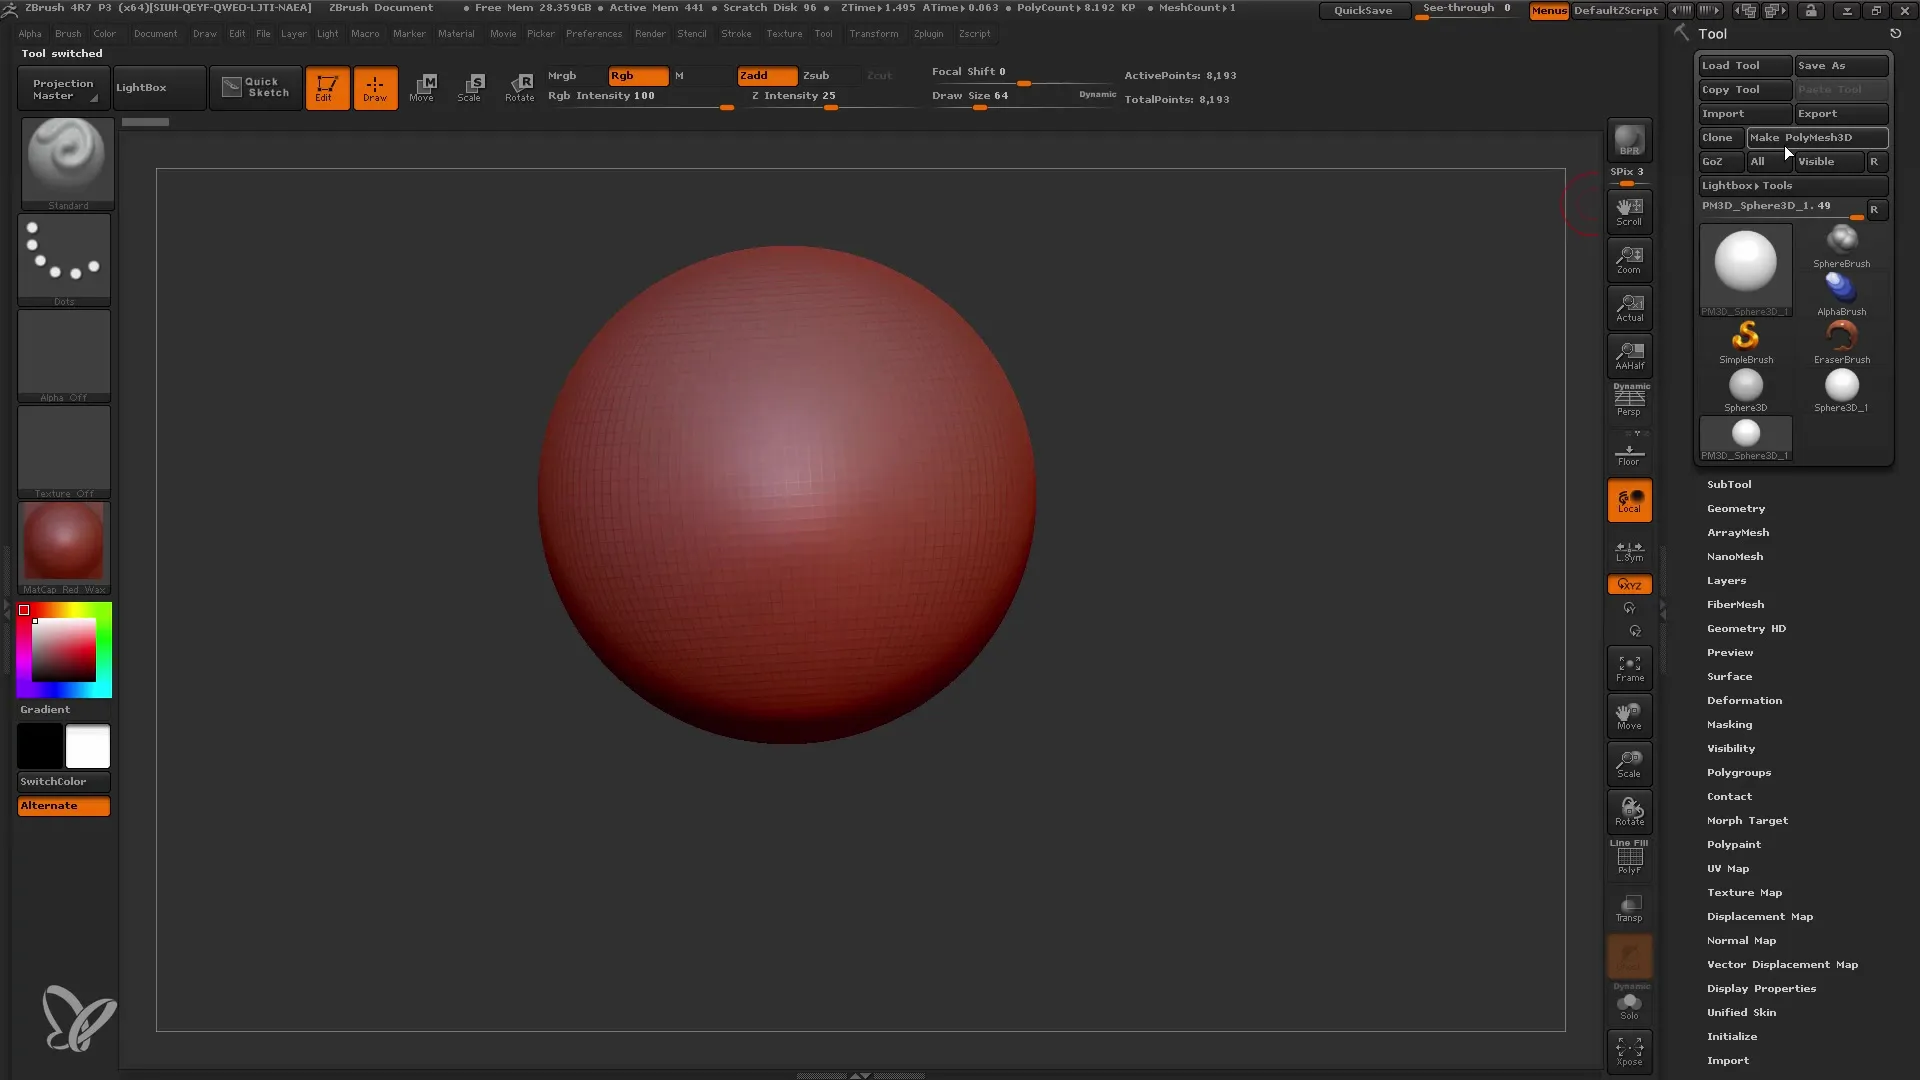
To fully take advantage of layers in ZBrush, you must first understand how to use them. First, open ZBrush and load your current project. For this tutorial, we will use a simple sphere as the base shape.
Start by entering to create your sphere. Select the Edit Mode and make sure you are working in Polymesh. This workflow is particularly important as you do not permanently alter your mesh data.
Creating a New Layer
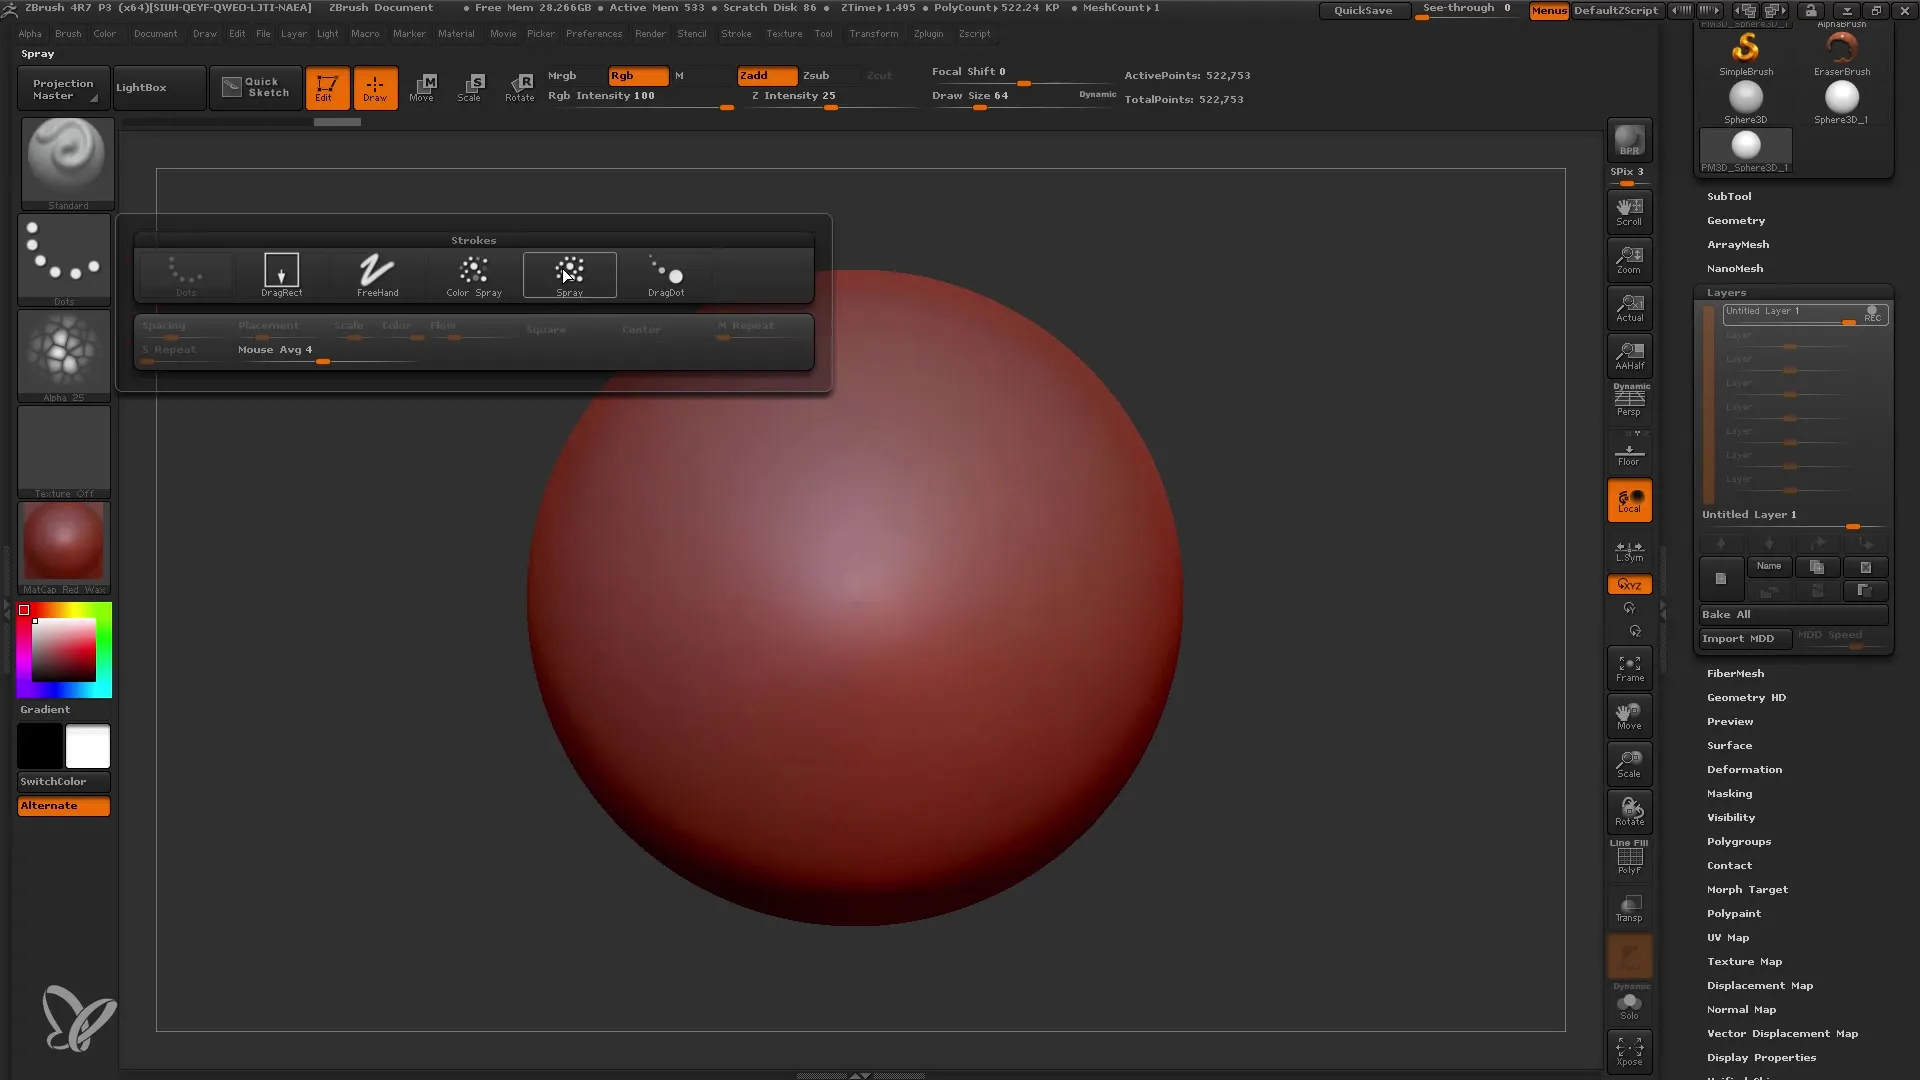
Before you start adding details, you need to create a new layer. Click on the New Layer button to add a new layer. The Record Button will be automatically activated, and everything you do now will be recorded in this layer.
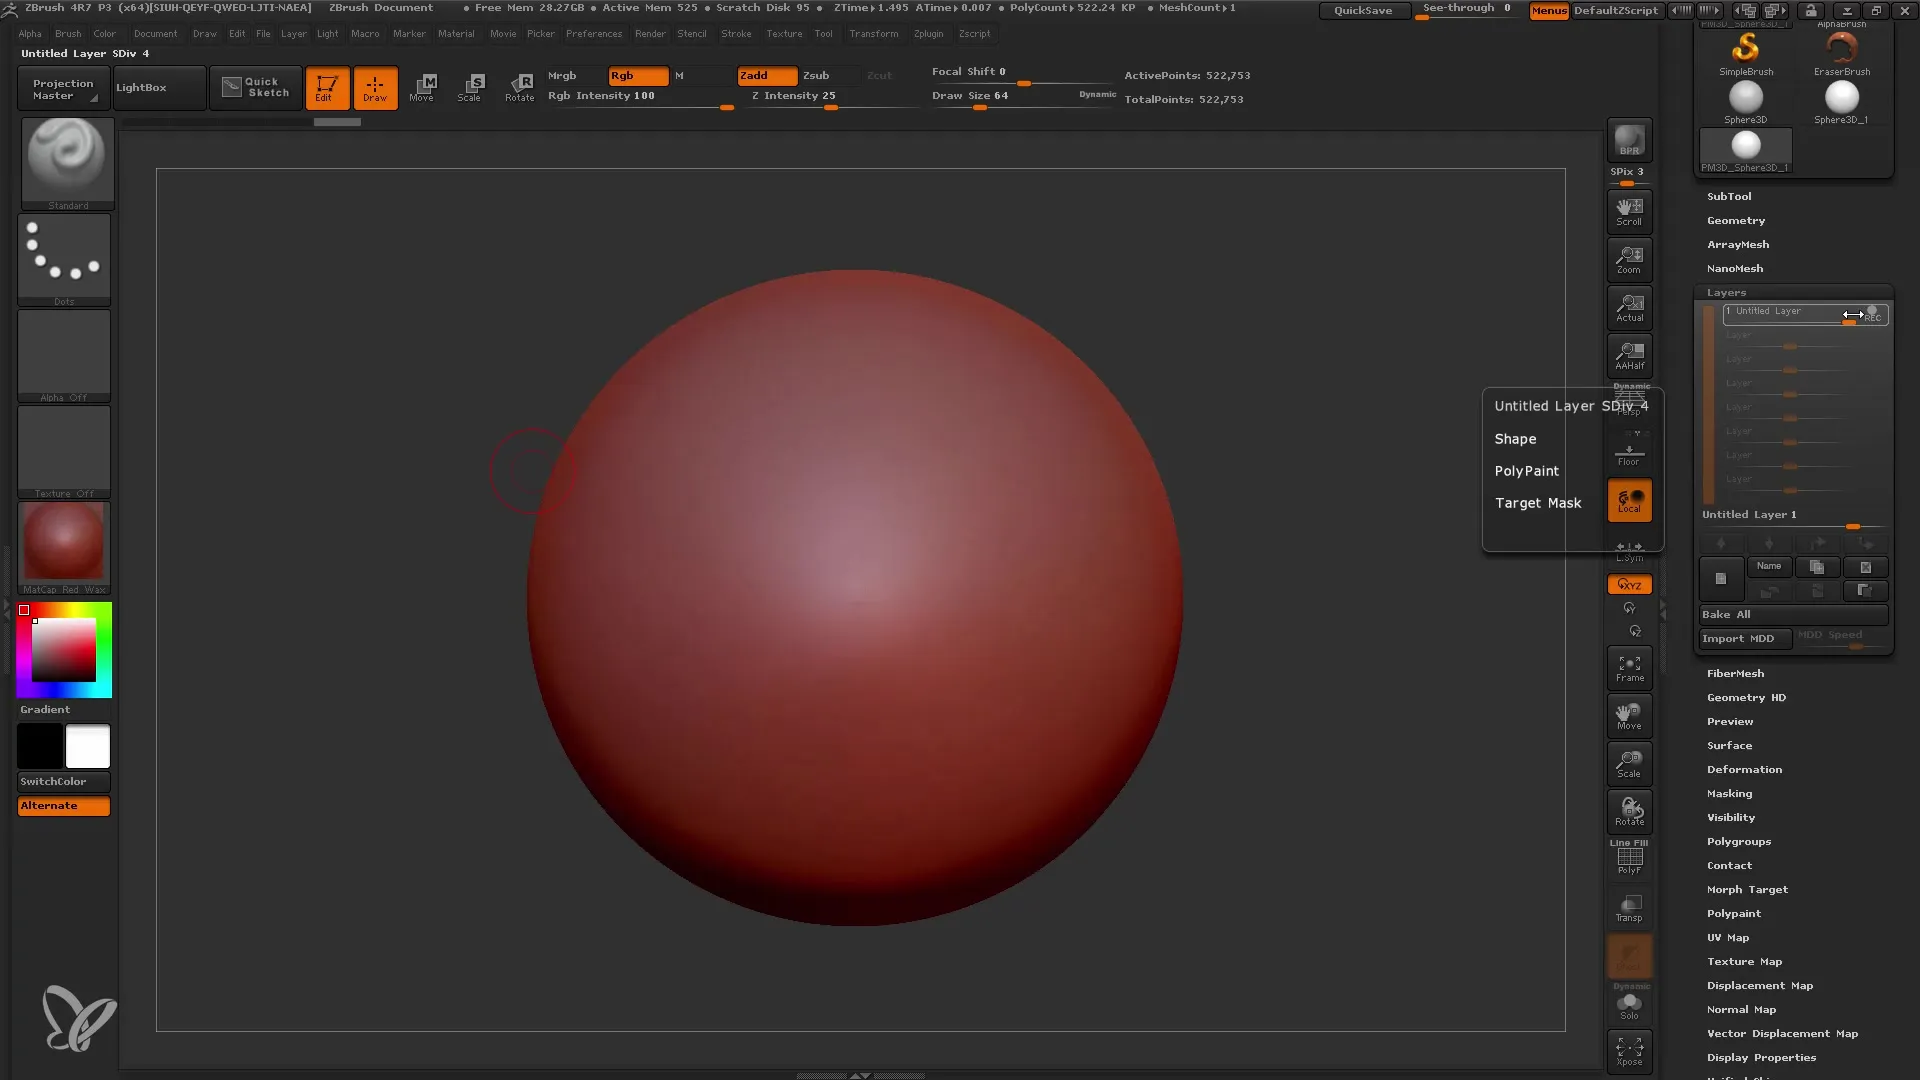
Choose a Standard Brush and experiment with different detailing options by adding alphas. For this step, it is recommended to use an alpha that allows you to apply the desired texture, such as an orange peel texture, to your sphere. Set the Intensity to about 10 to optimize the detail strength.
Adjusting Layer Strengths
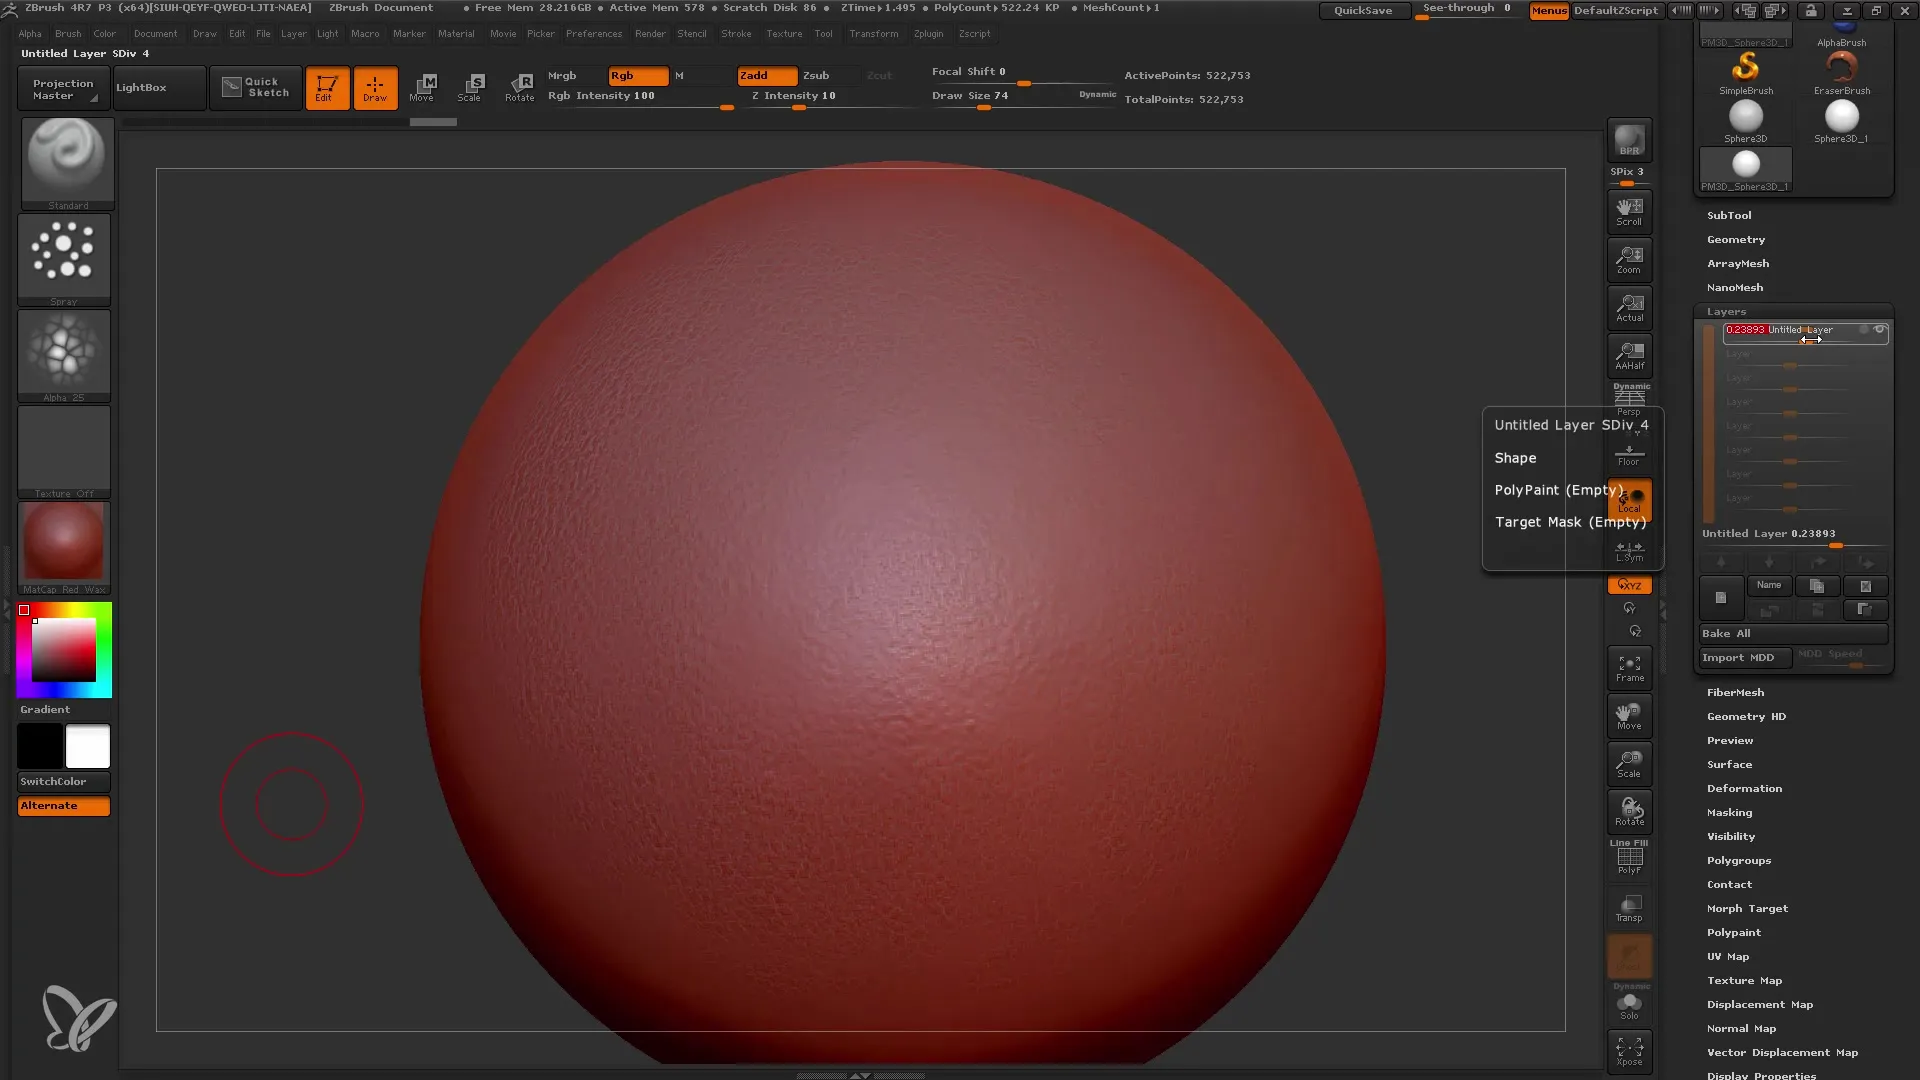
After adding the initial details, you can adjust the strength of your layer. You can use the slider shown below the layers to adjust the intensity of this layer, intensify or diminish the strength of this layer, and even use negative values to reverse the effects.
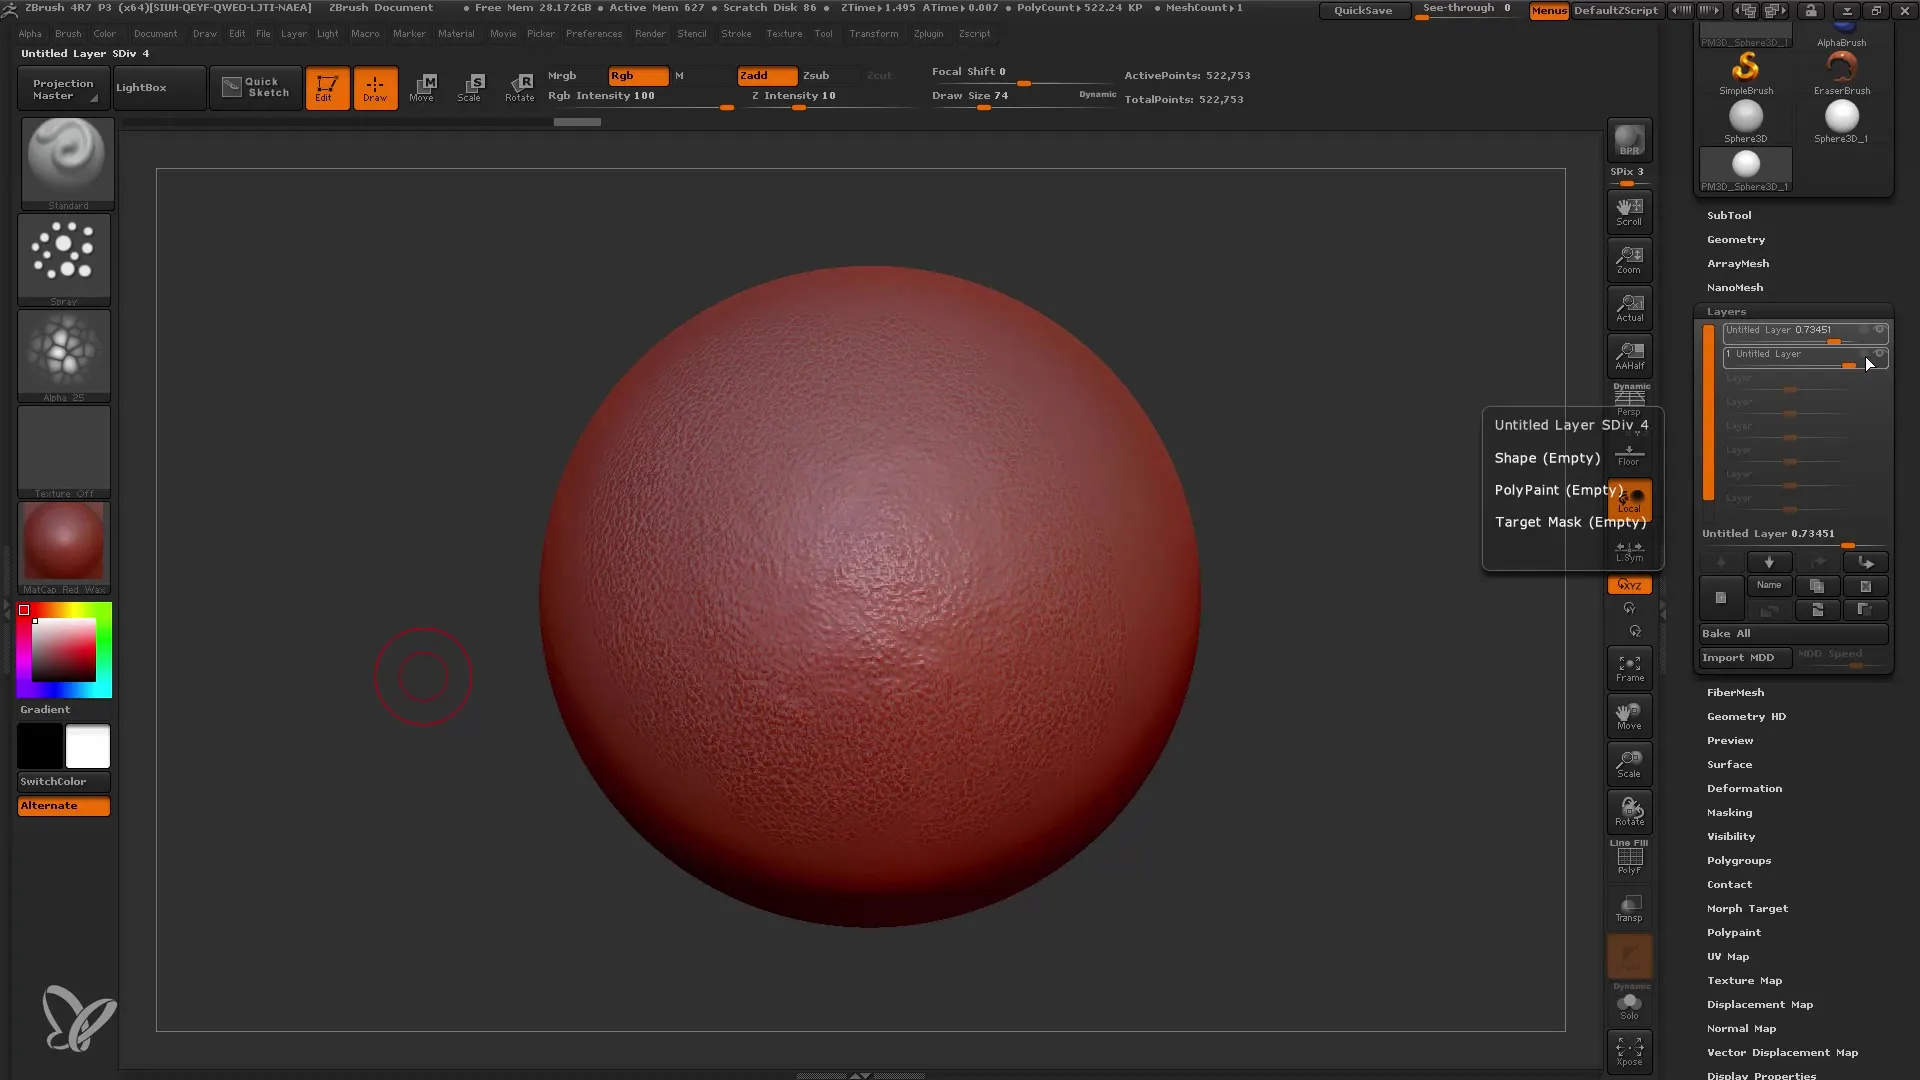
Layering different layers is another helpful feature in ZBrush. You can add multiple layers and activate or deactivate them independently, giving you maximum flexibility in your workflow.
Adding More Details
To further refine your model, you can create a new layer for additional details. While still working in Record mode, select the Move Brush and begin shaping the mesh to your liking. You can adjust the size of your brush to make both large and fine changes.
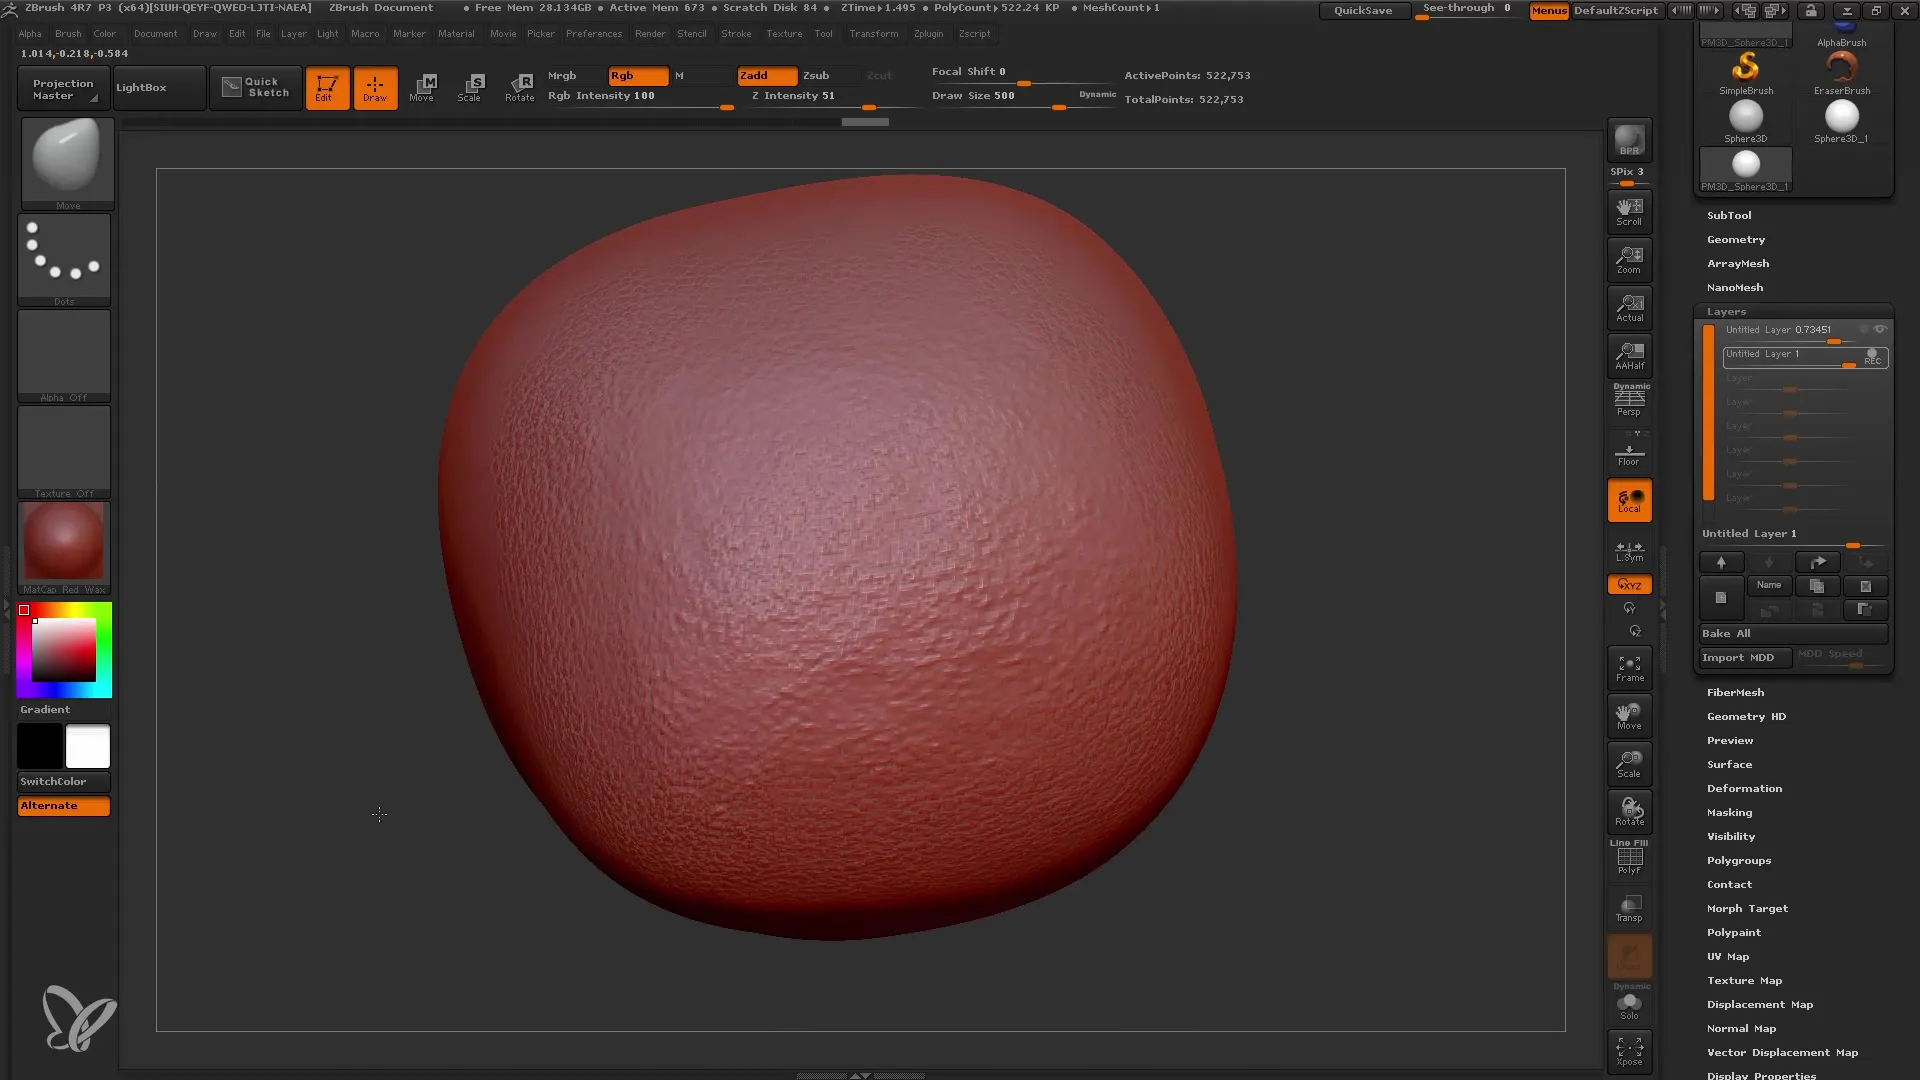
If you are not satisfied with a layer, you can delete it at any time or duplicate it to obtain different versions of your details.
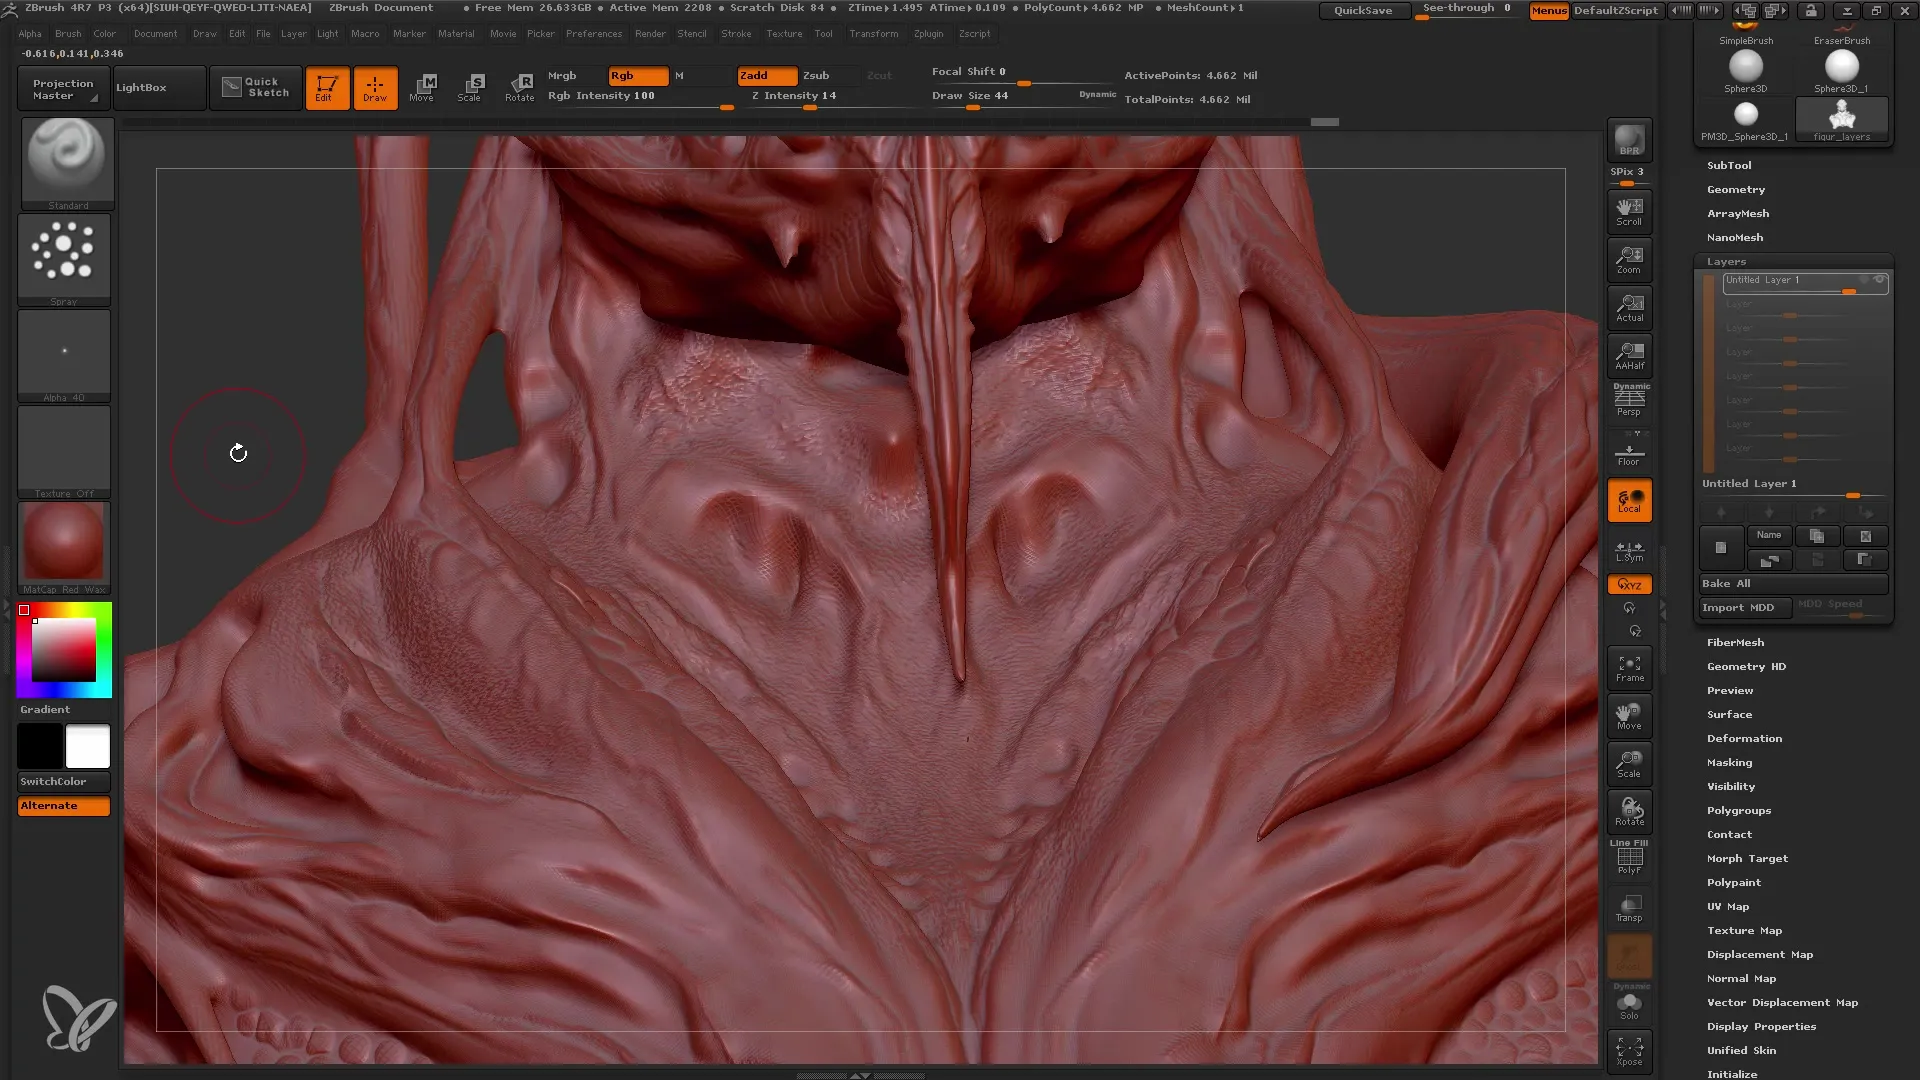
Using Morph Targets
Another powerful feature of ZBrush is the Morph Target. After editing your mesh with layers, you can use the Morph Target function to save and undo changes. You start by saving your current mesh before making further adjustments. Choose the Morph Target option and save your current state.
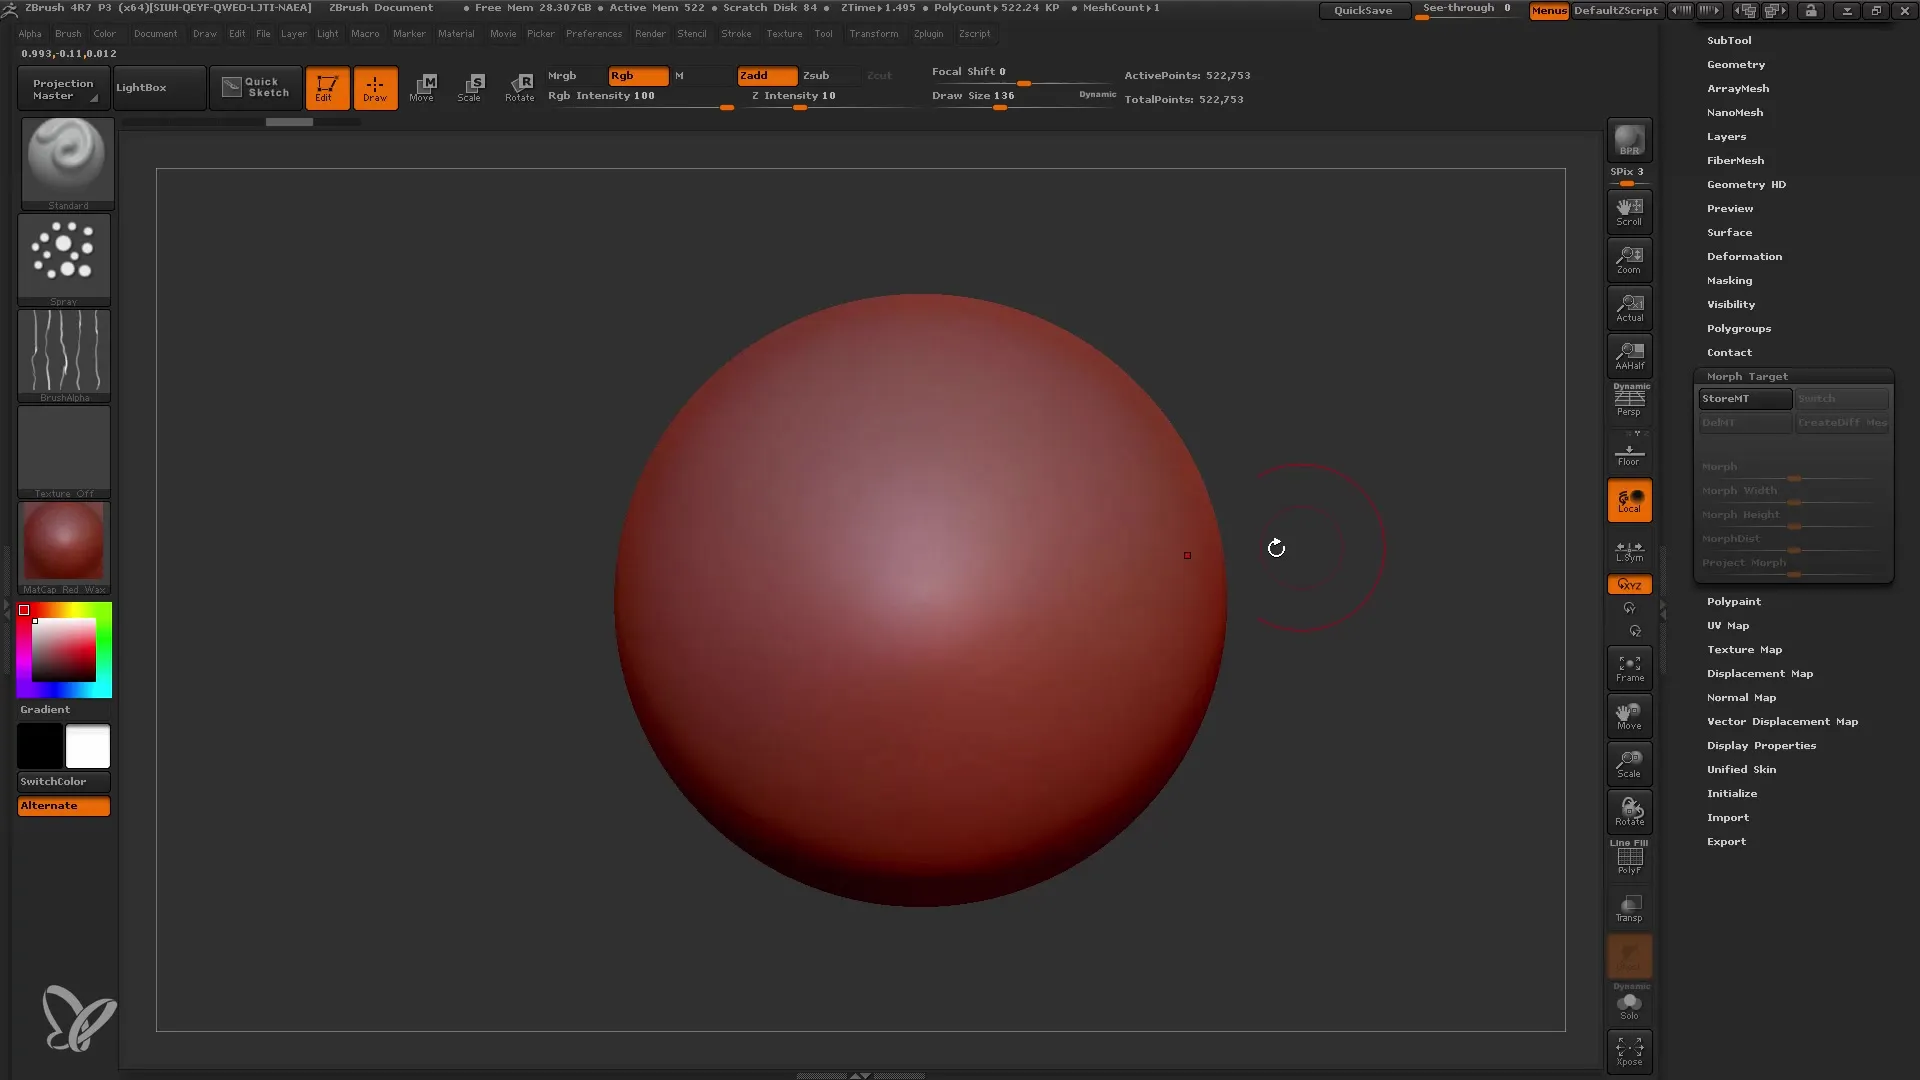
Now you can further modify your mesh using the Morph Target feature to influence specific areas without changing the entire structure. When working with the Morph Brush, you can intervene precisely where you want to make changes.
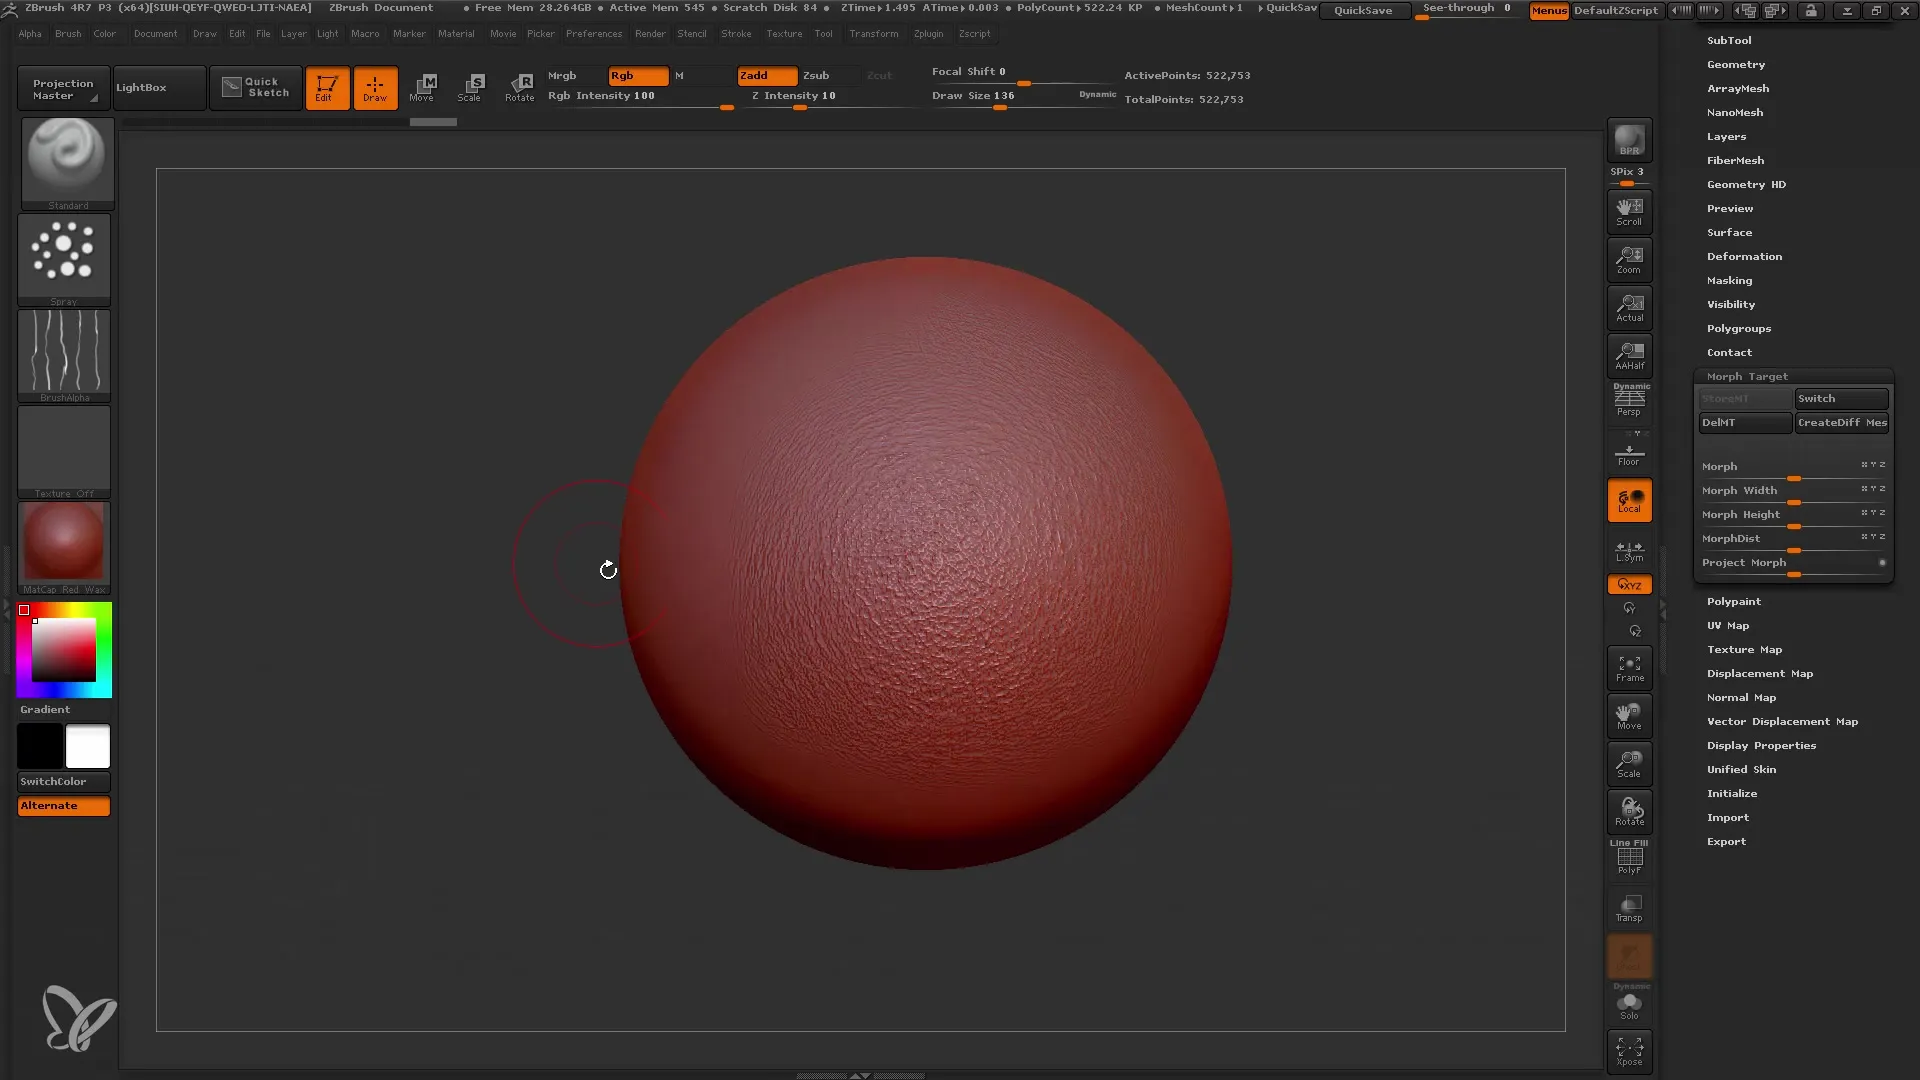
Combining Layers and Morph Targets
Combining layers and morph targets is crucial for maintaining full control over the details of your model. You can use layers to create different variations of details and then use morph targets to influence the geometry locally. An efficient workflow could involve working with layers first and then adding morph targets for final adjustments.
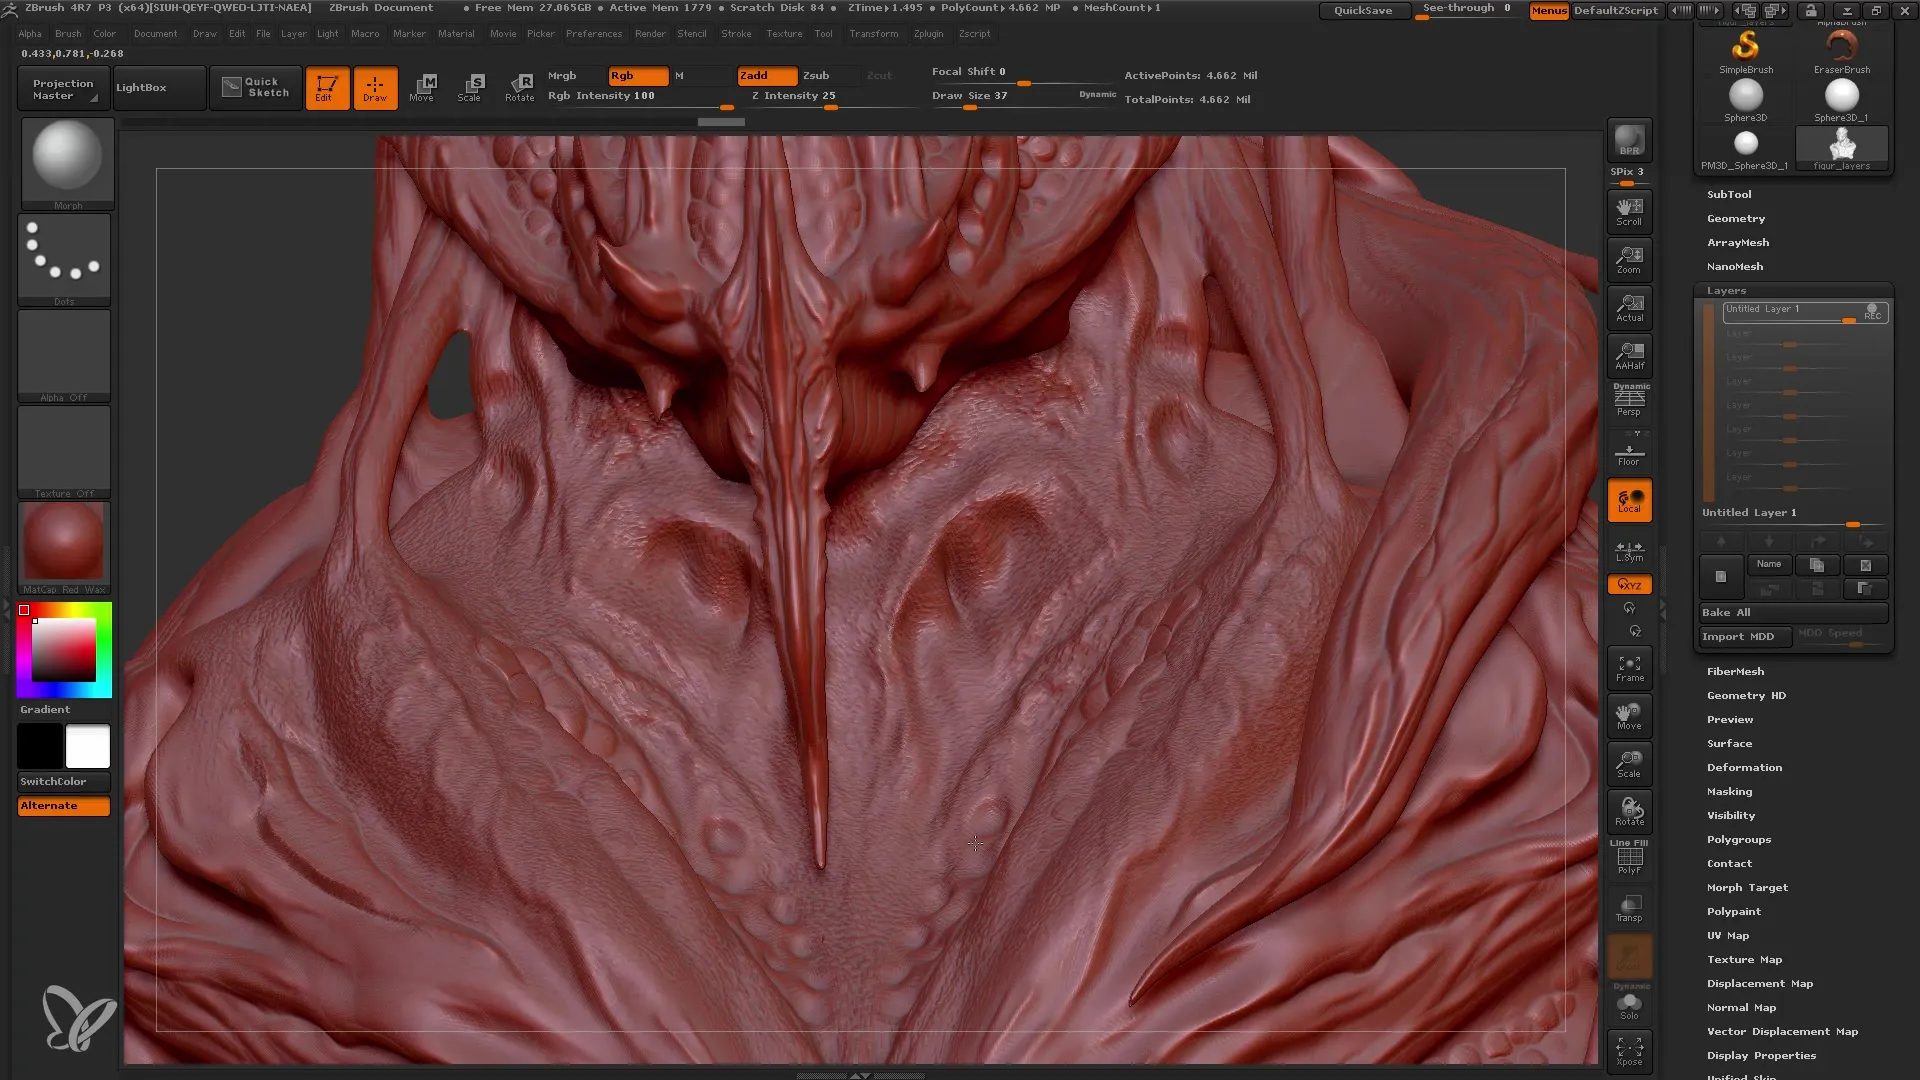
Final Adjustments and Baking Details
Once you are satisfied with your model and have added all details, the final step is to bake the details into your mesh. This is done through the "Bake All" function, which integrates all layers into the base geometry of your mesh, allowing you to work without the layers.
Summary
In this tutorial, you have learned how to use layers in ZBrush for non-destructive work and how to effectively utilize the morph target function to control the details of your models. These techniques are particularly important for the final modeling and design of complex geometries.
Frequently Asked Questions
What are Layers in ZBrush?Layers are separate layers on which you can make changes to your mesh without altering the base geometry.
How can I adjust the intensity of a layer?You can adjust the intensity of a layer using the slider below the layers.
What is the advantage of Morph Targets?With Morph Targets, you can save specific changes and selectively revert them without affecting the entire layer.
Can I delete or duplicate layers?Yes, you can both delete and duplicate layers to create different variations of your details.
How do I bake the details into my mesh?Use the "Bake All" function to integrate all layers into the base geometry of your mesh.
