Surely you light a scene with the physical sky from time to time - that's what you do, because it contains everything you need for an outdoor scene. You can possibly add other light sources, but there are two things to bear in mind when lighting with it. I'd like to show you these, so let's first get a physical sky, either here via Physical Sky, from the scene objects...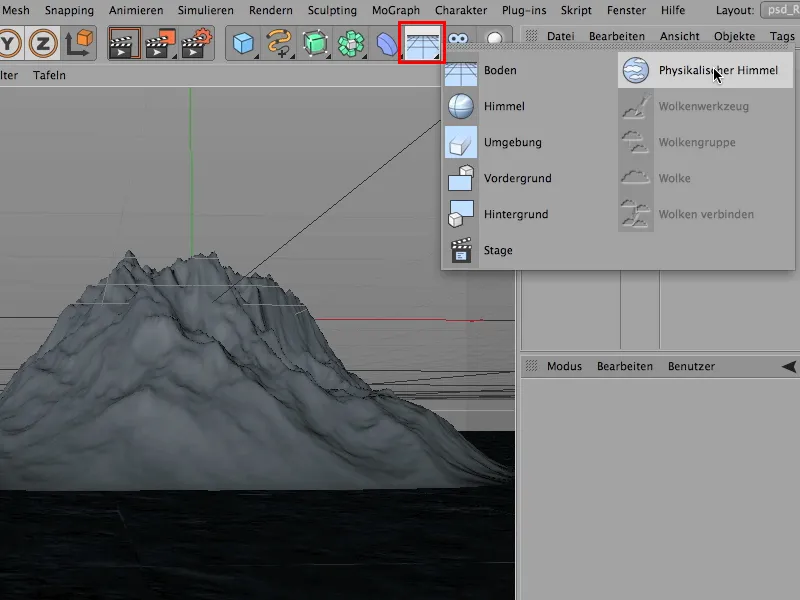
... or, if you prefer to do it the hard way, take it here from Create>Physical Sky and Physical Sky again.
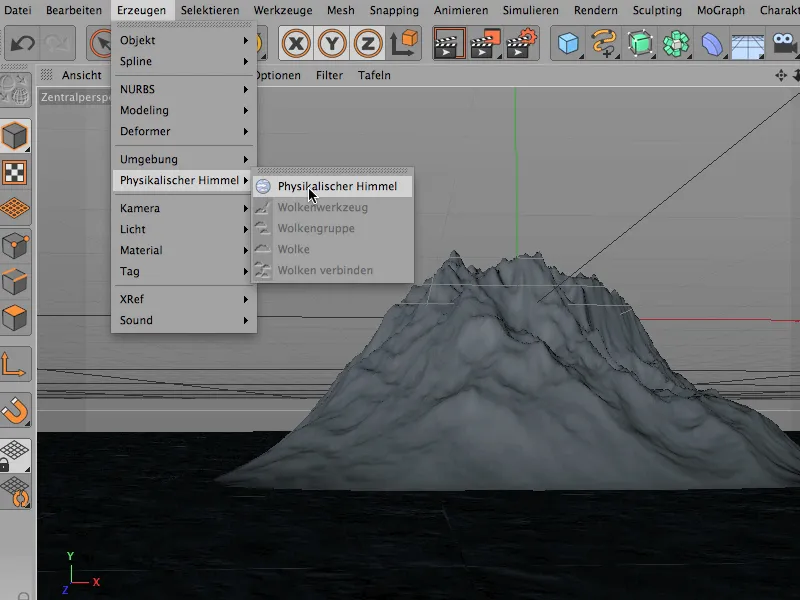
Click on the thing - and there it is. So, nice, right? With the blue firmament that immediately distinguishes it from the normal sky object. Under no circumstances should you confuse the two here, the sky (1) and the physical sky.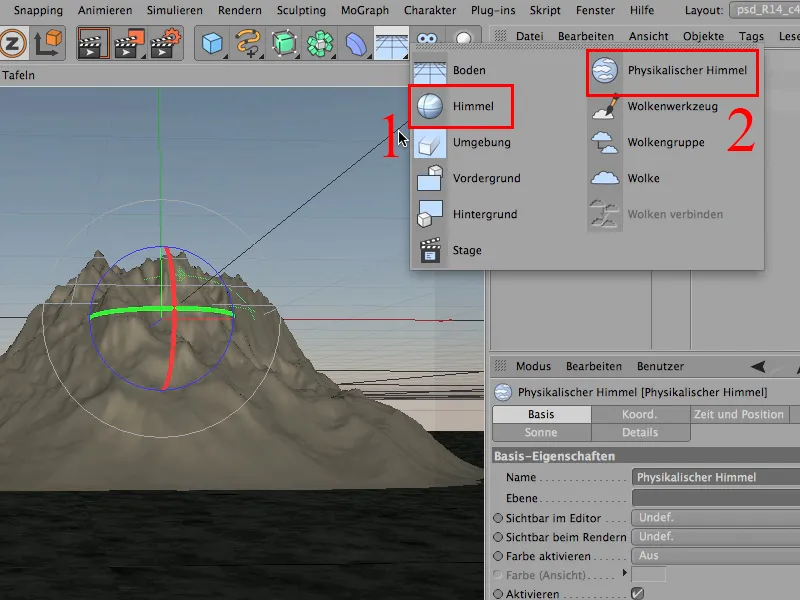
The physical sky is the one at the top right (2), and it usually appears in such a stupid way that the sun is looking directly at the camera, i.e. from behind the camera.
If we render this, the whole thing looks like this ...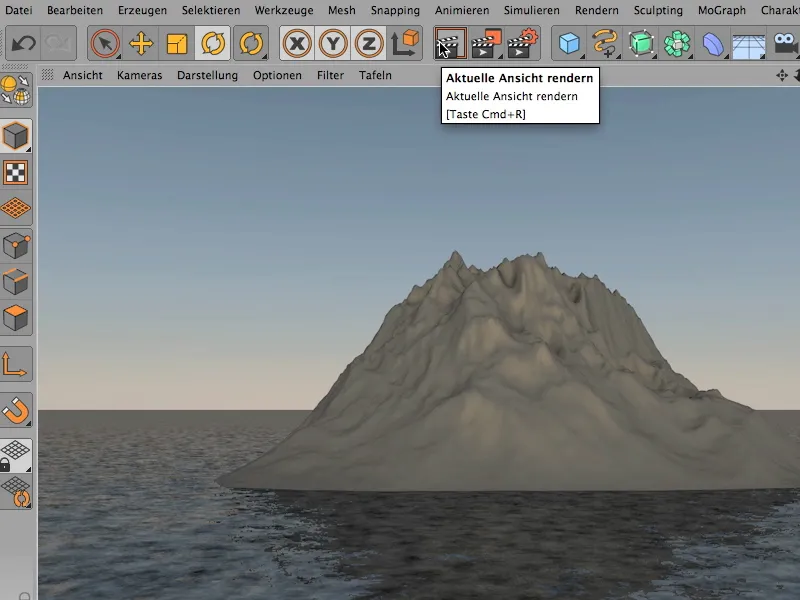
... and that's a lot of nonsense, at least in terms of lighting, because it's far too boring for most scenes.
So, now comes the first tip: If you want to change the sky, you can of course double-click on the physical sky. You can now go to Time and Position and select a different time of day, which has the most influence on the position of the sun. Of course, you can also select a month other than December, when the sun is at its flattest, so that the sun comes from higher up.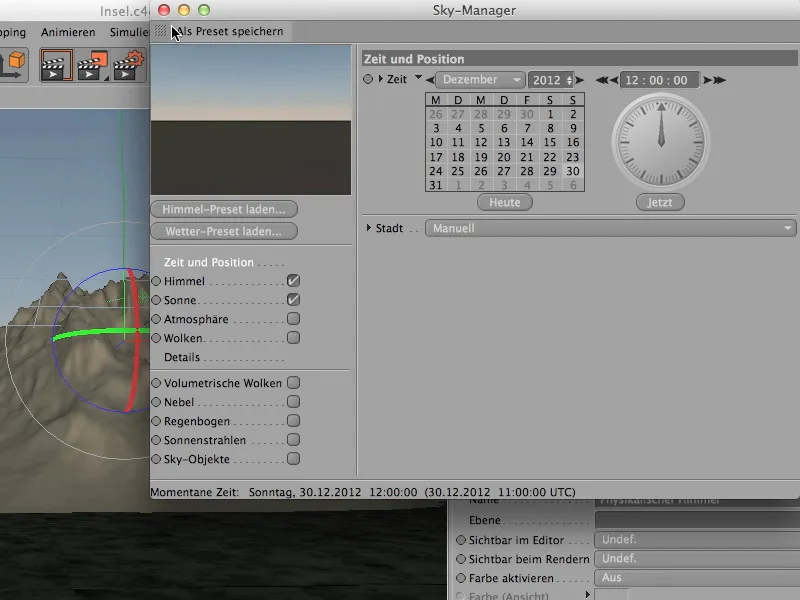
But in principle you don't need to do that, because you can just as easily rotate the sky.
It's an object that's here in the Object Manager, so I simply rotate the sky with the Rotate tool. Please only rotate around the Y-axis if possible, i.e. click on it (arrows) with the mouse and fiddle around until this green band turns white, then you can rotate the thing, and then of course you can see live what's happening.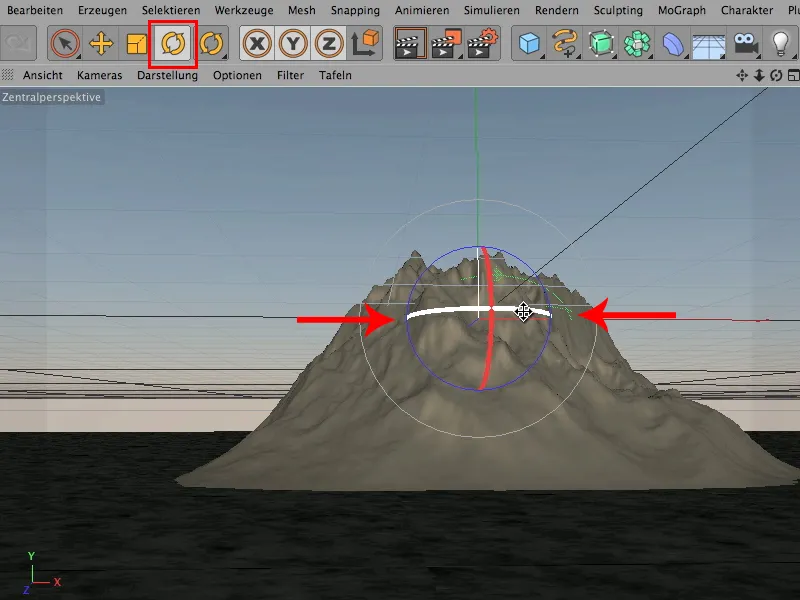
Don't be shocked by the very dark sides. It's an unrendered view. But if I take our sky now and let the sun shine from that direction, you'll see two things:
- It is much easier to rotate the sky, provided that the position of the sun, i.e. the height of the sun, is reasonably correct, than to do it the usual way, the time and position way.
And 2: You can see that the shot has suddenly become much more atmospheric.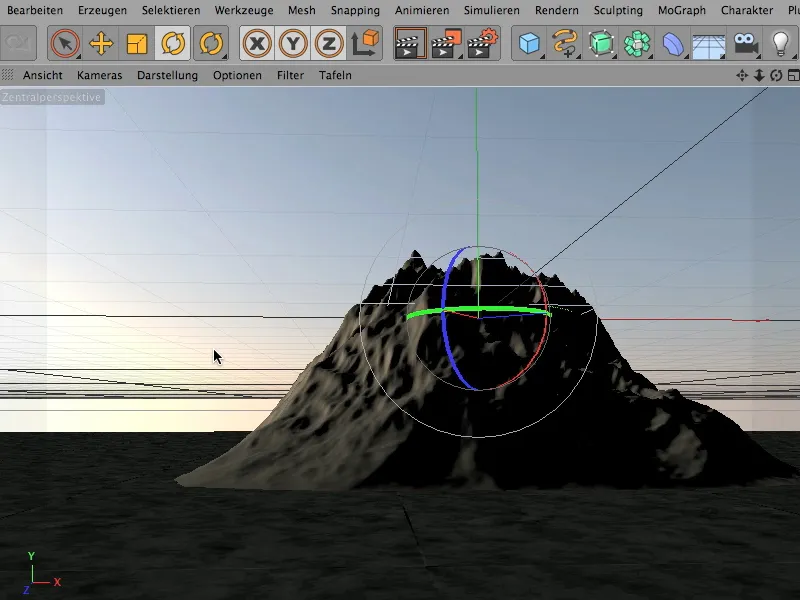
Let's render it through - then it looks like this, ...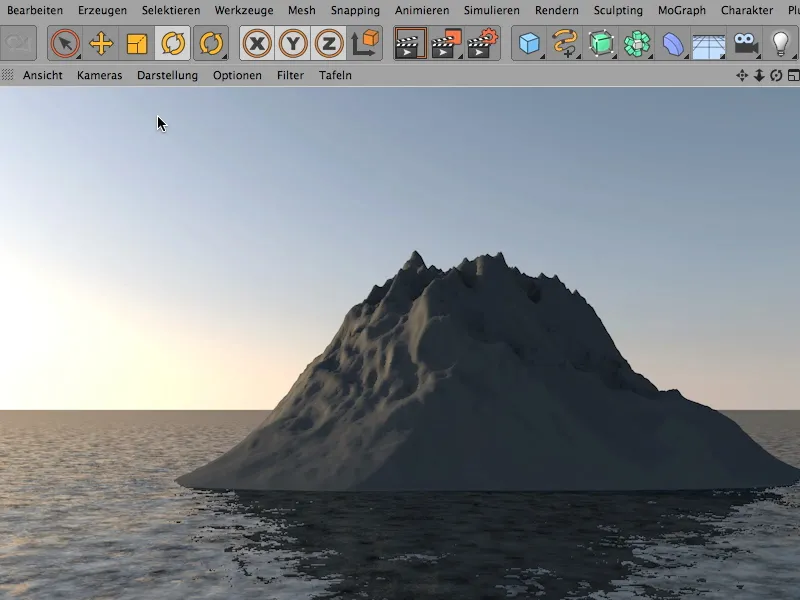
... and you can now clearly see that the rock gets a lot more light from the left side and almost none from the right side. This of course massively increases the atmospheric potential of this shot, because backlighting is almost always perceived as much more atmospheric than light coming directly from behind the camera.
Let's continue. I'll click on it again and I'll turn it a bit more ... turn it until I get this: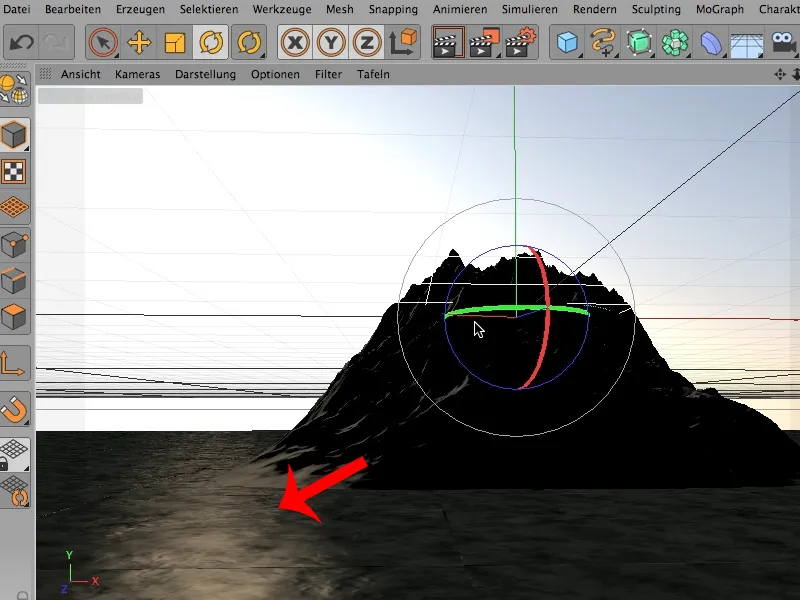
This is a lighting effect, and I would very much hate to give it away - so whenever I have reflections on the floor or shiny objects, I make sure that a light source is set in such a way that these reflections also come into play. This can also be done quite simply by rotating ... you could also display it on the other side ... probably not in the front, because the island itself is in the way, it can only be done unrendered, but if we place the sun like this, it should look relatively atmospheric.
Let's render again and take another look.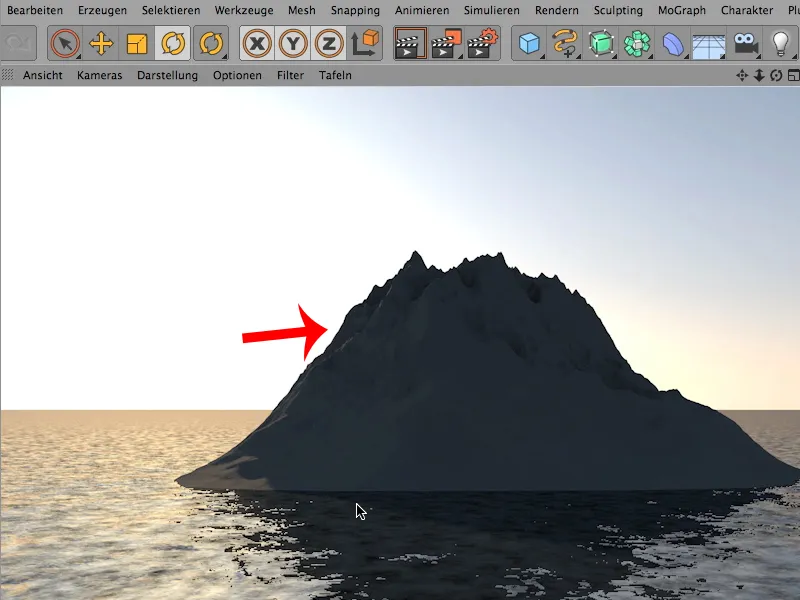
Now we have relatively little light on the rock itself. Of course, you could change that again by moving the sky a little further back, or by adding another light source here (arrow). On the whole, however, this creates a much more atmospheric effect than if the light comes directly from behind. And - remember: Simply rotate the sky using the rotate tool.
