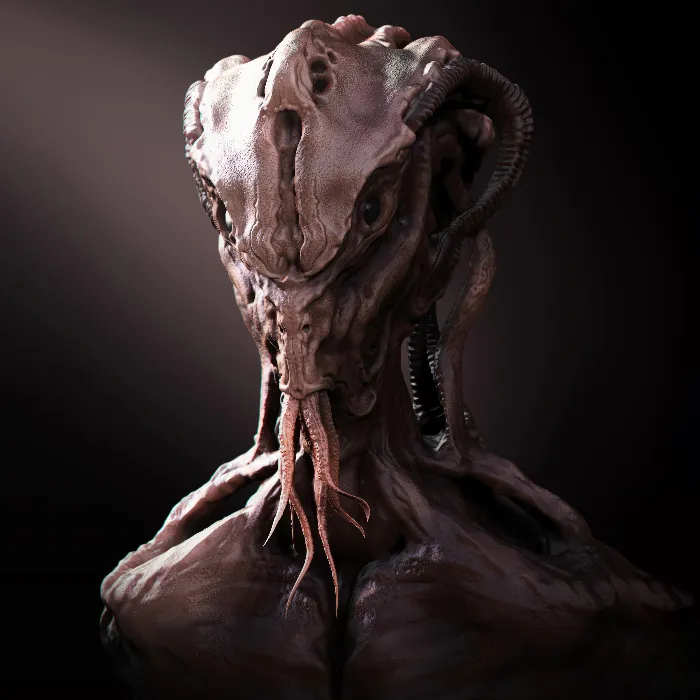
In this tutorial, you will learn how to create harmonious and dynamic poses for your 3D models using Transpose Master in ZBrush. Symmetric objects can often appear boring, so it is important to give more expression to your character or object. Transpose Master allows you to transform multiple subtools at the same time, saving you a lot of time and giving you the ability to effectively edit the overall look of your model.
Key Takeaways
- The Transpose Master is a useful tool in ZBrush to control multiple subtools simultaneously.
- Using masking techniques is crucial for precise adjustments.
- Corrections after transformation are necessary to achieve realistic results.
Step-by-Step Guide
To use Transpose Master and transform your 3D models, follow these steps:
First, open your ZBrush environment. Prepare your character, in this case the superhero, and make sure you have it in Edit mode.
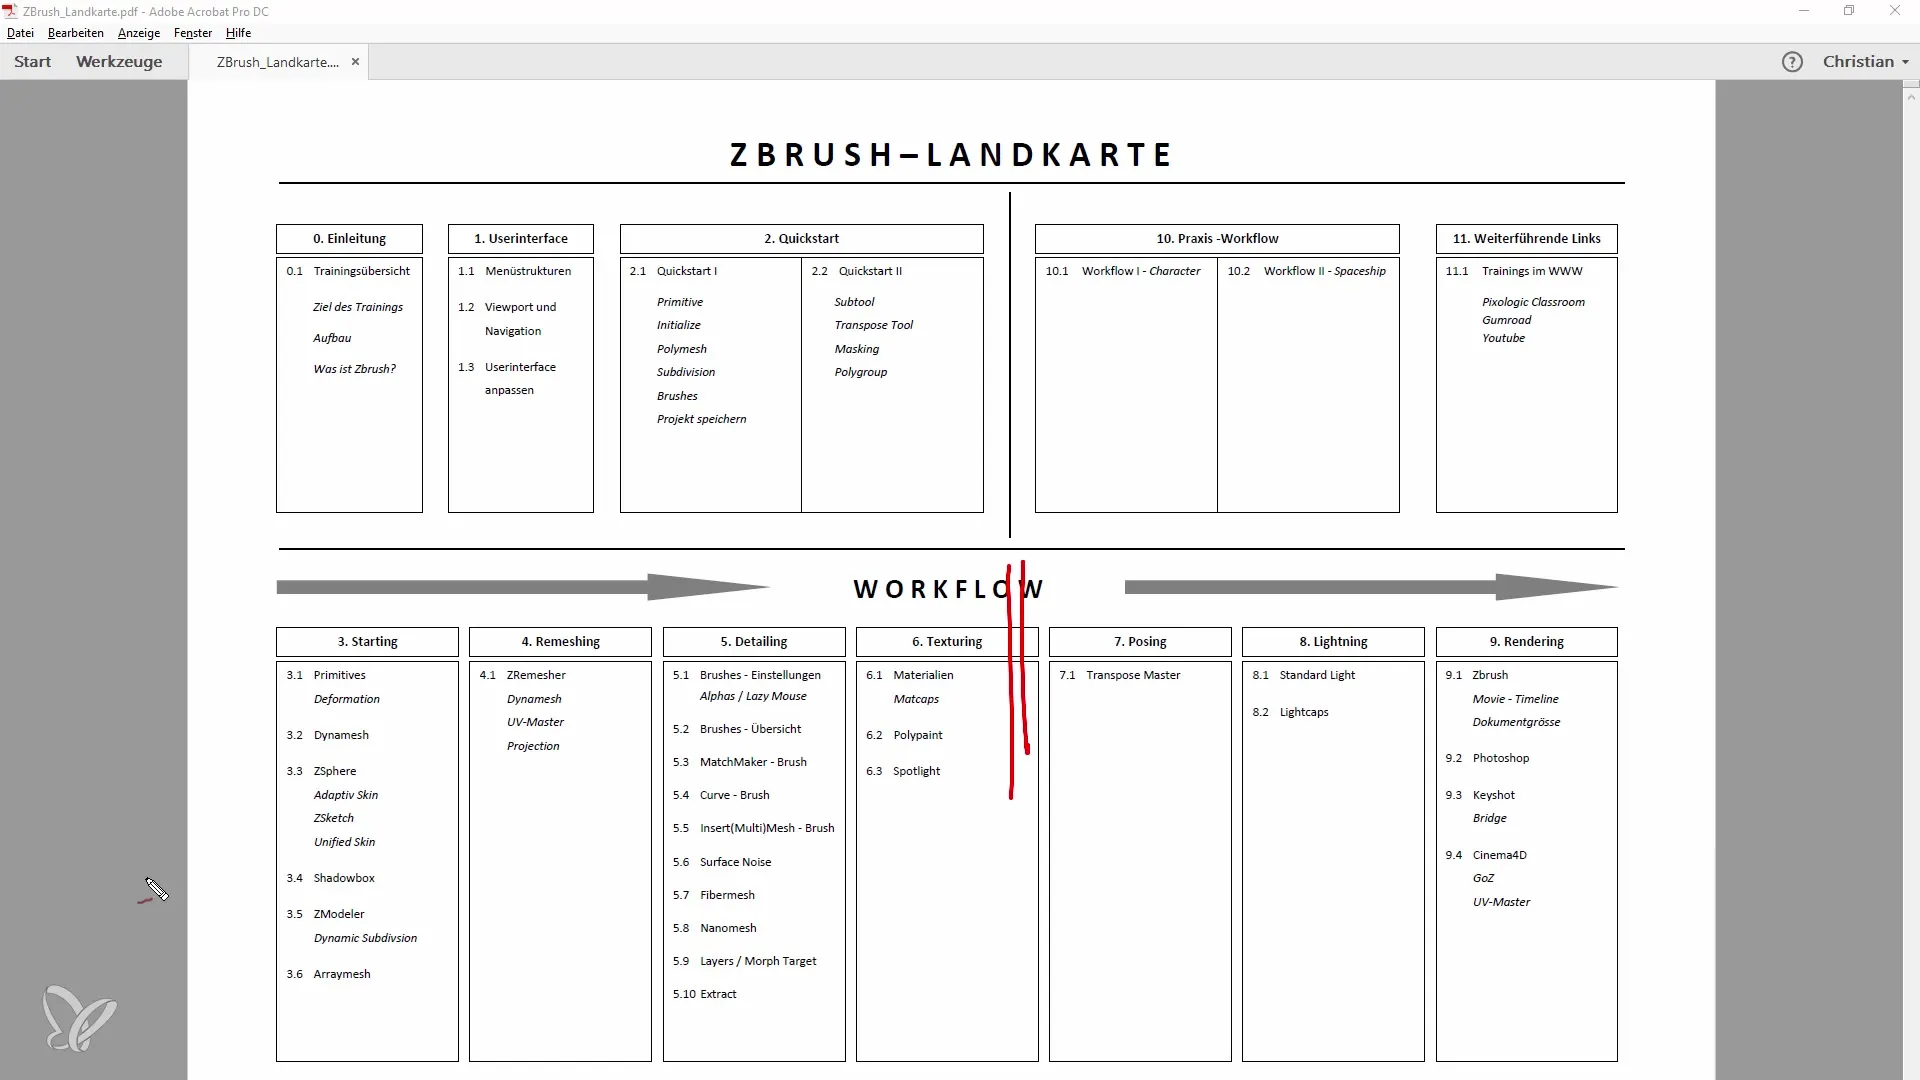
Now it's time to make basic adjustments. Focus on giving more expression to a single subtool, for example, the body. You can start by selecting the Transpose tool and performing a mask to only transform the areas you want to adjust.
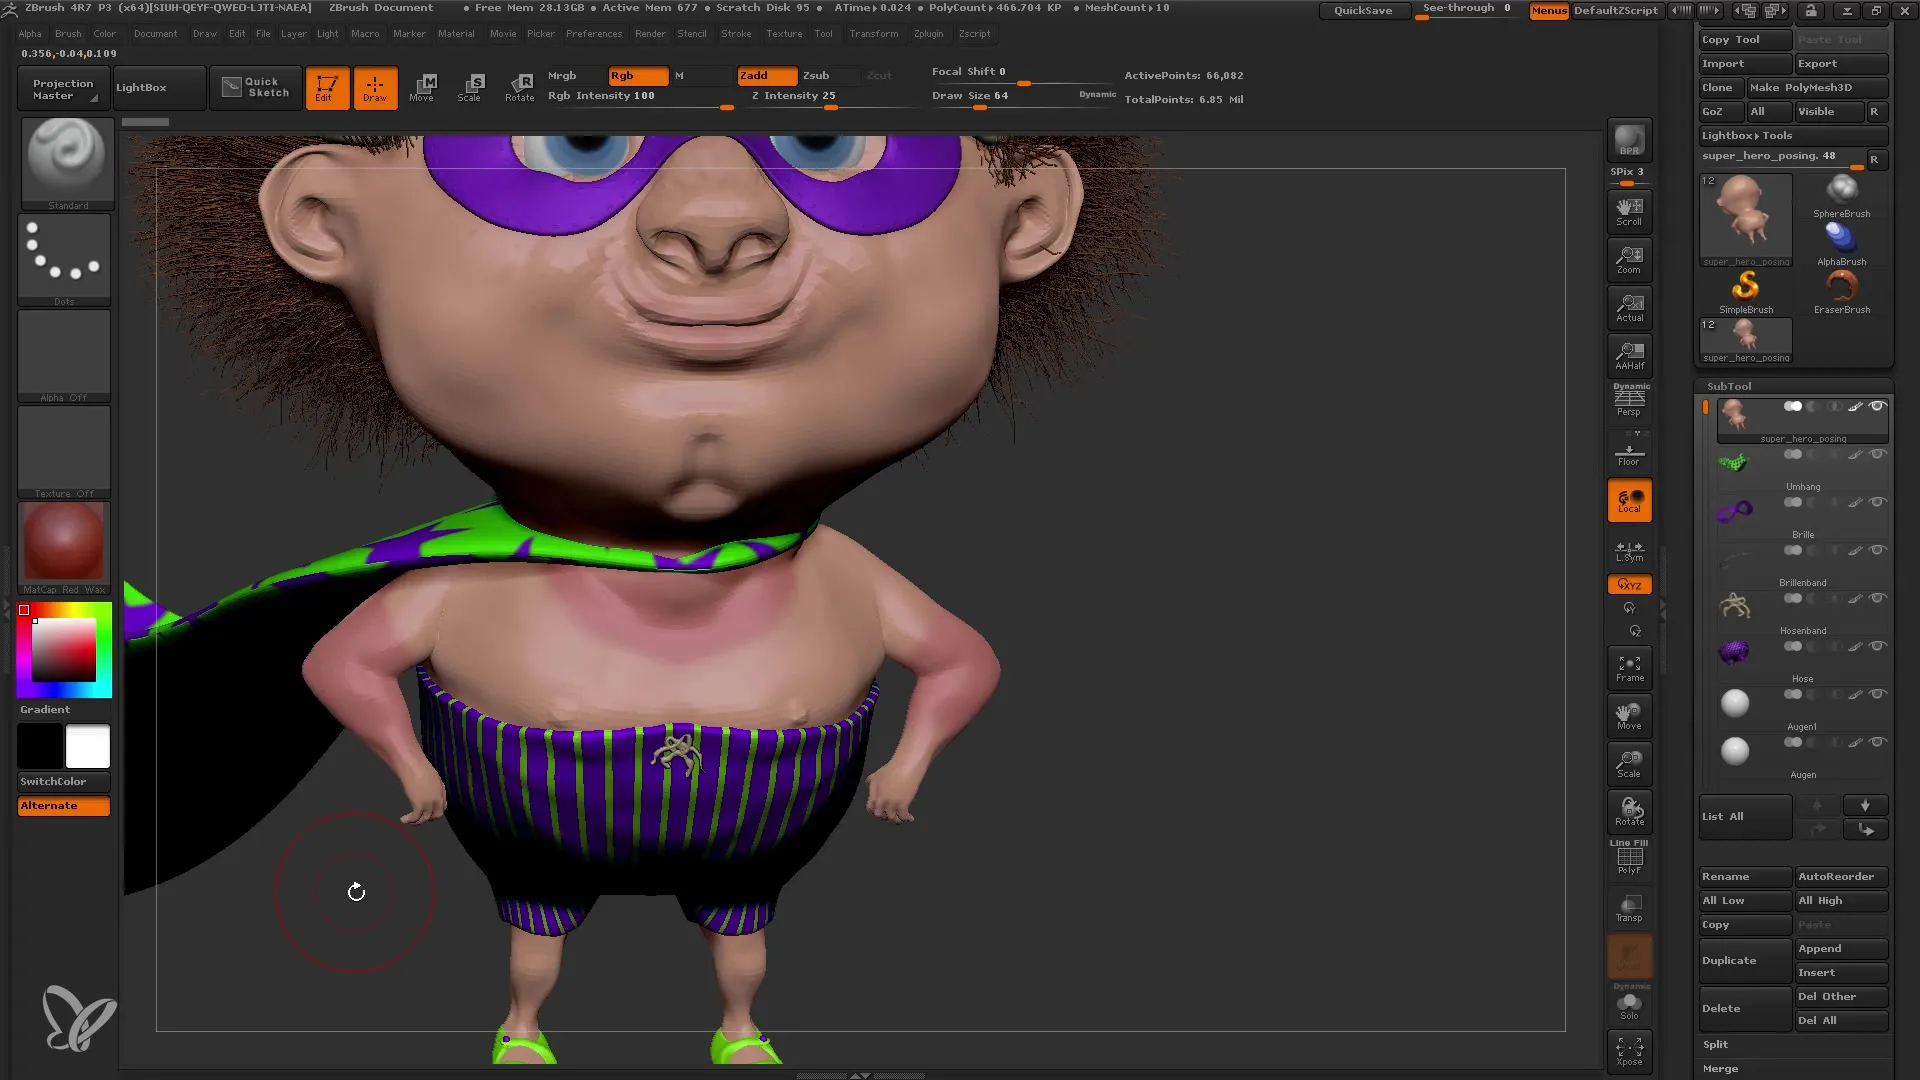
To mask, press the Control key and select Masking mode. A Mask Lasso is particularly helpful here for making precise selections. Be careful to work diligently so you don't overlook important parts of the model.
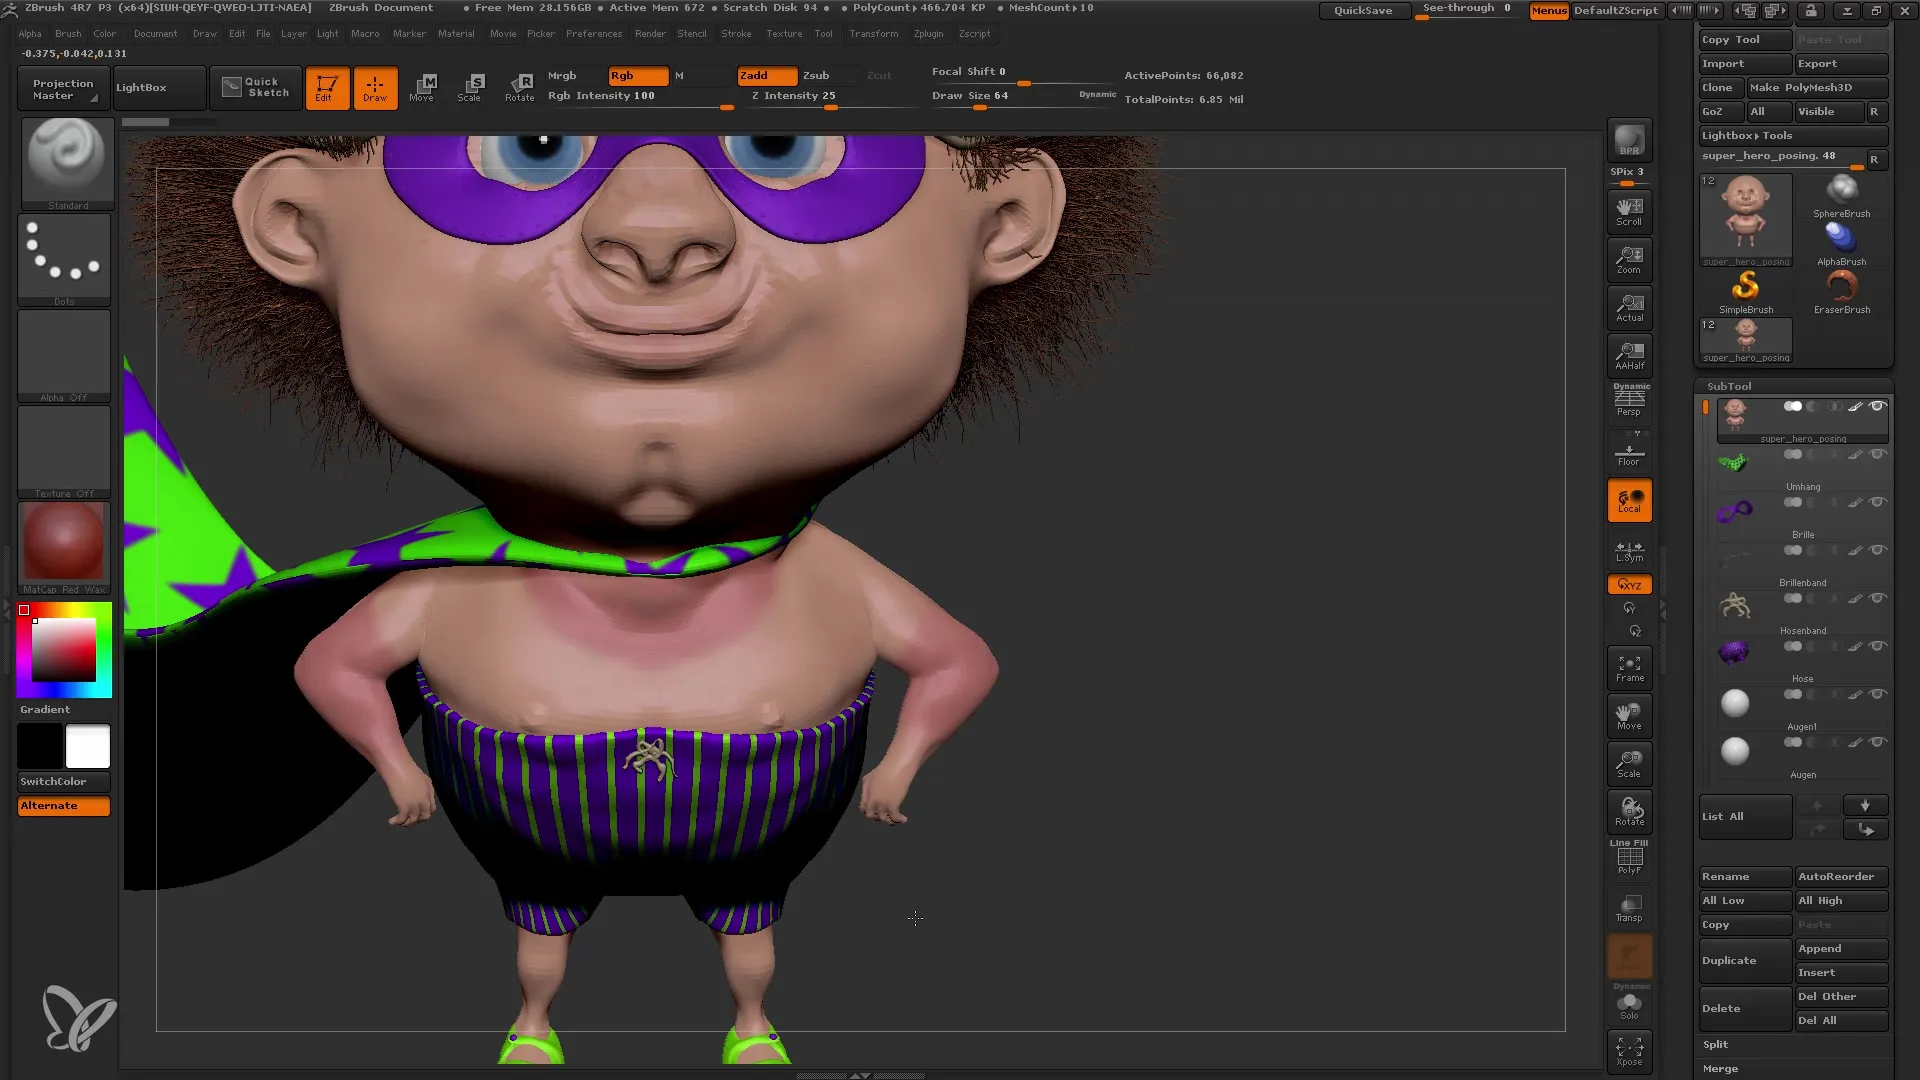
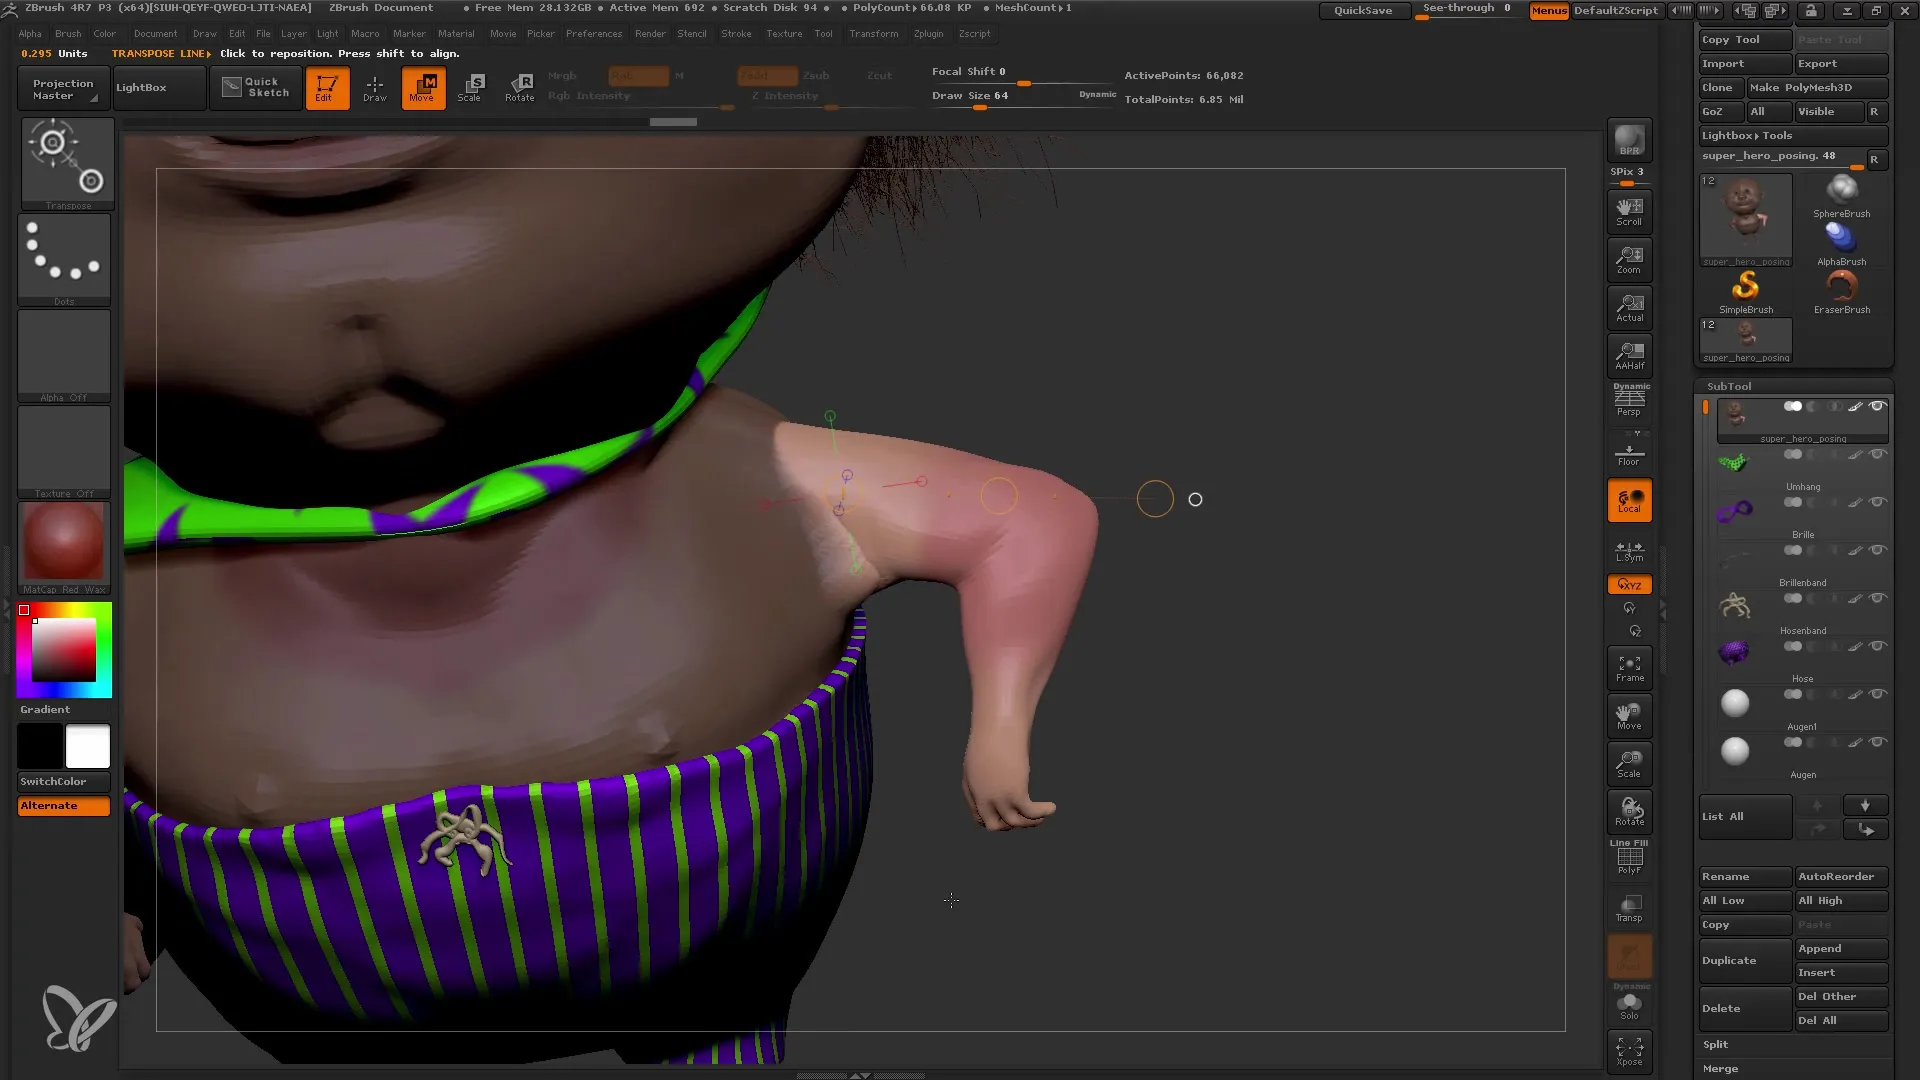
Once you have masked the desired areas, you can invert the mask by pressing the Control key again and clicking once. Now, the masked area is ready for transformations. Select the Rotate Transpose Tool and determine the center to start the transformation.
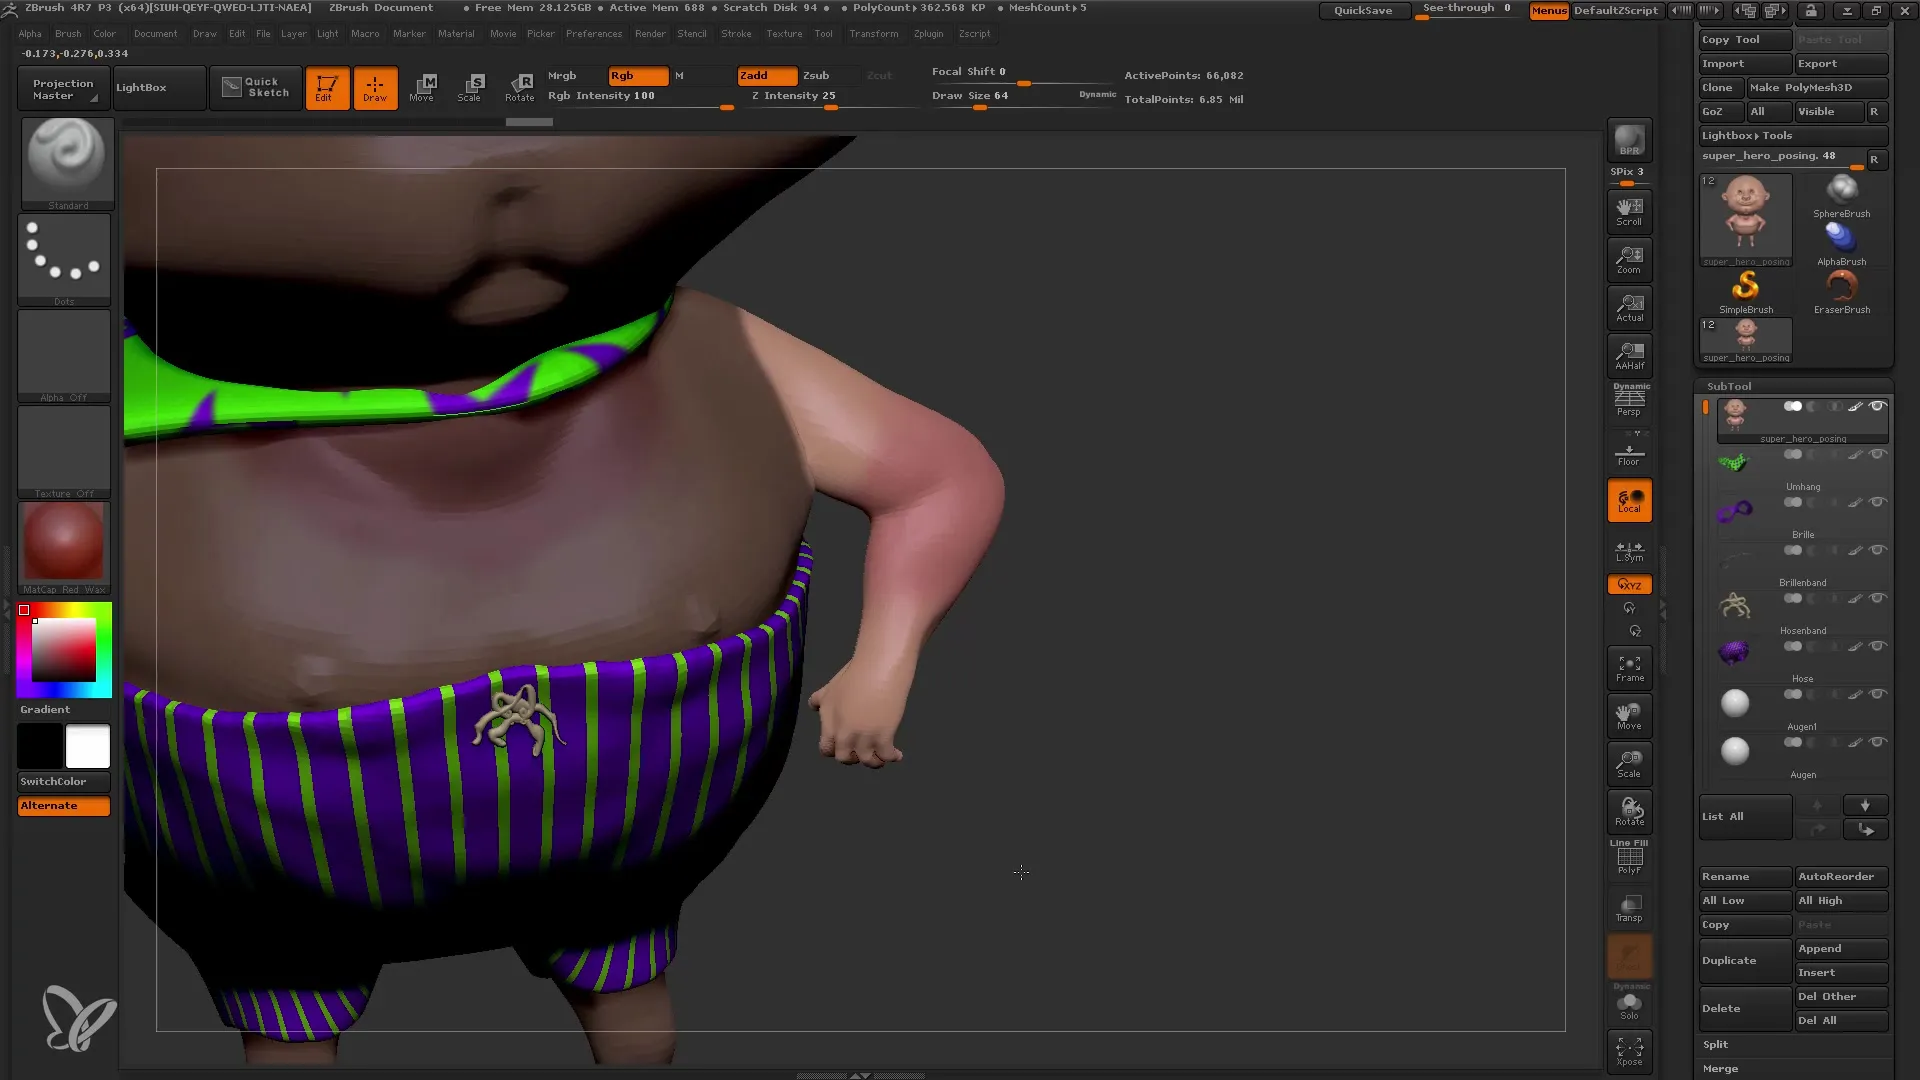
Now pull the model's arm upwards. This adjustment maintains the detailed shape while creating dynamics. You may see some unsightly edges after rotation. Here, you can use the Move Tool to make corrections.
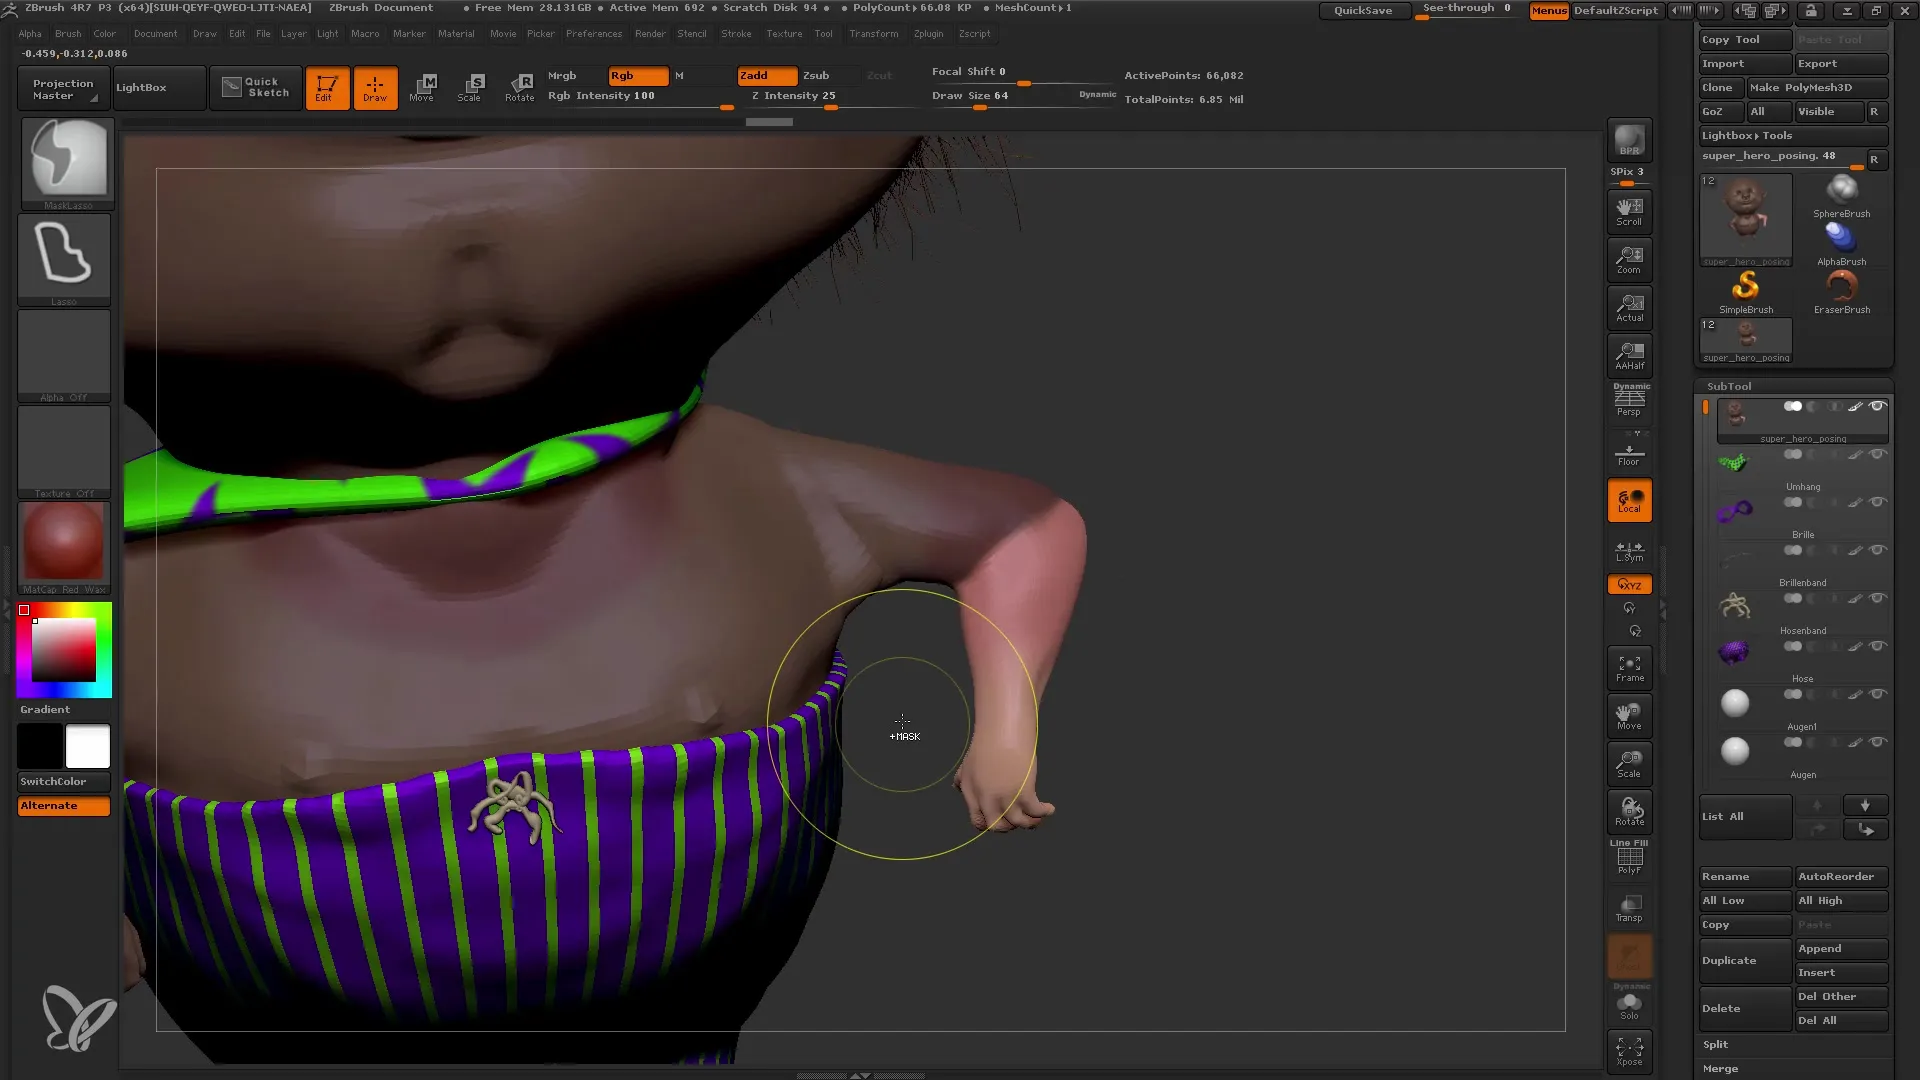
Once you have made all the adjustments to the arm, return to Draw Mode to edit the forearm. Repeat the steps by using the Transpose Tool and ensuring that you mask the area around the elbow.
When you are satisfied with the forearm, apply the same steps to the legs. Note that multiple subtools are involved here. Transpose Master comes into play to save you the tedious task of transforming each subtool individually.
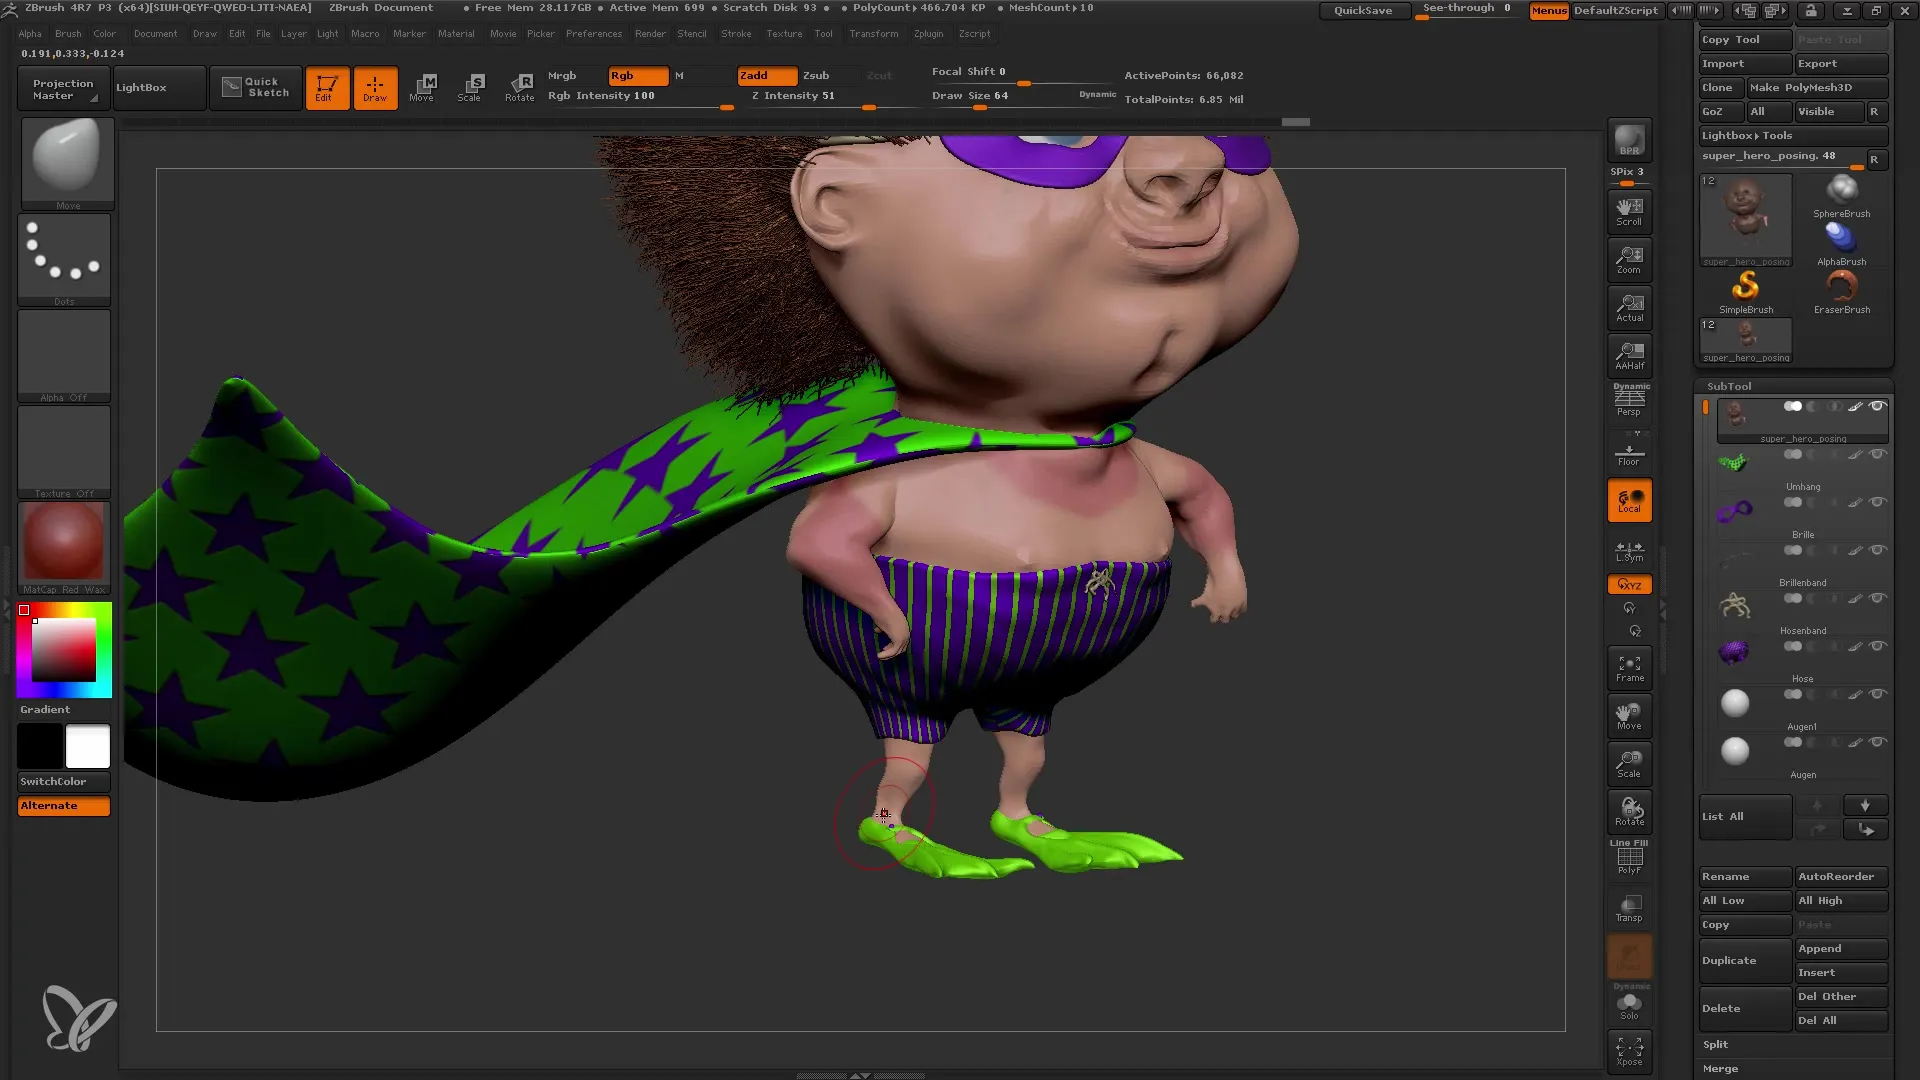
Go to the Plugins menu and select Transpose Master. This will combine your model into a single mesh, making editing easier for you.
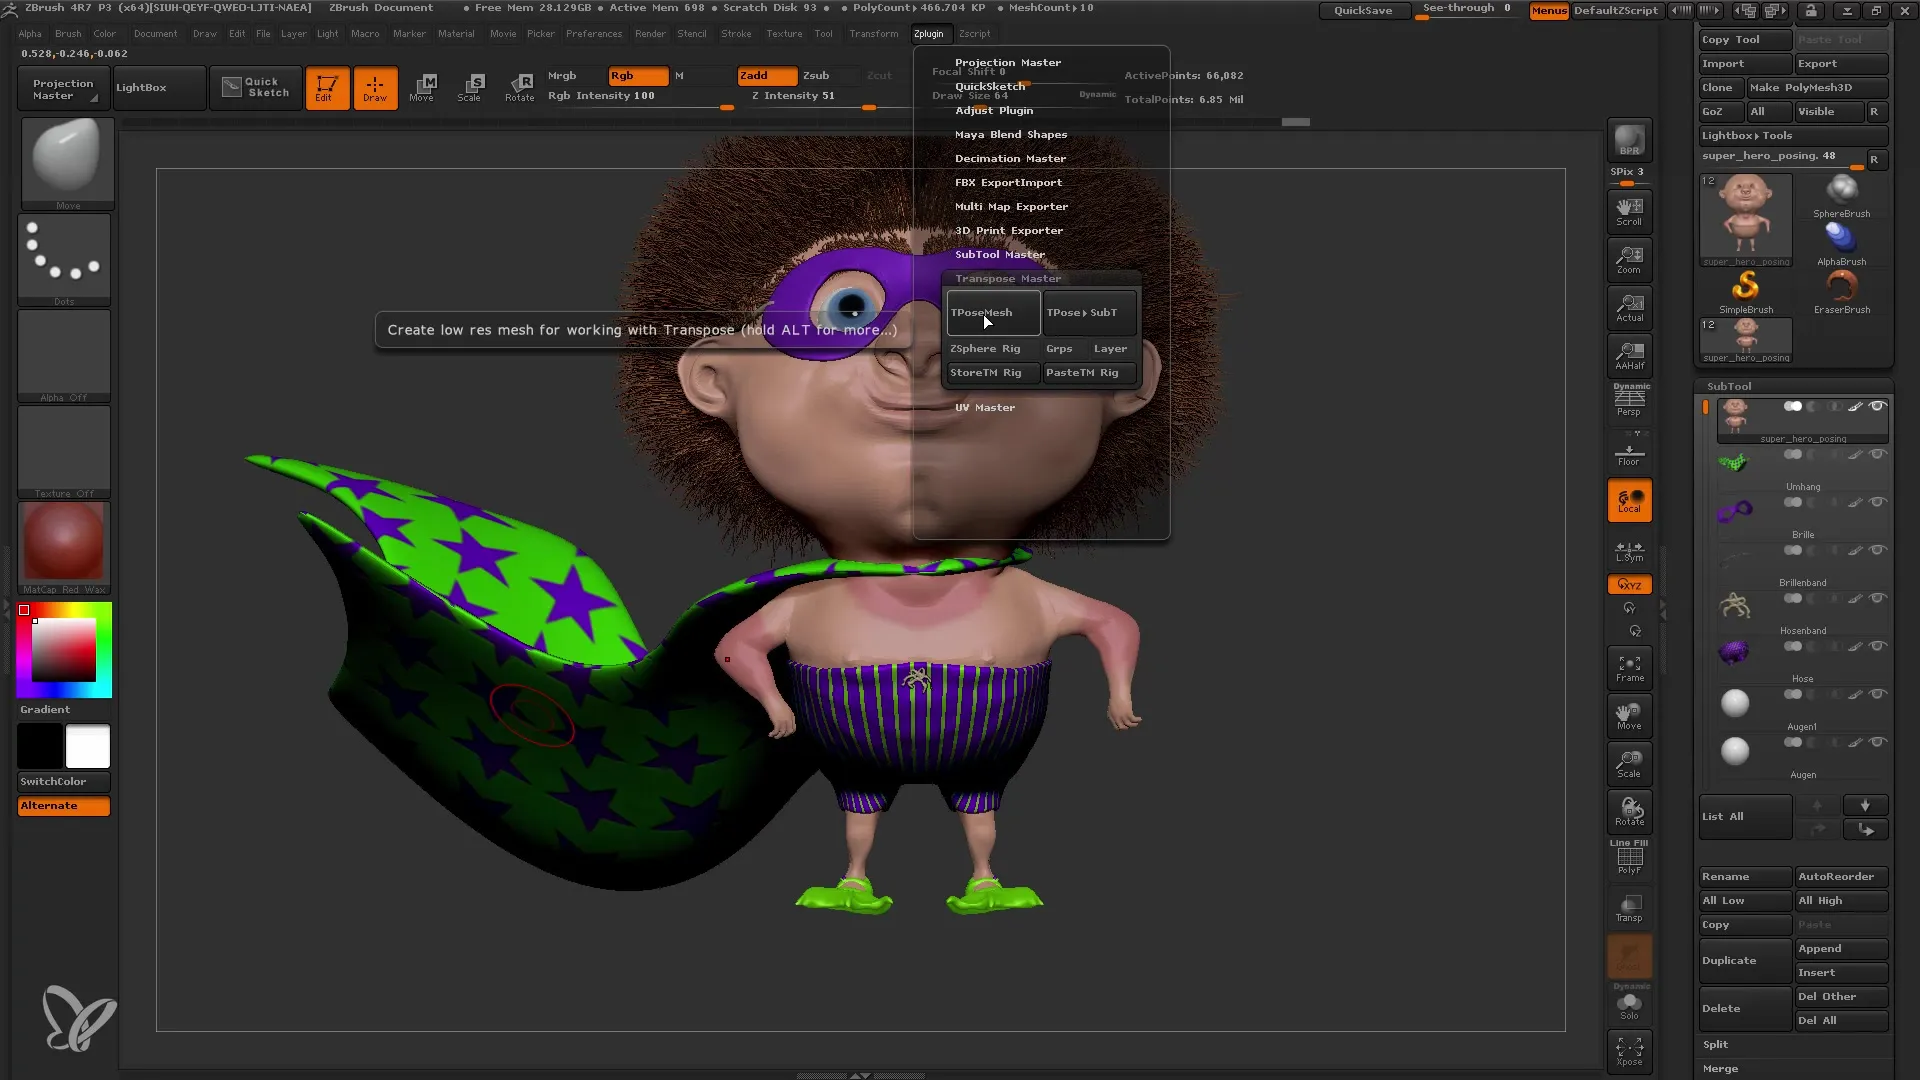
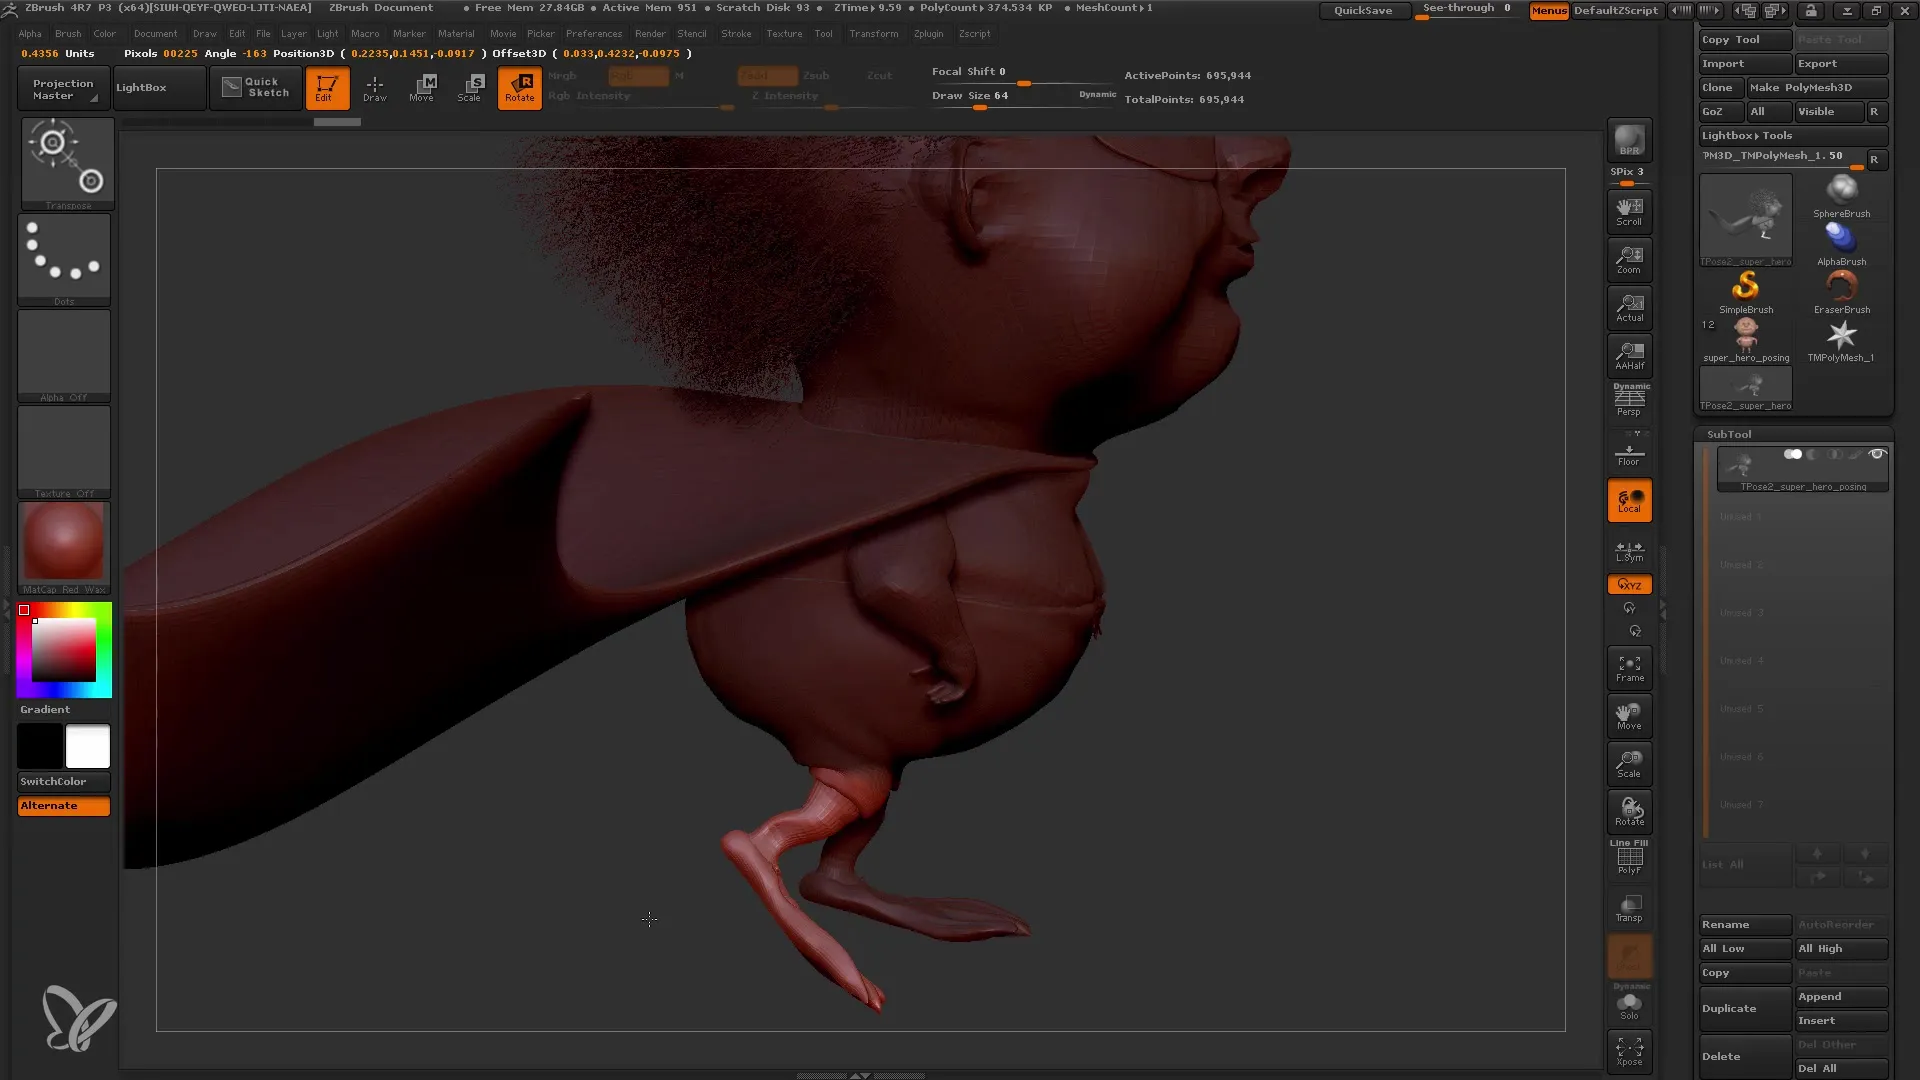
Now you can start making adjustments by rotating the entire leg backward. Make sure to mask everything correctly to ensure a clean transformation.
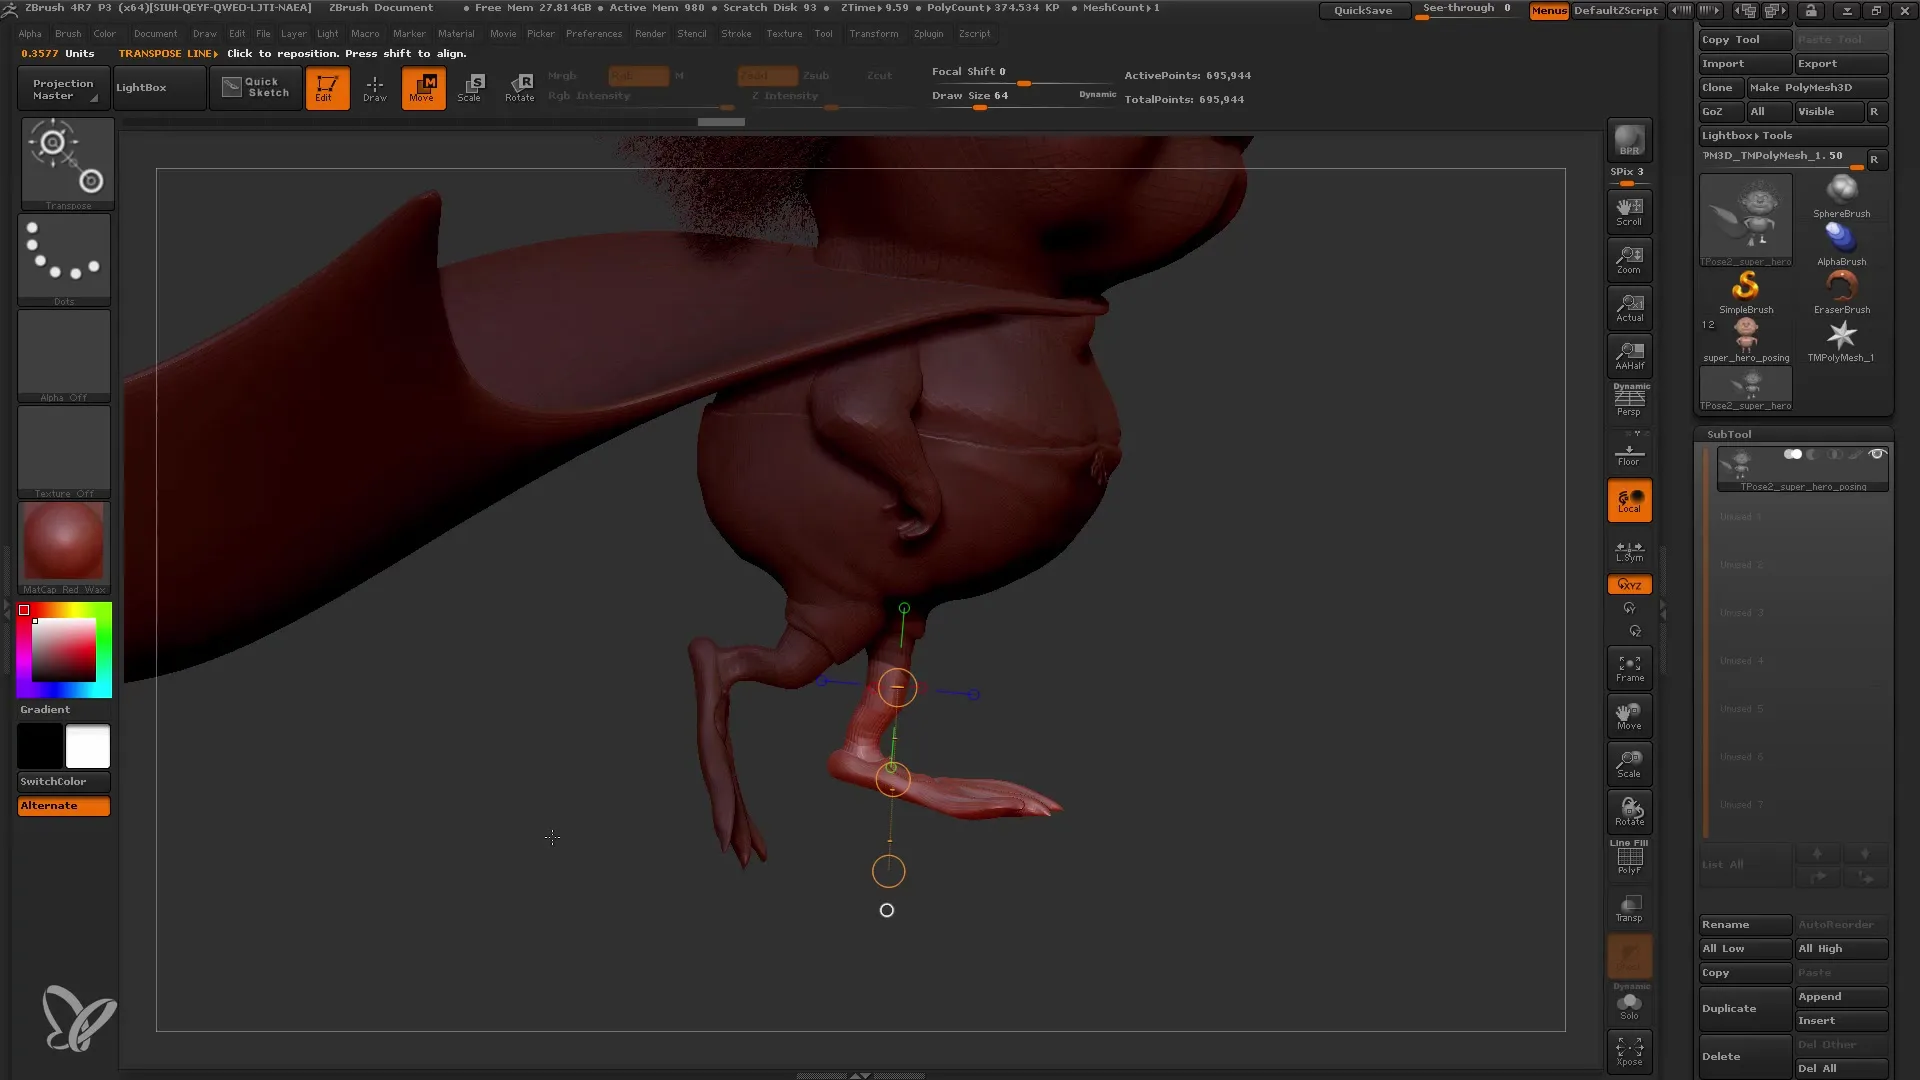
It's time to also edit the fin. Mask this area to bend it backward. This will make the model's pose look more realistic.
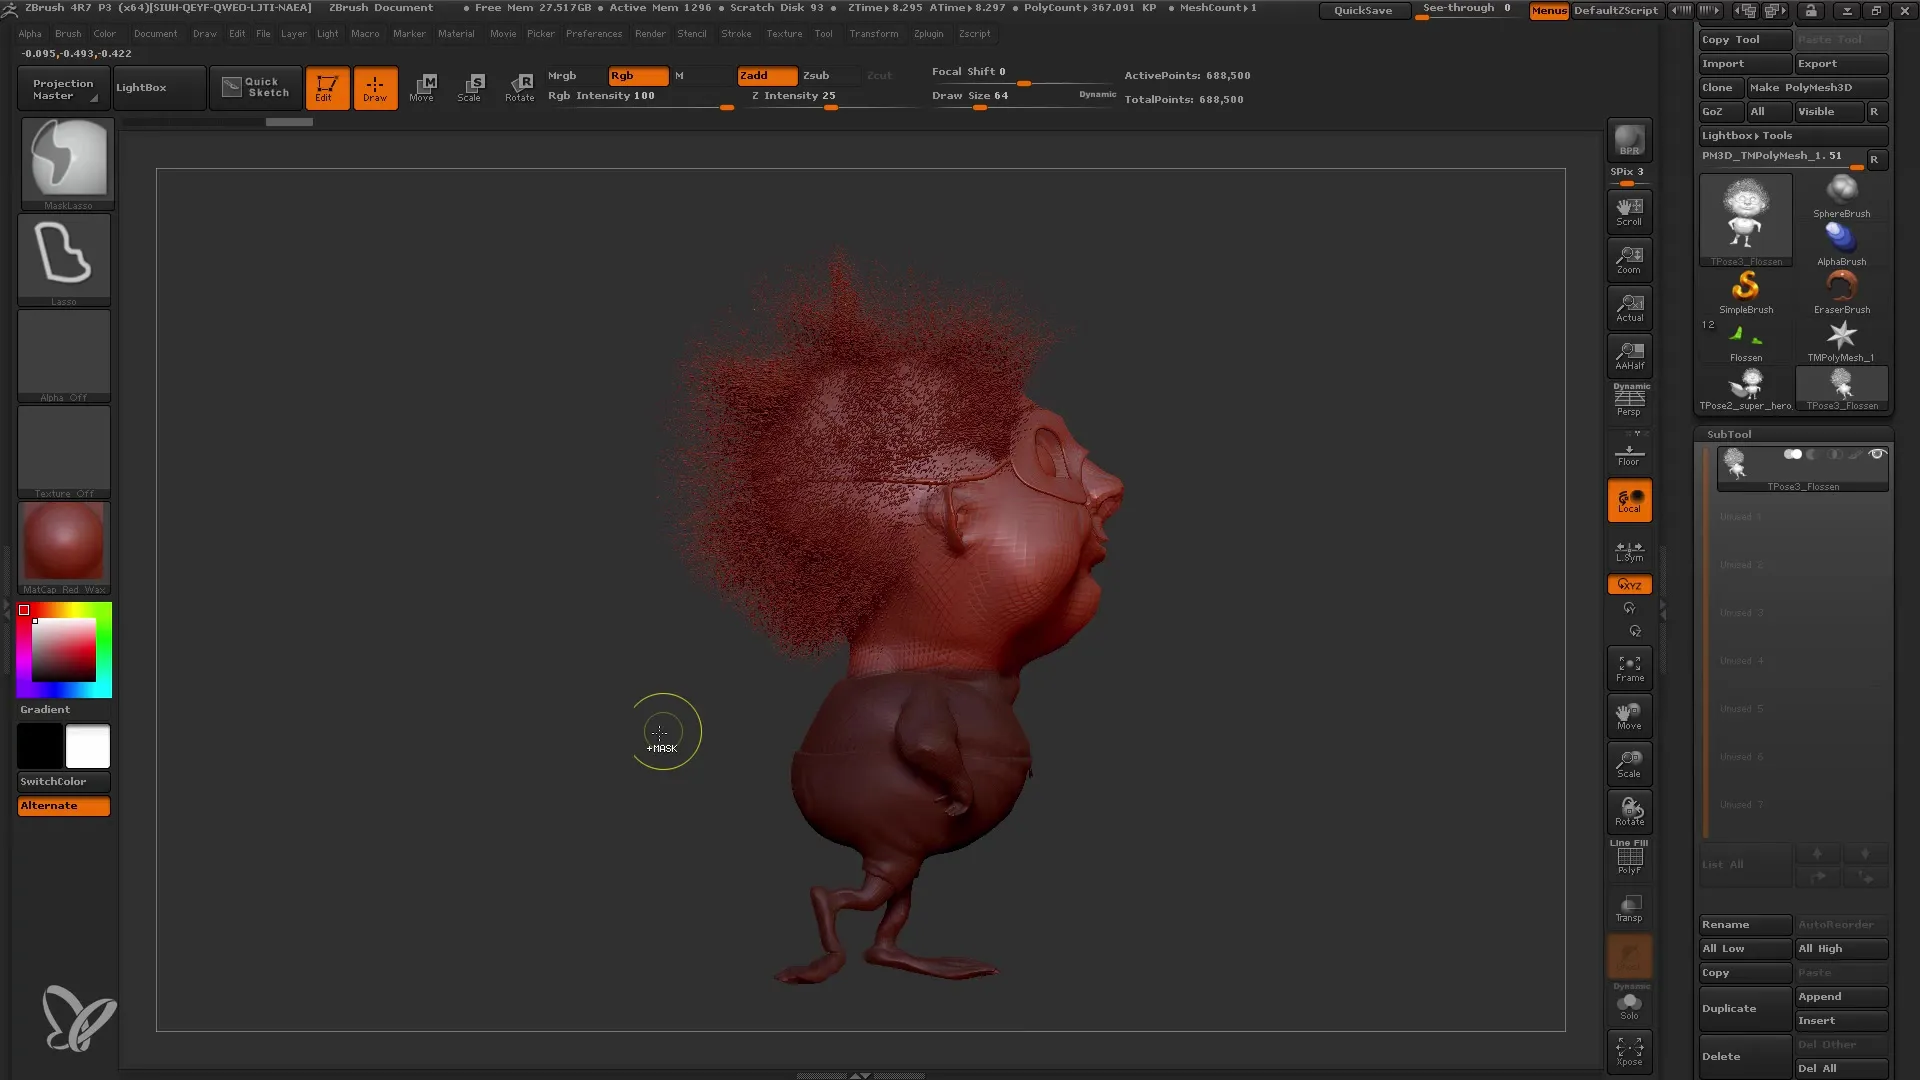
For further adjustments to the head, return to masking mode. Here you can ensure that no undesired areas such as the Fibermesh are affected. Tilt the head forward and turn it to the side to intensify the character's expression.
Once you are satisfied with the pose, go back to the plugin and select "Transpose Subtool" so that the changes are applied to all subtools. Let ZBrush perform the calculations.
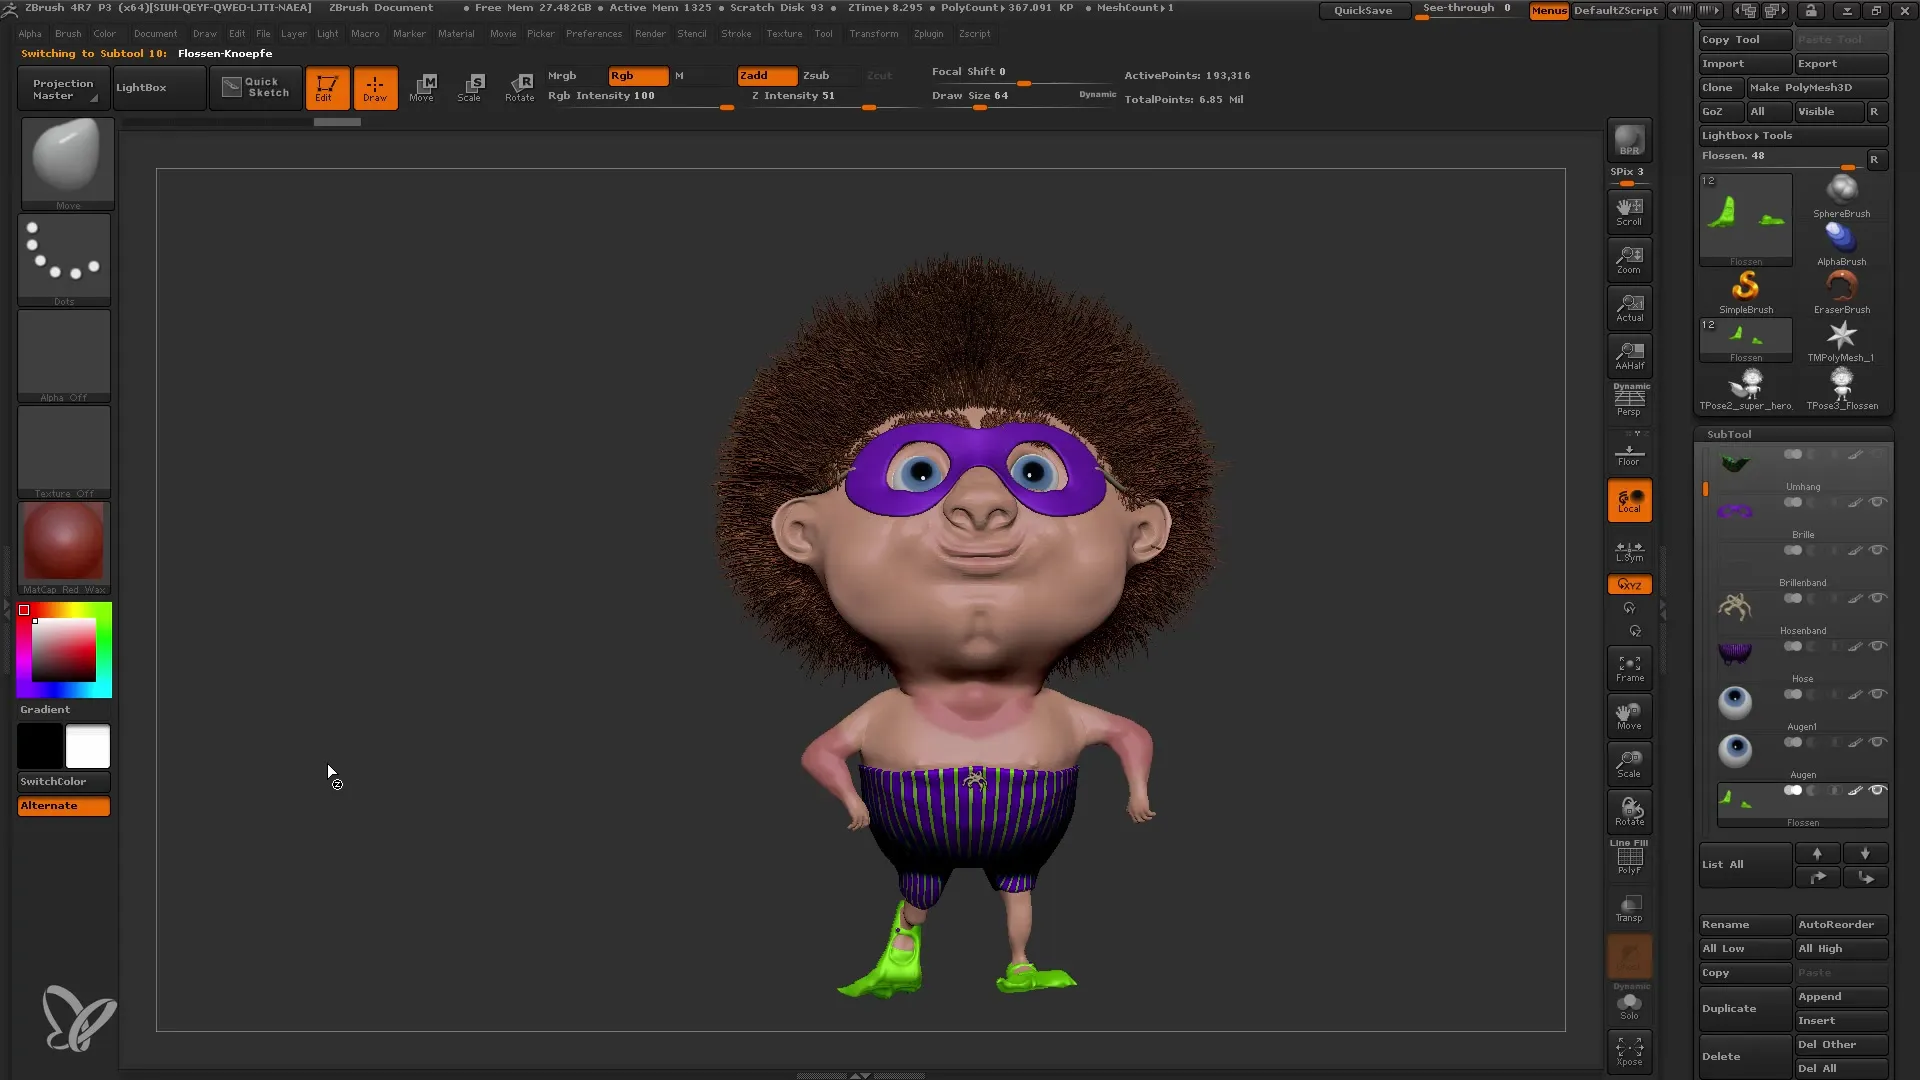
Soon the result should be visible, and you will see how much more dynamic and lively your model appears. If you still want to make small adjustments at this point, use the Move and Smooth Tools for that purpose.
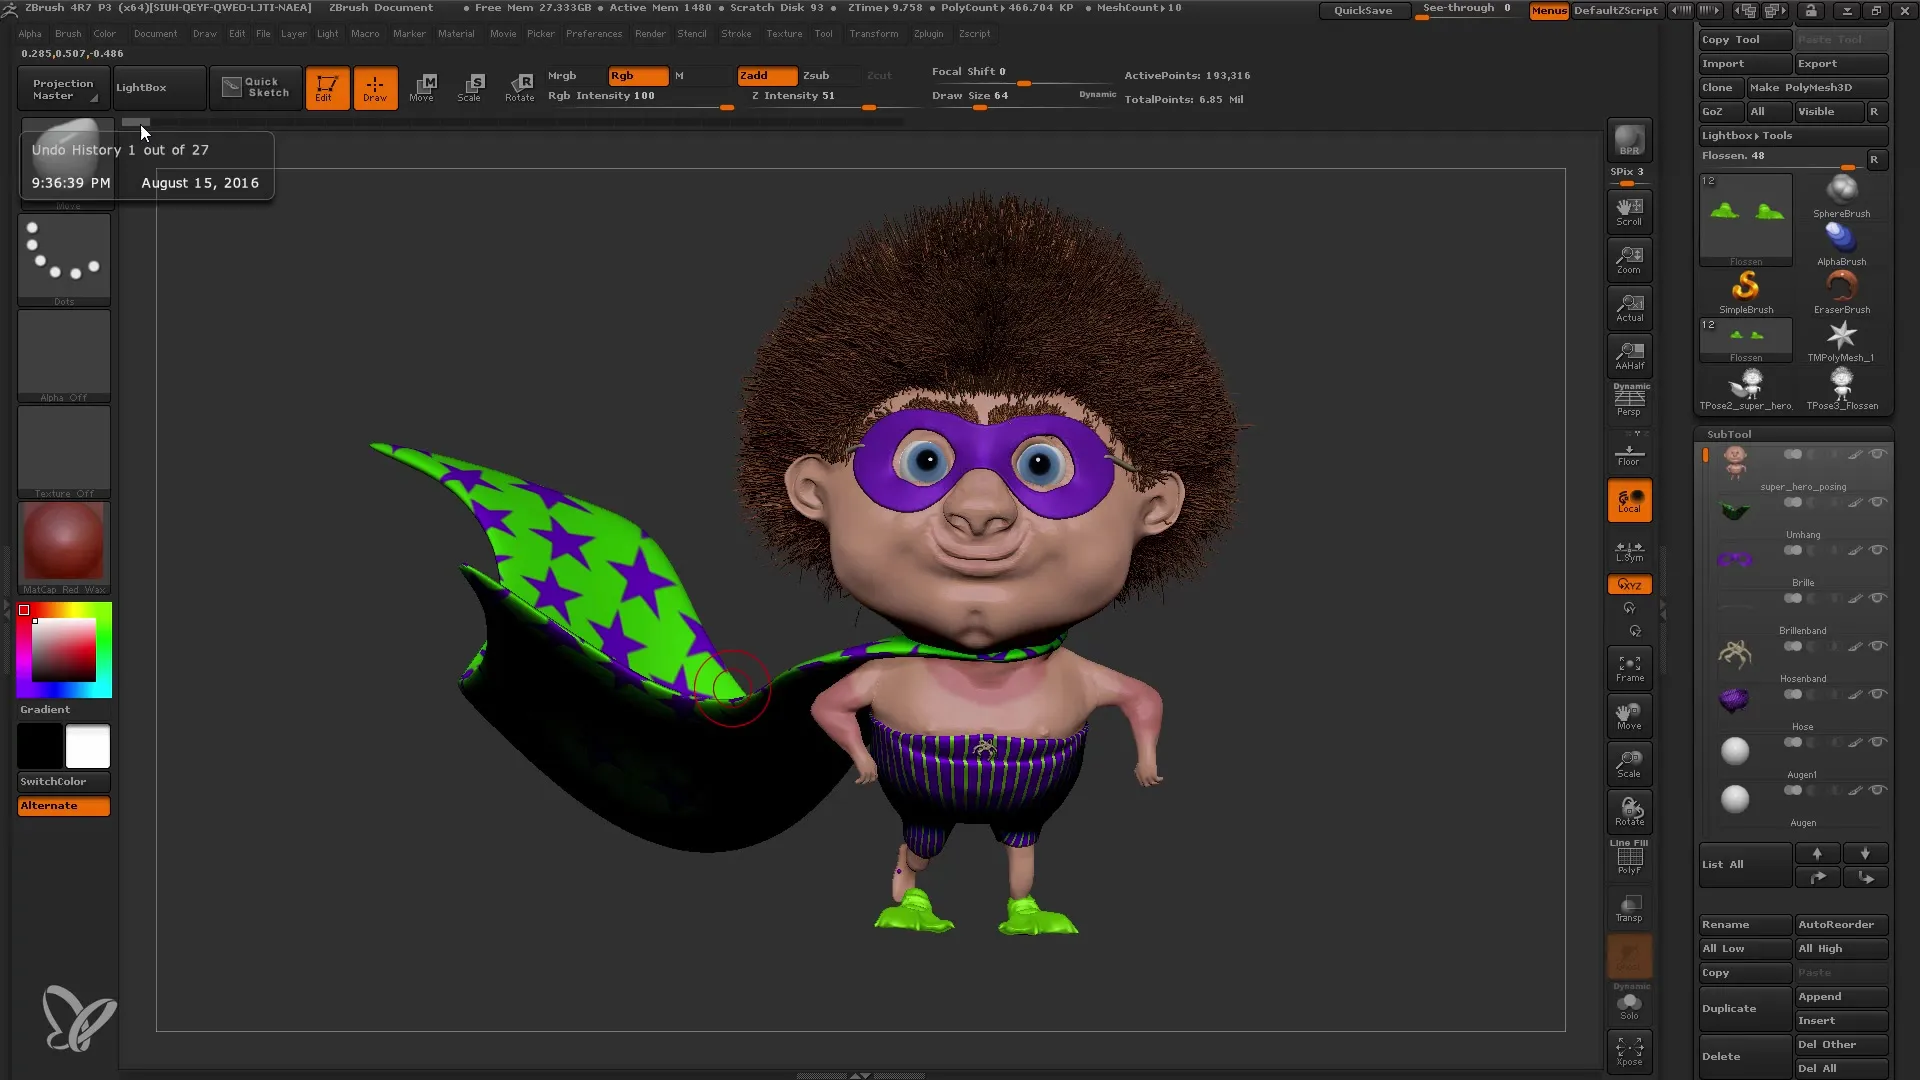
Now you have laid the foundation to make your 3D models more realistic and appealing before moving on to lighting and rendering.
Summary
In this tutorial, you learned how to make your 3D models more dynamic in ZBrush using Transpose Masters. With Masks and the Transpose Tool, we edited different body parts at once, saving you time and increasing efficiency.
Frequently Asked Questions
How does Transpose Master work in ZBrush?Transpose Master allows you to merge multiple subtools in ZBrush into a single mesh, enabling transformations on an overall object.
Can I use Transpose Master with my model having many polygons?Yes, Transpose Master can be used with high-polygon models. Ensure your computer has enough resources to perform the adjustments quickly.
Do I need to make corrections after the transformation?Usually yes, as creating poses can lead to some unsightly edges. Use the Move and Smooth Tools to refine your model.
