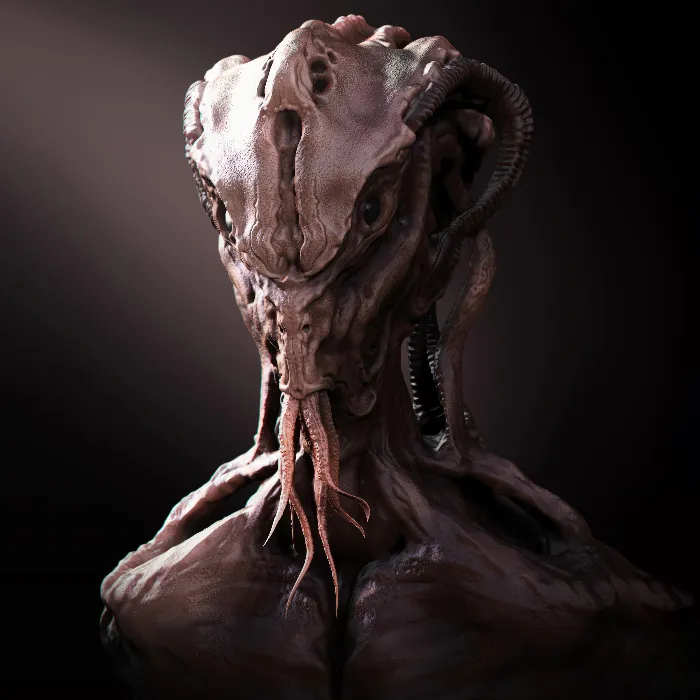
In this tutorial, you will learn how to easily and effectively render in ZBrush. Rendering is the process in which a 2D image is generated from the 3D information you have created. Rendering in ZBrush offers you numerous options to showcase your artworks in the right light. You will be using the BPR (Best Preview Render) function that helps you create appealing renderings directly in ZBrush and then perform image editing. This tutorial will guide you step by step on how you can utilize different rendering techniques.
Key Takeaways
- You can render directly in ZBrush to achieve quick results.
- BPR filters allow for easy image editing without external software.
- Adjusting lighting, shadows, and textures will help you achieve appealing results.
- There are various rendering workflows that can lead you from ZBrush to other programs.
Step-by-Step Guide
Starting Rendering in ZBrush
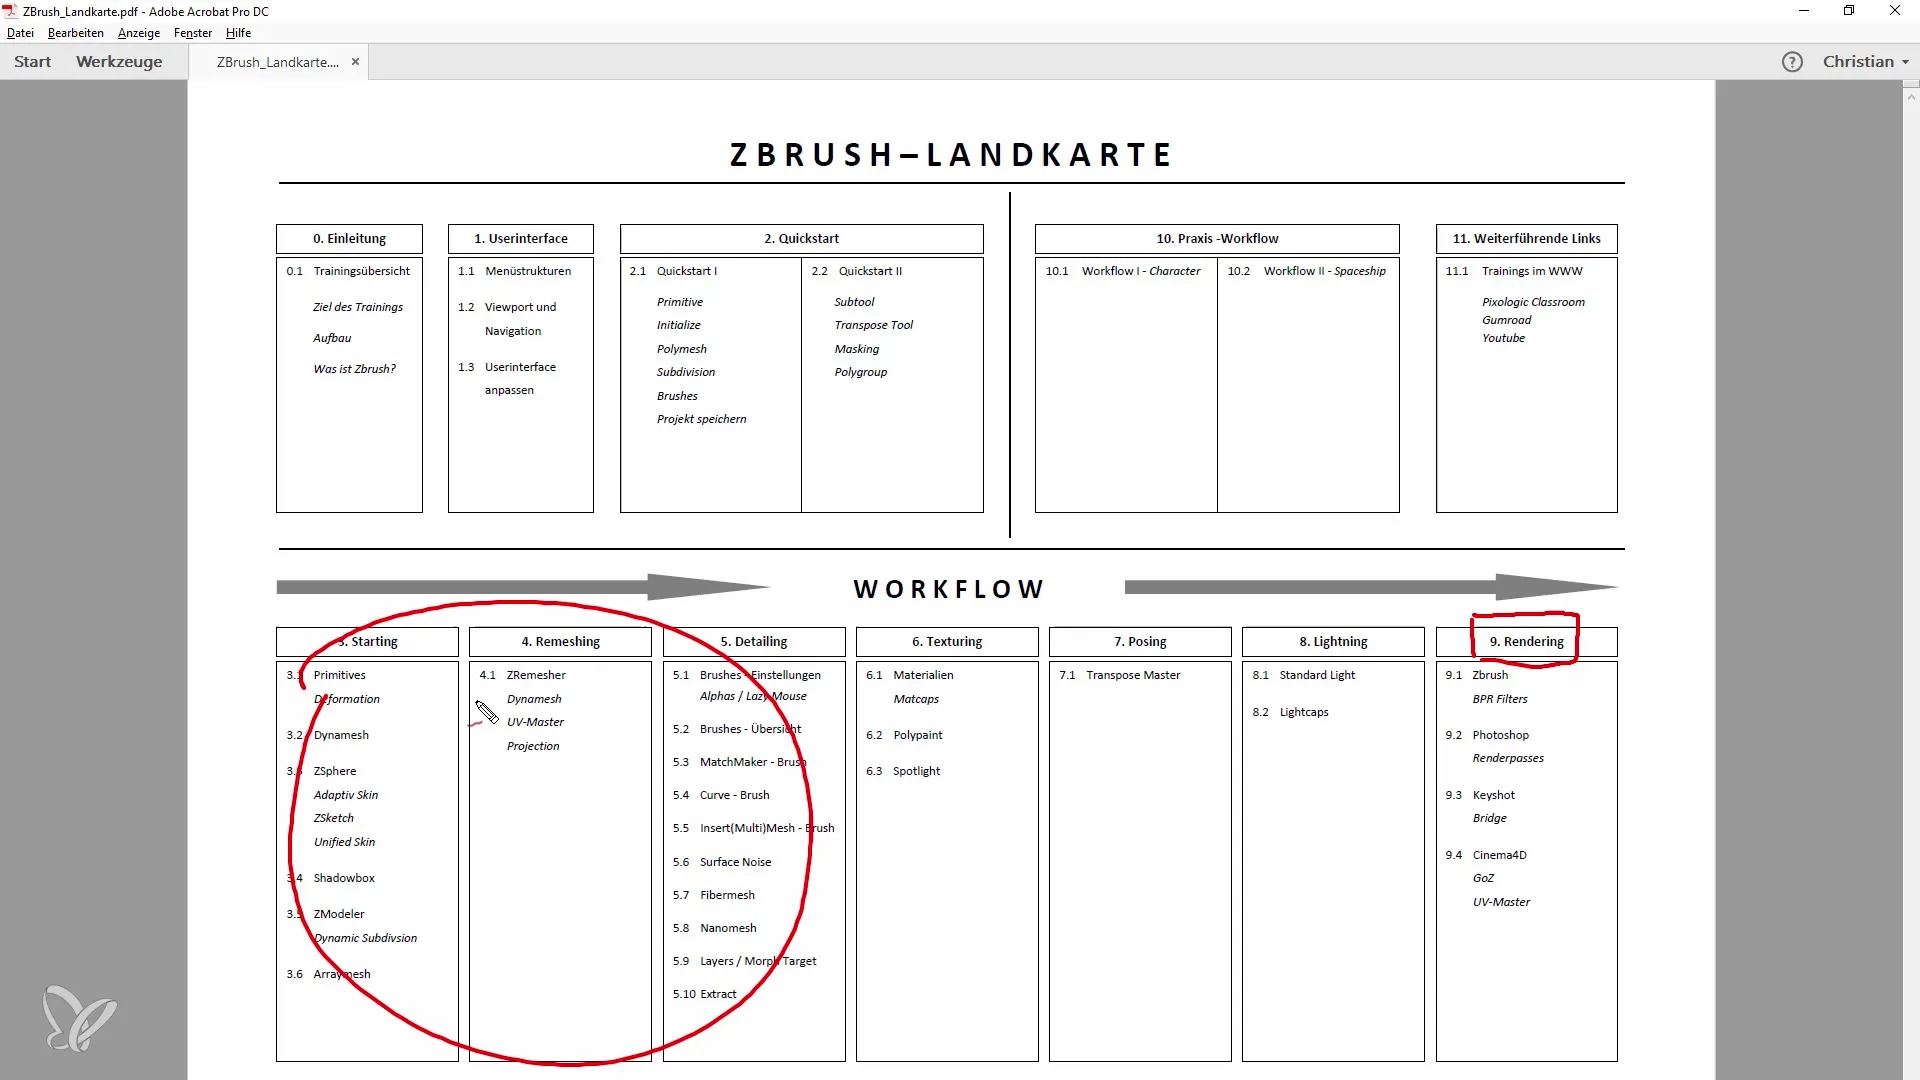
To start rendering in ZBrush, first go to your project and ensure all elements are in place. You should have prepared the setup of lights, materials, and textures. To access the rendering options, open the "Render" tool found under "Render" in the top bar.
Setting Pixel Size
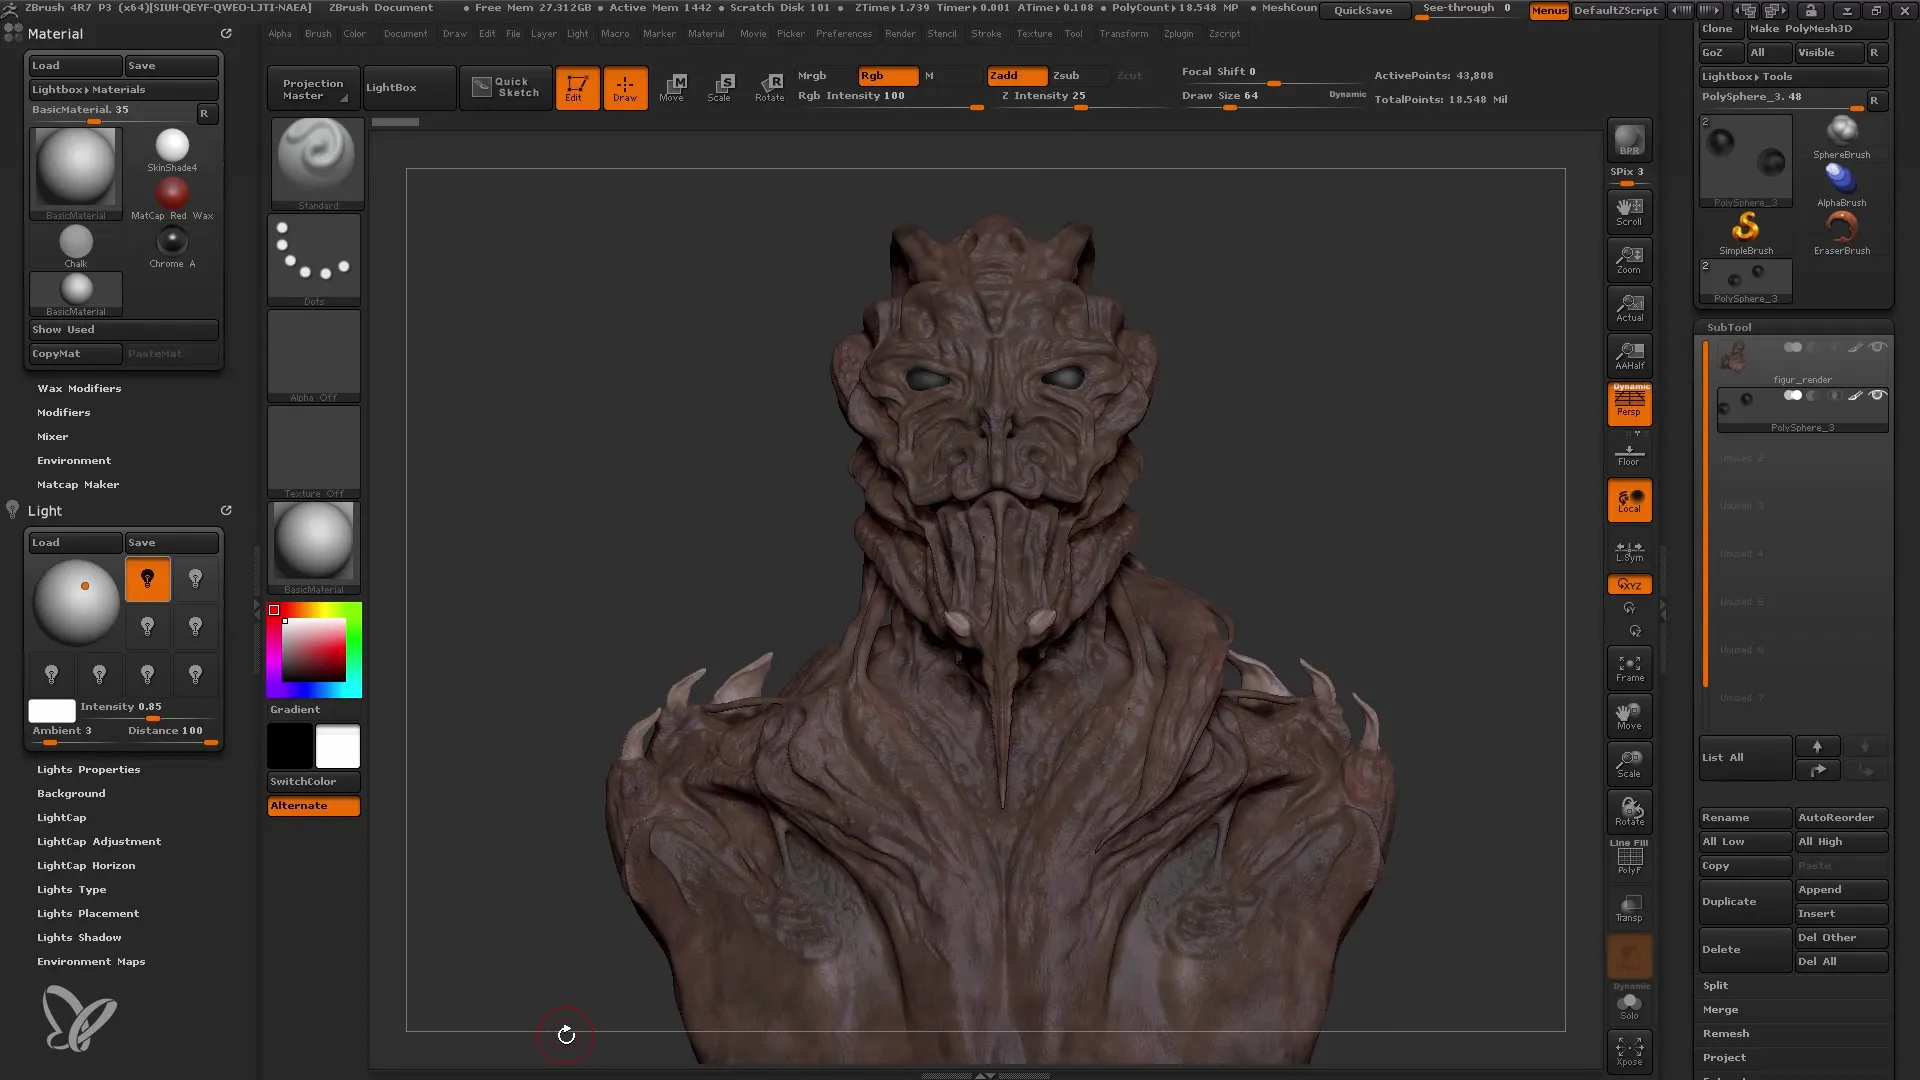
Before you start rendering, you need to set the pixel size. You are in a 3D space where dimensions vary. To prepare the rendered image optimally for printing or publication on digital platforms, choose a suitable pixel size. For example, if you want to render for an A4 poster, you should increase the pixel resolution accordingly. You can set this in the "Document" section.
Adjusting Document Format
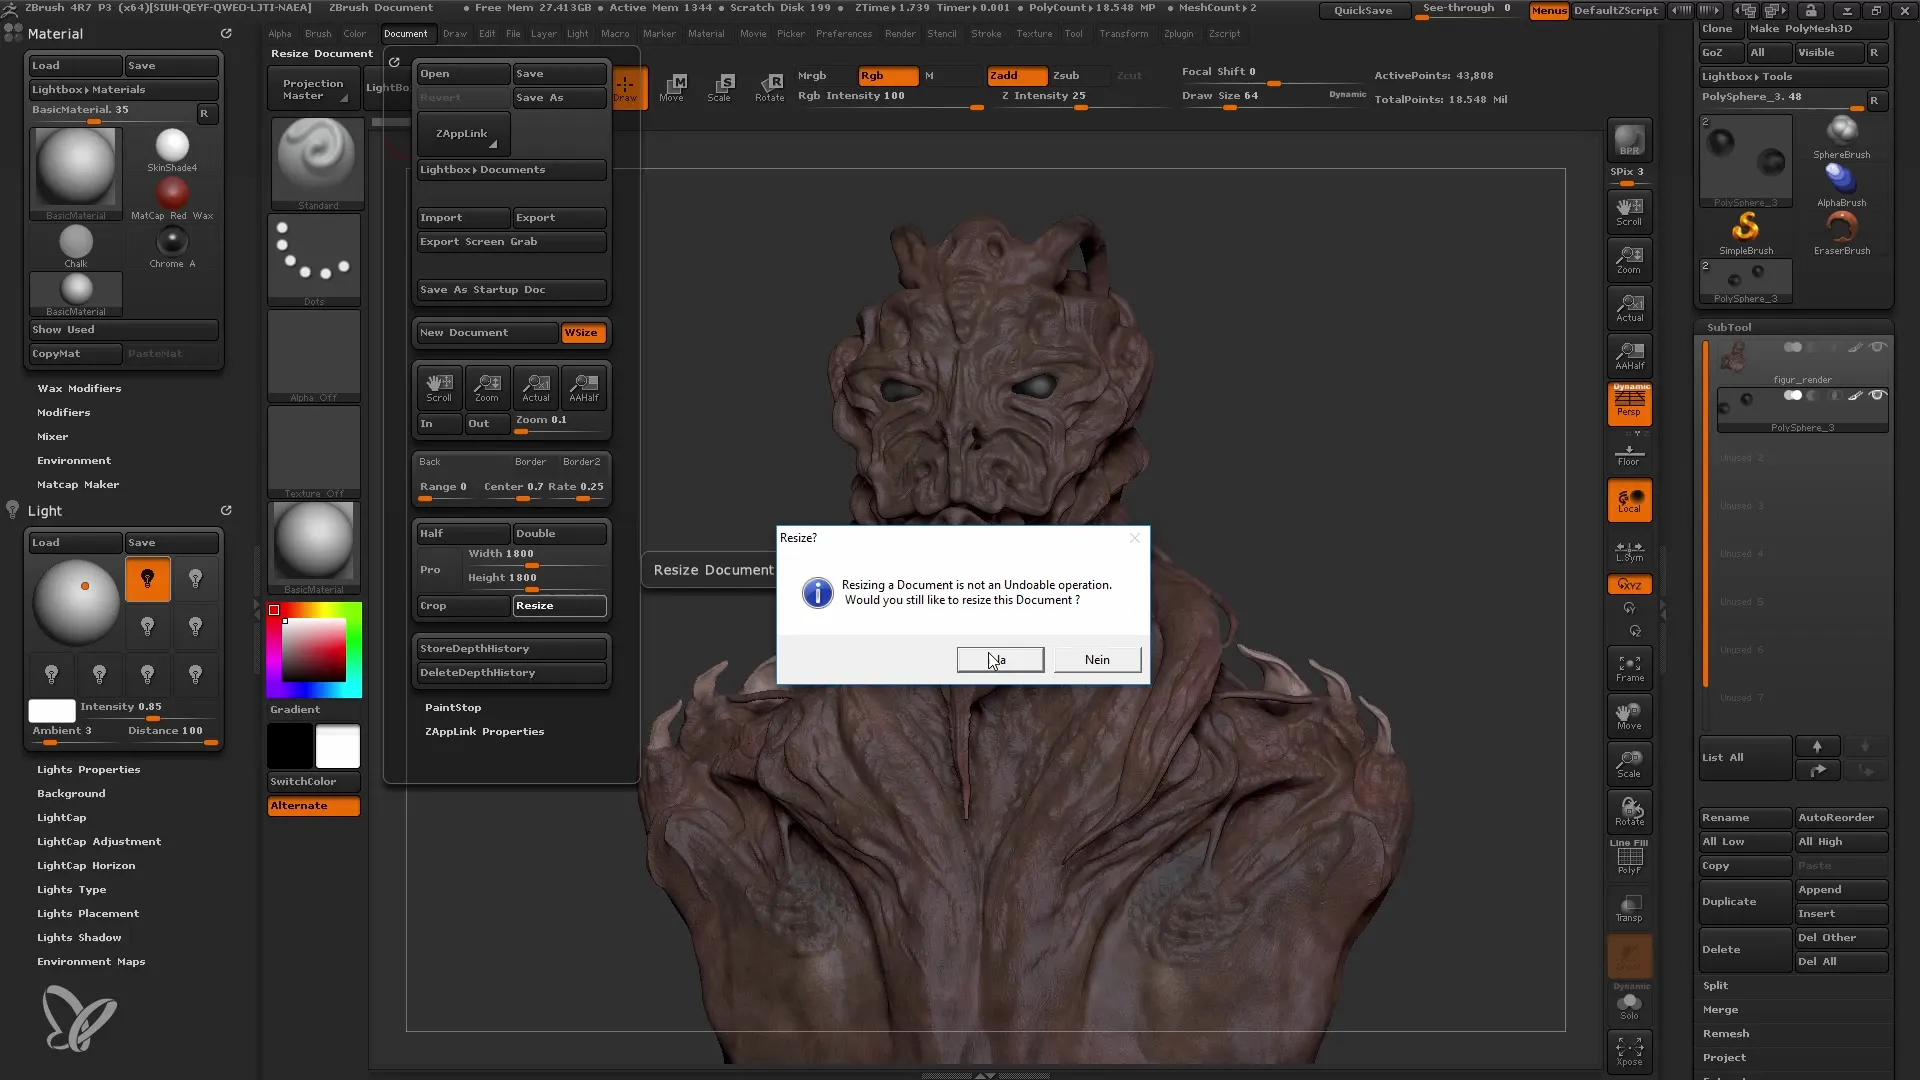
Once you have adjusted the grain size, go to "Resize Document" to apply the changes. Note that the document may appear slightly distorted. This is normal and no cause for concern. Now go back to Edit Mode to review and adjust your mesh again.
Adjusting Perspective and View Angle
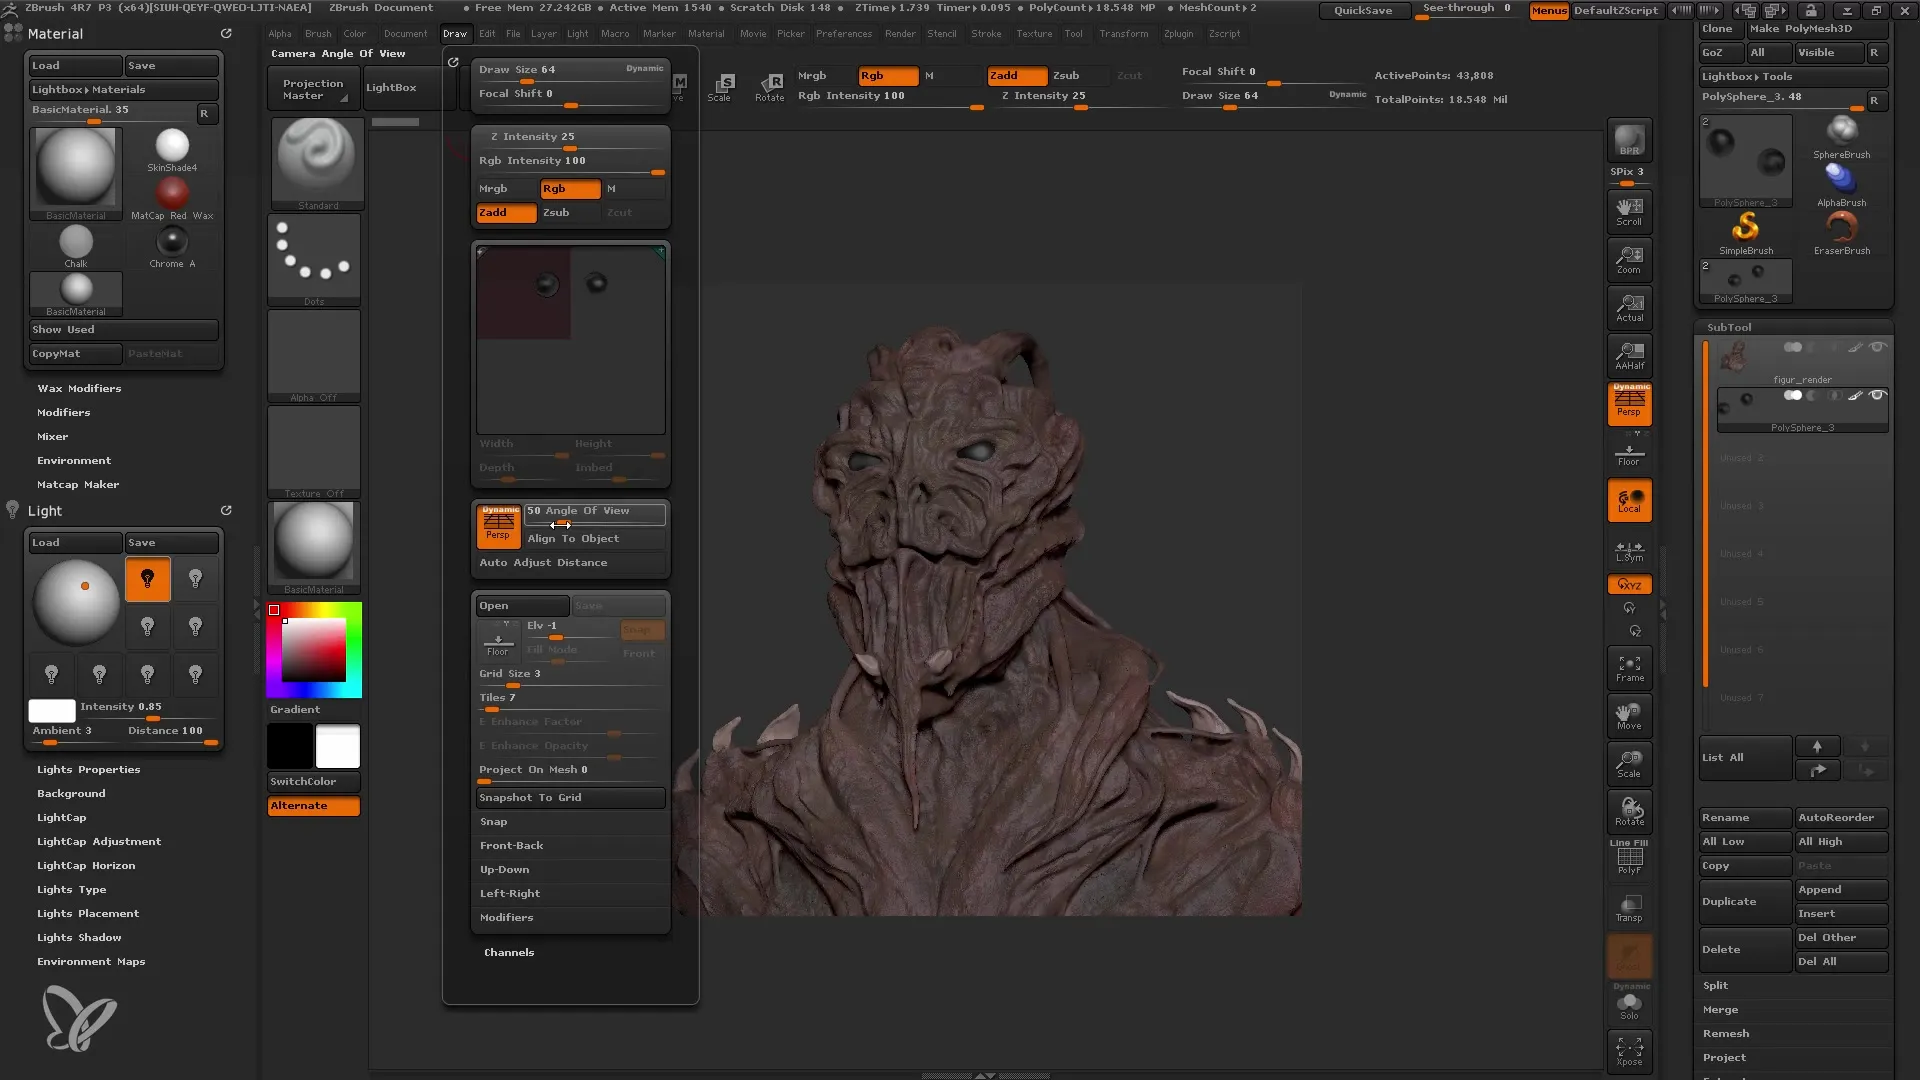
Now it's time to adjust the perspective. ZBrush does not have camera settings like other 3D programs, but you can adjust the view angle, also known as "Angle of View". A view angle of 50° is standard, but feel free to experiment with higher values to achieve the desired effect.
Setting up Light Source
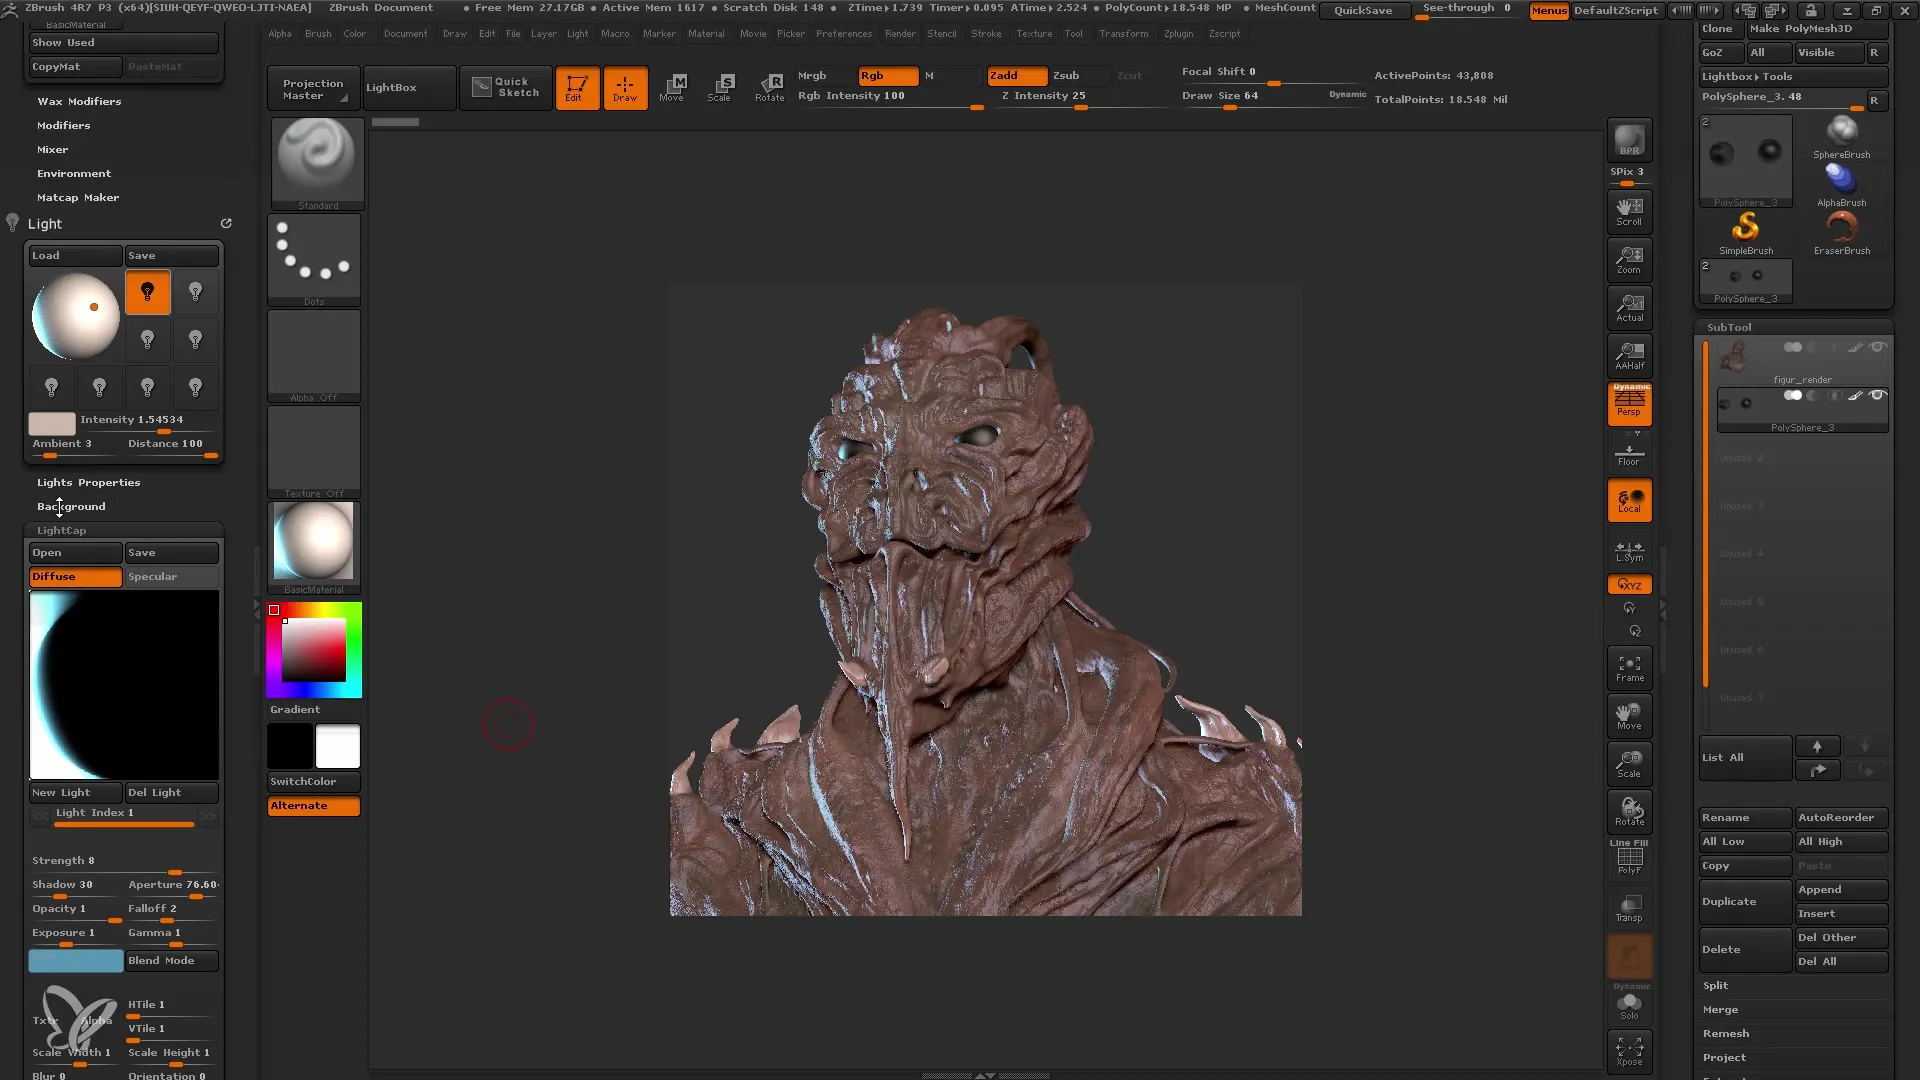
Now it's time to set up the lights in your scene. Each light significantly influences the final rendering. You can add a warmer light source or use special light effects like "LightCap" to give your scene more depth. Load light textures carefully and adjust them to achieve the desired effect.
Adjusting Render Options
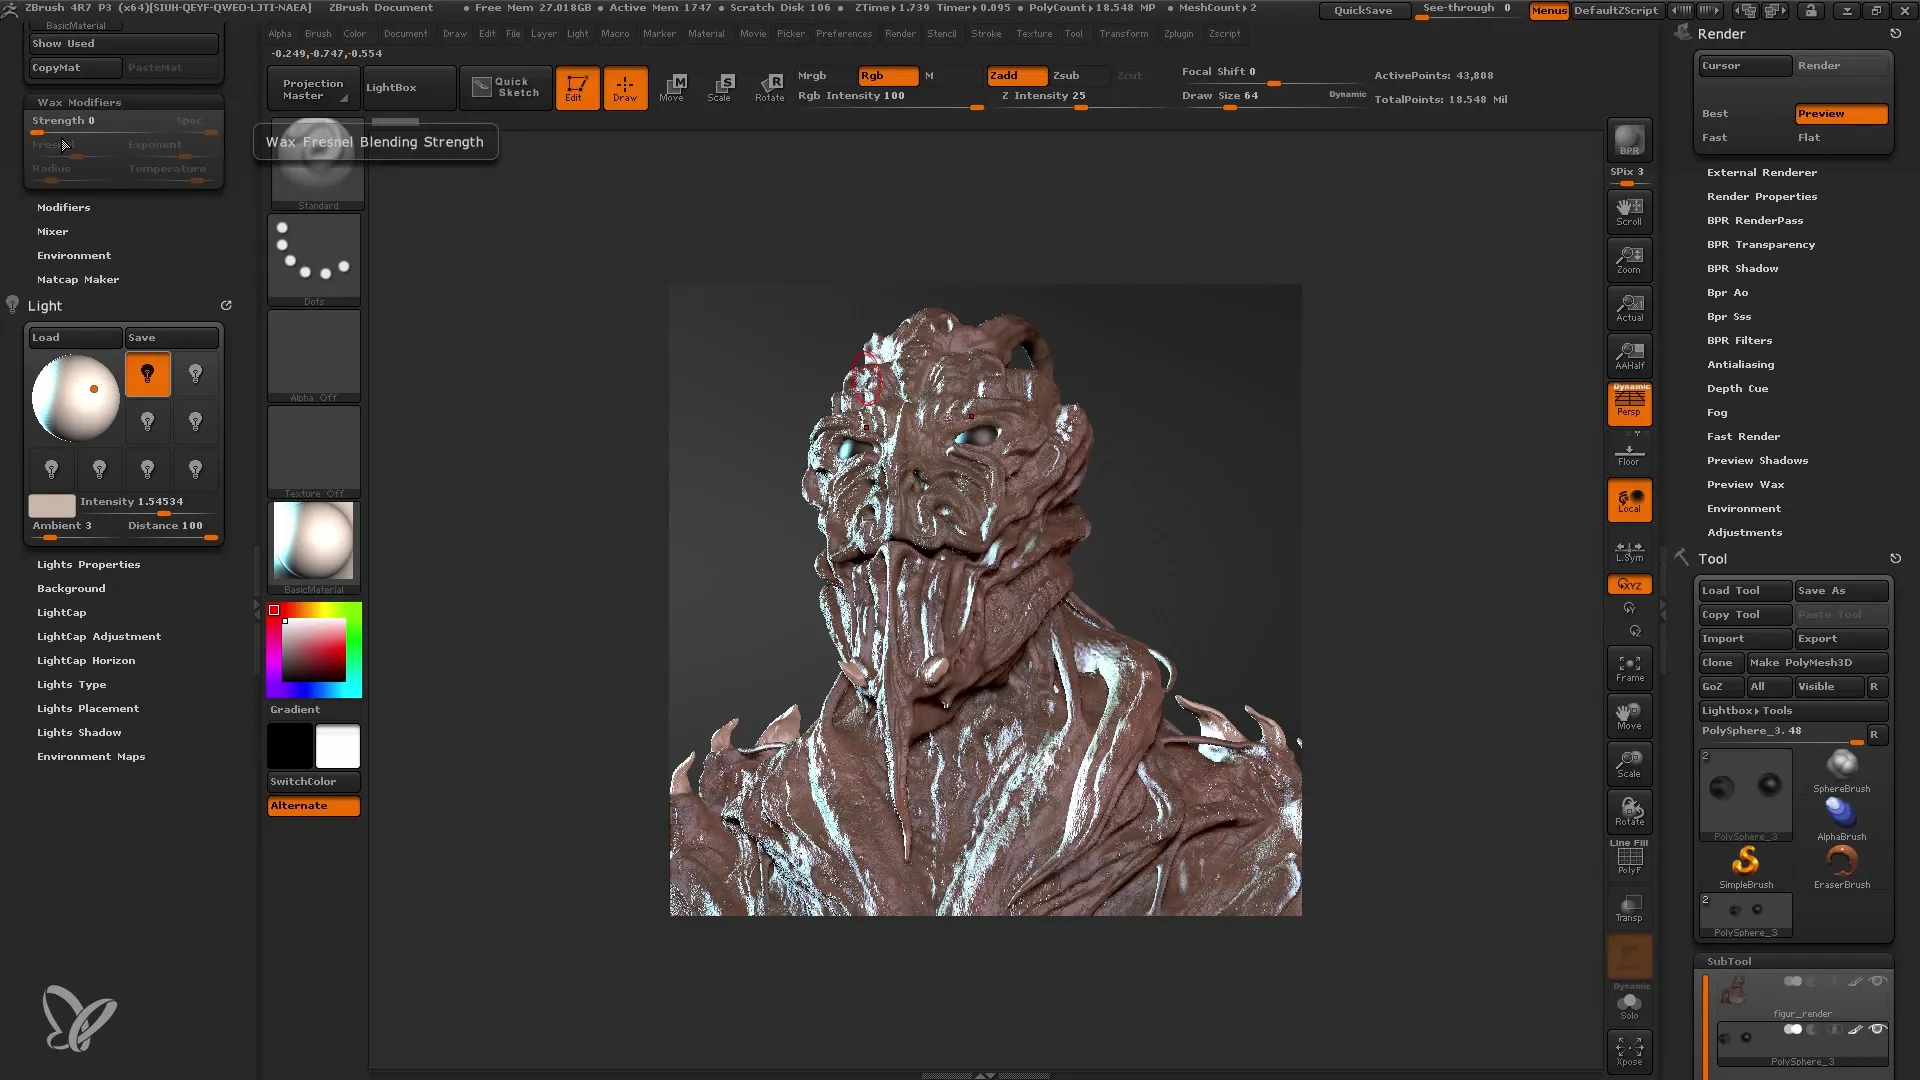
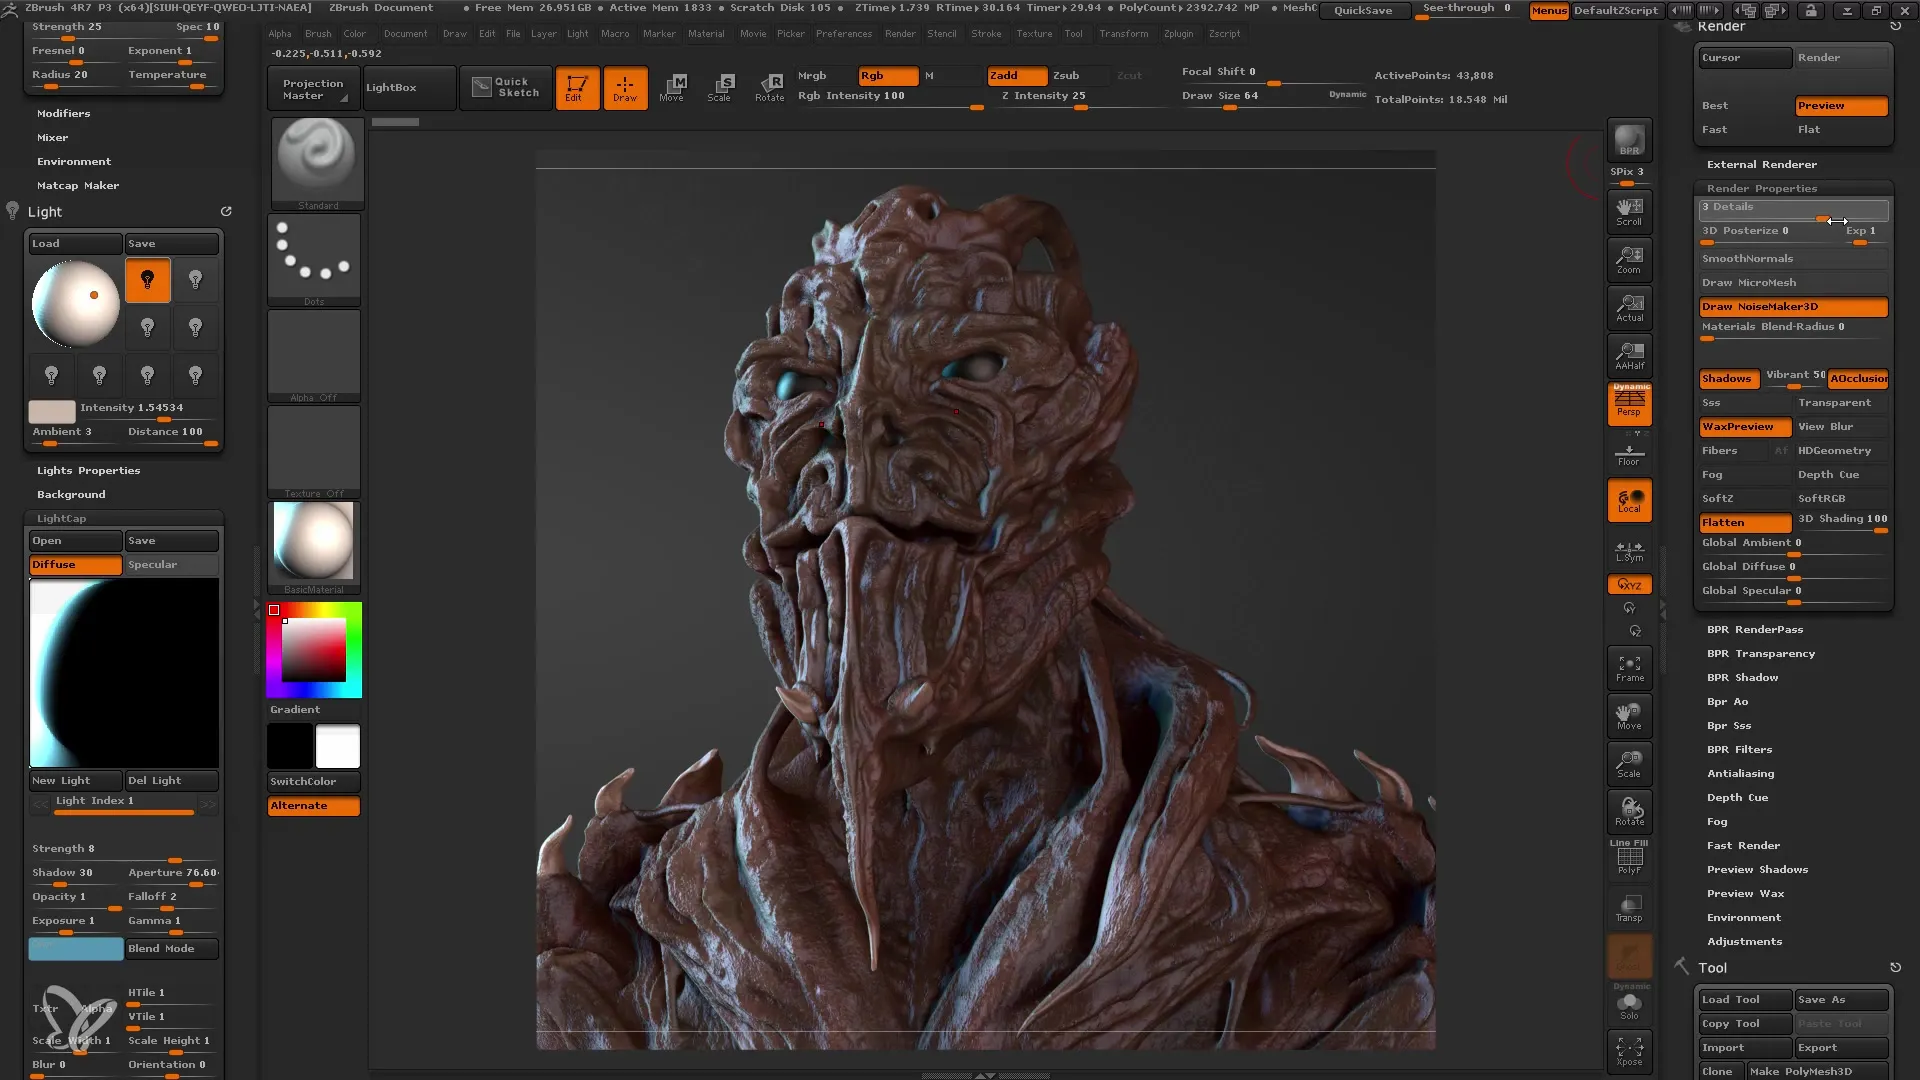
Before conducting the first rendering, adjust the render settings under "Render Properties". Ensure to make shadows soft and realistic by adjusting shadow angles. Experiment with light transparency to achieve a waxy skin feel.
Conducting First Rendering
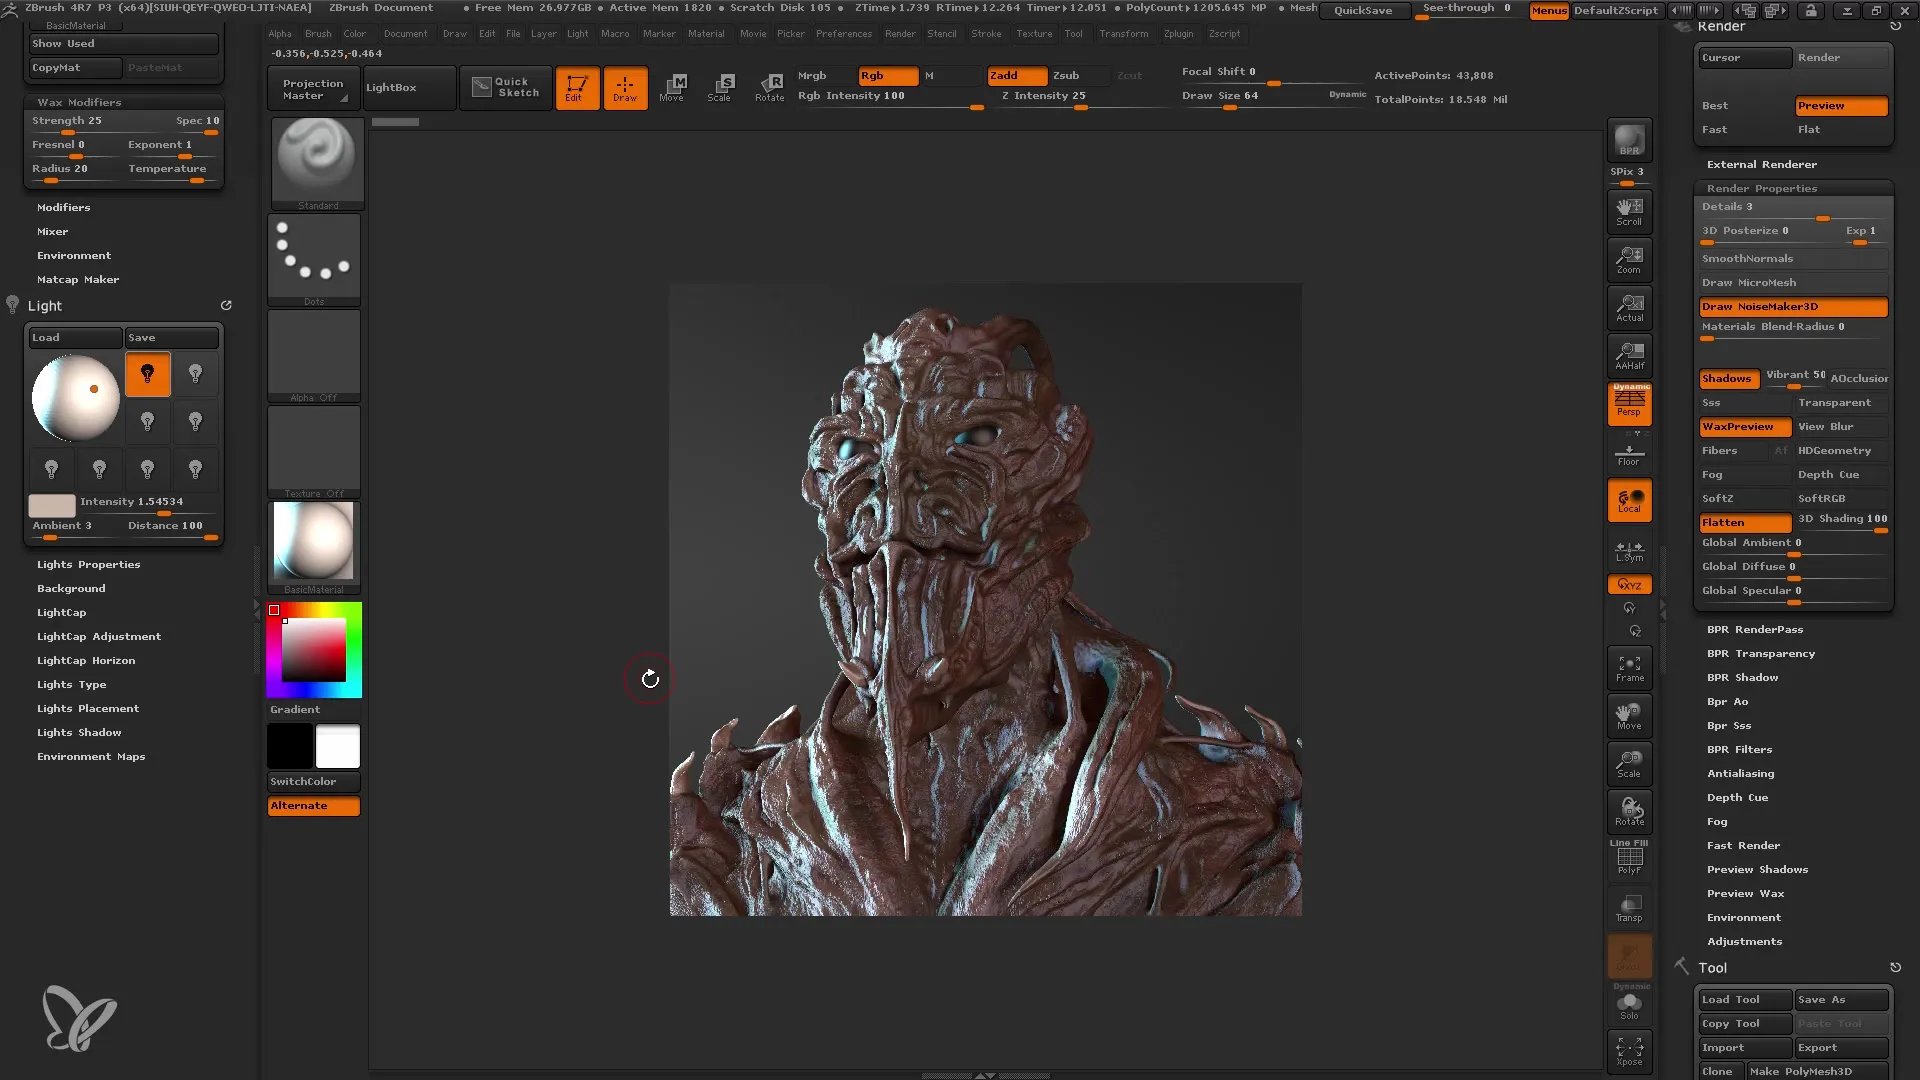
Now that everything is set up, proceed with your first rendering. Use the "BPR" (Best Preview Render) function for quick results. It is recommended to reduce the view to 50% during rendering to have a clearer preview and avoid possible artifacts.
Improving Render Quality
If you are unsatisfied with the first result, you can increase the render quality. Set the quality of subpixel increases and overall quality to 4 or 5. Keep in mind that higher settings may prolong the render times. Execute the BPR again.
Saving the Rendering
Now you can save your rendered image. Go to "Document" and select "Export". You can save the image as a JPEG. Make sure you have chosen the right image size. A good example is setting it to full screen size for the best quality.
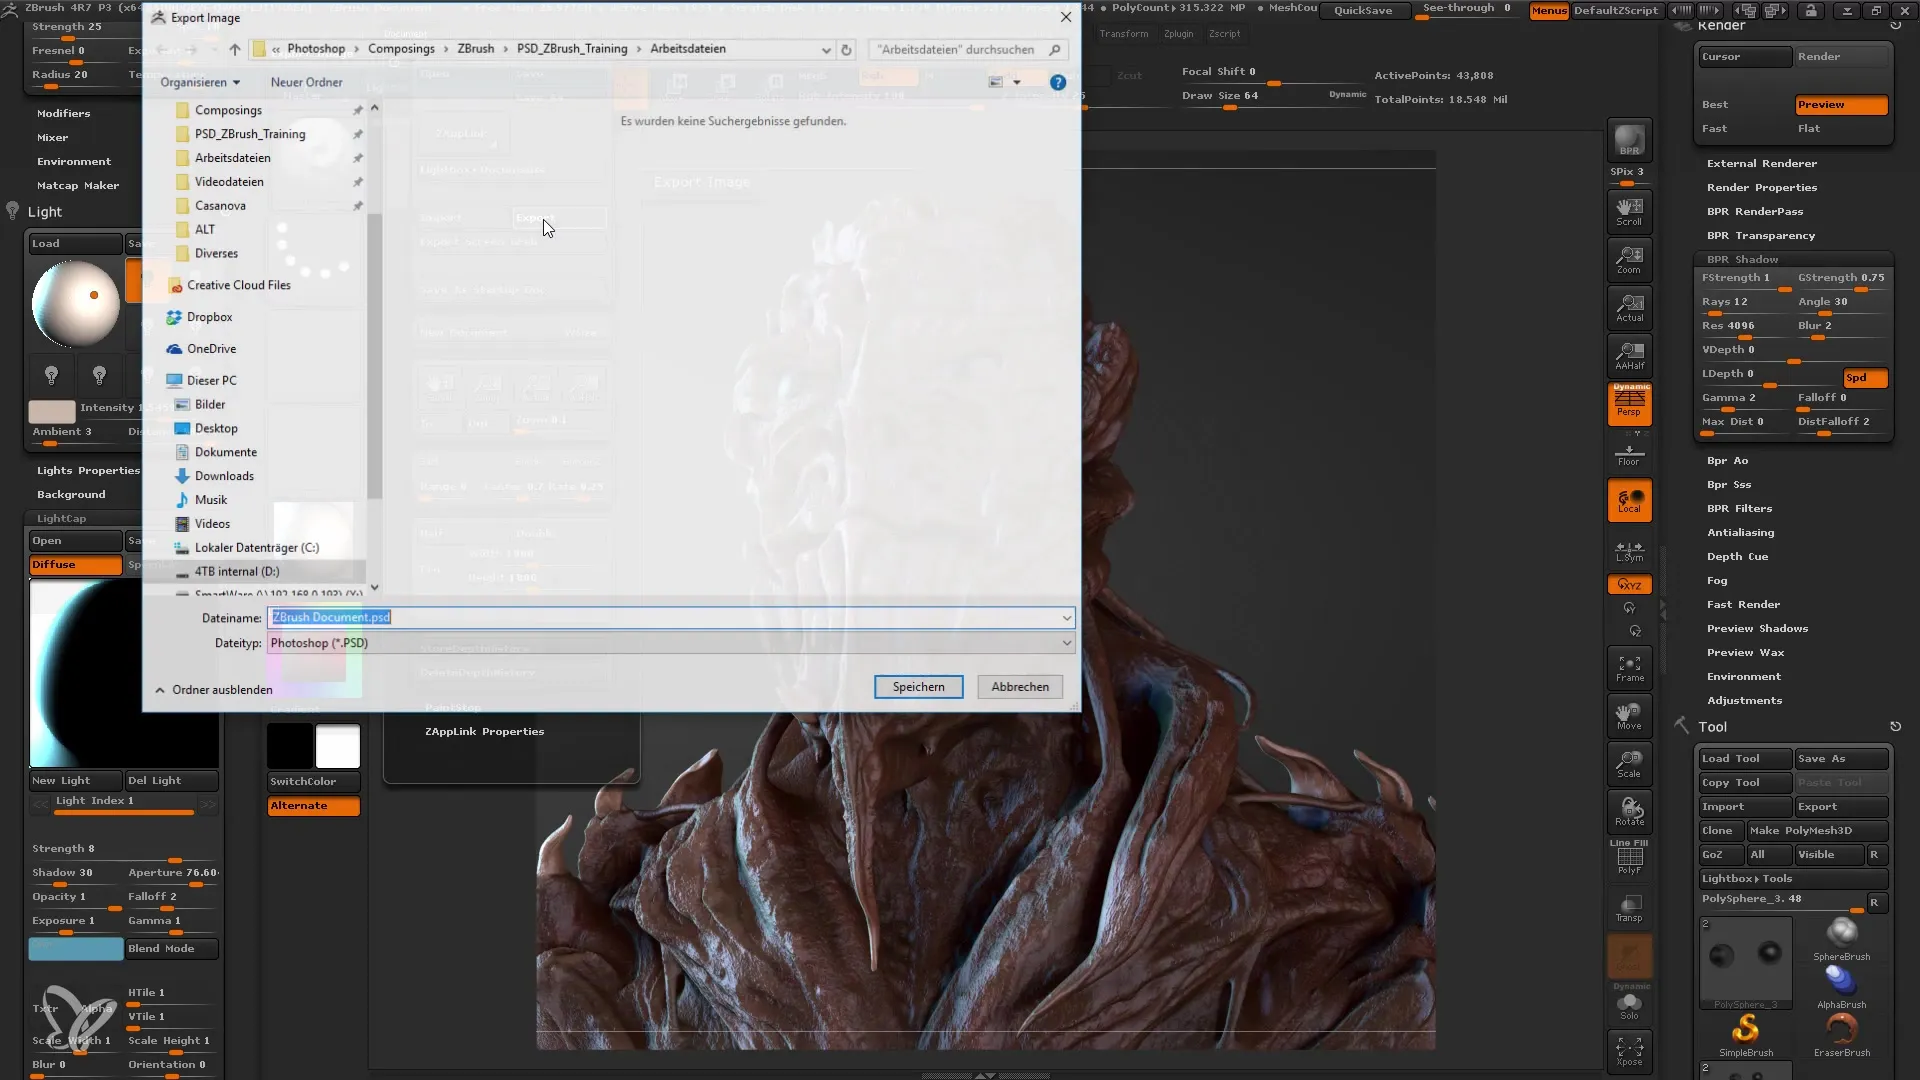
Image Editing in ZBrush
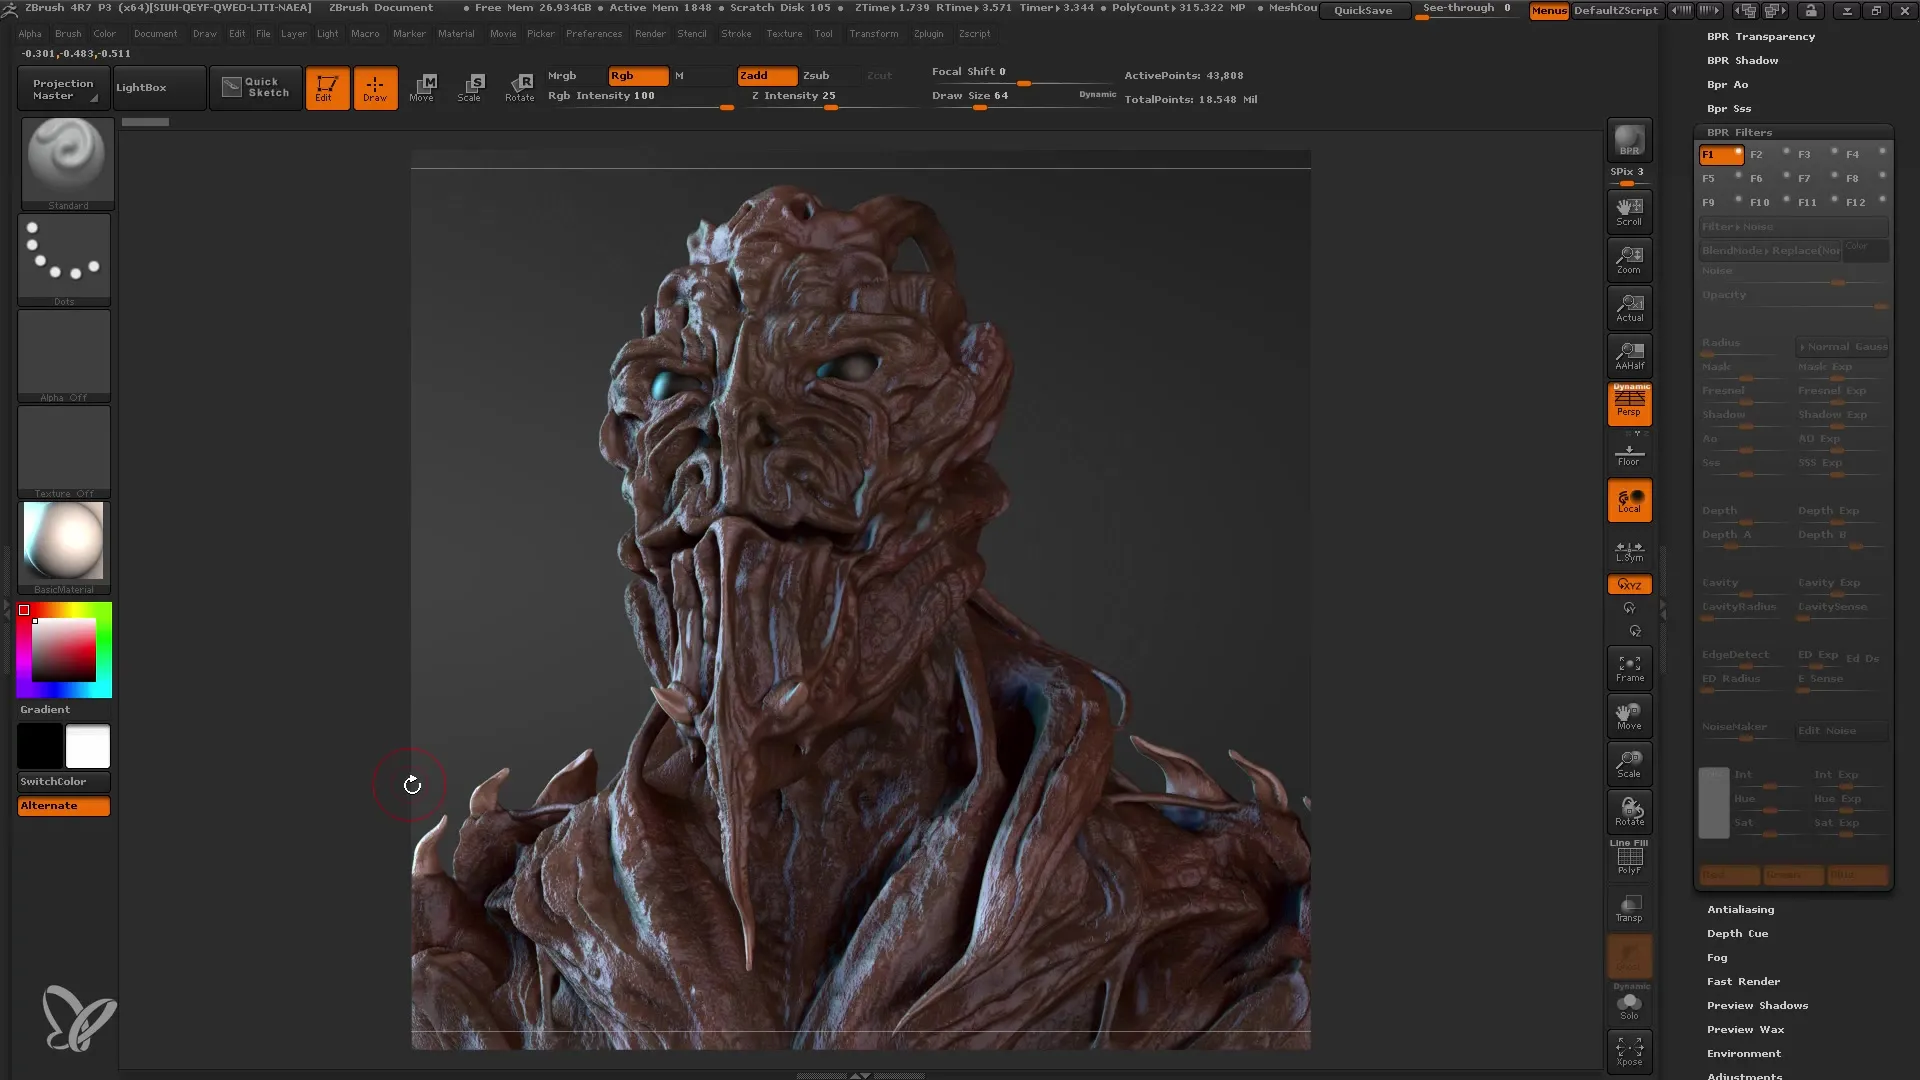
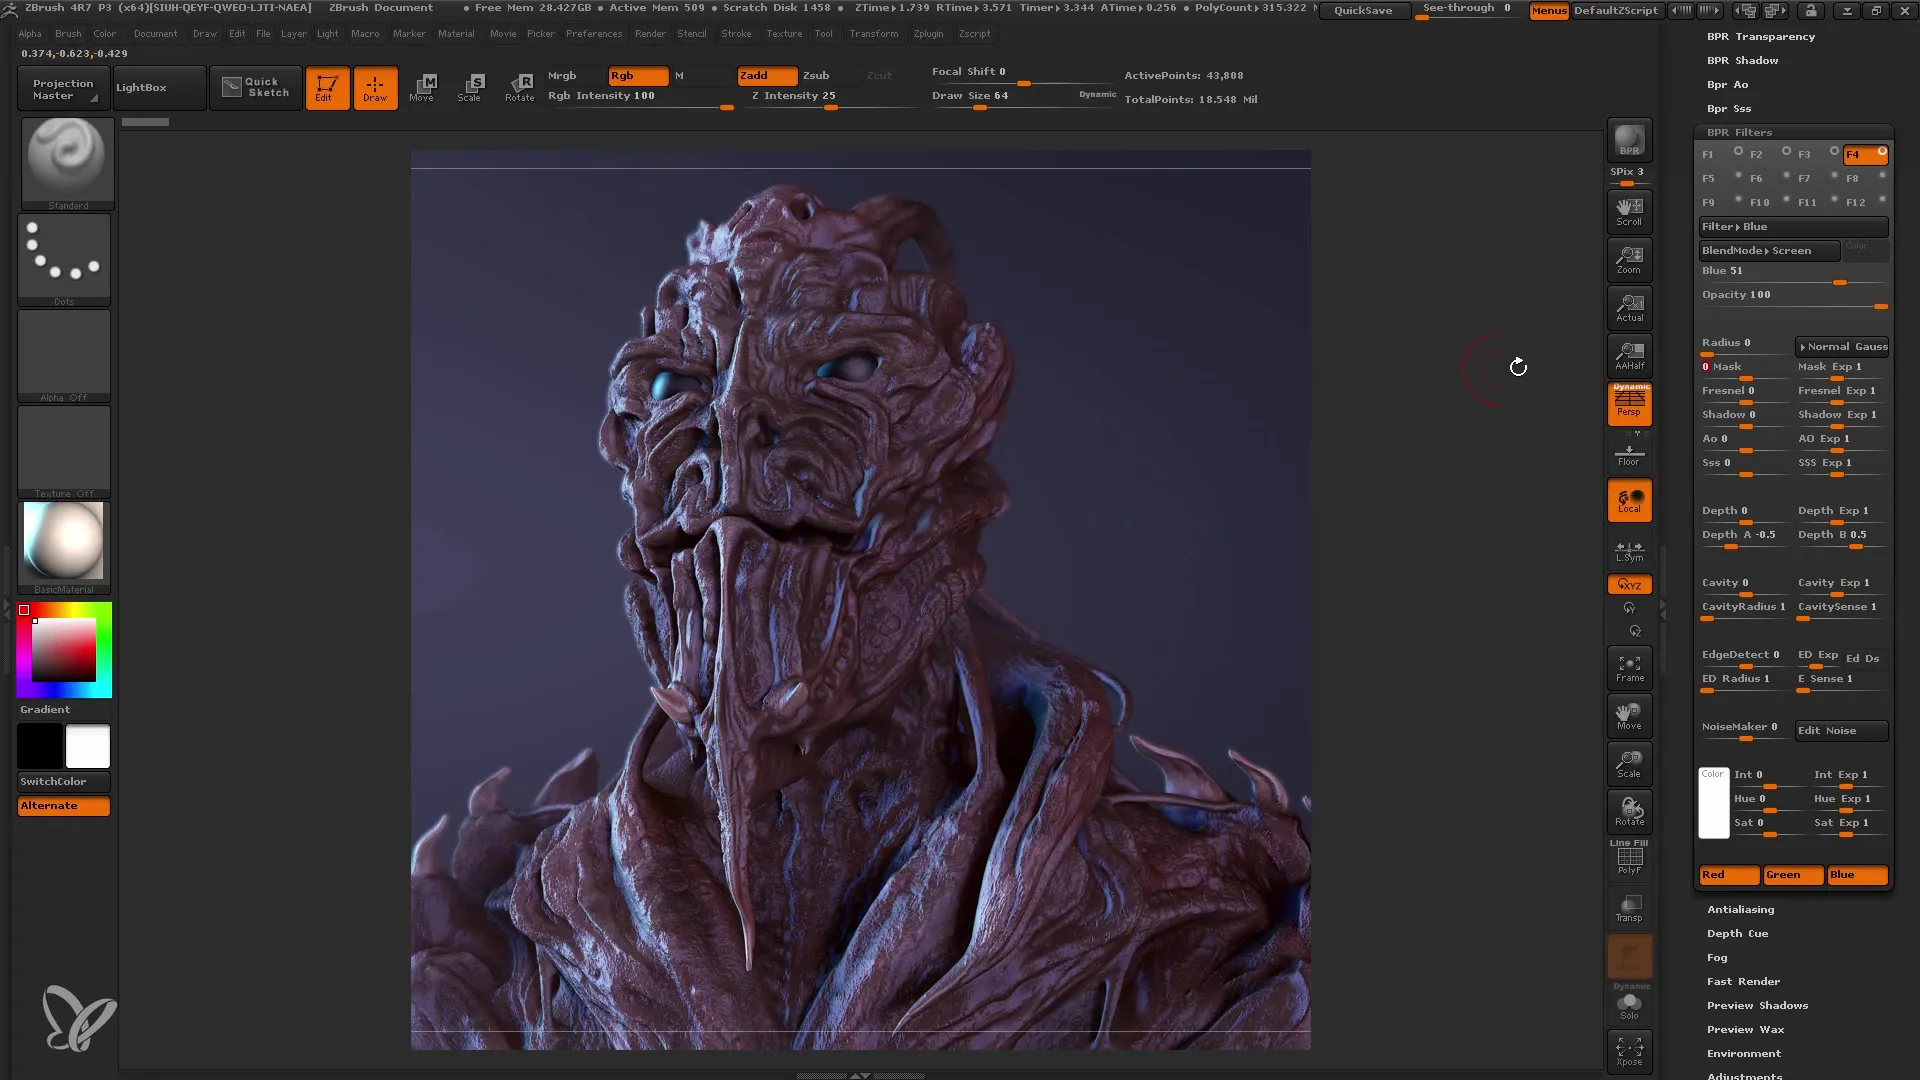
After rendering, you can perform image editing in ZBrush using BPR filters. These filters are a simple way to enhance the appearance of your rendering. Choose a filter and adjust the settings on the surface to achieve interesting results.
Adding Depth of Field and Focus Effects
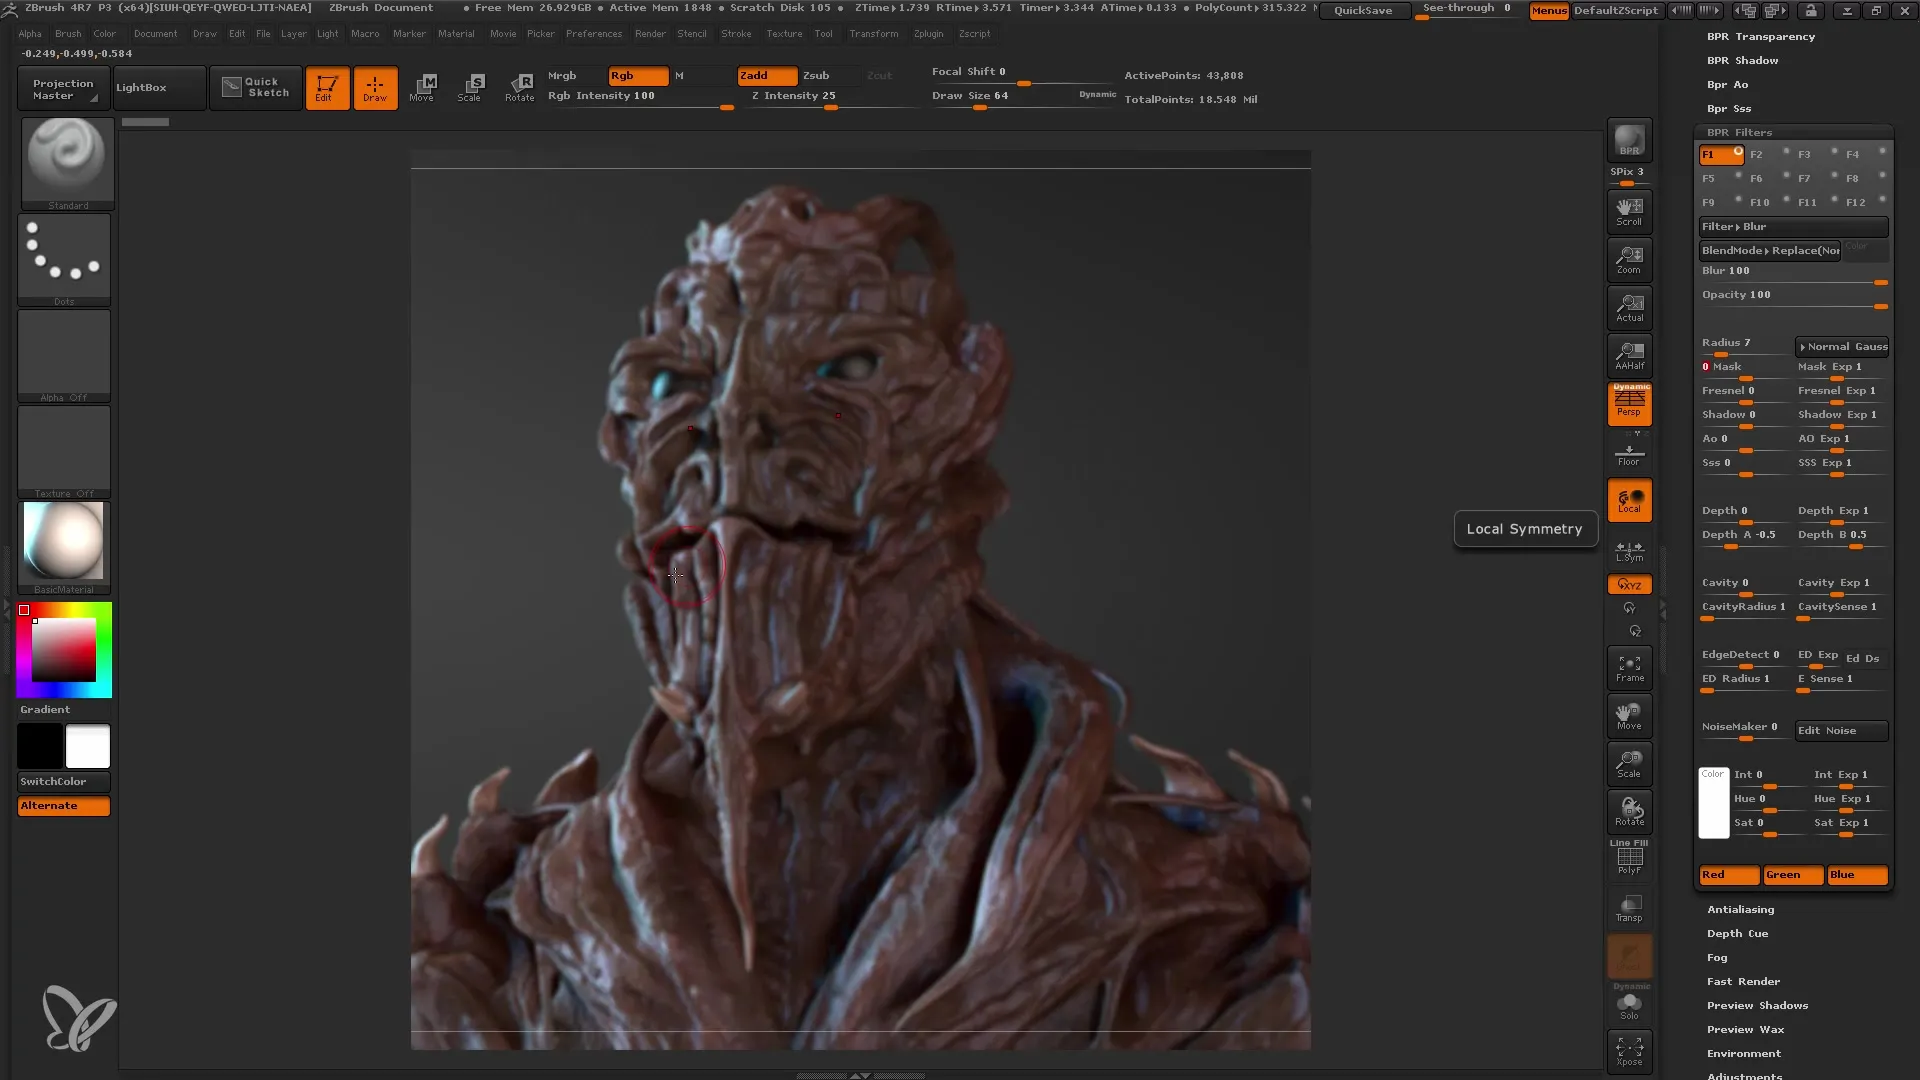
One of the many features of BPR filters is the ability to create depth of field. This gives your rendering more dimension and helps focus on specific areas. You can adjust the area to be blurred. Experiment with the depth to achieve a realistic effect.
Color Settings and Finalization
Finally, you can adjust the colors. Choose filters that harmonize with your theme. You can also use the "Frenel" effect to color edges. This enhances the visual depth of your rendering.
Summary
In this tutorial, you have learned how to effectively render in ZBrush. You have learned the basic steps from setting the pixel size to image editing with BPR filters. These techniques will help you achieve impressive results and bring your models to life.
Frequently Asked Questions
What rendering options are available in ZBrush?In ZBrush, you can use BPR (Best Preview Render) for real-time renderings as well as Snaps and various lighting and shadow settings.
How do I save my rendered image?Go to "Document" > "Export" and select the desired file format, such as JPEG.
What filters can be used in image editing?In image editing, you can select various filters like Blur, Sharpen, and Color to adjust the look of your rendering.
Are there limitations to the render settings?Yes, higher render quality levels can prolong render times and heavily tax the hardware.
Can I further process my renderings?Yes, you can export the rendered images to external programs like Photoshop for advanced image editing.
