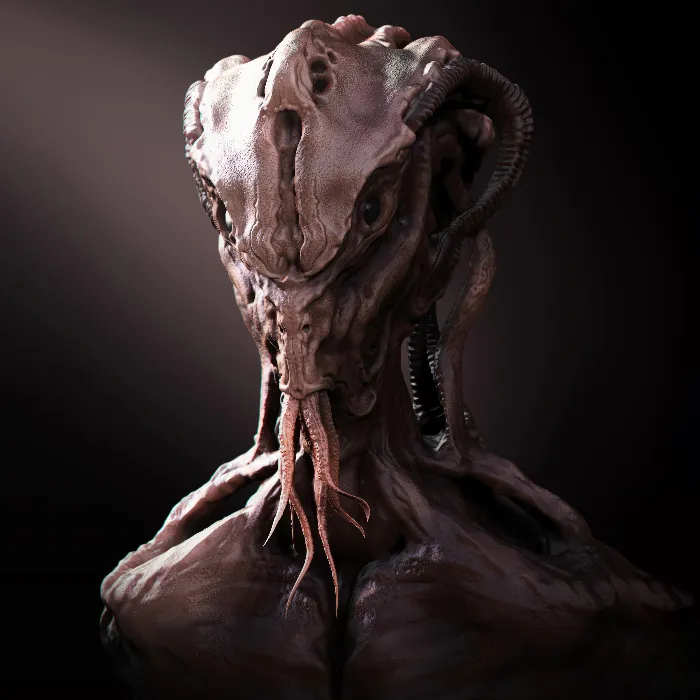
In this tutorial, you will learn how to create details in ZBrush using a Dynamesh resolution of 256 and bring your ideas to life. This resolution allows you to make fine shape adjustments while still leaving room for further creative developments. You will be guided step by step through the process of creating a model that is both detailed and dynamic. Let's get started and explore the features of ZBrush!
Main Insights
- Dynamesh with a resolution of 256 provides an ideal balance between detail and flexibility.
- It is important to first create the basic shapes and structures before focusing on the fine details.
- Working with different Subdivision Levels allows you precise control over the modeling.
Step-by-Step Guide
First Step: Duplicate Mesh and Set up Dynamesh
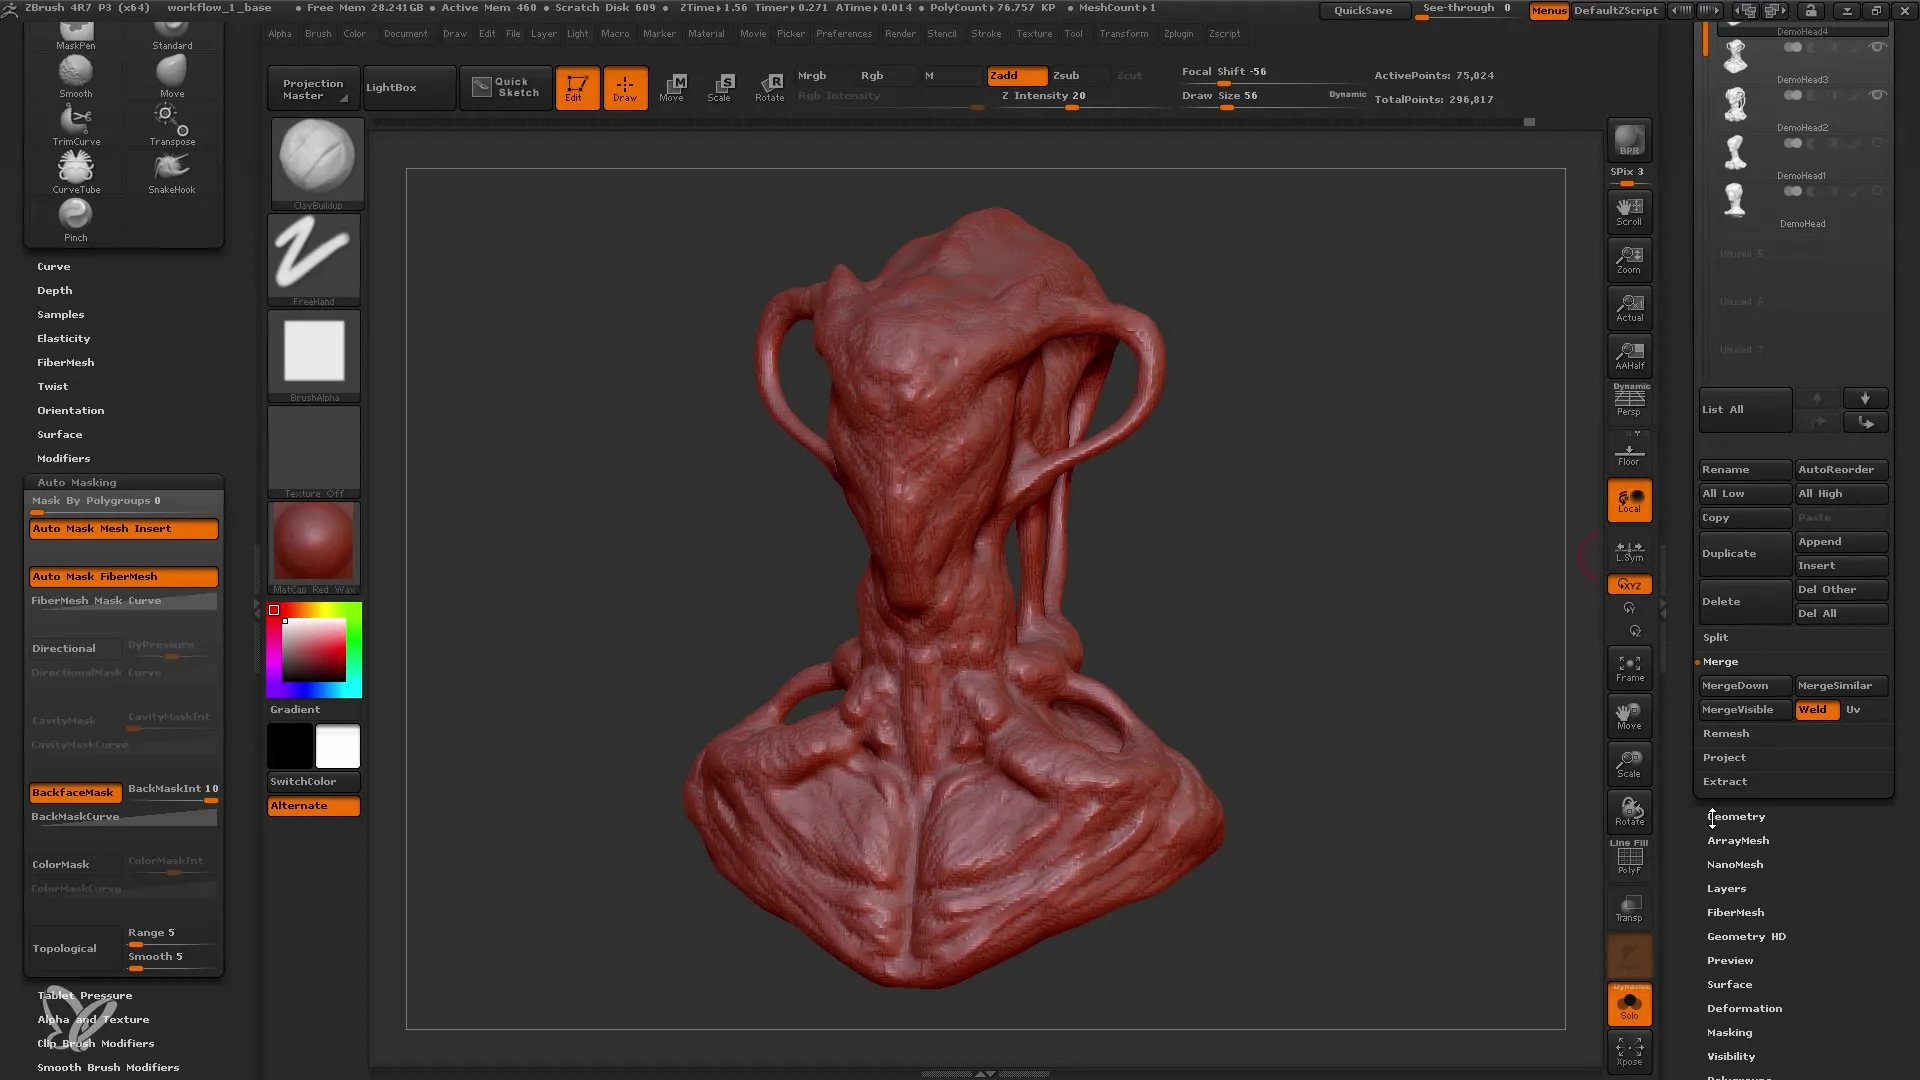
To begin, duplicate your existing mesh. This is done to keep the original file as a backup. Then switch to Dynamesh and set the resolution to 256. This number is a good choice as it provides you with enough details while still allowing some freedom for further adjustments.
Second Step: Refine Shapes and Basic Details
After adjusting the Dynamesh settings, it's time to work on your basic shapes. Be careful not to focus too much on small details. Focus on defining the muscles and shapes of your figure first. Using the Clay Buildup Brushes can be very helpful in adding volume.
Third Step: Detailing the Face
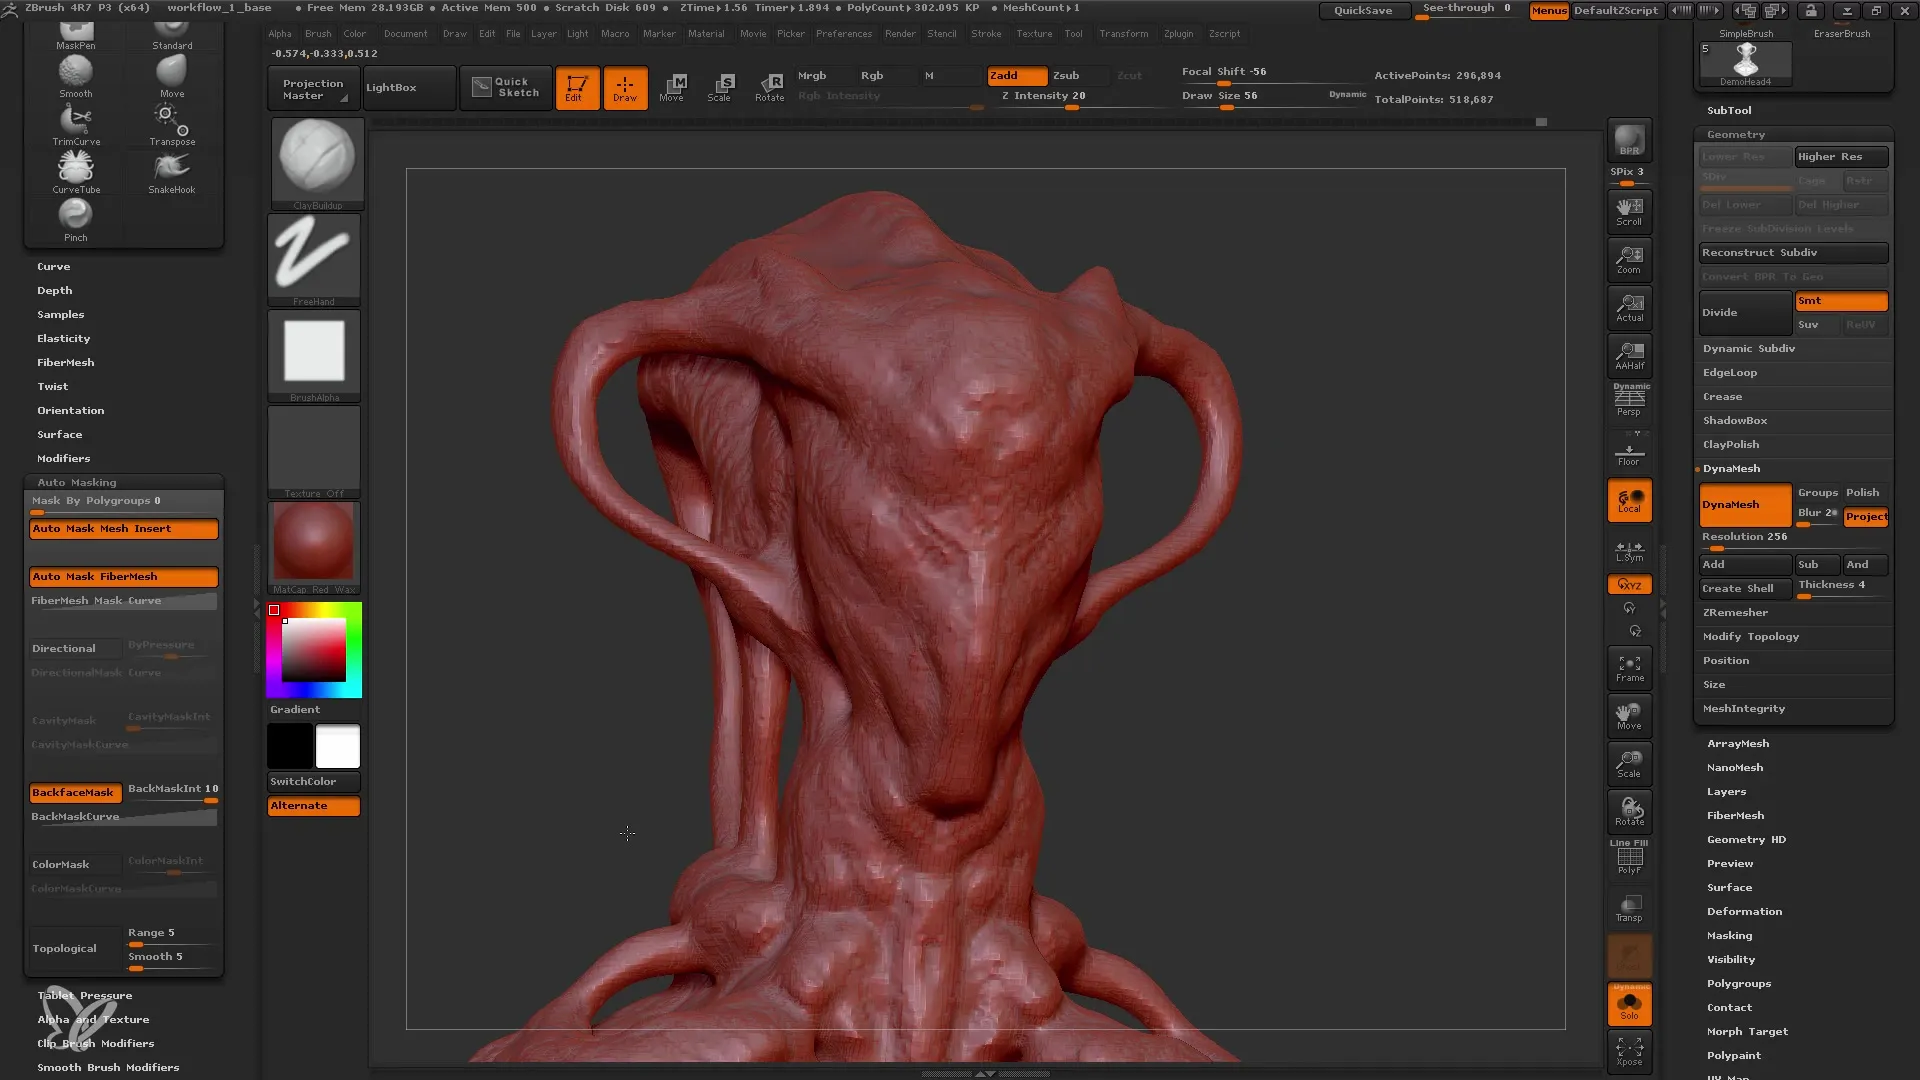
Now let's focus on the face of your character. Change the shape of the eyes and nose and experiment with their placements. Make sure the character features harmonize with the overall shape. Use the Move Tool to experiment with different shapes and proportions.
Fourth Step: Inserting Eyes and Mouth into the Model
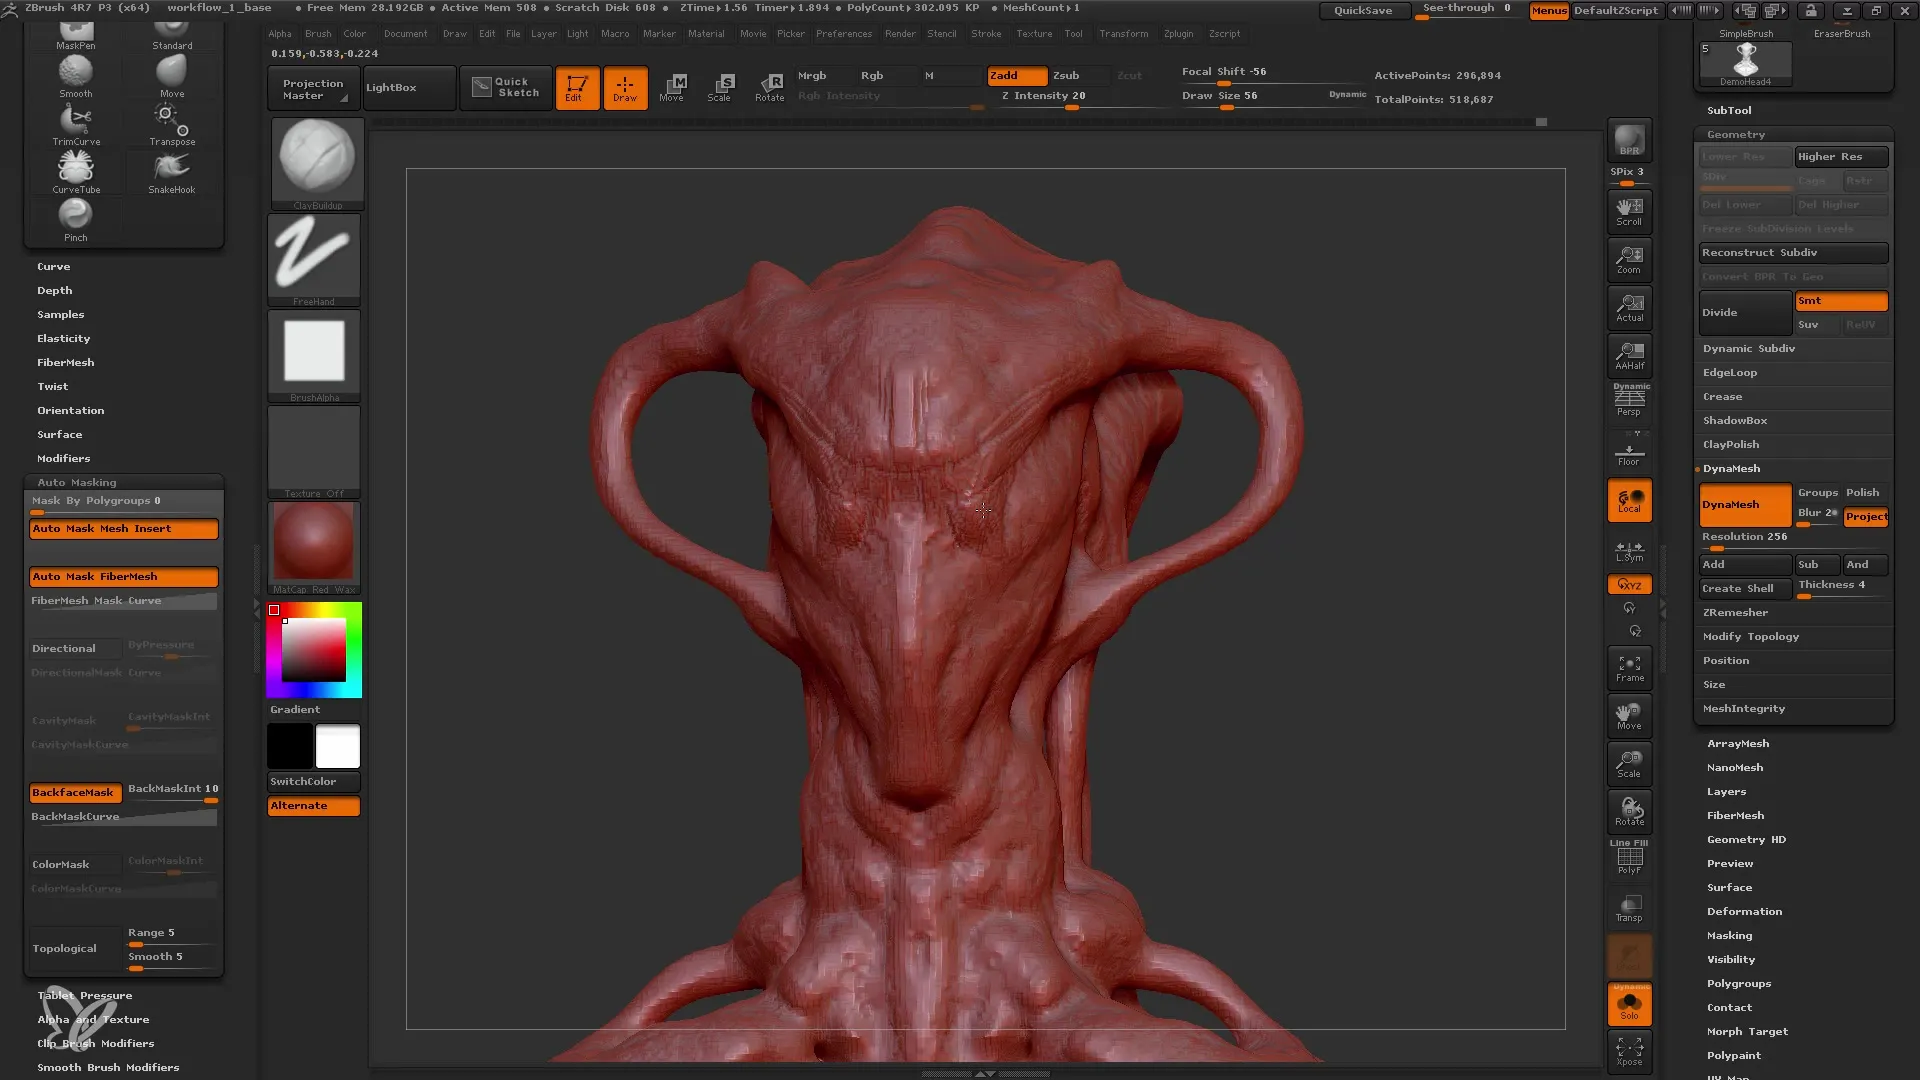
For the eyes, you should use a separate subtool. This allows you to design and adjust the eyes independently from the rest of the model. Once you have determined the eye placement, you can start creating the eye sockets. Remember that the mouth and nose must also fit proportionally with the facial shape.
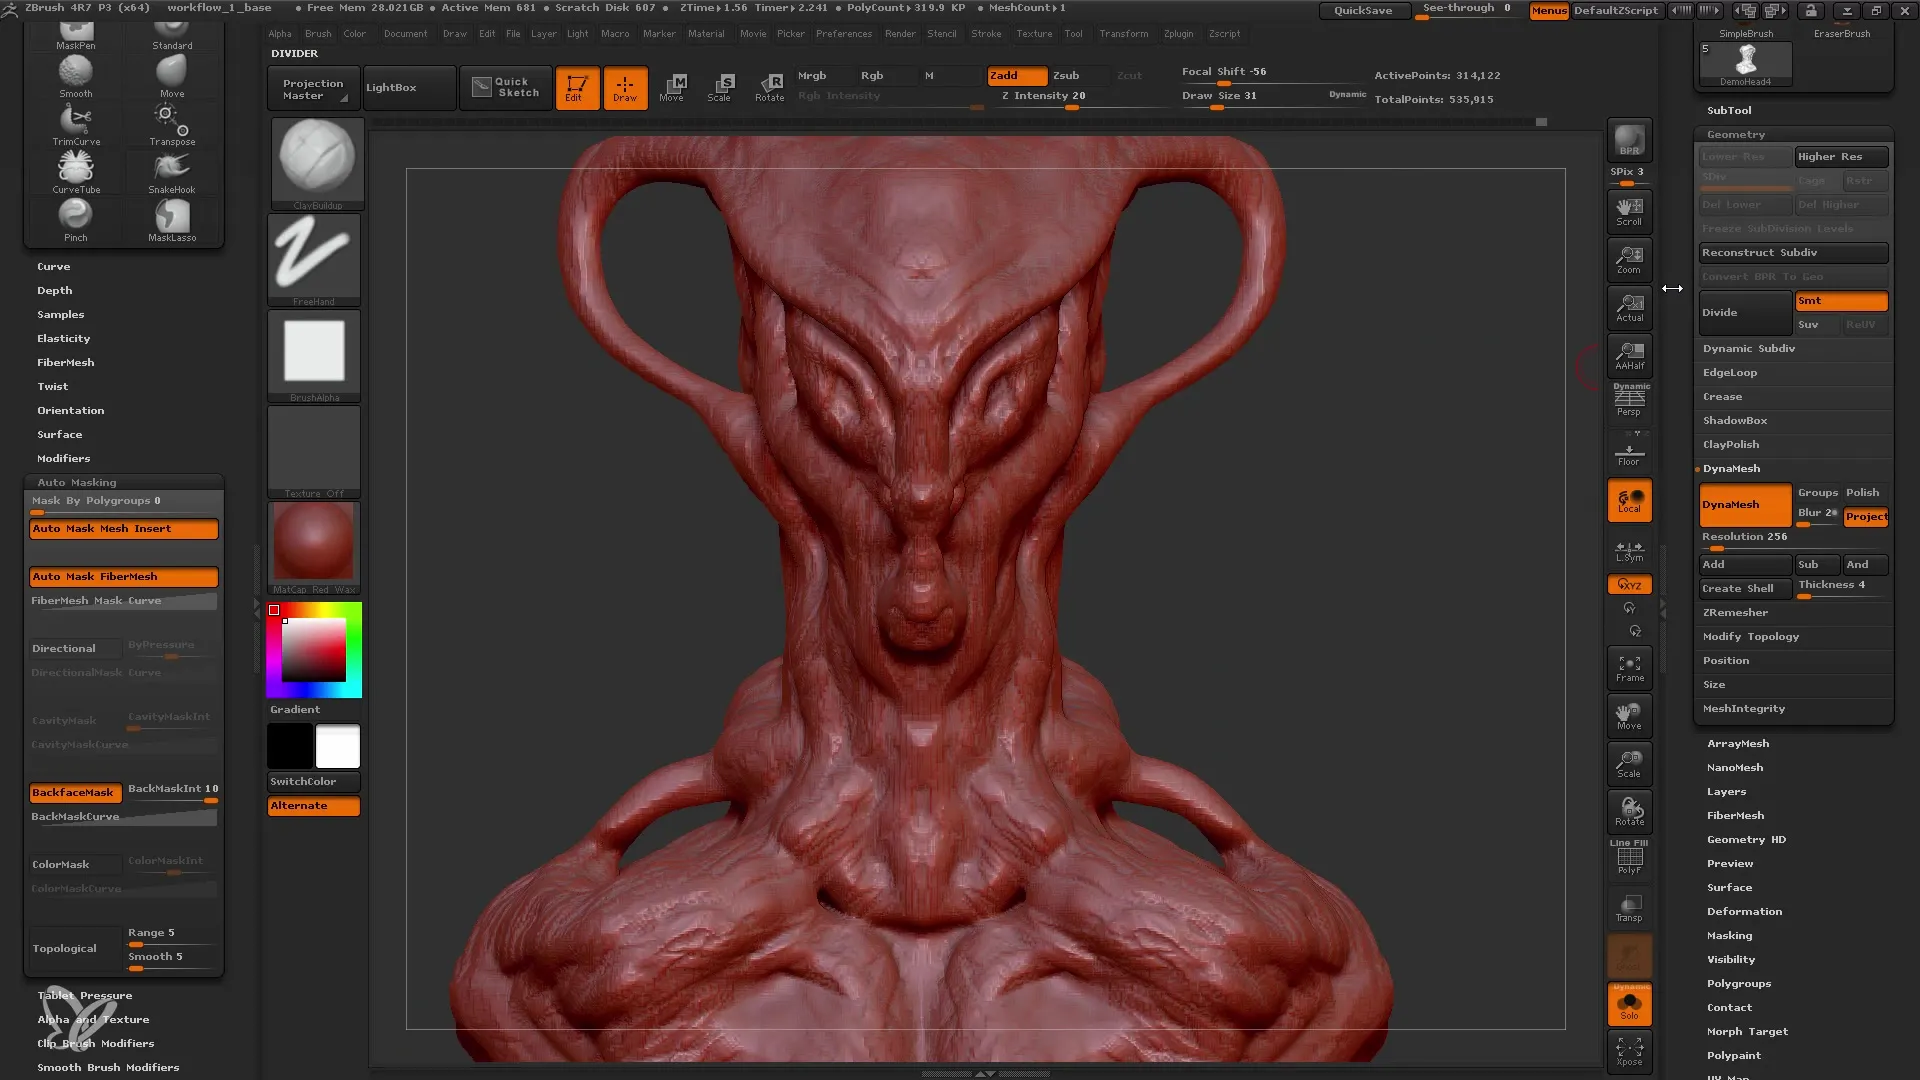
Fifth Step: Refinement and Detailing
Once the basic shapes are set, start with the refinement. Be sure to add details to the model. Use various brushes and techniques to create textures and small details. During this process, you may feel the need to check and make changes repeatedly, which is completely normal.
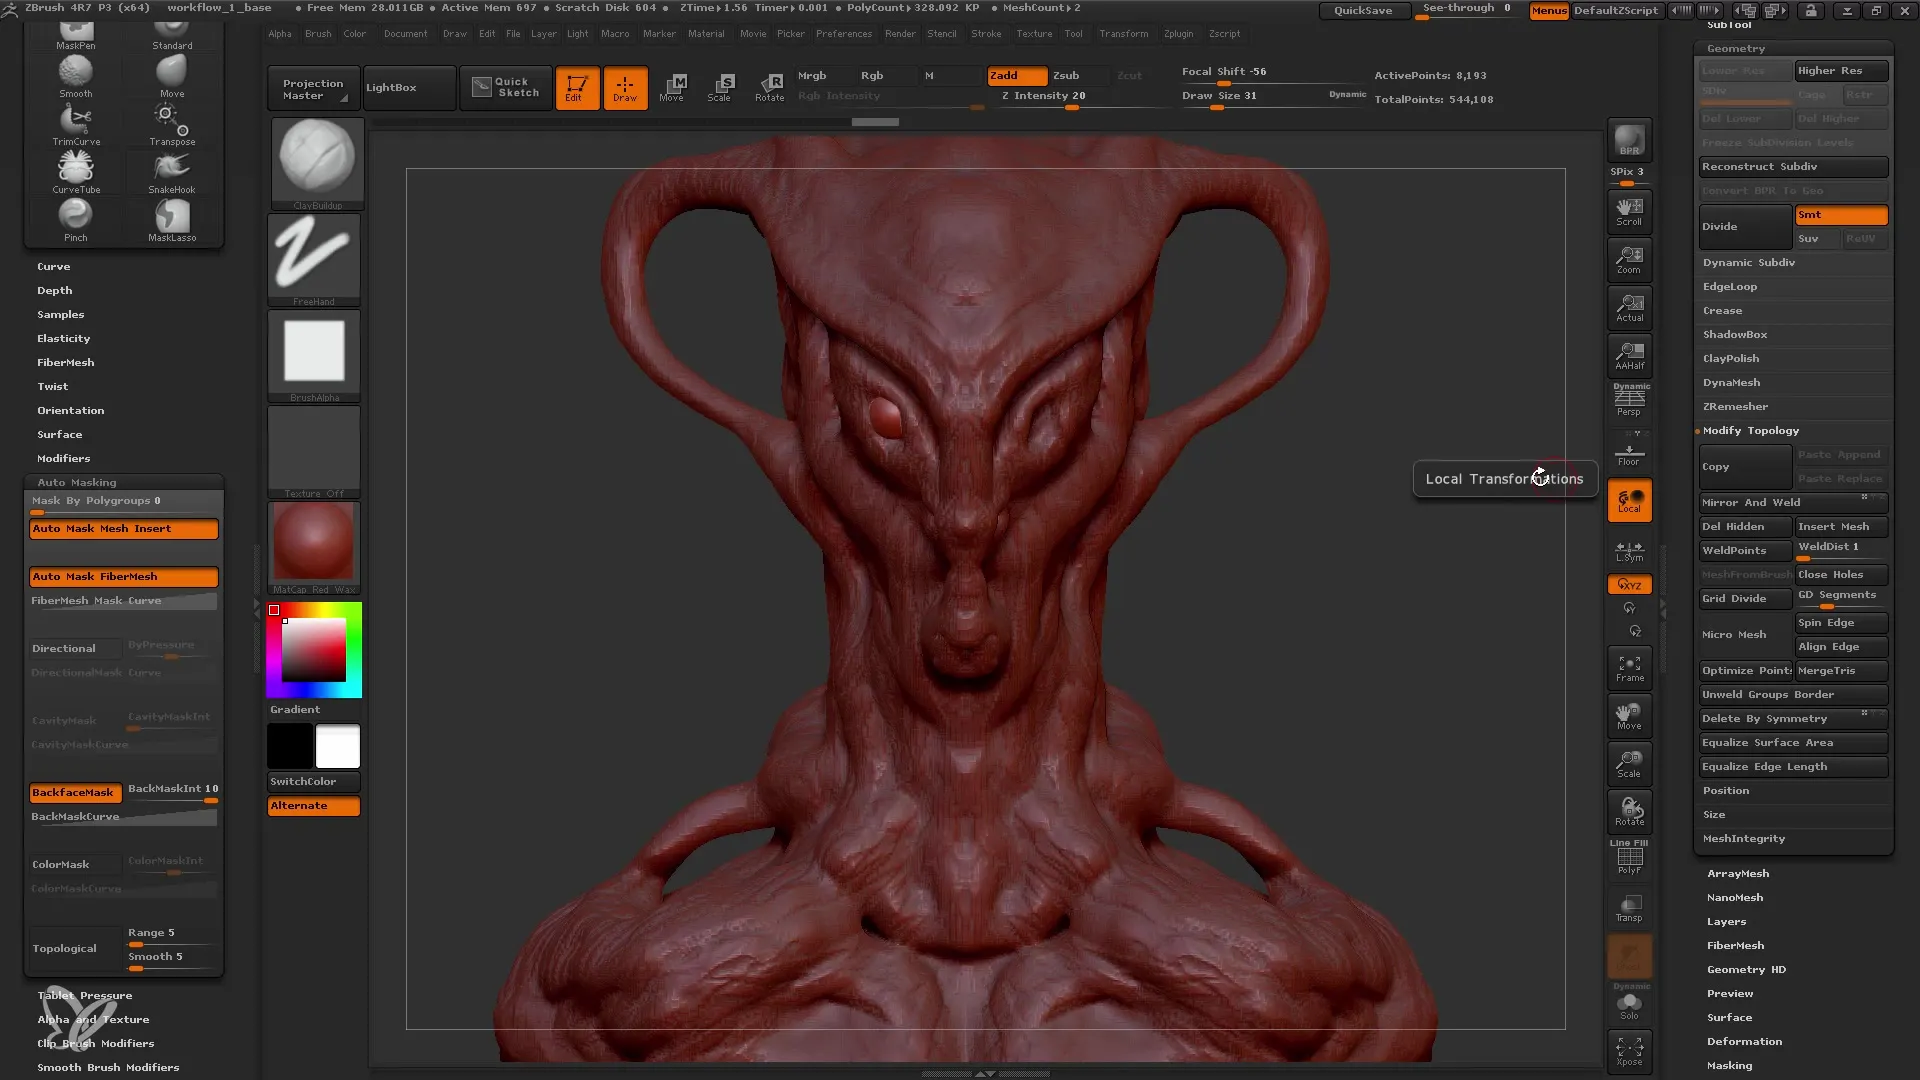
Sixth Step: Symmetrical Adjustment of the Eyes
To ensure your model is symmetrical, you can use ZBrush's Mirror and Weld function. To do this, you need to play the first eye area and then mirror it so that the other part is automatically completed. Pay attention to the axes to avoid unwanted shifts.
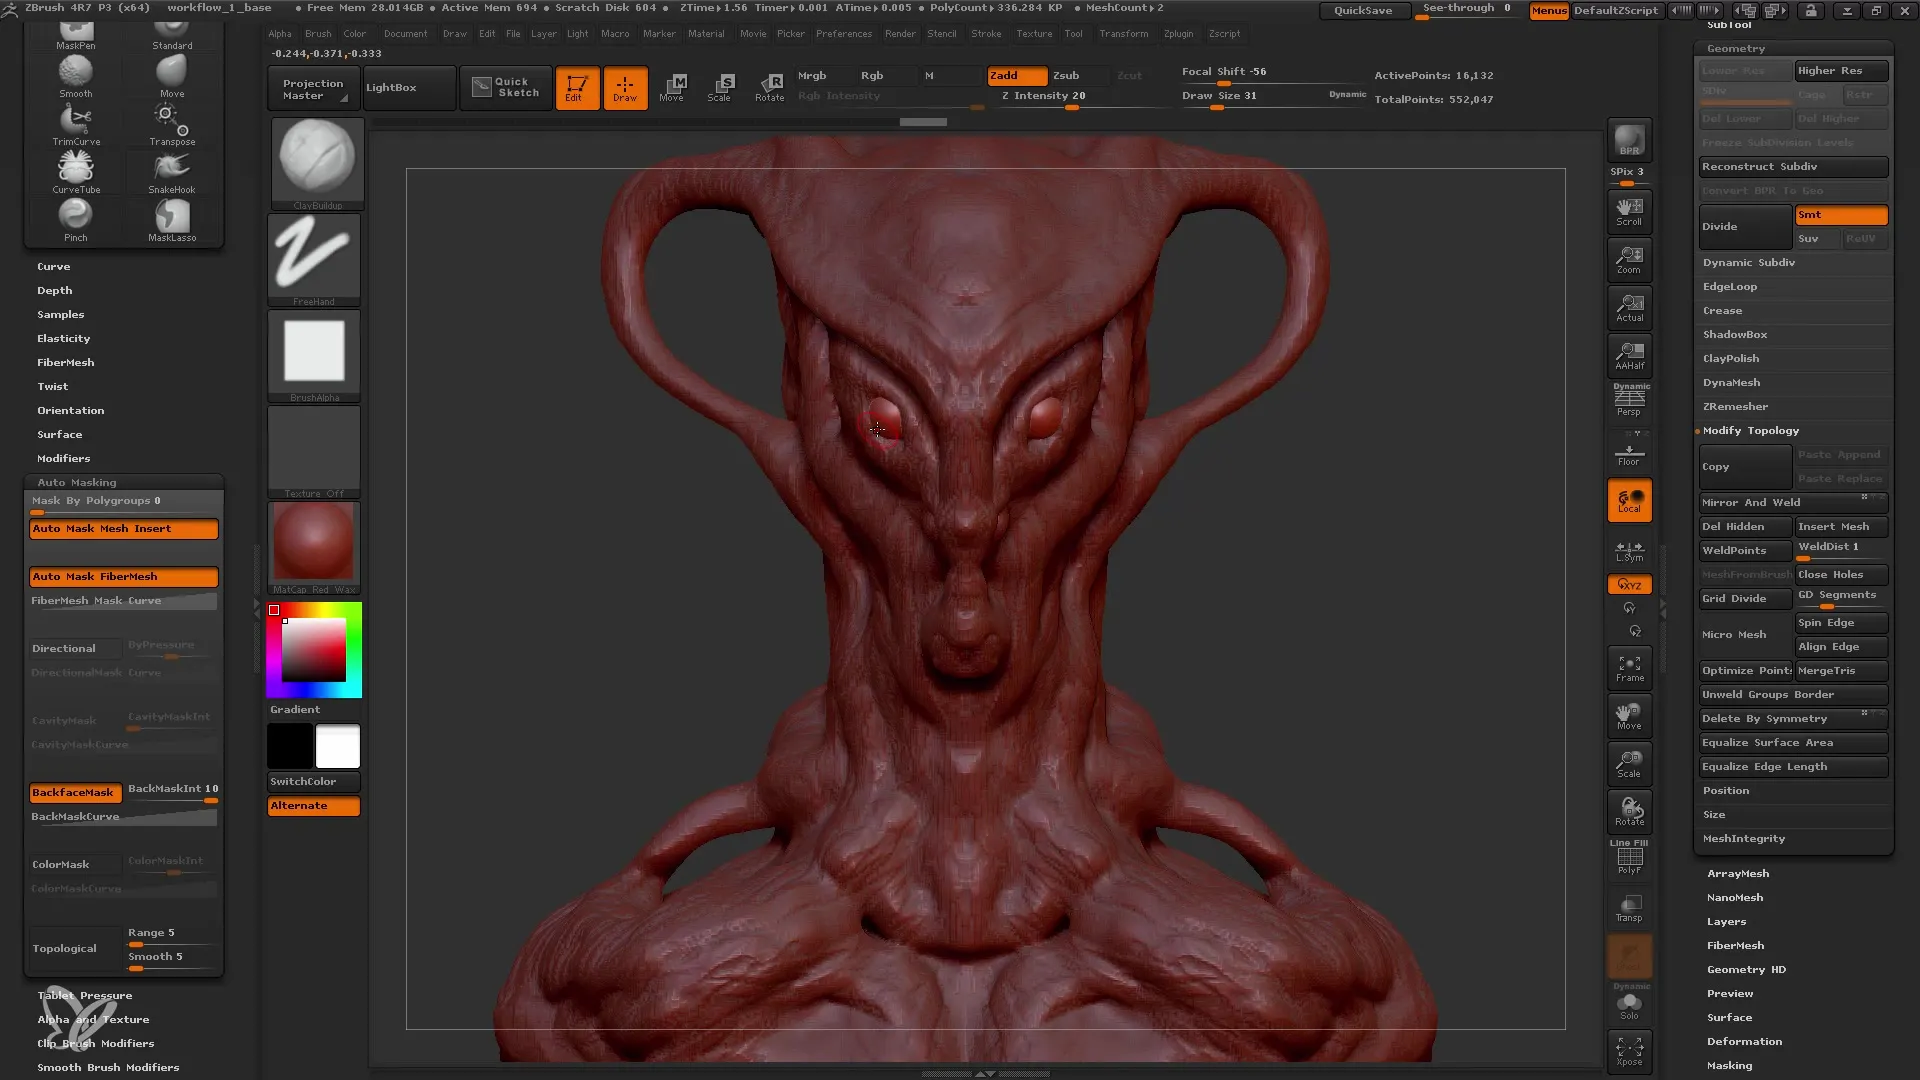
Seventh Step: Final Adjustments before Remeshing
Before starting the remeshing process, it is important to take a final look at your model. Check the details, proportions, and existing structures. If you are satisfied with the result, you can switch to Remesh Mode. This step will restructure the mesh, improving the overall topology of your model.
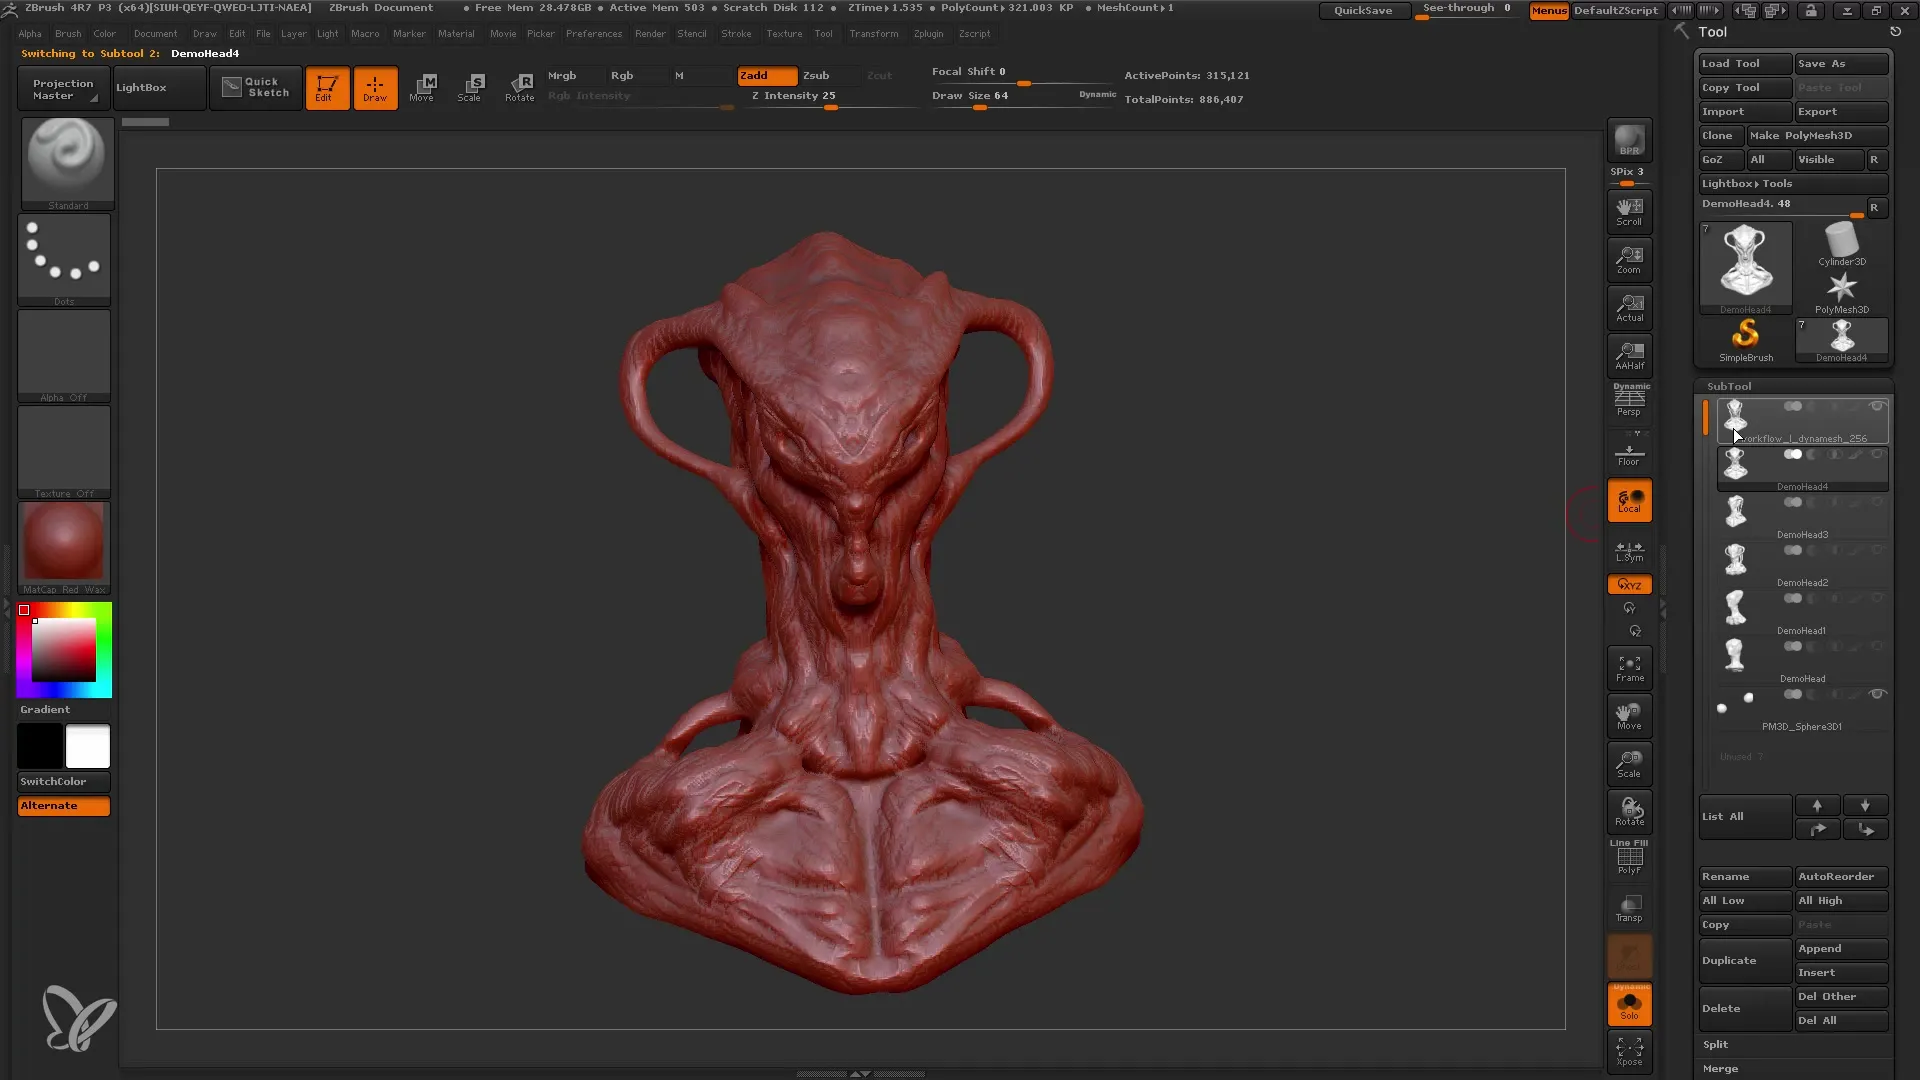
Summary
In this tutorial, you have learned how to effectively work with a Dynamesh resolution of 256 in ZBrush. The individual steps show you how to go from basic shapes to a detailed model. Remember that patience and continuous progress monitoring are essential to achieve an appealing final result.
Frequently Asked Questions
What is Dynamesh?Dynamesh is a function in ZBrush that allows you to dynamically restructure the model for easy editing of shapes and details.
Why should you work with a resolution of 256?A resolution of 256 offers an ideal compromise between level of detail and flexibility, as it allows you to work without overload.
What is the advantage of Subtools?Subtools allow you to independently edit different parts of your model, which is particularly beneficial for eyes, mouth, and other details.
How can I achieve symmetry in ZBrush?Using the Mirror and Weld feature, you can create one side of your model and then automatically mirror it to the other side to ensure symmetry.
