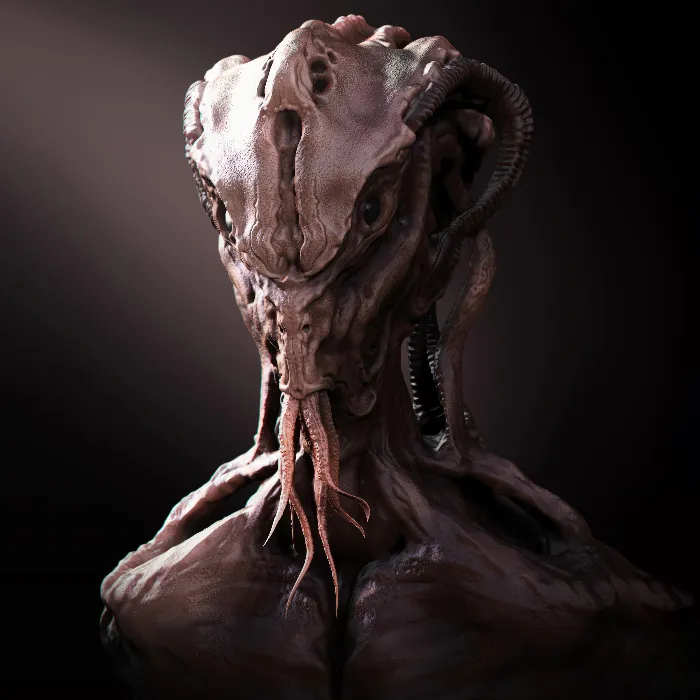
In this tutorial, I'll show you step by step how you can perform lighting and rendering directly in ZBrush. You will learn how to make the most out of the settings and materials to create various render passes that you can later use in Photoshop for final editing. This guide is specifically designed for beginners and will help you understand the basics of rendering in ZBrush.
Key Takeaways
- Set up the document properly in ZBrush to create enough space for later image editing.
- Position the model in a way that considers the best angles for rendering.
- Use different light sources to create shadows and effects that make the model more dynamic.
- Organize and save render passes to efficiently continue work in Photoshop.
Step-by-Step Guide
Start by preparing your document. To adjust your model's proportions, go to the "Document" menu. Make sure to deactivate proportions and change the size to 1000x2000 pixels. Then press "Resize." This will create enough space on the sides for potential adjustments in Photoshop.
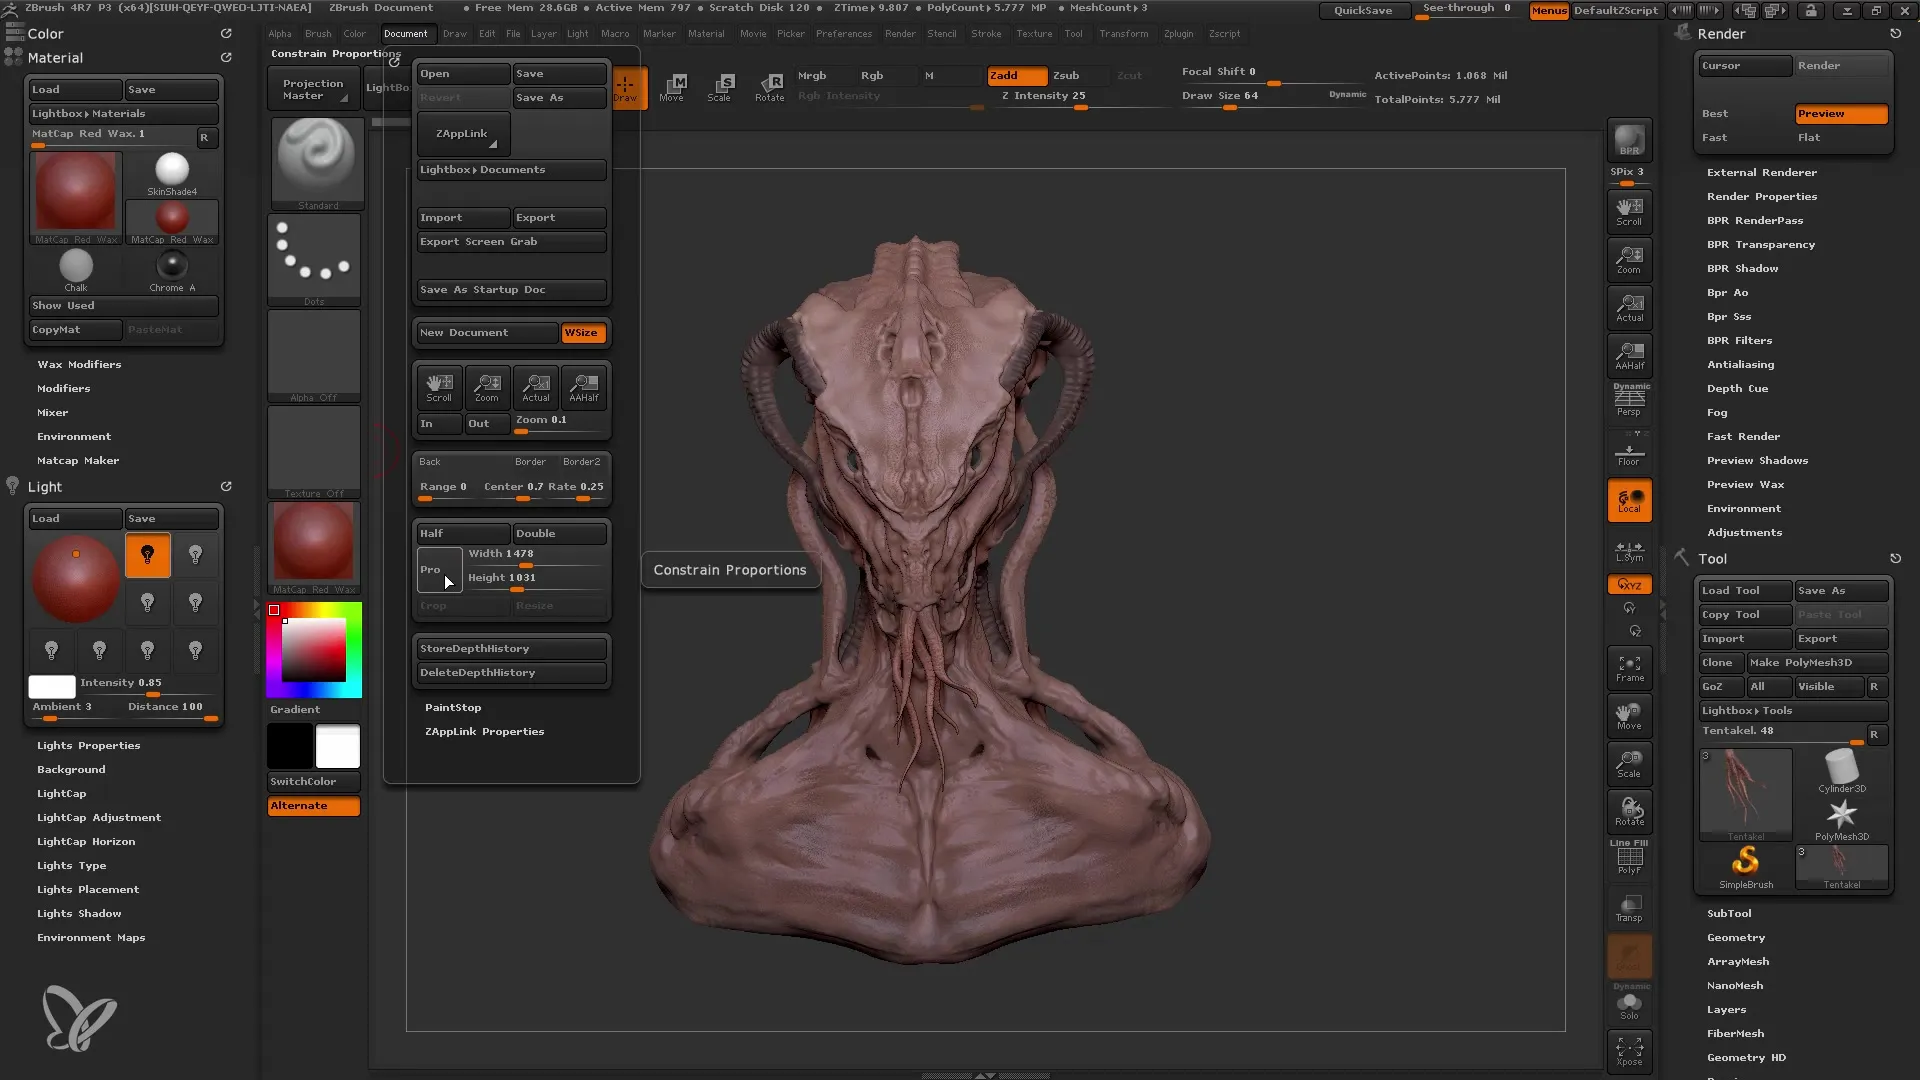
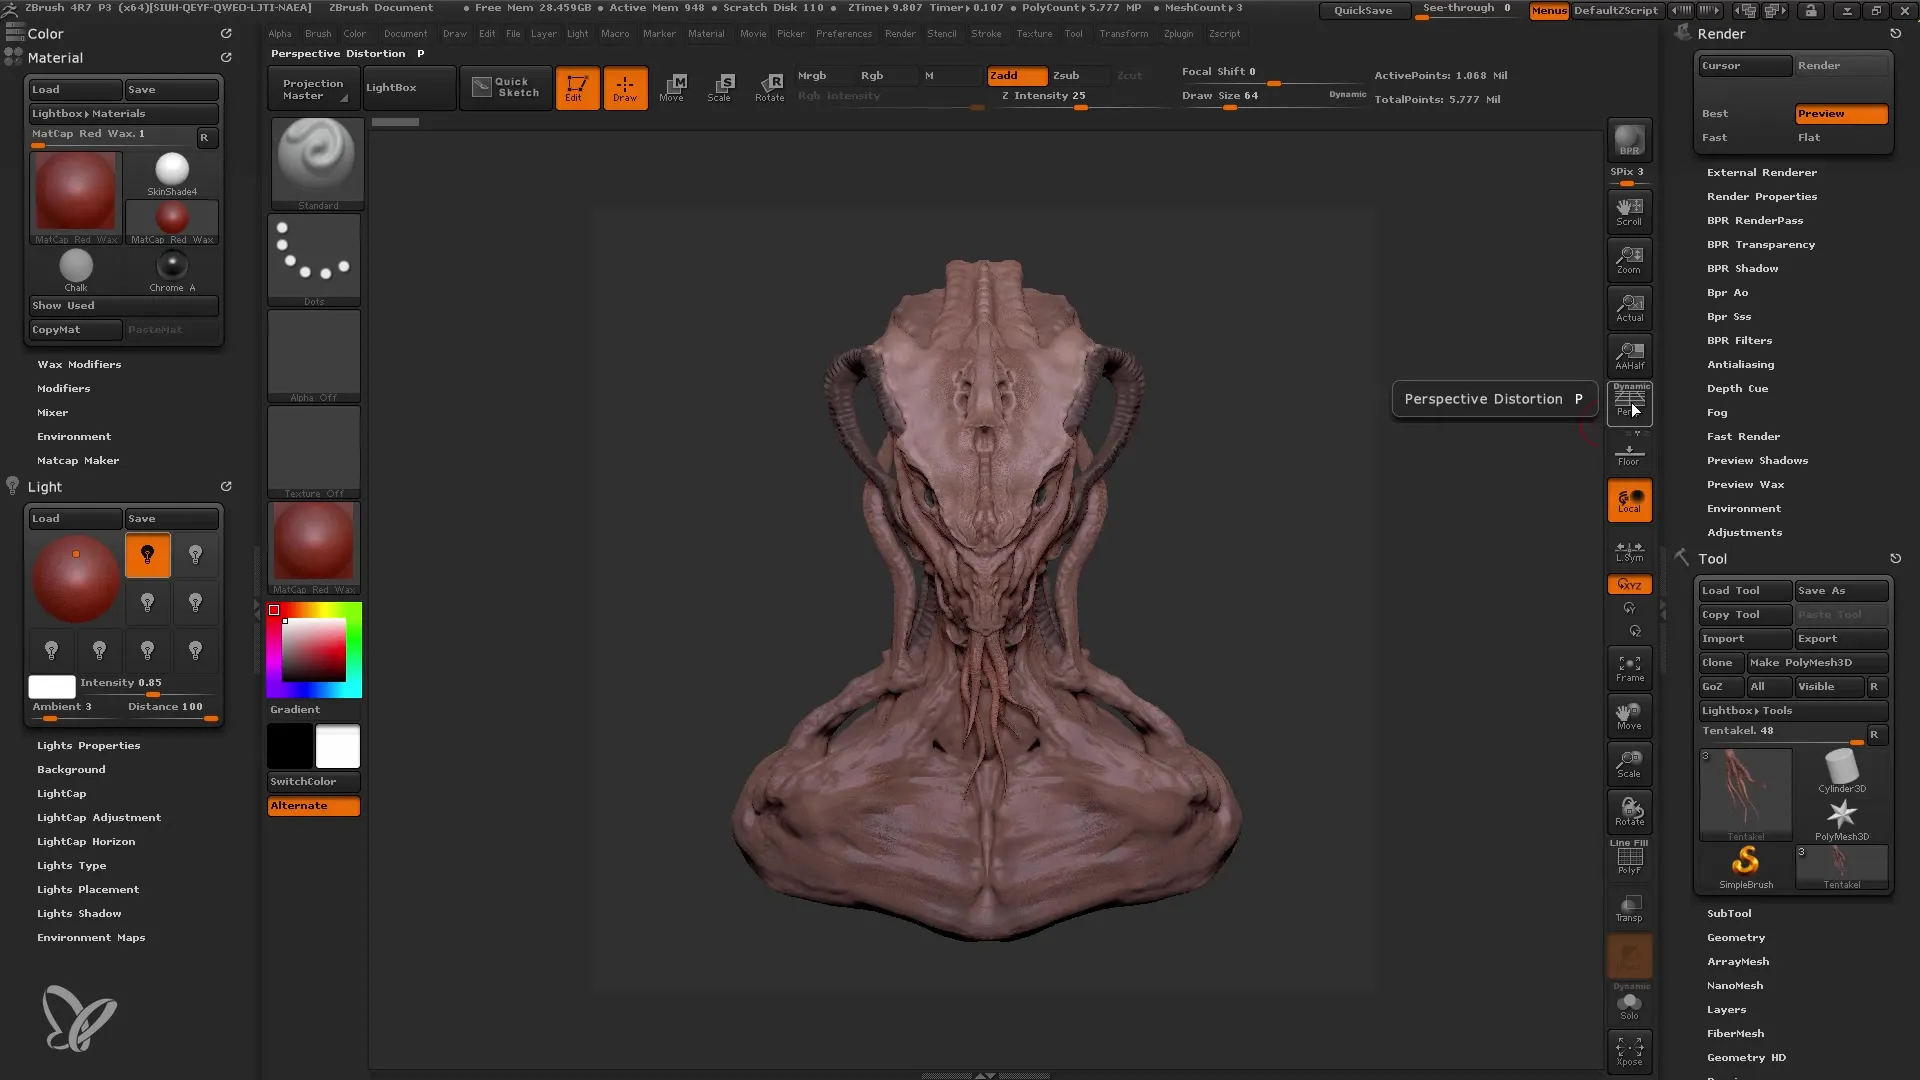
Now that your document has the right size, it's time to position your model optimally. Turn on the perspective to get a better idea of the model's angle. Using the "Draw" menu, adjust the view so that the eye is clearly visible. An angle of about 70 degrees has proven to be effective. Experiment a bit to find the best perspective.
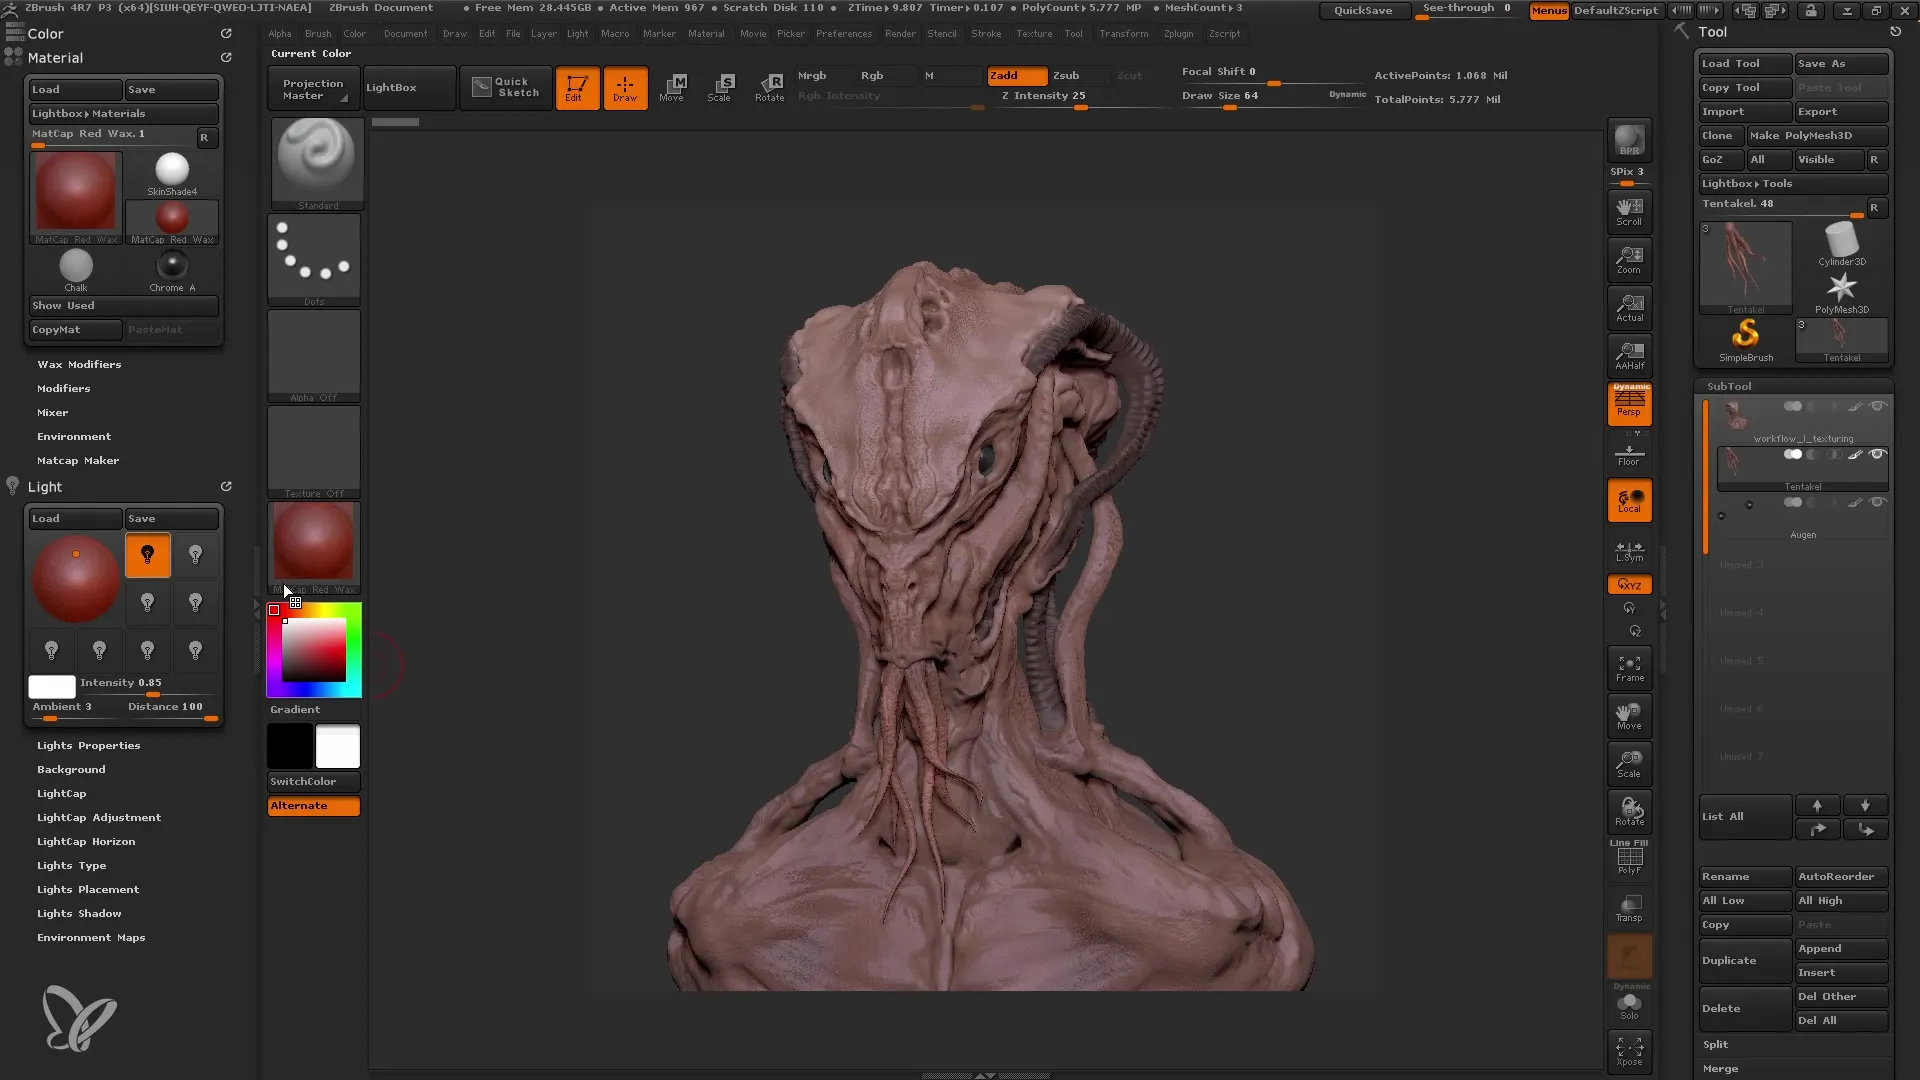
Once the model is properly positioned, focus on lighting it. Choose the "Skin Shader" to better assess the colors of light. Start with a standard light that is not too strong. Adjust the intensity so that the entire model is well lit, but enough details are still visible. A "wax material" with a value of about 25 creates an interesting effect.
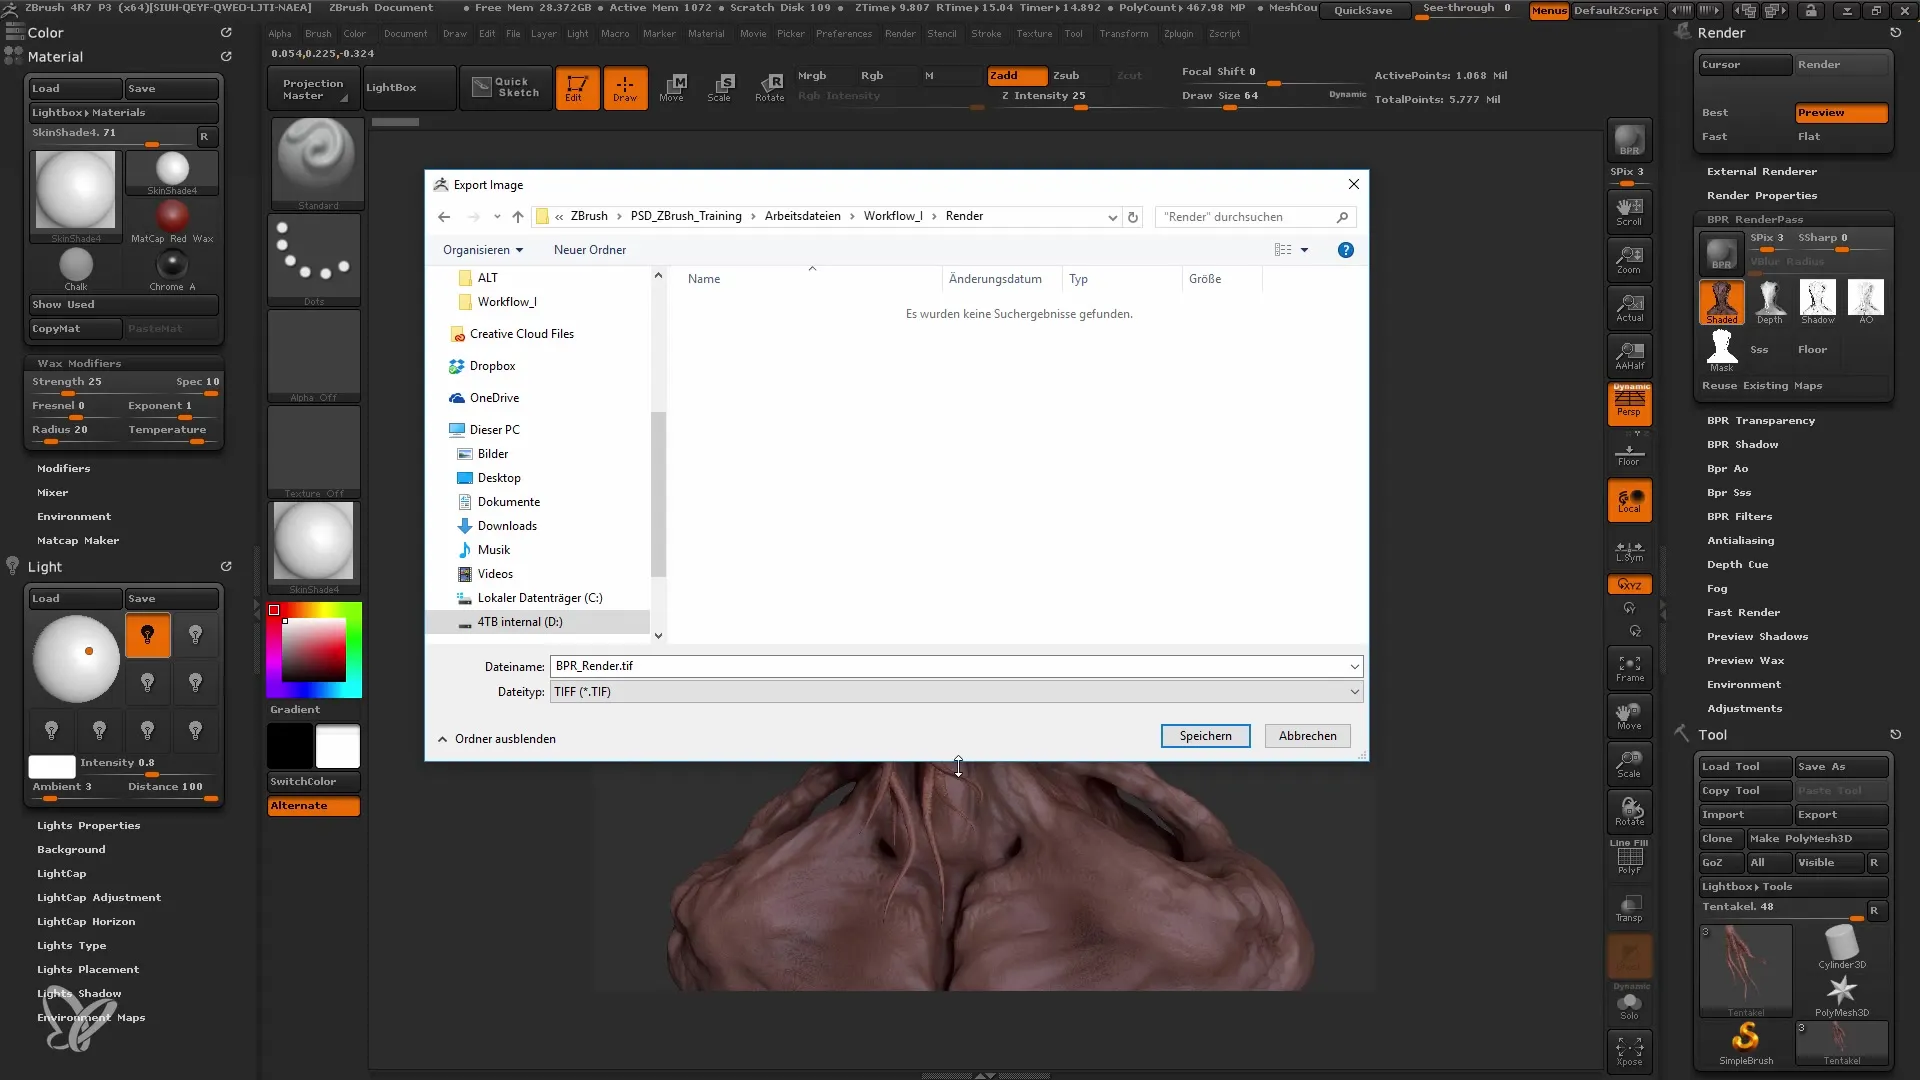
You should also adjust the render settings. Go to the "Render" menu and activate "BPR." Note that processing may take a bit longer, especially if you have many details. It's important to save the various render passes. Create a new folder for this and save the key render passes like the depth channel, shadows, and ambient occlusion (AO).
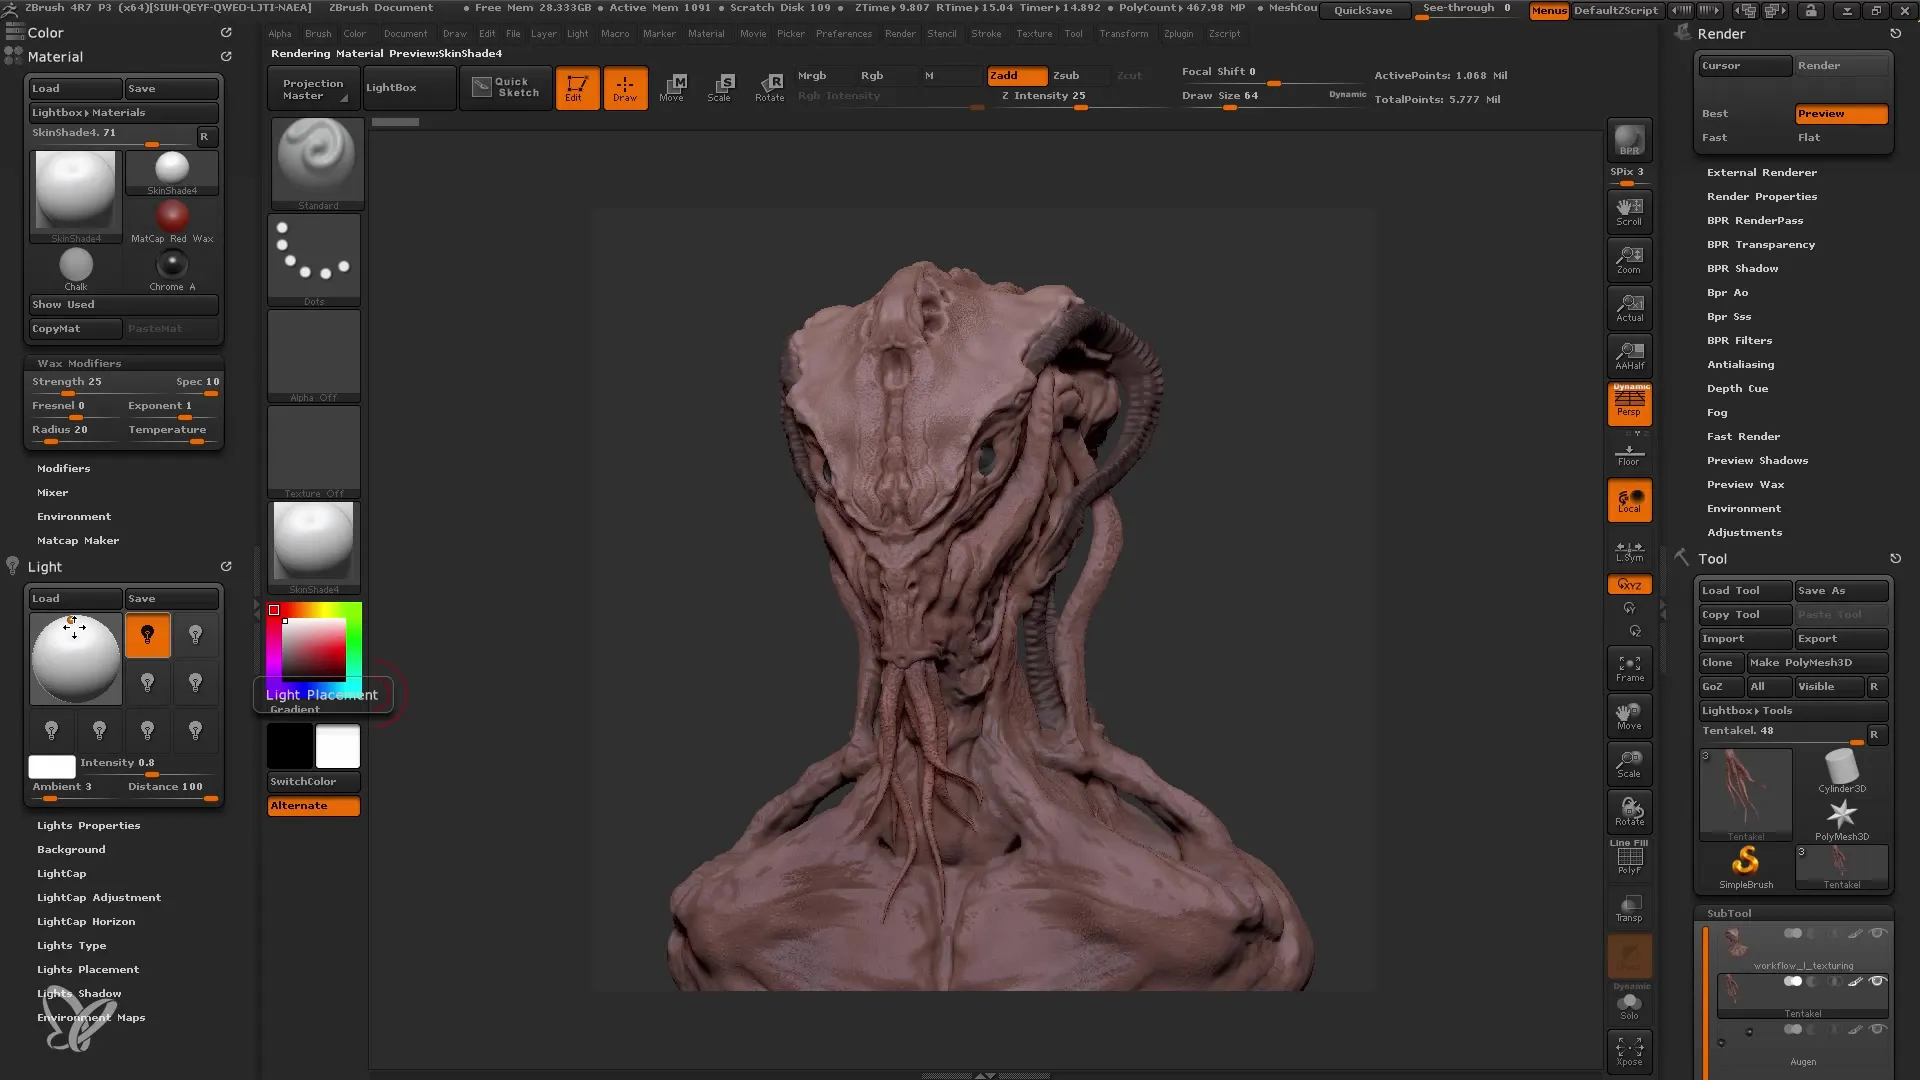
Now you can further adjust the lighting. Add an additional light source coming from above. An intensity of about 0.8 creates great shadows and highlights the model's details. Experiment with the position and intensity of the lights to achieve the best results.
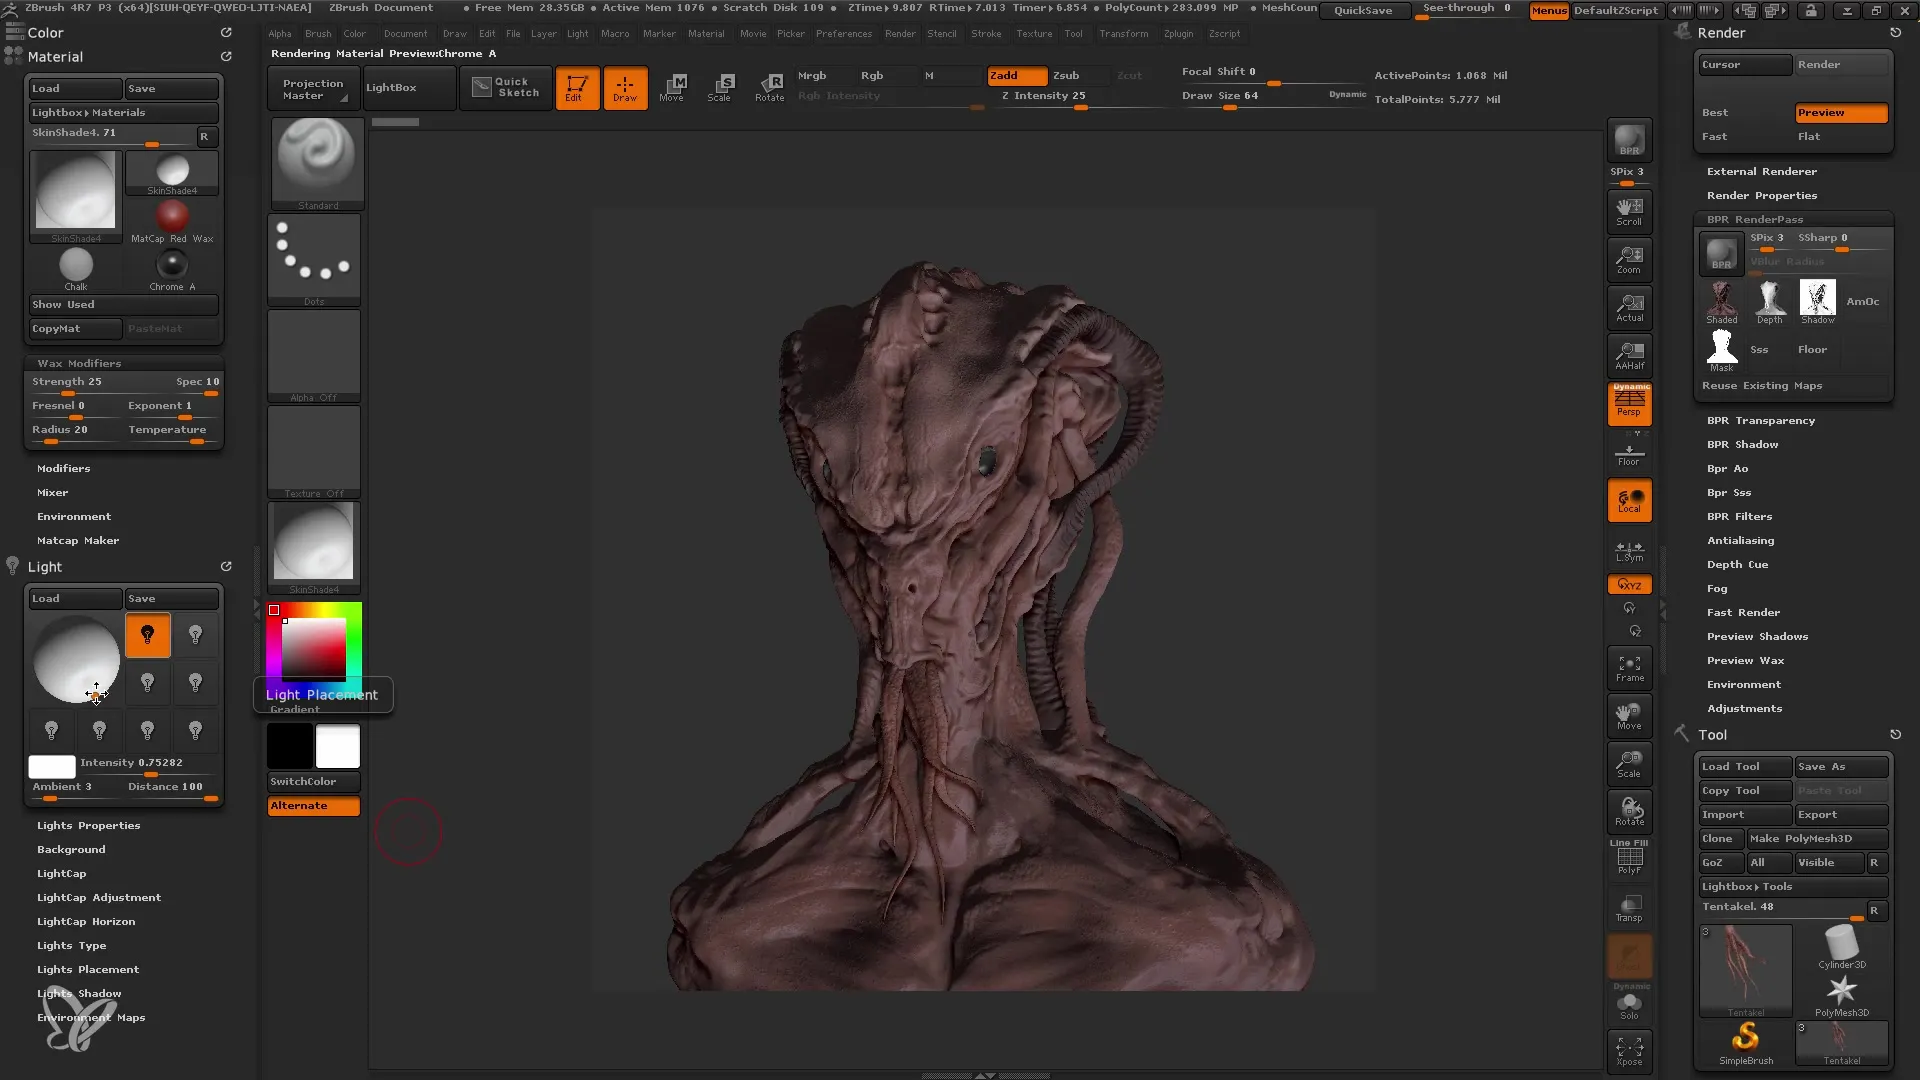
Once you are satisfied with the lighting, you can now add a second light source. This time, add one coming from below to make the model even more interesting. Make sure to consider the shadows as well to create depth.
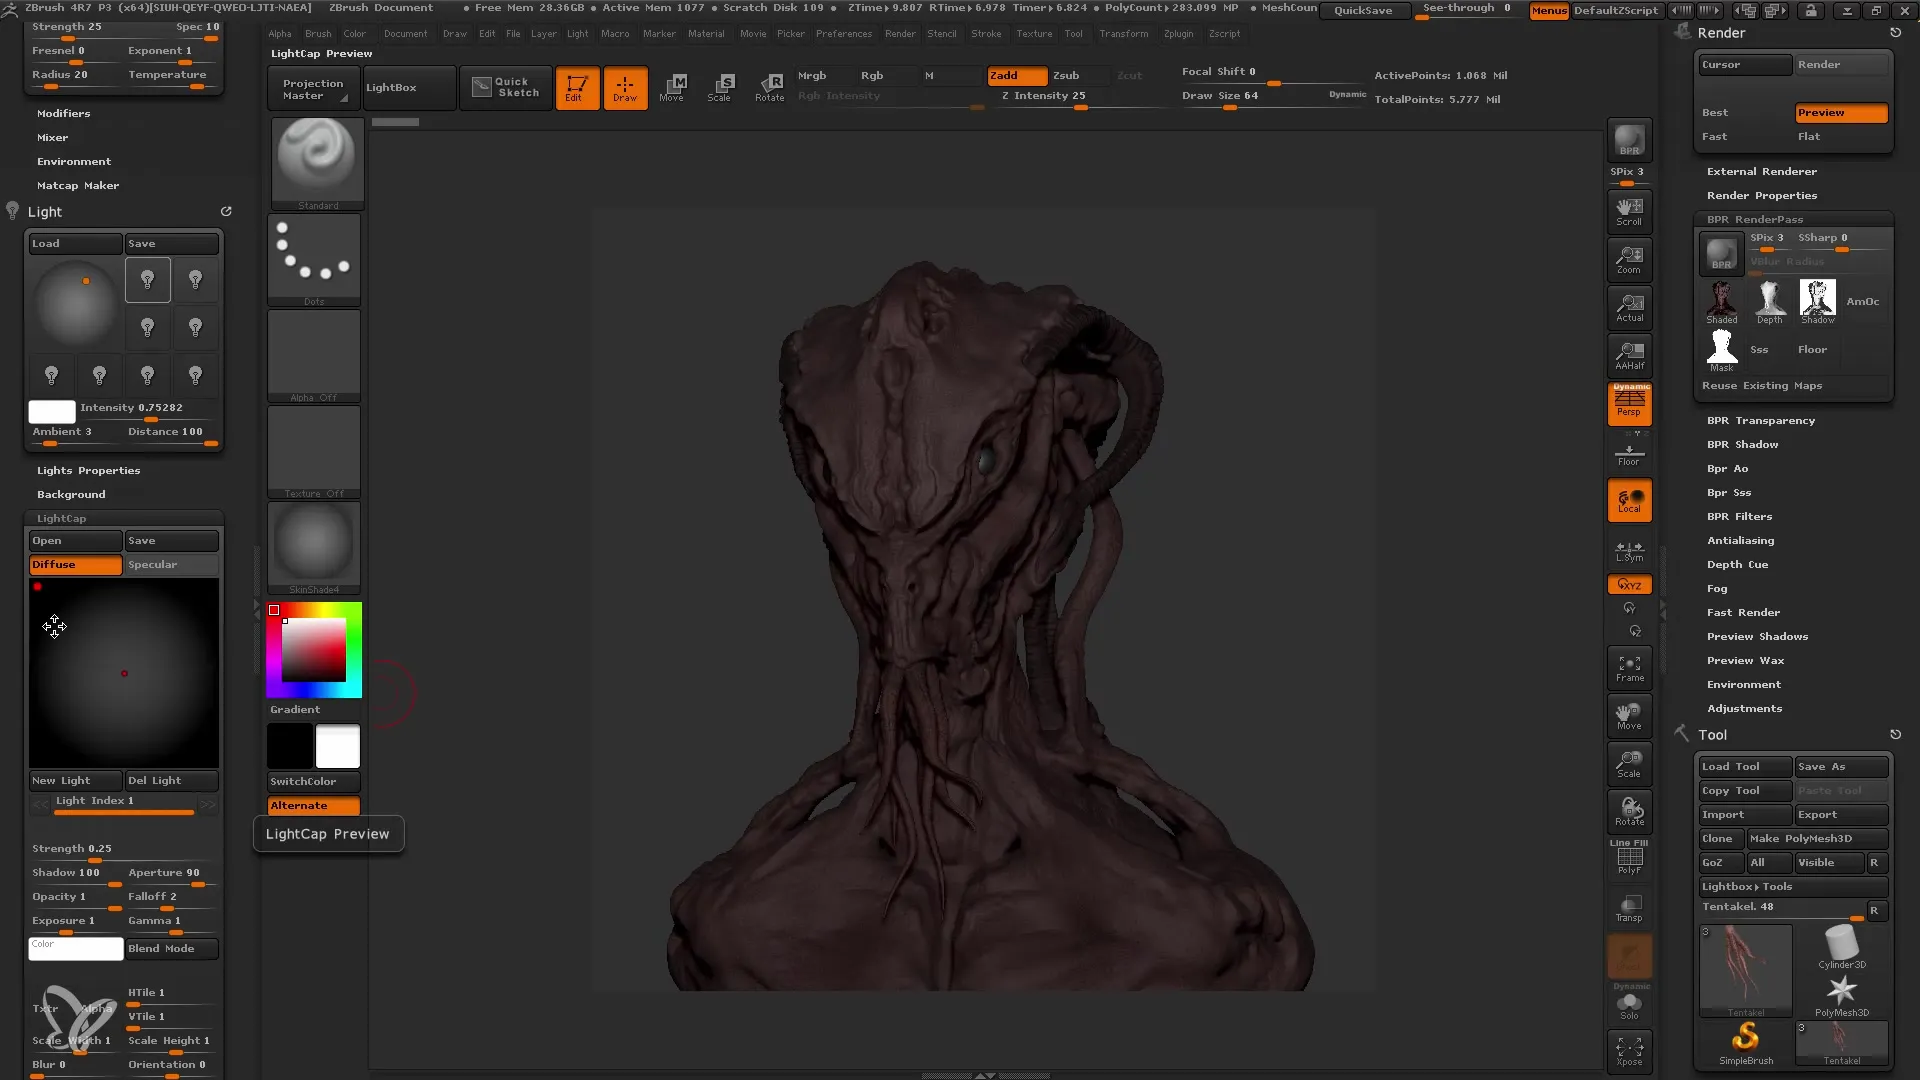
Now focus on the "edge light." Pull a "LightCap" from the menu to create a strong accent on the model's edges. Adjust the strength so that it is not exaggerated but adds a certain depth to the model.
Another step involves the subsurface scattering properties of your lights. Activate these in the "Light Properties" to better emphasize light transparency on the tentacles. This works particularly well when light hits the model from behind. Under these conditions, you'll get a nice, soft effect.
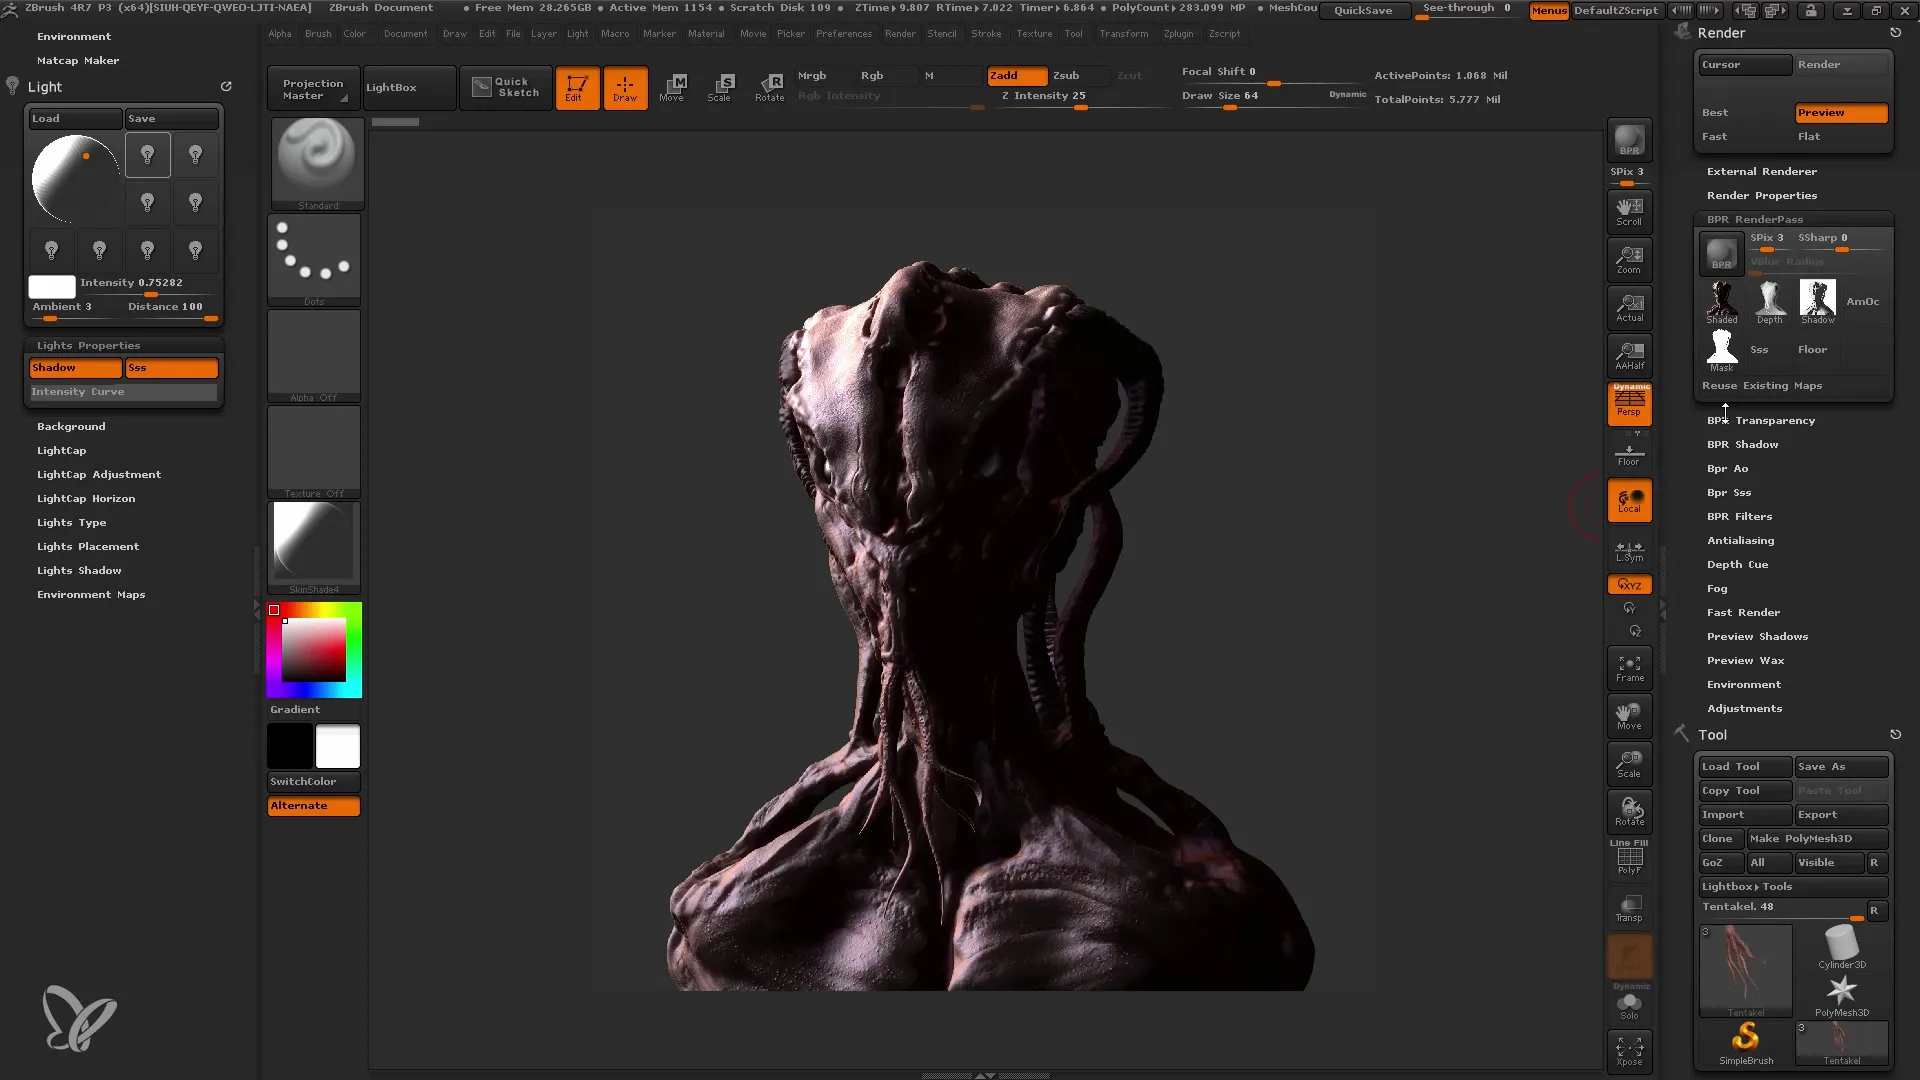
Then, optimize the materials. To give the model a wet look, use the "Toy Plastic" material. Fill the entire object with it to make it appear realistic and lively. The black you used in the previous step will help simulate the shine and moisture.
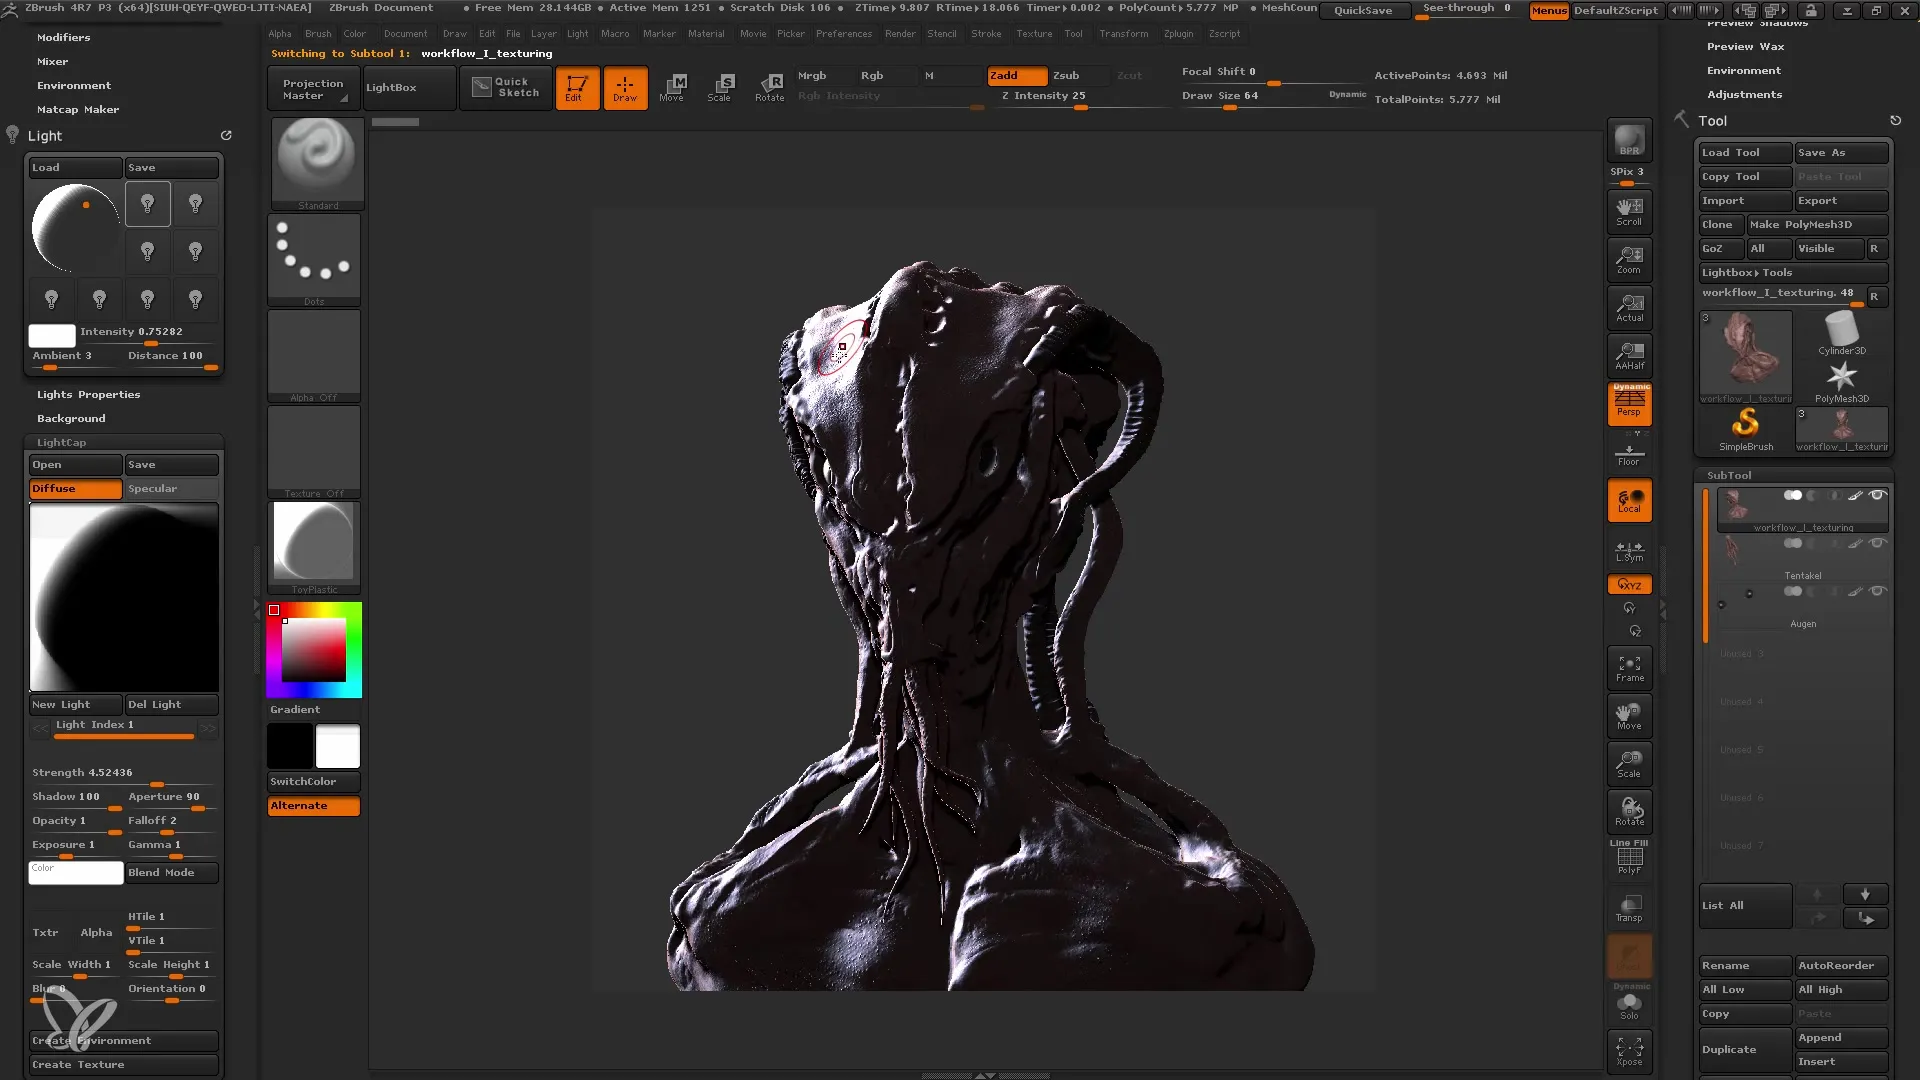
When your model is finished, make sure that the colors and effects stand out well. Save your project regularly to avoid unpleasant surprises. Use the "Movie Timeline" to save keyframes so that you can refer back to these settings anytime later.
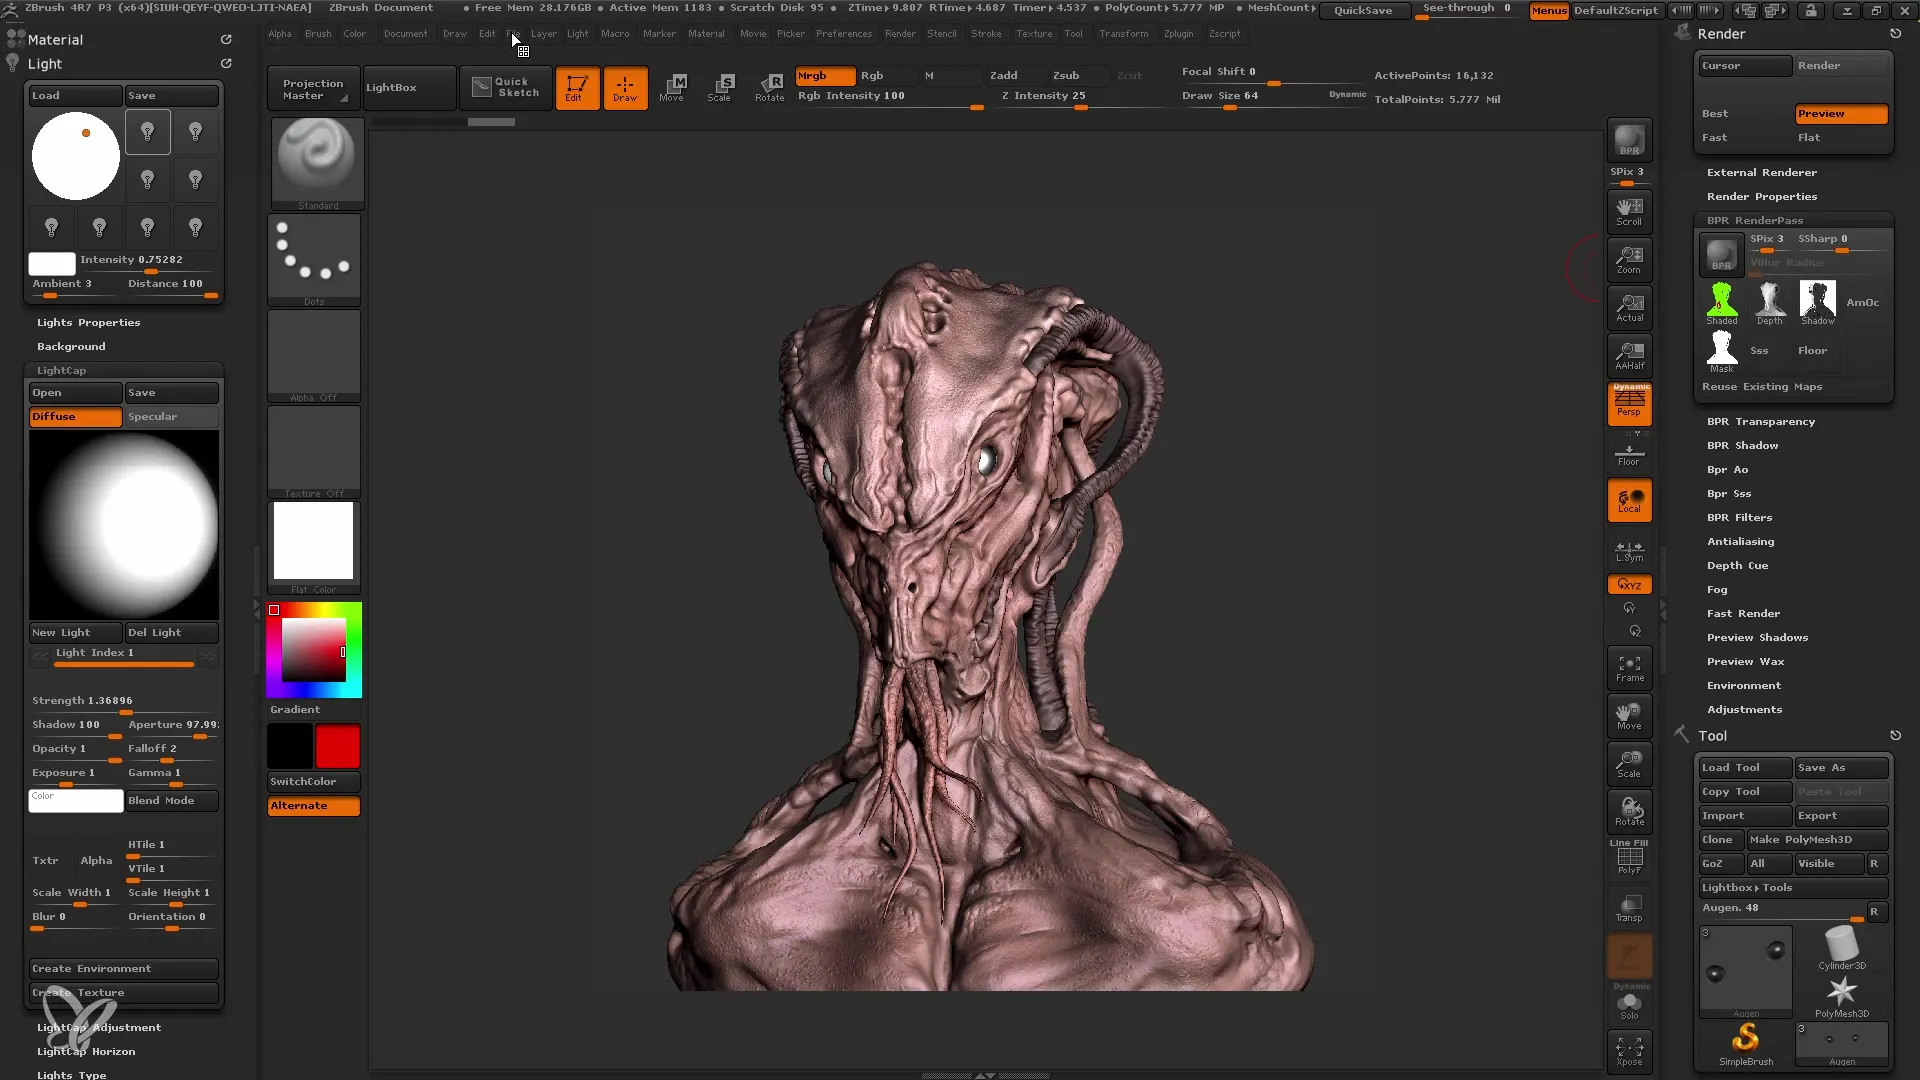
Finally, it is important to export all render passes and refine them in Photoshop. This way, you can get the best results from your ZBrush model and make the final image adjustments. At this point, it is always advisable to regularly back up your project data.
Summary
In this tutorial, you have learned how to implement efficient lightning and rendering in ZBrush. By properly positioning your model, cleverly using light sources, and effectively saving your render passes, you have laid the groundwork for impressive digital artworks.
Frequently Asked Questions
How do I adjust the size of my document in ZBrush?Go to the "Document" menu, disable proportions, and manually set the size, e.g. 1000x2000 pixels.
Can I use multiple light sources in ZBrush?Yes, you can use multiple light sources to create different effects and shadows.
How do I save render passes in ZBrush?Create a new folder and save the render passes such as depth channel, shadows, and AO in it.
What can I do if my rendering takes too long?Make sure you are not rendering too many details at once or disable unnecessary features to increase speed.
How do I integrate my render passes into Photoshop?Export the render passes and then import them into Photoshop to make the final adjustments there.
