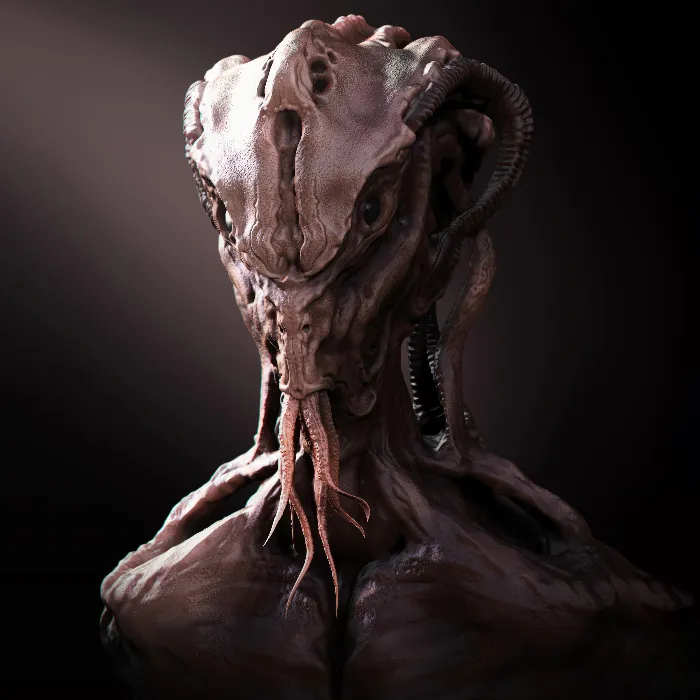
In this tutorial, I will show you how to blend the render passes you created in ZBrush and KeyShot using Photoshop, merging them to create an impressive final image. By utilizing Photoshop as the final editing tool, your 3D models' composites will be completed. Let's get started and learn how to give your renders the finishing touch!
Main Insights
- You can effectively merge render passes in Photoshop.
- It's important to use the right layers and masks to realistically integrate your models into the background.
- Color adjustments and lighting effects can significantly enhance the overall image.
Step-by-Step Guide
First, open Photoshop and load your rendered image as well as the background image. You will need these images in Photoshop in order to combine them.
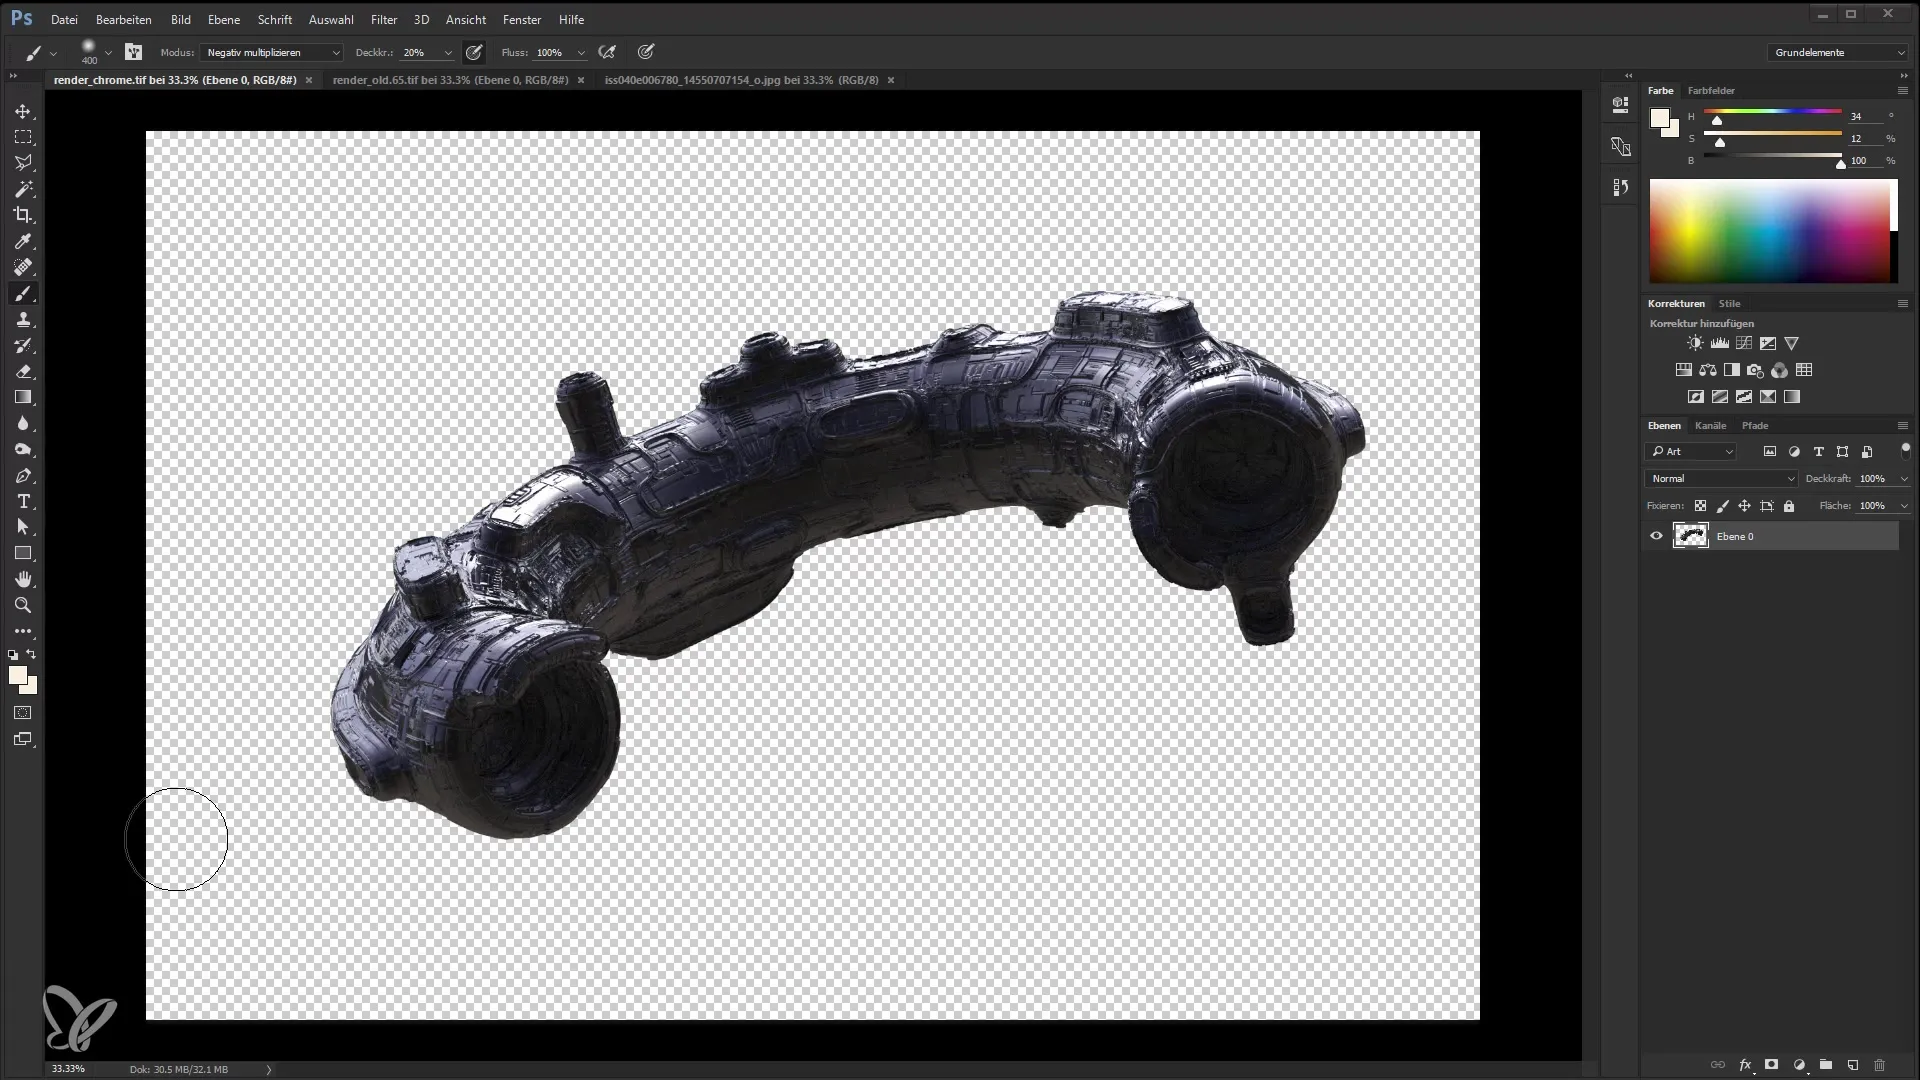
Once you are in Photoshop, examine your rendered image. I have here my initial render, the chrome render, and the image I downloaded from the NASA website. You can find many great images there that you are allowed to use for your projects.
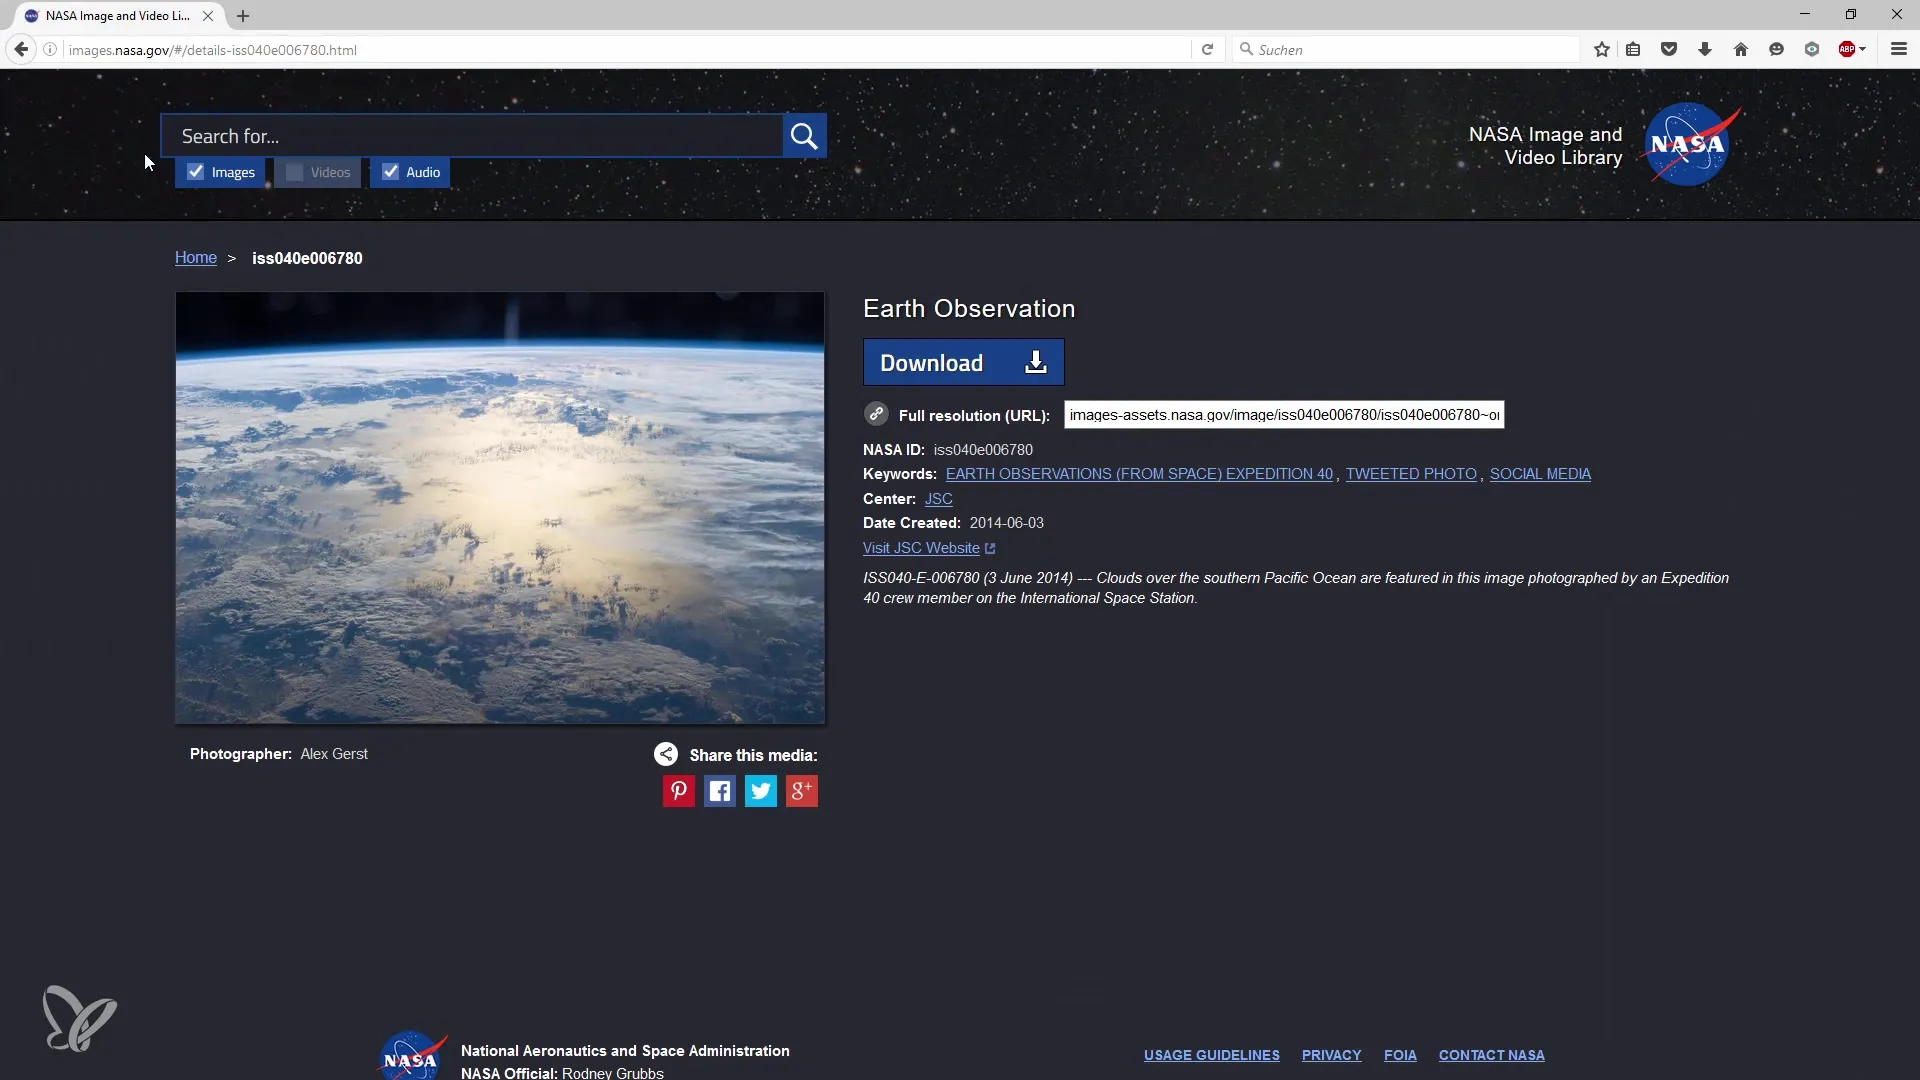
Next, you need to bring the two images together in one document. To do this, hold down the Alt key and drag both images into your Photoshop document. This way, you will have them both in a single document for better workflow.
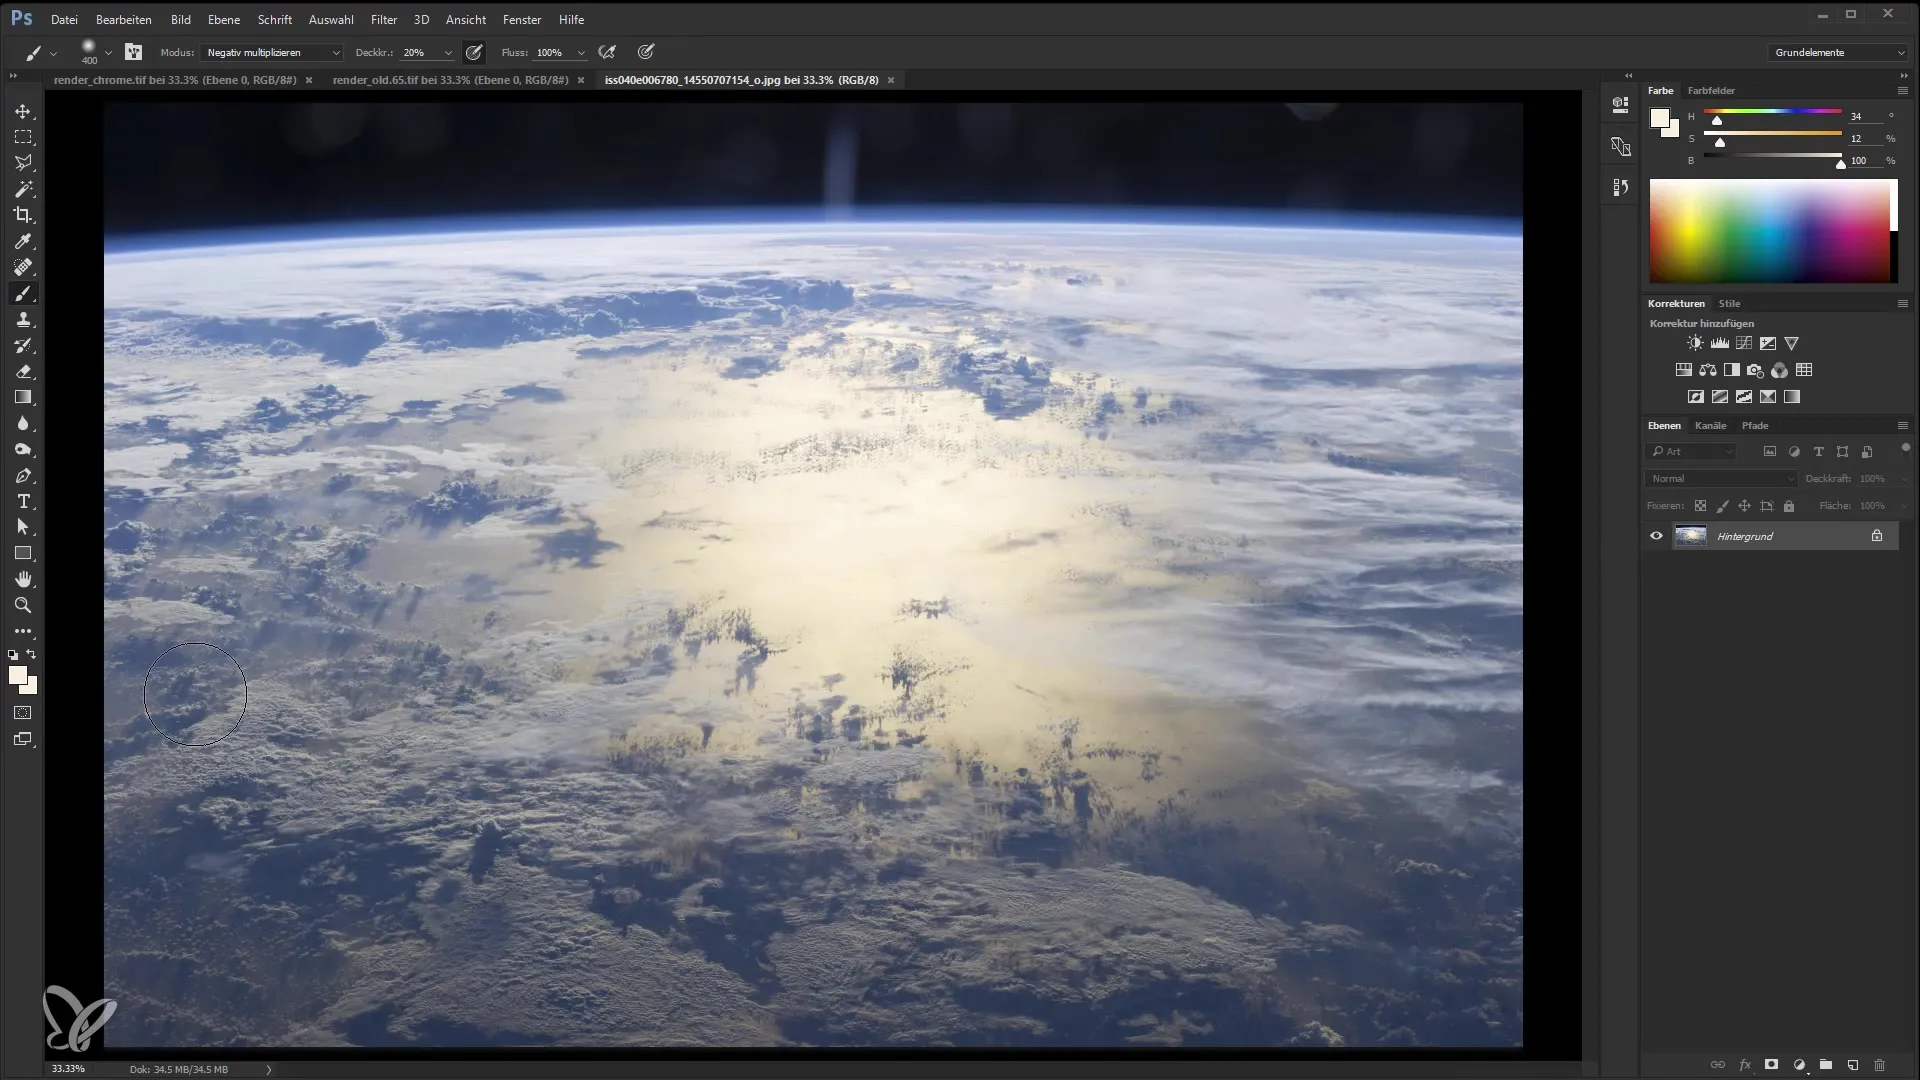
Now, let's start blending the layers. First, I take the background layer and adjust the opacity to ensure that the ship fits well into the new background. I could also fine-tune with masks, but that would take too long for now.
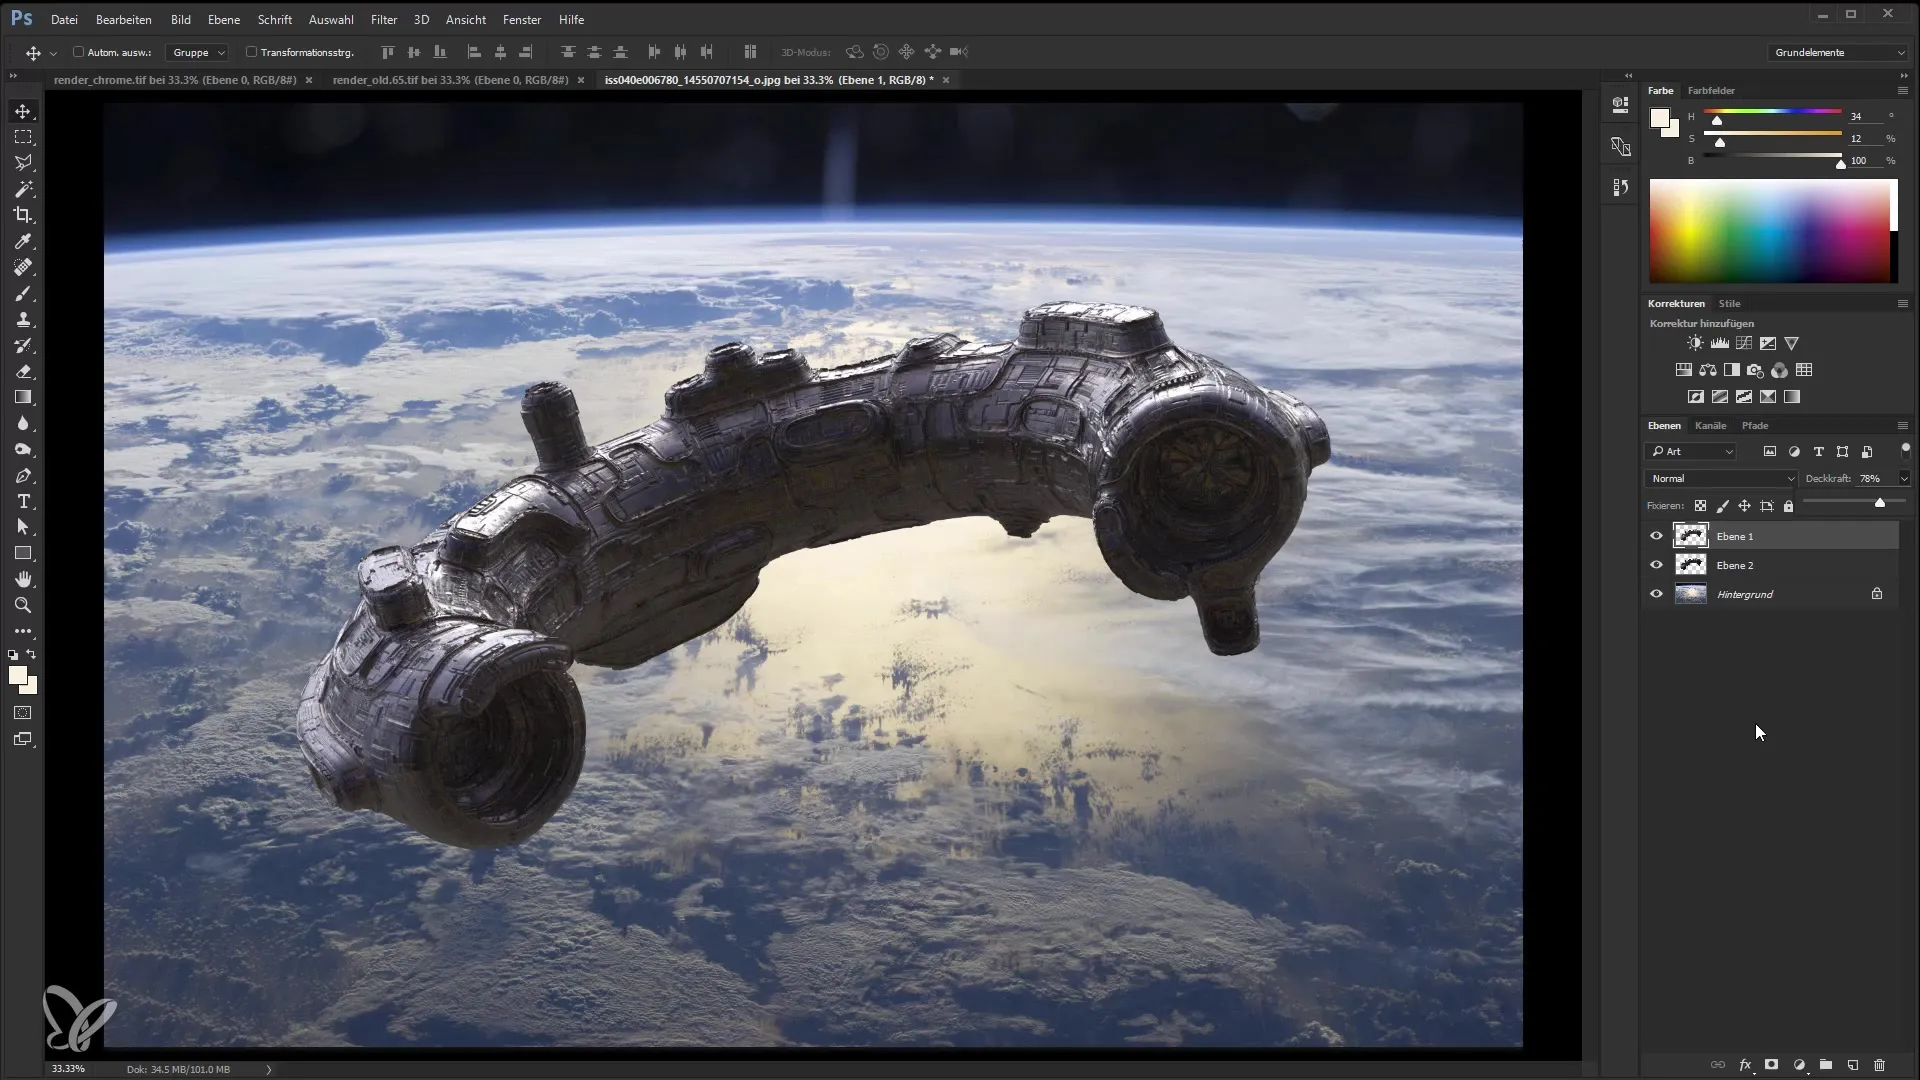
Now I group the two layers, so I can work on the ship alone. It's important that grouping helps you keep track of your objects.
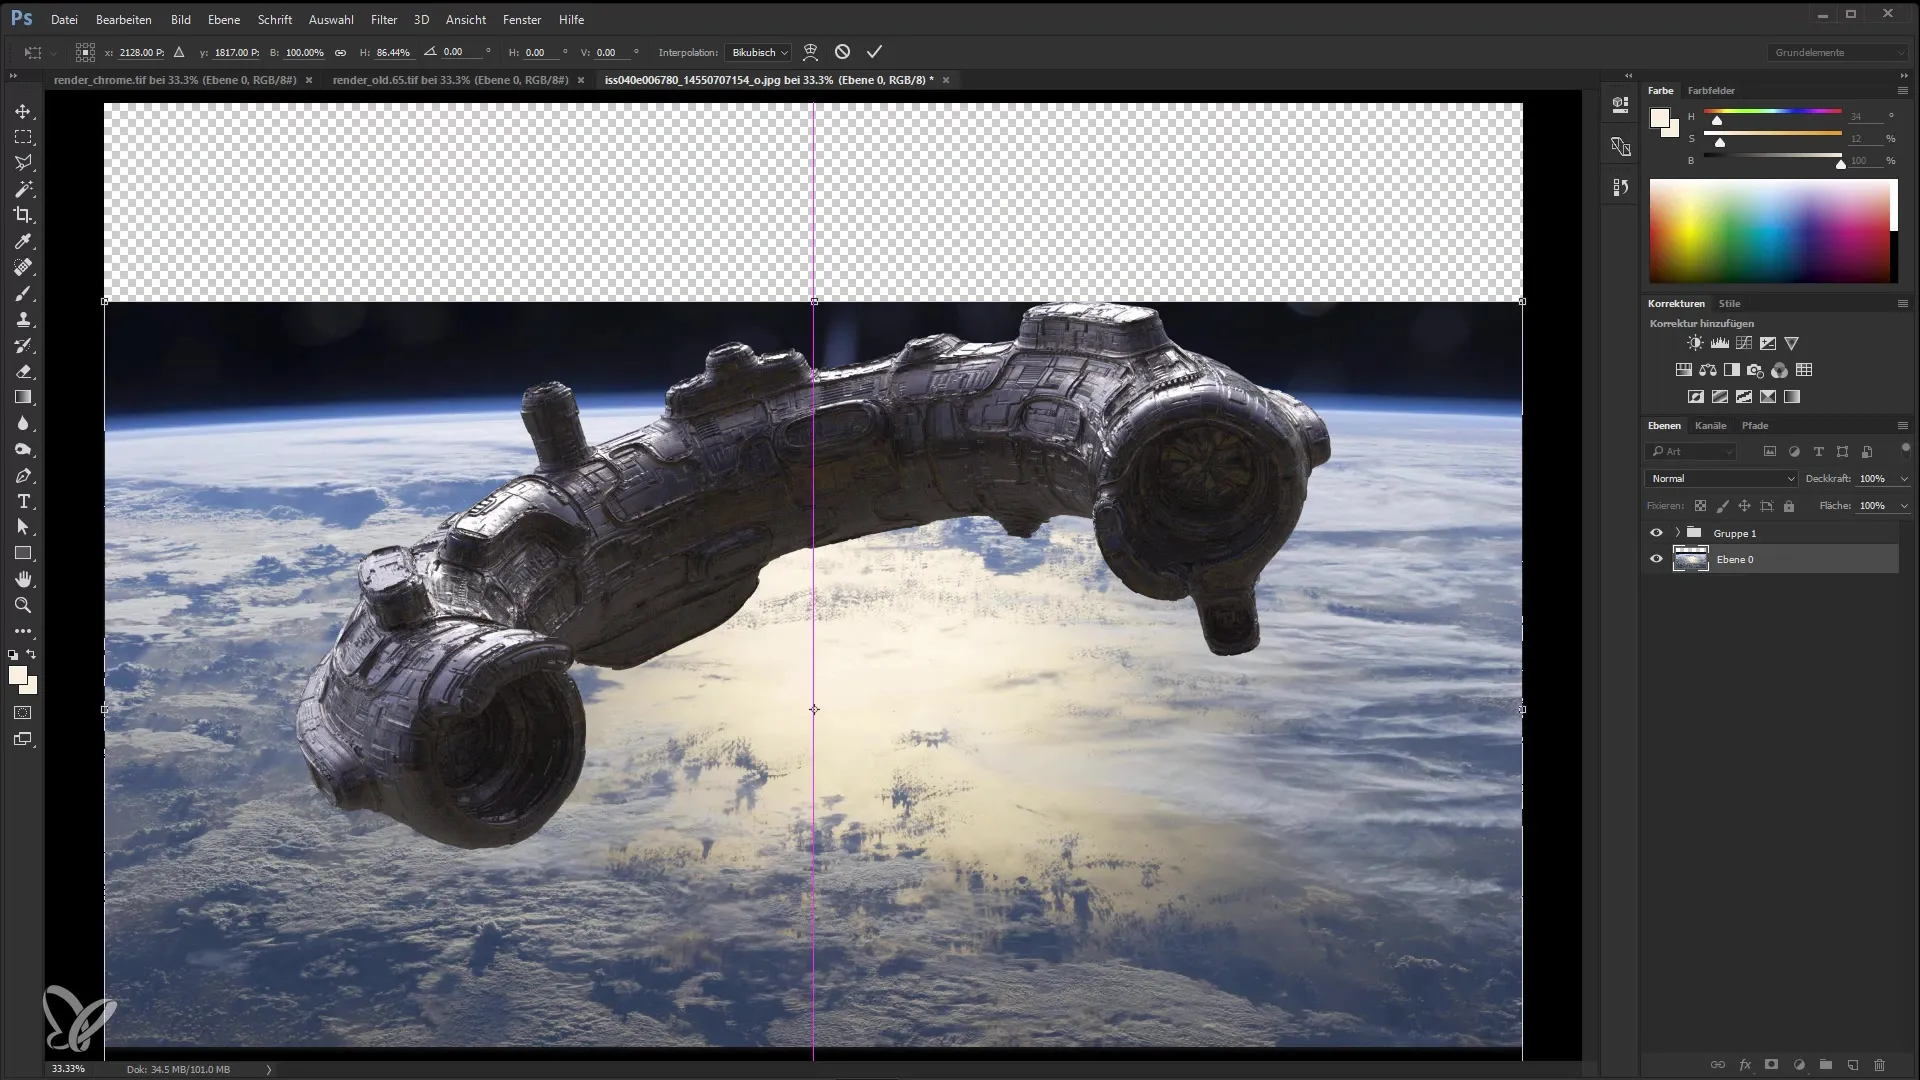
The next step is to adjust the background so the ship does not fly over the Earth but appears slightly higher. To do this, double-click on the background layer and drag it down until I reach approximately the horizon.
To fill the empty space above the ship, I use the Rectangle Tool to select an area and fill the image with a one-colored brush.
Now, I will retouch the image and add some lighting effects. I believe that nice illumination enhances the overall image. For this, I create a new layer in "Negative Multiply" mode and paint with a soft brush to create lighting effects.
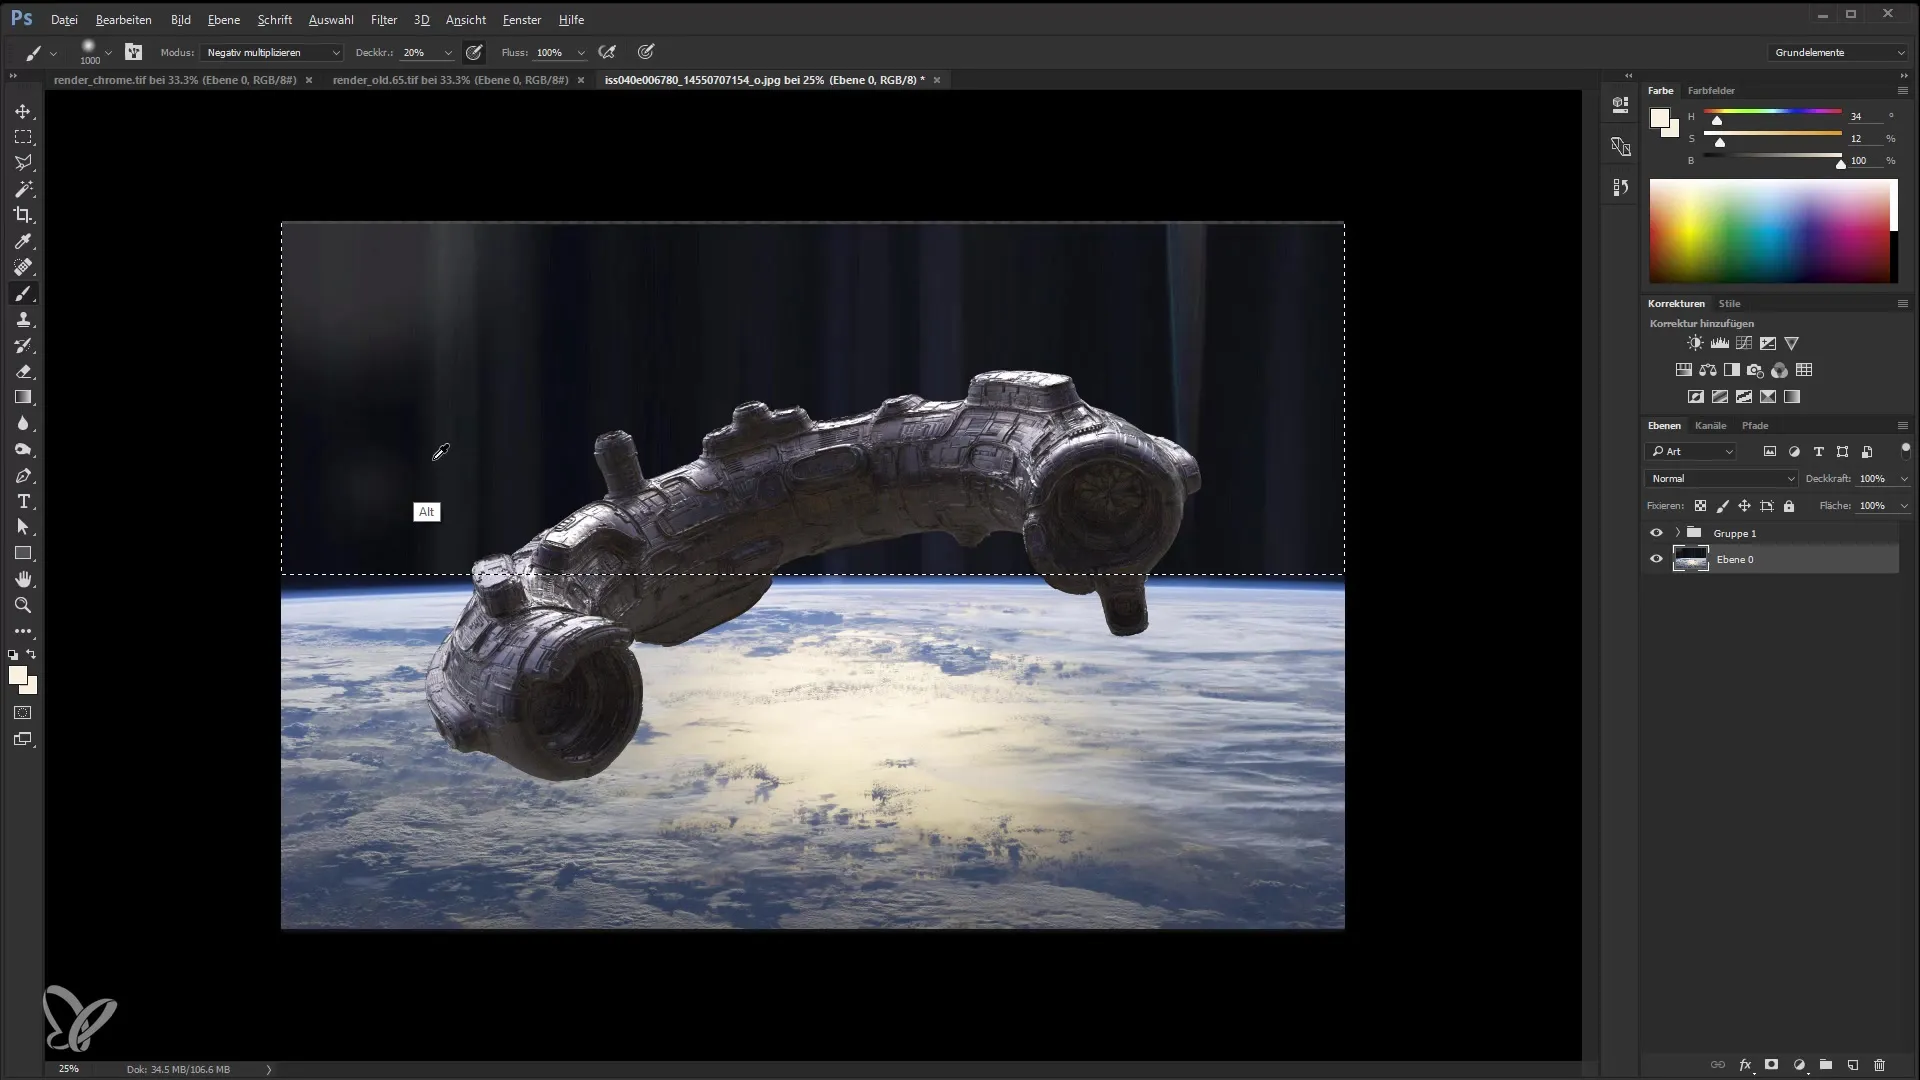
I also go into the settings for the Curves to adjust darker and brighter areas of the image to achieve a harmonious overall look.
Now, we will check the colors in the image. If the light seems too strong or too reddish, I can adjust the color channels to find the balance. This is done by pressing 'Ctrl + i' to invert the selection and editing with the brush.
I will also add additional light sources to bring the model more into focus. This is done by creating new layers which I then adjust accordingly.
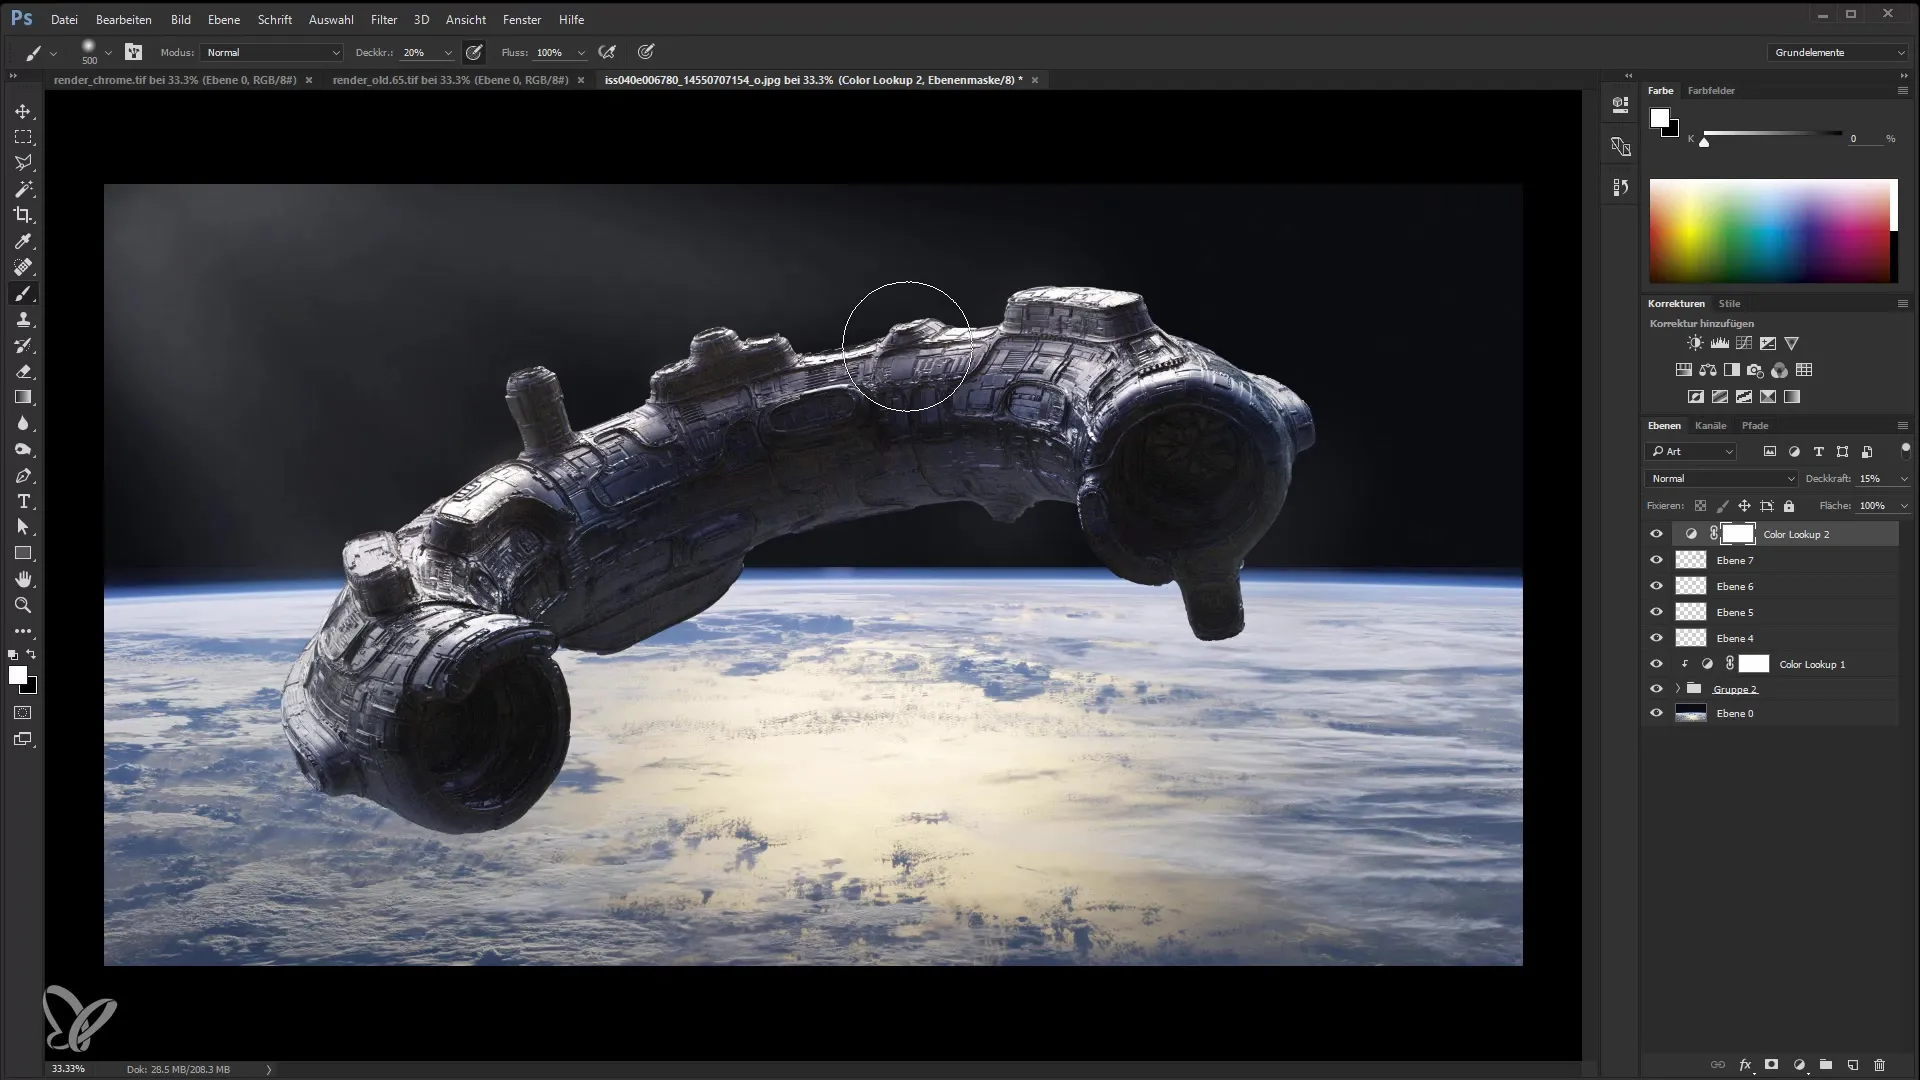
To achieve an even deeper look, I apply a color look. I use the "Filmstock 50," which gives the model the final touch. It's important to experiment here to see how the color grading changes the model.
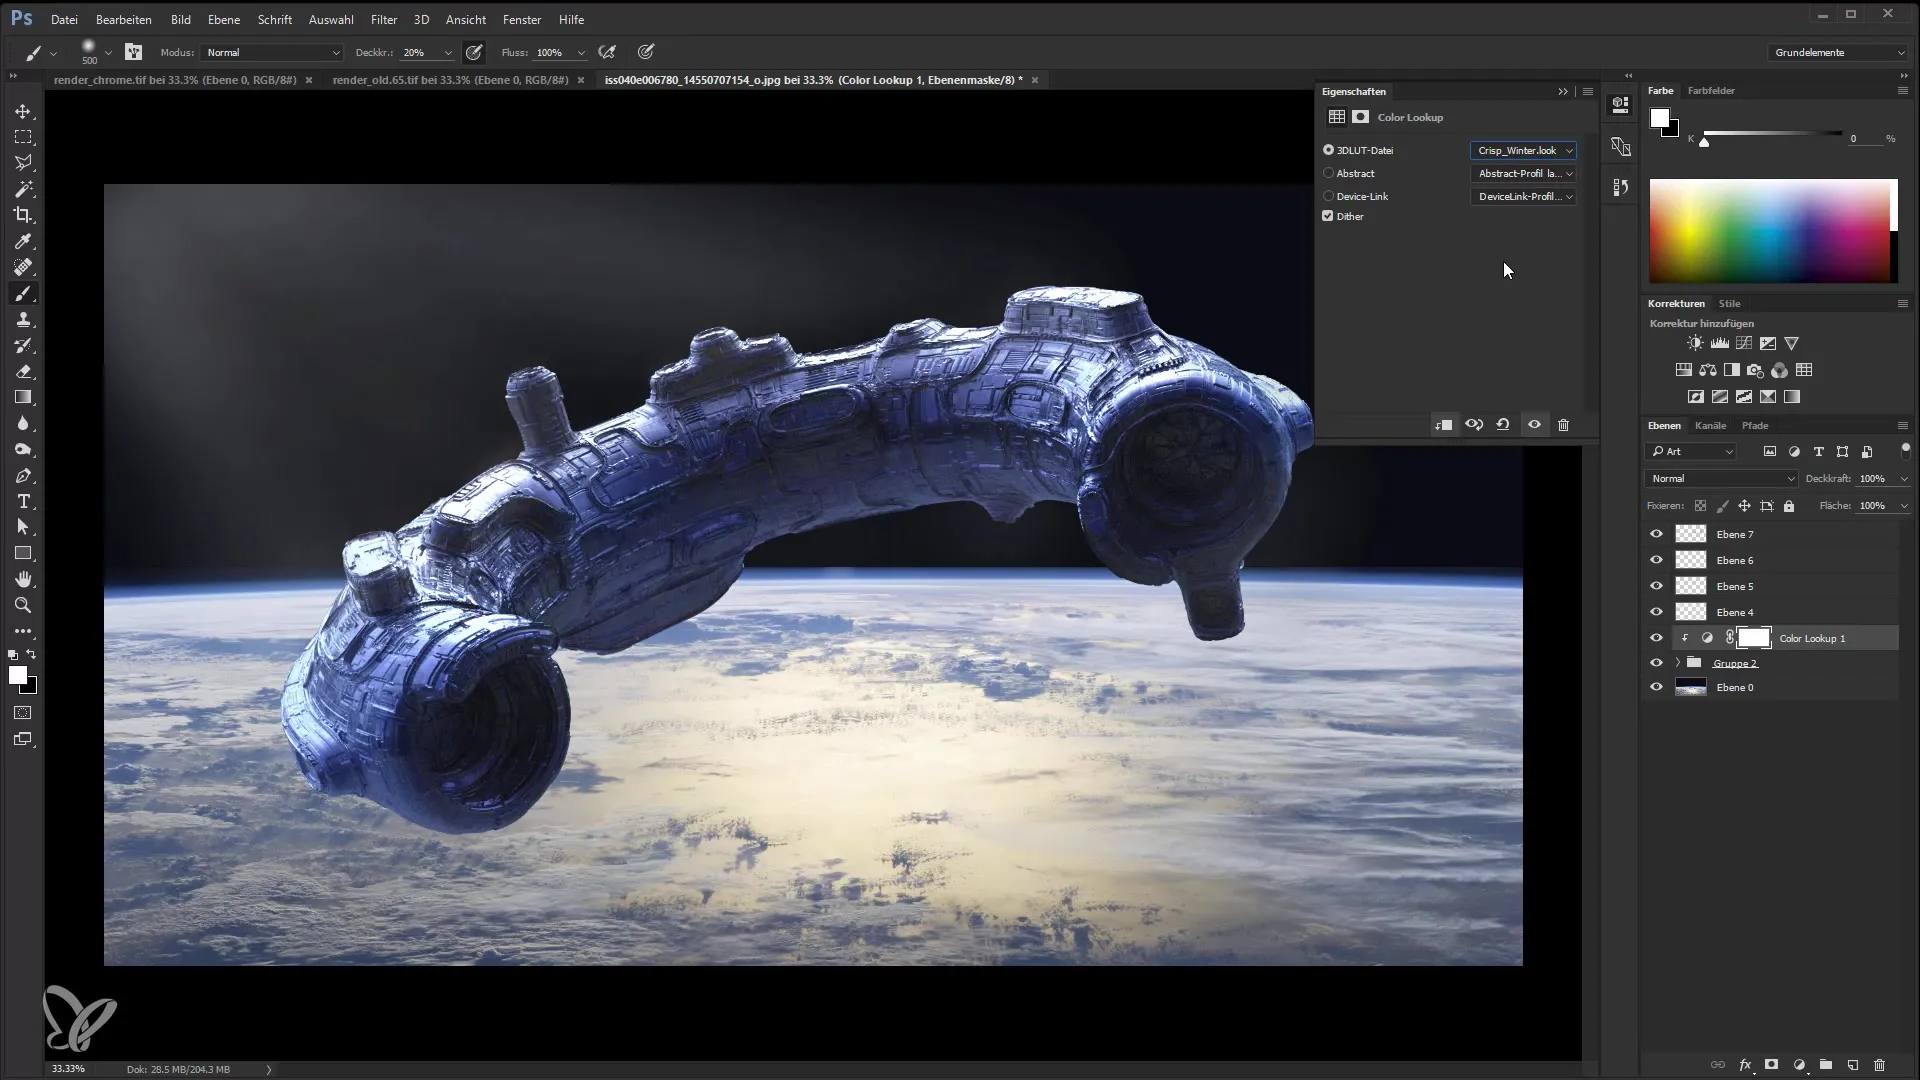
Finally, I revisit the entire image and make final adjustments to round off the project.
You have now learned all the steps to bring a rendered ship into a real space in Photoshop. Draw inspiration from this process and experiment with your own renderings.
Summary
In this tutorial, you have learned how to adjust and combine render passes in Photoshop. With the right techniques, you can enhance your 3D models and make them look professional.
Frequently Asked Questions
How do I load images in Photoshop?You can simply drag and drop images into Photoshop or use the "File" menu to open them.
How do I change the opacity of a layer?Select the layer and adjust the opacity in the Layers panel.
What is a clipping mask in Photoshop?A clipping mask connects two layers so that only the content of the top layer is visible where the underlying layer is present.
How can I retouch an image?Use the Brush tool or the Spot Healing Brush tool to retouch areas of the image.
How do I add effects in Photoshop?Go to "Layers" and select "Layer Style" to add various effects such as drop shadow, glow, or stroke.
