Welcome to your first step into the world of ZBrush! In this tutorial, I will show you the menu structures of ZBrush so that you can quickly orient yourself and efficiently implement your creative projects. ZBrush is a powerful tool for 3D modeling and digital sculpting, but the user interface may seem somewhat confusing at first glance. Therefore, I will acquaint you with the most important functions and views so that you can easily start your first project in ZBrush.
Main Takeaways
ZBrush offers a unique menu structure that differs from most common software programs. The system is alphabetically arranged and has special areas such as the Lightbox and various sub-menus. You will learn how to efficiently use and customize these elements to optimize your workflow.
Step-by-Step Guide
First and foremost, it's important to open ZBrush. Upon first startup, you will see a default view. Here is your first screenshot of this step.
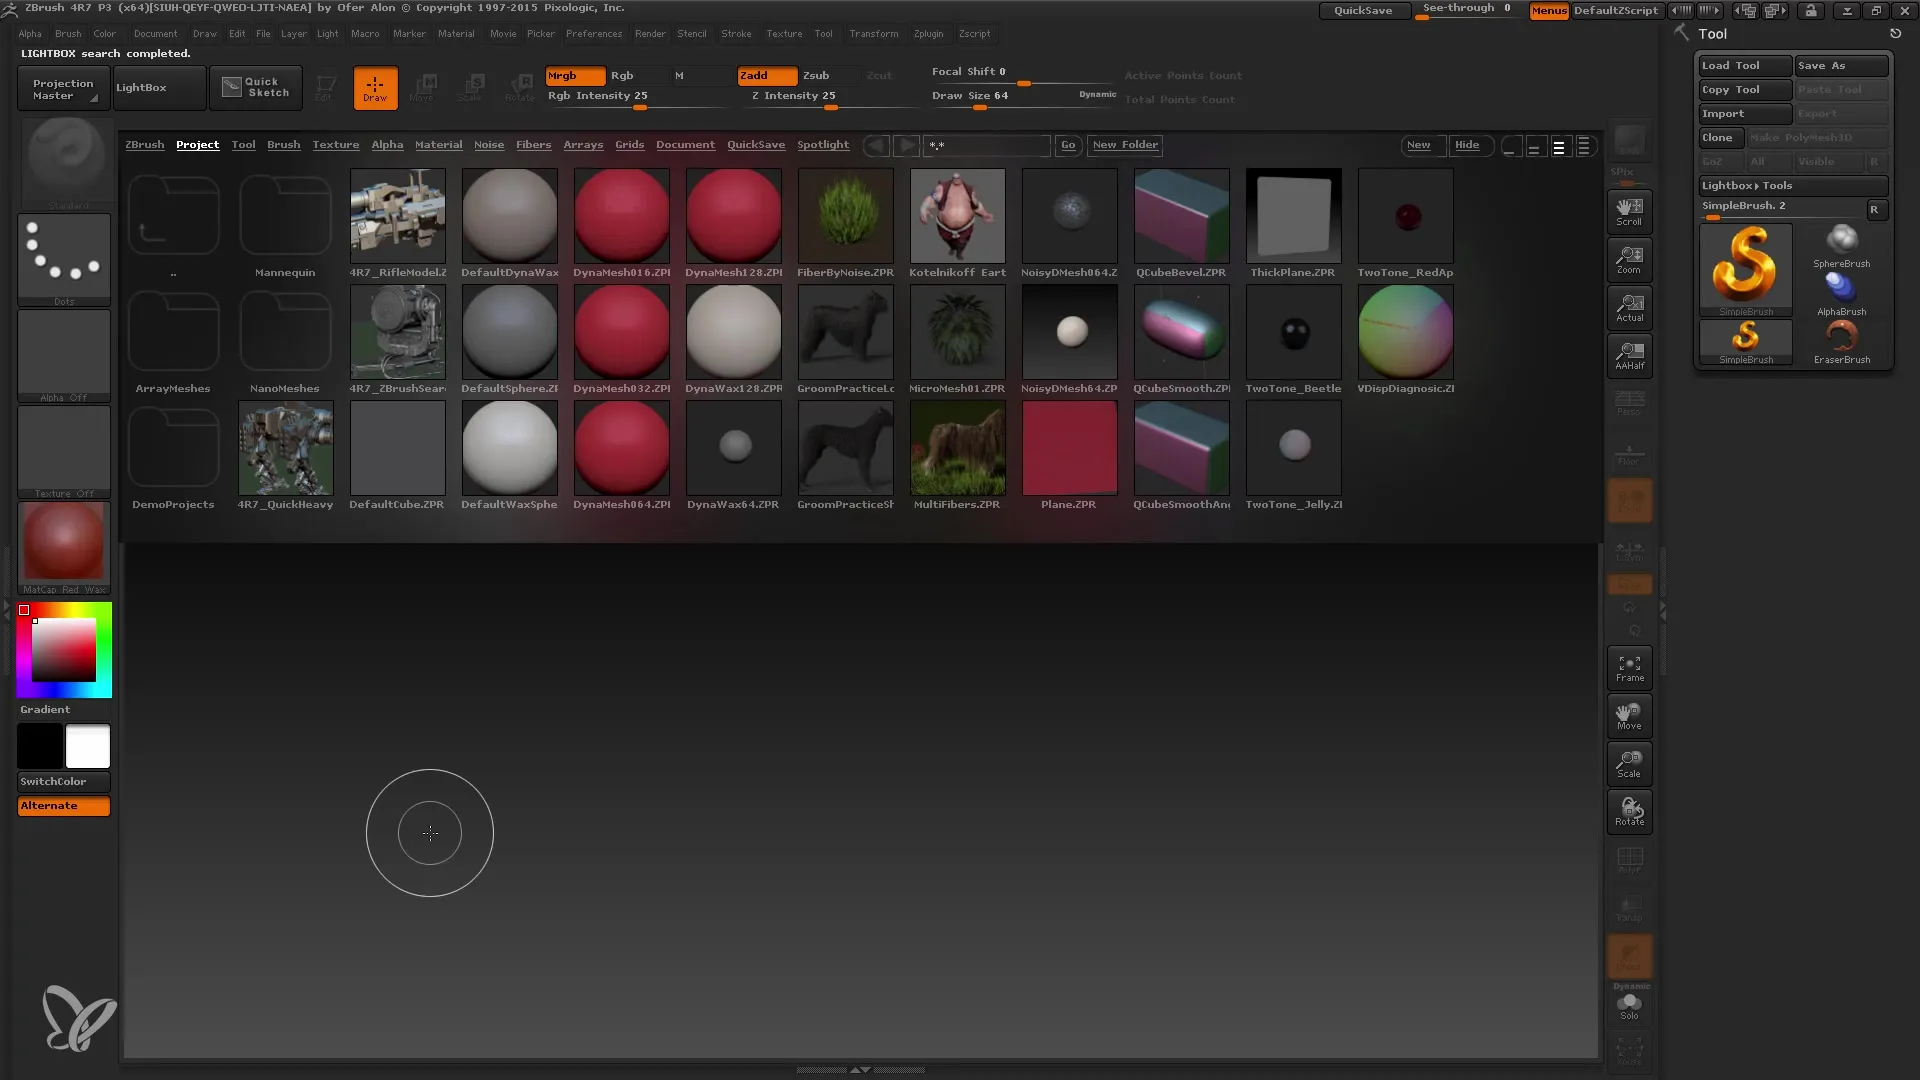
Now you will see the menu bar at the top and a large area in the middle representing the Lightbox. Below that is the workspace. Here, you will get a first impression of the user interface. This default view will also be shown to you during future startups. You will quickly notice that the user interface is customizable, but for now, we will focus on the standard version.
One key point to note is that most labels in ZBrush are in English. Unfortunately, there is no German version of ZBrush, which can be a challenge in the beginning. However, many terms like "Subtool" or "Alphas" are specific to the software, and it is advisable to get used to the English terms as they are also used in tutorials. So, we will use the English labels in this training.
A particular point to pay attention to is the arrangement of menus. The menu structure in ZBrush is alphabetically ordered, which may be unusual for many. You will find the Material section, the Brushes, and other important menu entries in this alphabetical arrangement. This arrangement can have both advantages and disadvantages for your future work.
The Lightbox is a central element in ZBrush. It is always shown at startup and provides you with quick access to various projects, tools, and brushes. You can close or open the Lightbox by using the comma key on your keyboard. This allows you to quickly toggle it on and off to work more efficiently.
If you want to load a new project, you can do so directly through the Lightbox. I recommend selecting the lamp introduced with version R7. You will notice the menu bar has changed by creating a new project. These menus give you access to various tools and settings.
Here's another important point: The menus in ZBrush are very nested. For example, when you open the Tool menu, you will find many sub-menus like "Subtools" or "Geometry." This means you have to navigate through different levels of the menu to find specific functions. It's important to know how to navigate between these sub-menus.
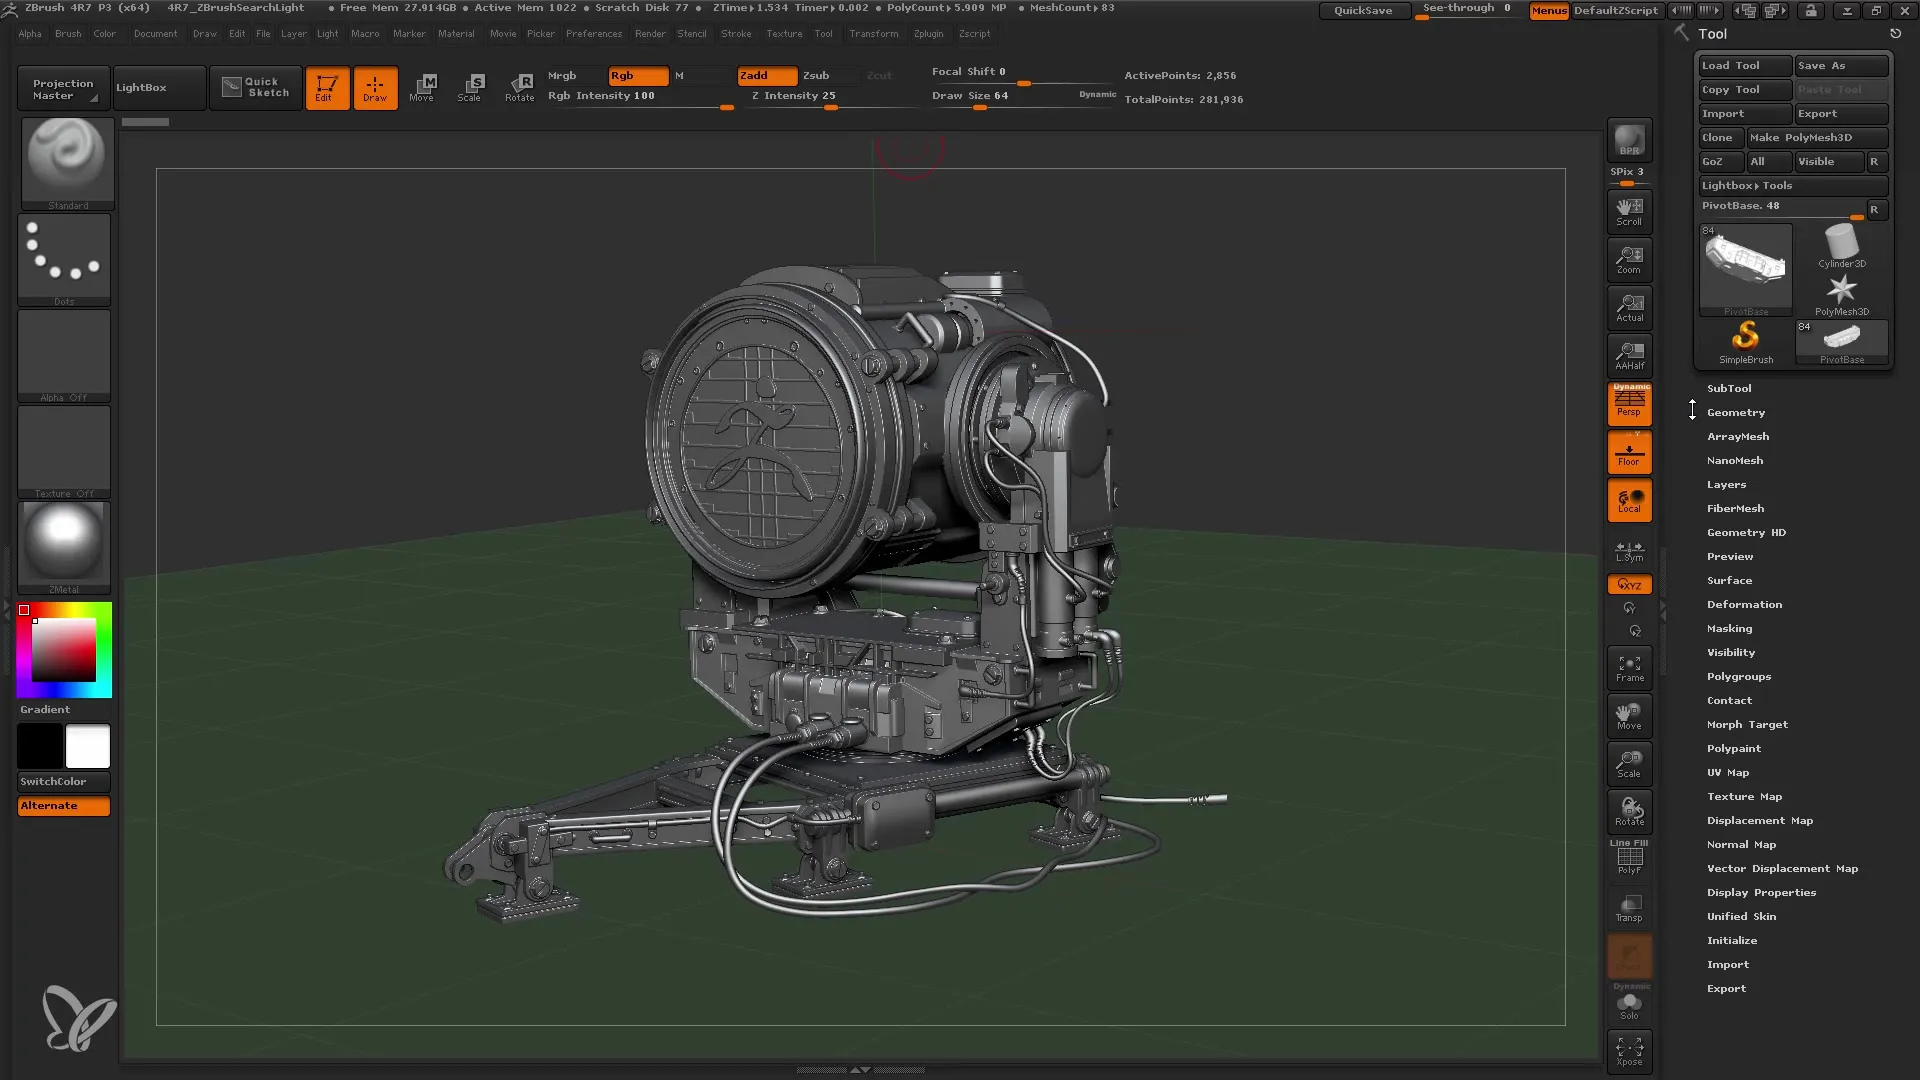
Another note: In ZBrush, you can navigate through the sub-menus using the up and down arrow keys. Unfortunately, there is no mouse scroll function, which may be unfamiliar at first. However, the menu structure allows you to find everything you need. You can open and close sub-menus. It takes some practice, but you will get used to it over time.
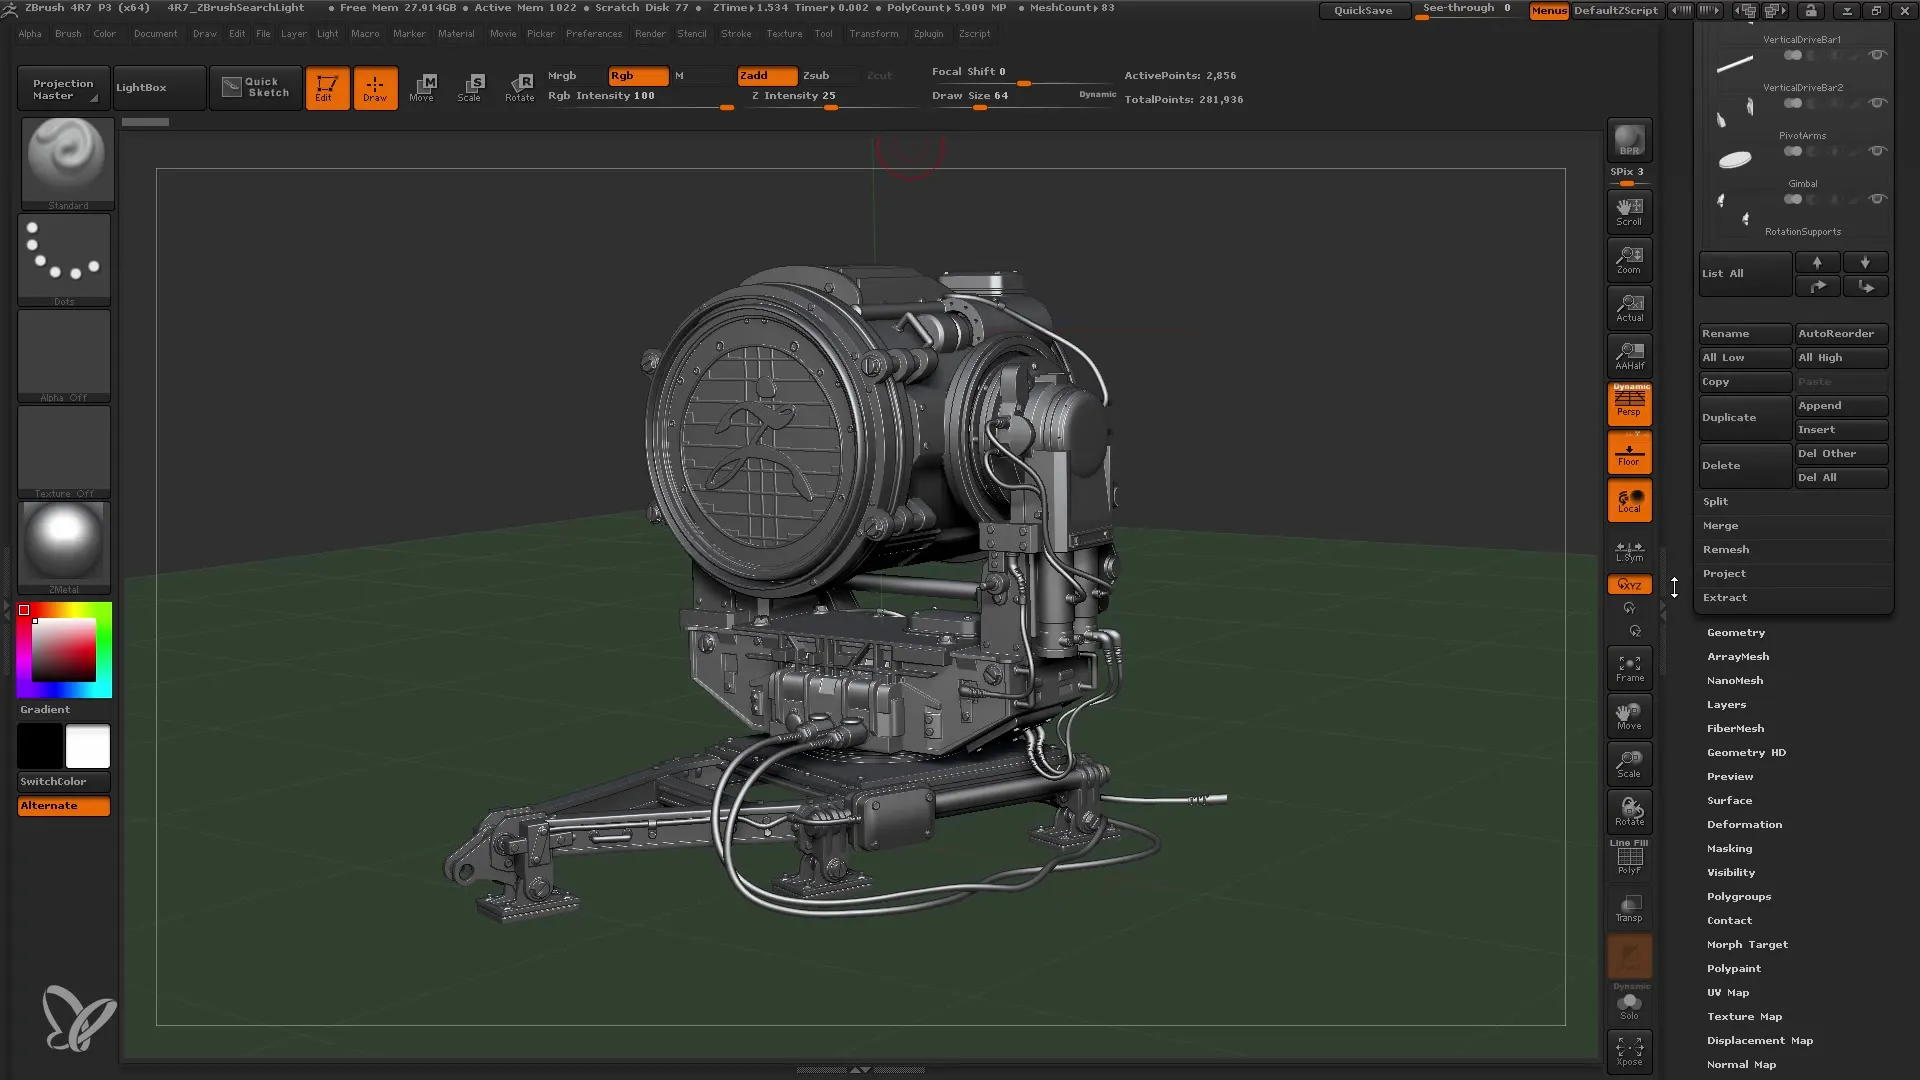
If you want to have multiple menus open simultaneously, you can adjust and arrange them. In ZBrush, you have the option to align menus at the screen edge. Simply press the arrow with a circle to fix and place menus where you need them the most. This provides more workspace and allows you to better organize your frequently used functions.
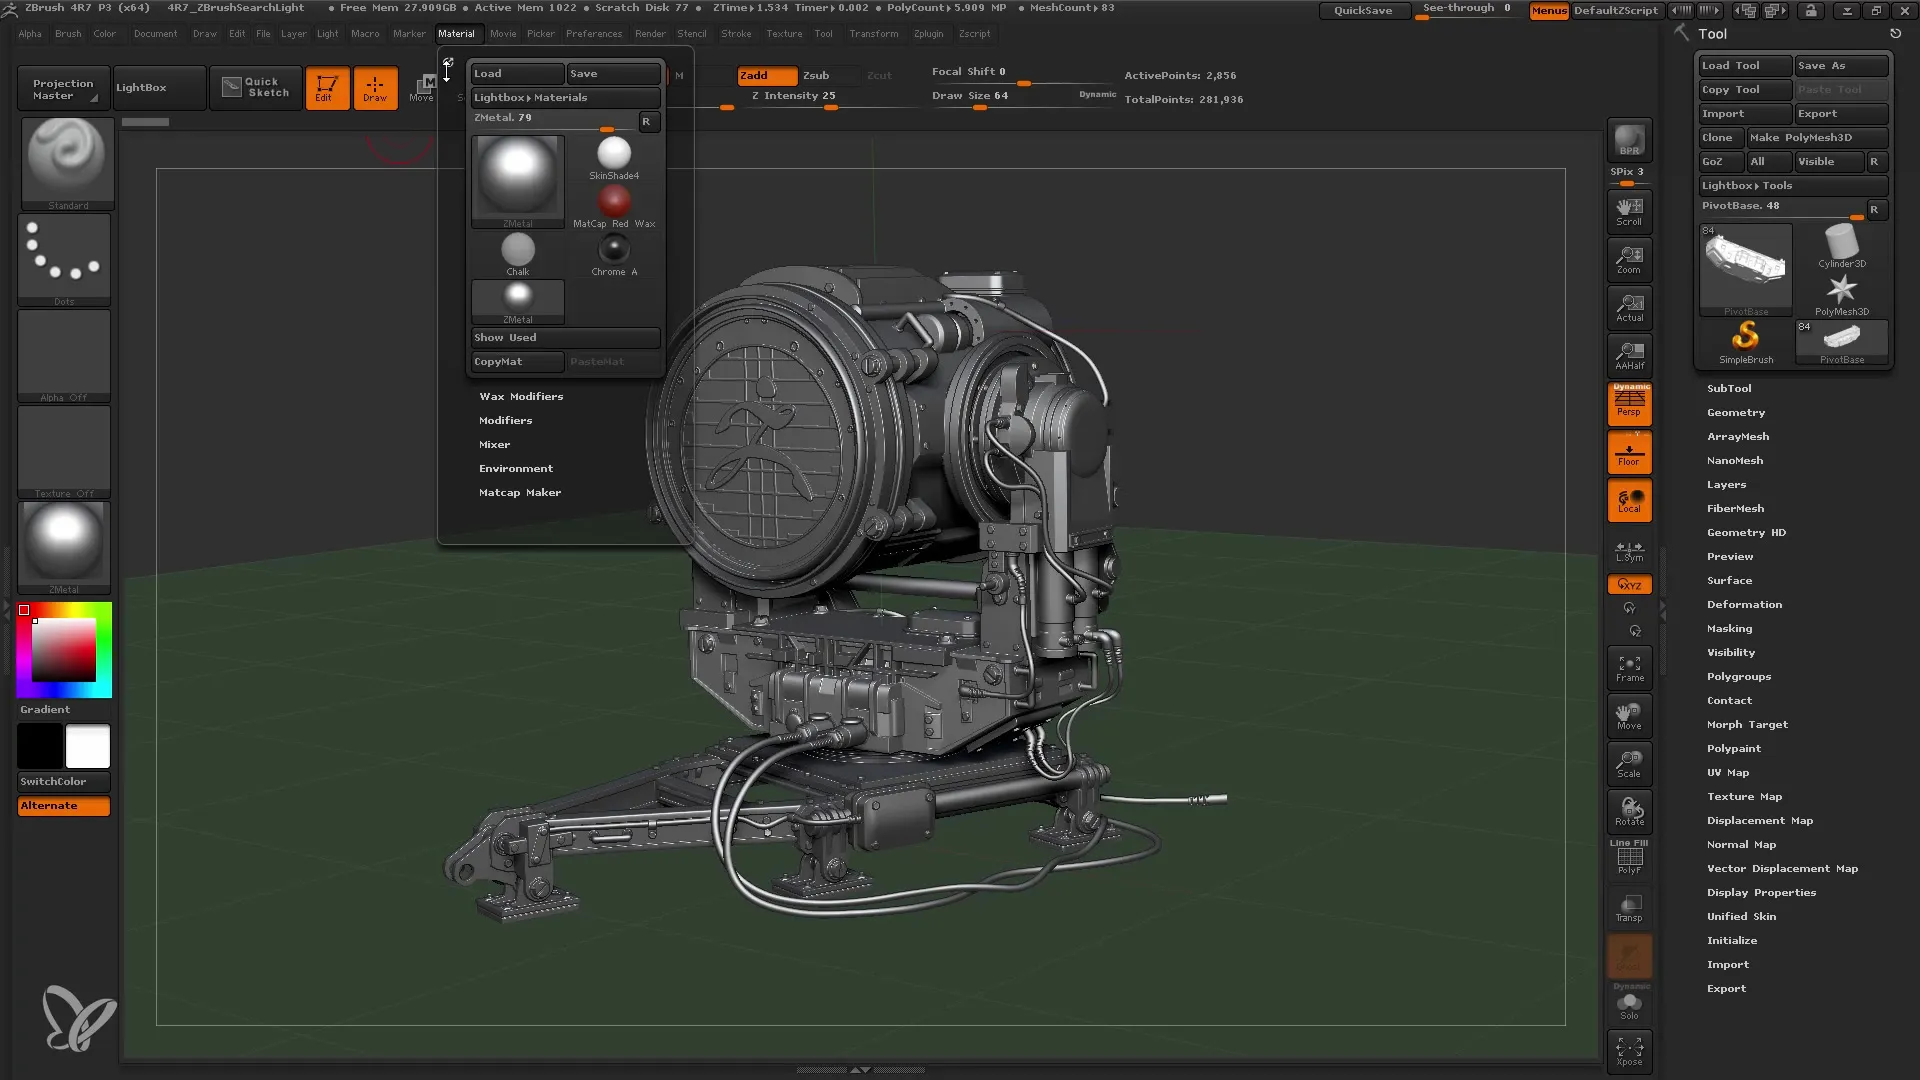
An interesting feature is that you can minimize menus instead of closing them completely. This way, they remain available in the background, and you can quickly access them again when needed. This is particularly useful when working with various materials and tools and wanting to keep track of them.
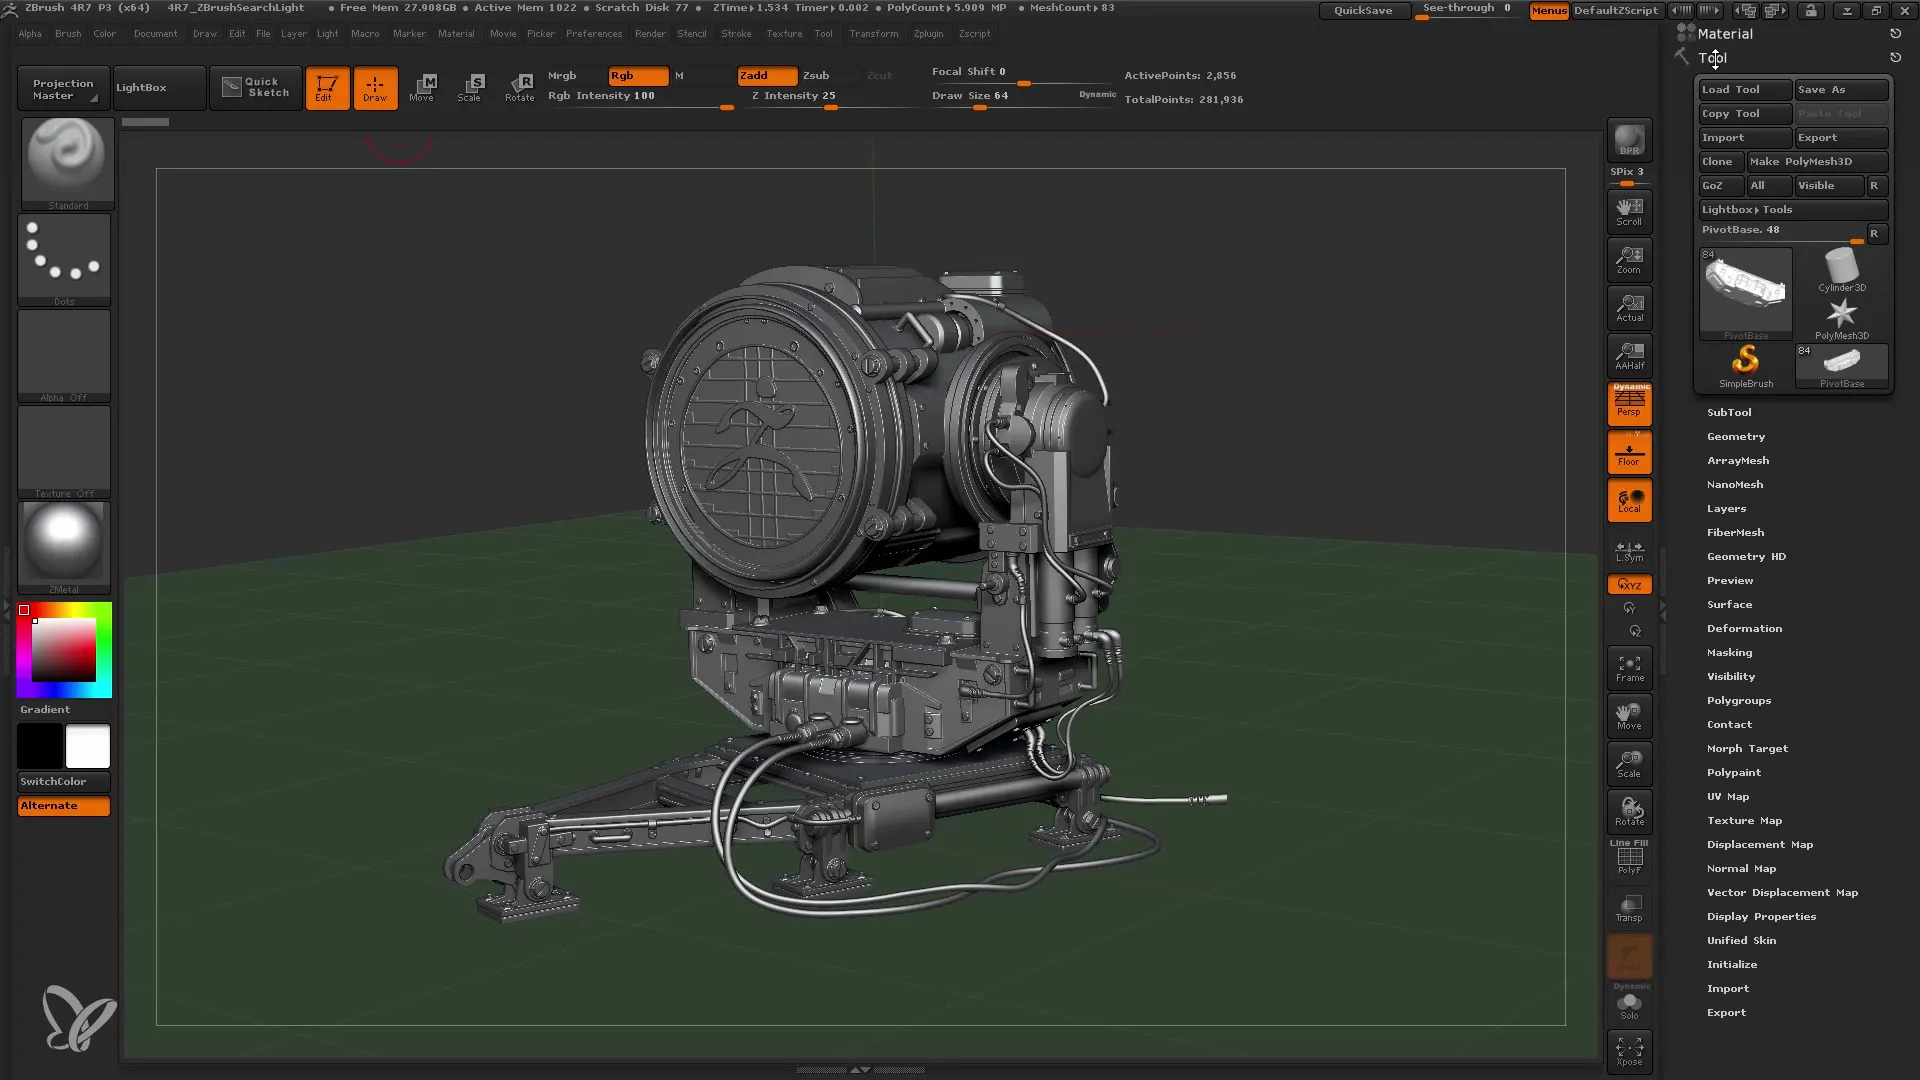
Ultimately, ZBrush offers a flexible user interface that can easily be tailored to your needs. You can add or remove menus at any time, depending on your workflow style. This allows you to create a workspace that works best for you.
Summary
ZBrush provides a unique and customizable user interface that allows you to efficiently utilize your tools and functions. Piece by piece, we have discussed the menu structures and important areas like the Lightbox that will aid you in your work. Over time, you will navigate easily in this structured environment and be able to shape your own workflow.
Frequently Asked Questions
How do I open the Lightbox?Press the comma key on your keyboard to open or close the Lightbox.
Can I customize ZBrush's menu structure?Yes, you can rearrange, minimize, and customize menus to optimize your personal workflow.
Is there a German version of ZBrush?Unfortunately, there is currently no German version of ZBrush.
How do I navigate through sub-menus in ZBrush?You can navigate through sub-menus using the up and down arrow keys.
How can I have multiple menus open simultaneously?You can customize and arrange menus by pressing the arrow with the circle.
